Você está no 3DFinder
Buscamos em Thingiverse, MakerWorld e Printables ao mesmo tempo para te dar o melhor de cada uma.
Descrição
THIS IS MY TAKE ON A TOP COVER FOR THE Snapmaker U1
After I received a notification that Snapmaker was going to delay their top cover, I decided to design my own.
There were three main goals behind this design:
- Make it as compact as possible — to minimize the internal air volume and allow it to heat up more easily.
- Use as many 3D-printed components as possible, while keeping the assembly simple.
- Provide front access without loose panels that need to be put aside. A sub-goal was to design collapsible front doors that take up minimal space when open.
I believe I have achieved all of these goals.
It uses less than 1.5 kg of filament, so it’s very efficient
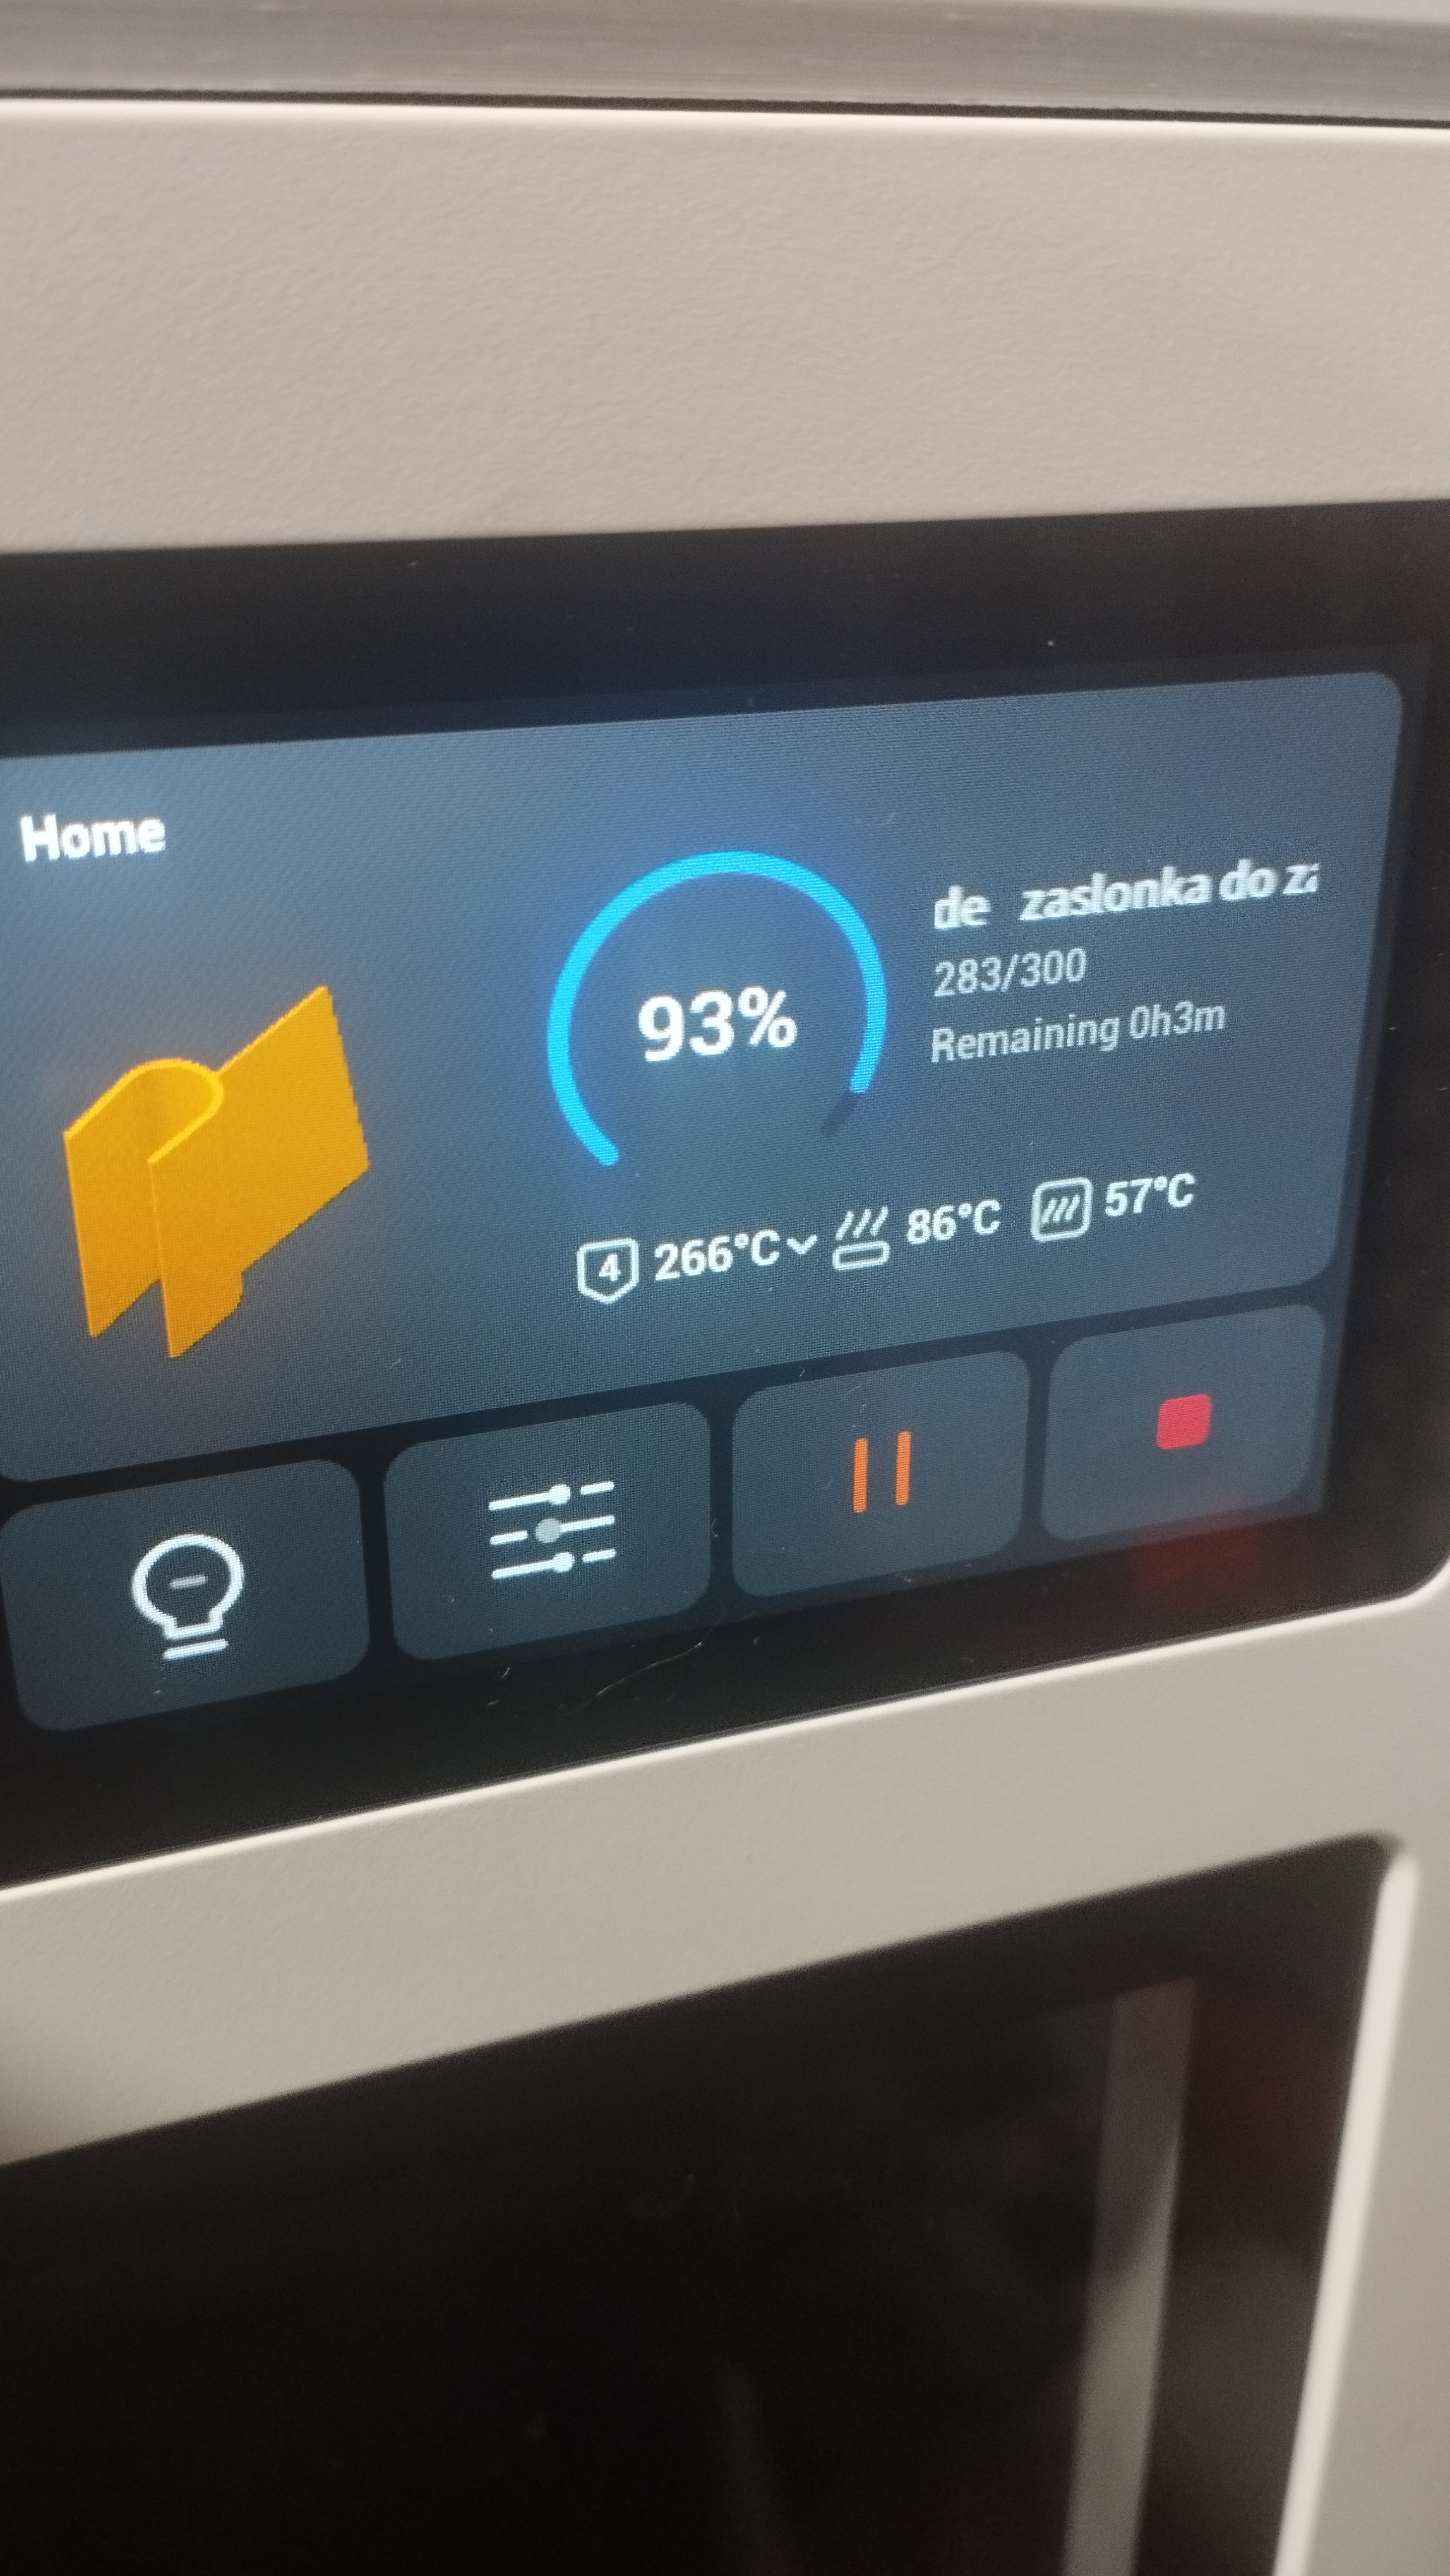
Easy reaches 58 Celsius when bed set to 90 Celsius. So Great success!
The largest parts cannot be printed on printers smaller than the U1.
Material recommendation and print settings
I strongly recommend printing this enclosure from PET (not PETG, PET-CF, etc.). I printed mine using eSUN PET, which is an excellent material: strong layer adhesion, good temperature resistance, and generally easy to print. I honestly do not understand why this material is not more popular.
There is no dedicated PET material profile in Bambu Studio, so I used PETG as the base profile and adjusted the temperatures:
- Nozzle temperature: 270 °C
- Build plate temperature: 80 °C
Other than that, I reduced the print speed to 100 mm/s as a precaution.
Assembly requirements
For assembly, you need three pieces of 2 mm thick plexiglass:
- Doors: 2 pcs, 150 × 250 mm
- Top panel: 1 pc, 100 × 250 mm
(You can also print these parts if you prefer.)
Fasteners
- M3 × 8 mm screws — 18 pcs
(to connect the main parts, top hinges, and U1 corner mounts) - M3 × 6 mm screws — 9 pcs
(to mount the window frames) - M3 × 12 mm screws — 4 pcs
(cover fixing points; these replace the original mounting screws in the U1 corners)
That’s all — everything else is printed.
Printing notes
- All four TOP panels must be printed with supports.
- I printed all parts from PET, supports from PETG, and interface layers from TPU.
- If you use the same setup, make sure all materials are dry; otherwise, you will get significant stringing.
- Slow TPU interface layers down to 30 mm/s.
- For the TOP rear panels, reduce speed to 50% for the last 50 mm of the print. This section tends to wobble, and surface quality can suffer. The parts will print correctly, but may not look perfect.
- Use support blockers for the upper holes on all TOP panels.
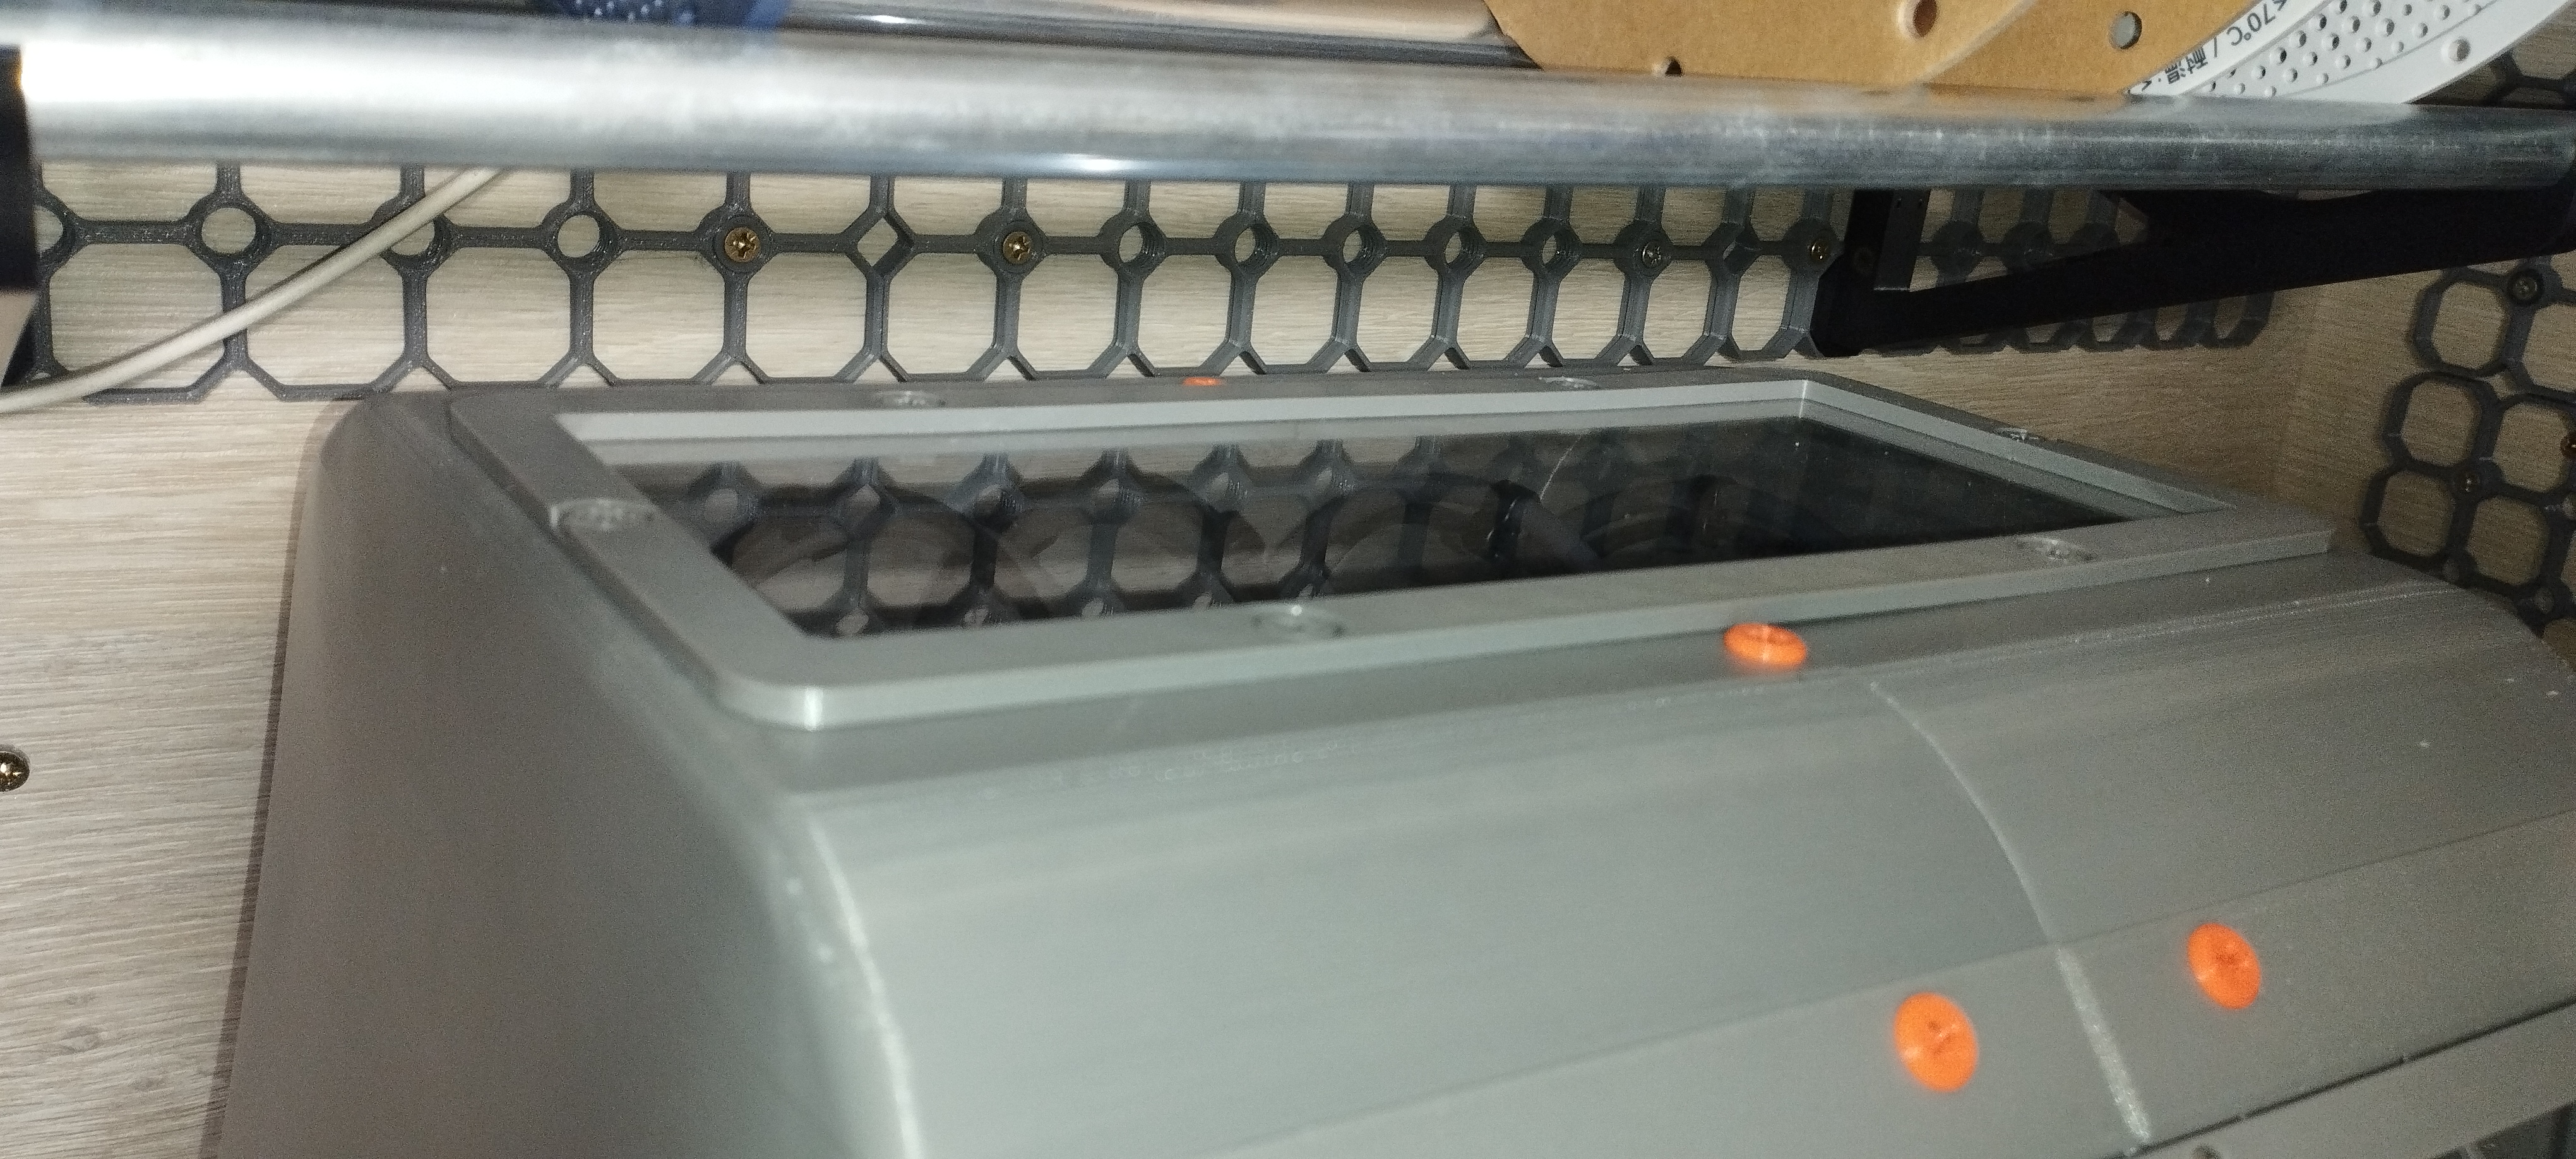
I have added a top window frame that presses the window into the cover, making the whole assembly tighter and more rigid.
To fasten it, use the parts included in the print profile: “B-TOP_window_frame_NO_Support.3mf”.
Installation is straightforward when you have printed parts so I did not bother to create assembly manual. If you anyway have some assembly issue contact me, I will help :).
Optional
You can optionally print push-in pins for the top plexiglass.
They can be downloaded from:
[https://makerworld.com/pl/models/2181858-push-in-rivet-pin-clip-automotive-6-7-8-10-mm#profileId-2387009](https://makerworld.com/pl/models/2181858-push-in-rivet-pin-clip-automotive-6-7-8-10-mm#profileId-2387009)
Size: 6L8.

Gostou deste modelo? Crie uma conta grátis para salvar seus favoritos e voltar a eles depois.
Criar conta