Você está no 3DFinder
Buscamos em Thingiverse, MakerWorld e Printables ao mesmo tempo para te dar o melhor de cada uma.
Descrição
Version 1.1 is available!!
What's new in version 1.1:
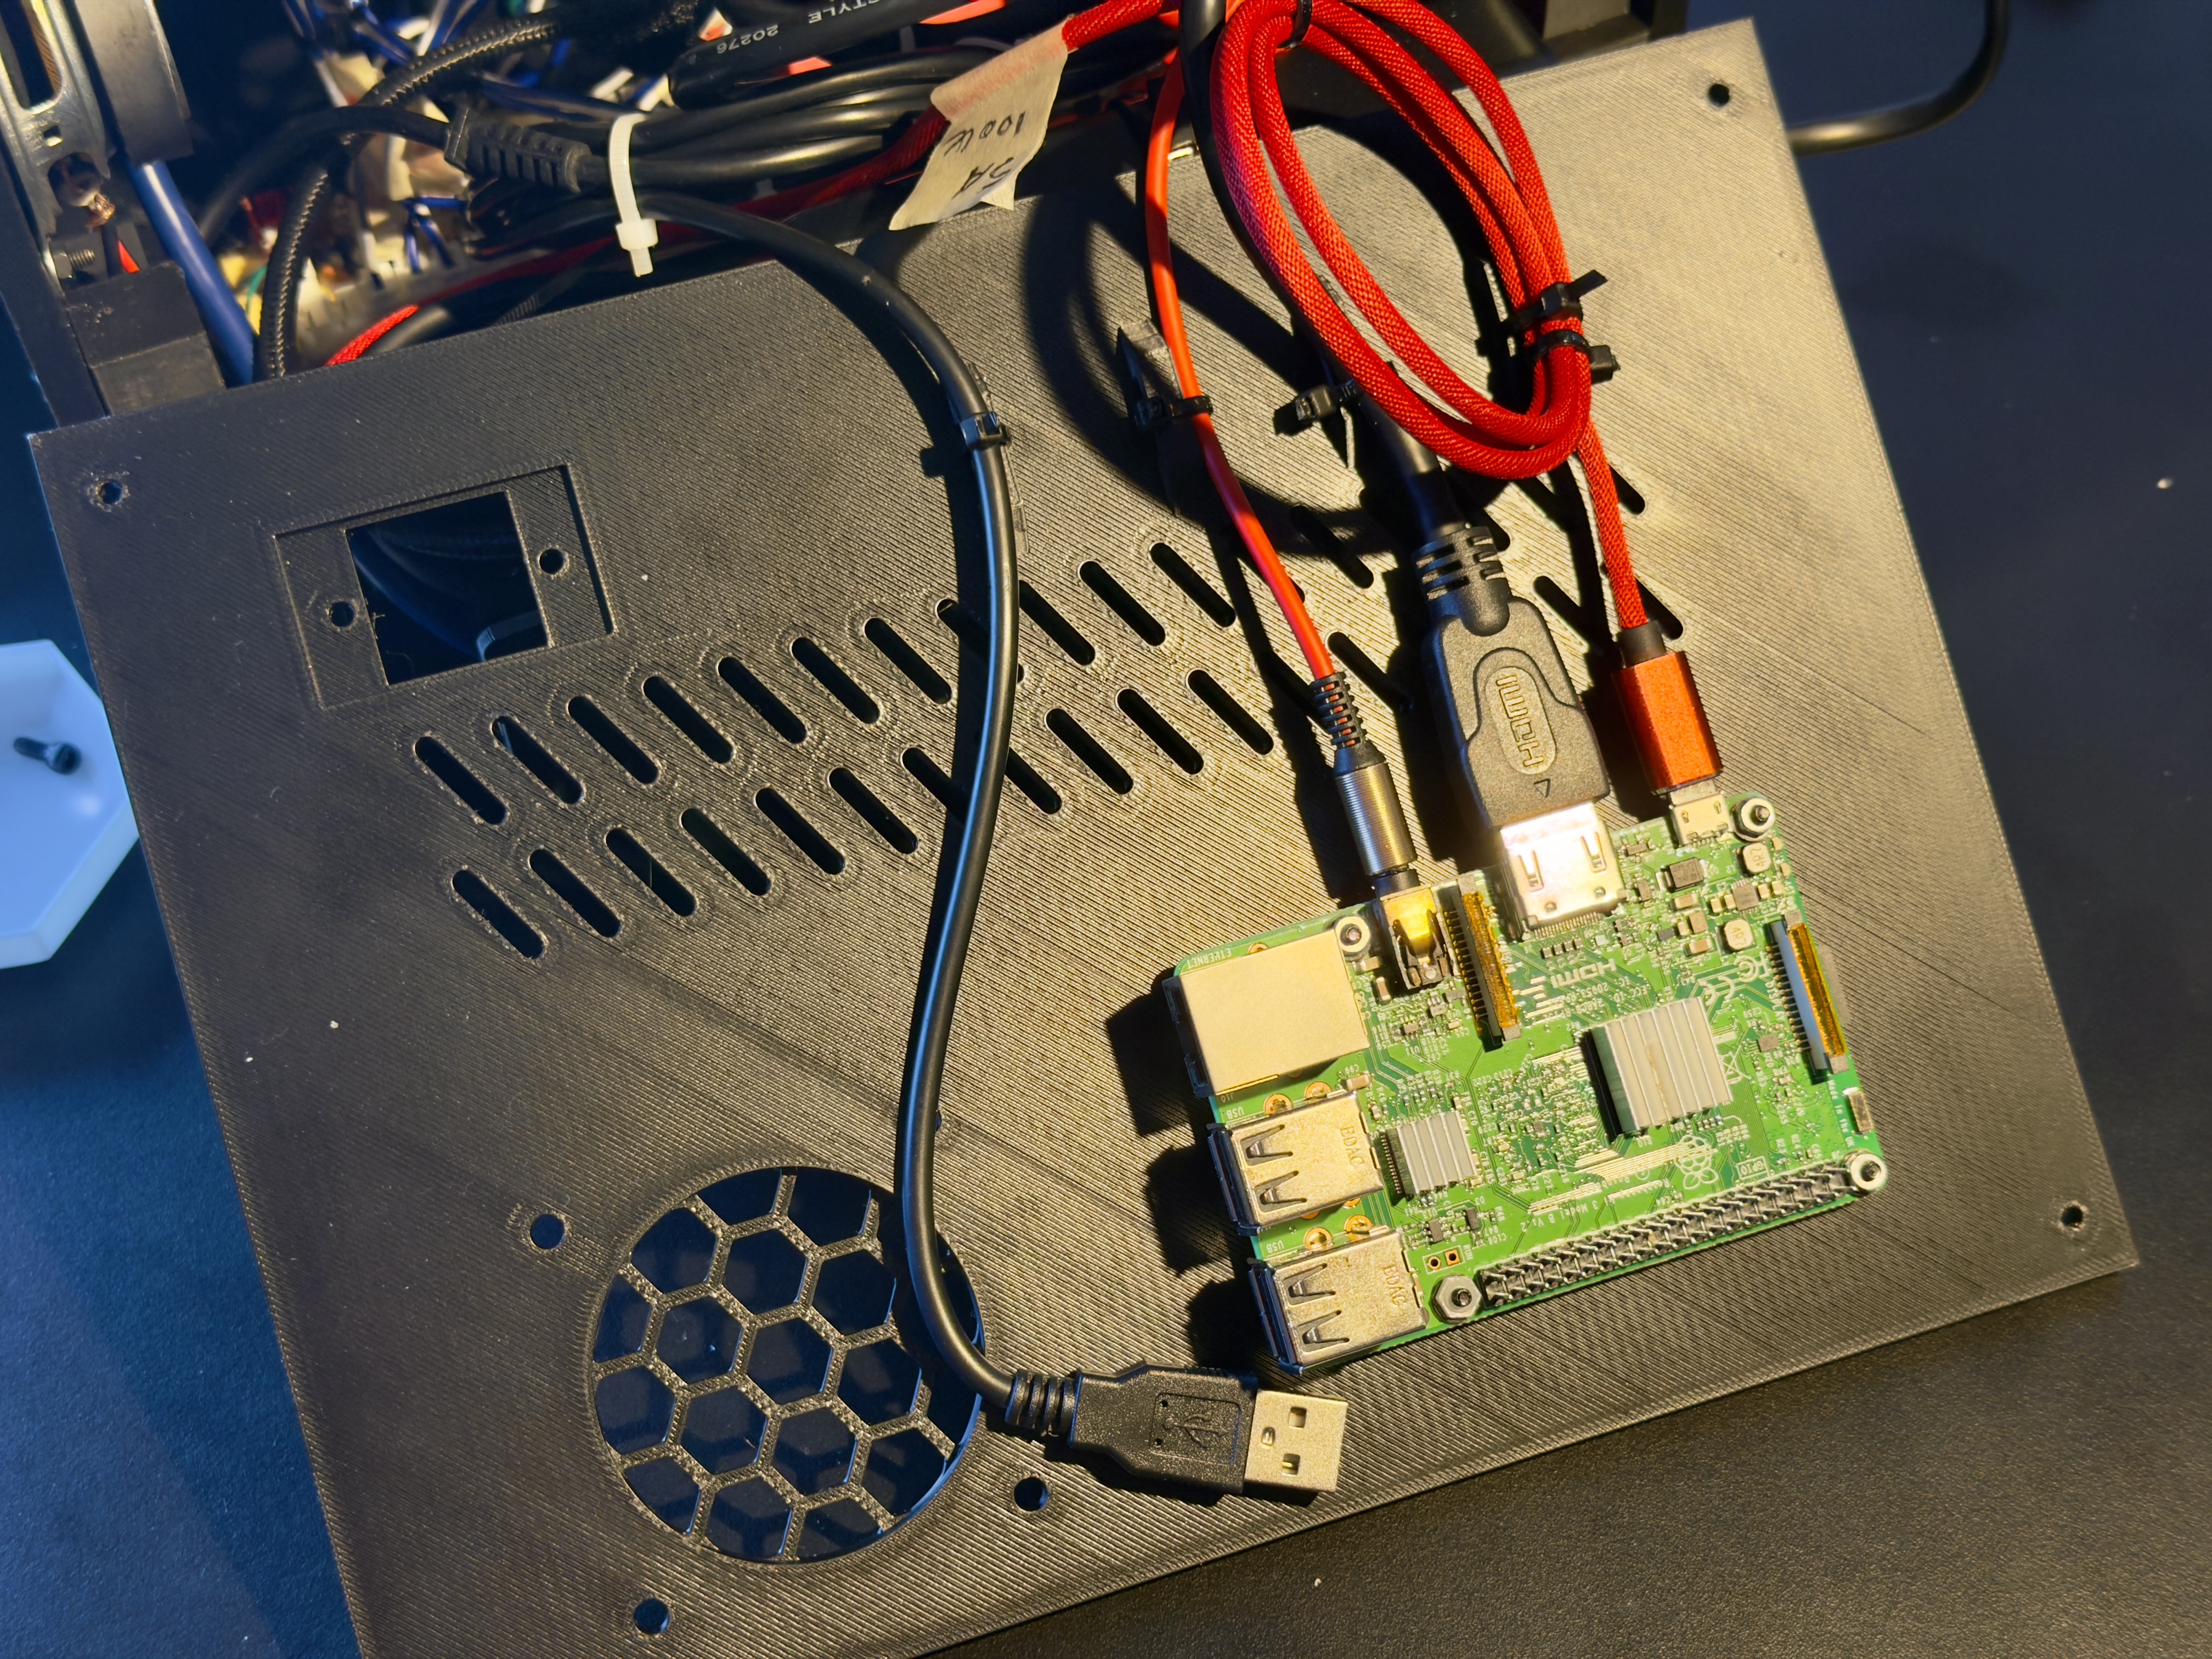
- New cooling and air recirculation system with 60x60mm USB fans
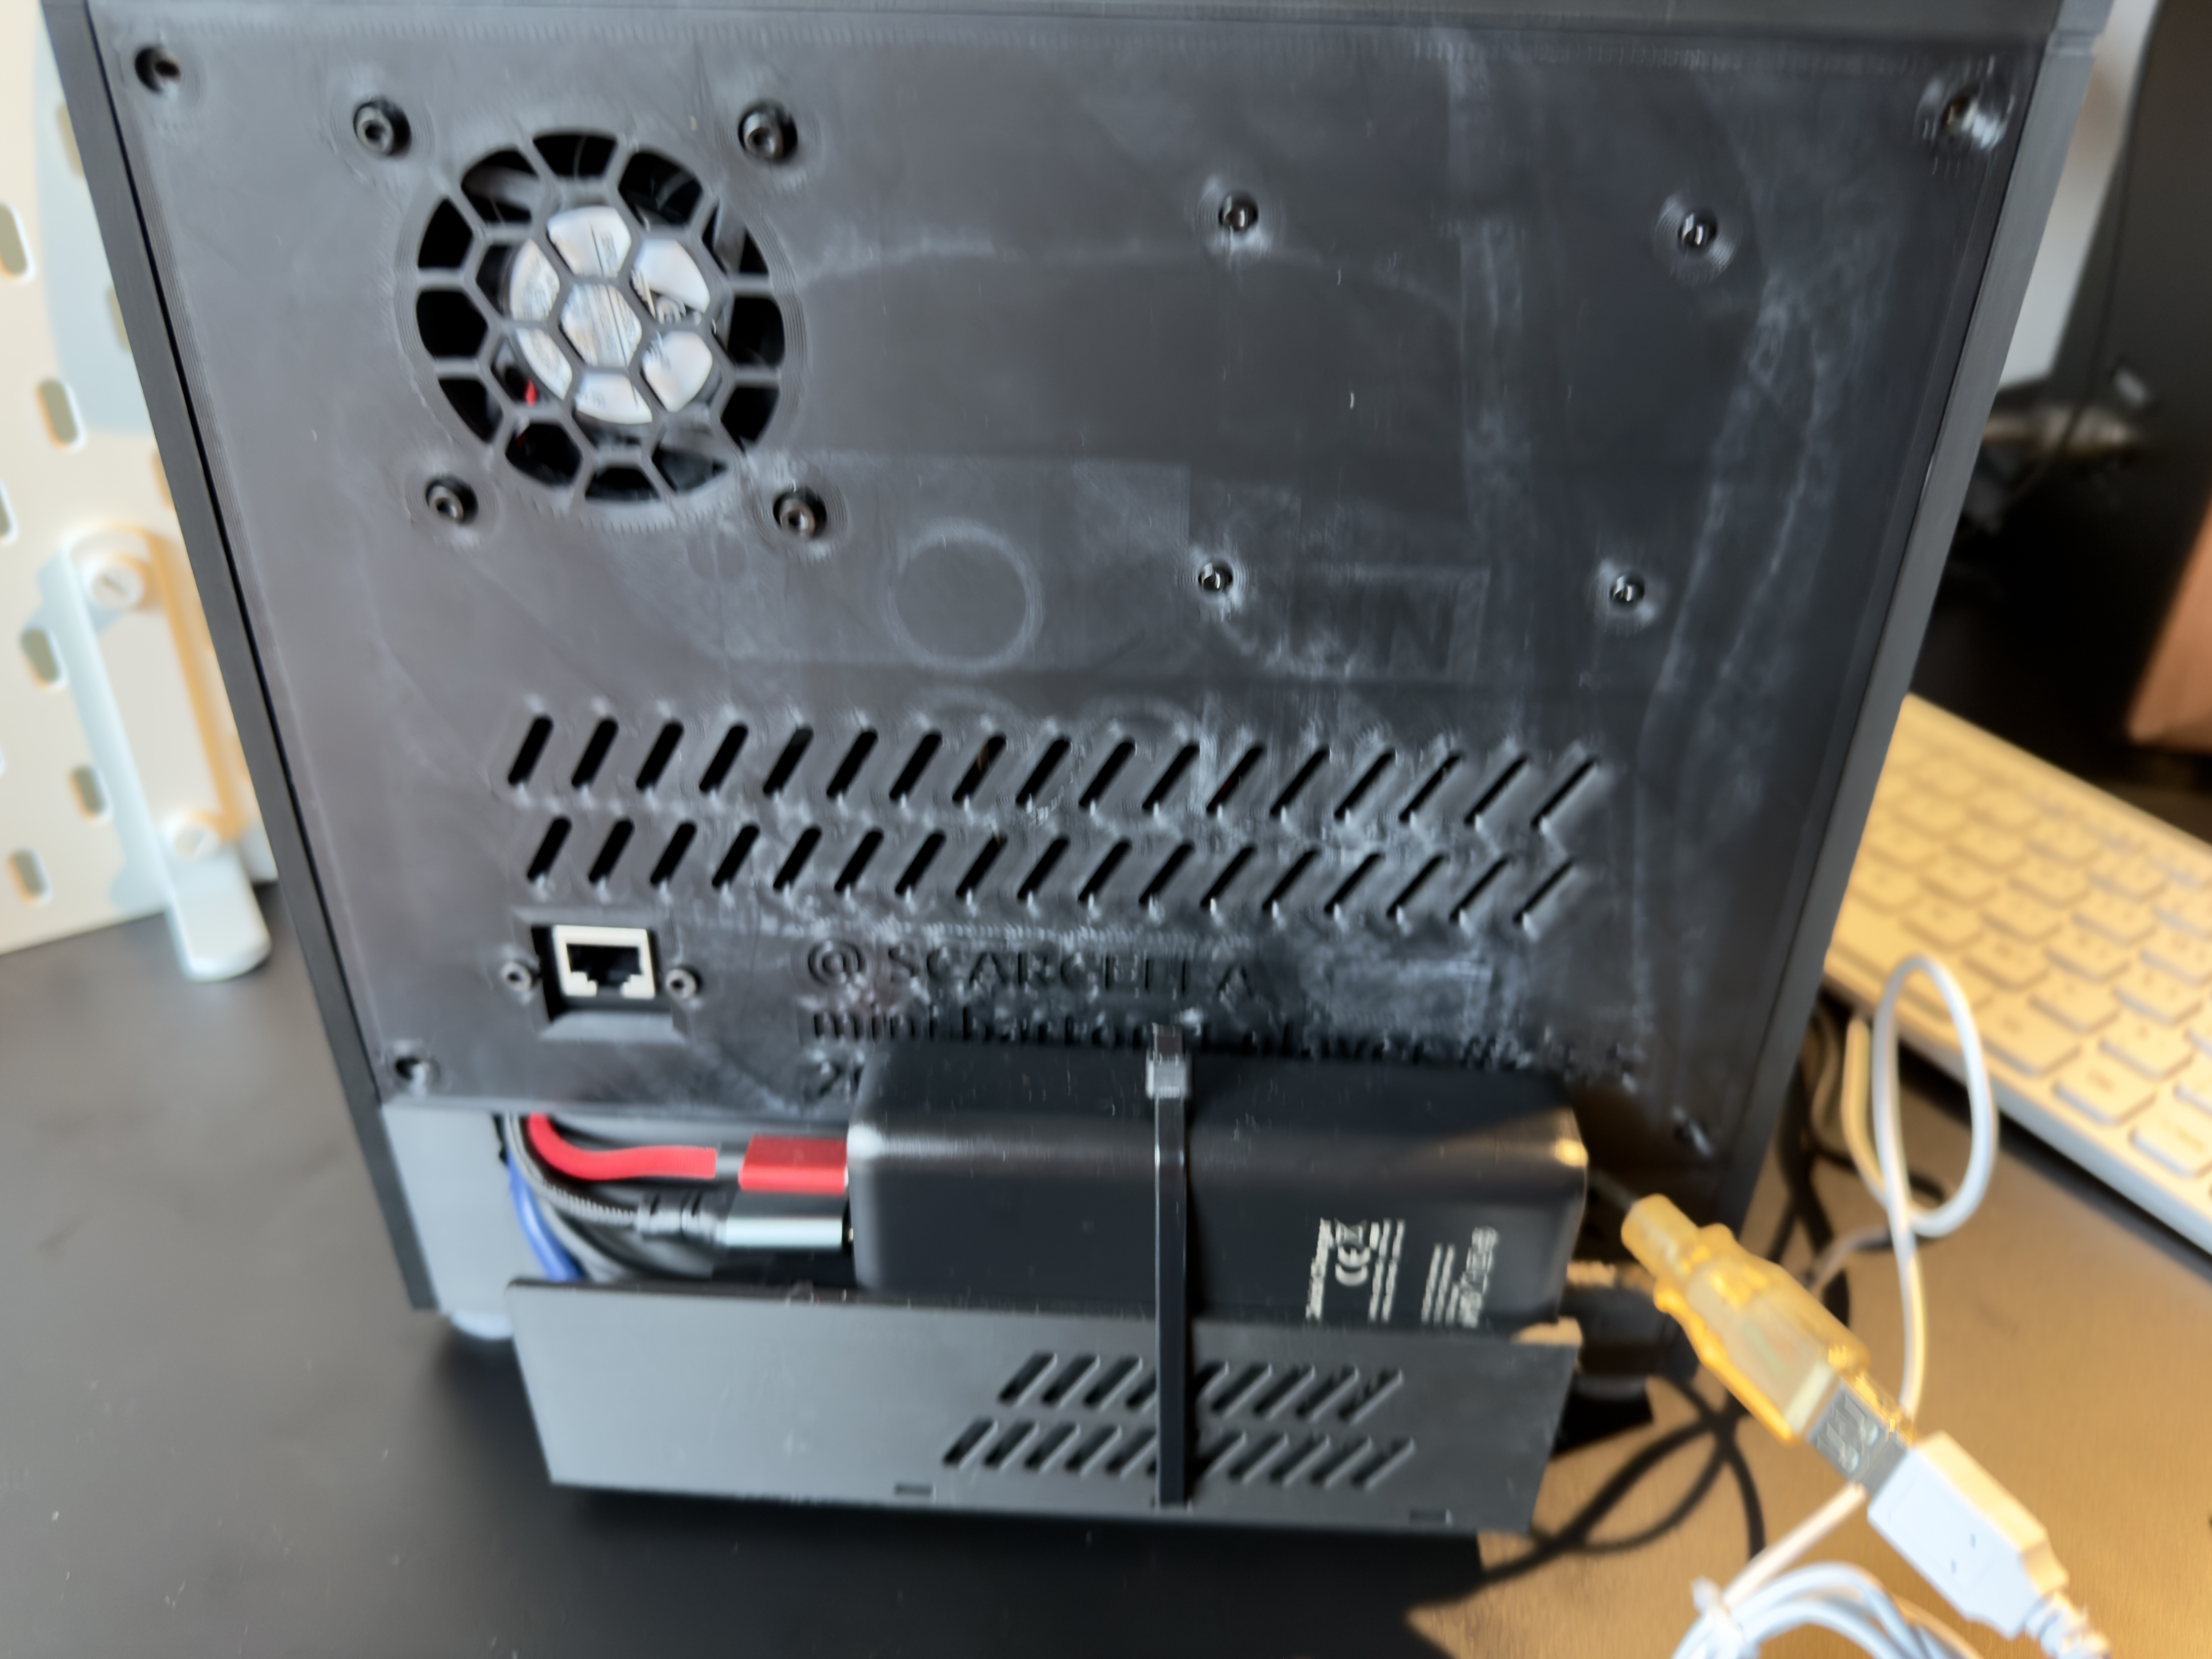
- RJ45 Ethernet connector on the back of the case
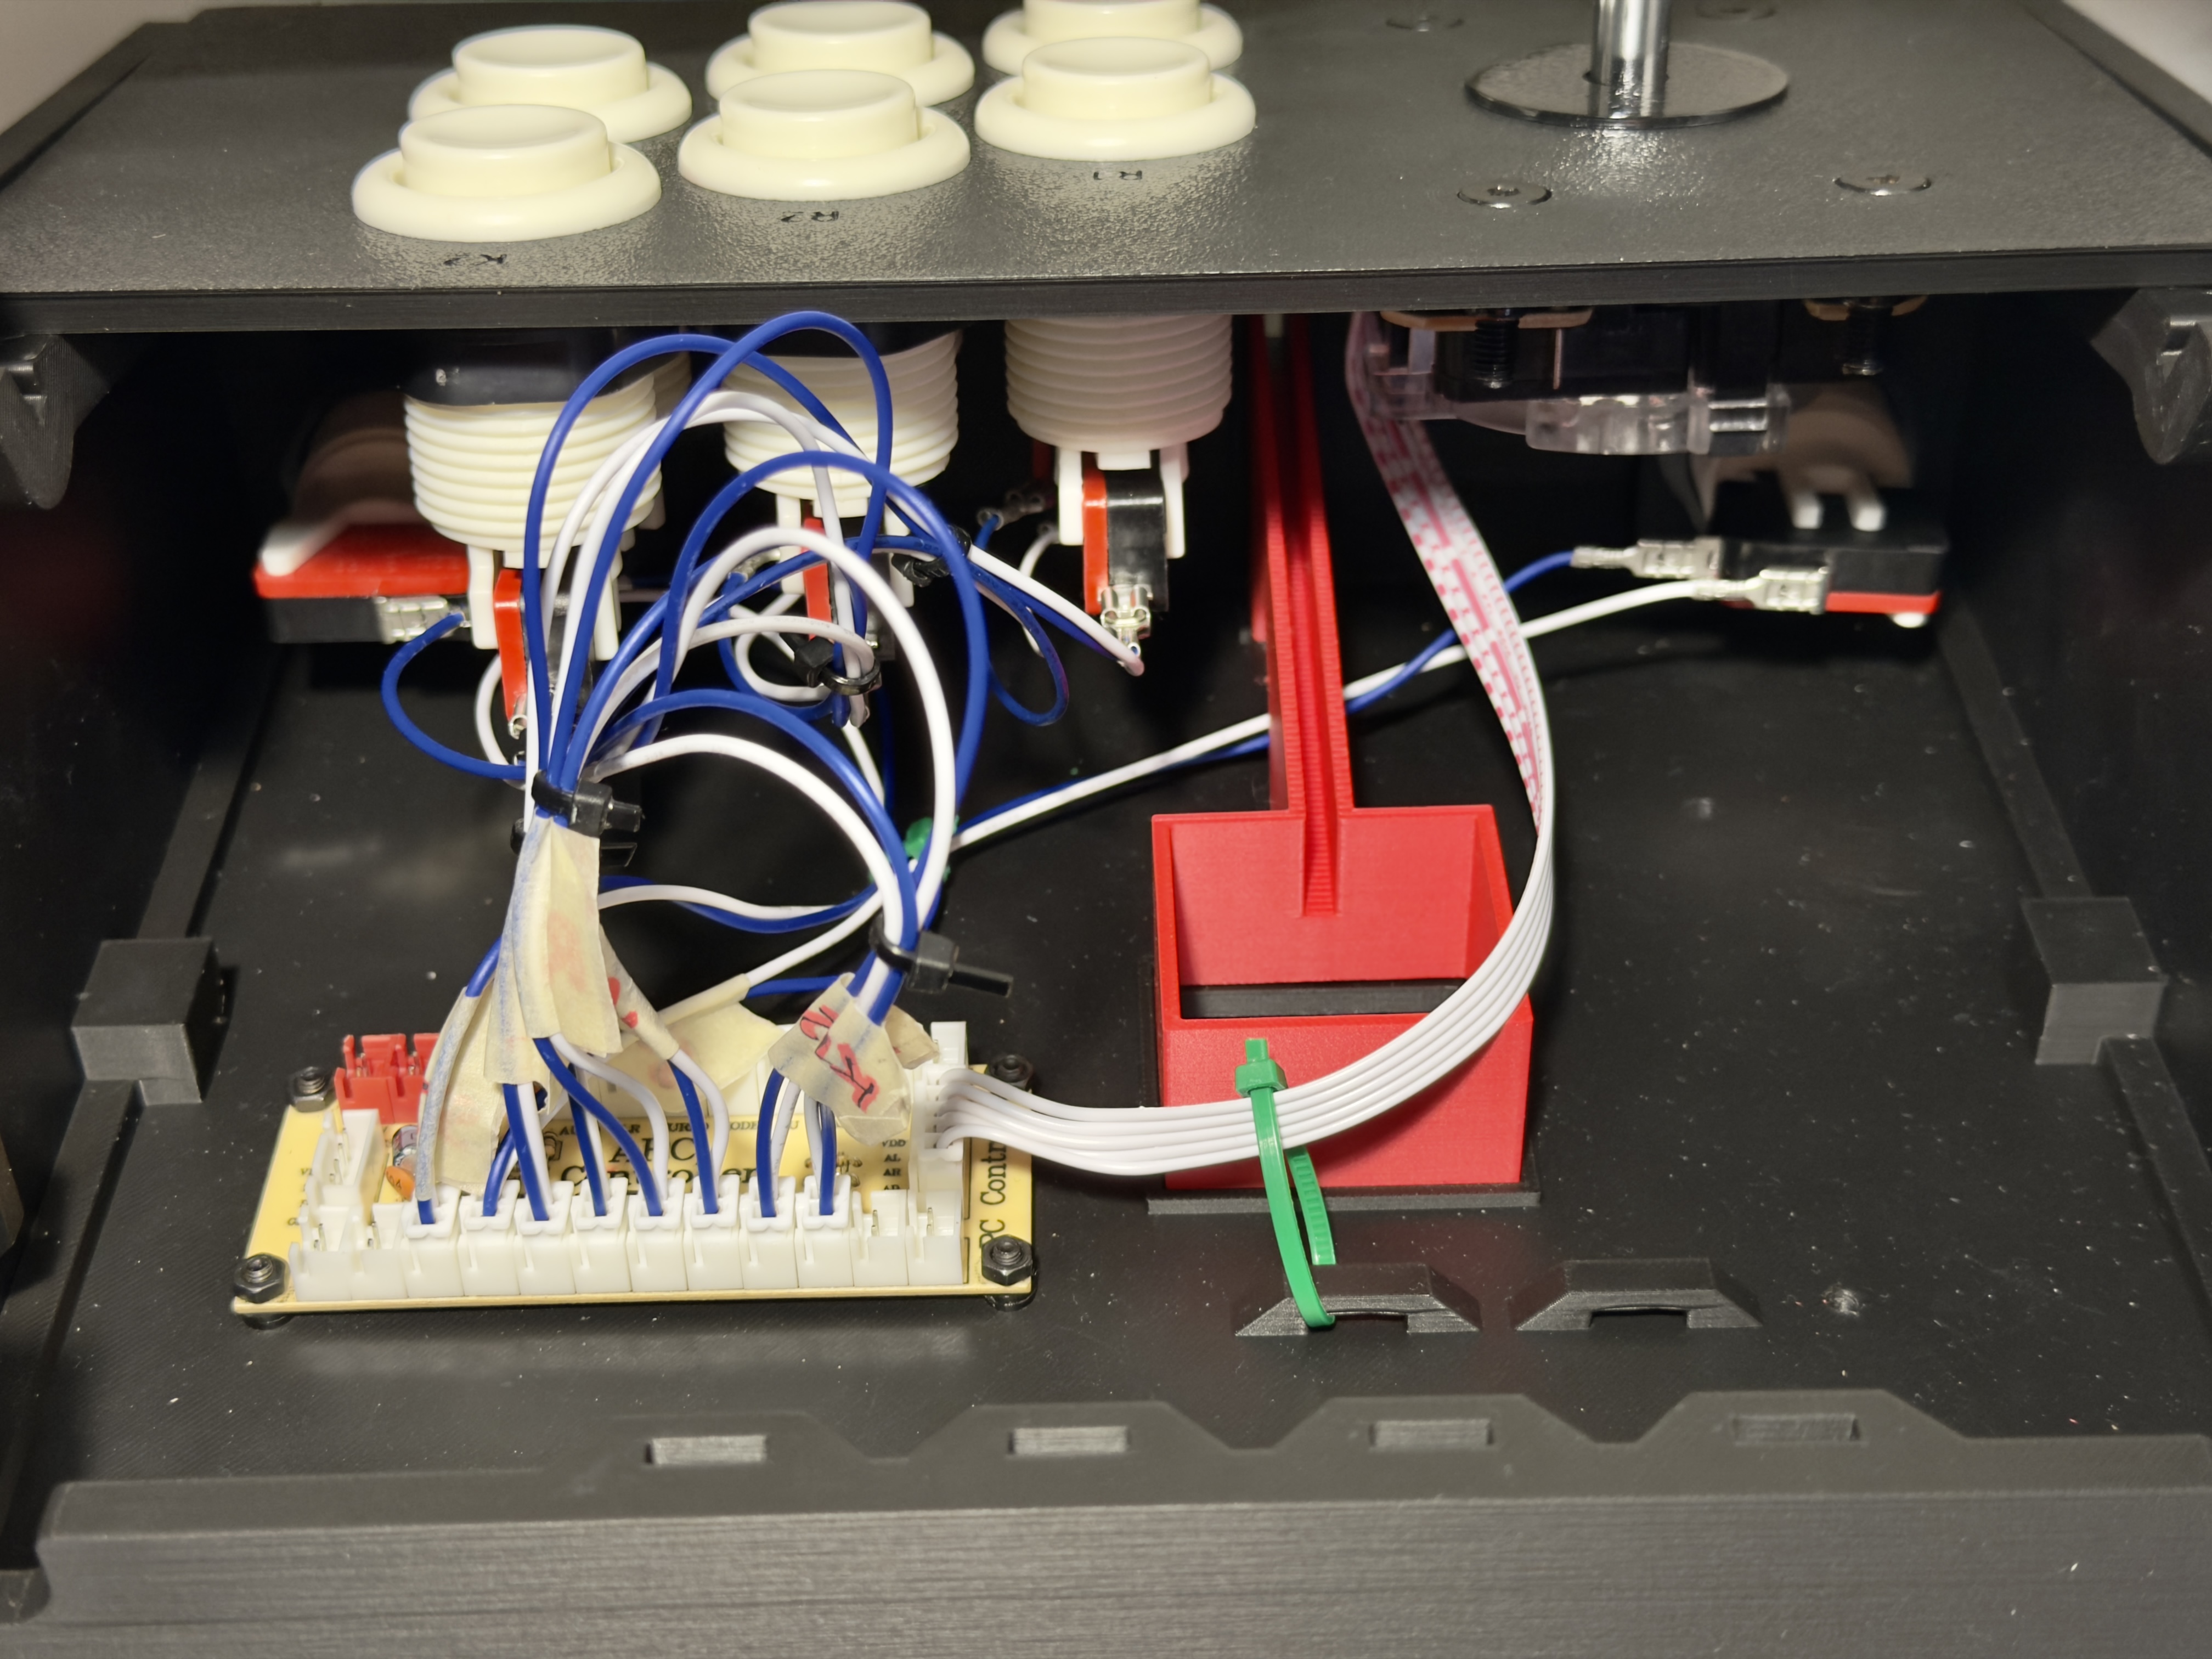
- Better distribution of internal components
- Better cable management
- New marquee
Files from version 1.0 and version 1.1 are still available. Choose the ones that work best for you!
The v1.1 design
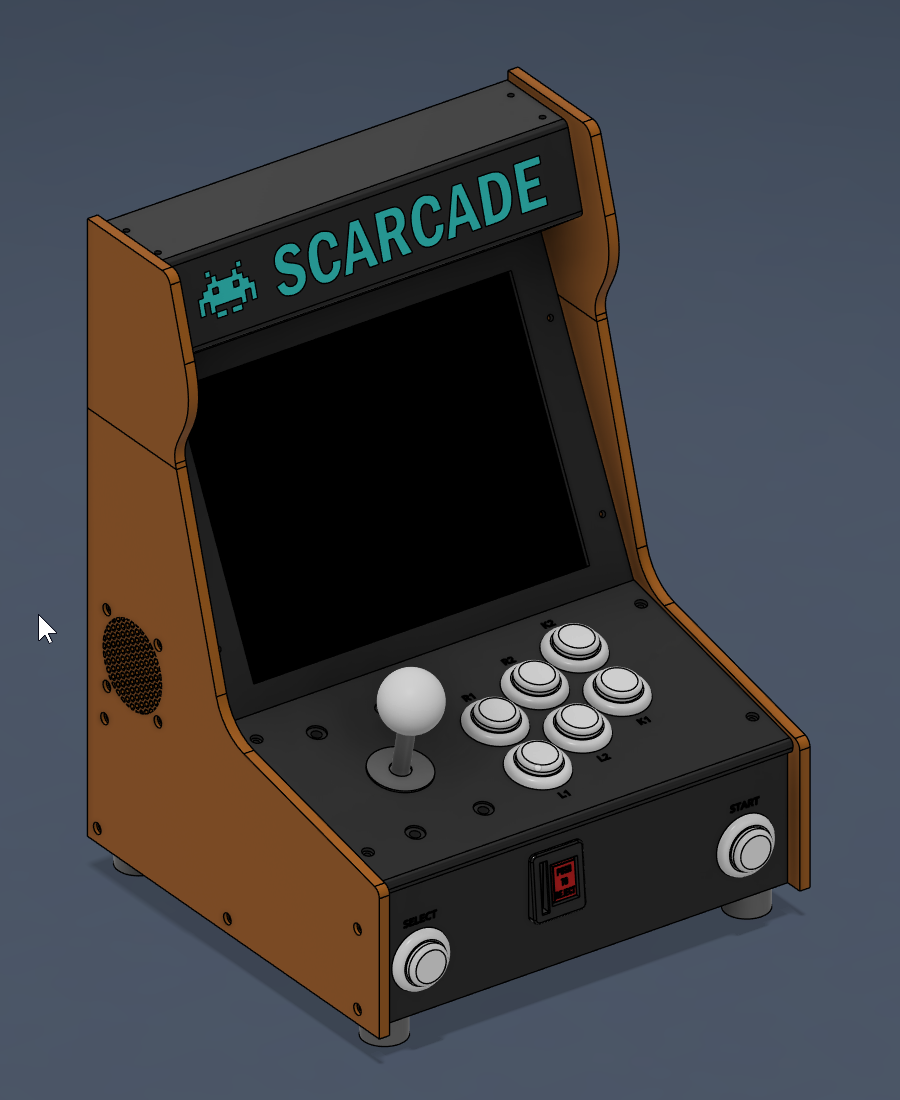
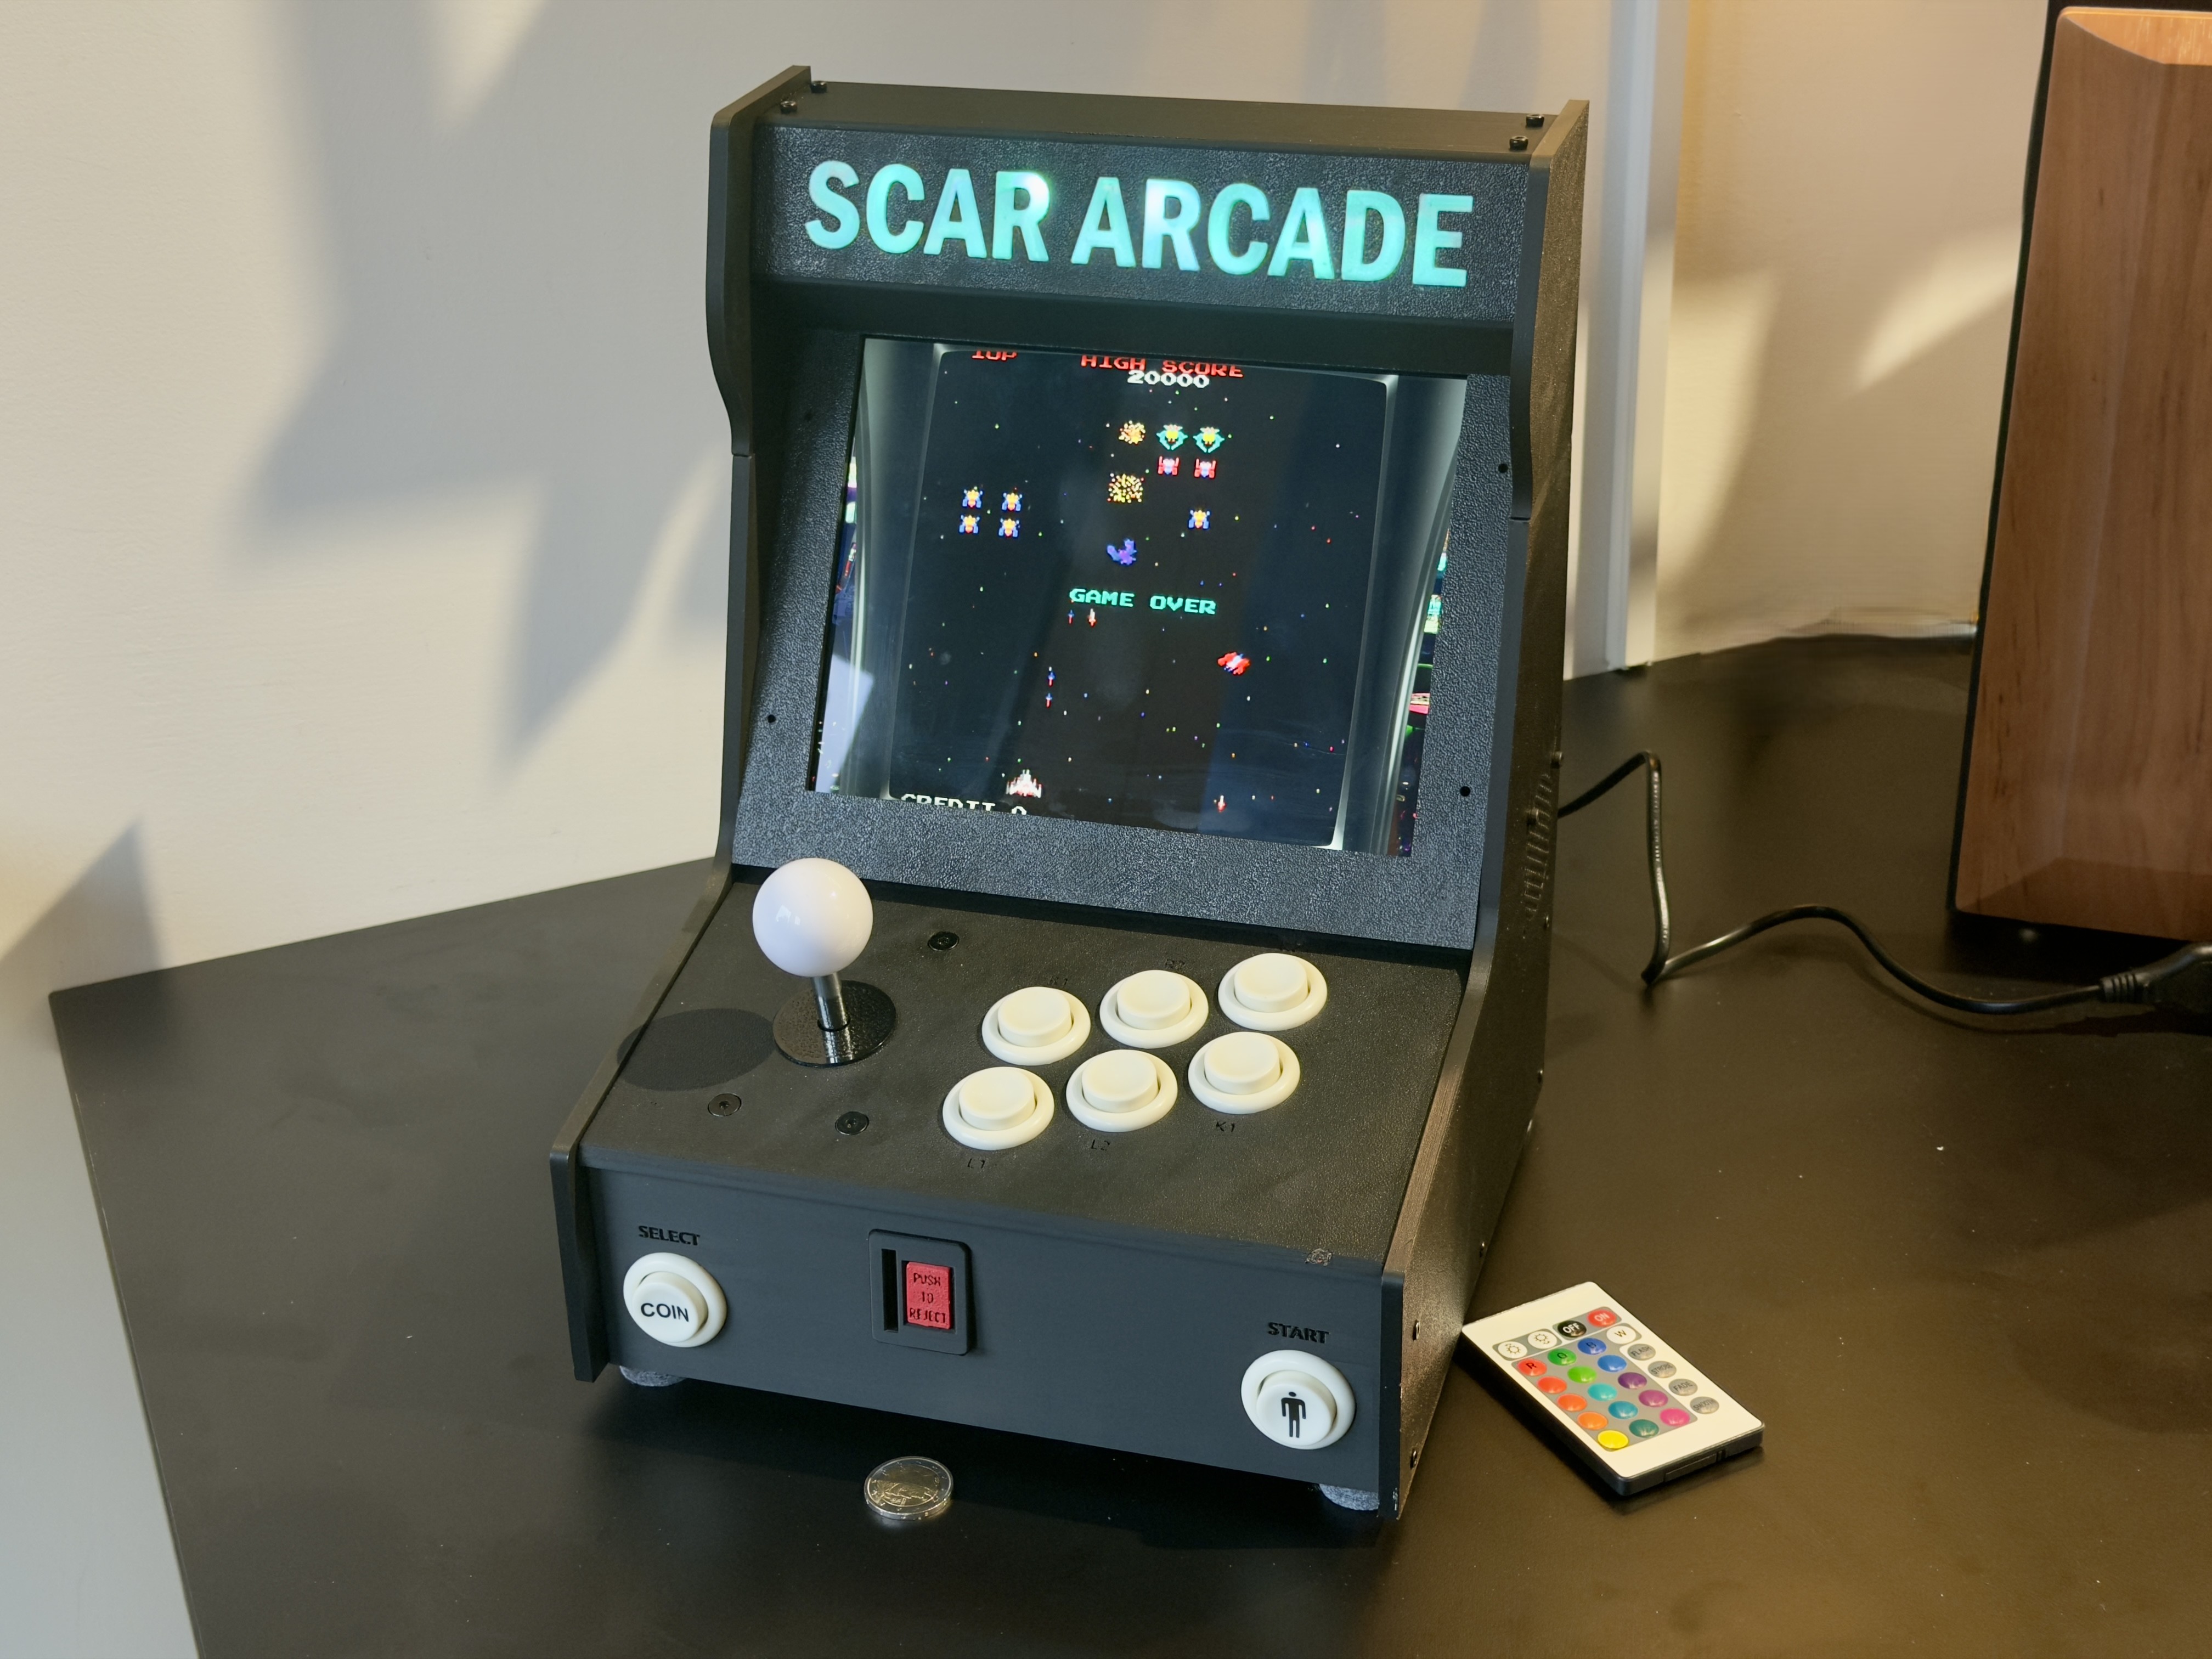
Inspired by the coin-op arcades of the 80s, this mini cabinet can be equipped with all the necessary components to make it fully functional and accompany you in long and exciting gaming sessions. It is designed to be:
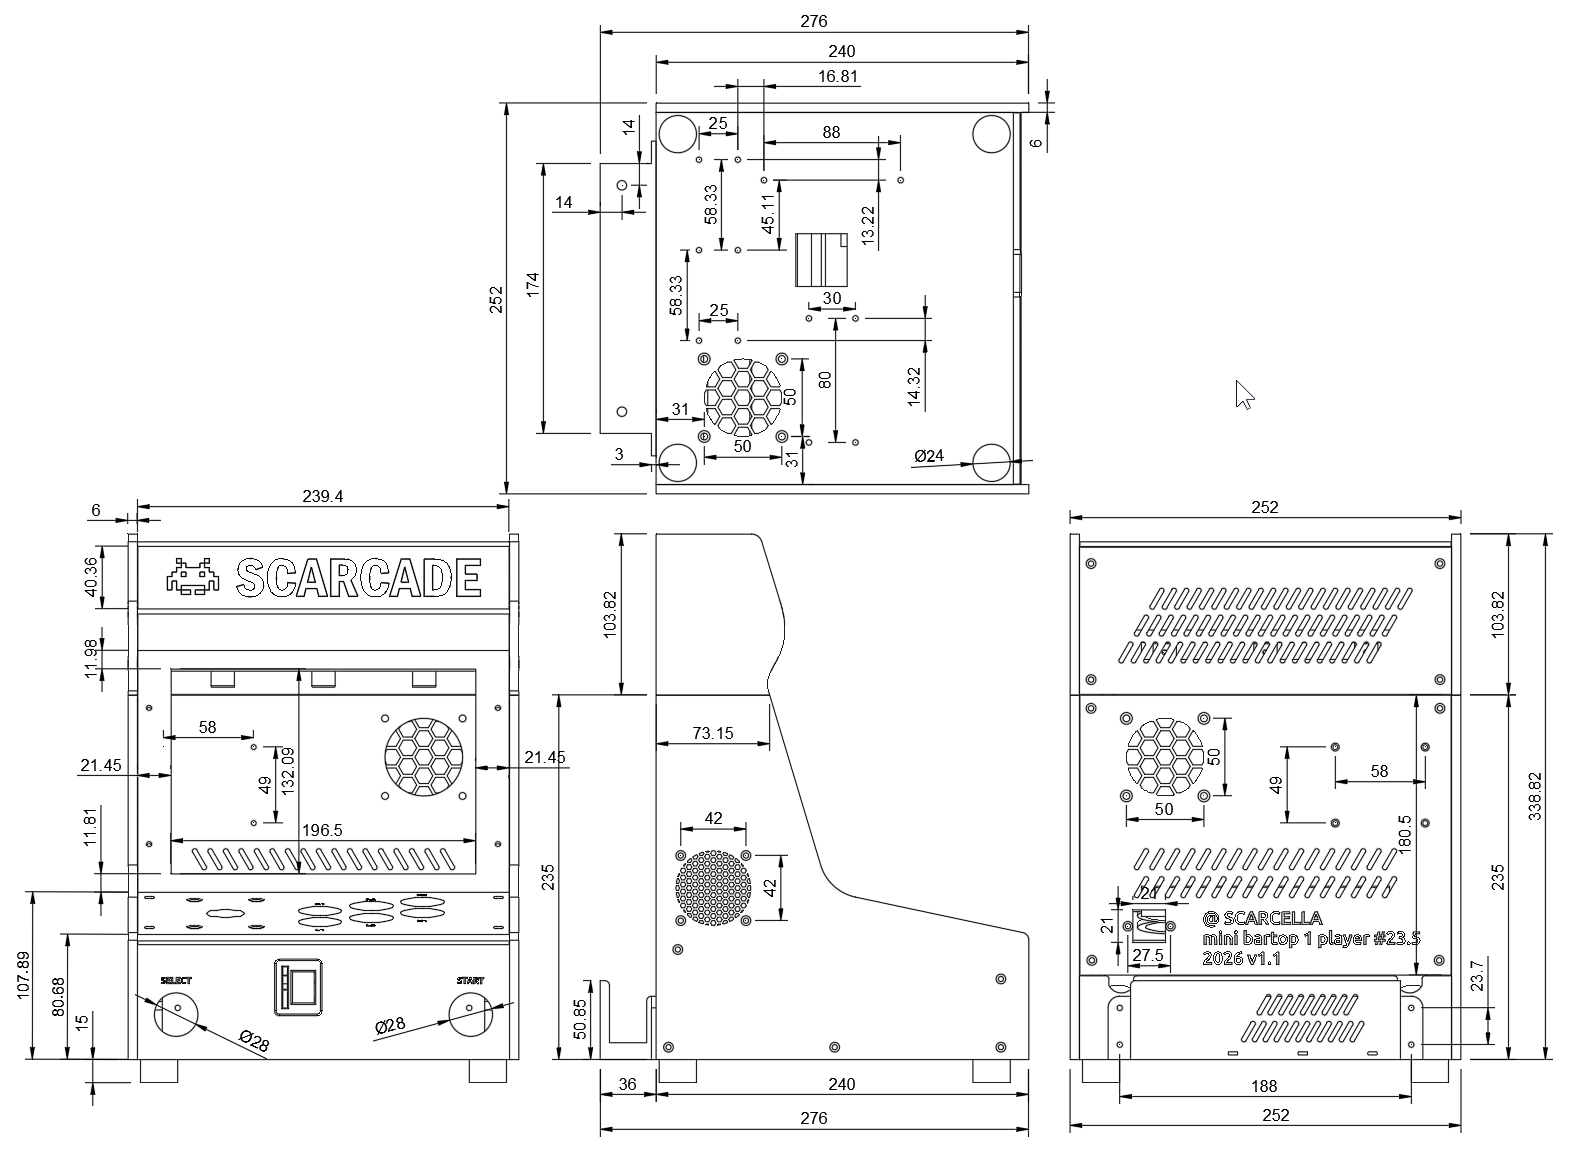
- printable with any printer with a 25x25 cm build plate without AMS;
- printable in small, easily manageable pieces, easy to assemble and disassemble selectively
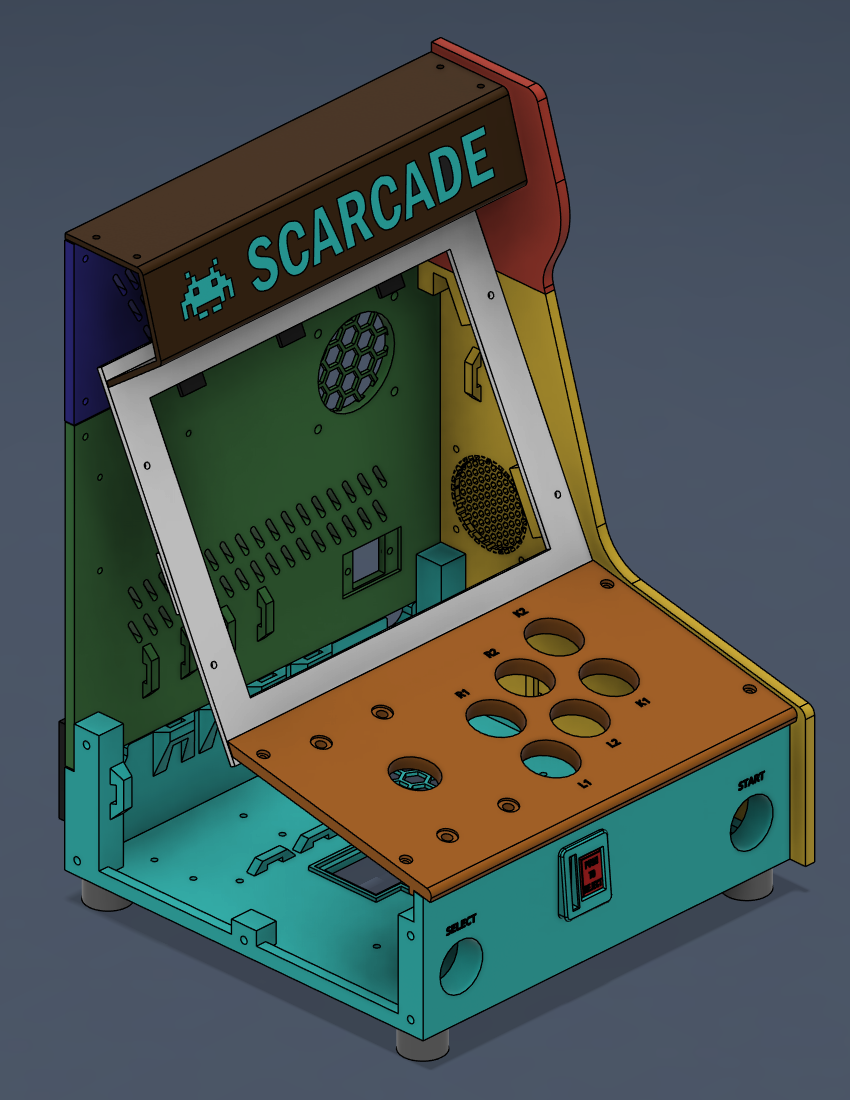 | 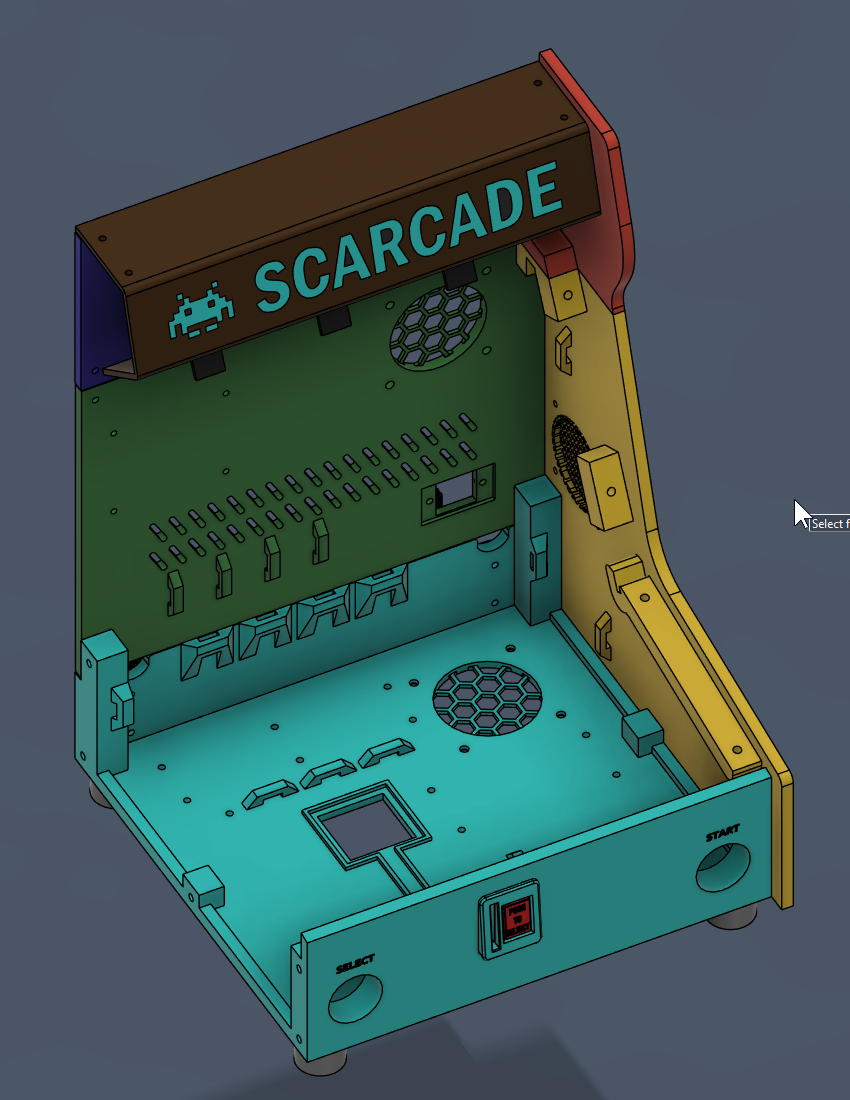 |
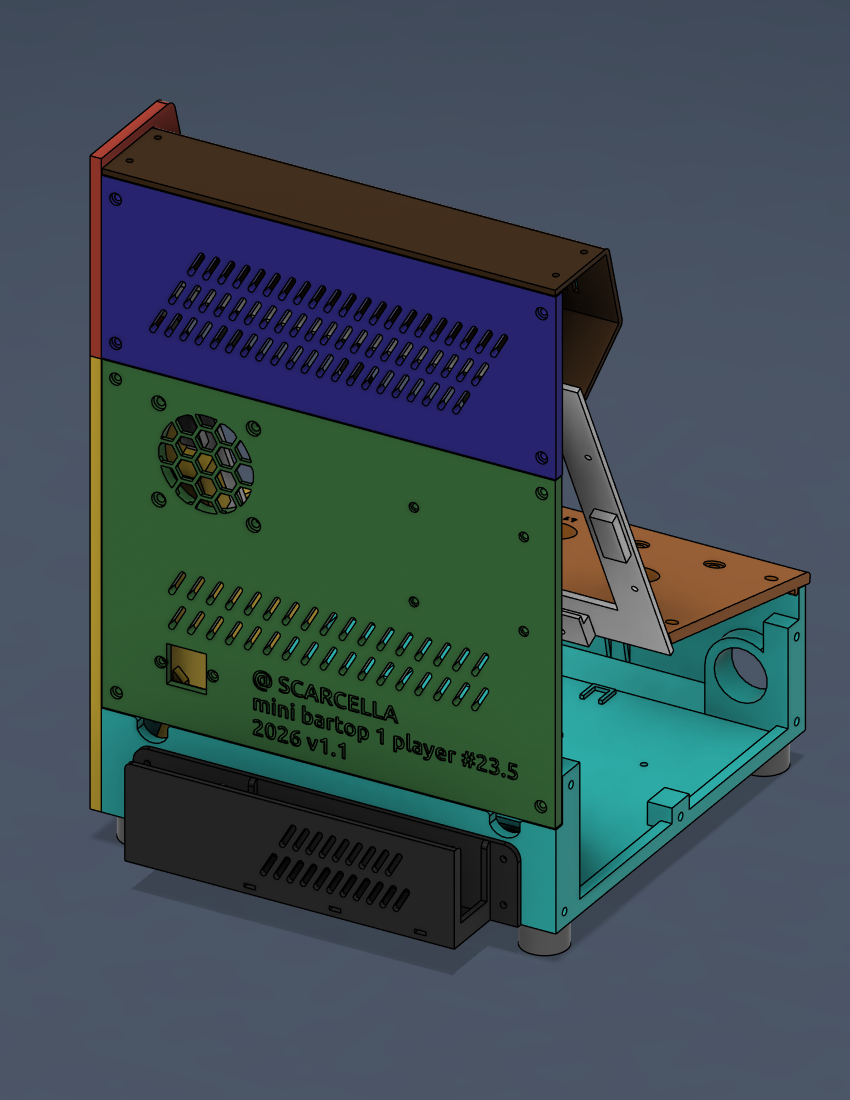 | 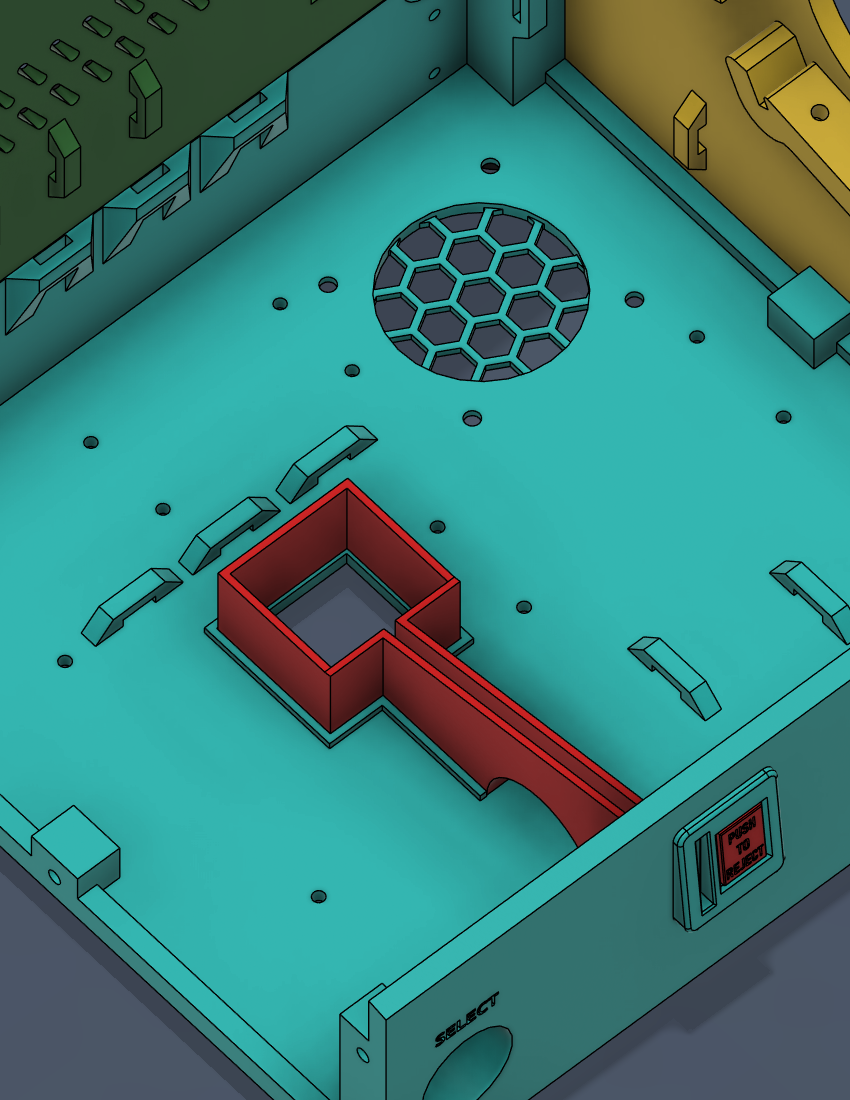 |
It is designed to be:
- printable with any printer with a 25x25 cm build plate without AMS;
- printable in small, easily manageable pieces, easy to assemble and disassemble selectively
- durable: generous thickness and dense infill to withstand intense gaming sessions. We recommend using PETG filament, but PLA is also fine. The proposed version for printing weighs approximately 1.5 kg (so fewer than 2 spools of filament will be needed).
- easily assembled using hot-melt inserts and screws: this will allow easy access to internal components for maintenance and future upgrades.
- fun and iconic with the fake coin mechanism that will still allow you to collect some coins
- prepared (with pre-drilled holes) for some very common electronic components in retrogaming and emulation projects: Raspberry Pi, 9.7-inch monitor (iPad style), zero-delay arcade controller, low wattage speakers and audio amplifiers, 28mm American arcade buttons, cooling fan, etc.
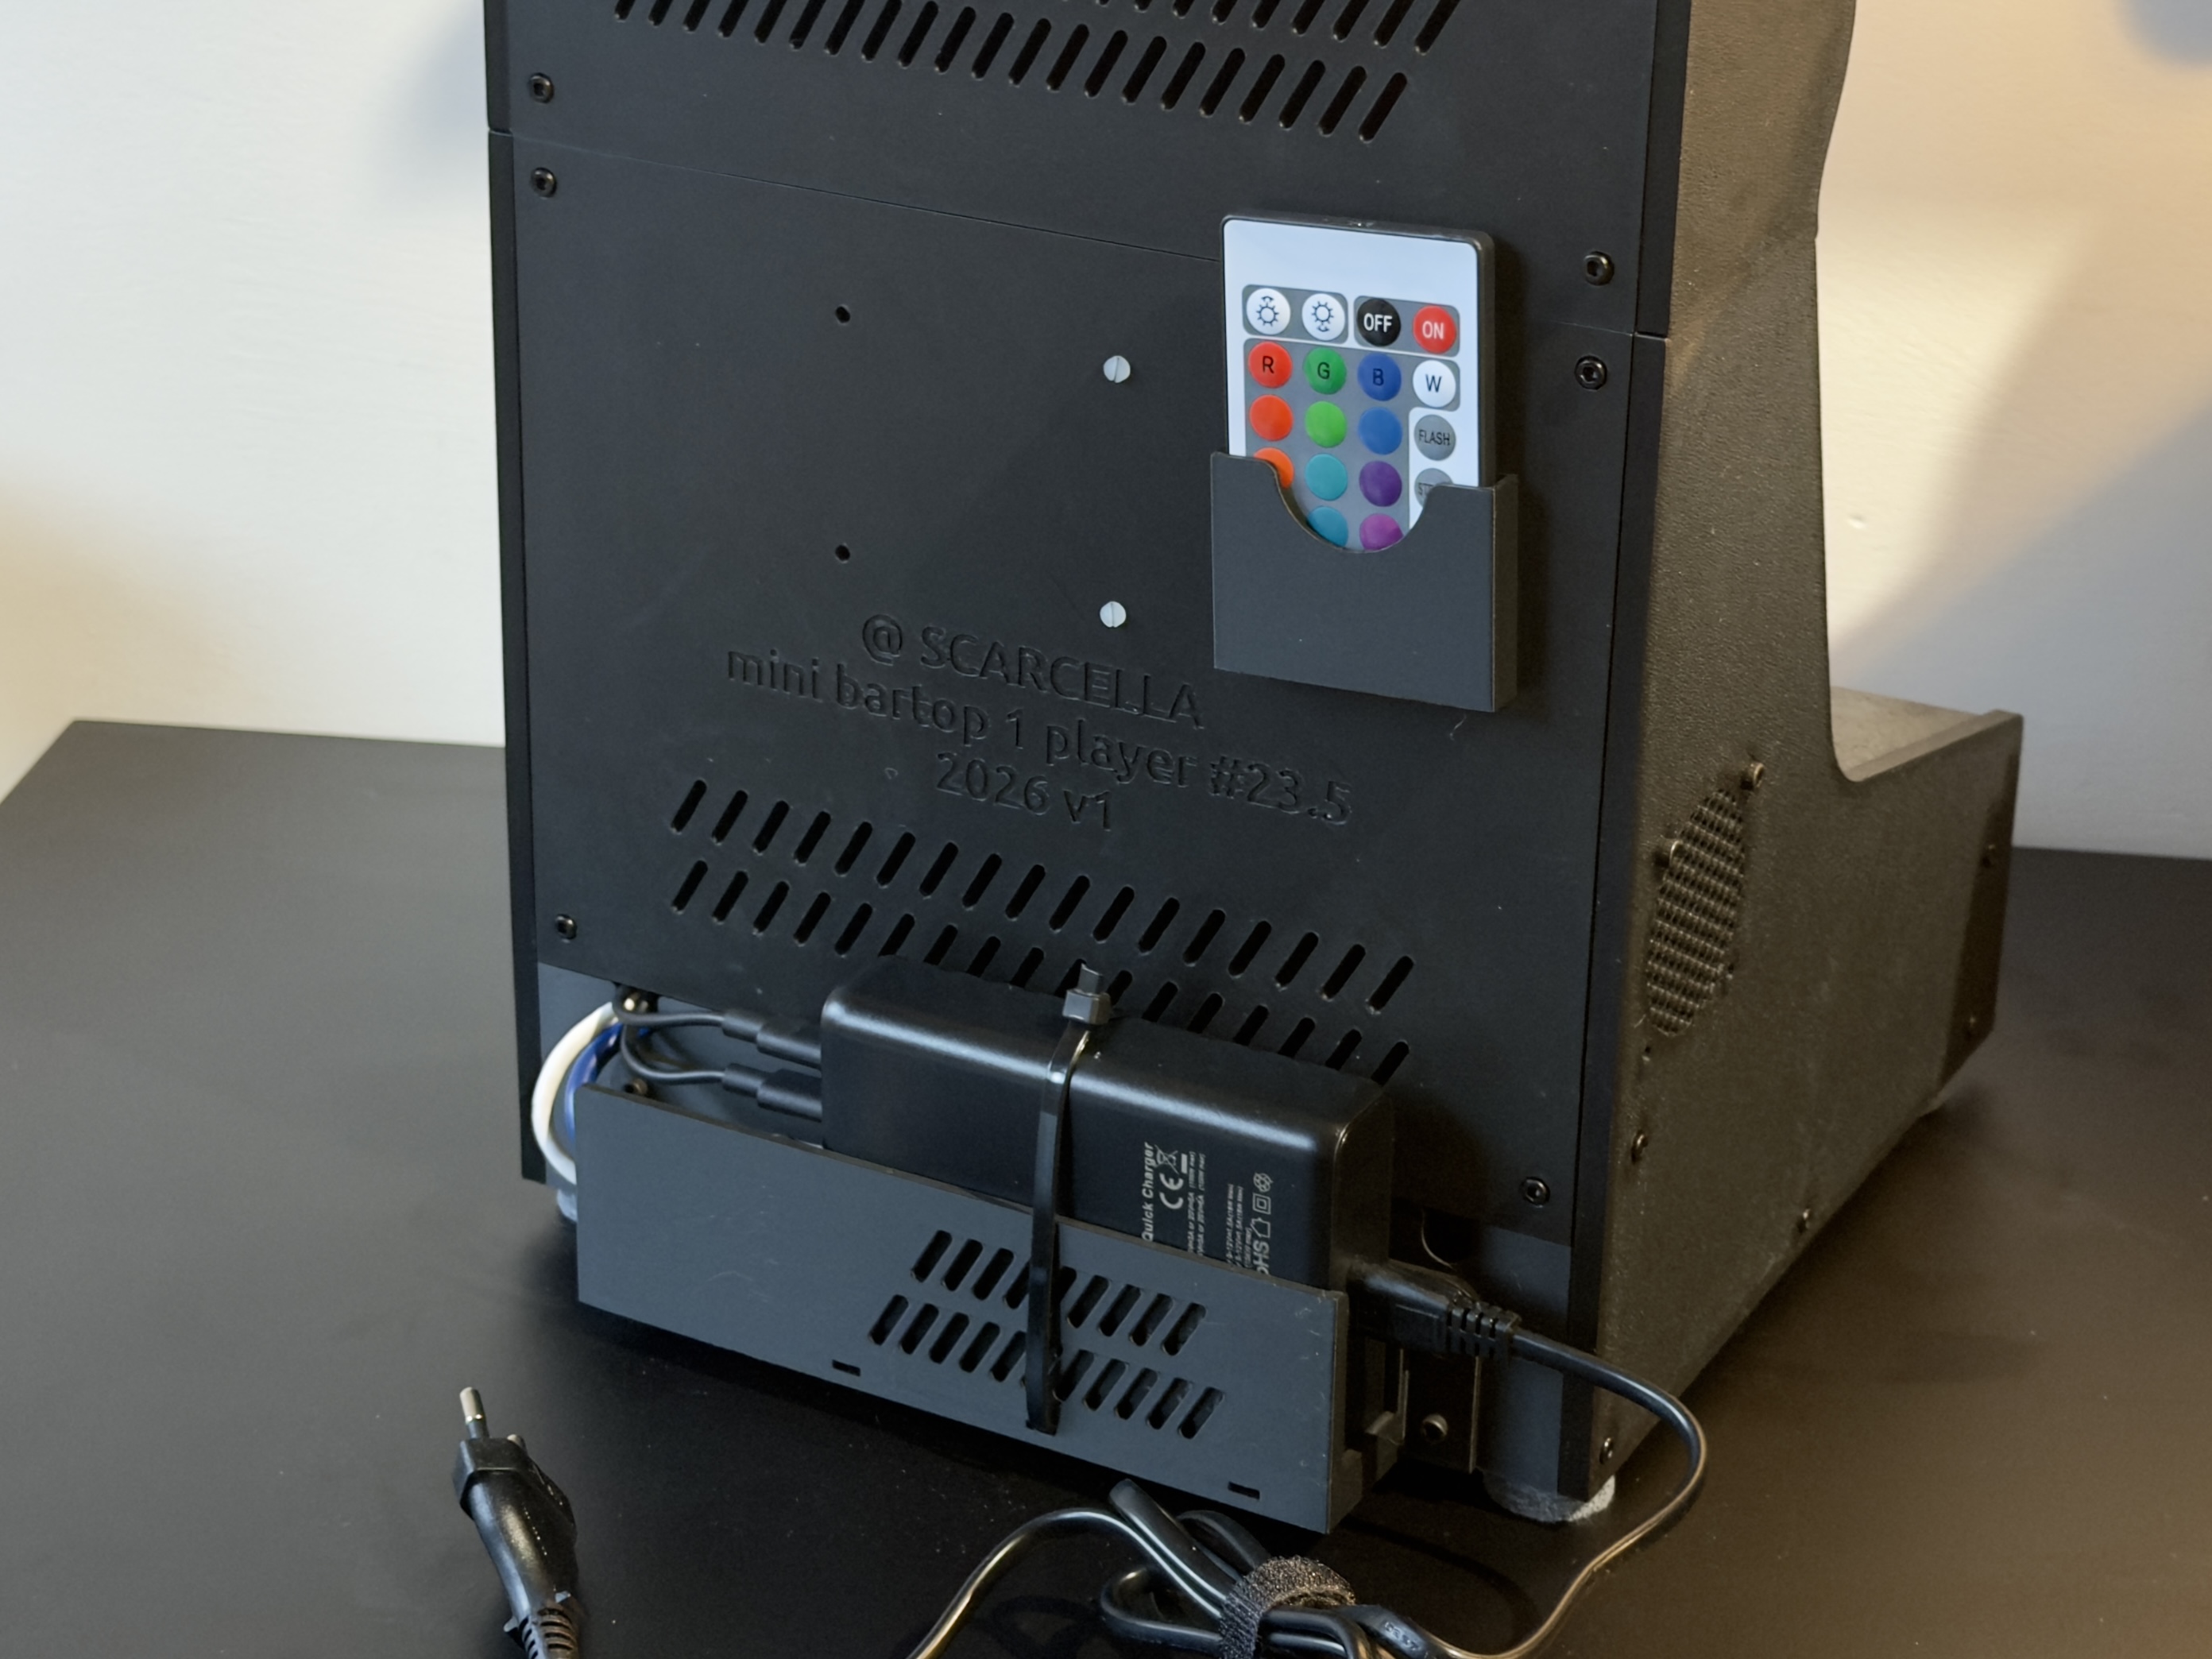
- Designed to house all components inside the case and ensure excellent ventilation. Alternatively, an optional tray is available to carry a USB PD charger outside the case.
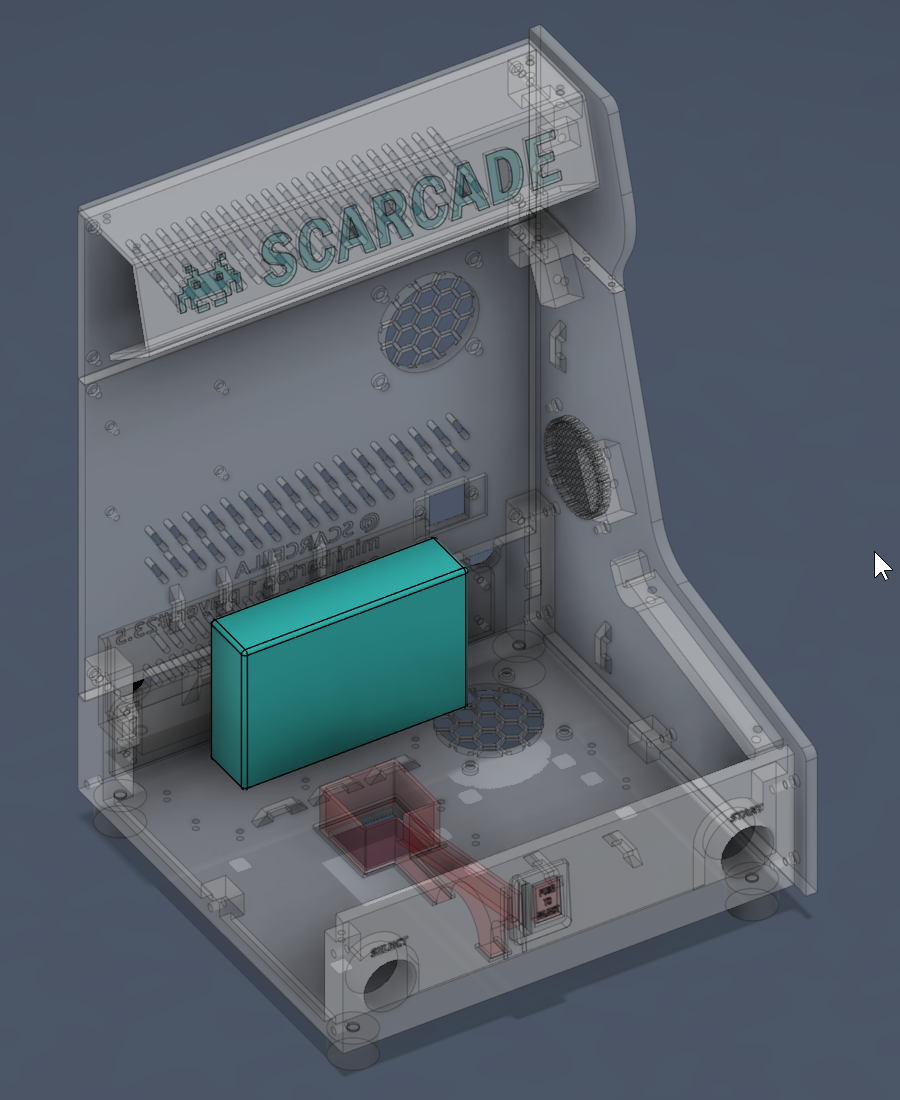
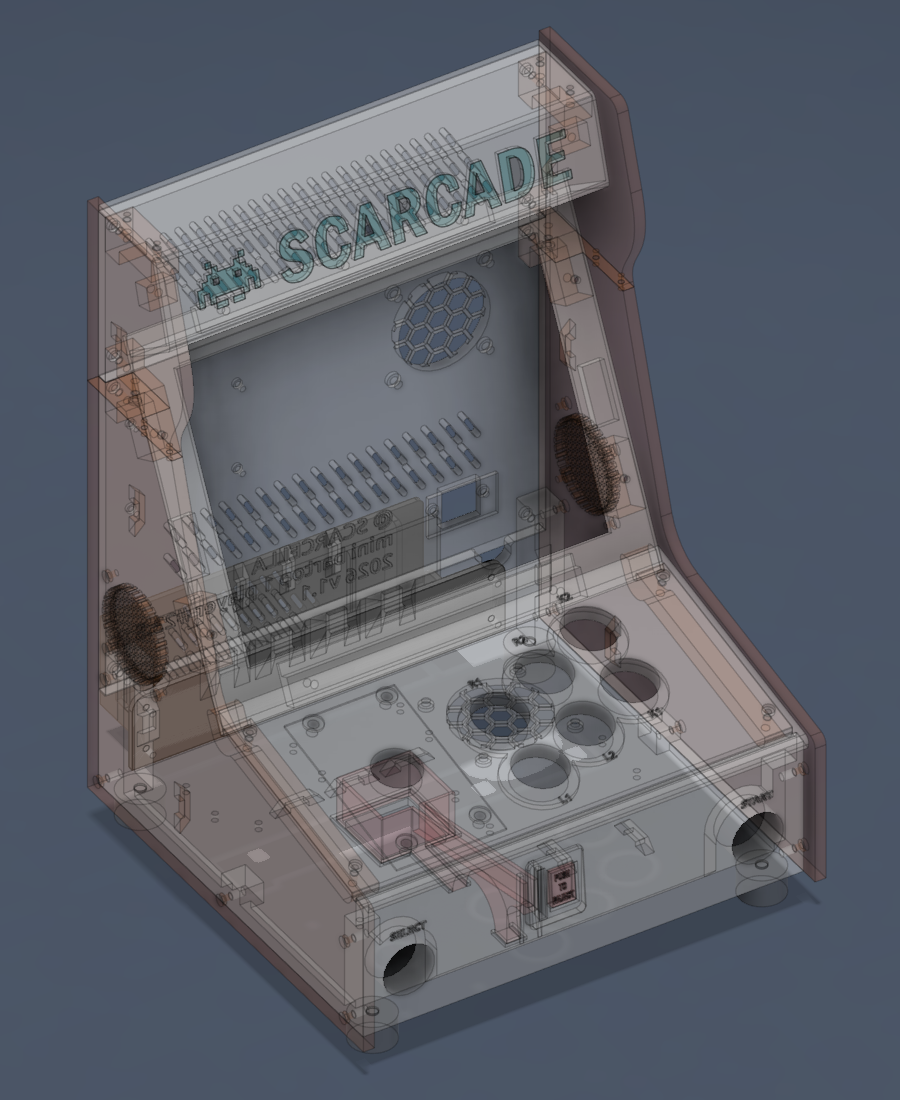
The typical internal distribution of electronic components is shown in the images below:
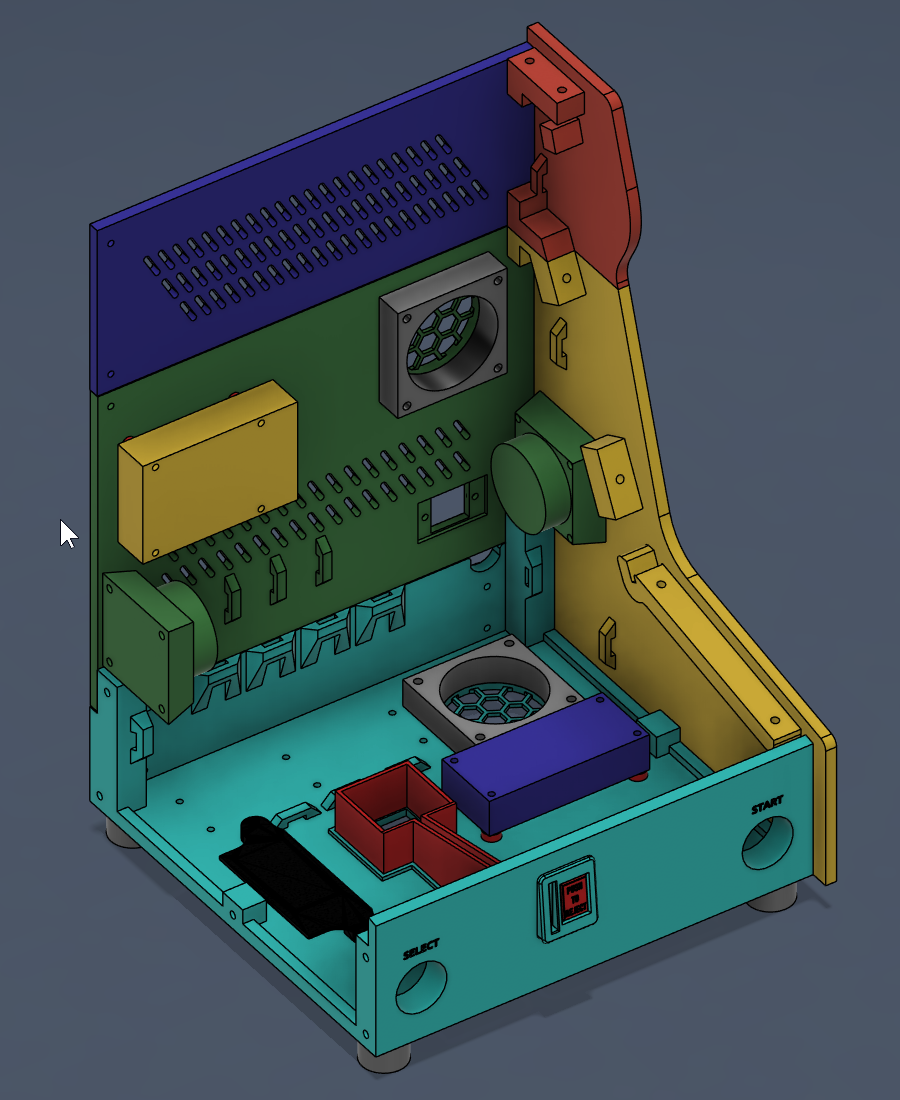 | 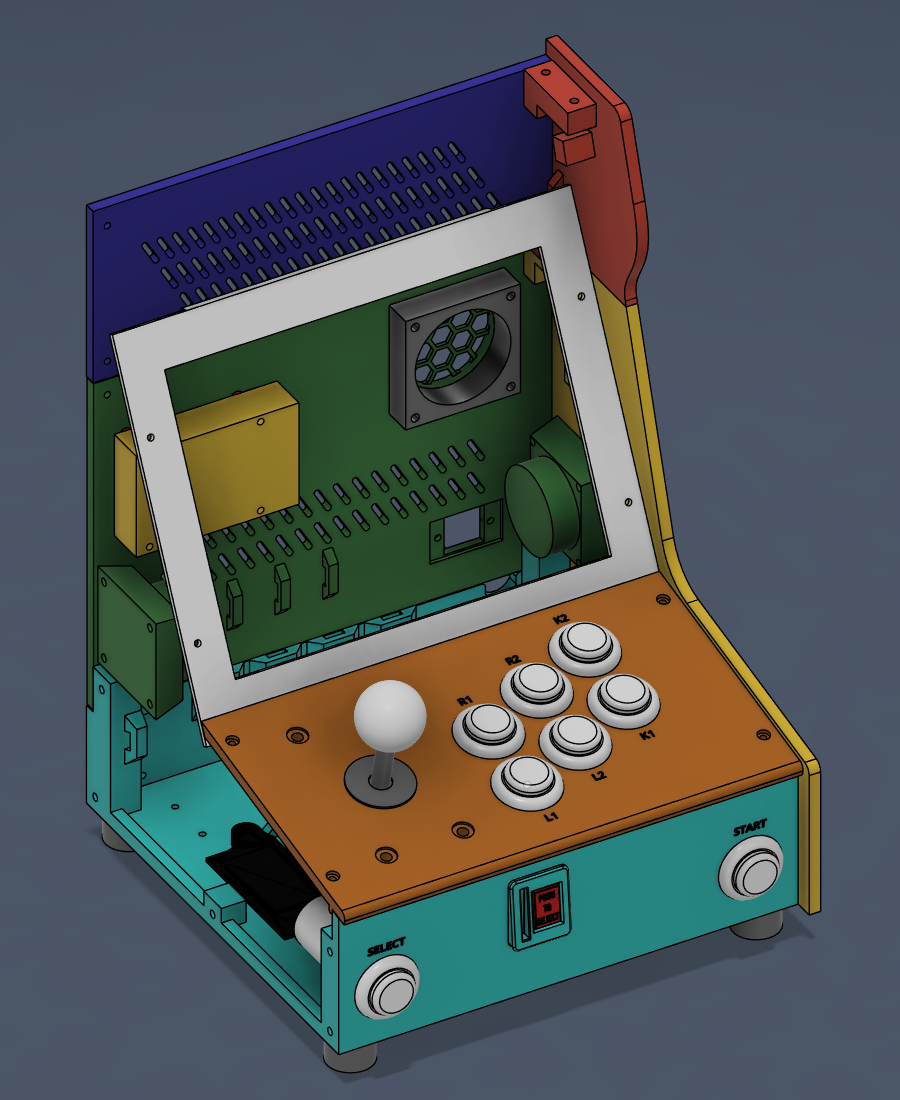 |
- Raspberry Pi (yellow in the drawing)
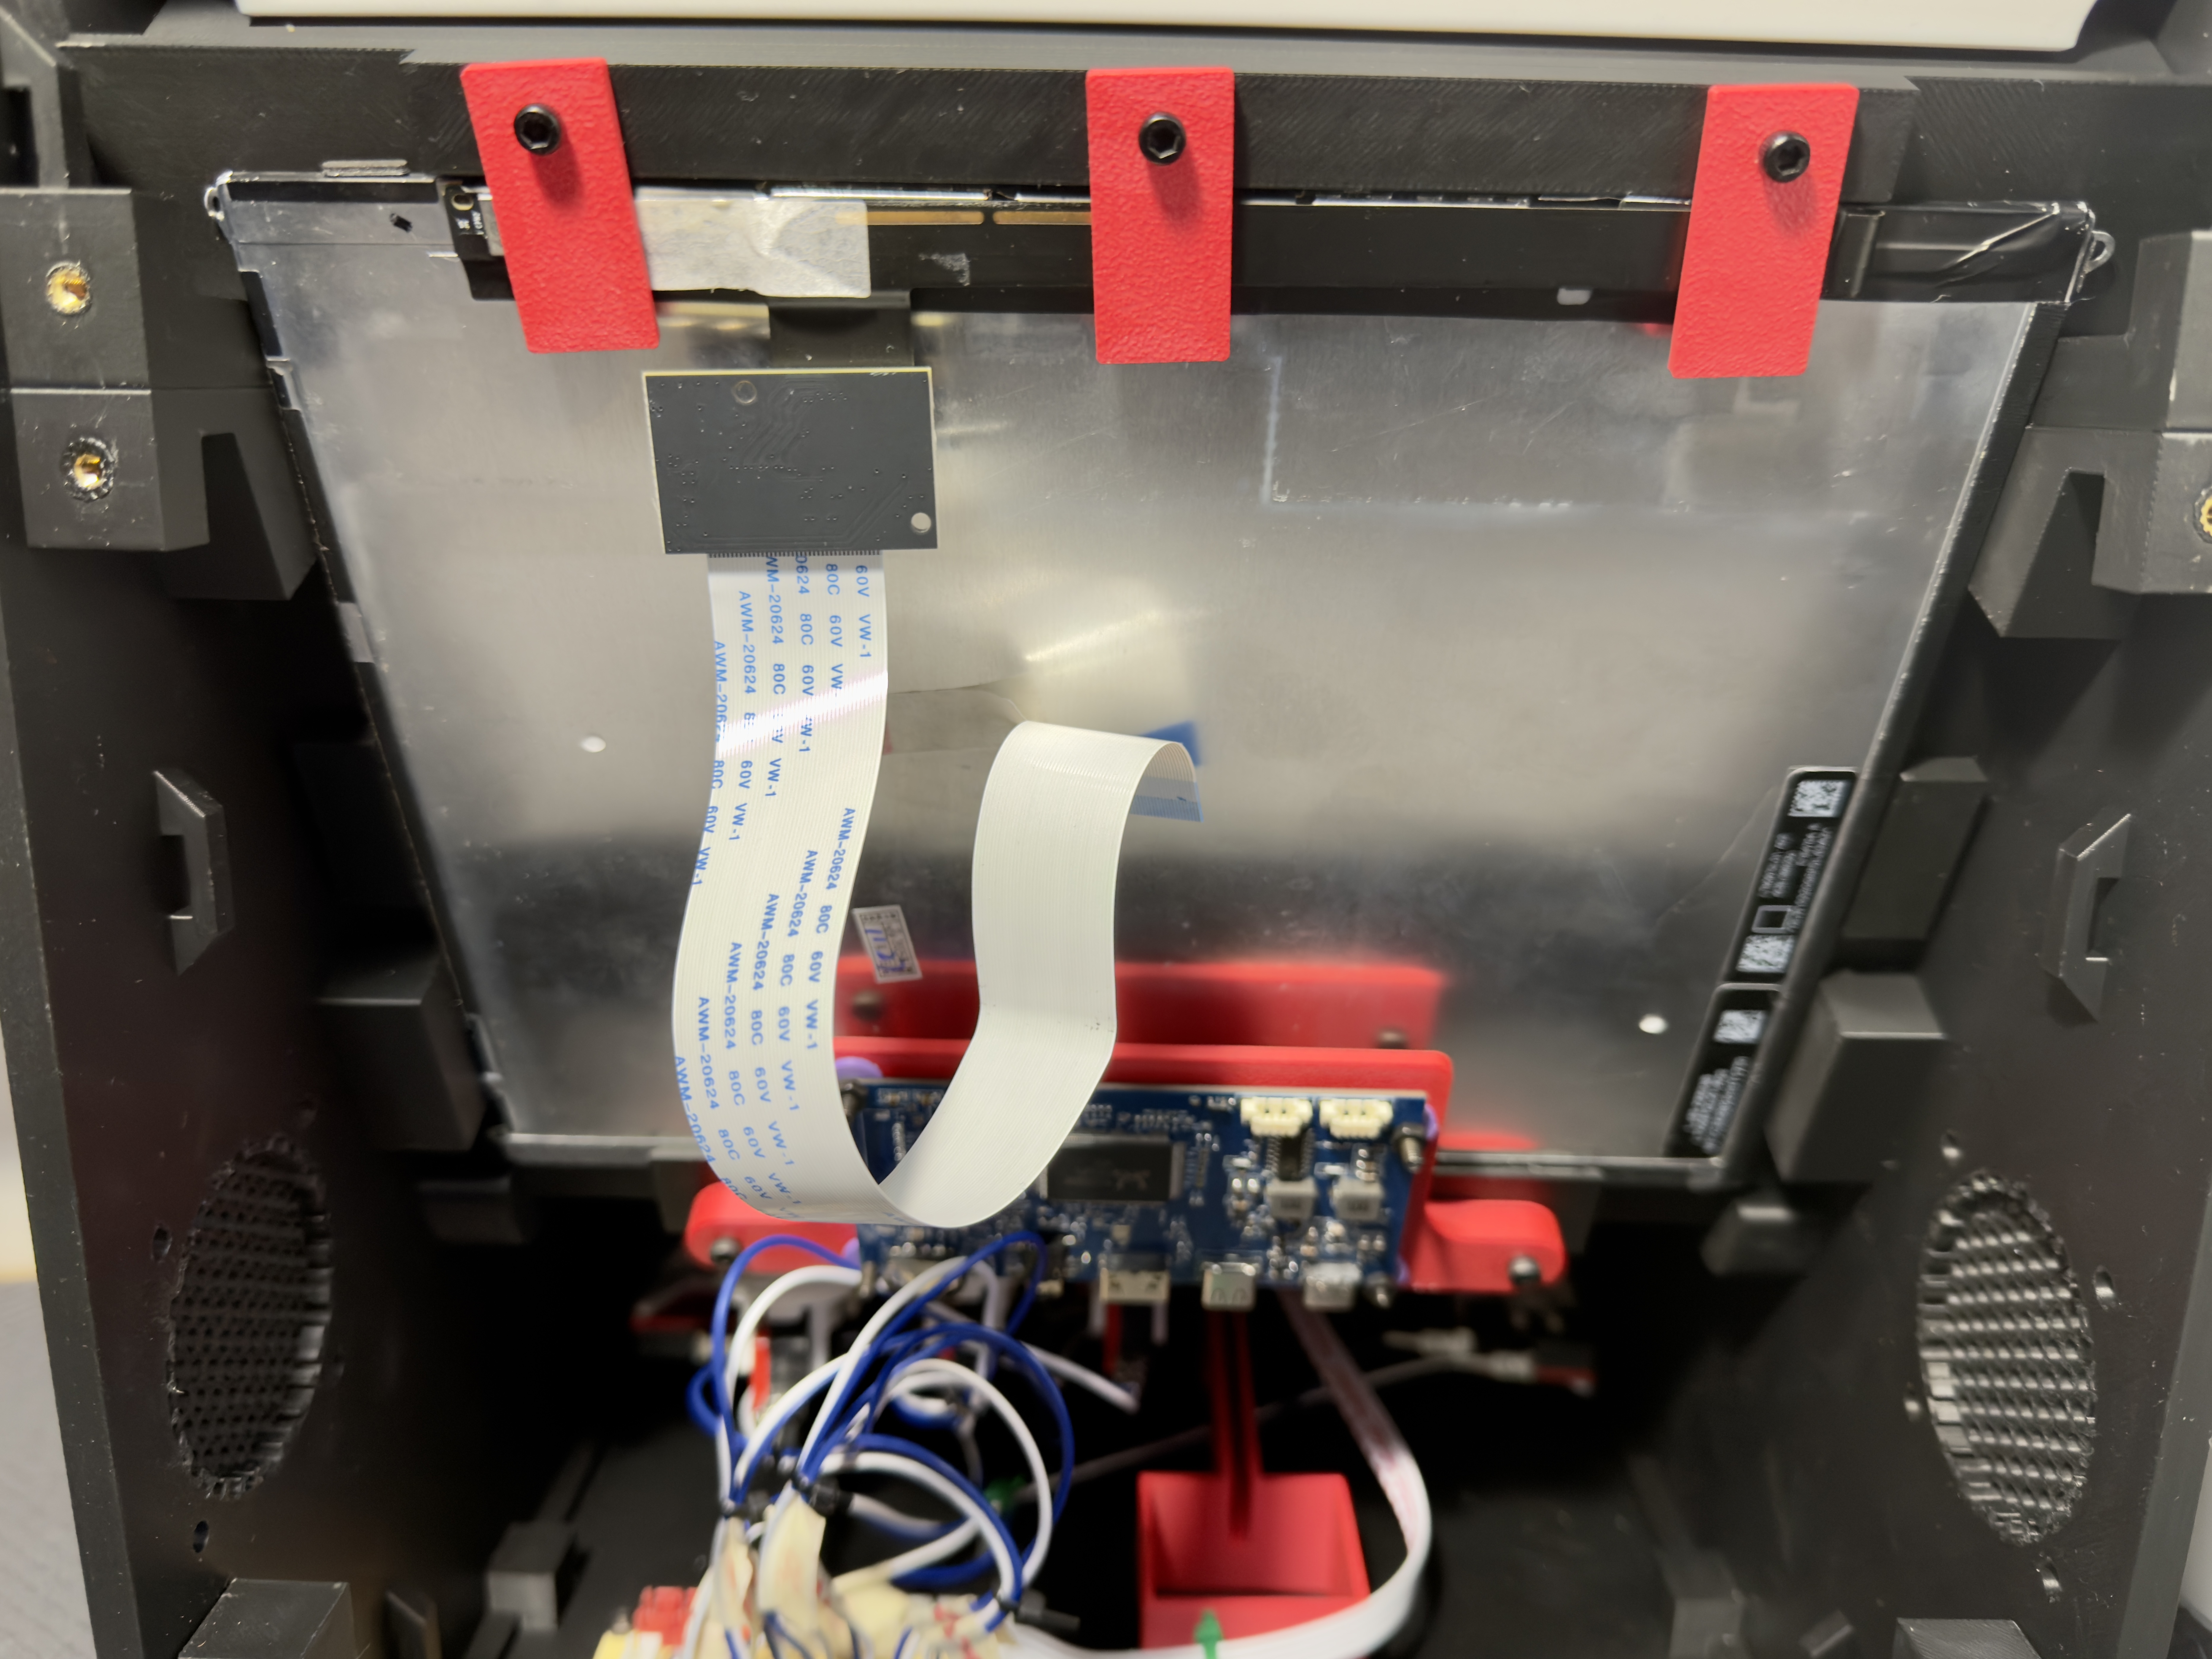
- Display 9.7" 4:3 (i.e. LTL097QL01 / LP097QX1-SPA1 for iPad 3/4)
- LCD Display Driver Control Board compatible with eDP connector and HDMI output (i.e. 2048x1536 resolution PCB800807 Universal eDP TFT Display Control Board)
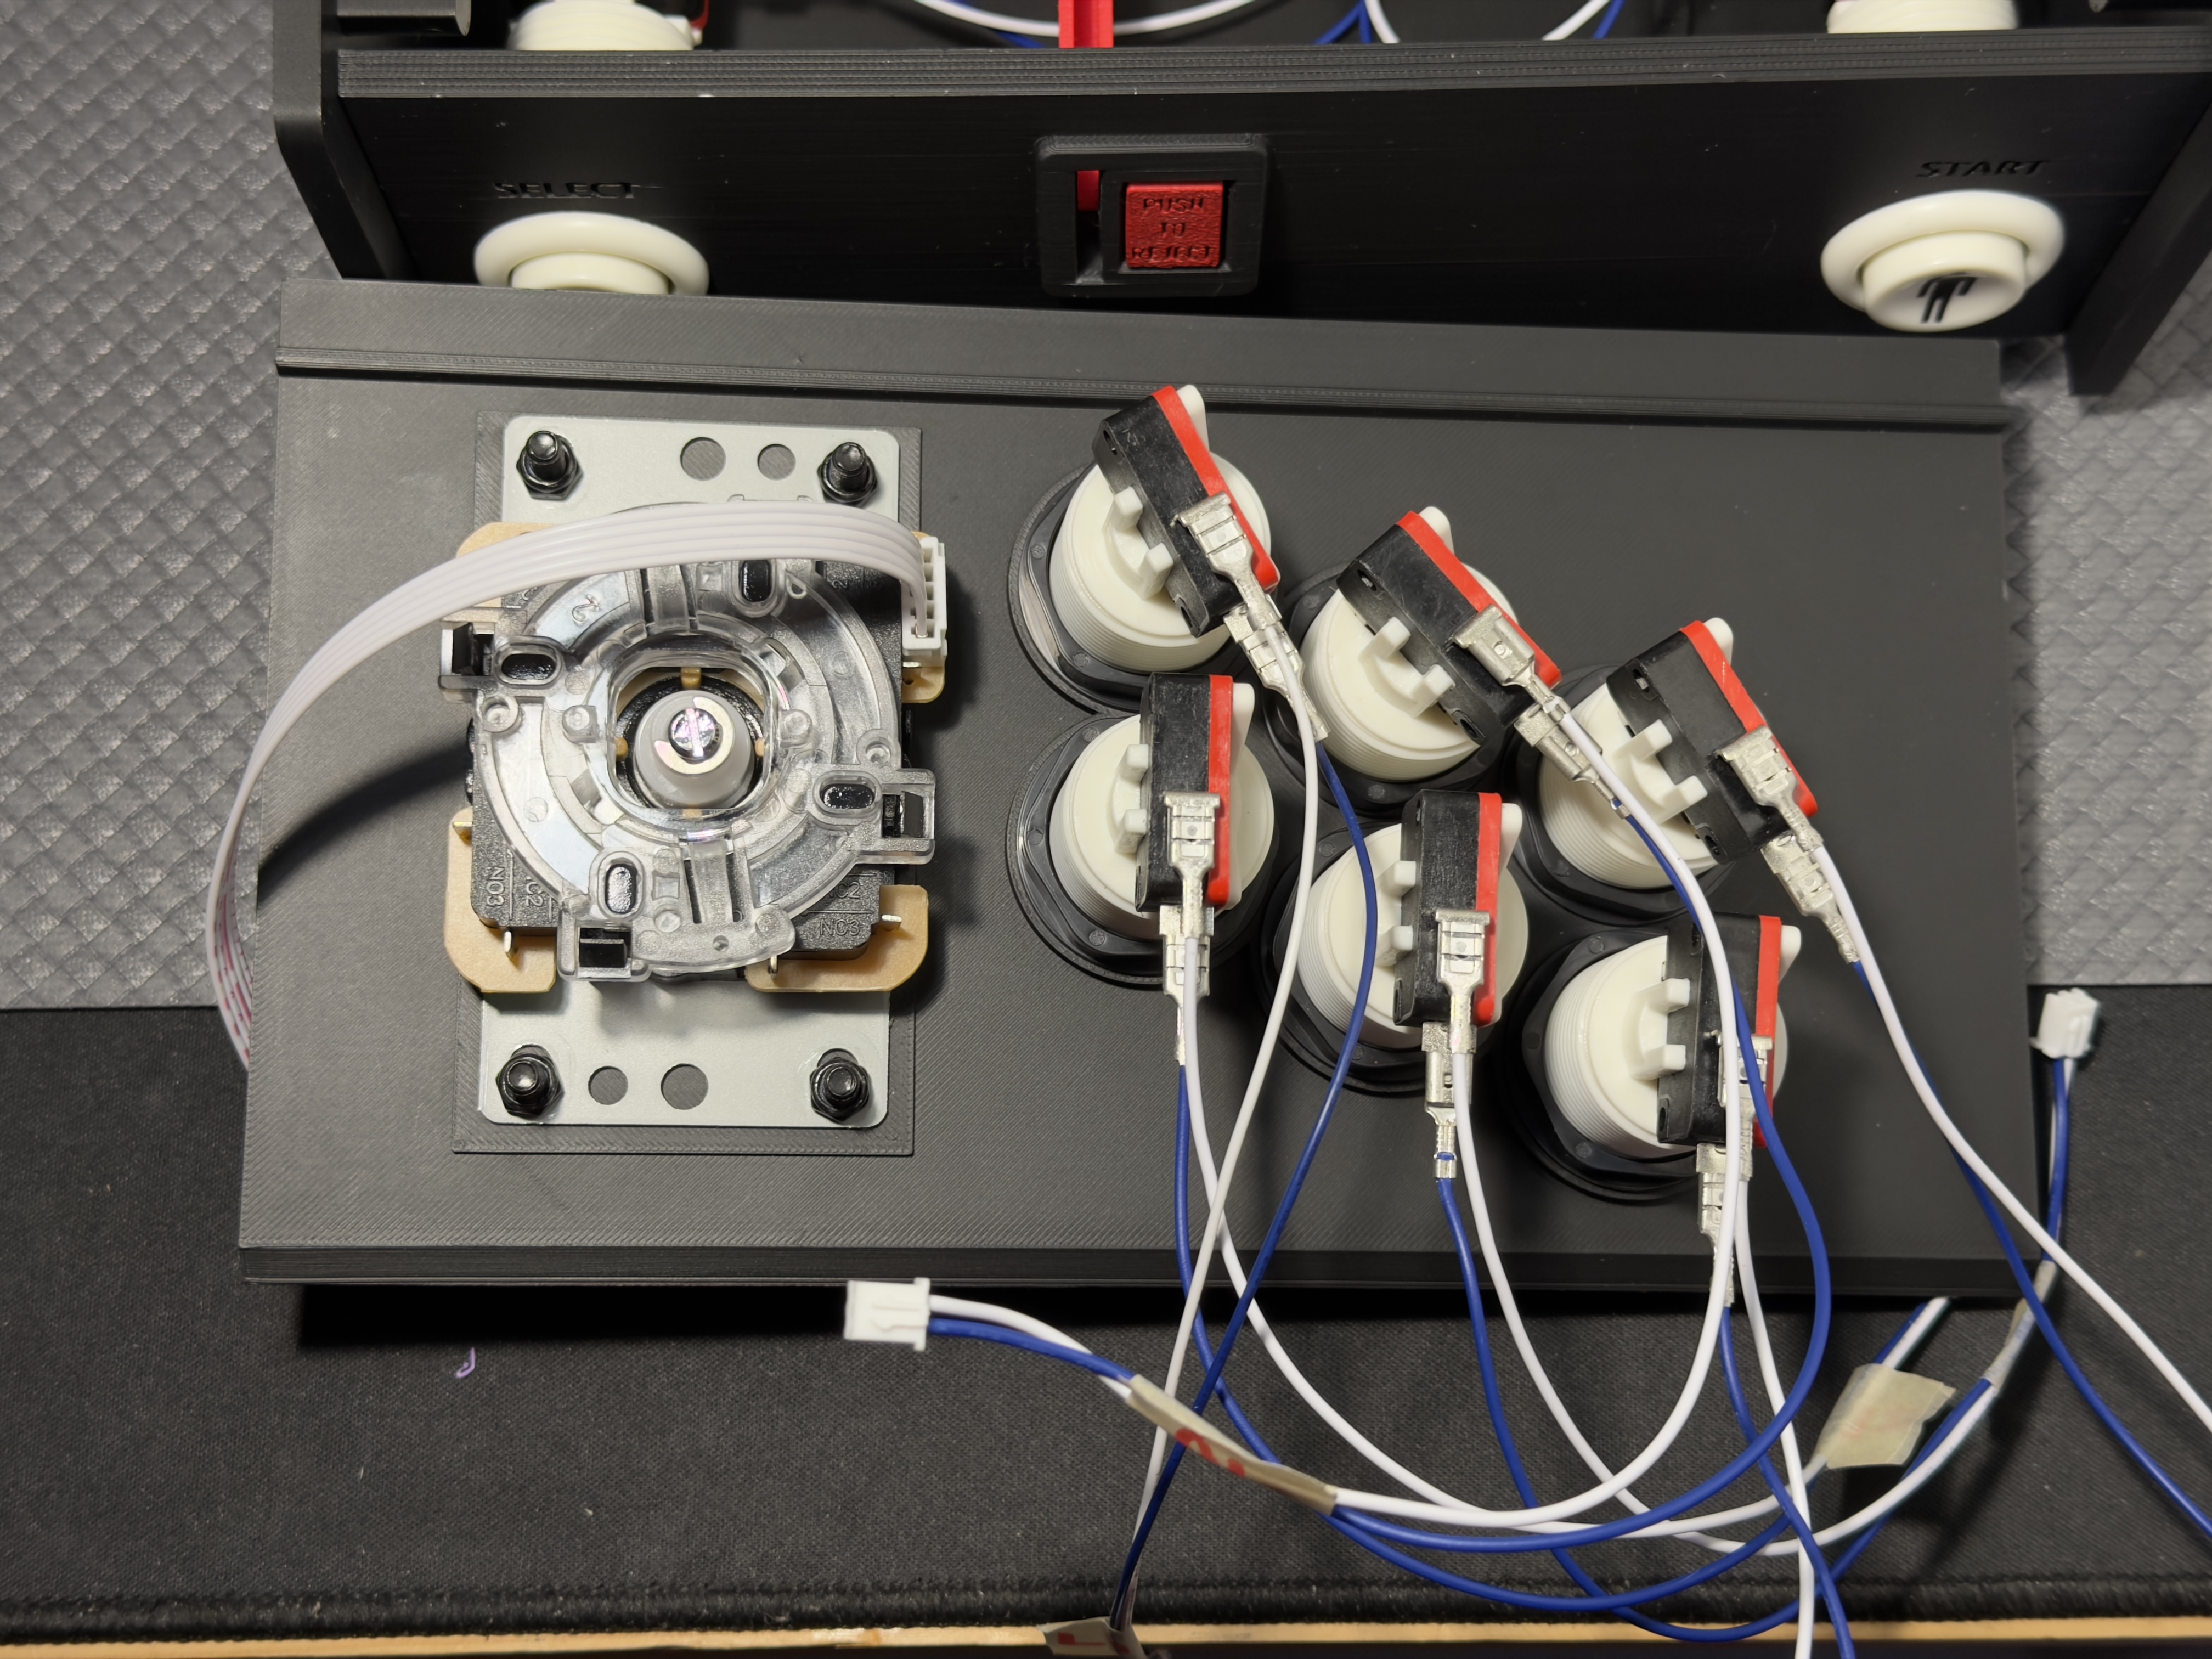
- Kit arcade American Style buttons 28mm (1x player) + Microswitch (white in the drawing)
- 8-way SANWA Joystick (white in the drawing)
- 2" Inch Speaker (i.e. AIYAMA 4 Ohm 3W Full Range) (green in the drawing)
- Digital Power Amplifier PAM8406 5W+5W 2.0 Channel Dual Class D DC5V (black in the drawing)
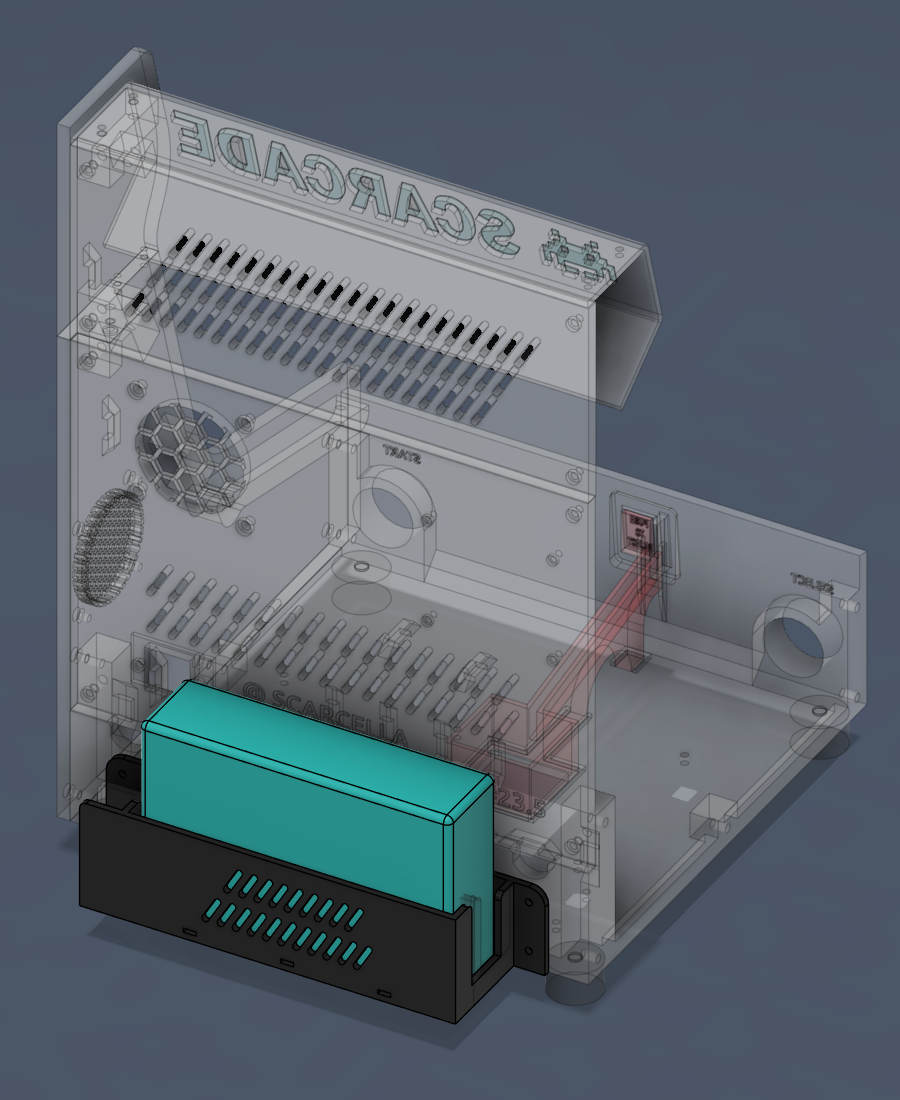
- USB GaN charger (4+ port Power Delivery) min 150W (refer to the following chapters for advice on choosing the most suitable USB charger) (cyan in the drawing)
To install some electronic boards, it is necessary to print some supports (purple in the drawing).
The USB charger can be installed inside the case, or outside on the back of the case with a special tray that attaches to the case.
 |  |
Some tips before printing:
- Calibrate the printer: it's important to respect the dimensions of the parts. Despite the expected tolerances, all the parts must fit together to within a tenth of a millimeter.
- clean the print plate with warm water and dish soap
- apply a little Bambulab glue or a few squirts of hairspray to the print plate, especially around the edges of large parts.
- if you use glue, wash the pieces with soap and warm water before assembling them.
- The printing profile is optimized piece by piece, to balance the strength or lightness of some pieces and reduce printing times as much as possible.
 |  |
How can I customize the Marquee?
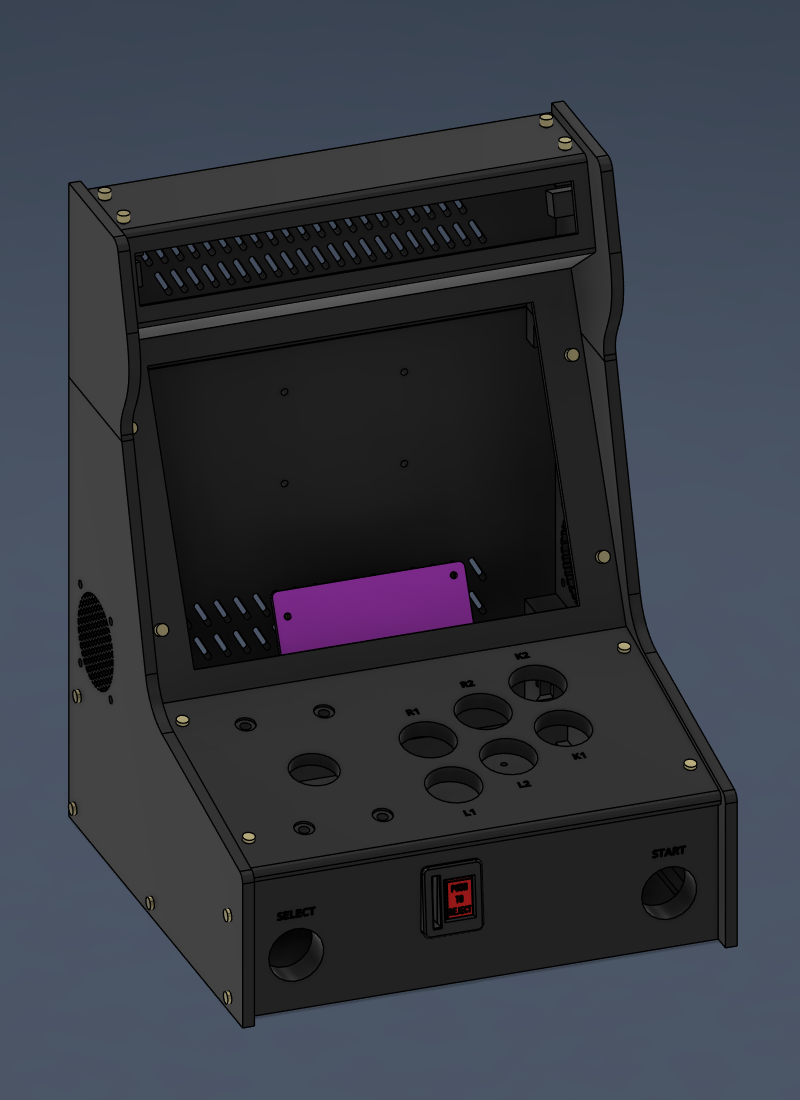 | 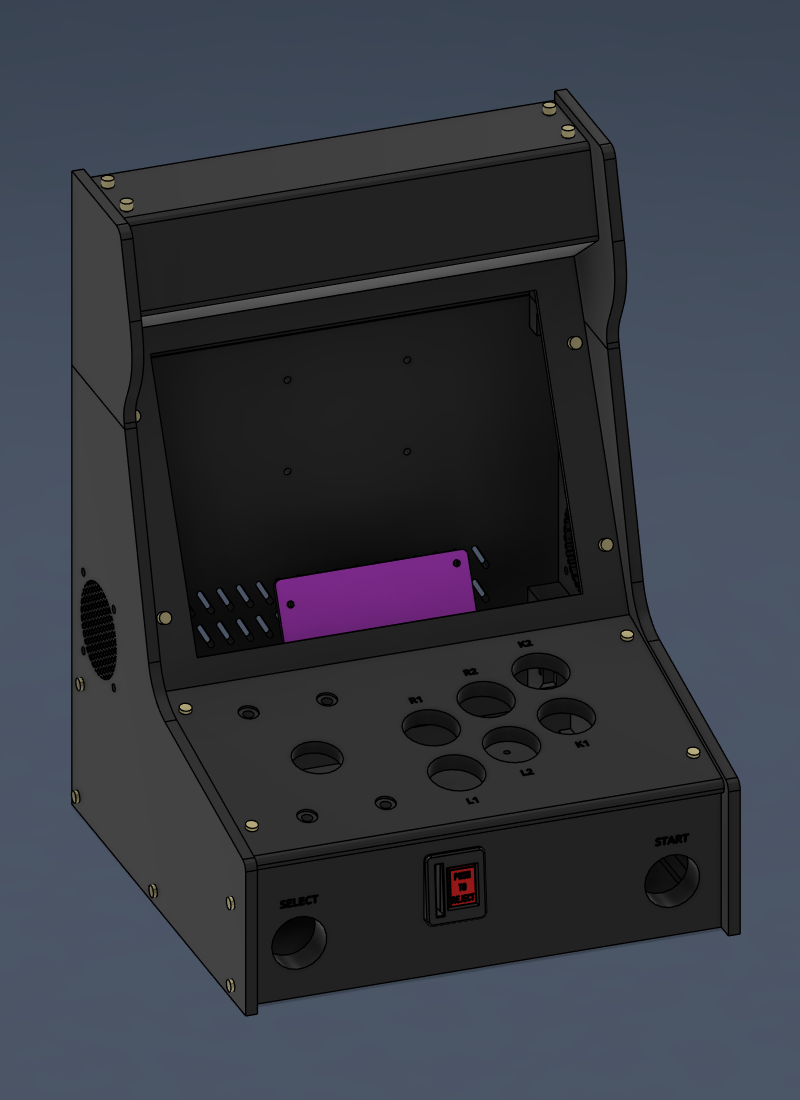 |
Among the print files there is an alternative marquee component available: open version with a window behind which you can glue a sheet of translucent paper, like the original cabinets | A second alternative component for the marquee is available among the print files: a completely closed and opaque version. |
Download the complete guide!
Download the assembly guide from the files available here: you will find the instructions for assembling the case and installing all the electronics.
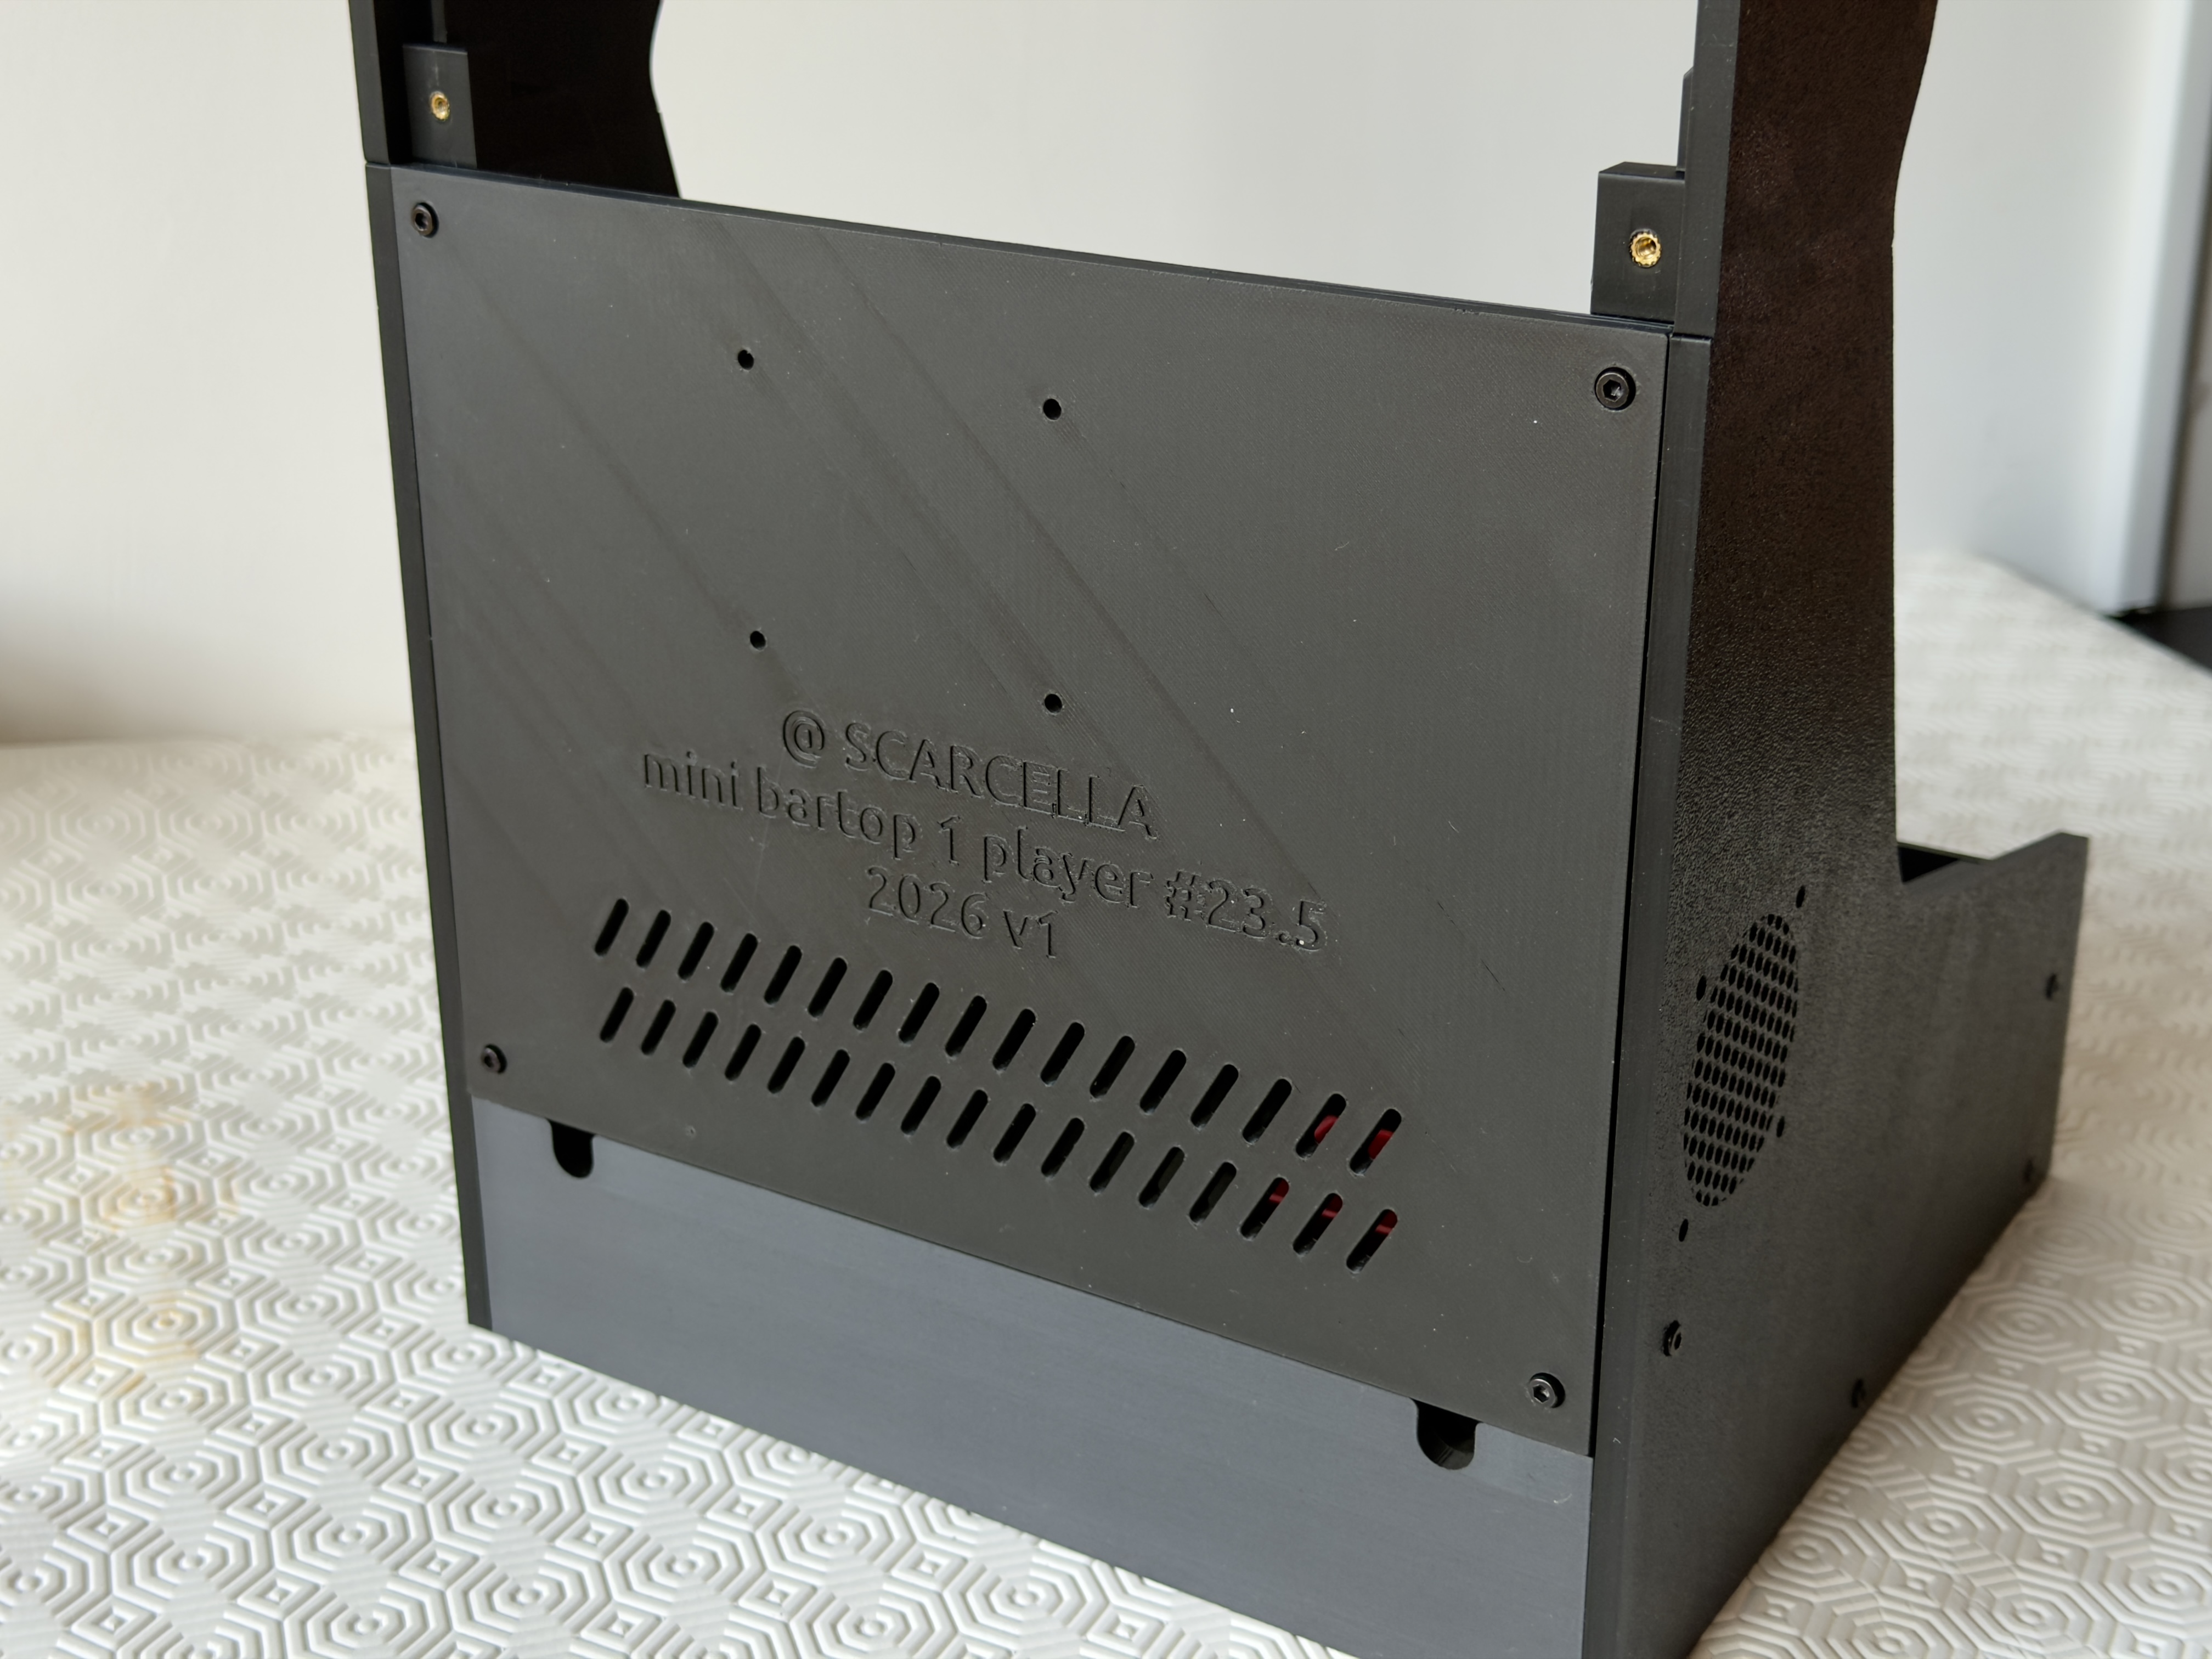
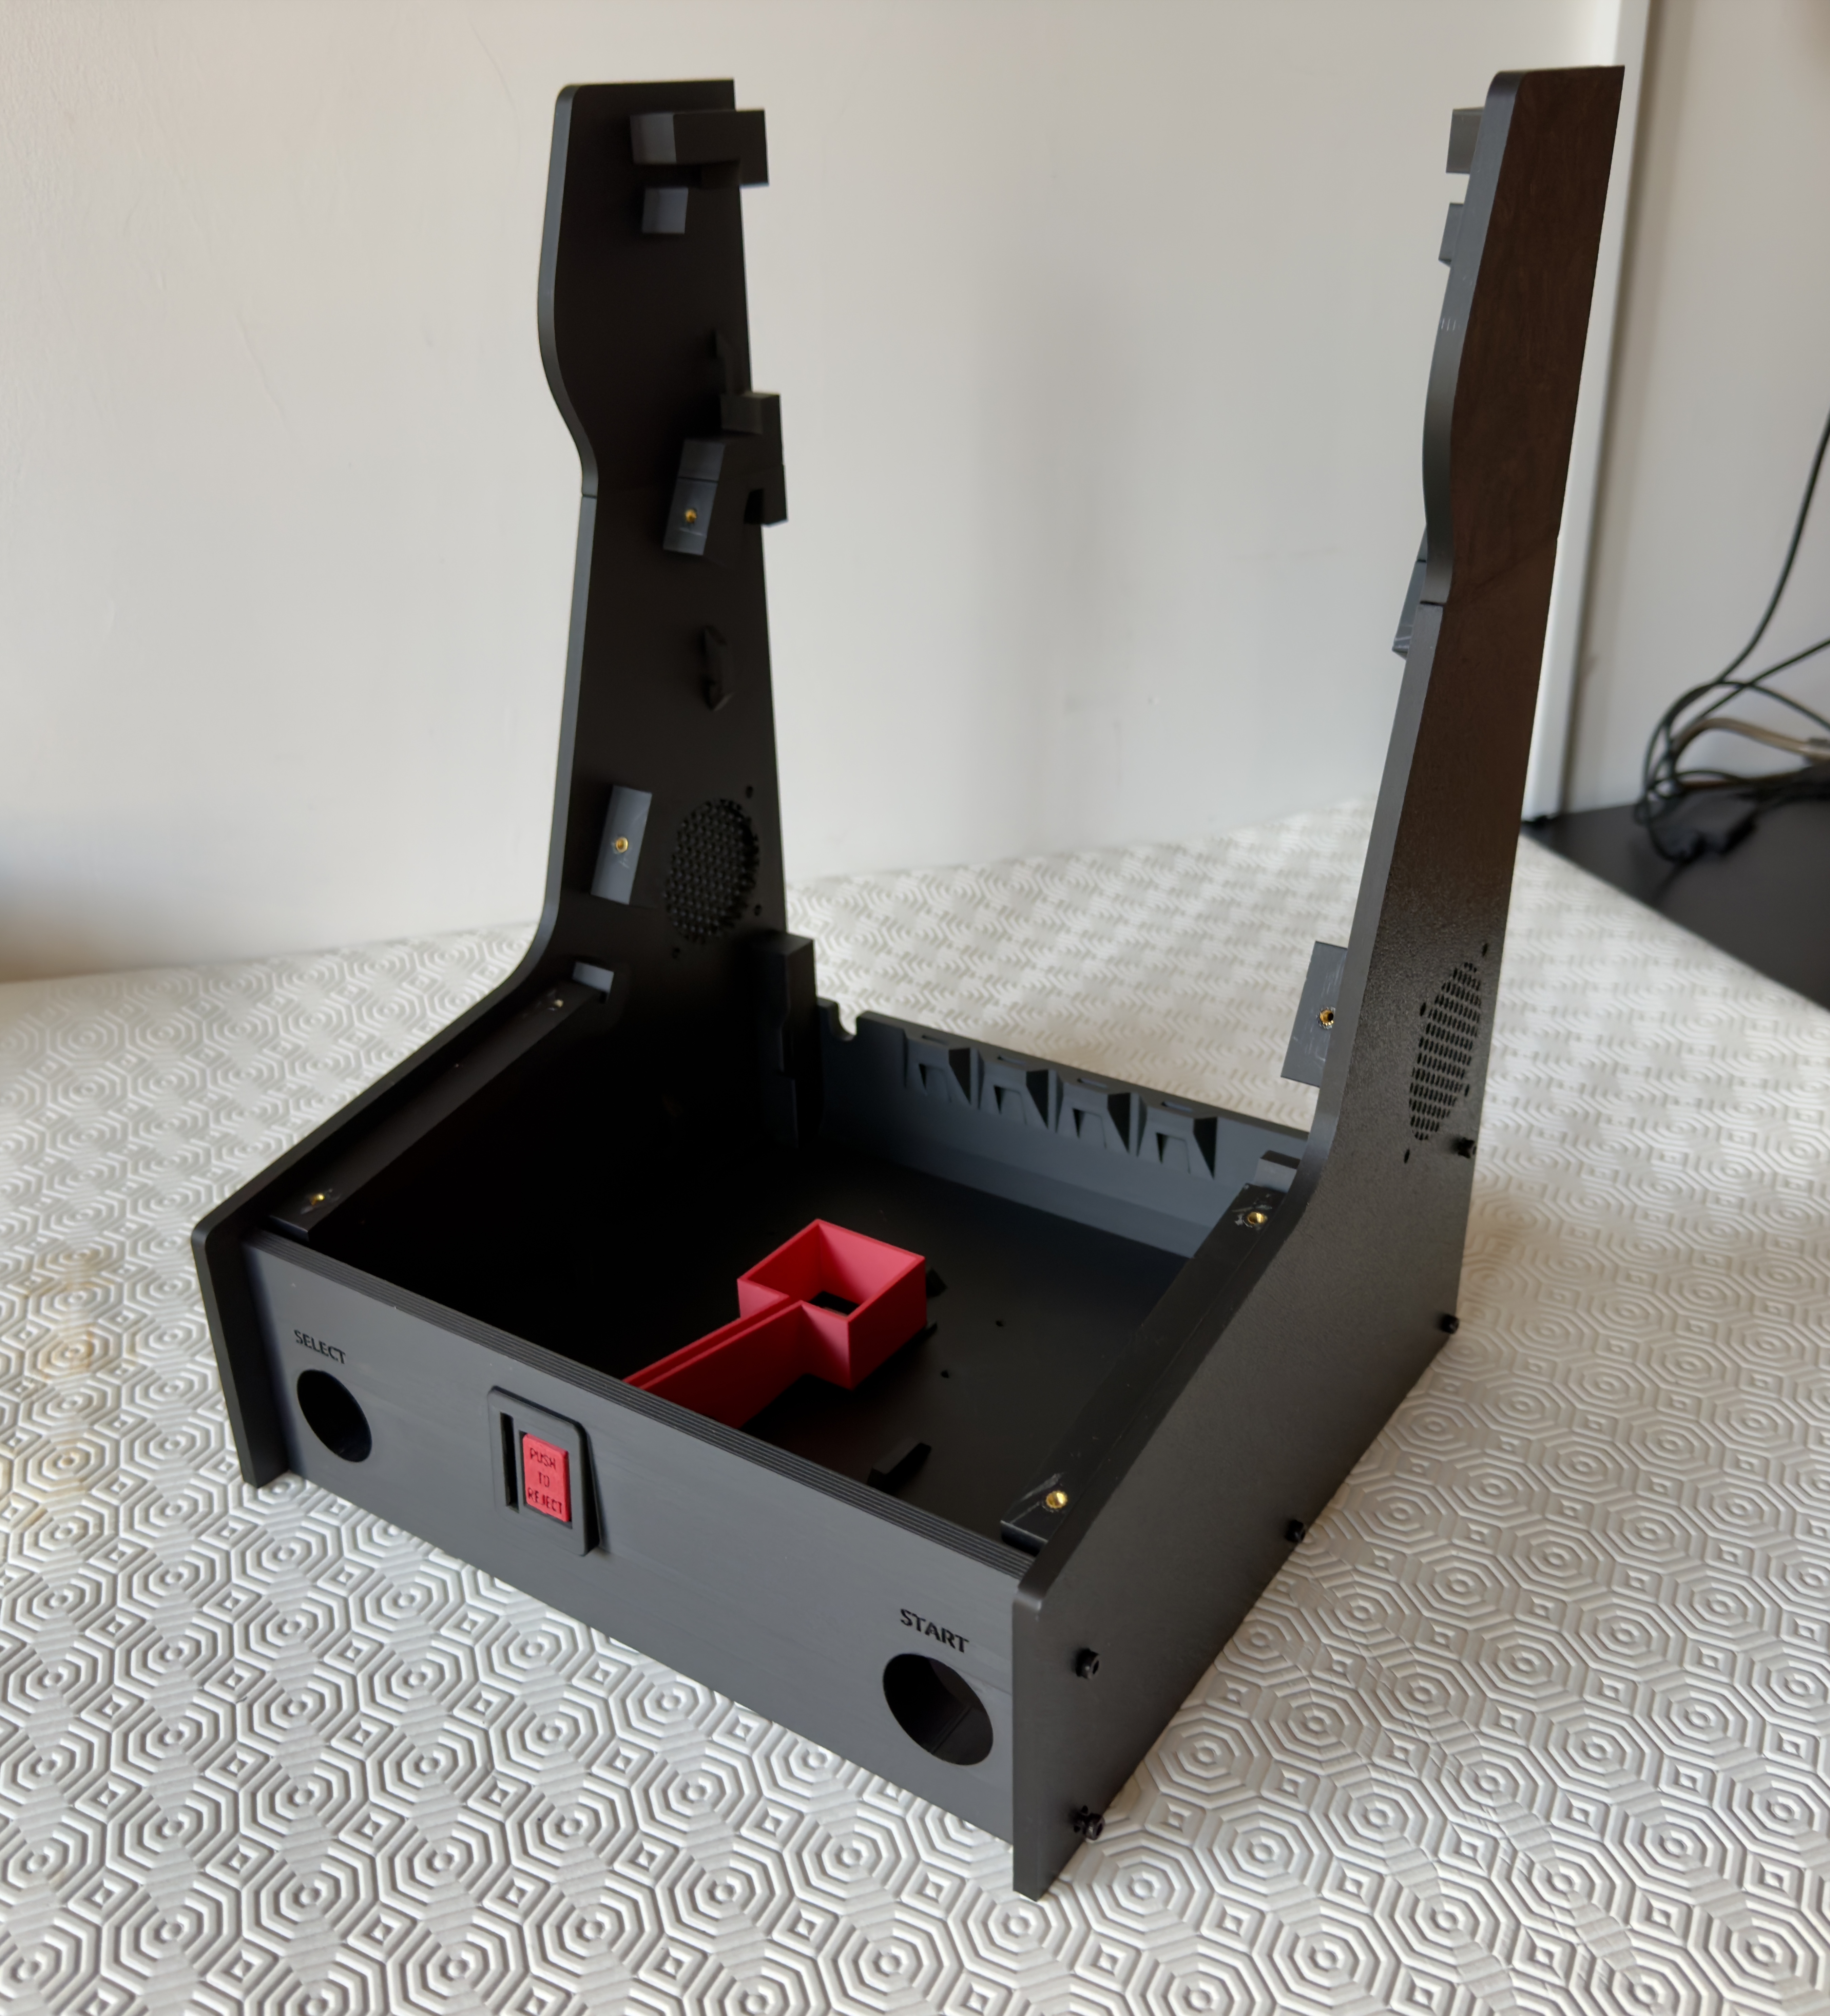
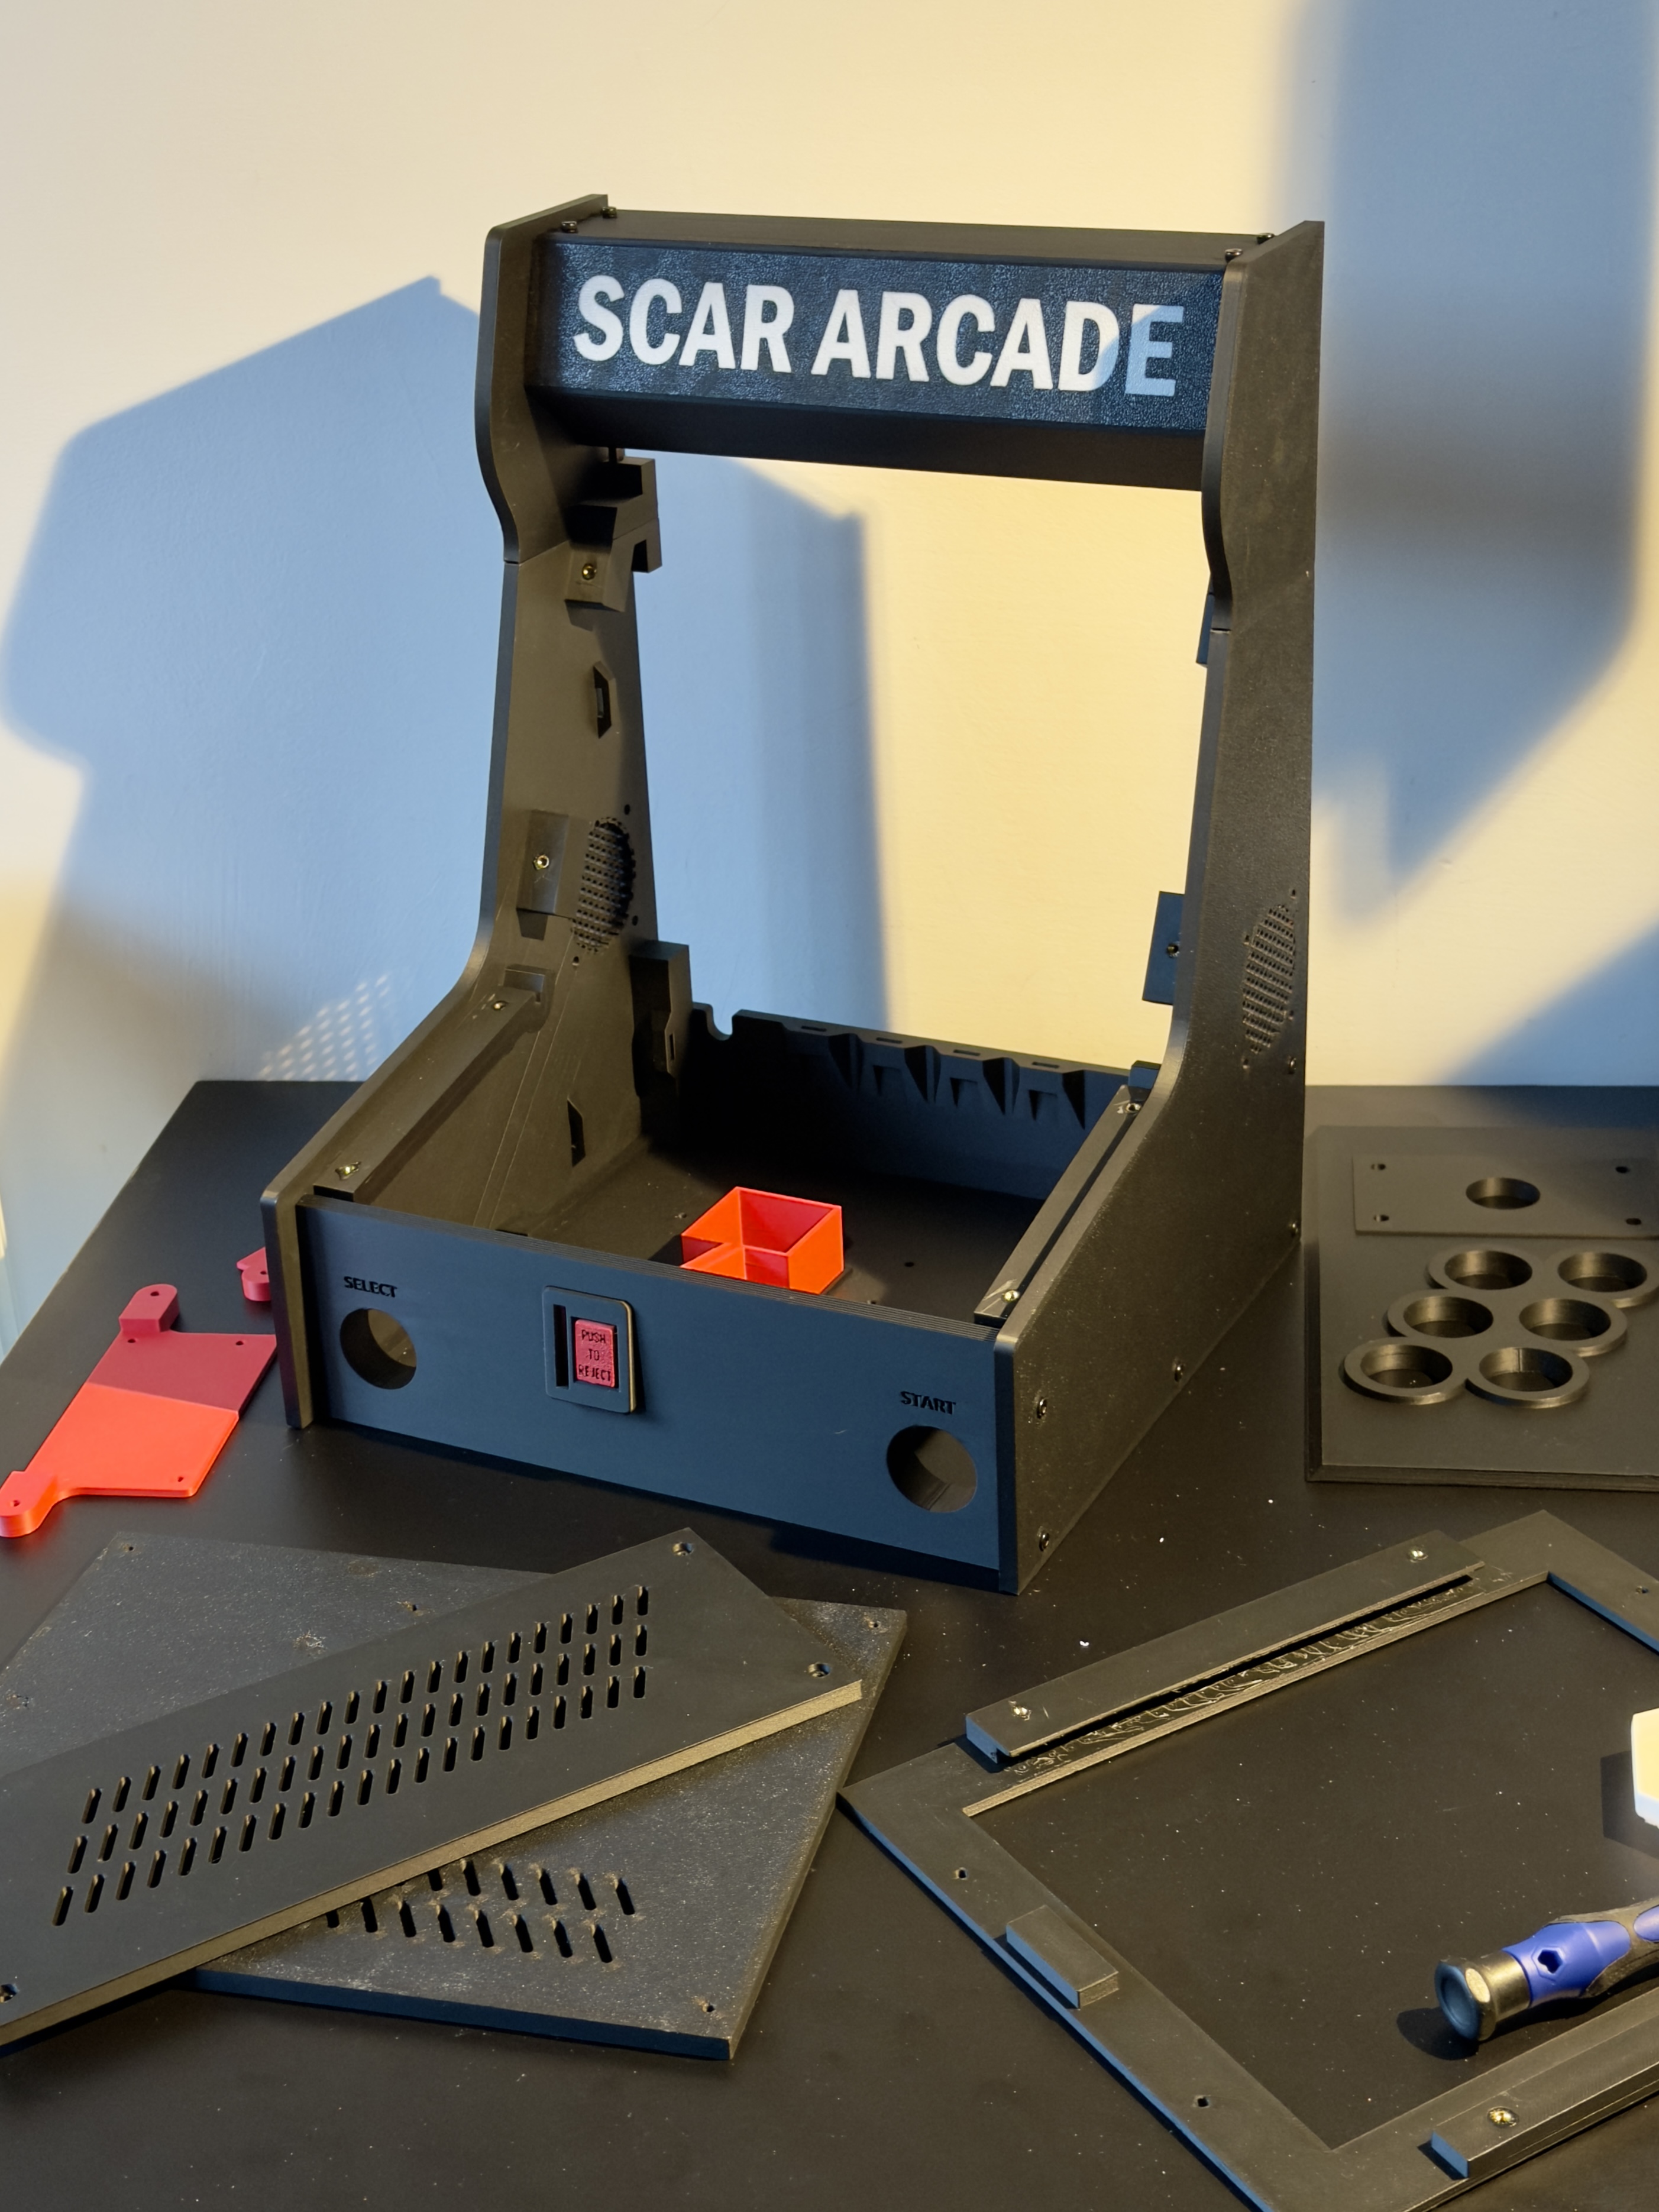
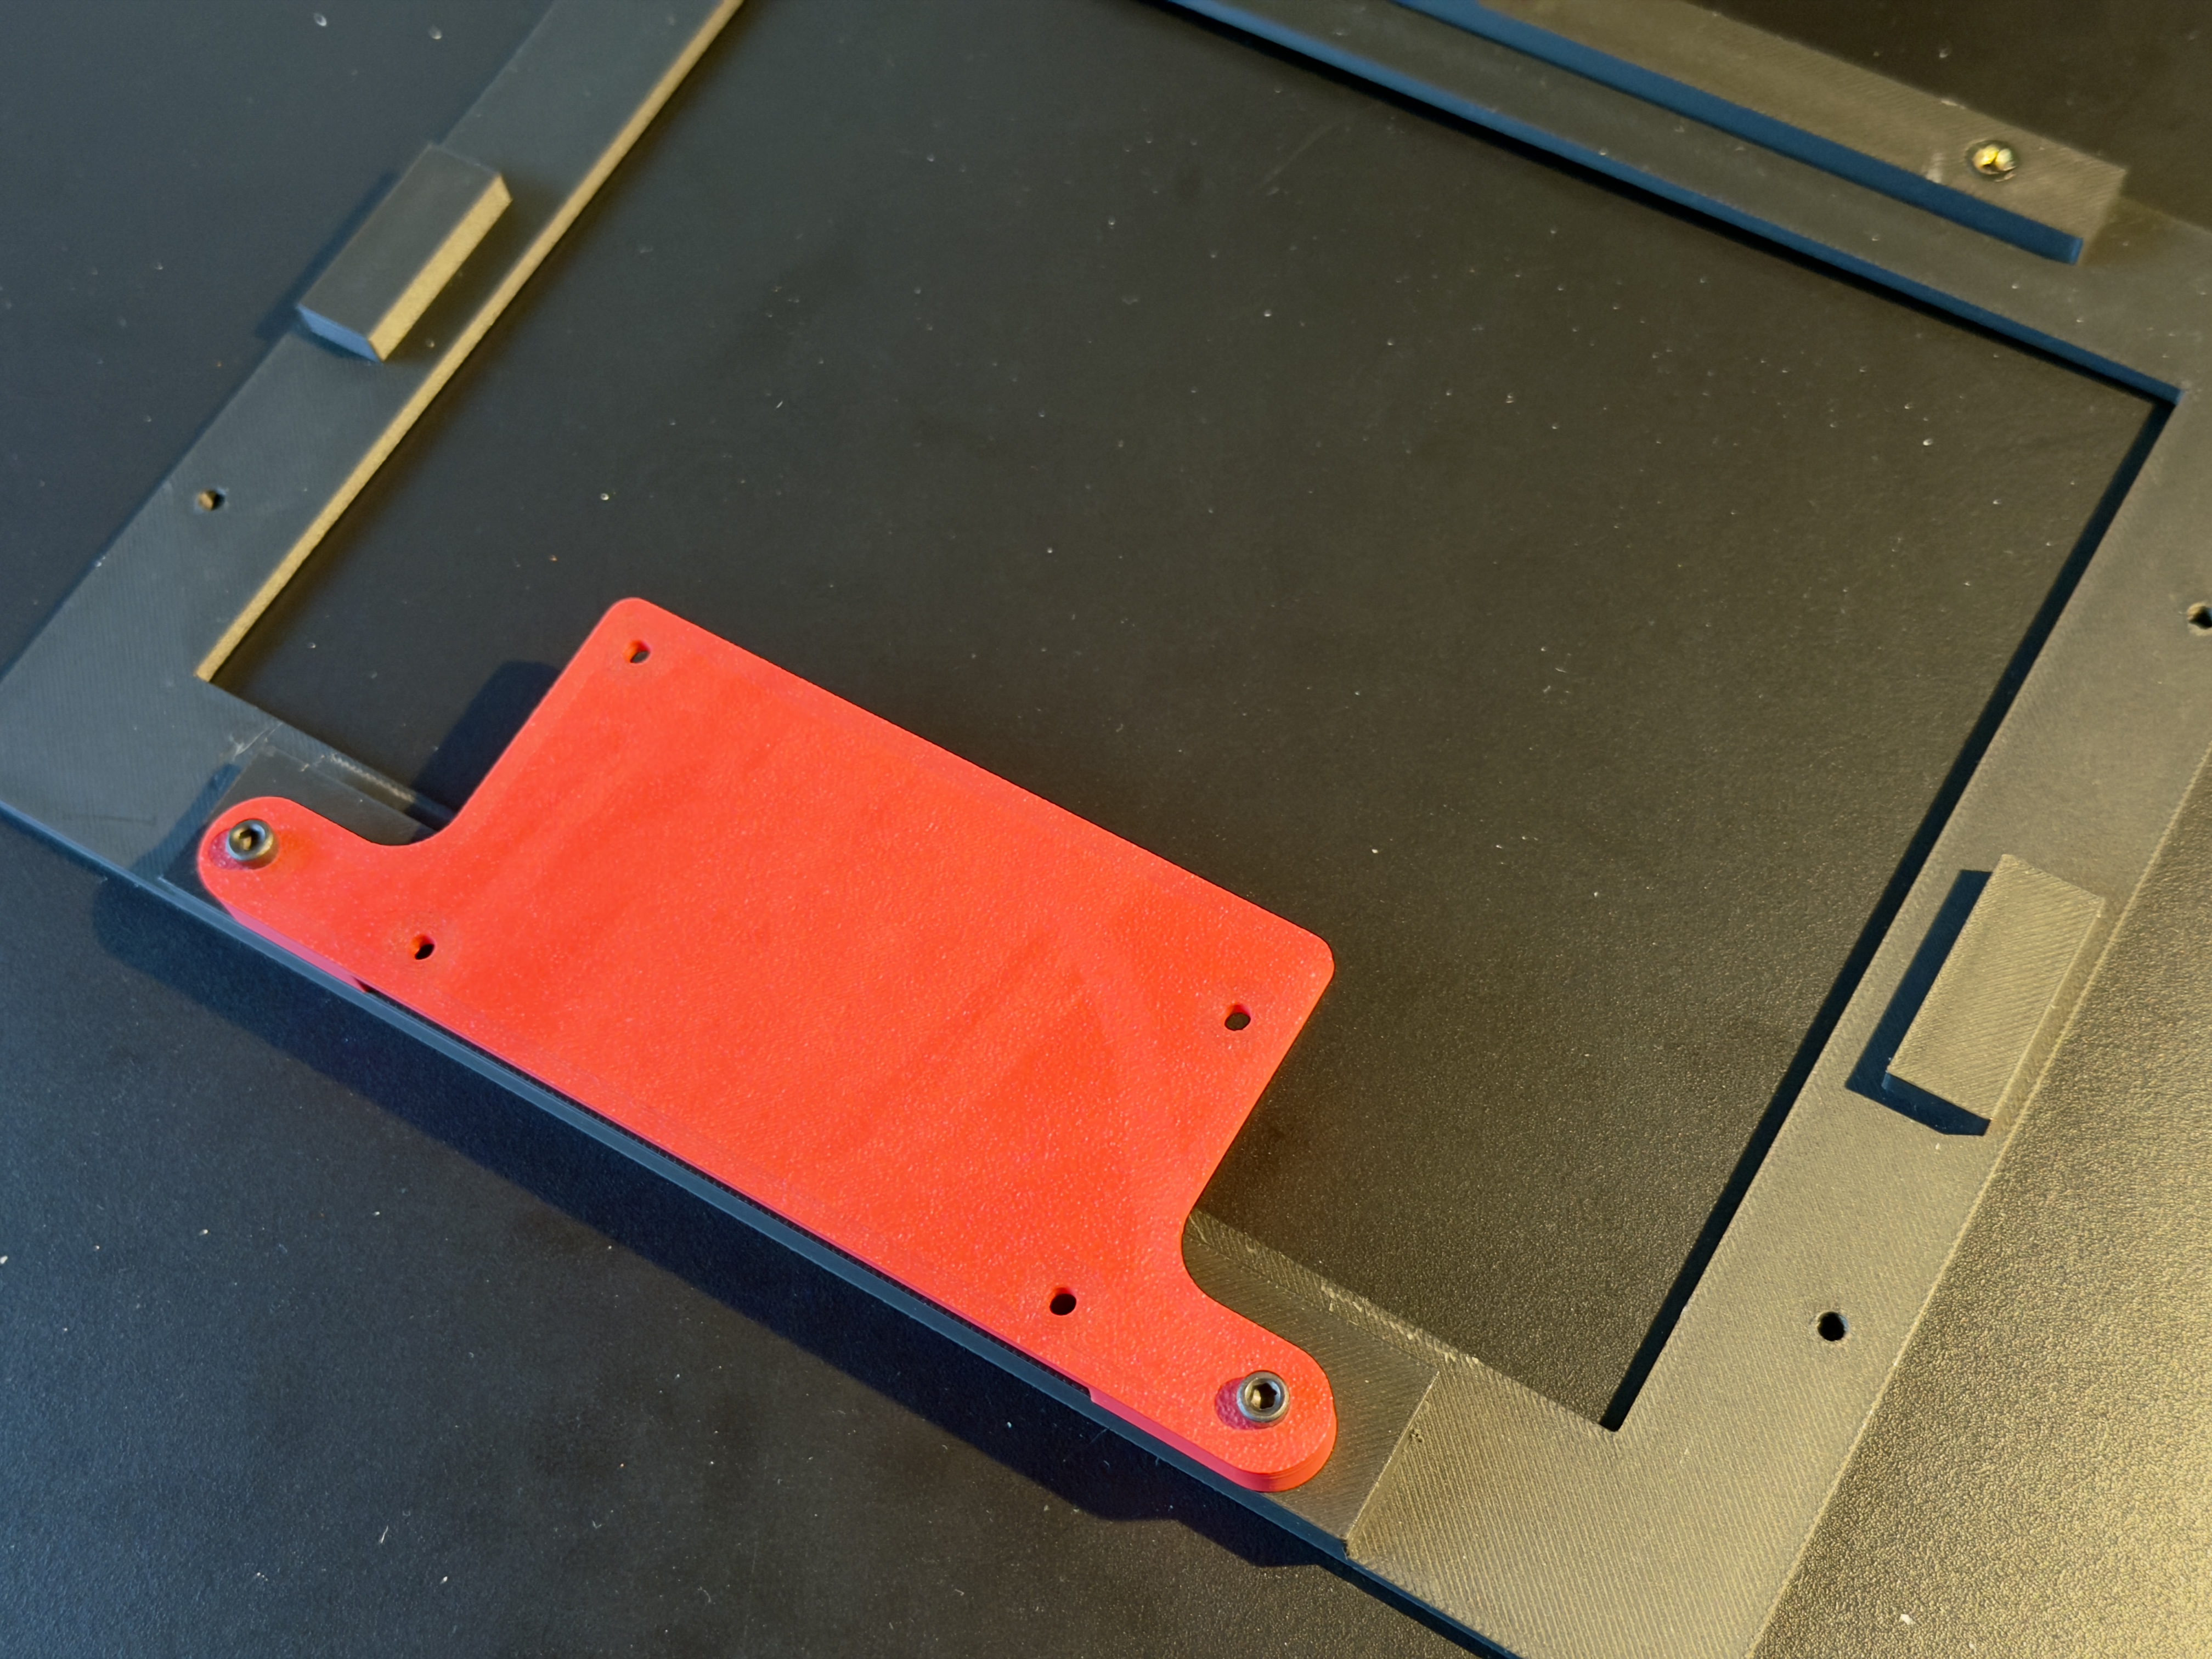
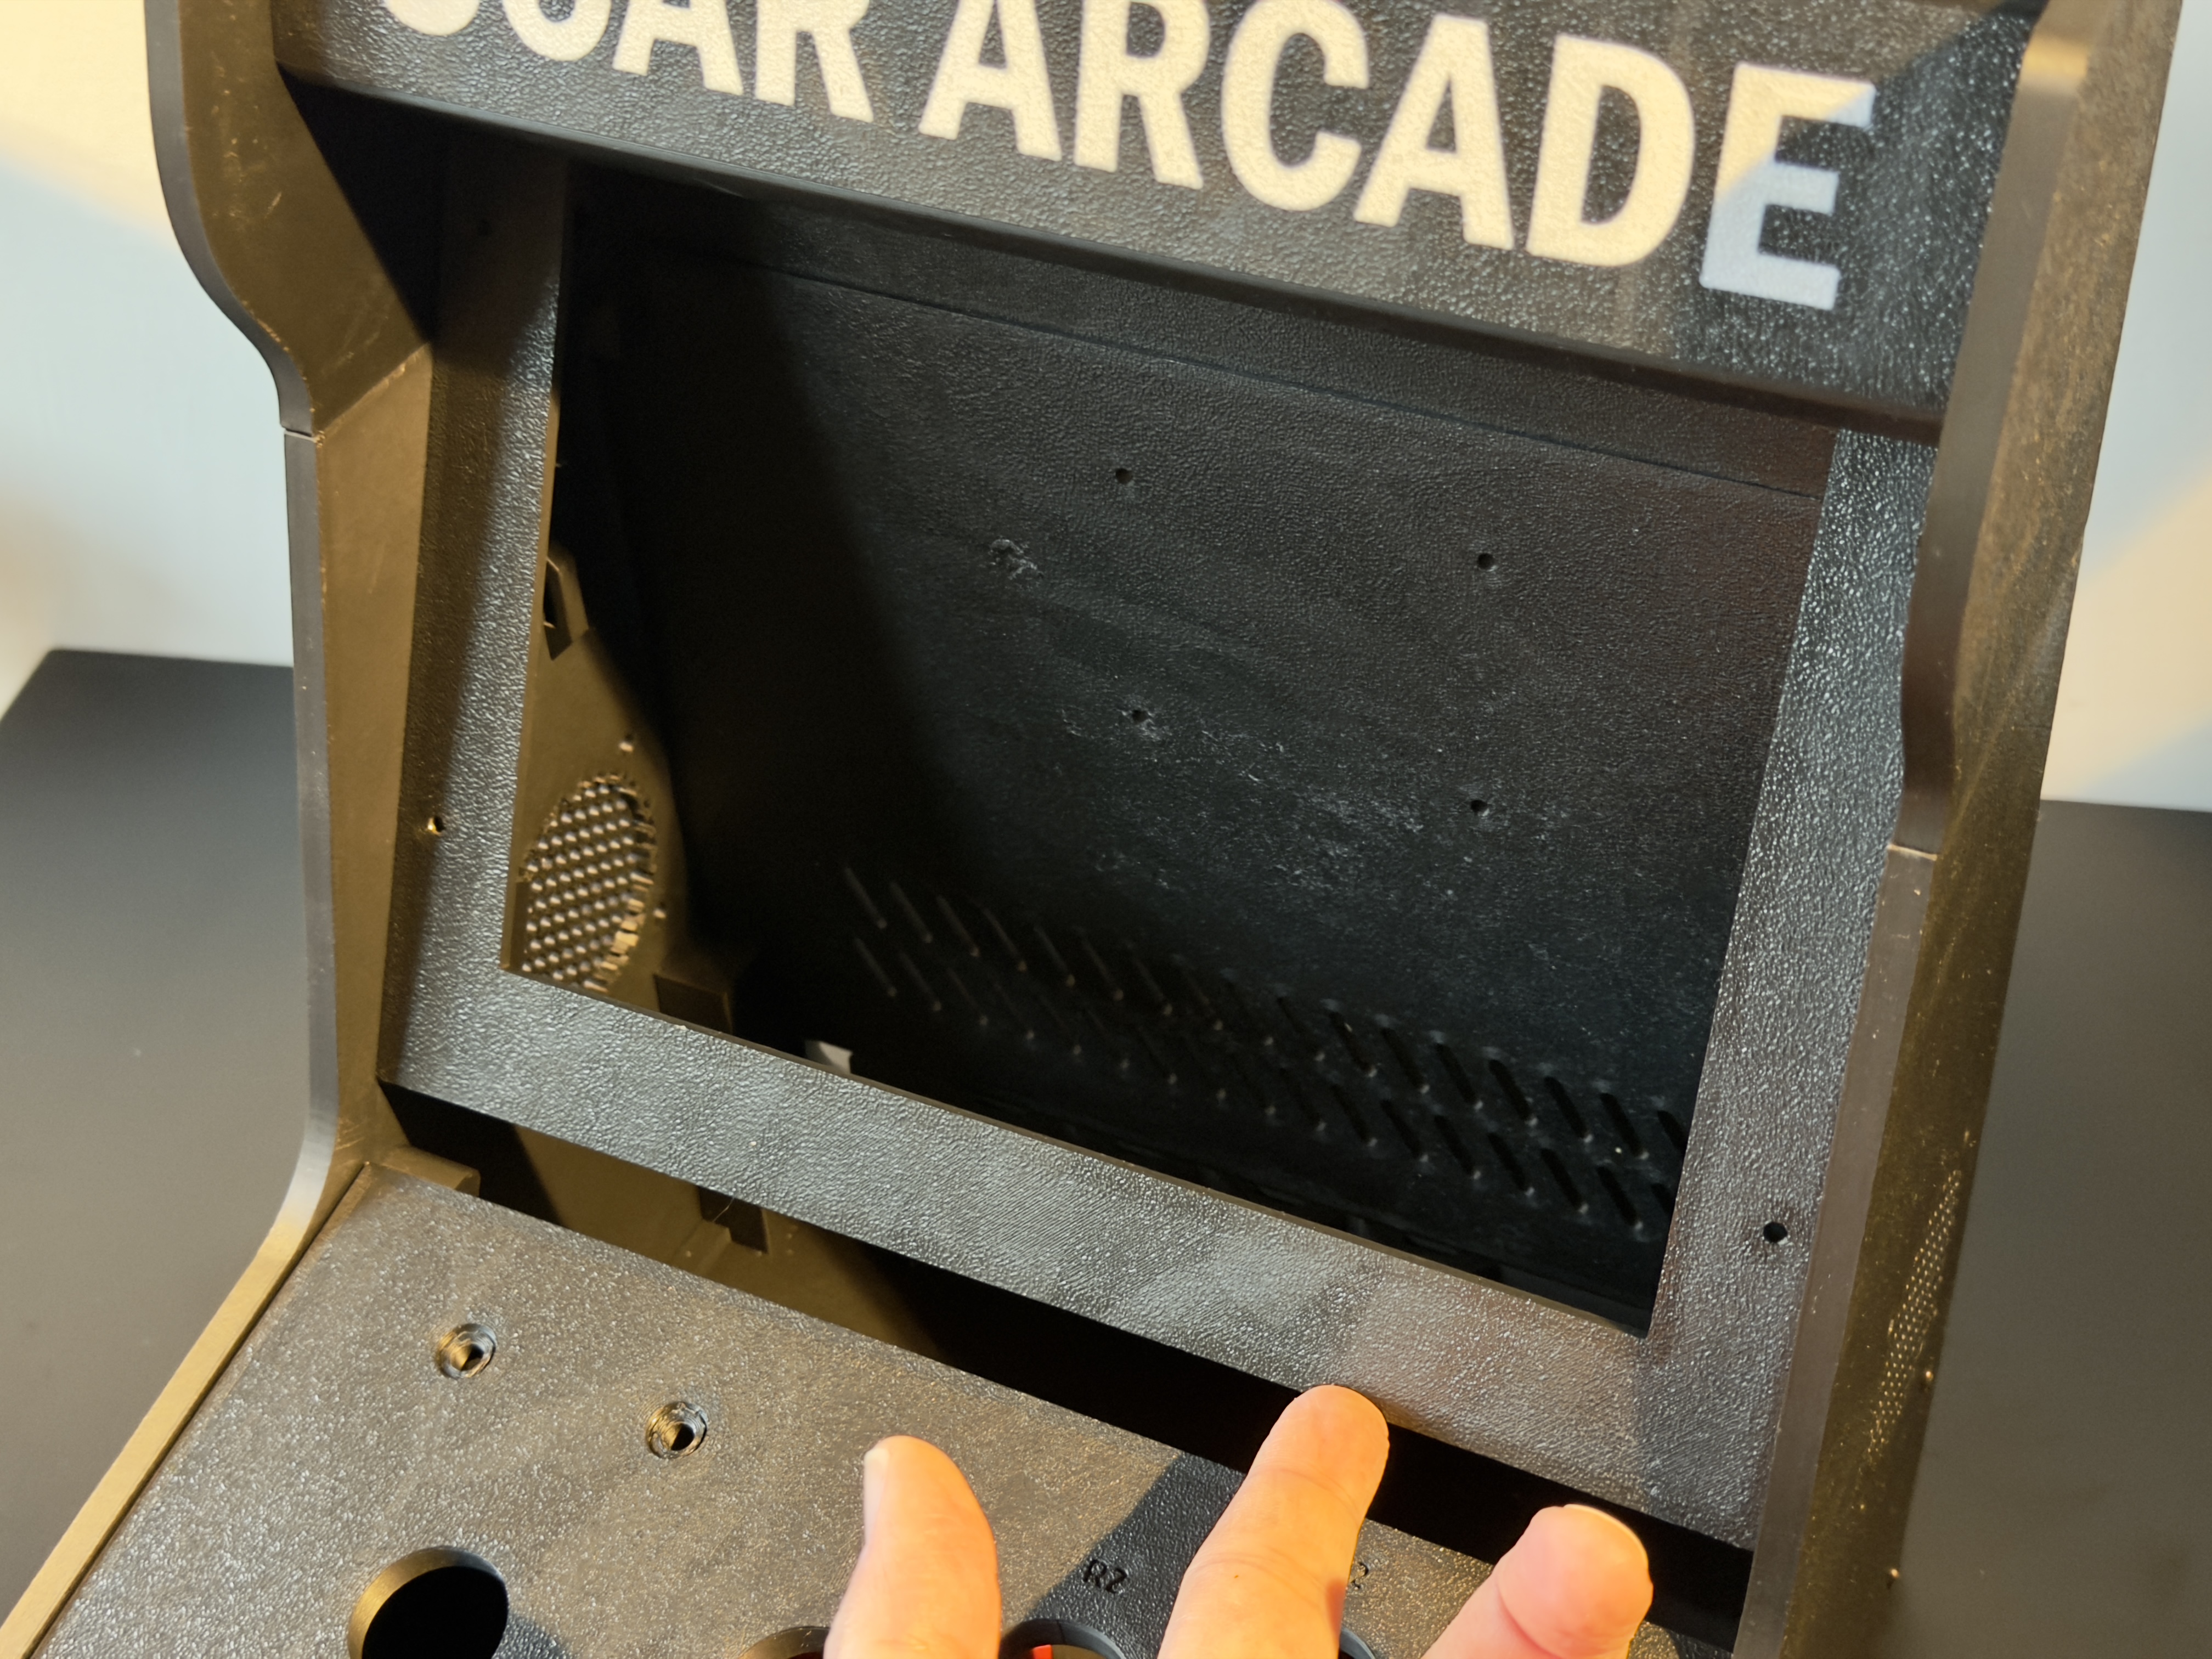
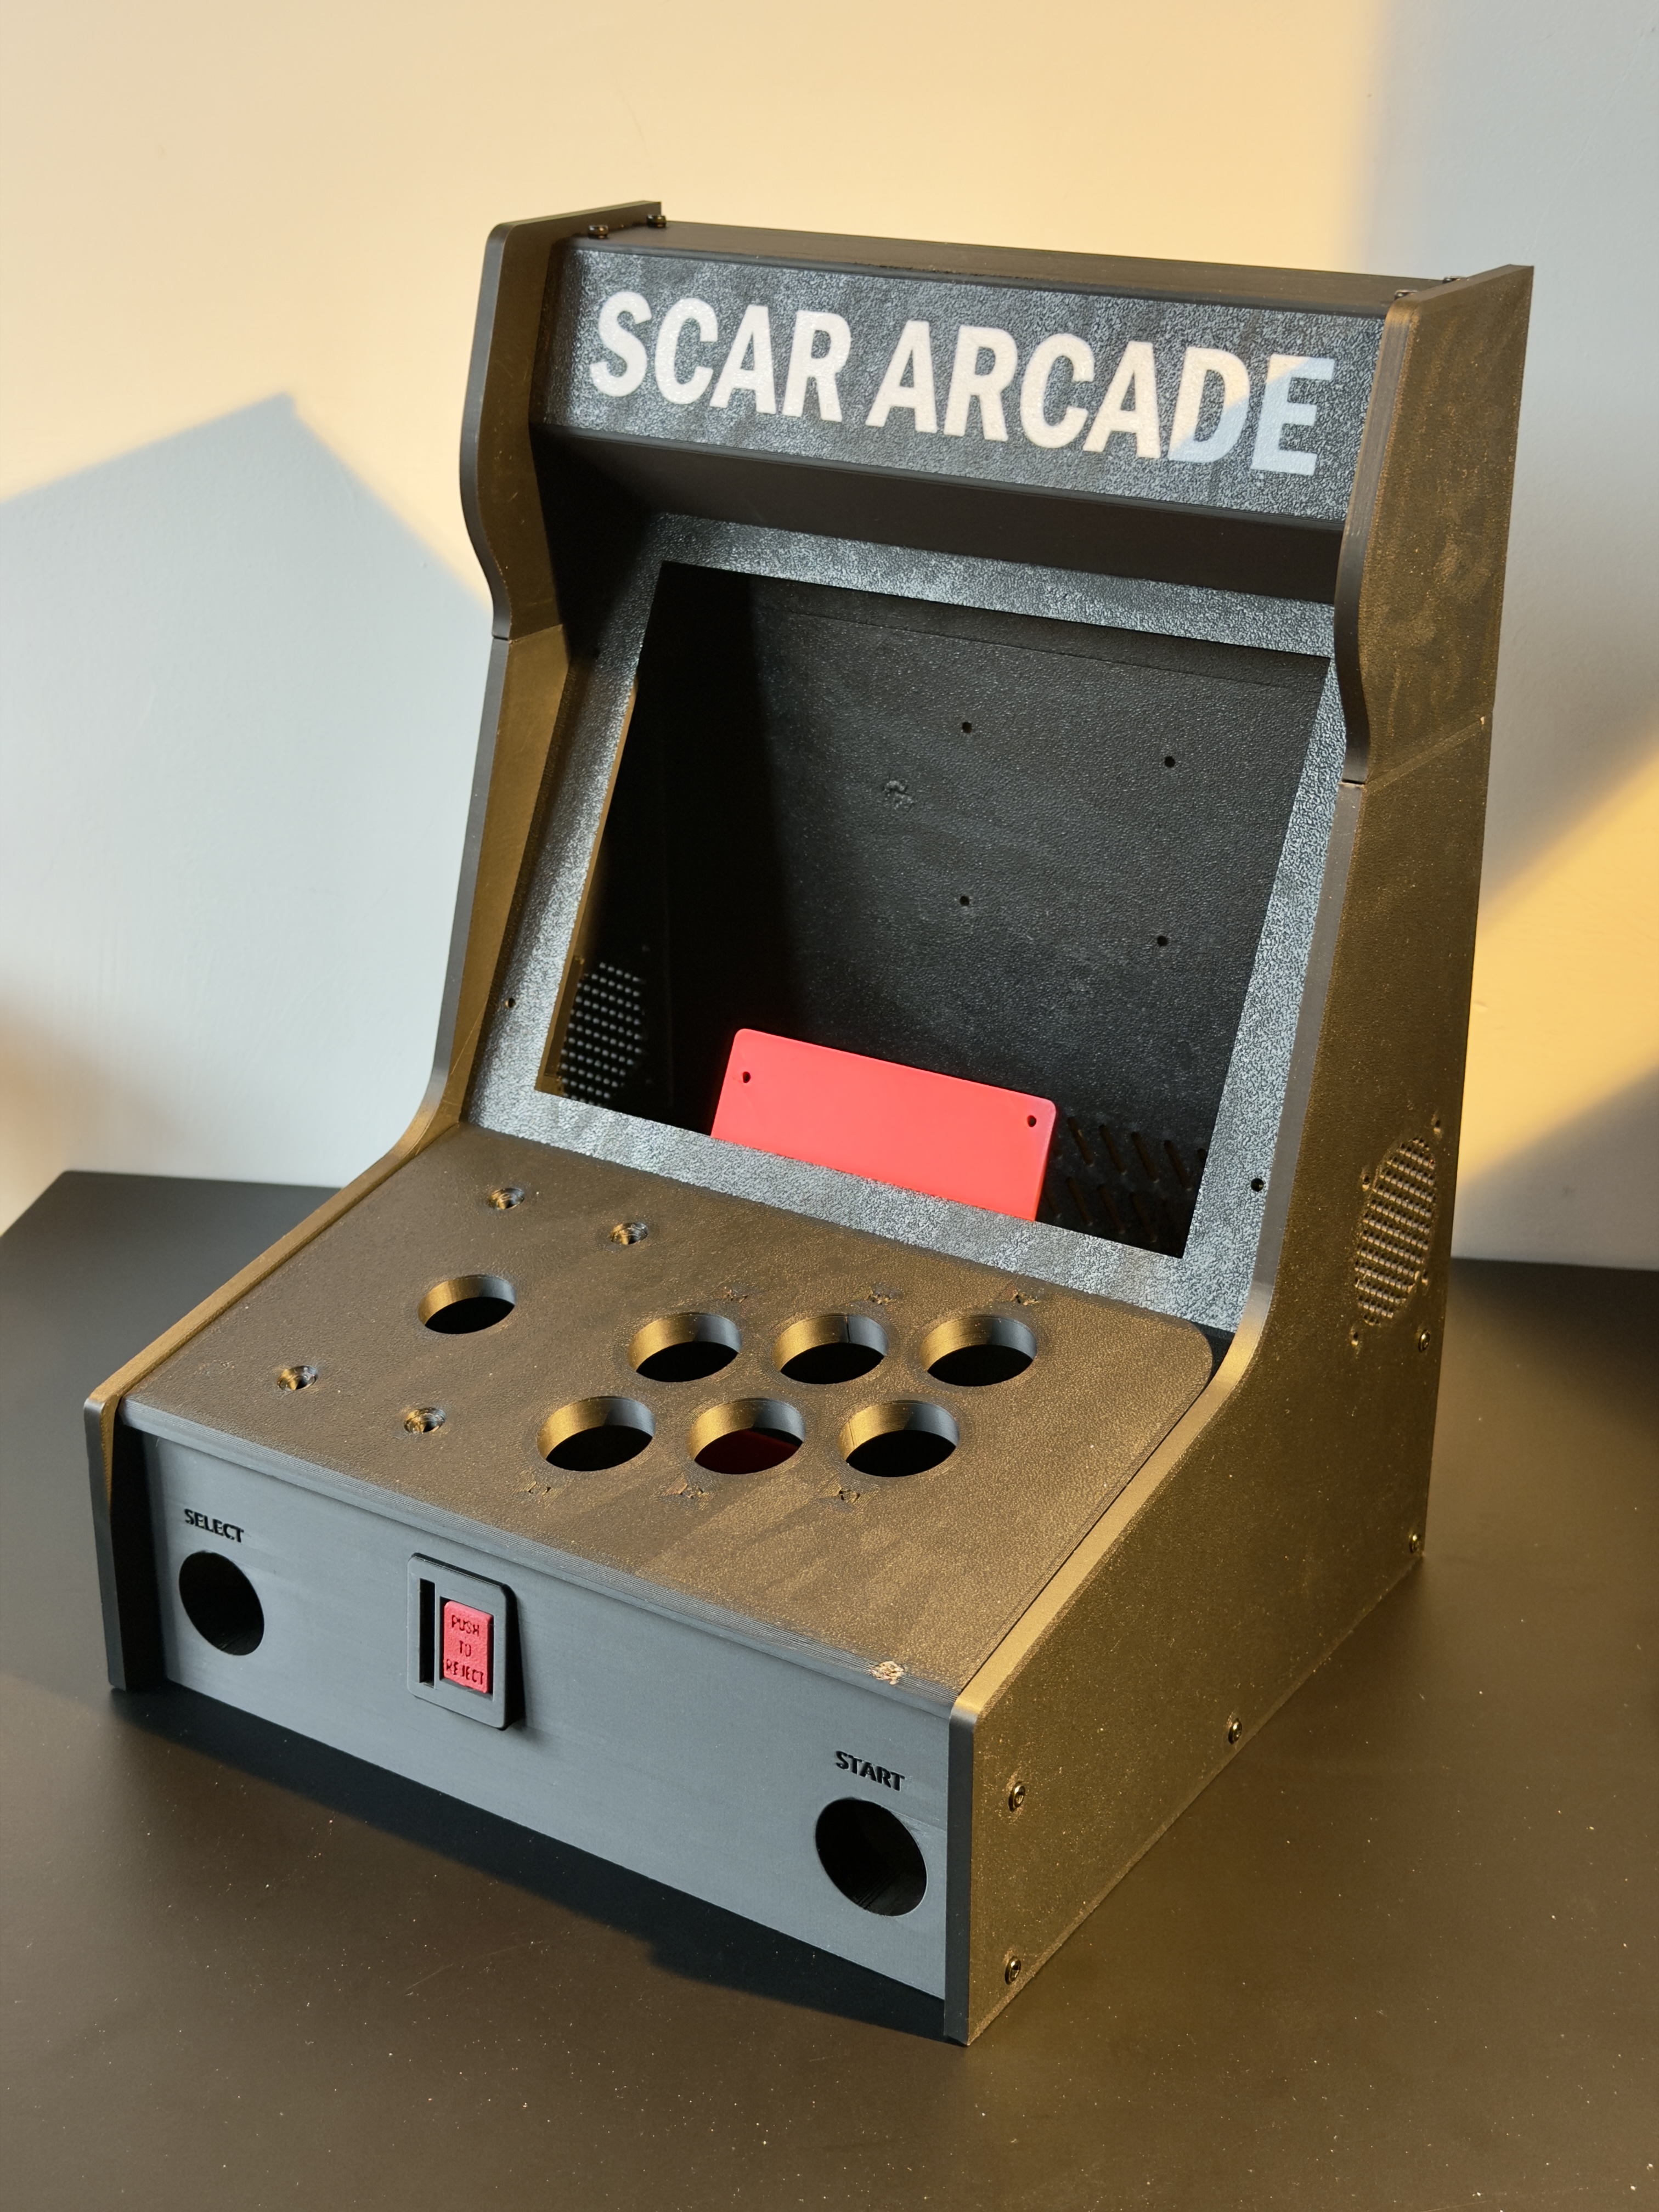
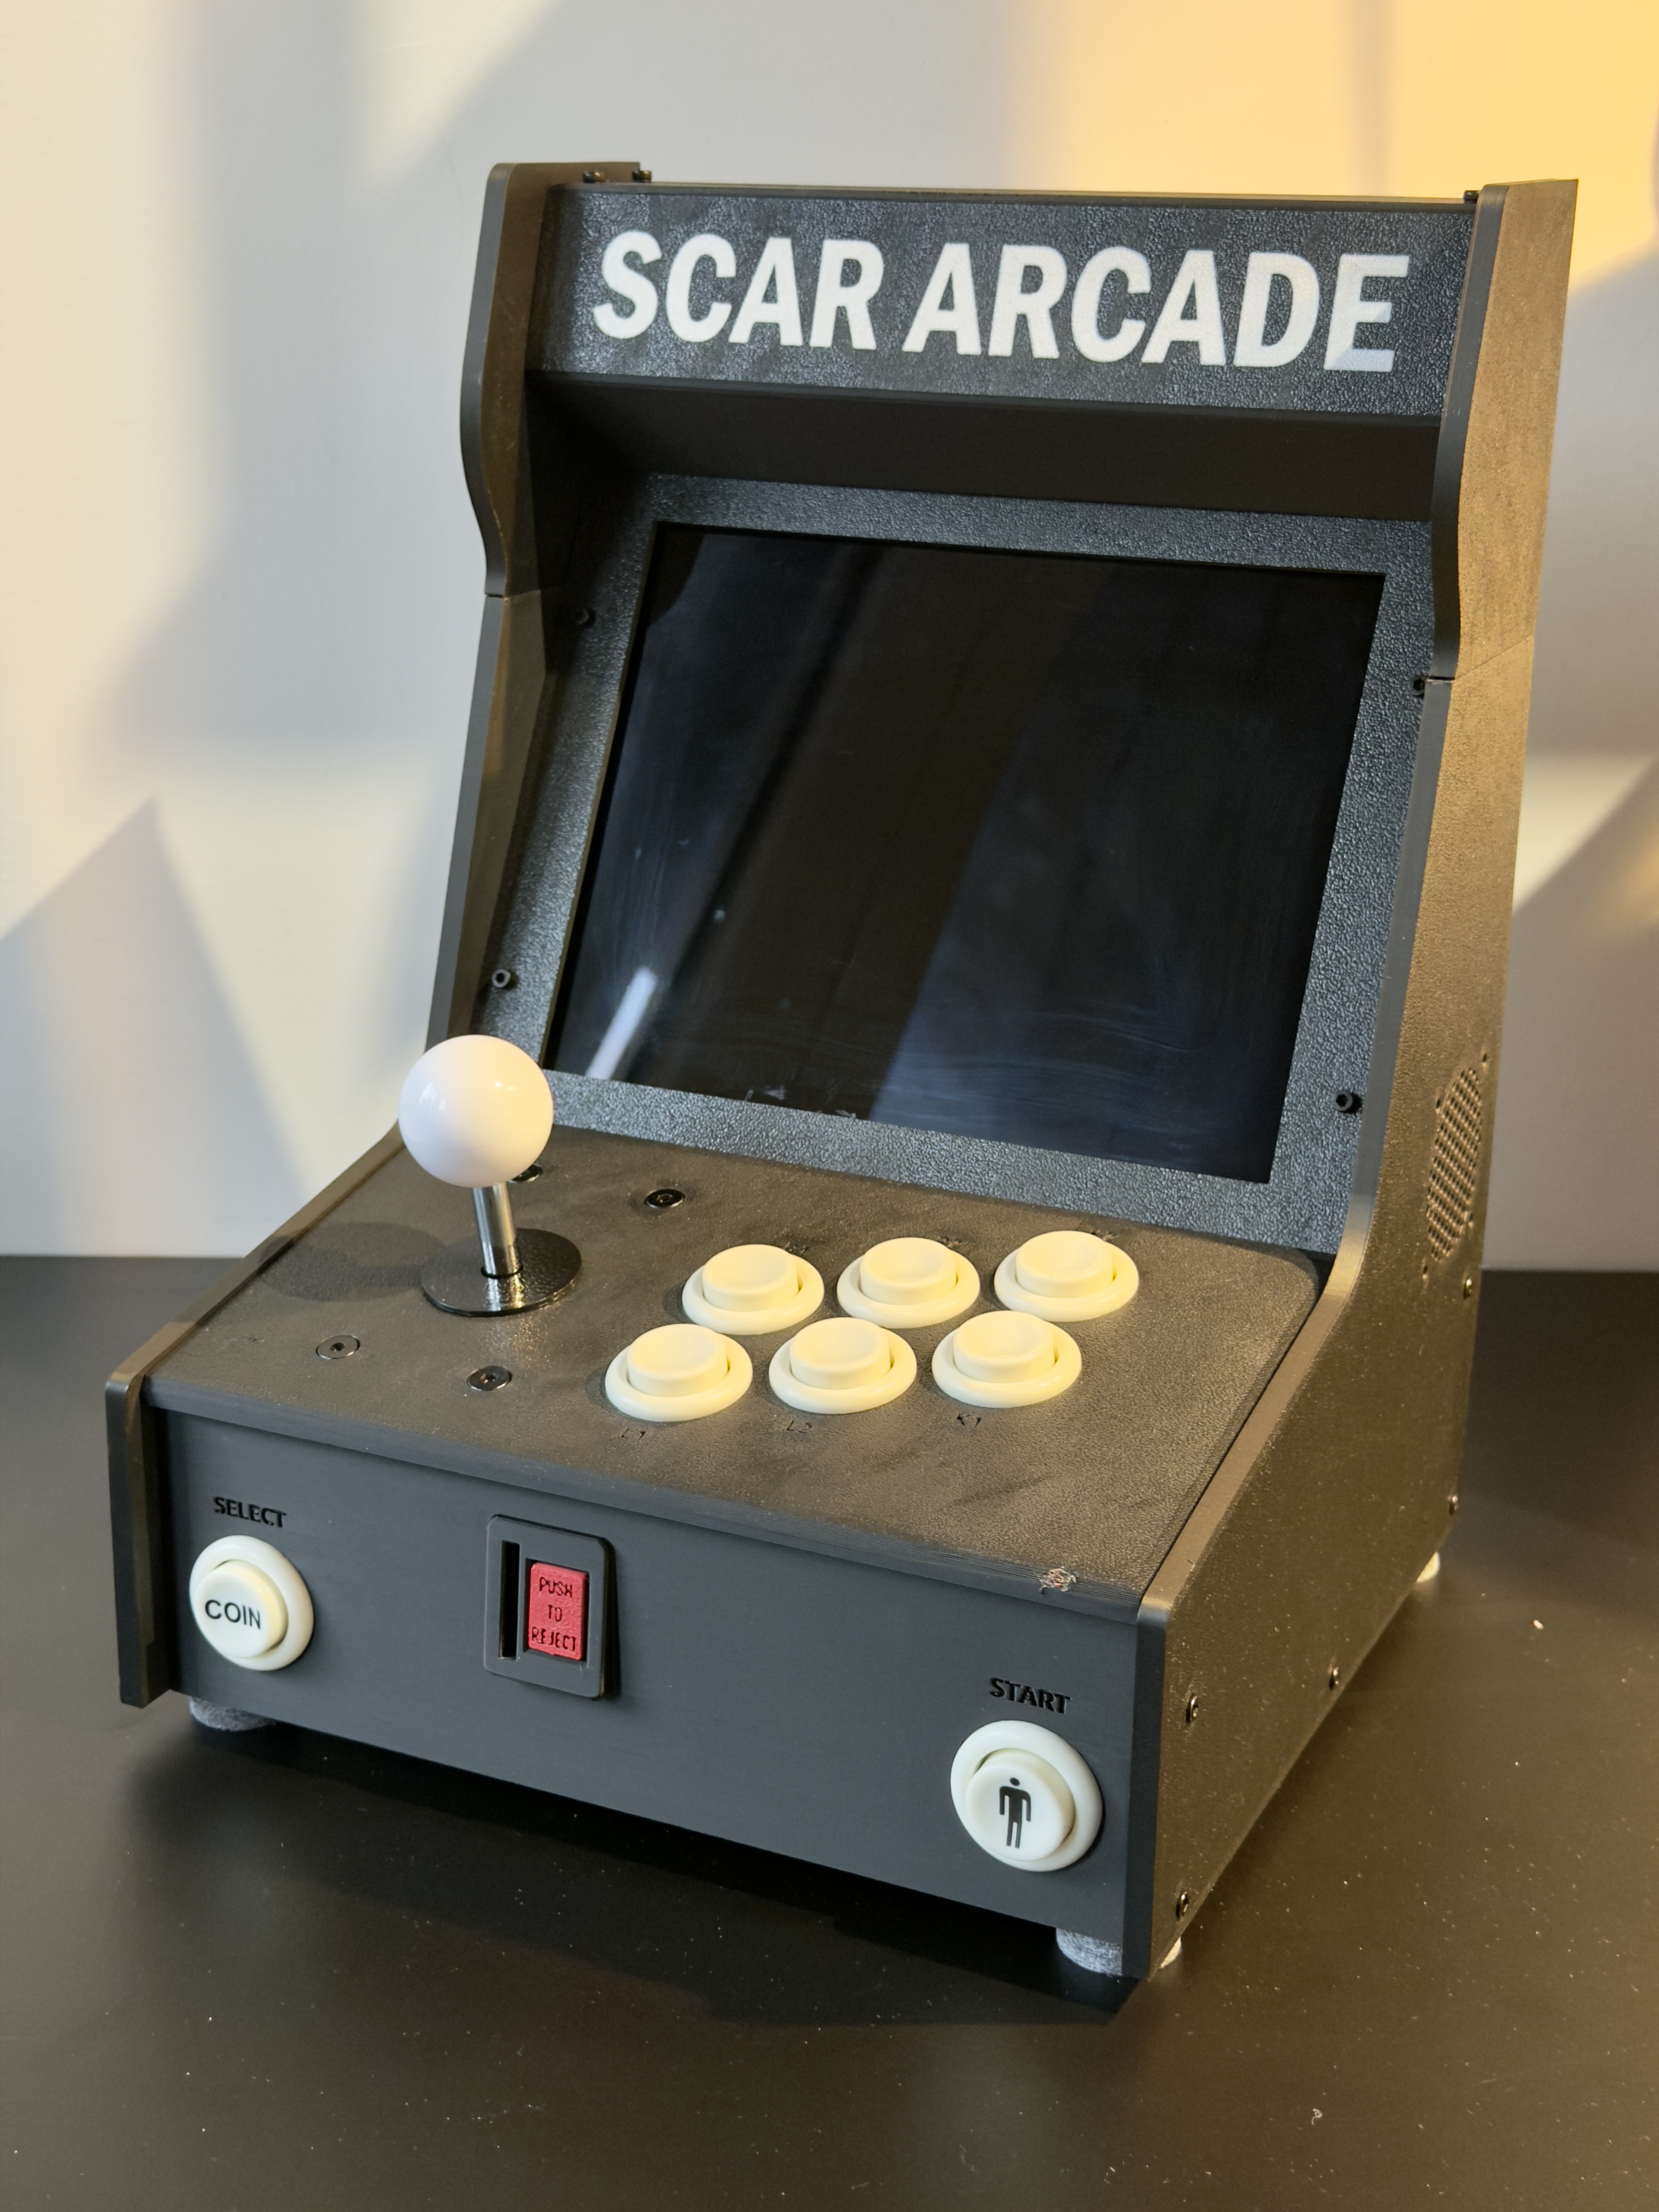
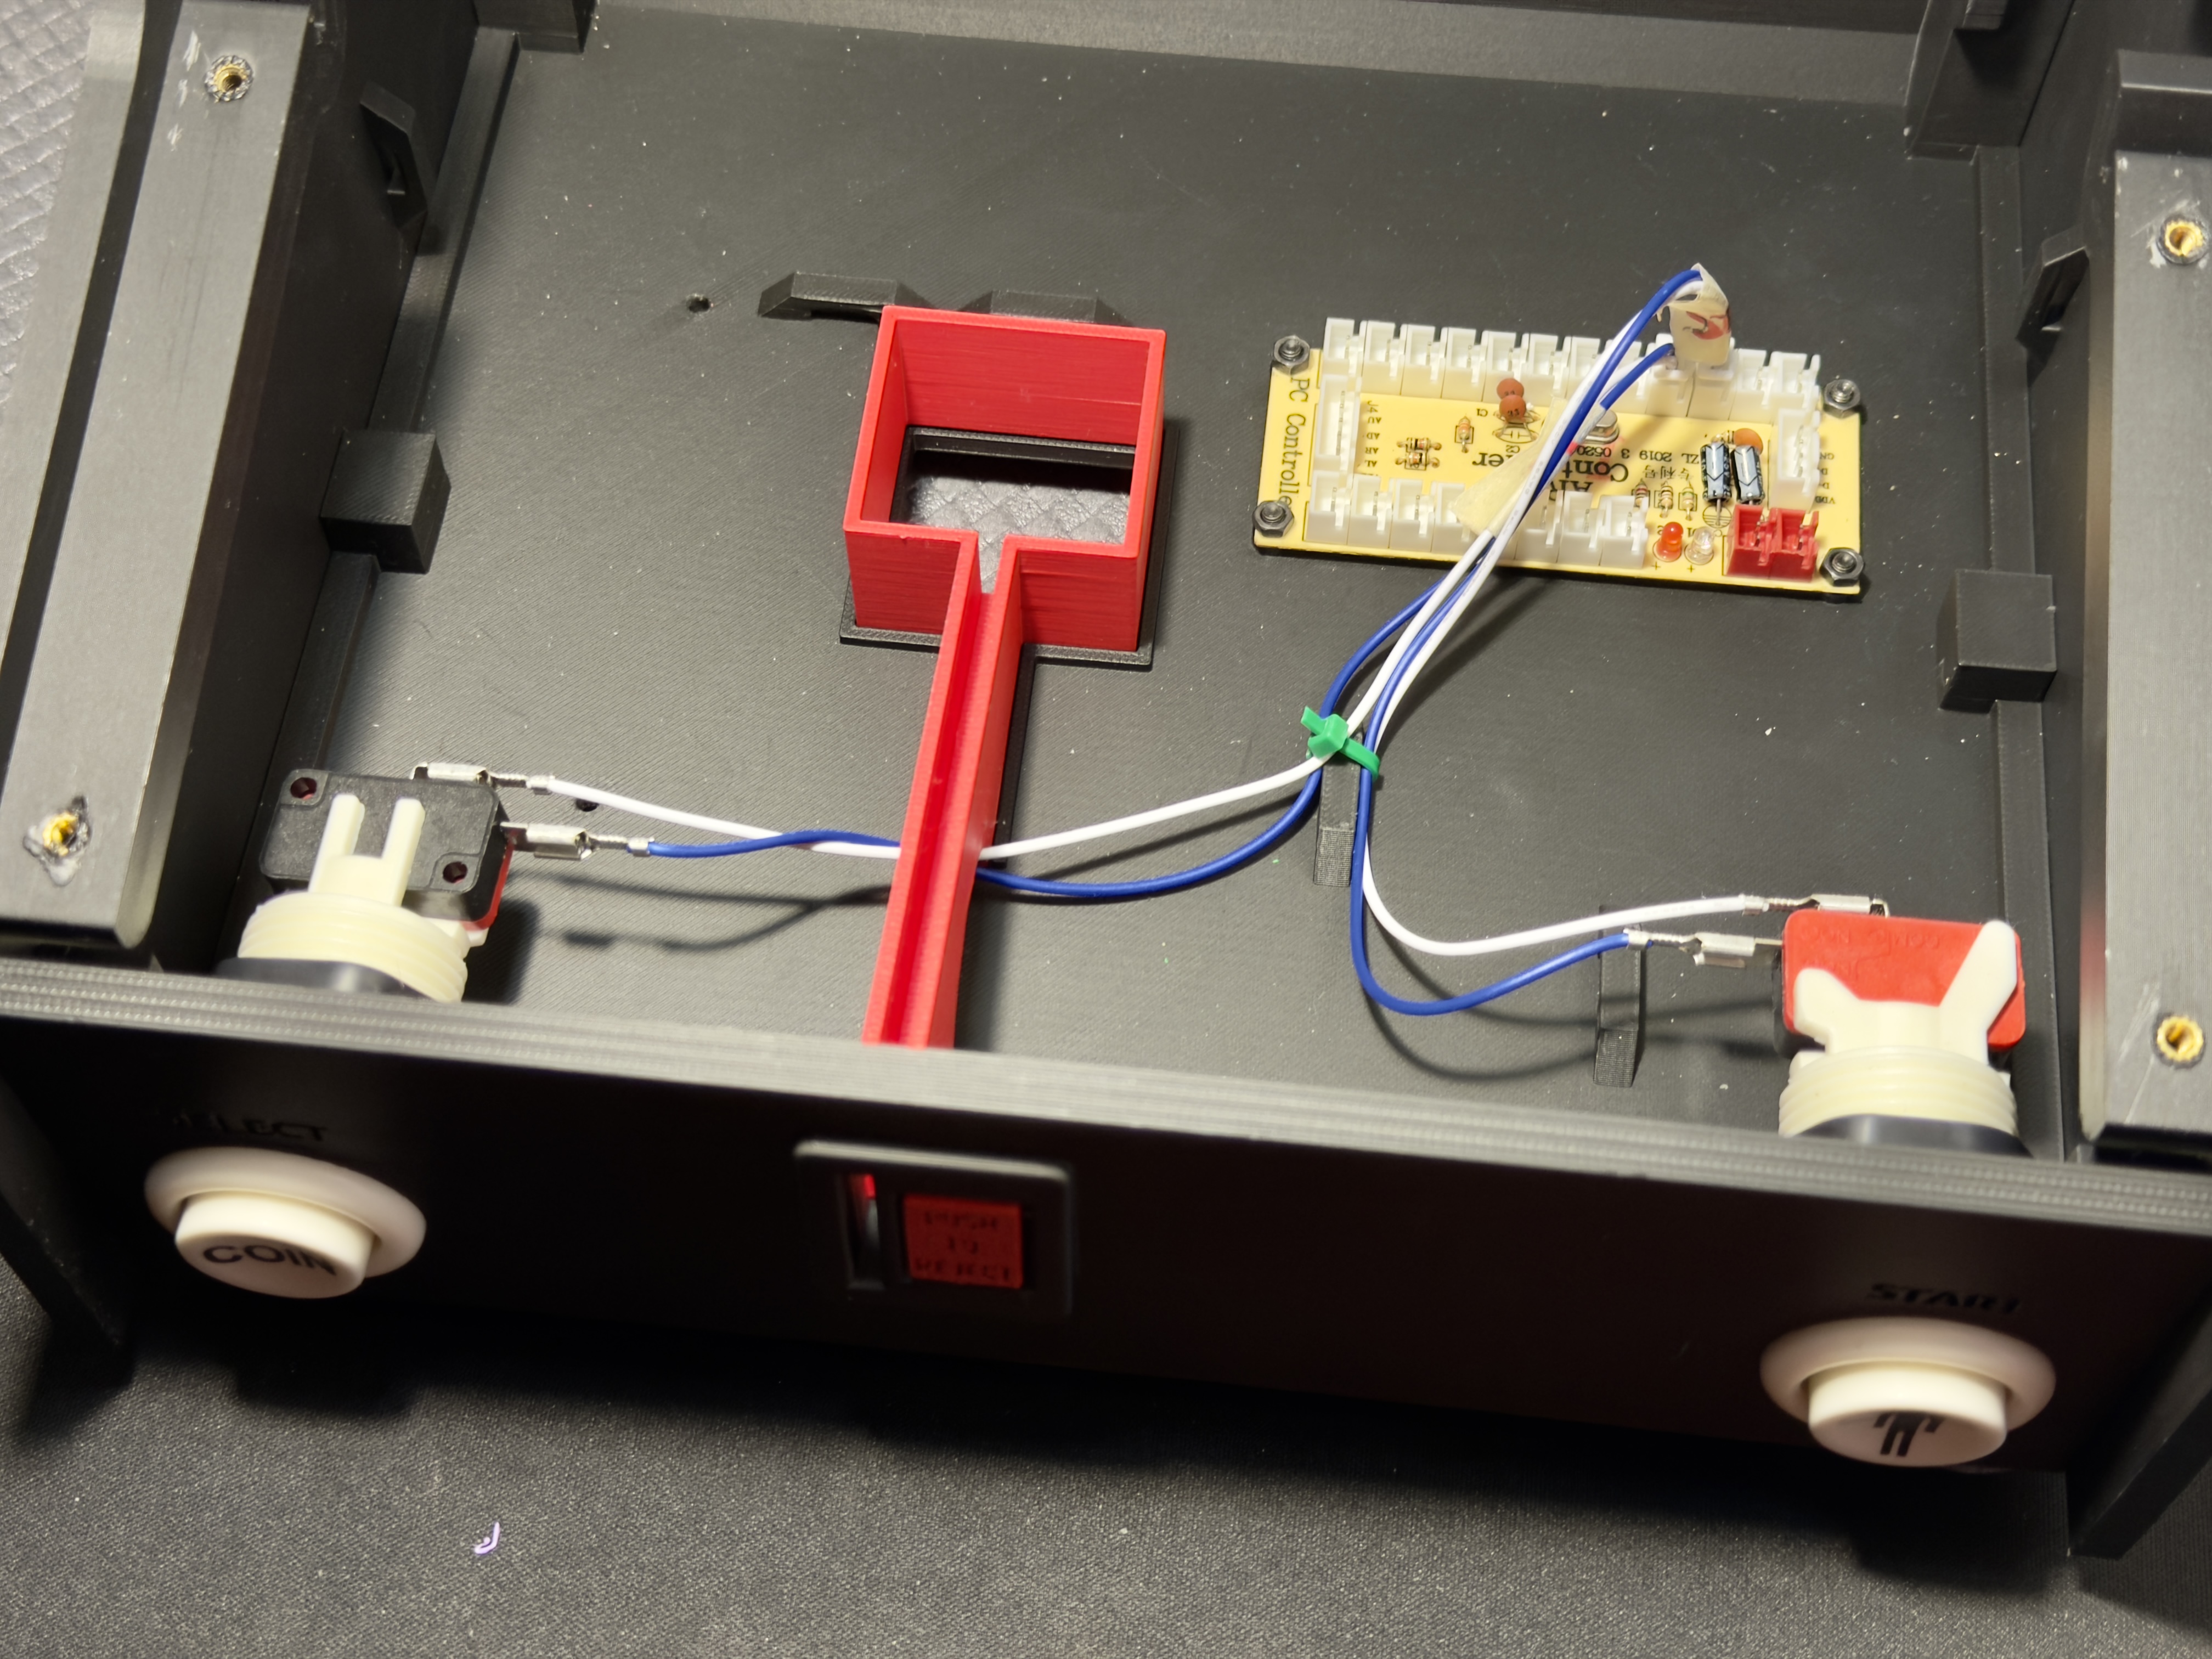
Some photos:
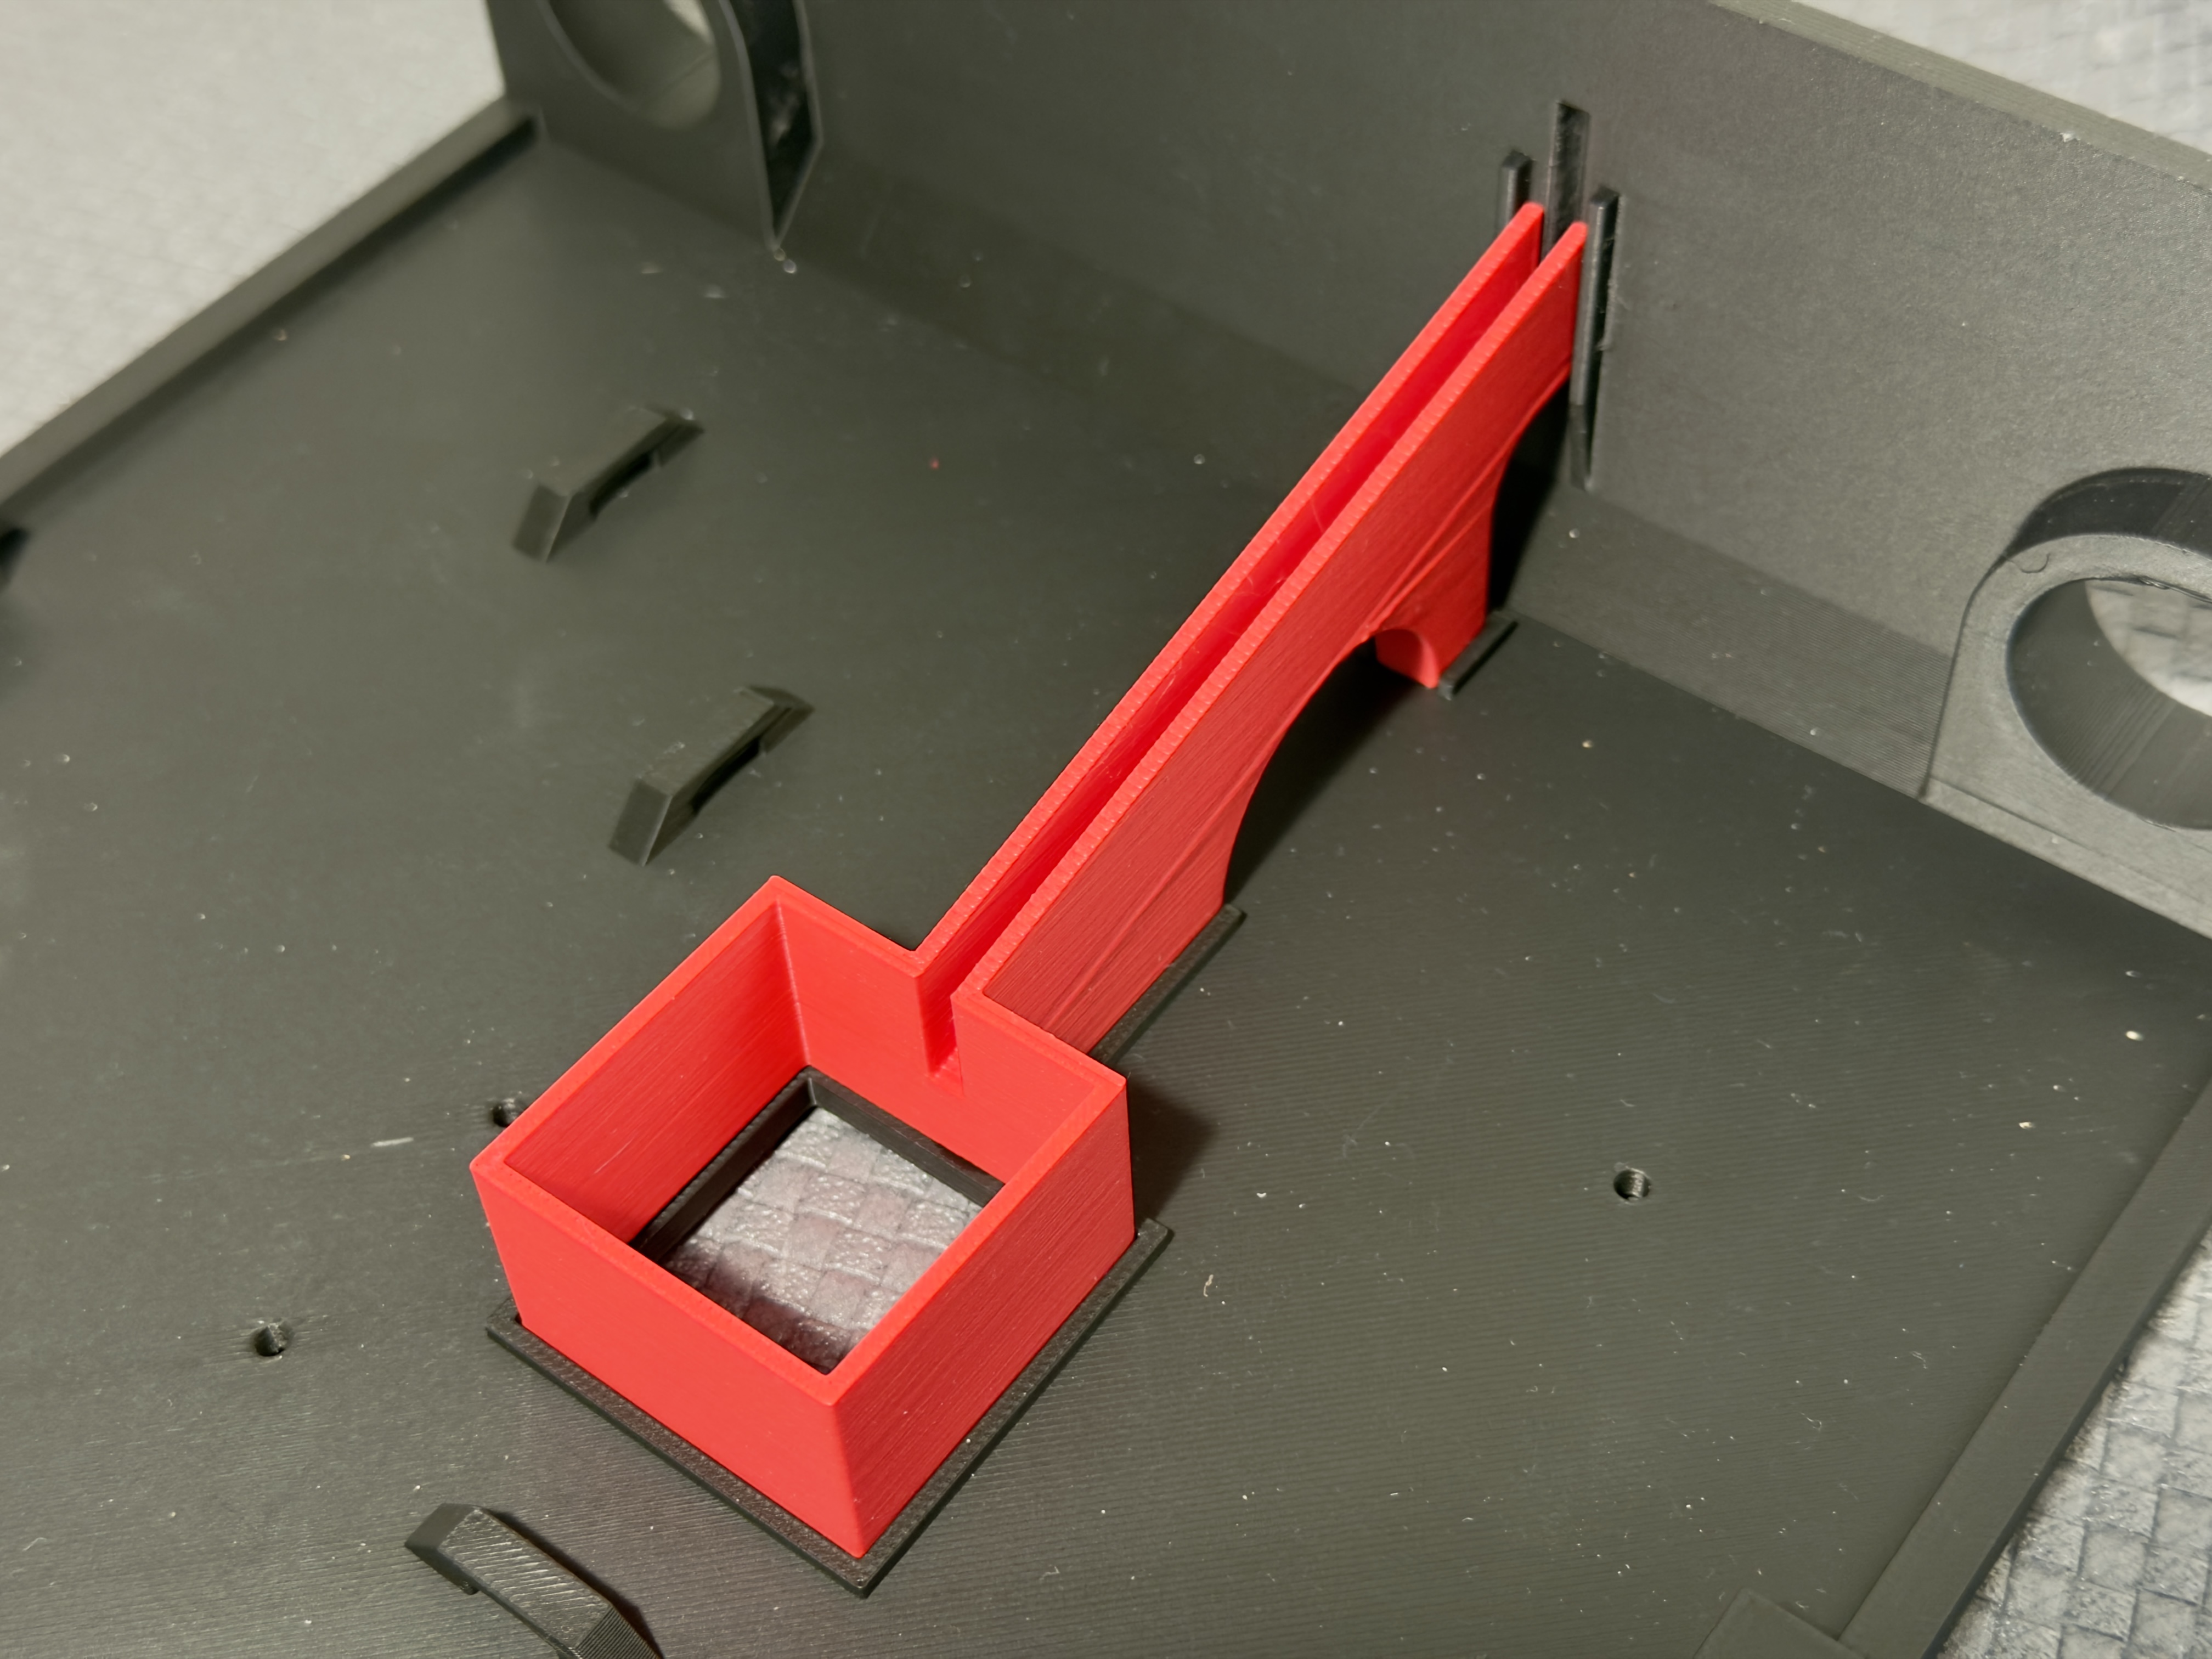 | 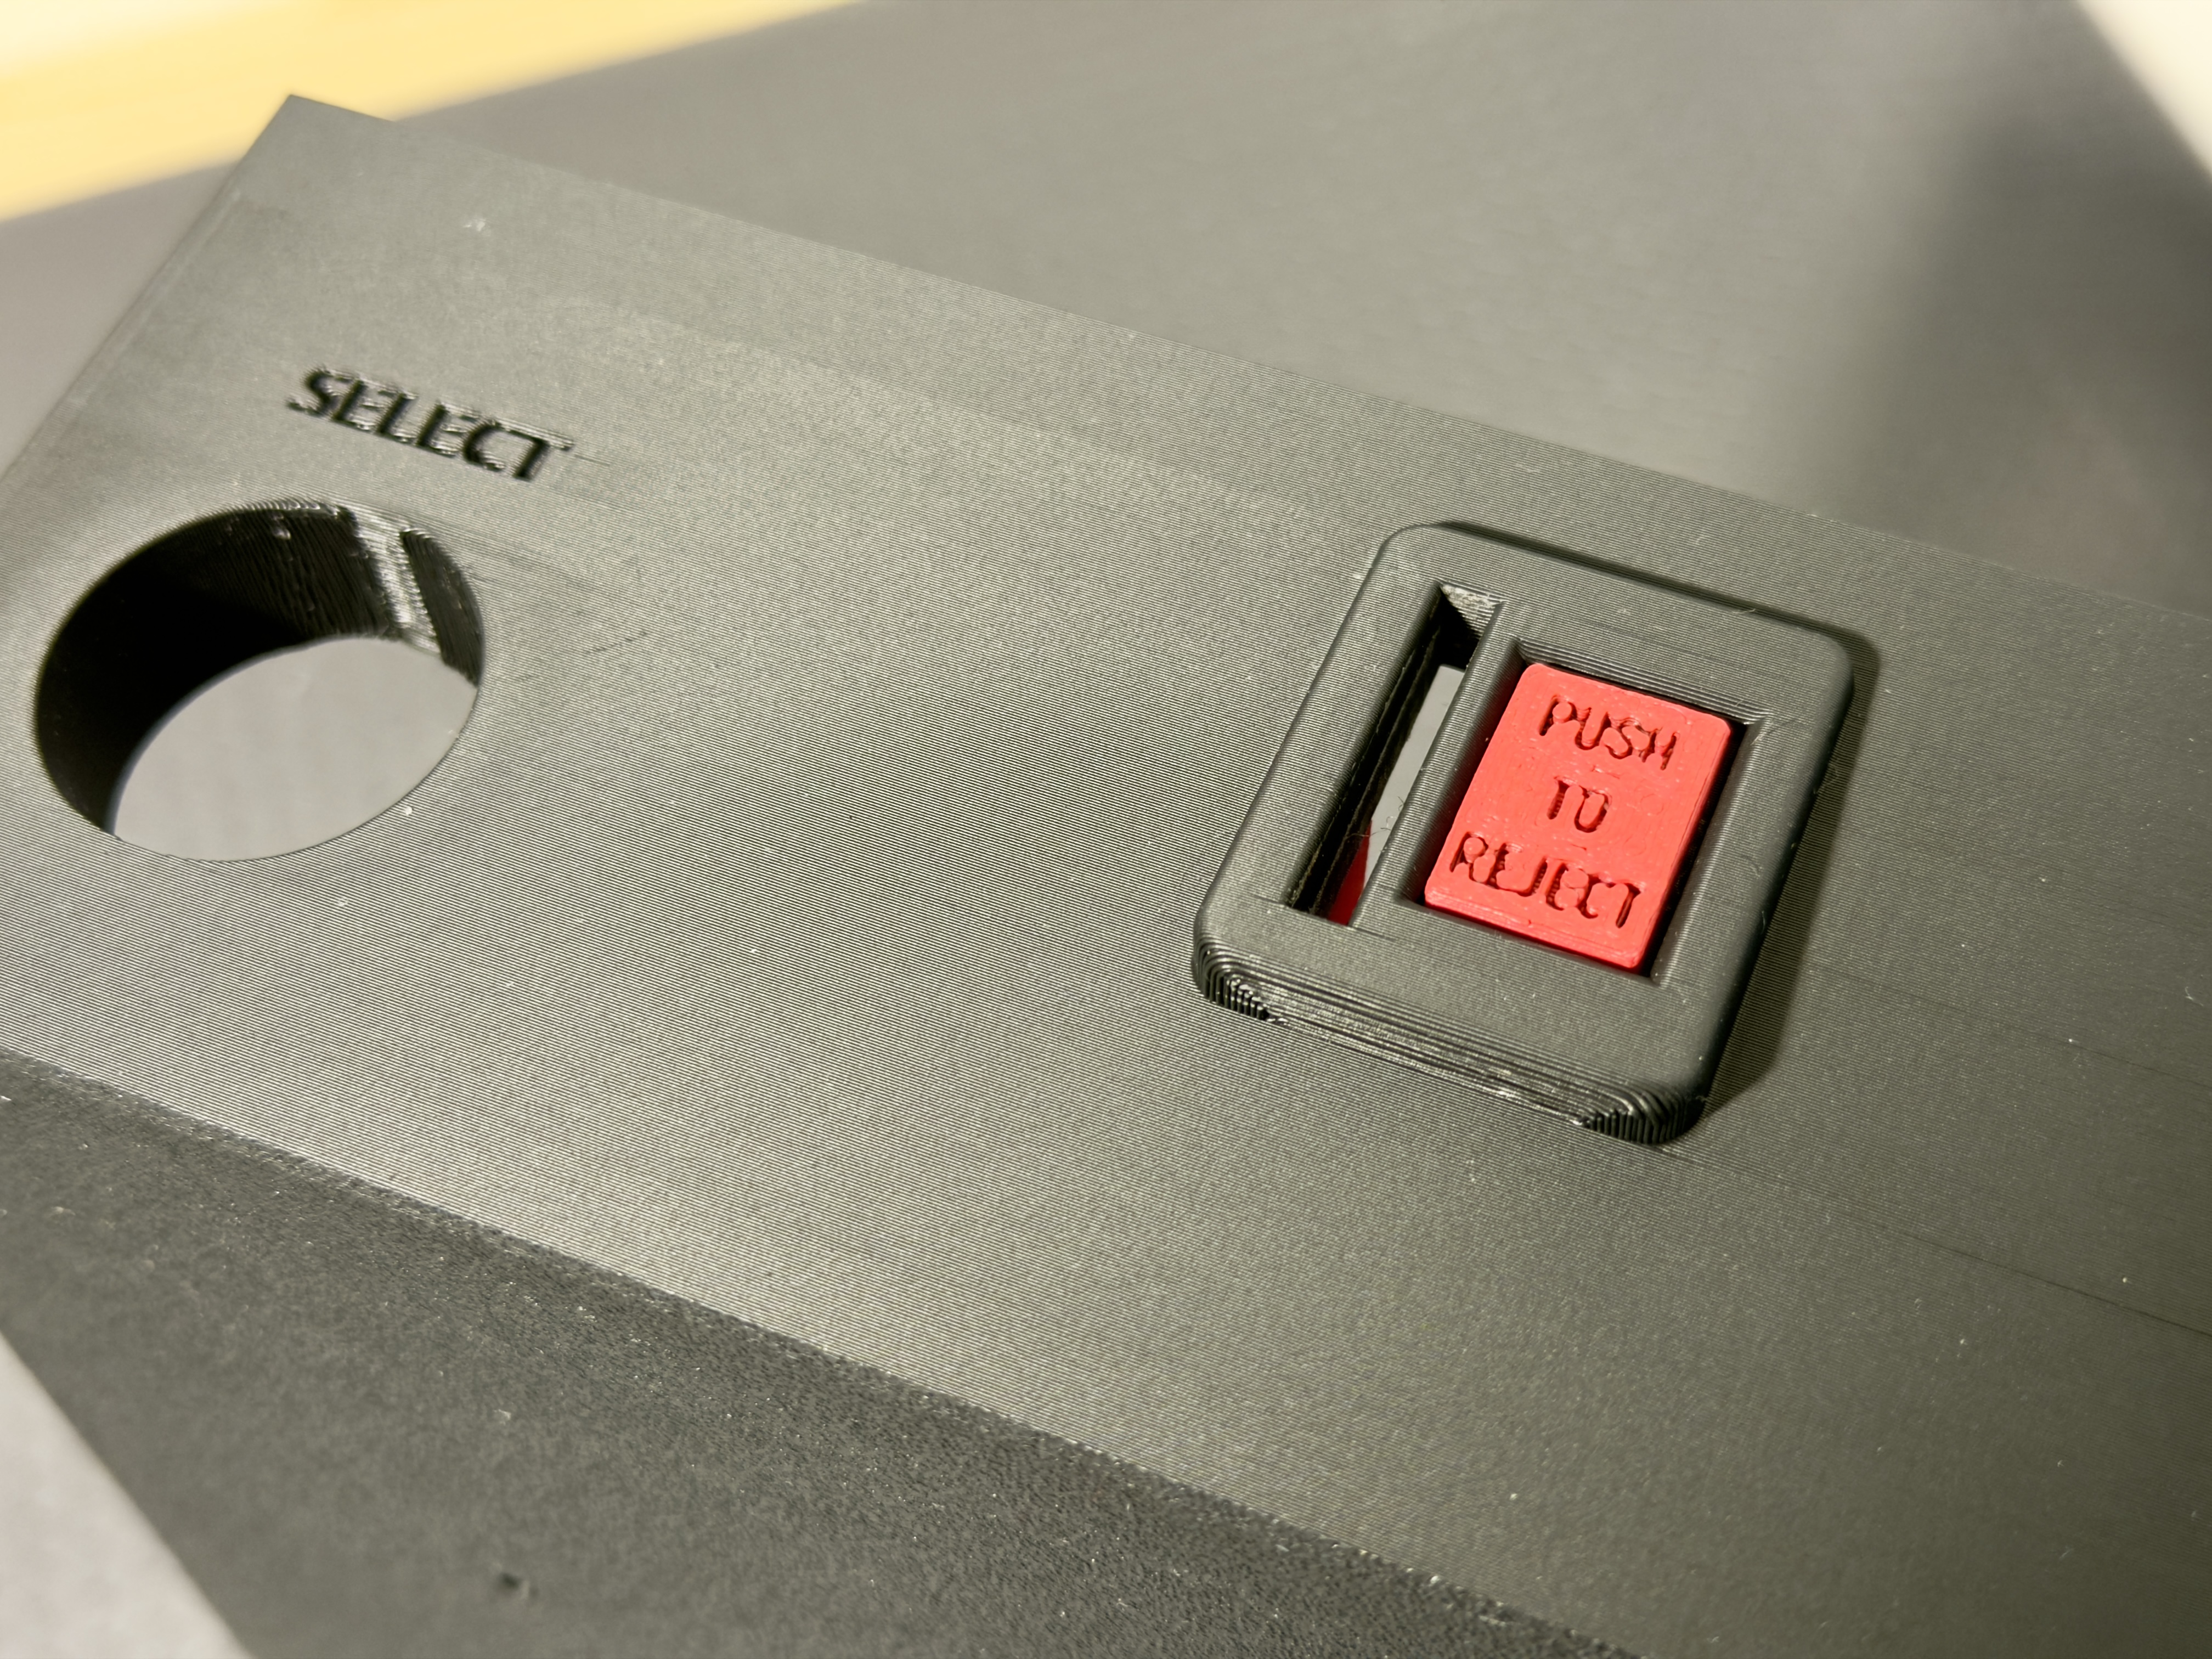 |
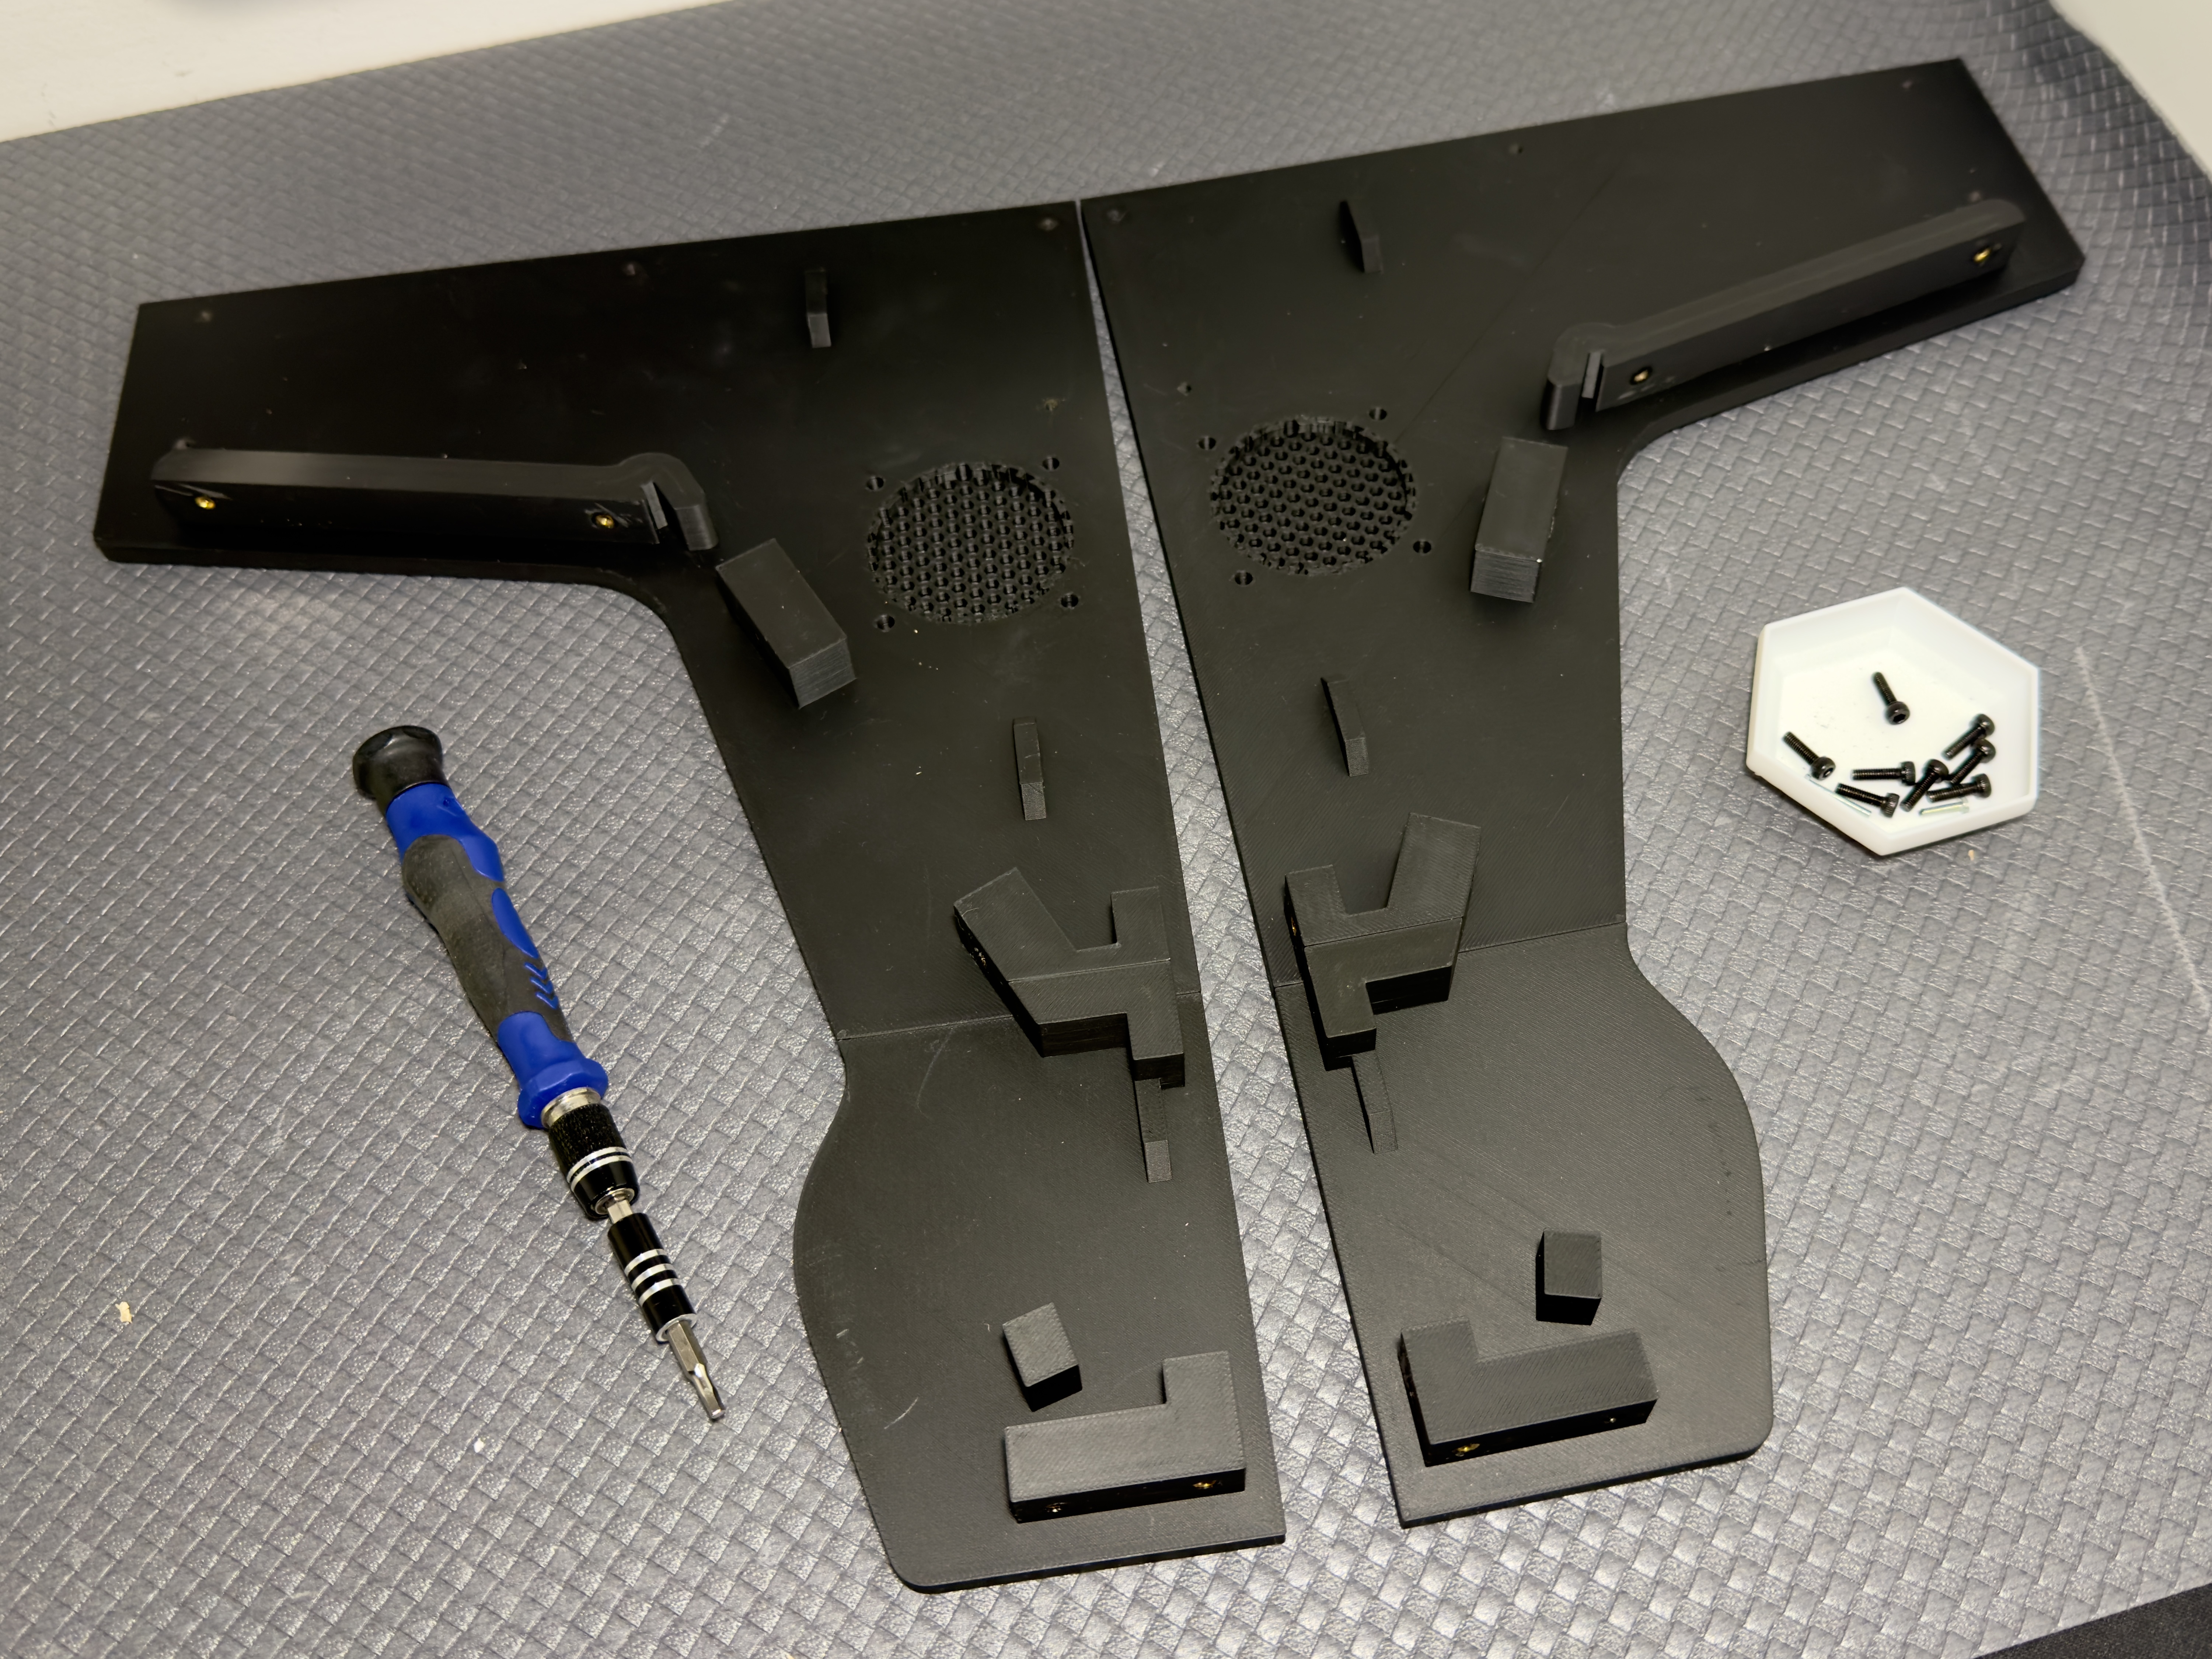 |  |
 |  |
 |  |
 |  |
 |  |
 |  |
 |  |
 |  |
Mini Bartop Arcade 1 Player

Publicado em 29 de jan de 2026
Gostou deste modelo? Crie uma conta grátis para salvar seus favoritos e voltar a eles depois.
Criar conta