Você está no 3DFinder
Buscamos em Thingiverse, MakerWorld e Printables ao mesmo tempo para te dar o melhor de cada uma.
Descrição
I present The BlockBox — This is my first 3D model. I designed this primarily for an aesthetic way to display my BitAxes on my office shelf.
(Please note: I have not tested the cooling aspect of this case. The 120mm fans should provide sufficient cooling to run miners at default settings but my plan was never to overlock within this case.)
Highlights
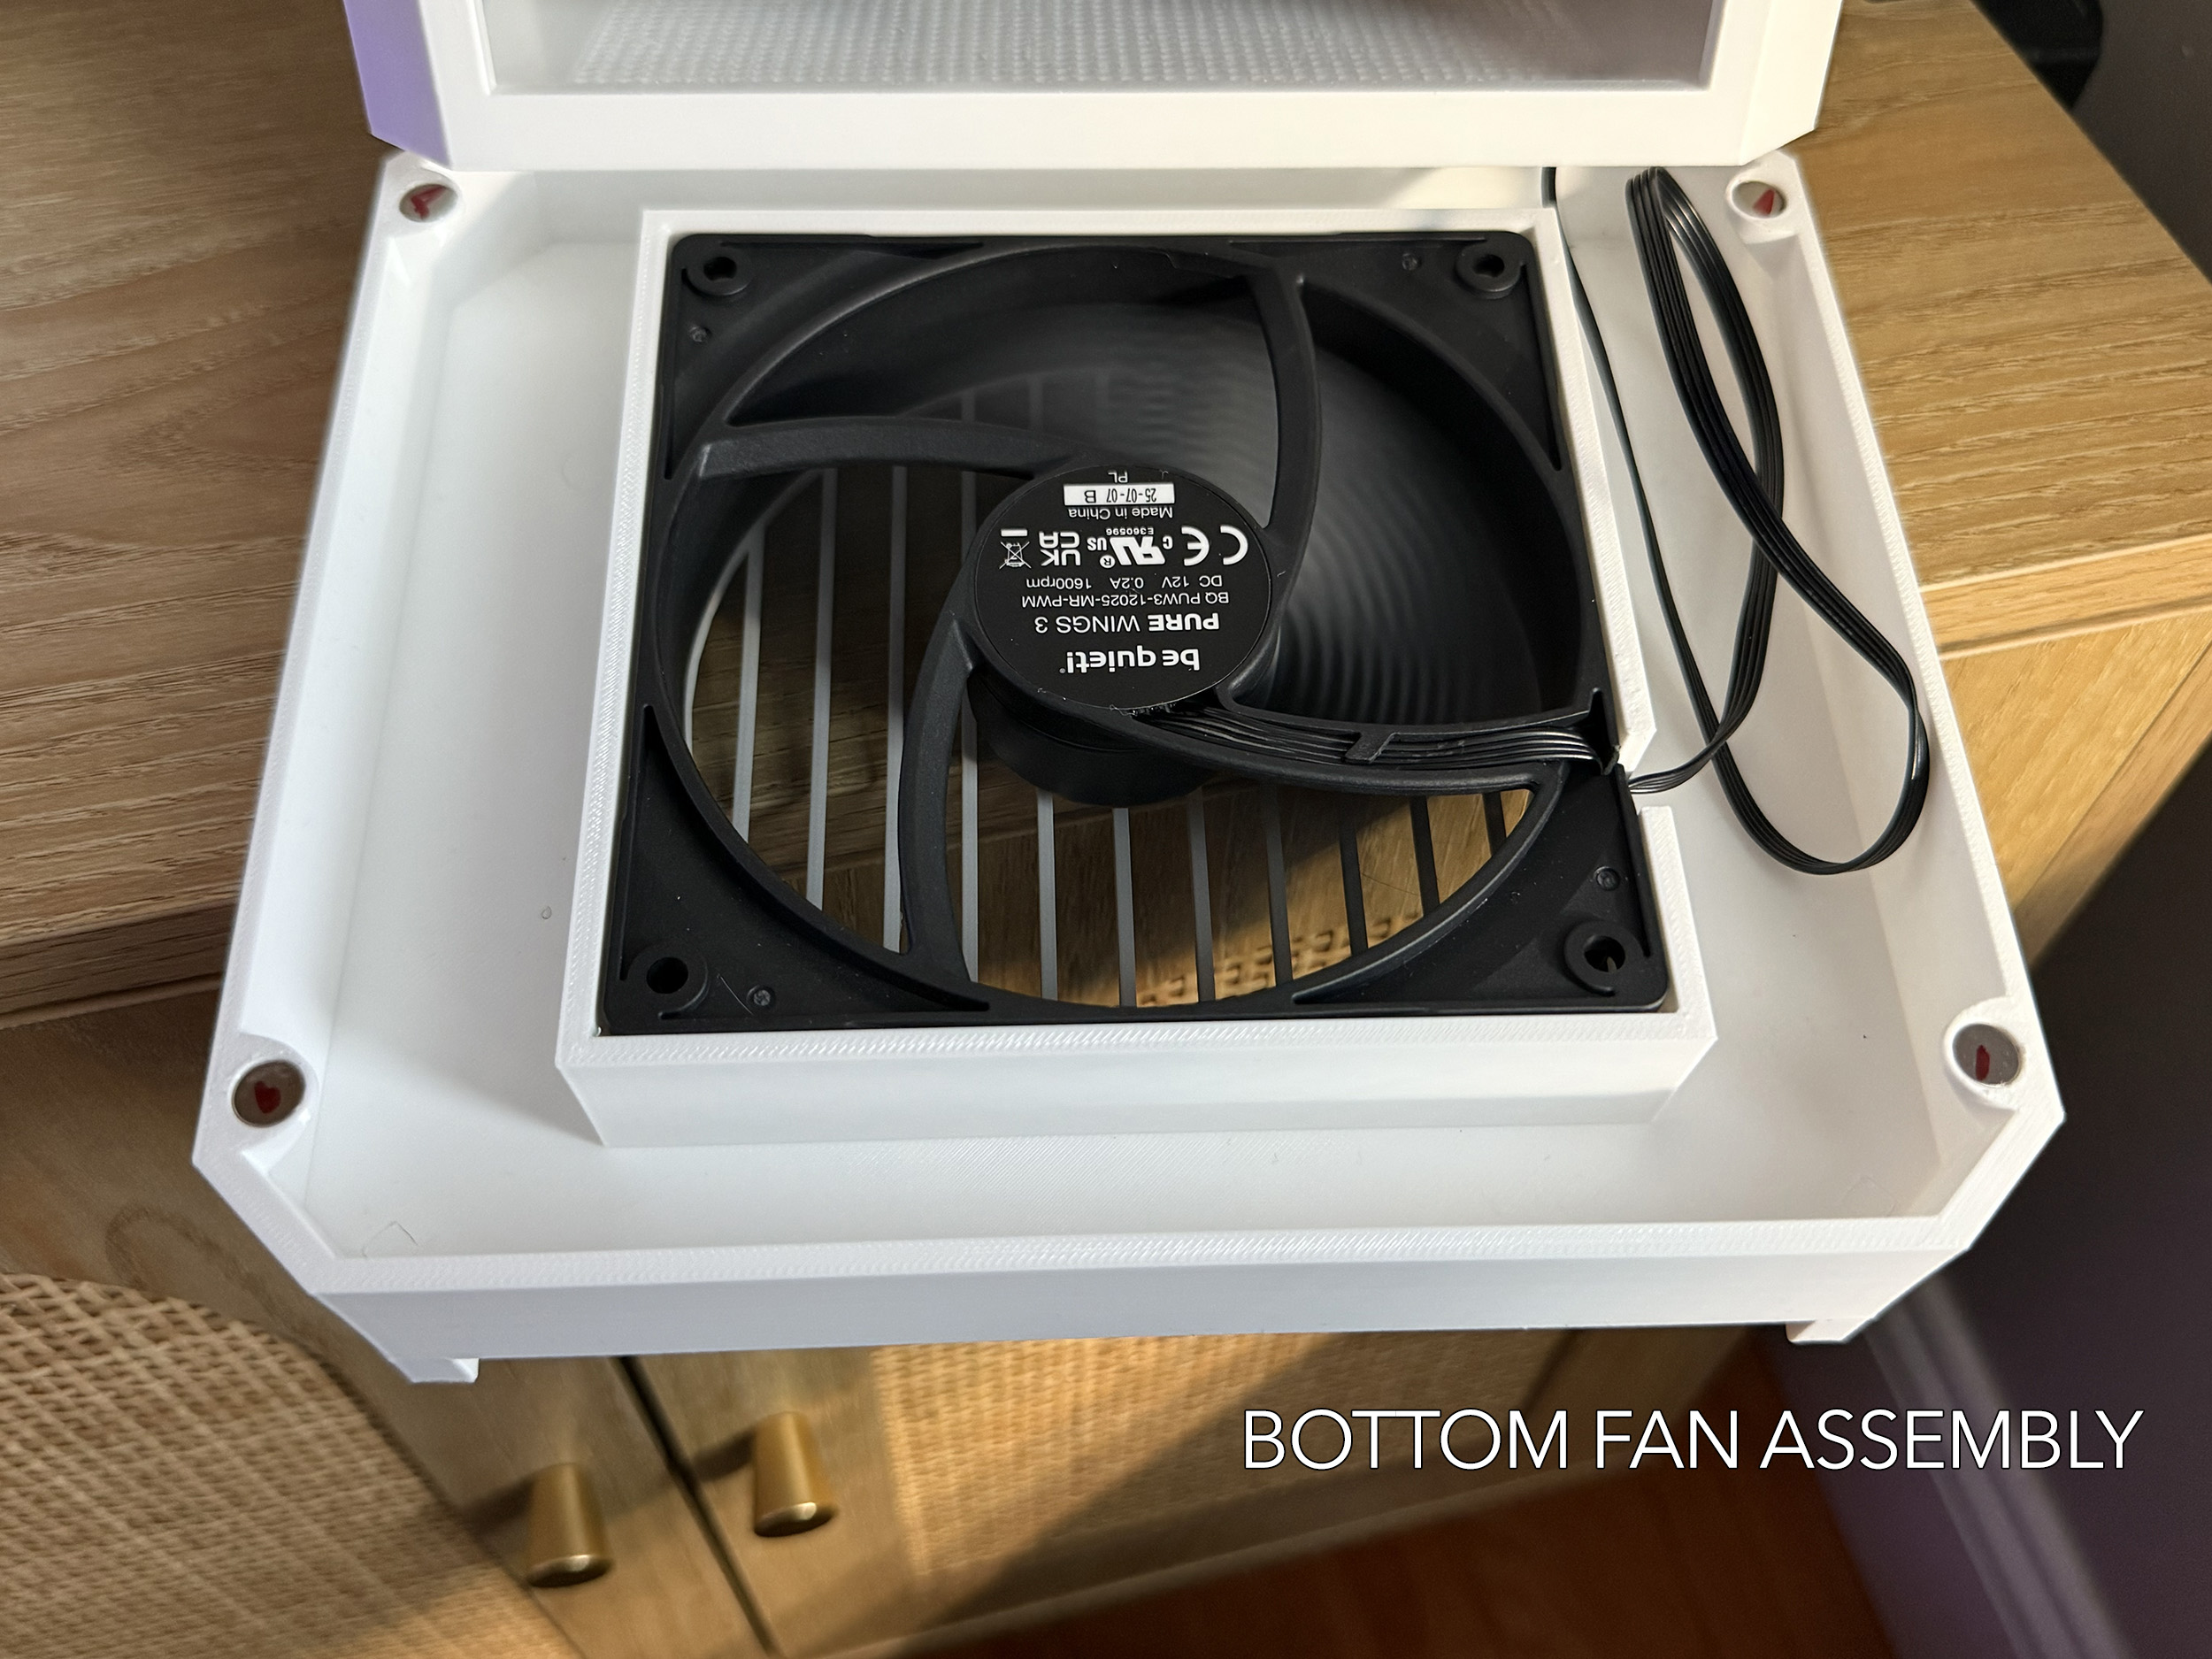
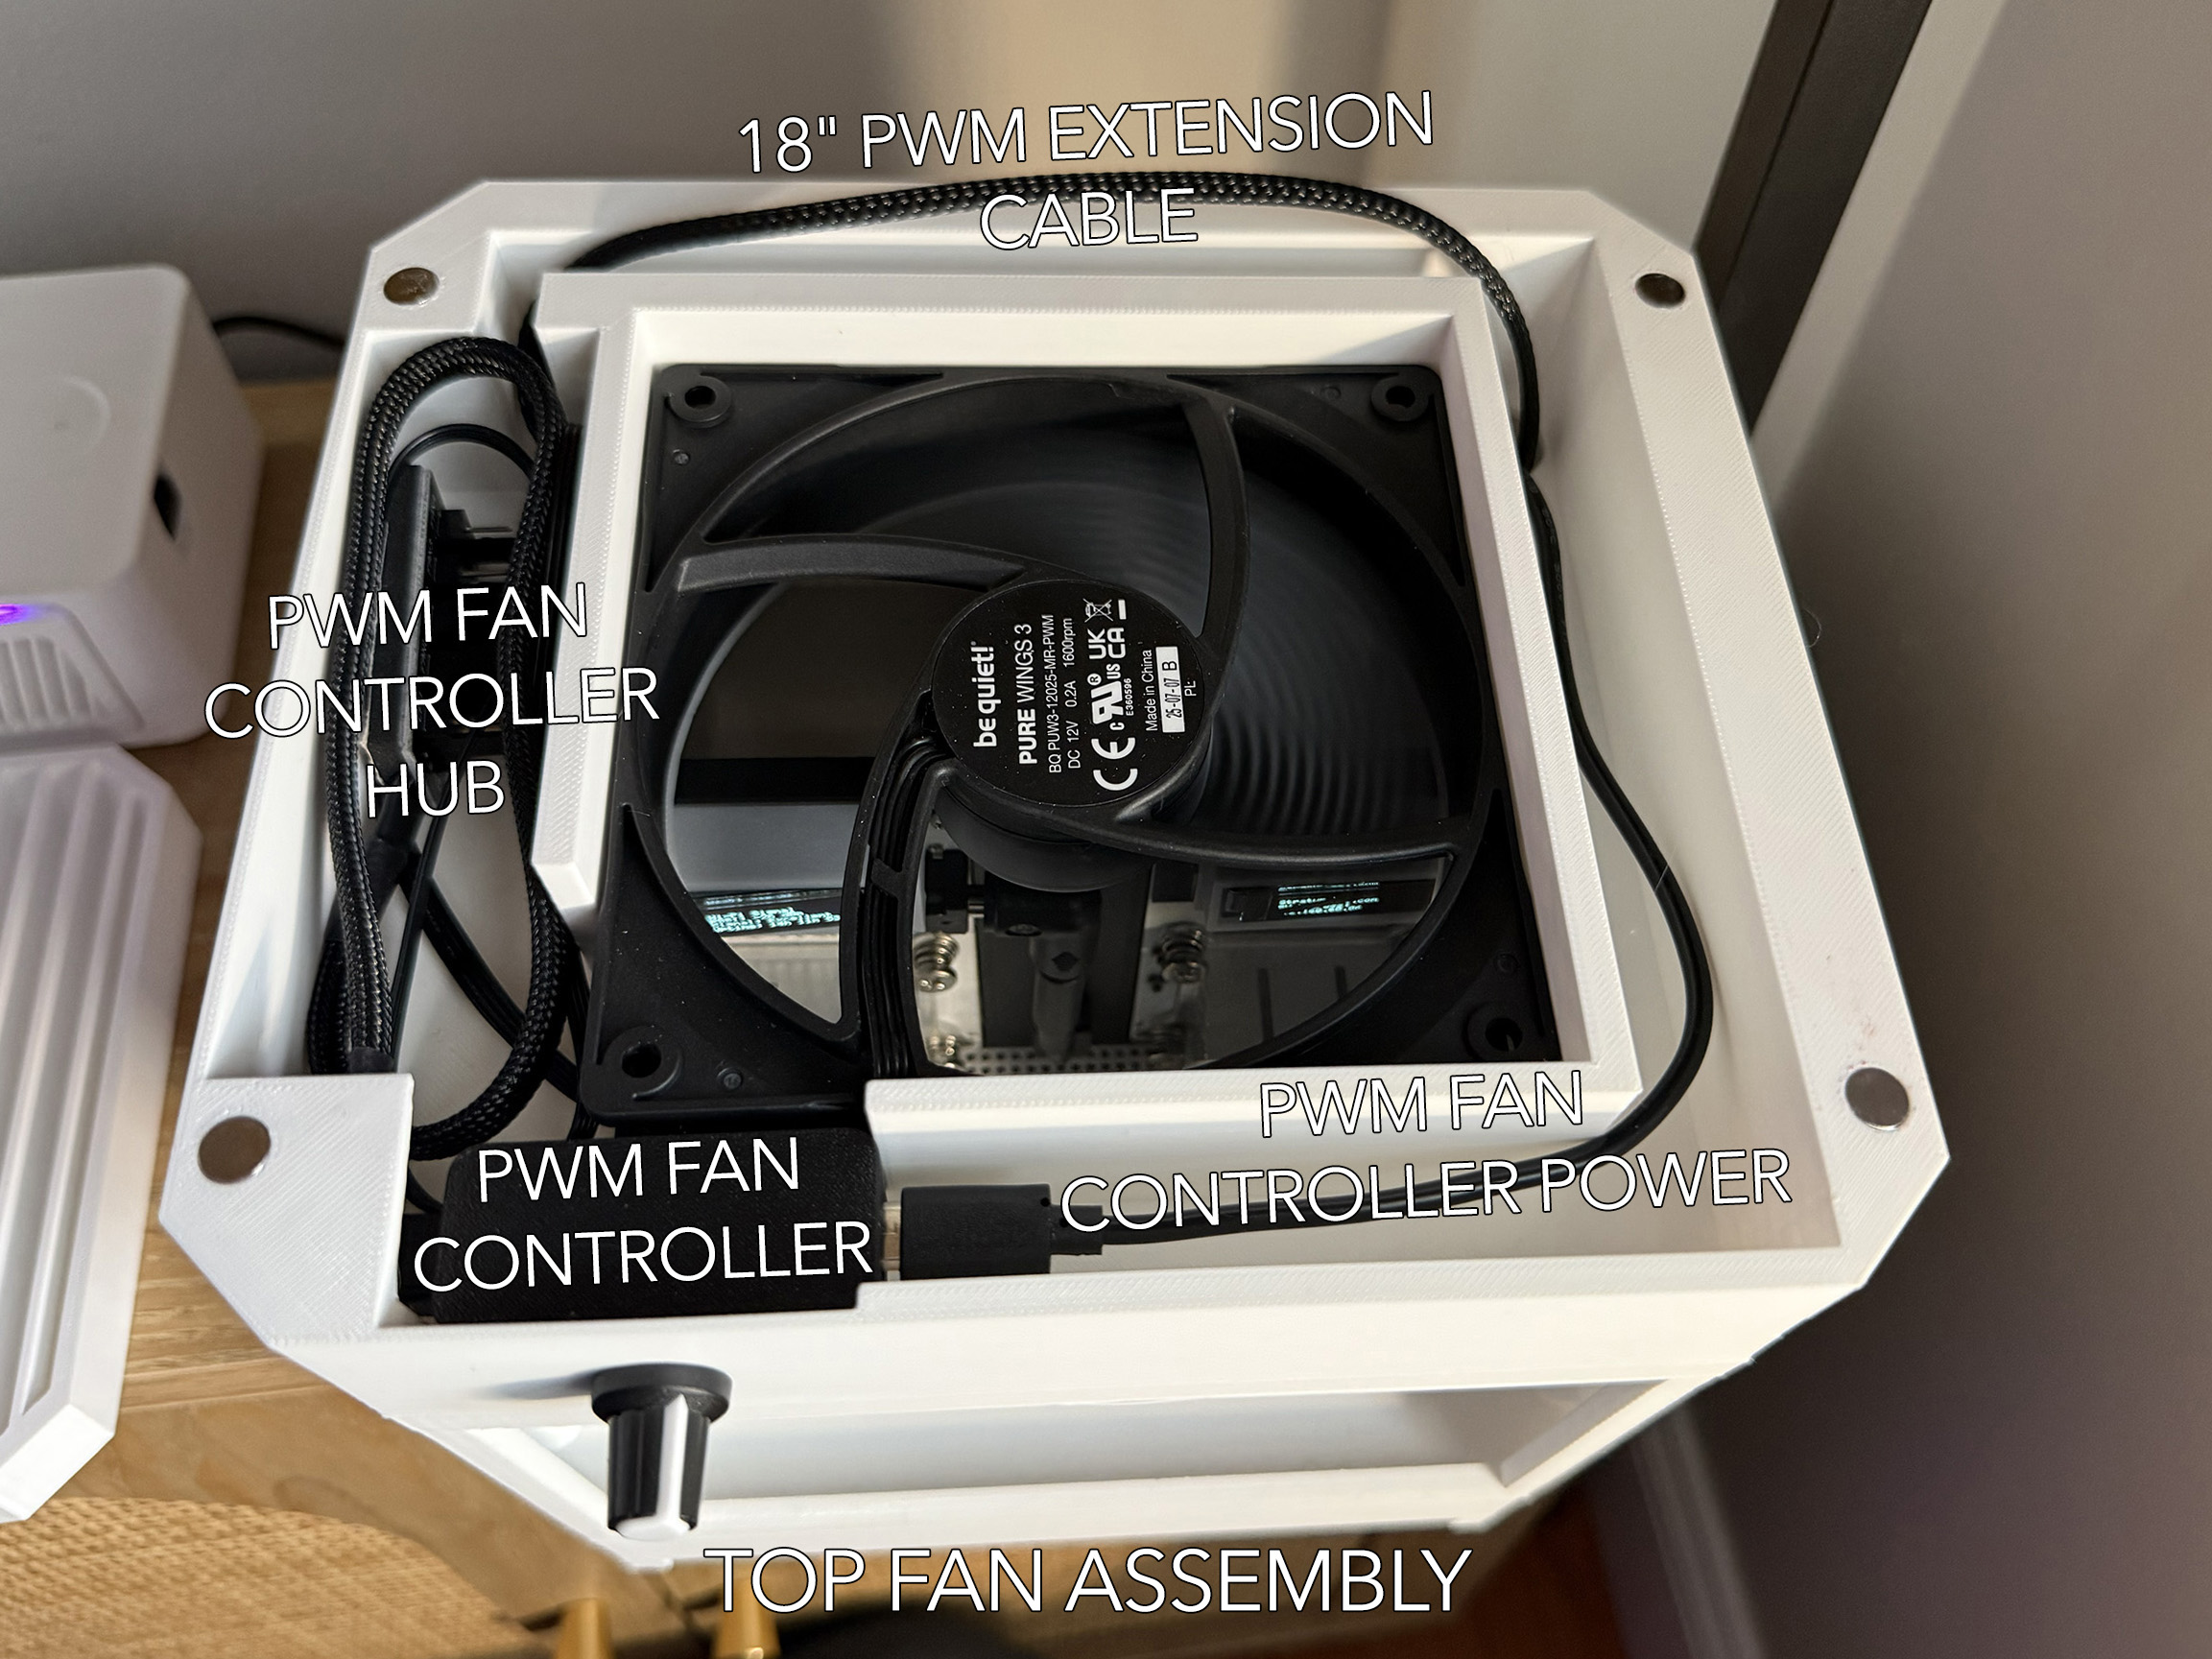
— Two 120mm fans pulling air from the bottom and exhausting through the top
— Fan controller located on the front of the case for easy adjustments
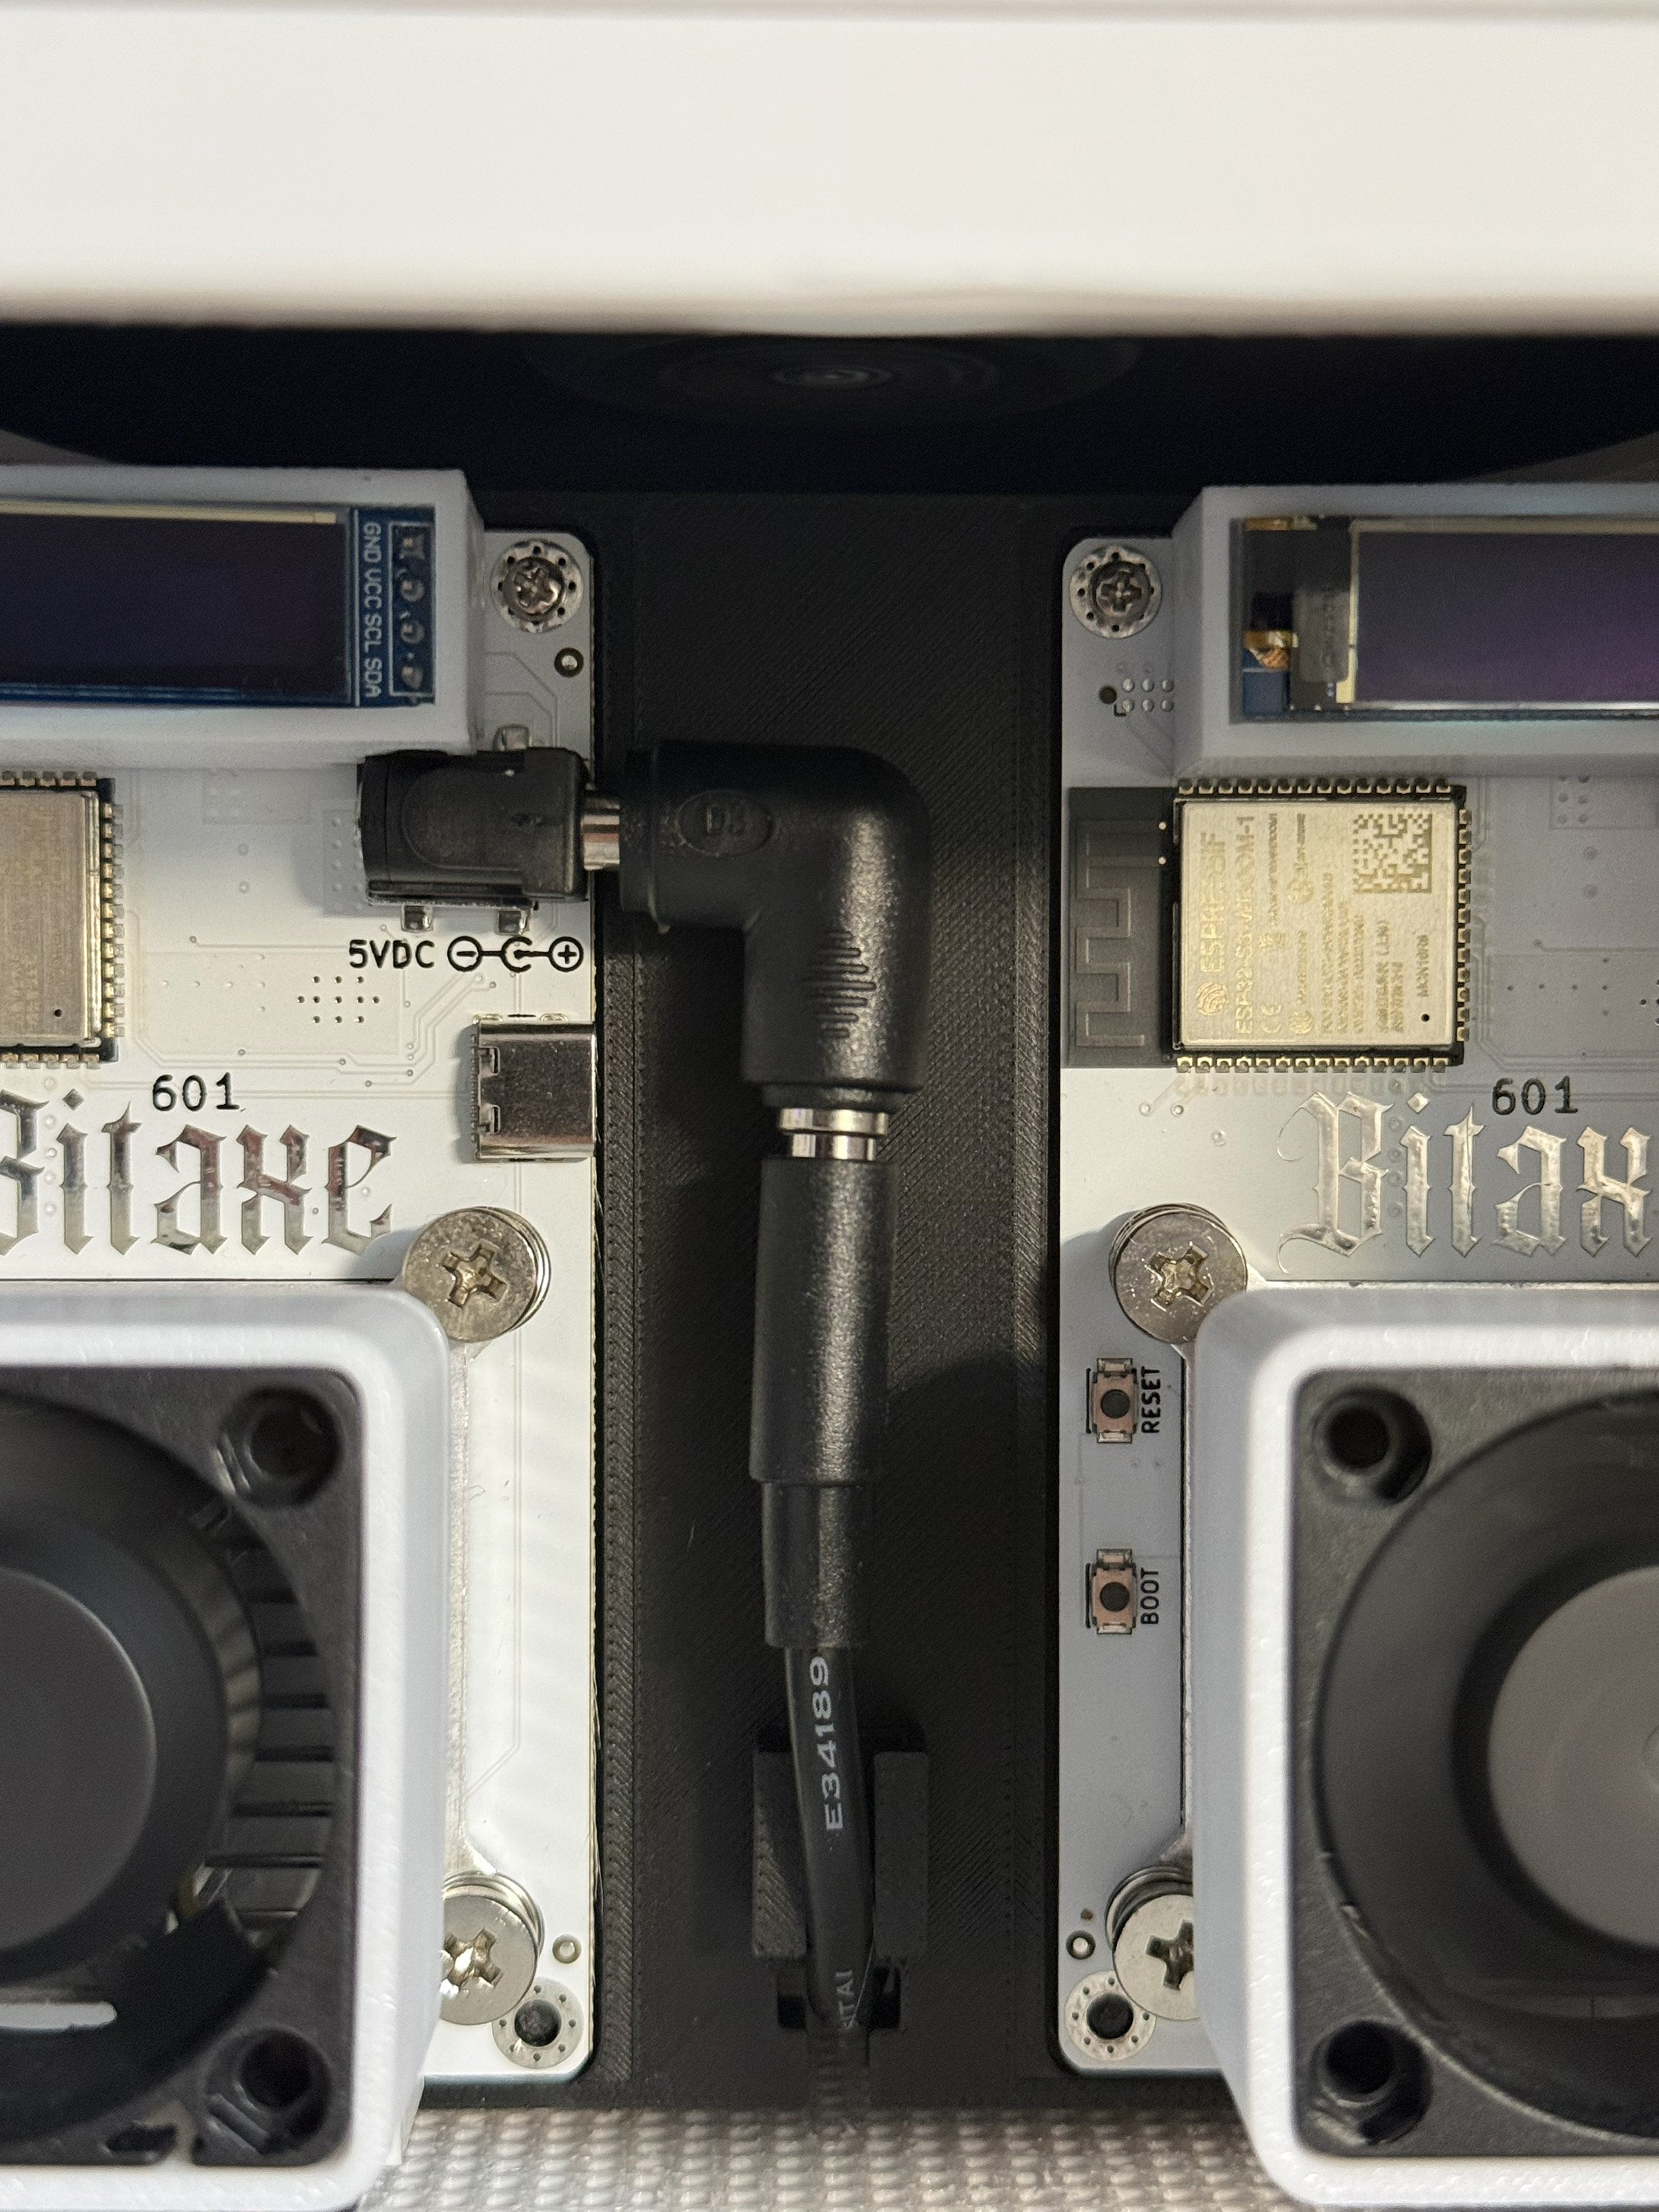
— Single board mount for Two BitAxe 601's. Slotted into the case for easy install and removal
— Space for PSU bricks in the case
Additional Components Needed
8x2mm Round Magnets — 24x – amazon
120mm Fans — 2x – amazon
18" PWM Extension Cable — 1x – amazon
PWM Fan Controller — 1x – amazon
90° Elbow Charging Connectors — 2x – amazon
Acrylic Sheet — 1x - amazon
Assembly
Note – I have not installed my acrylic front panel as of yet - The measurements for this should be 170mm x 110mm. The easiest step to do this would be after step 12 before installing the top fan section. My plan was just for a couple dabs of glue.
- Mount BixAxe's to Mounting Board and set aside
- Install 8x2mm magnets to each of the 24x holes. I suggest a dab of glue to keep them in place. Allow a few minutes to dry. (Note: It is very very important you triple check the direction of your magnets. If you they're flipped the wrong way the sections won't align and you will have to reprint an entire part. Yes this happened to me)
- Snap case feet onto the bottom fan mount - Some force will be needed.
- Mount 120mm fan to bottom fan mount with included screws. Be sure the fan is pointed in the right direction. It should be blowing air into the case, pulling air from the bottom.
Attach 18" PWM Extension Cable to the bottom fan
- Attach 120mm fan to top fan mount with included screws. Again, be sure the fan is blowing air in the right direction.
- Install PWM Fan Controller - Pull knob off and push metal stem through the hole and reinstall plastic knob. This will be enough to hold the unit in place.
- Place Fan Controller Hub in designated spot. (I would not use the adhesive for the hub - This area is a little too snug.) Plug top fan into hub.
- Time to bring things together – Assemble the bottom fan section and BlockBox Case by running the 18" PWM Extension Cable through the back right hole in the BlockBox case. The magnets should be align and The BlockBox case should be resting on the bottom fan section.
Pull in PWM Fan Controller power cord to the BlockBox Case from rear. Group with 18" PWM Extension Cable
- Install PSU bricks or Pull in power cords to BlockBox Case.
Slide in BitAxe Mounting Board and Attach 90° Elbow Charging Connector. Mounting board has slots for cables to nearly tuck under the board.
- Install top fan section – Pull 18" PWM Extension Cable & PWM Fan Controller power cord through back right hole of top fan section. Plug fan into PWM Fan Controller Hub. And plug power cord into PWM Fan Controller.
- Place top fan section onto BlockBox and organize cables.
- Place top fan grille on top.
Plug in and test.