Você está no 3DFinder
Buscamos em Thingiverse, MakerWorld e Printables ao mesmo tempo para te dar o melhor de cada uma.
Descrição
Cable Winder + Cordless Drill Wind Up Function
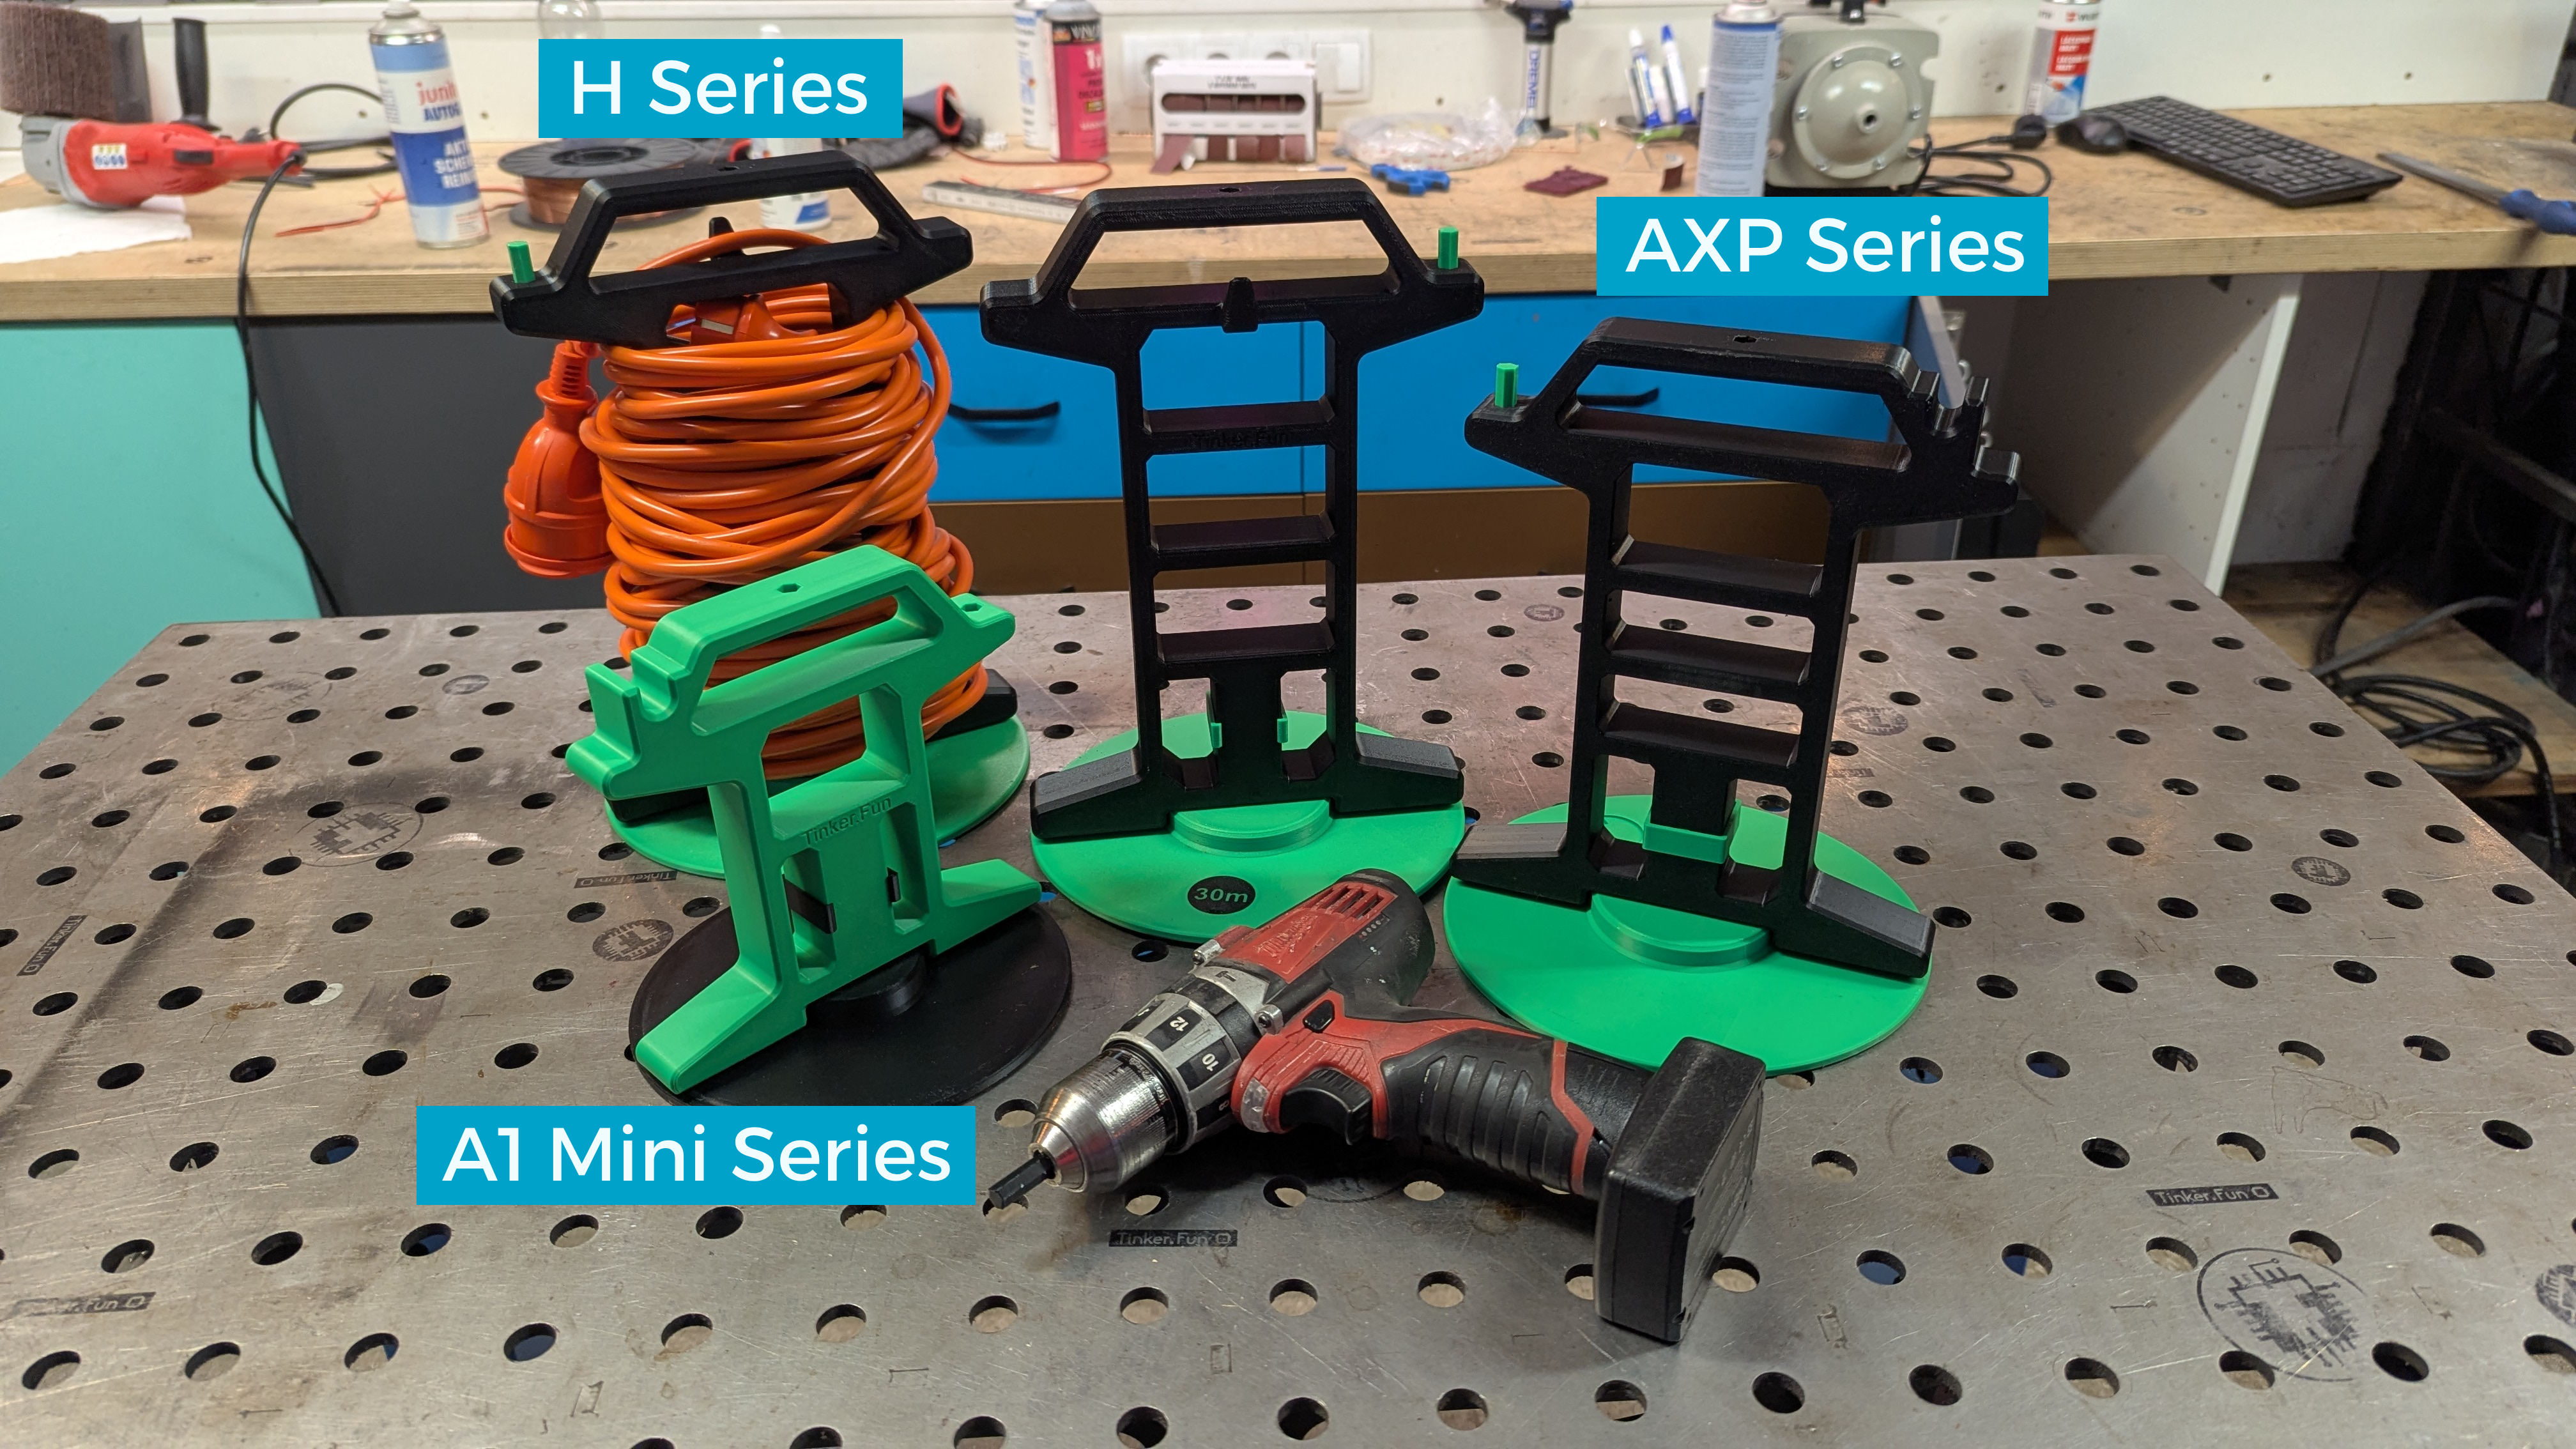
- Now three different sizes for all printer builtplates
- For extention cables, LAN cables or other cables
- Testet with
230V 3x 1,5mm, 8mm outer diameter extention cables- H Series Model:
- max 50m (164ft)
- AXP Series:
- max 40m (131,2ft)
- A1 Mini:
- max 20m (65,6ft)
- H Series Model:
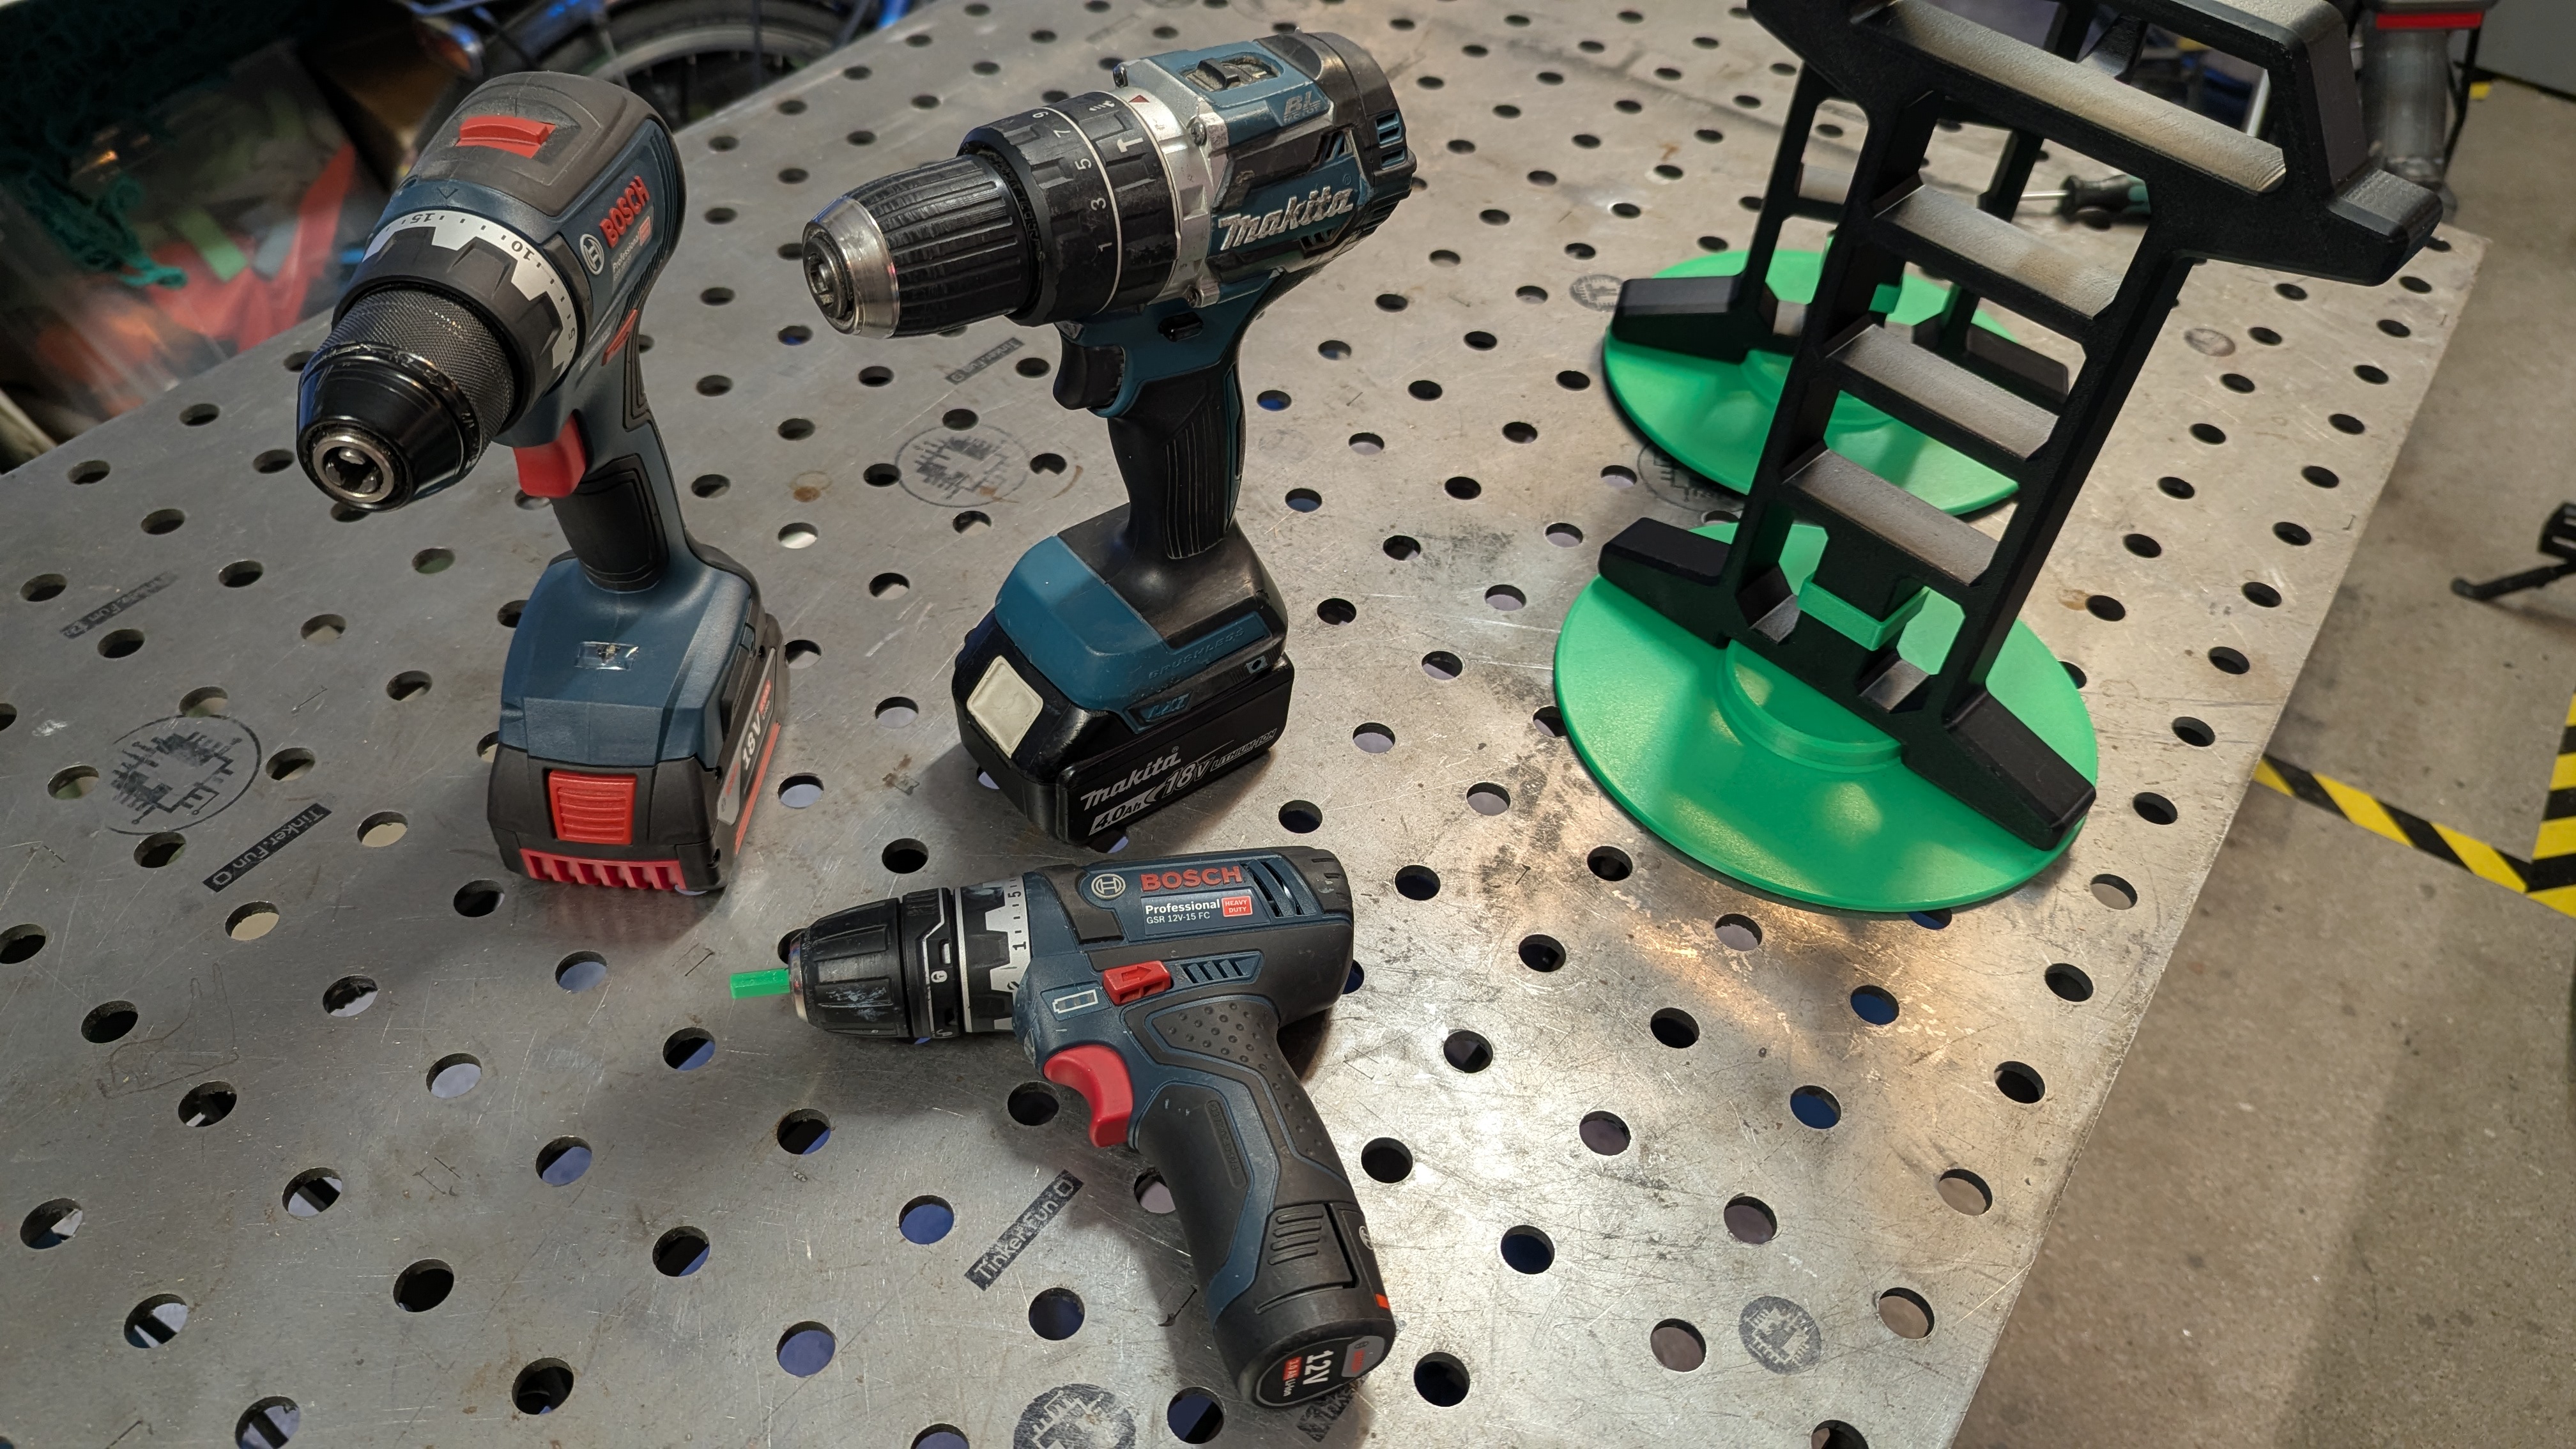
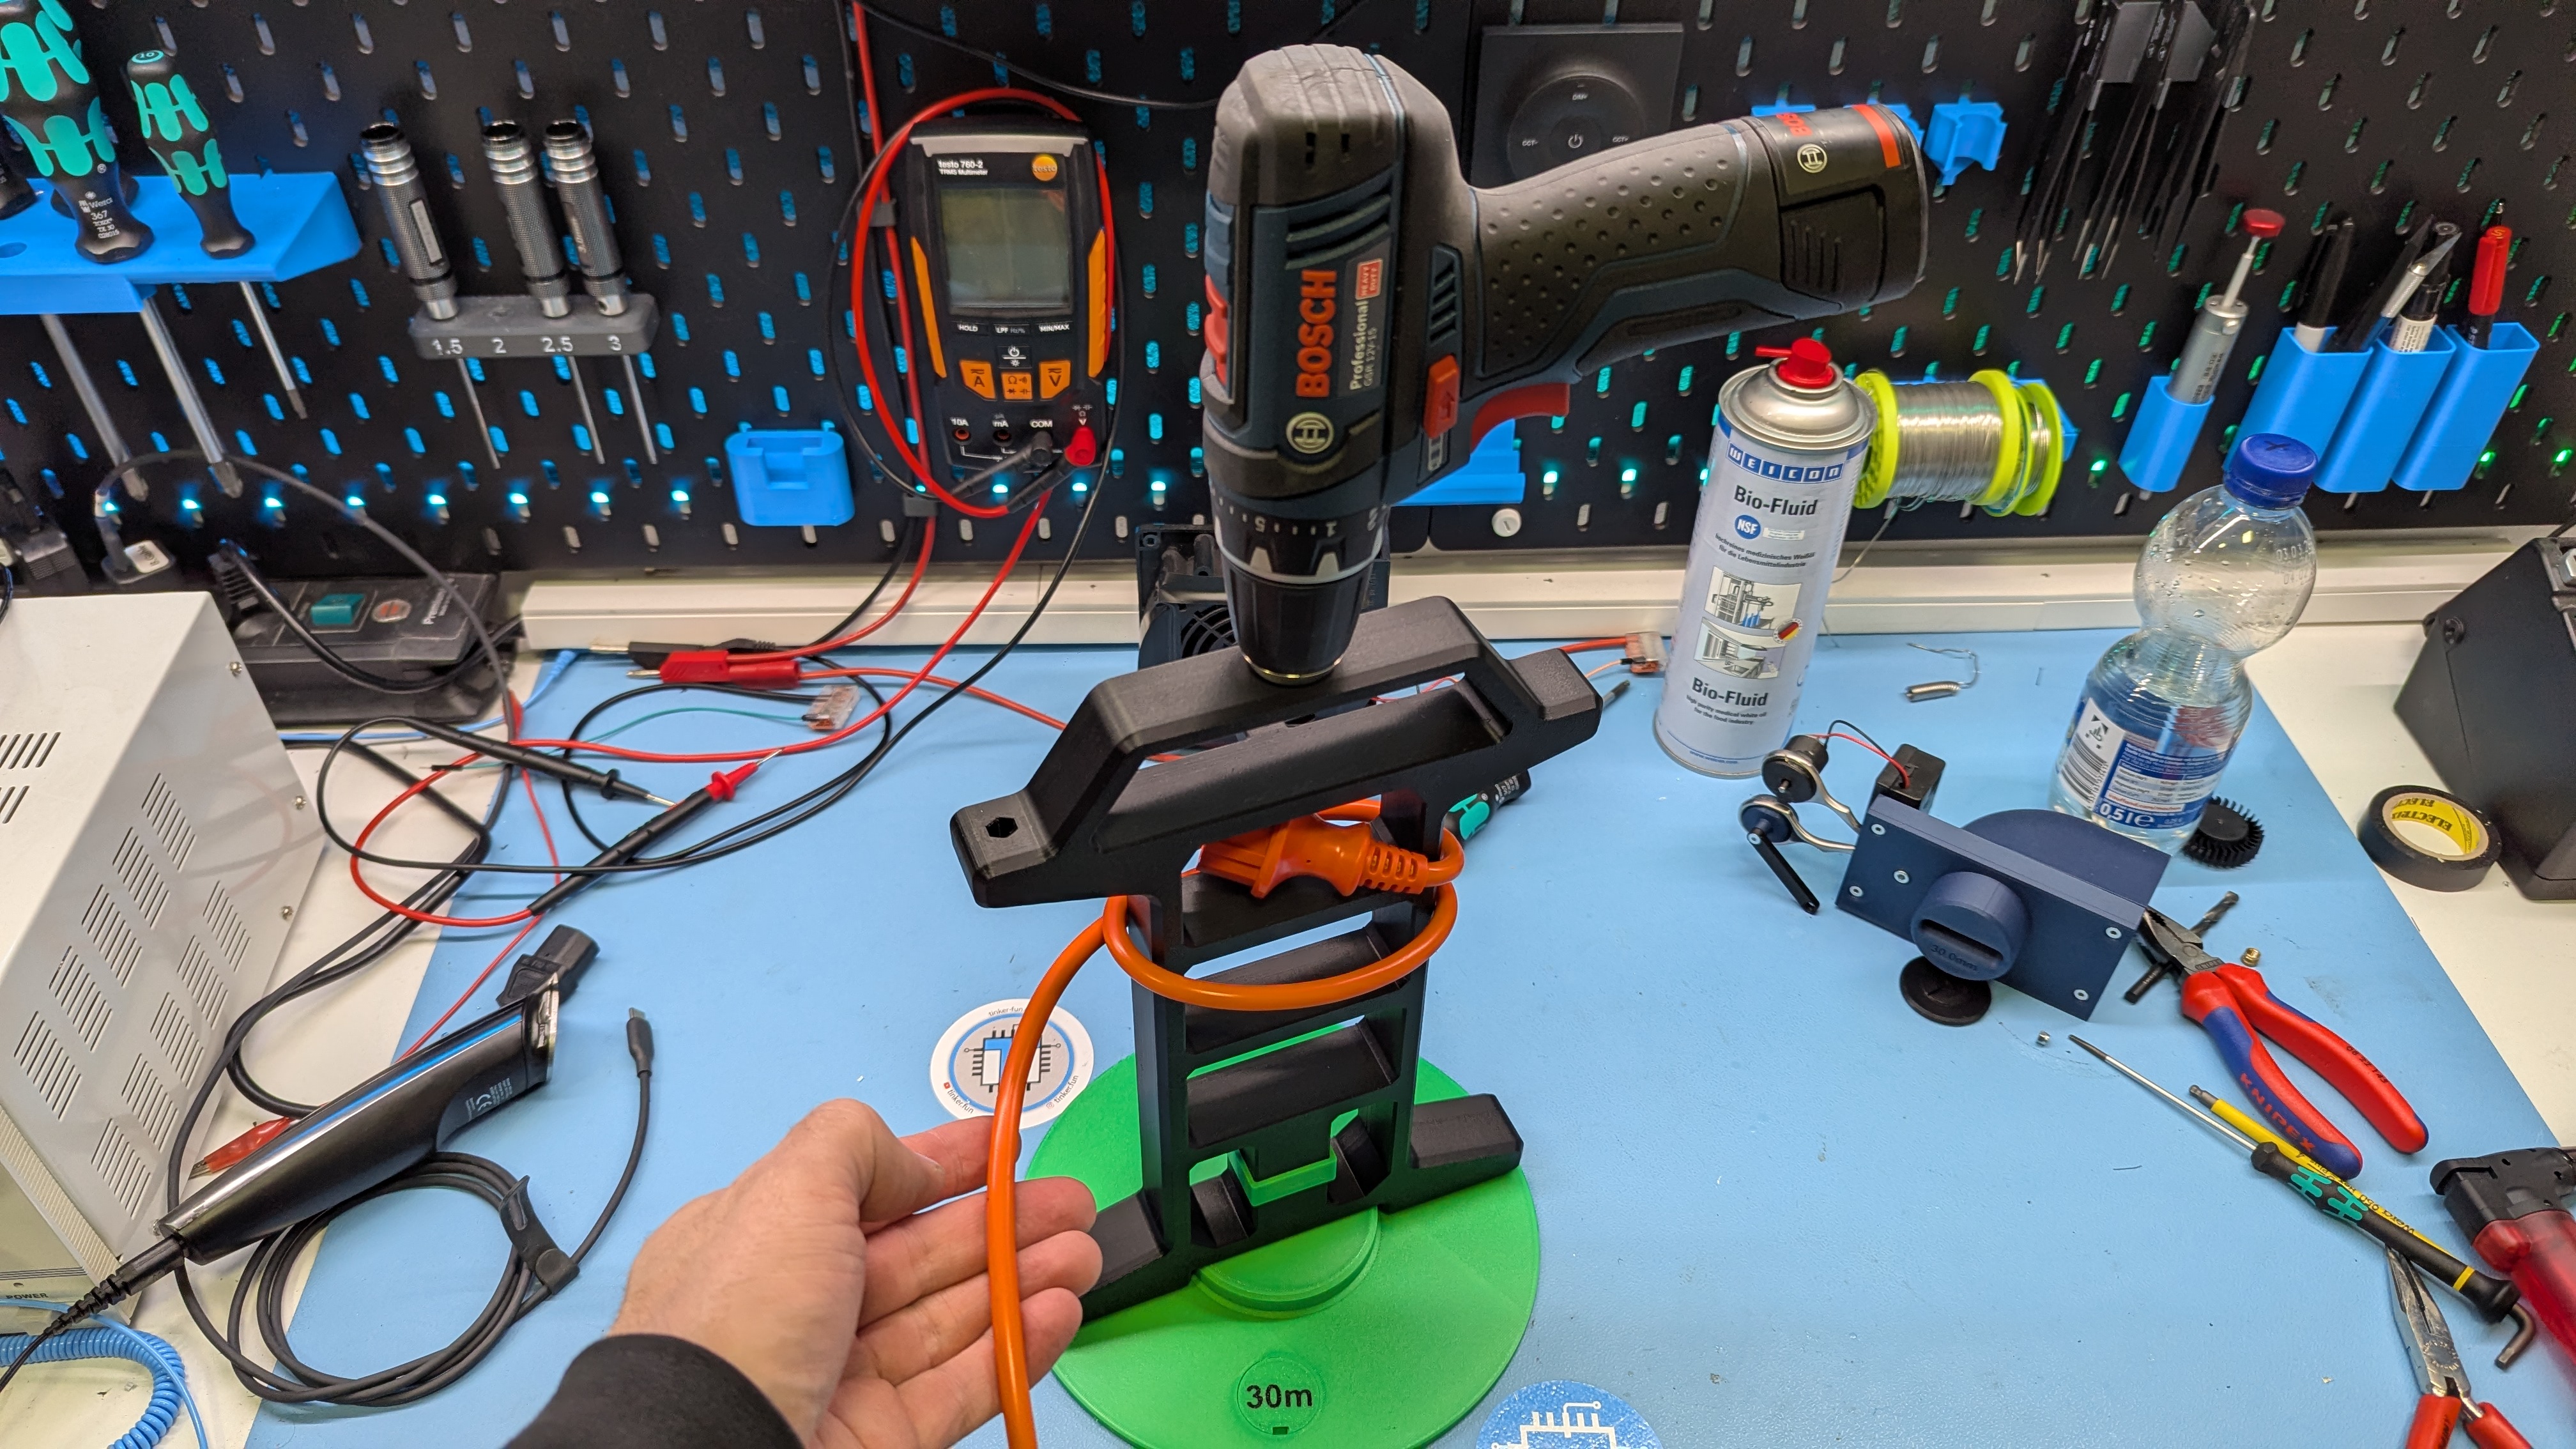
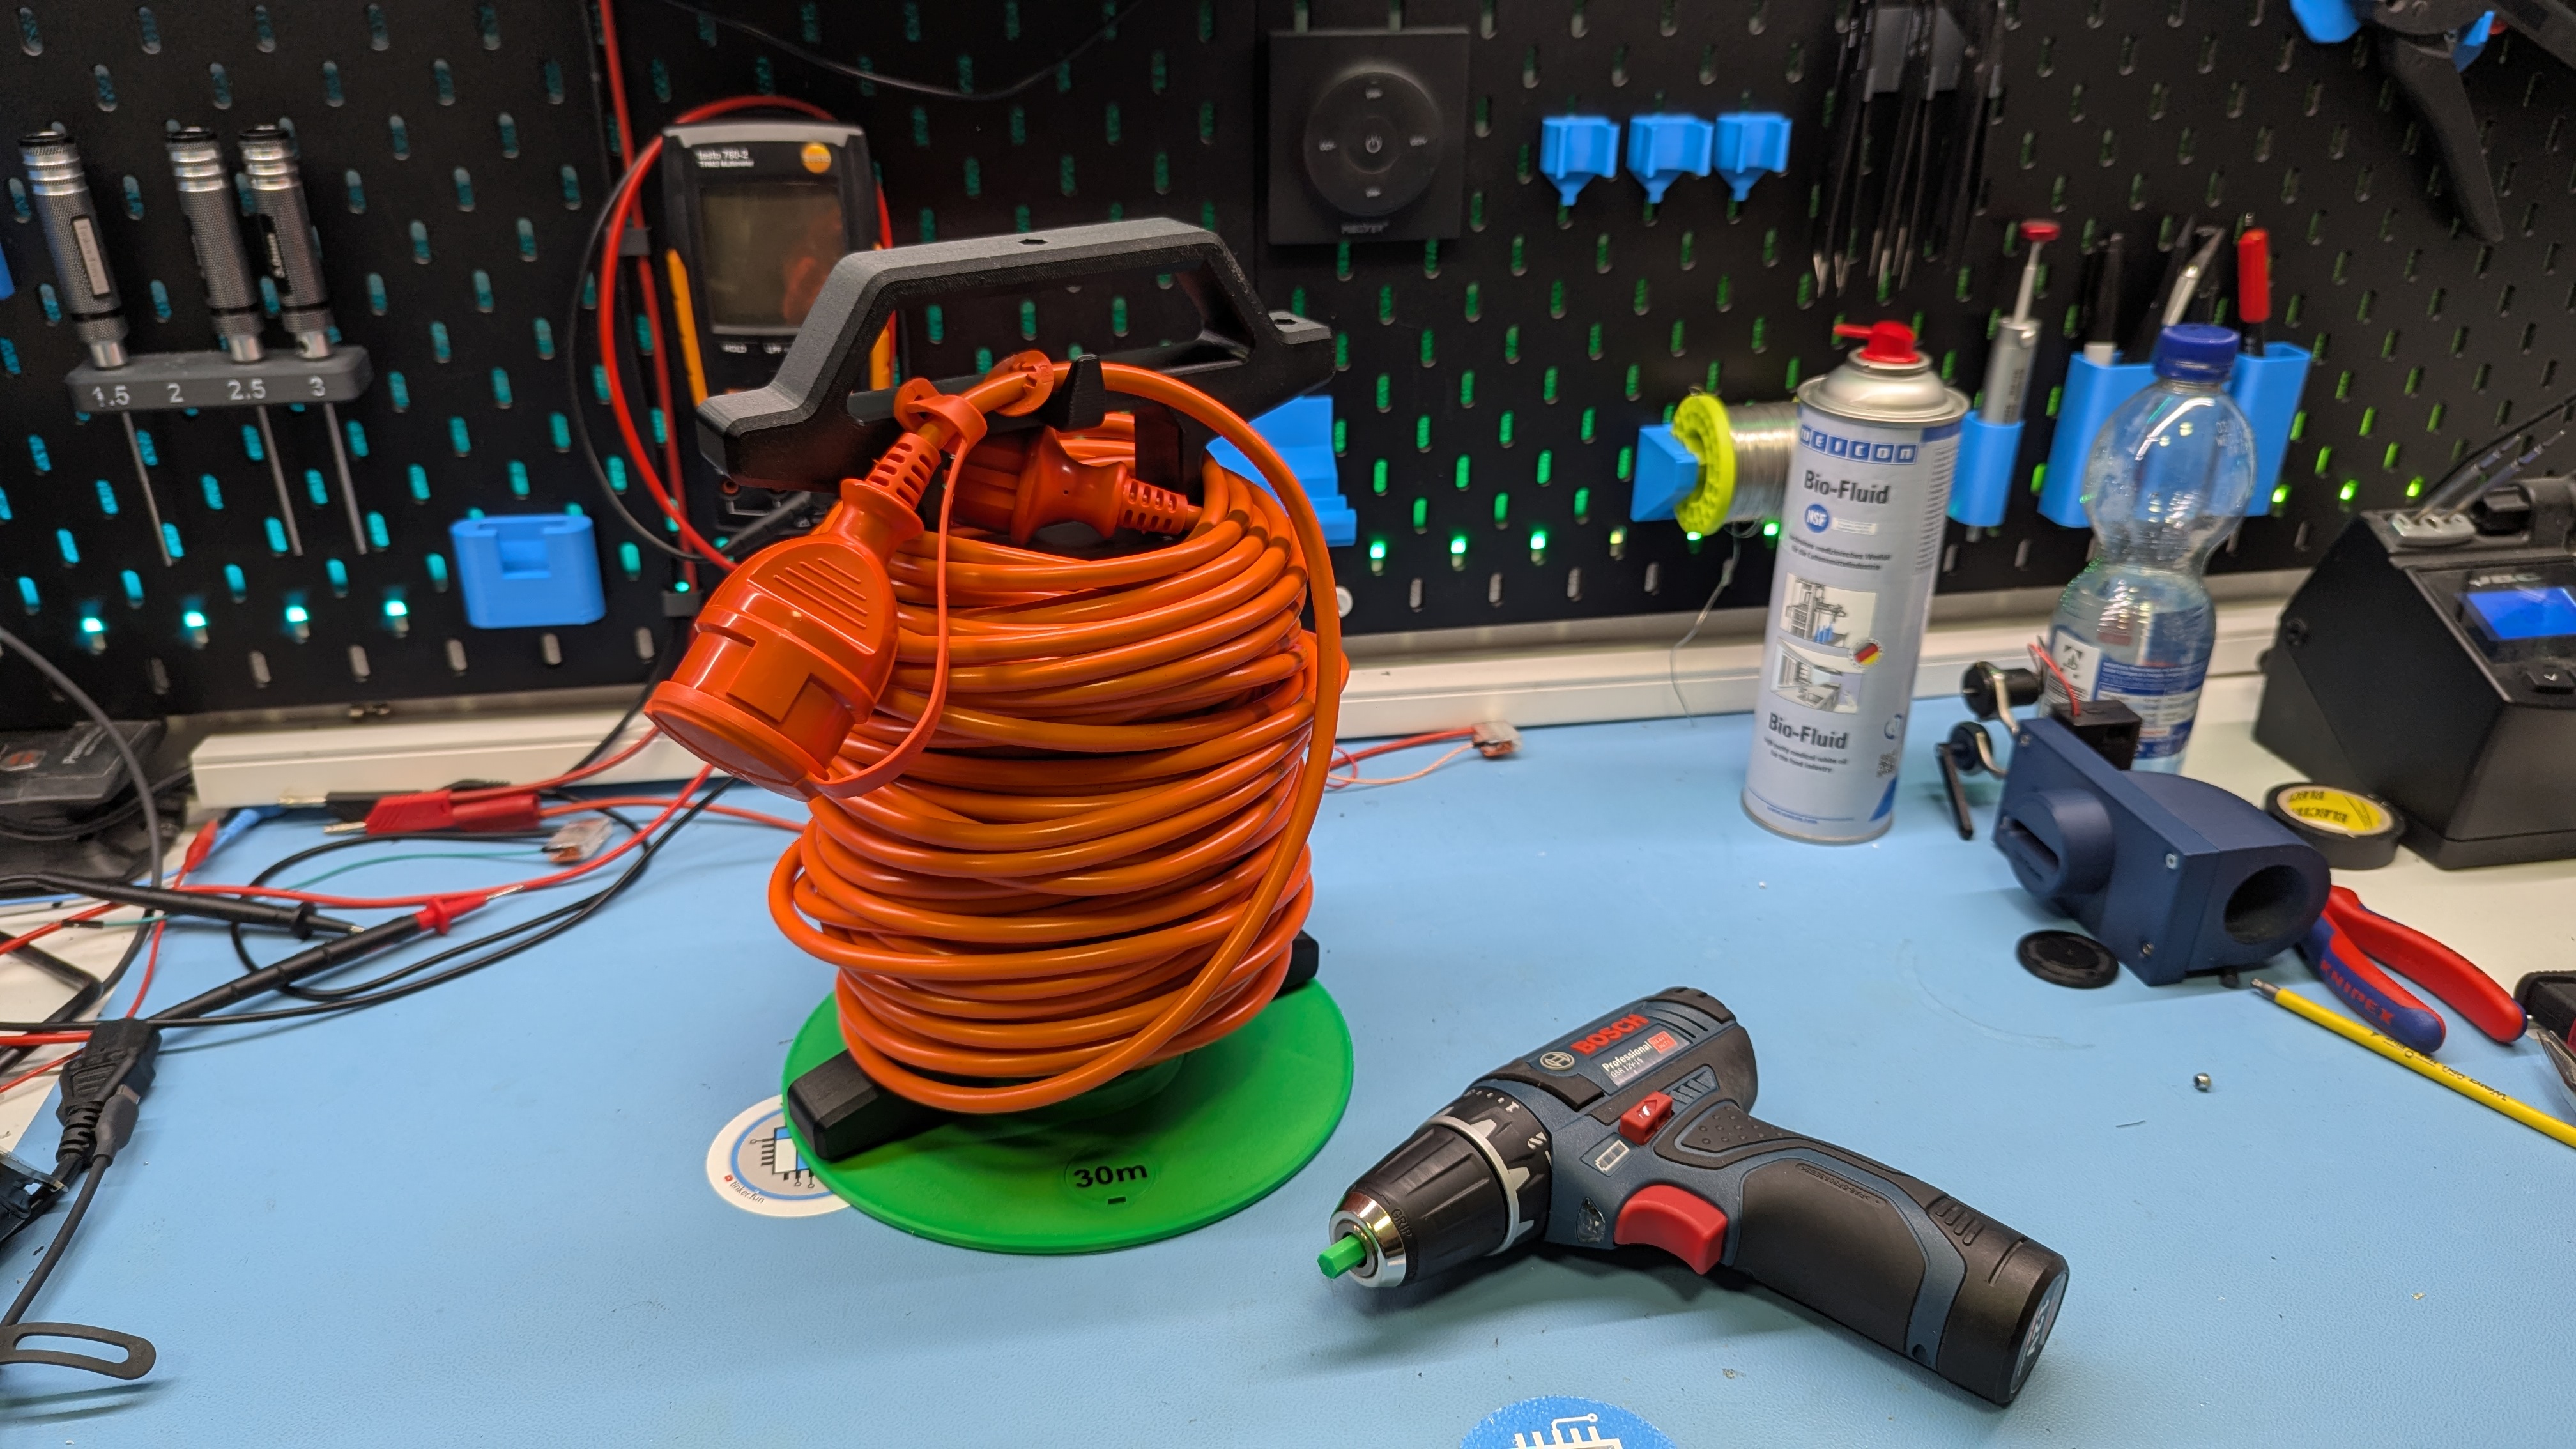
- Wind up funtion - manual or with a cordless drill/Screwdriver
- Manual unwind function
- No space for a wall hook? --> Standing storage option.
- Clip-on label for information about which cable is wound up
Important!
- Please start turning carefully and do not go full throttle right away.
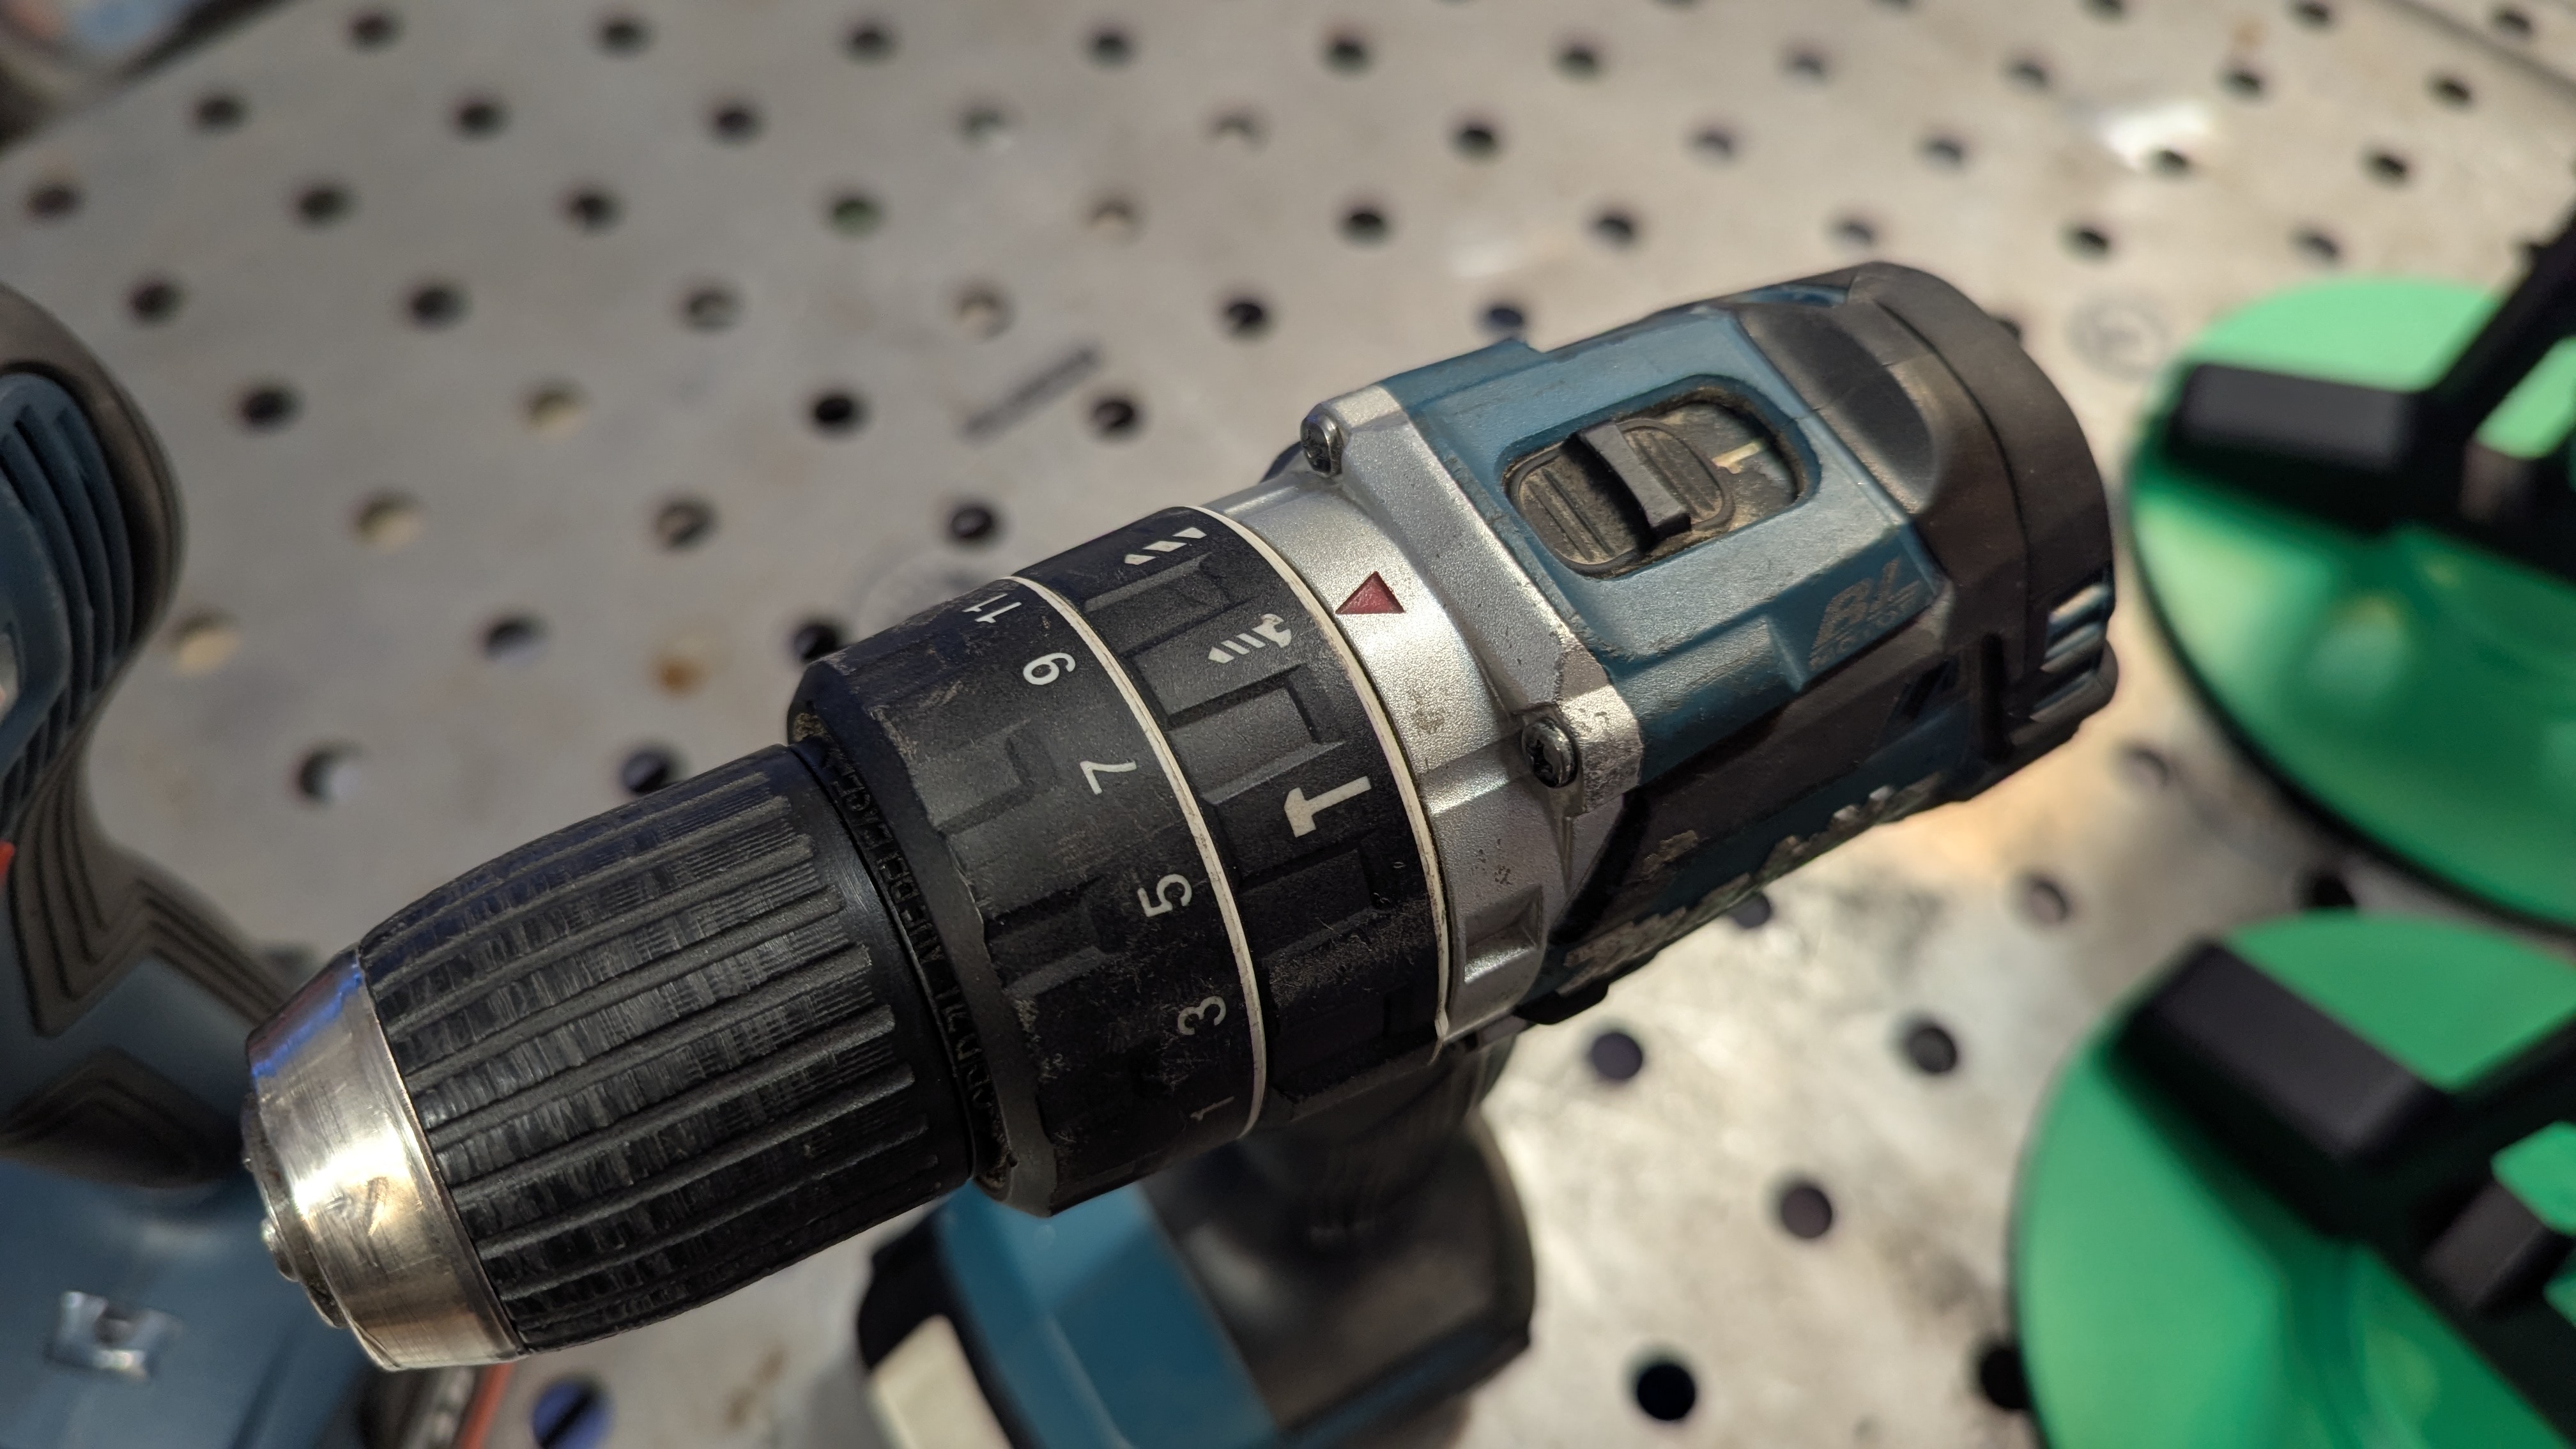
- Set the cordless screwdriver to the slower speed.
Use the torque settings on the cordless screwdriver to protect your cable winder.
Changelog
Variants for the A, A1 mini, P & X series are now also available.
Please select the appropriate print profile.
The accessories and labels fit all variants.
Add a Duo Model for two cables (e.g. 2x10m) on a cable Winder. Only for the small A1 Mini Profil.
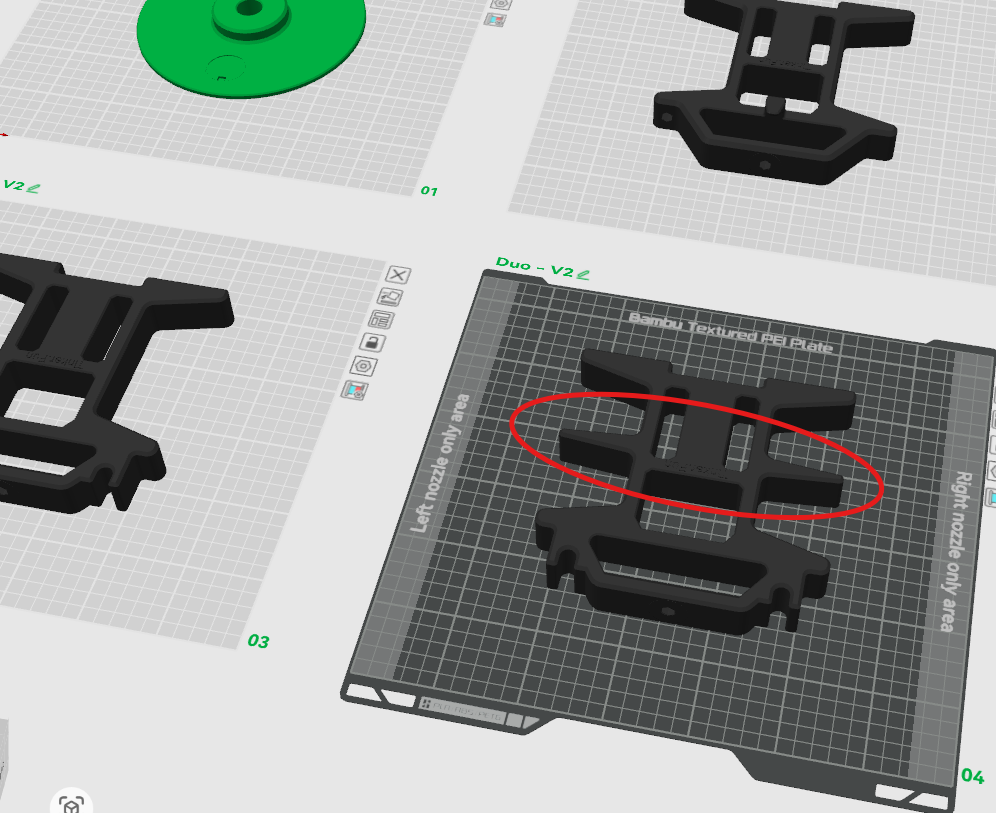
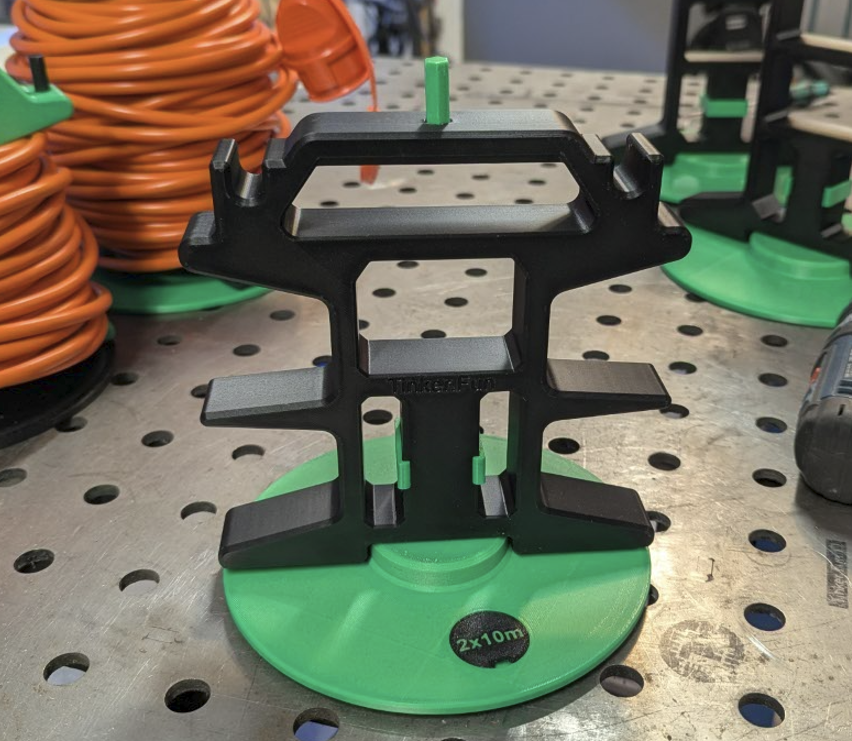
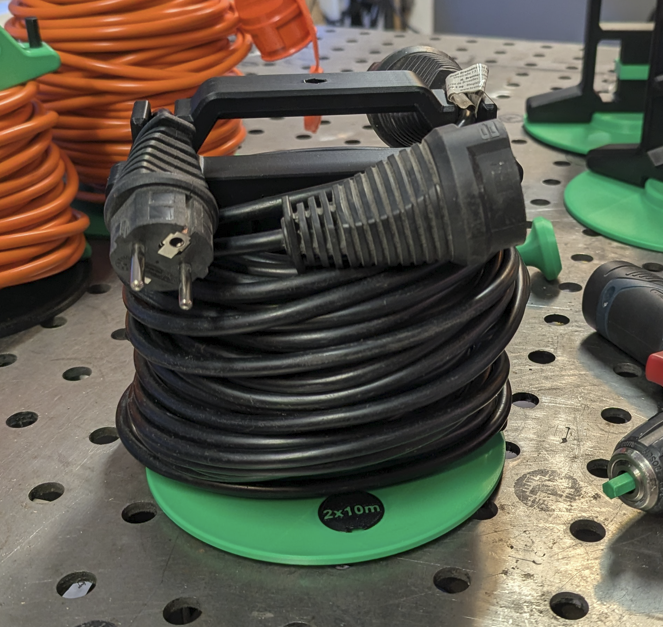
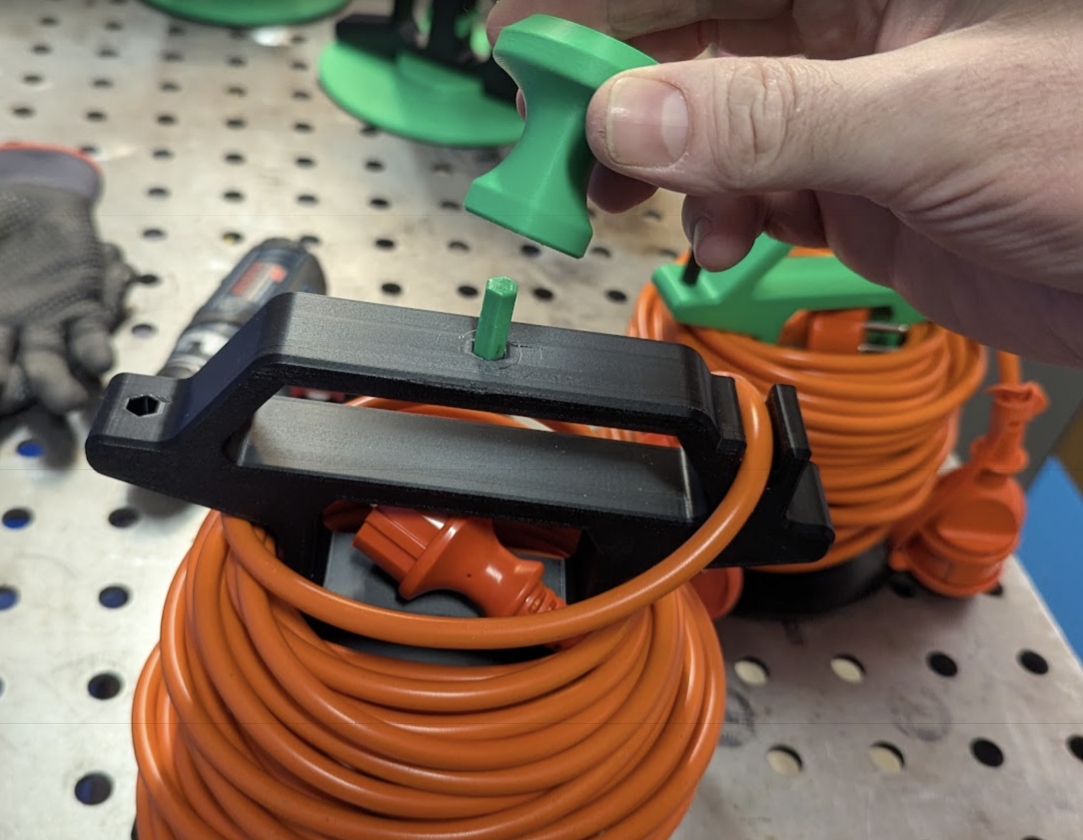
A rotary knob has been added to the accessories to assist with unwinding. The rotary knob can be easily attached to the bit.
Parts
The following 3D printed elements are included in the set:
- Cable Winder V1 & V2
- Turntable
- Turntable pin
- Clip
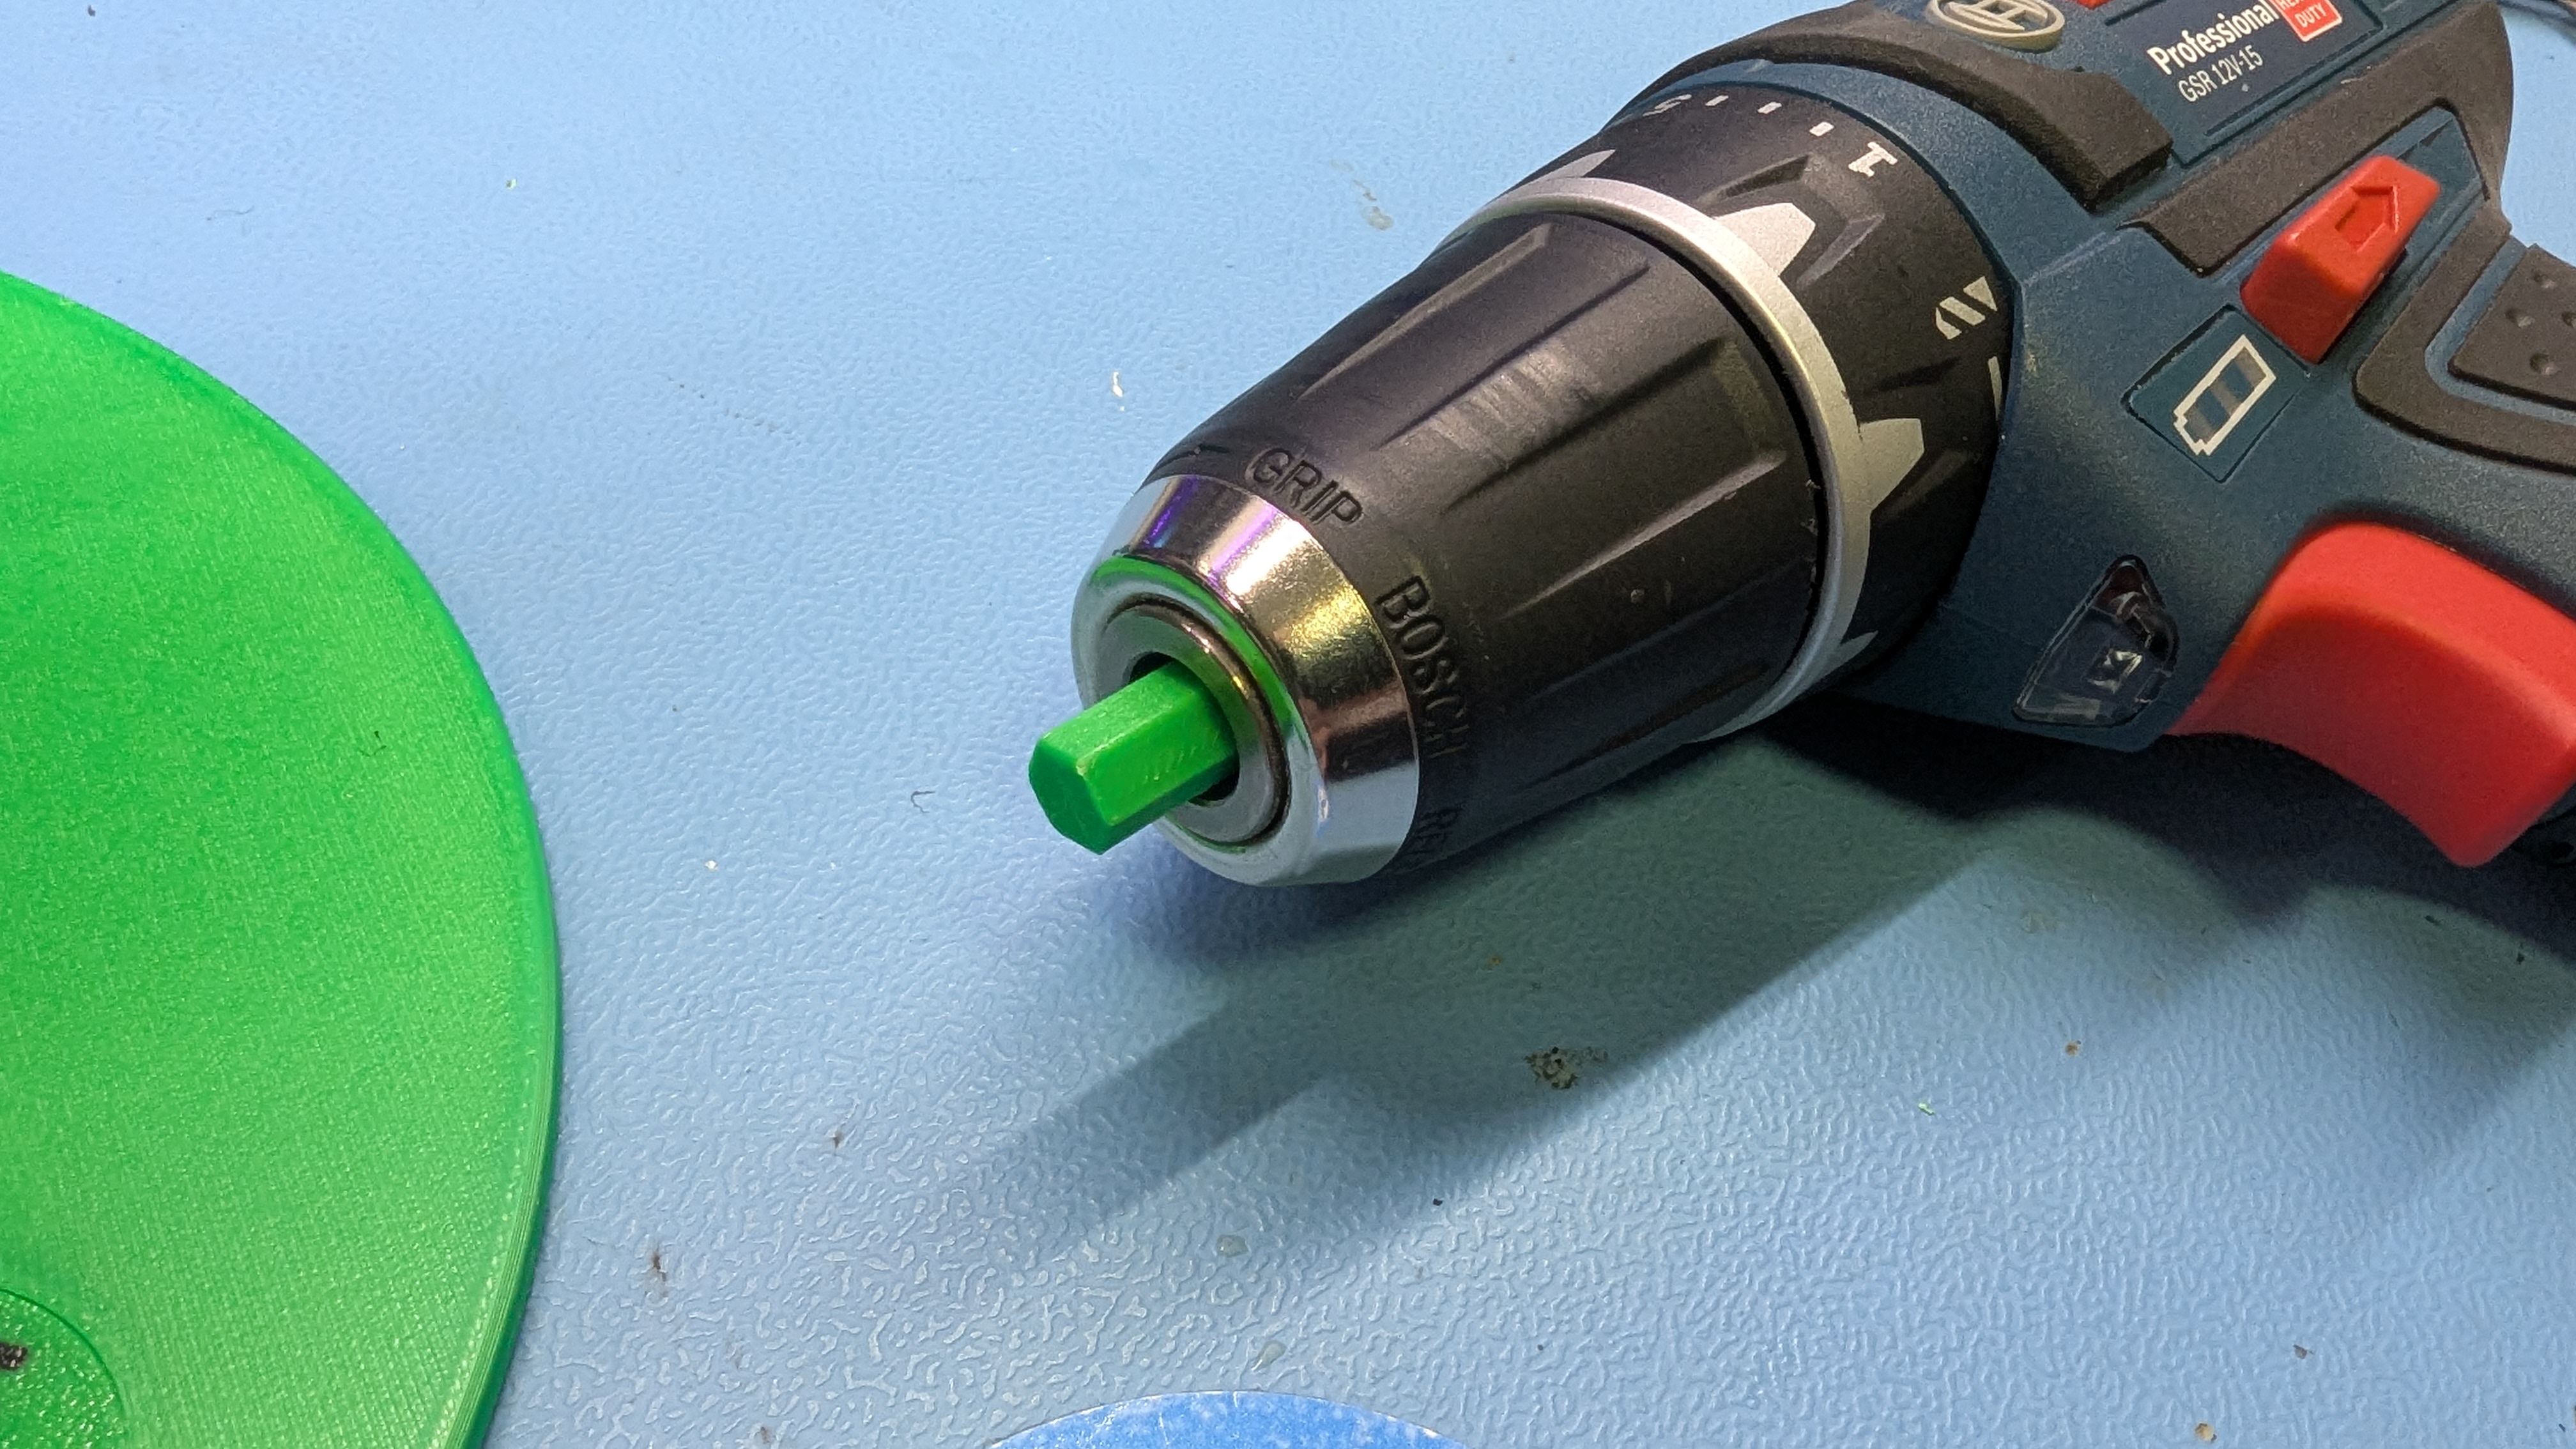
- Bit for cordless drill
Clip signs
If you need a different sign, please write to me.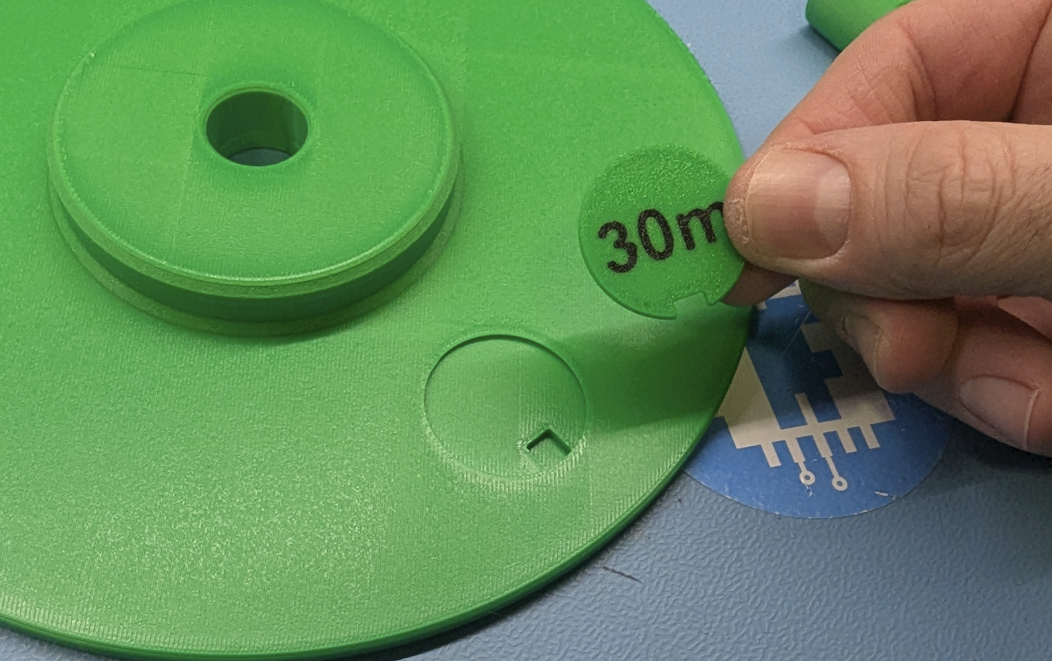
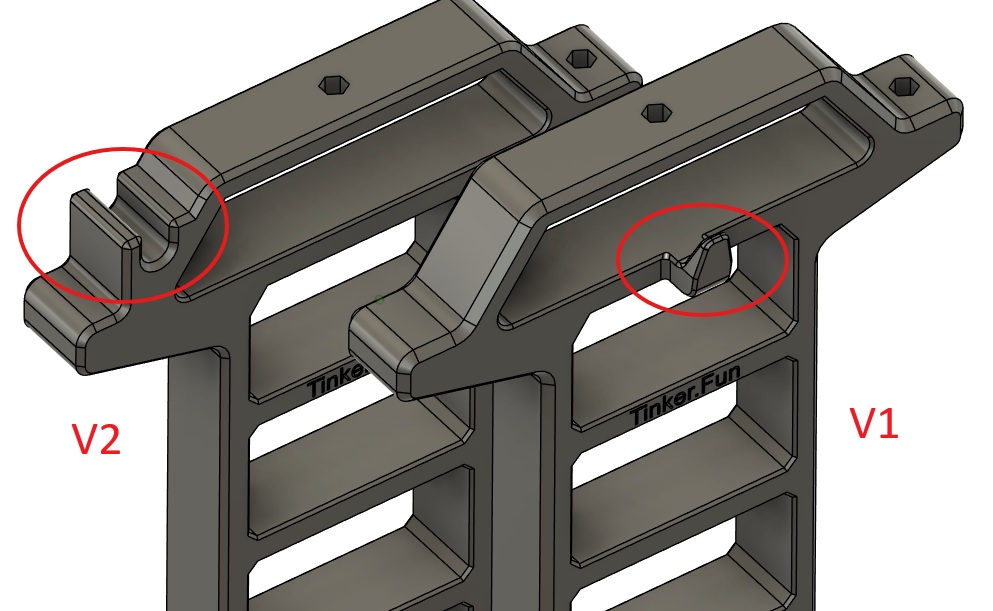
Difference between V1 and V2
The only difference is in the cable hooks for the end of the cable. Choose your favorite.
Additional Parts
- no additional parts needed
Assembly instructions
Please watch the YouTube video for the assembly steps.
Rough overview of the steps:
Step 1
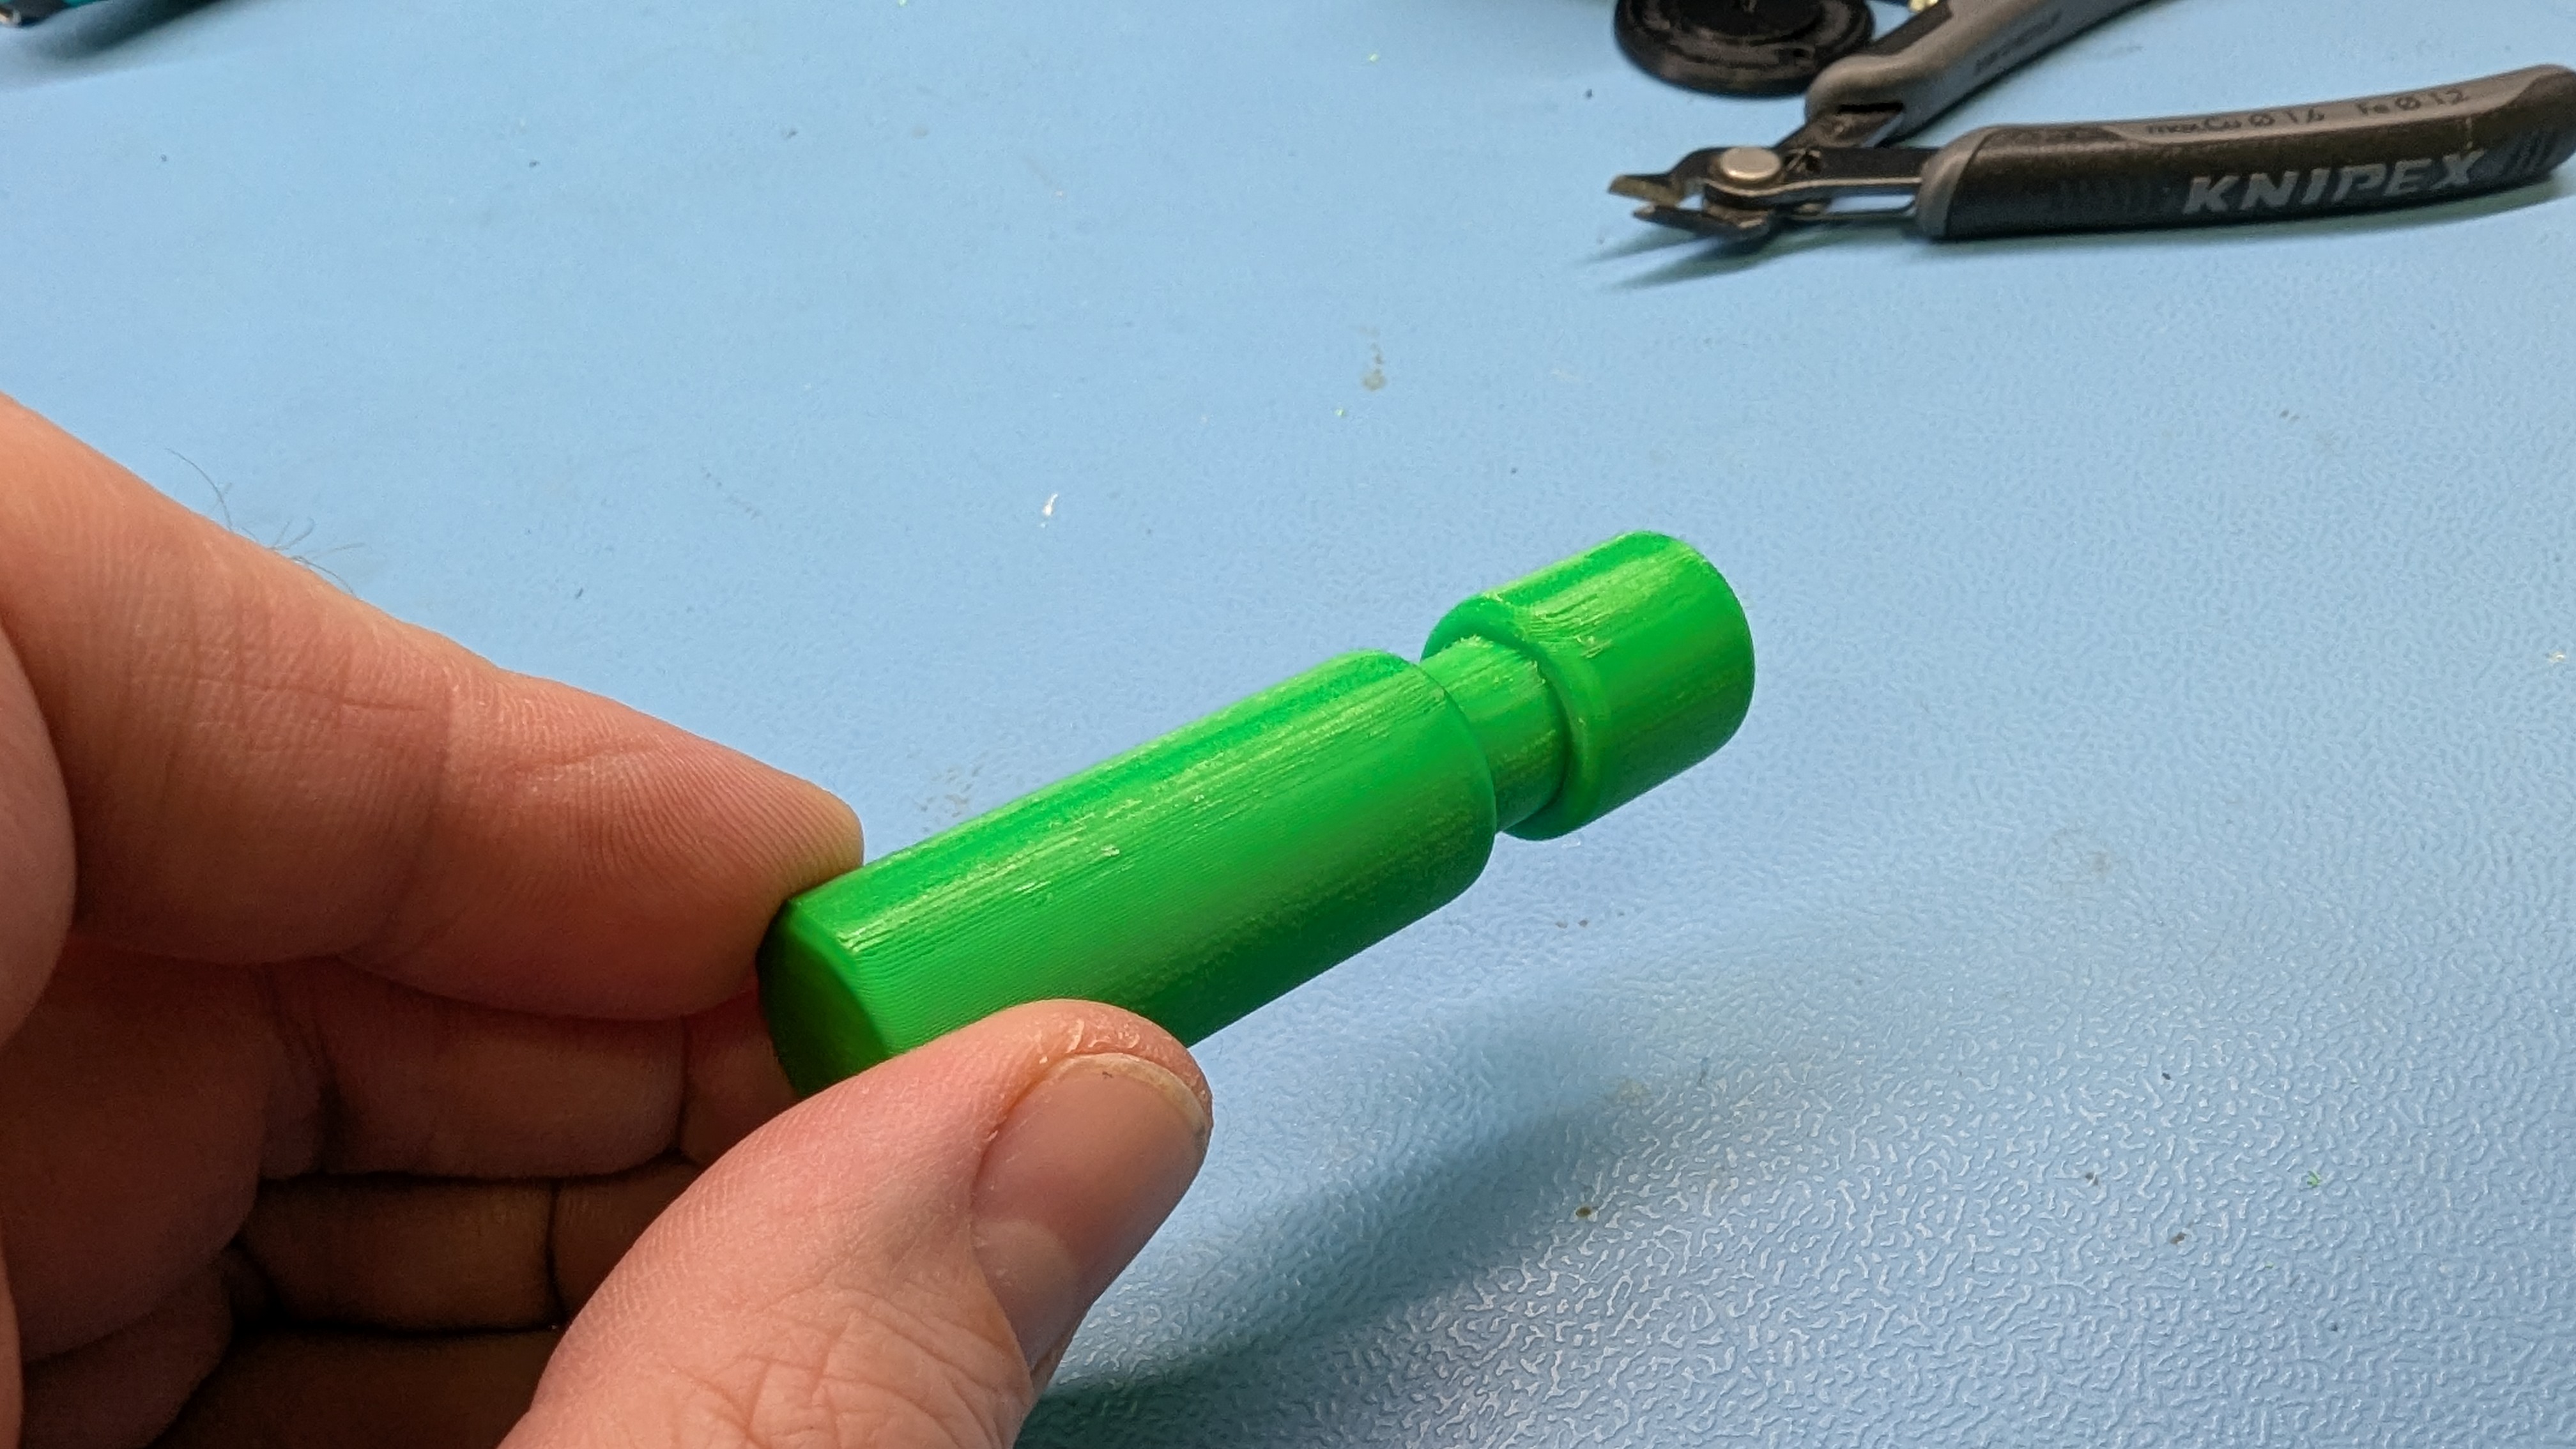
If necessary, lightly sand the turntable pin on the underside.
The pin is printed horizontally to be more stable (layer direction).
 |
Step 2
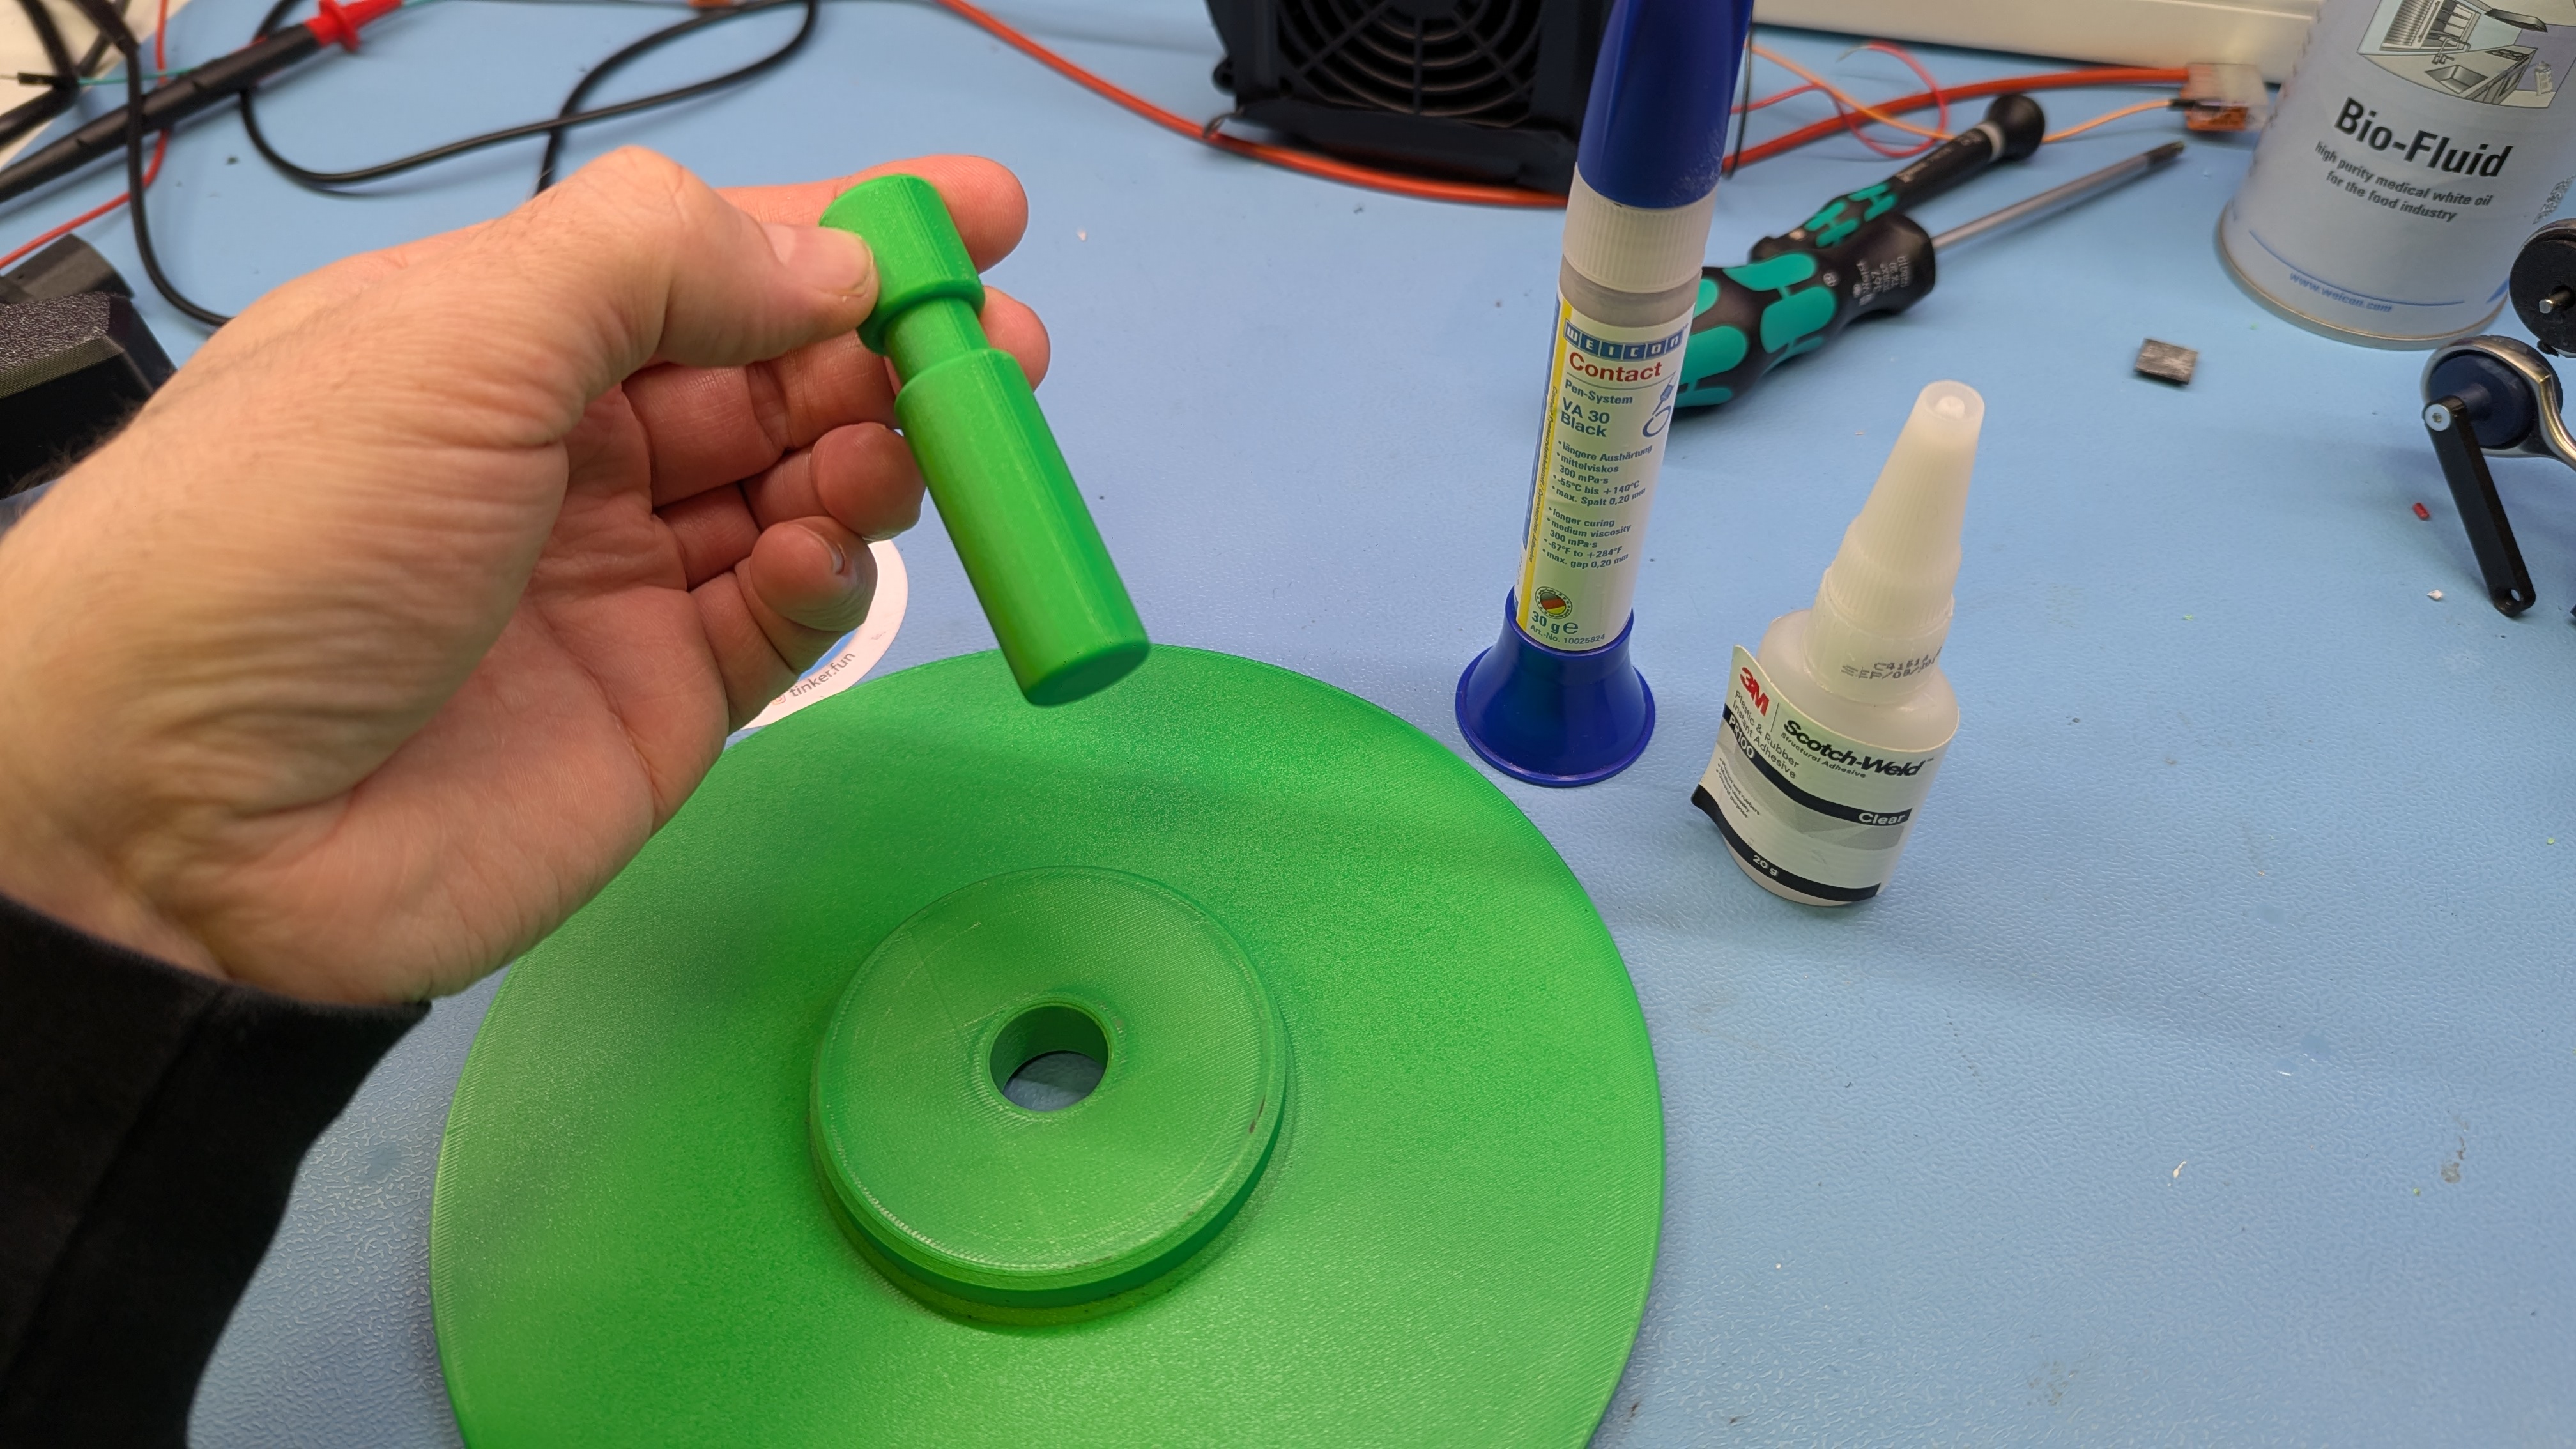
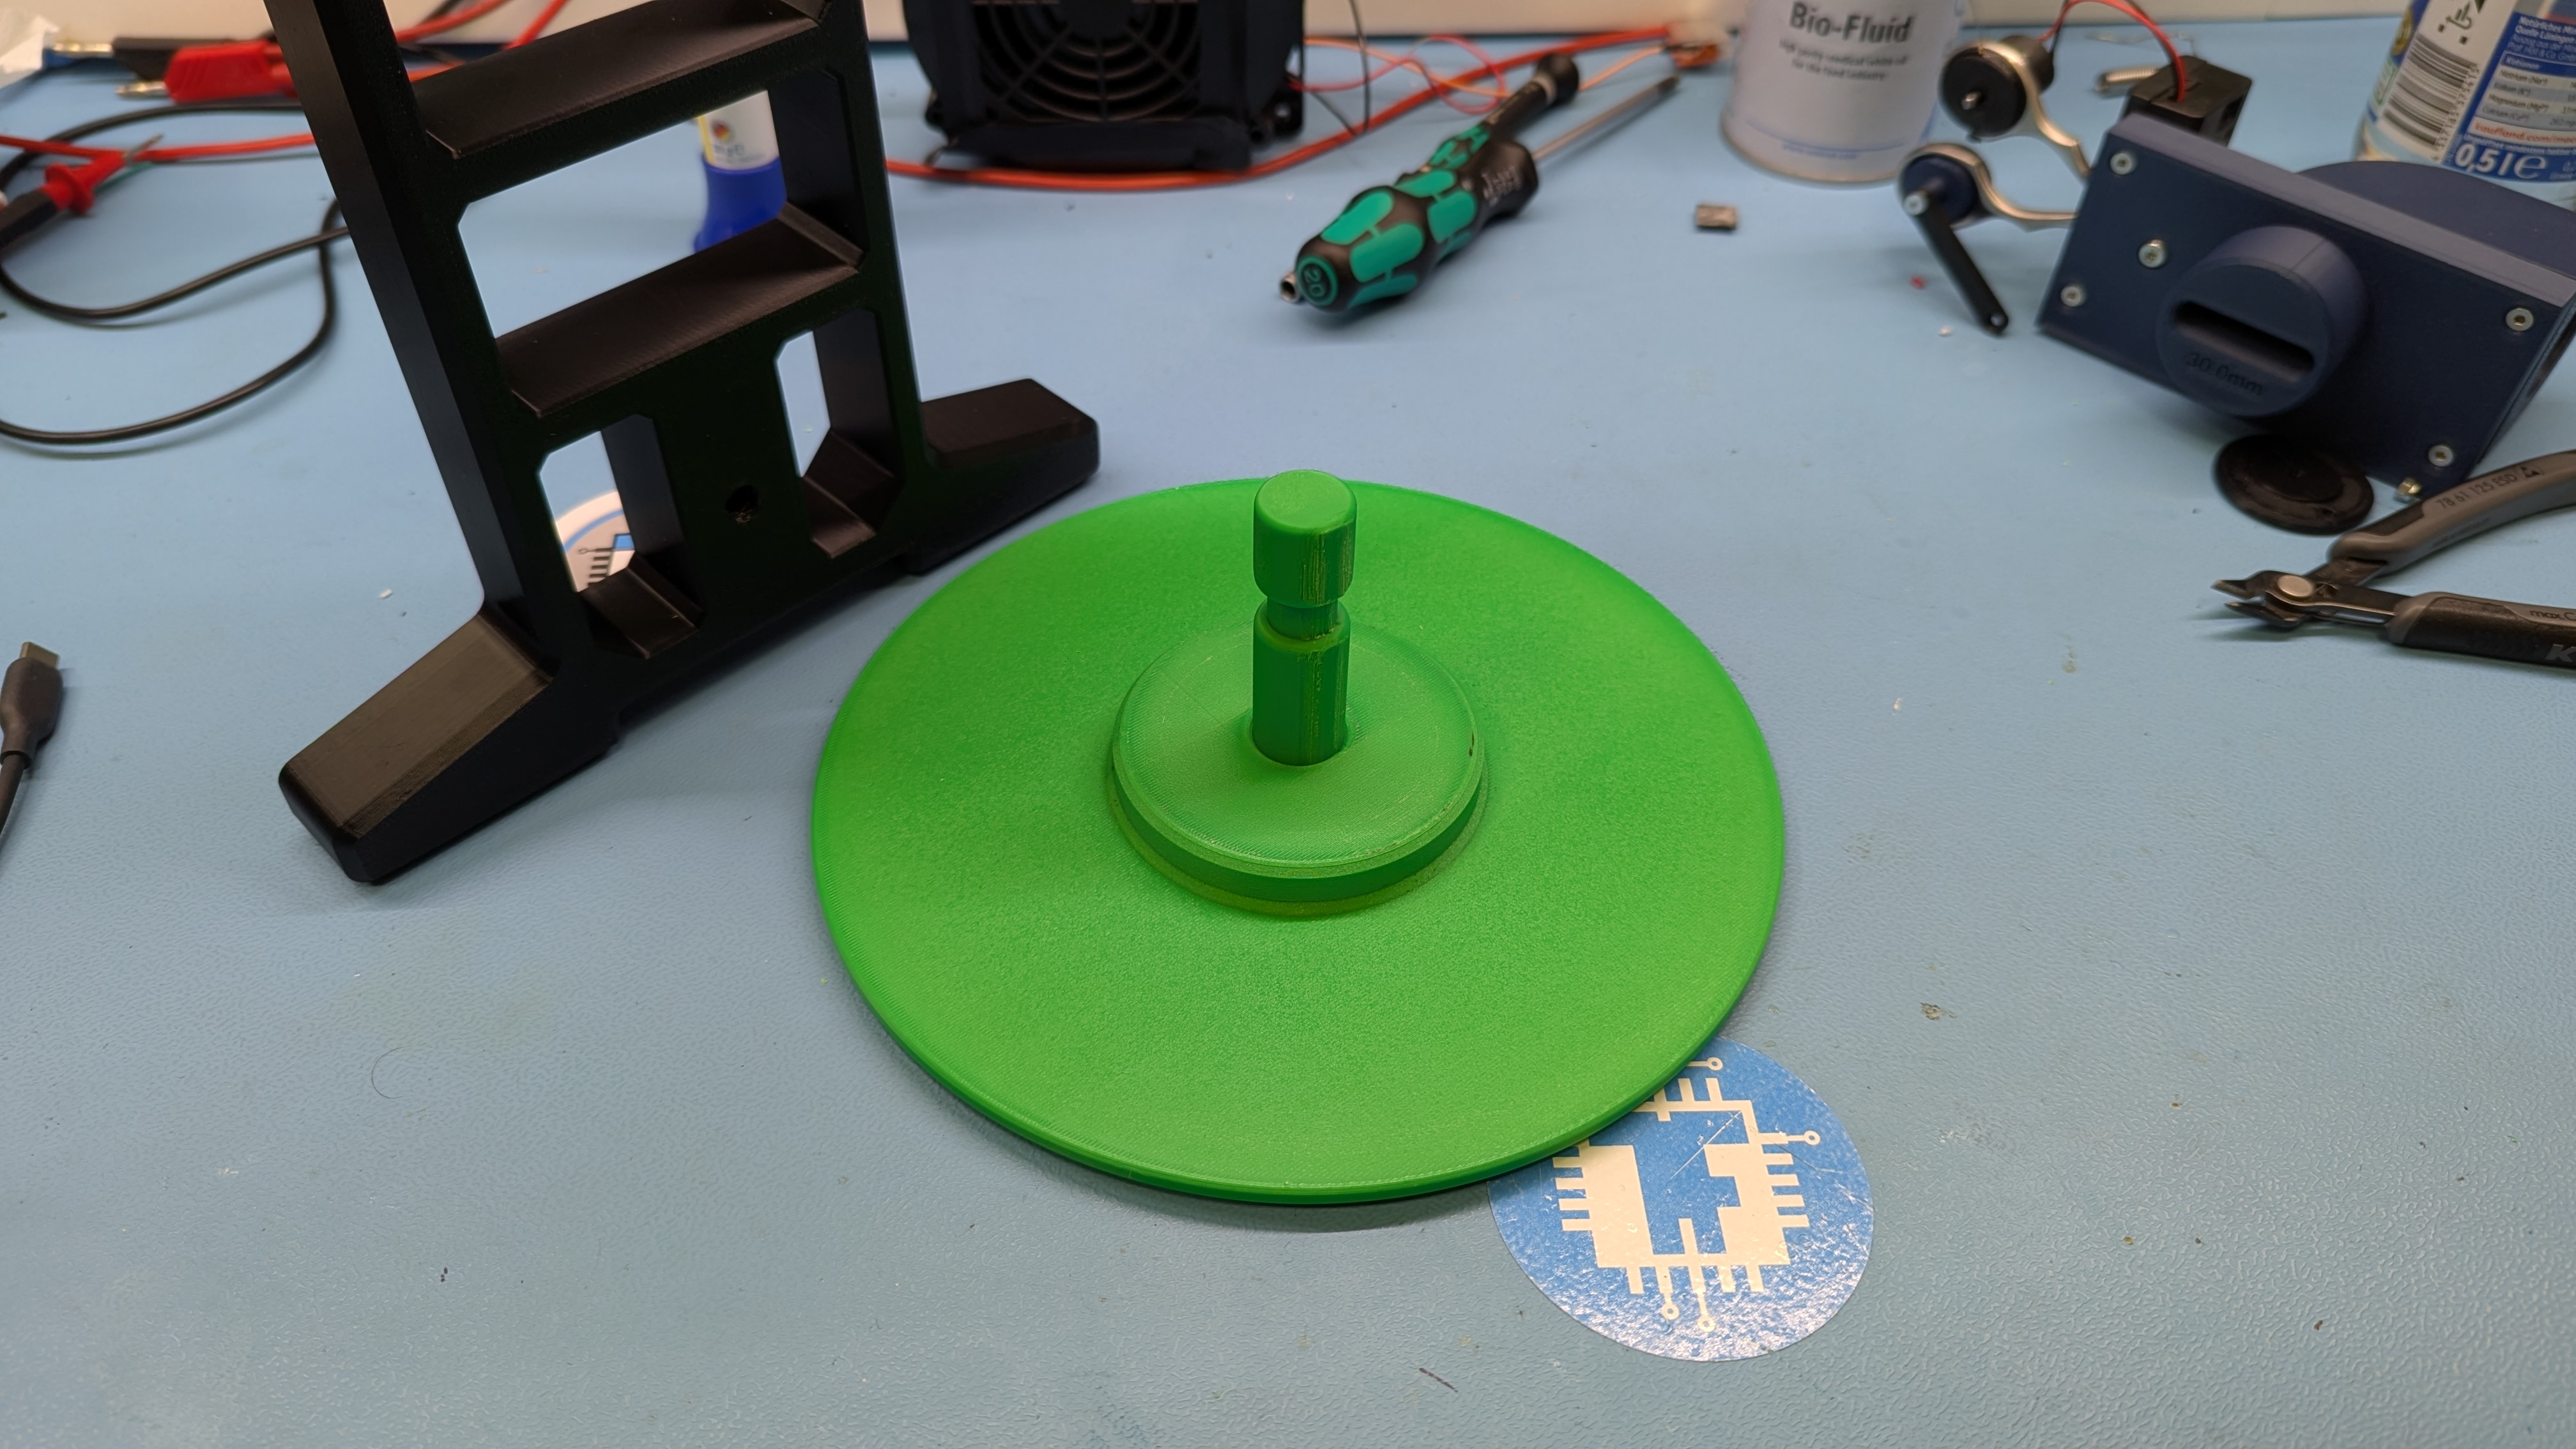
Glue the turntable pin on the turntable. Use superglue for example.
 |  |
Step 3
Place the cable winder on the turntable pin. Attach the cable winder with the clip.
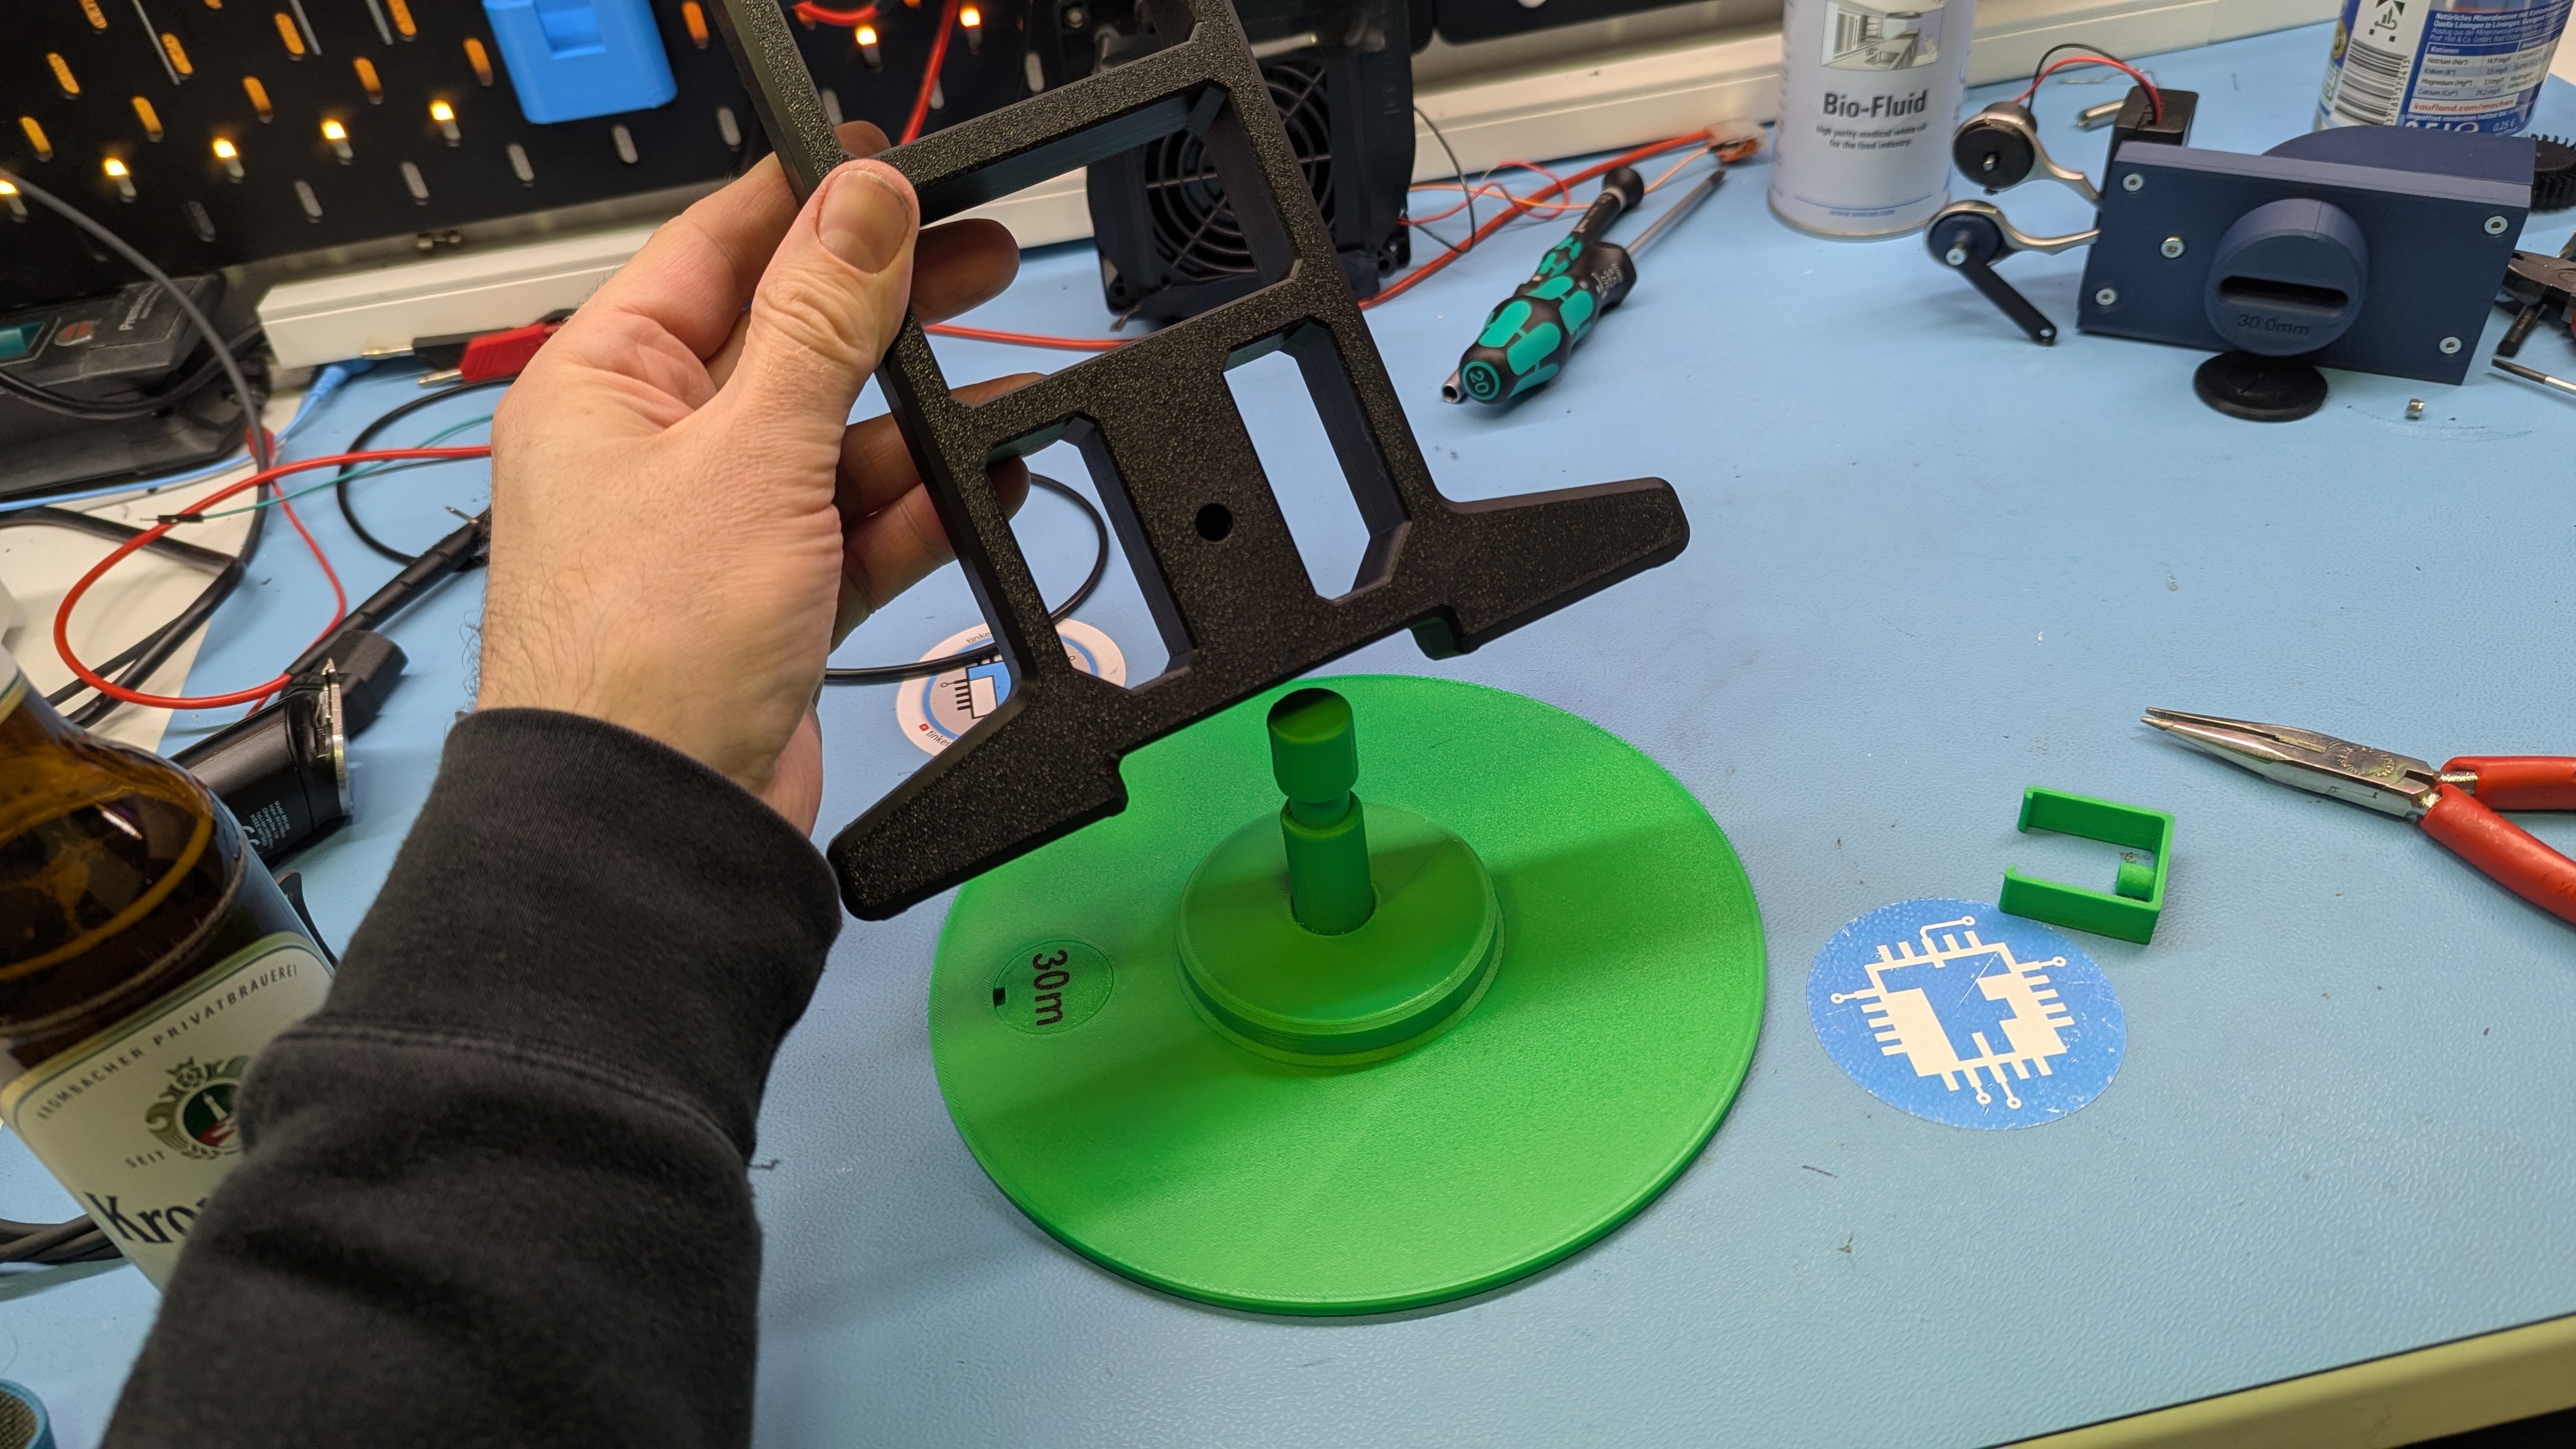 | 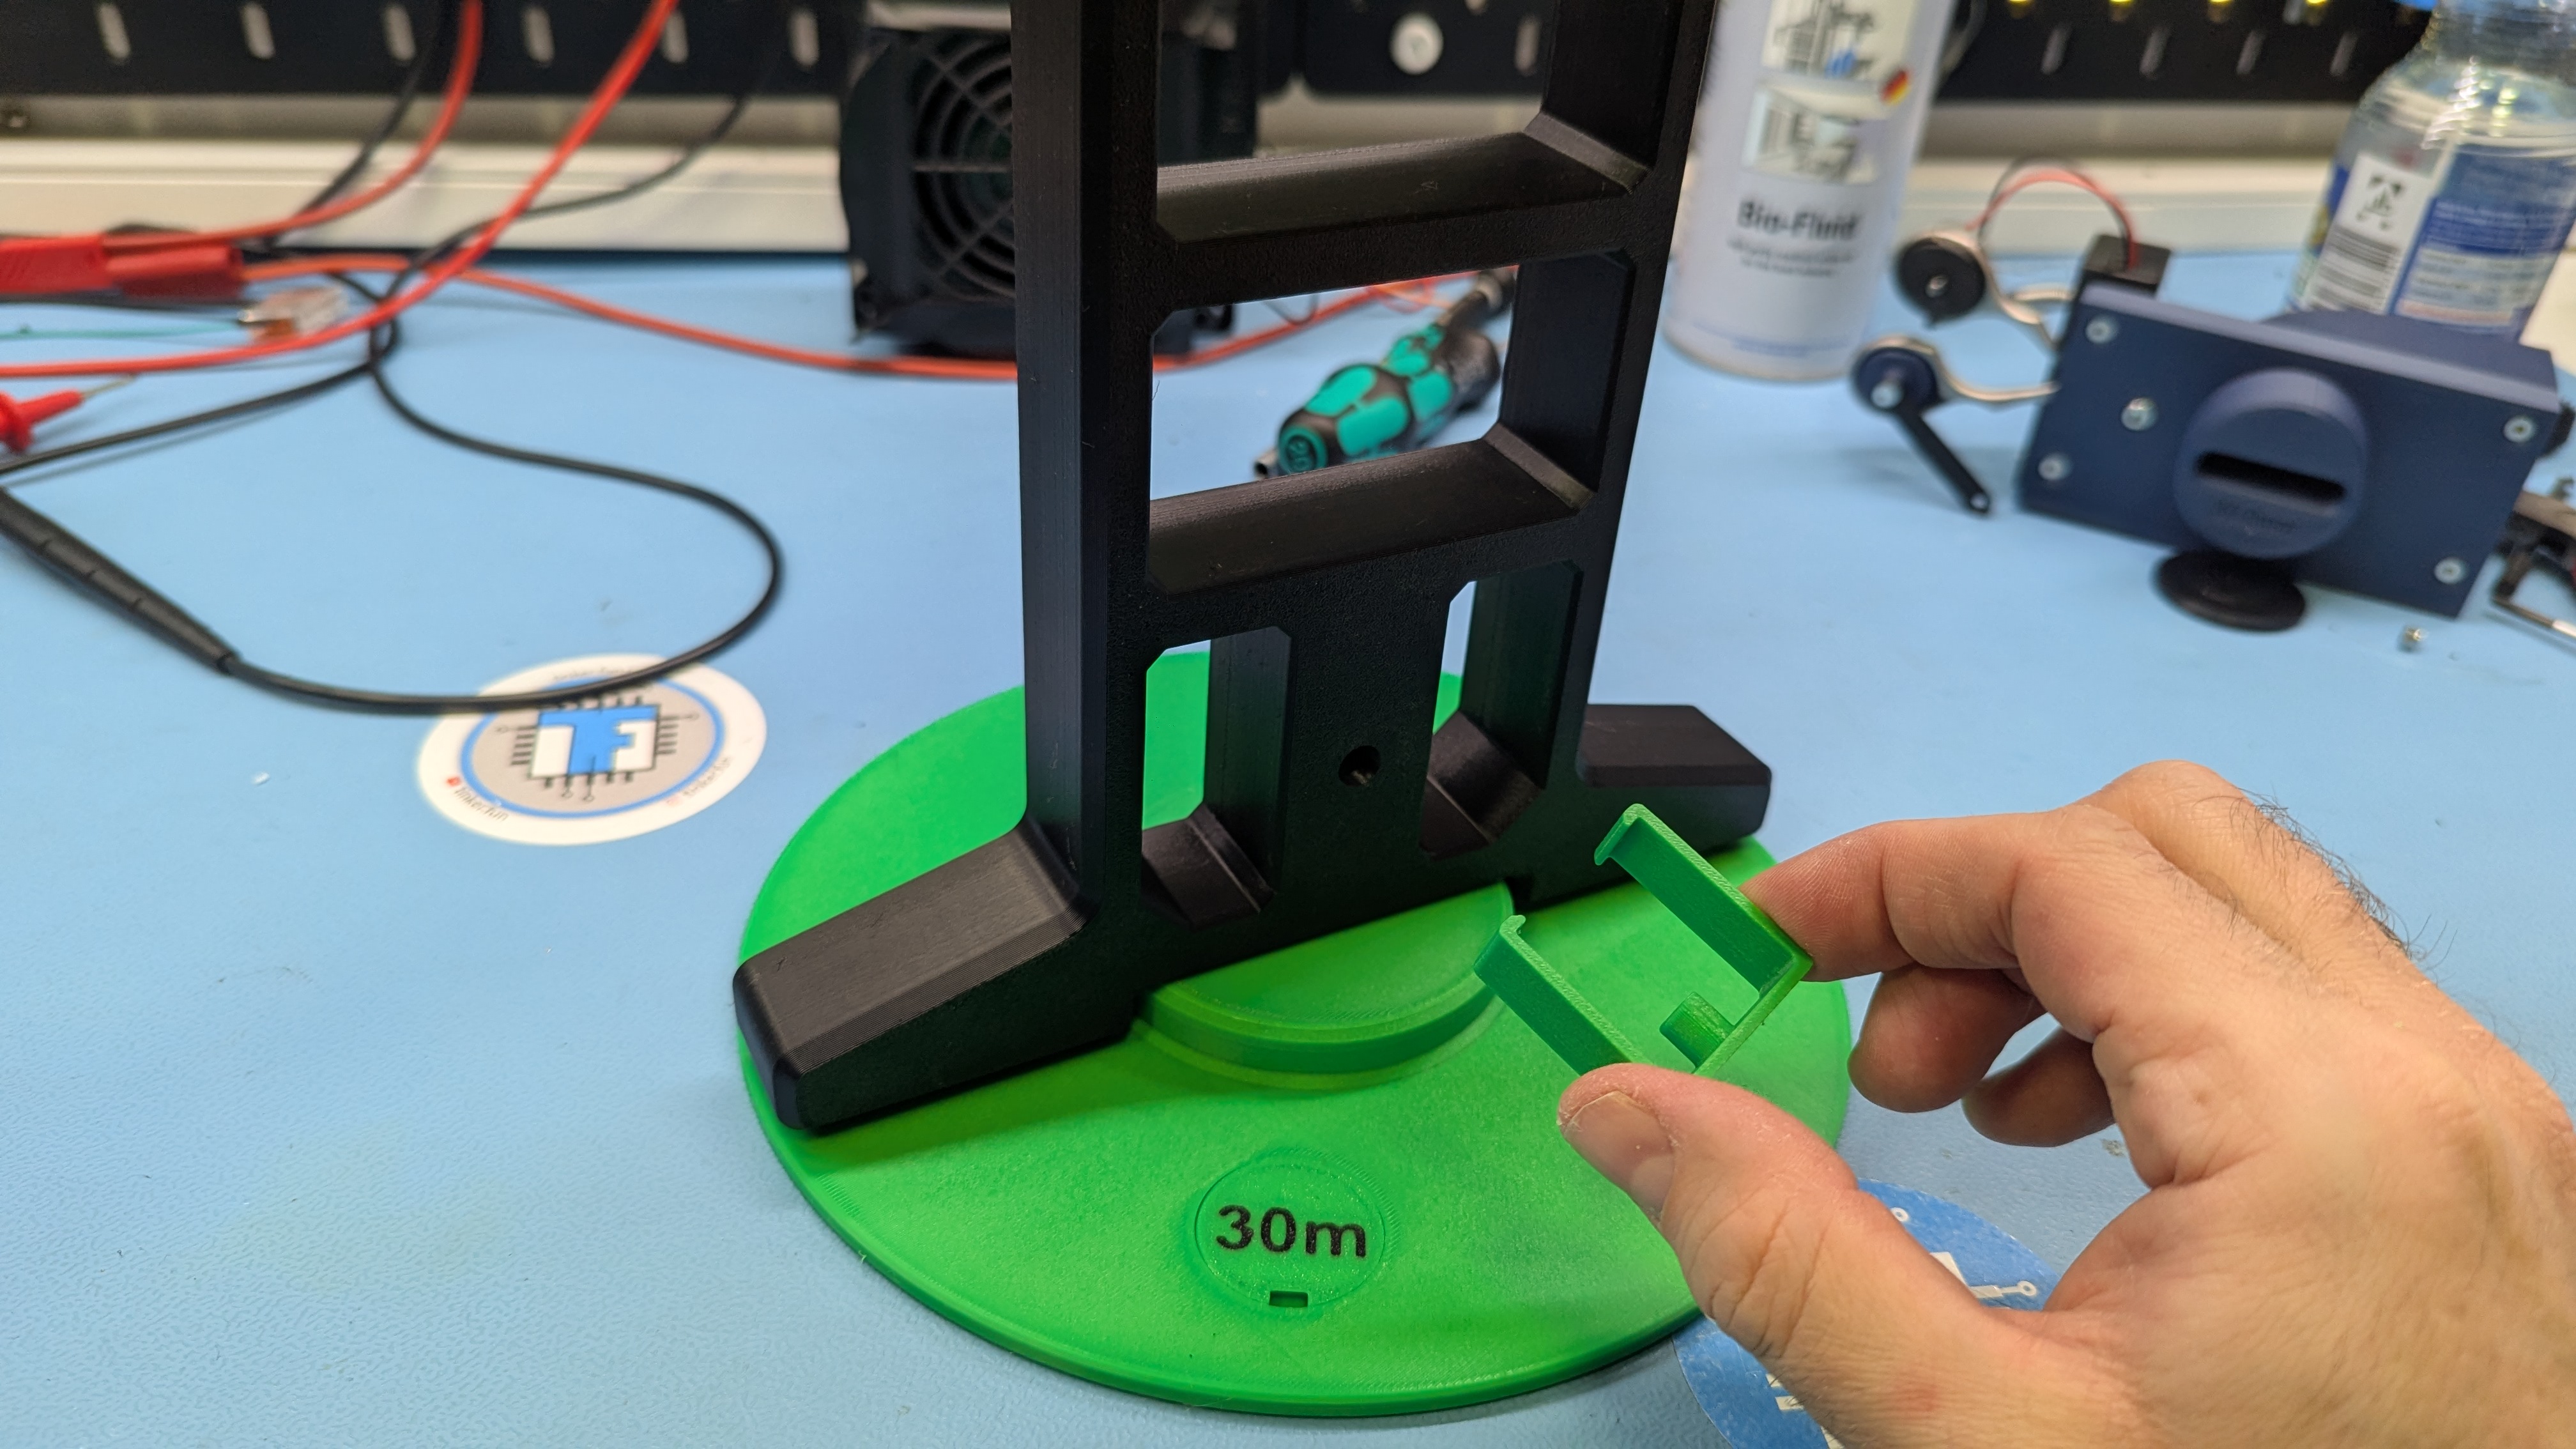 | 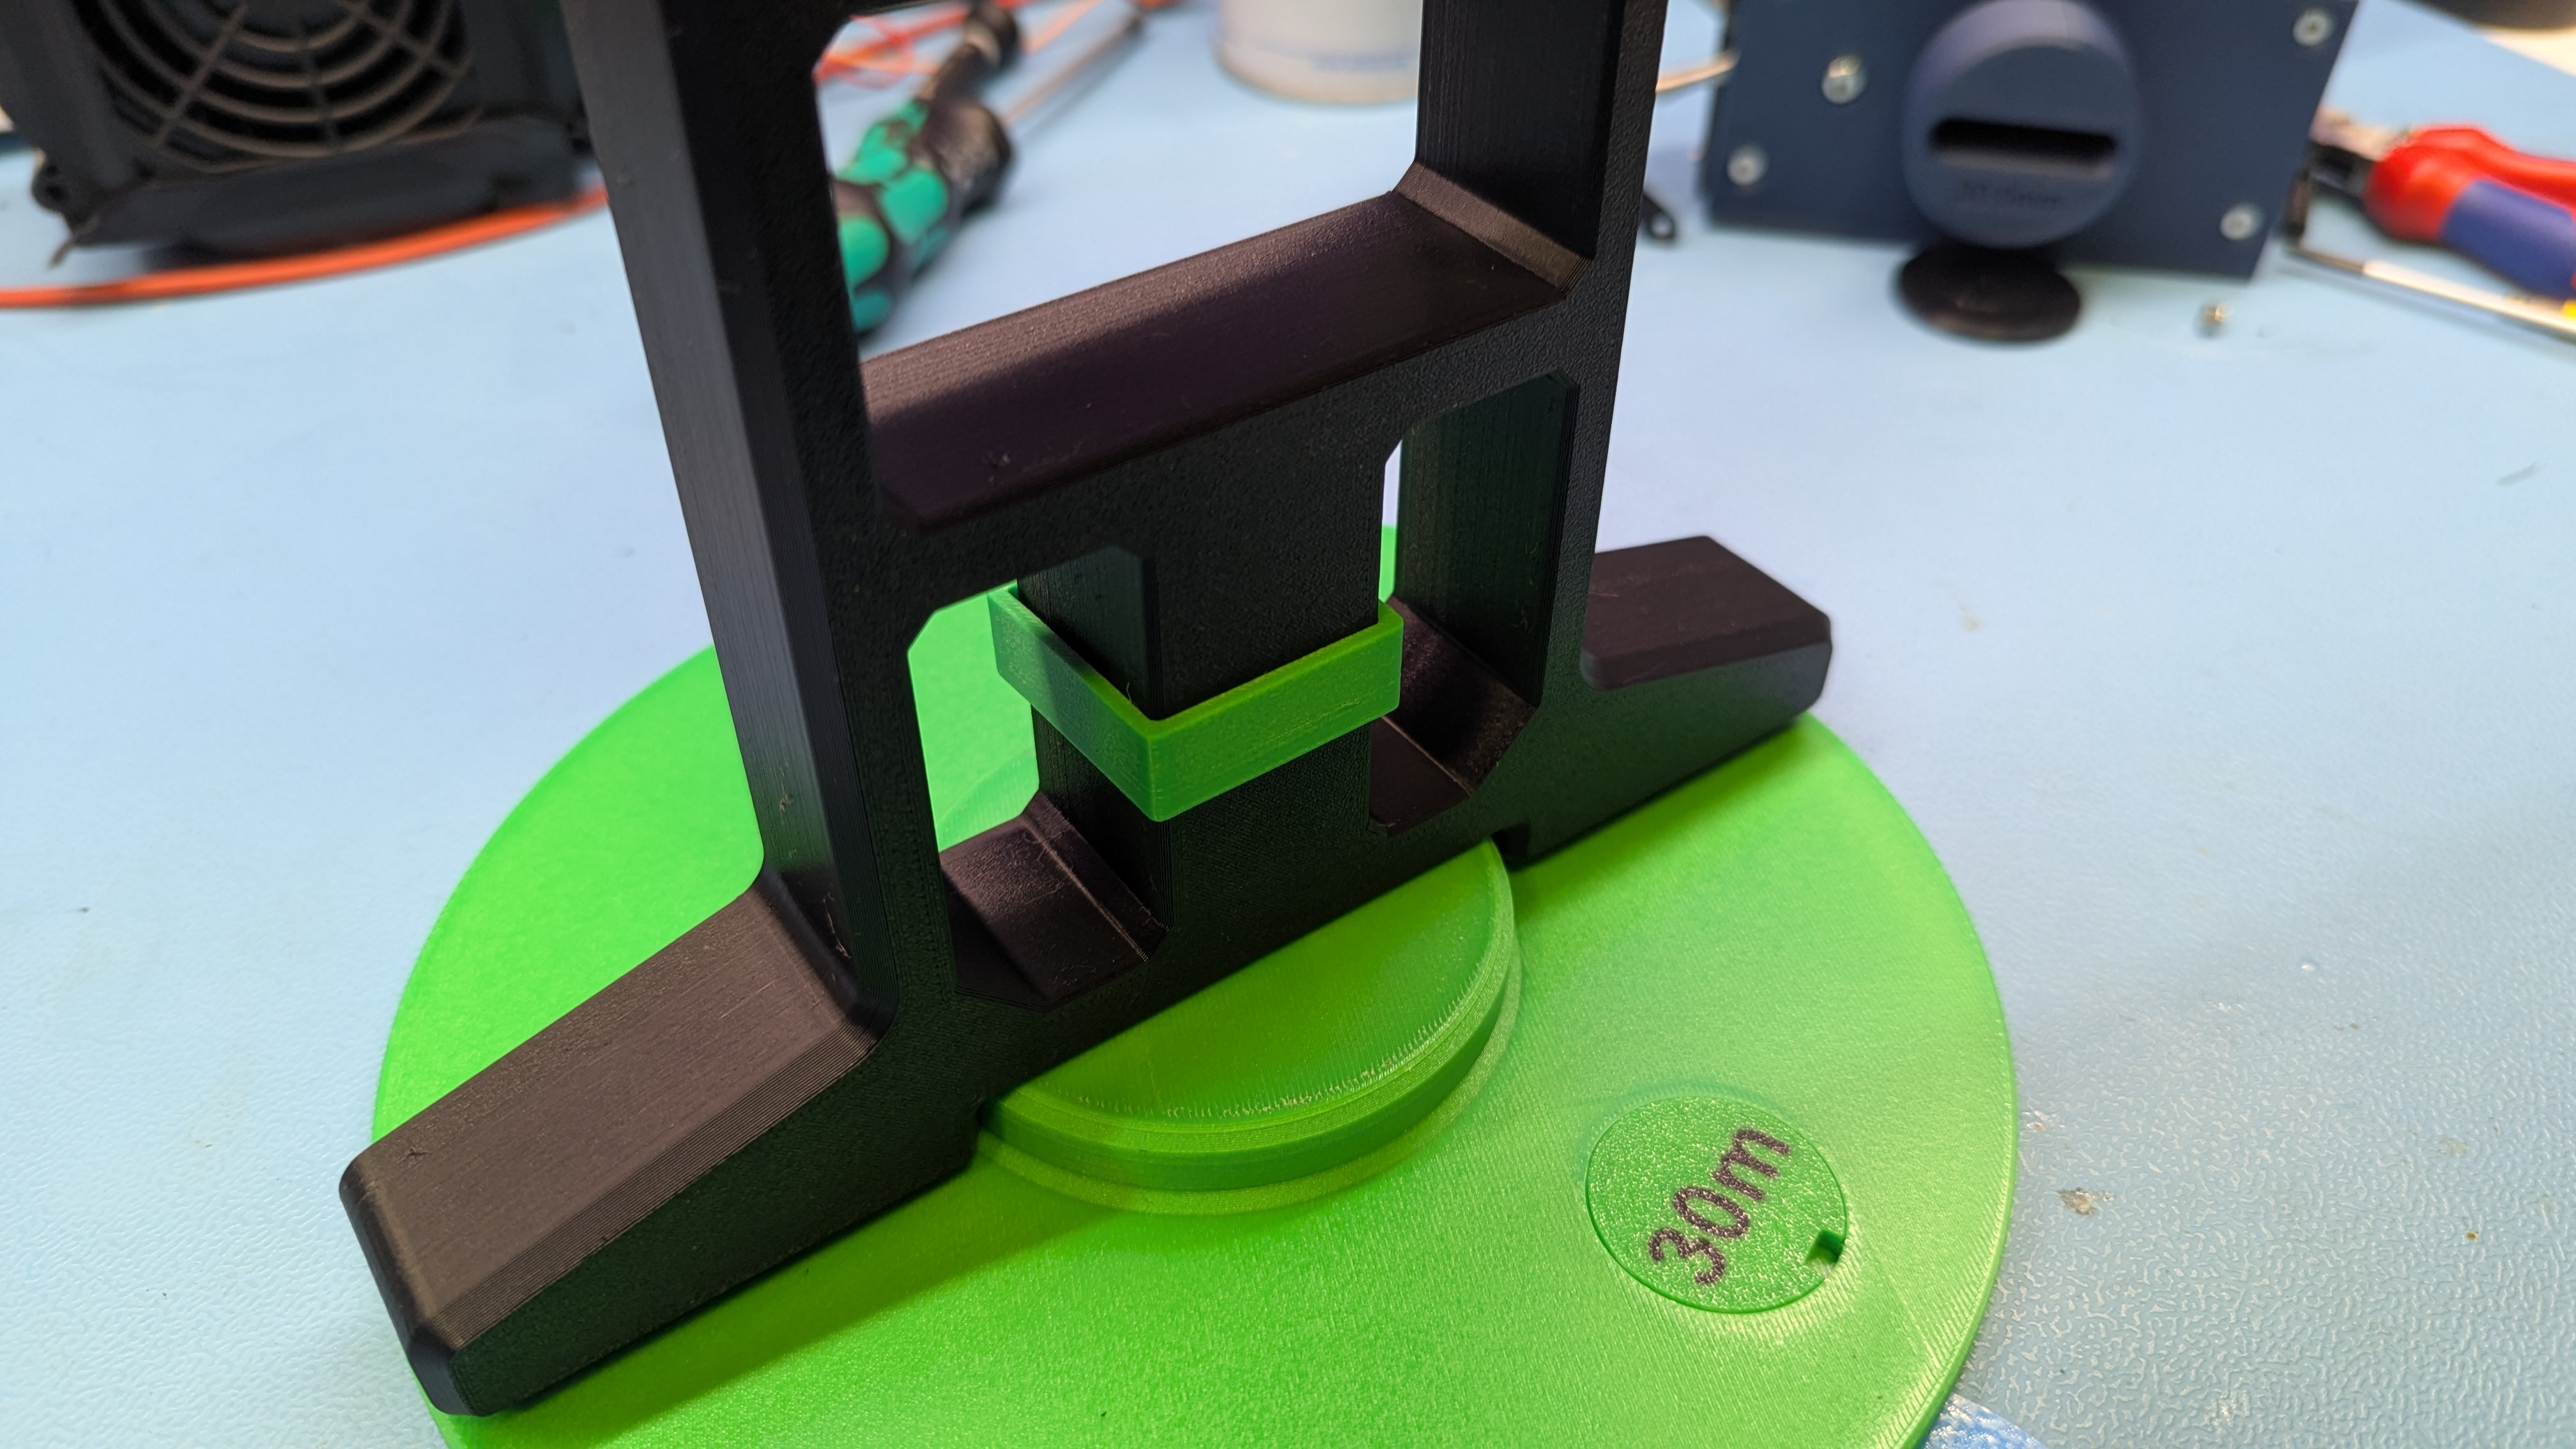 |
Step 5
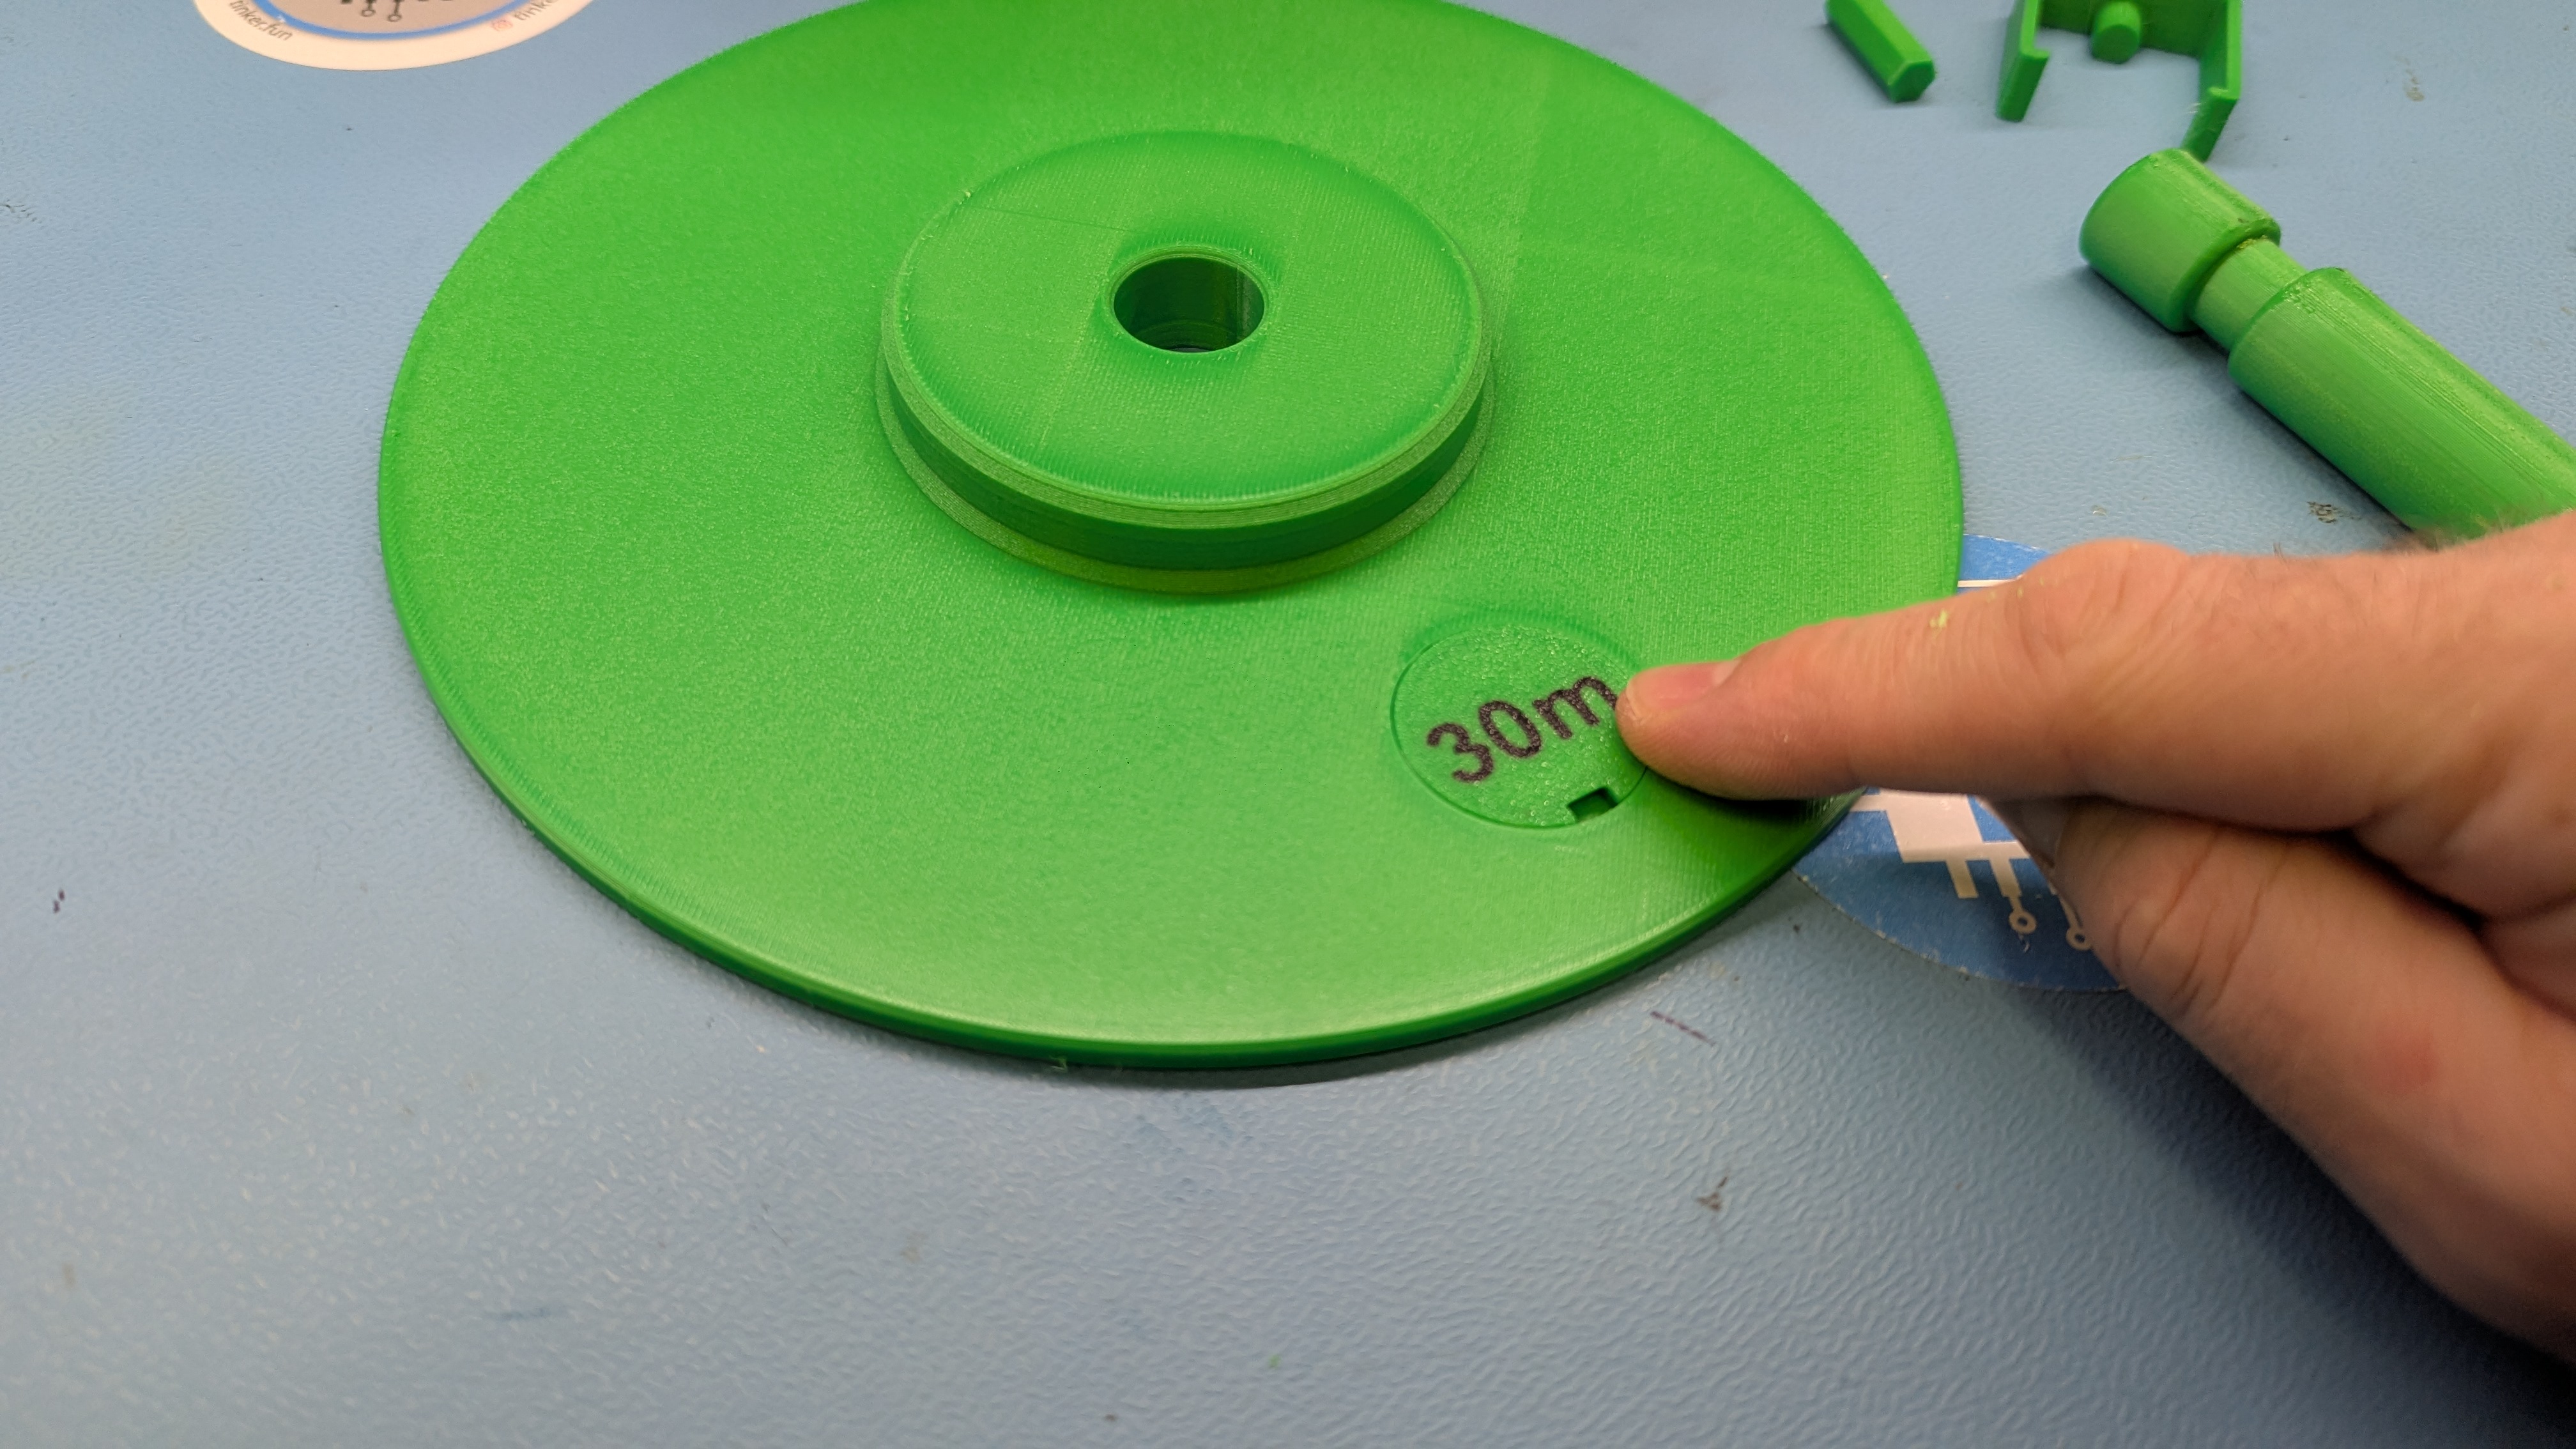
Press the clip label onto the turntable.
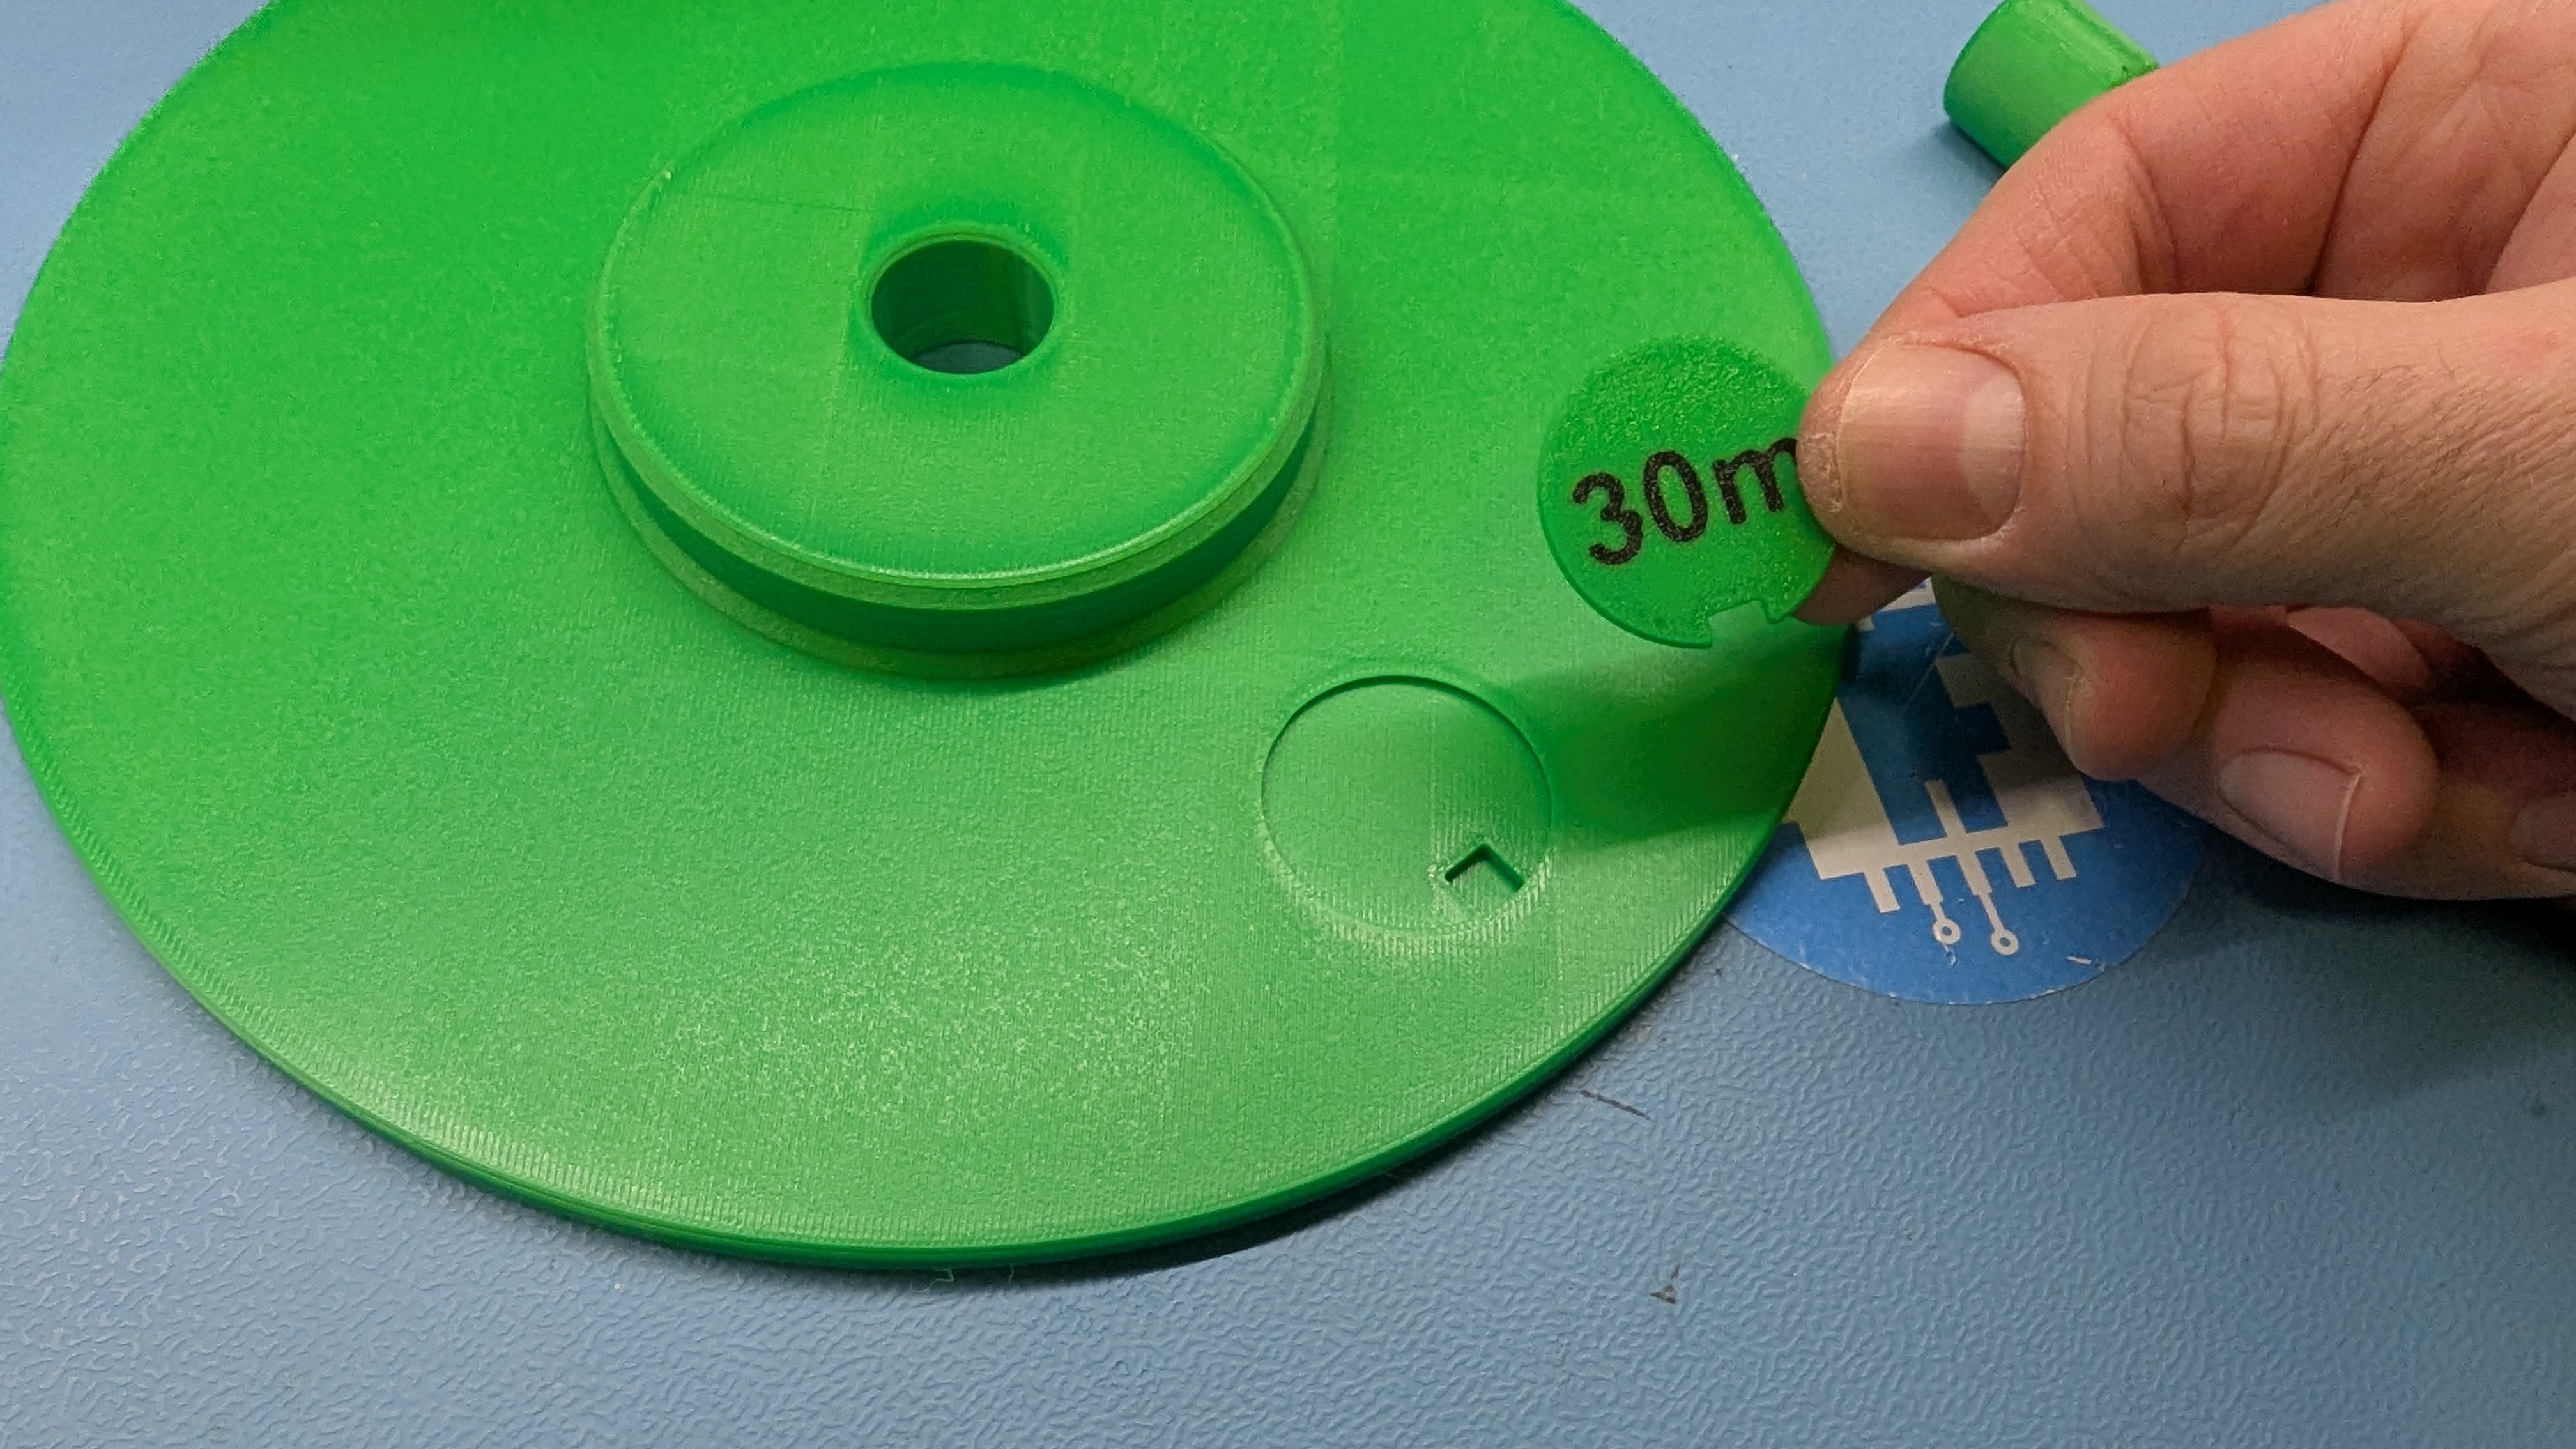 |  |
Filament
All parts were printed using PETG material.
Optional for support interface layer: PLA
Print Information
- Dimension: 205 x 290,50mm
- All parts are printed in 0.2 mm layer height.
Support needed only for the turntable pin. You can print it with a single filament and break off the support or you can print it with a support release layer like I do. I print the parts from PETG and the support interface layer with PLA. PLA can be easily detached from PETG. This gives you a nice surface.
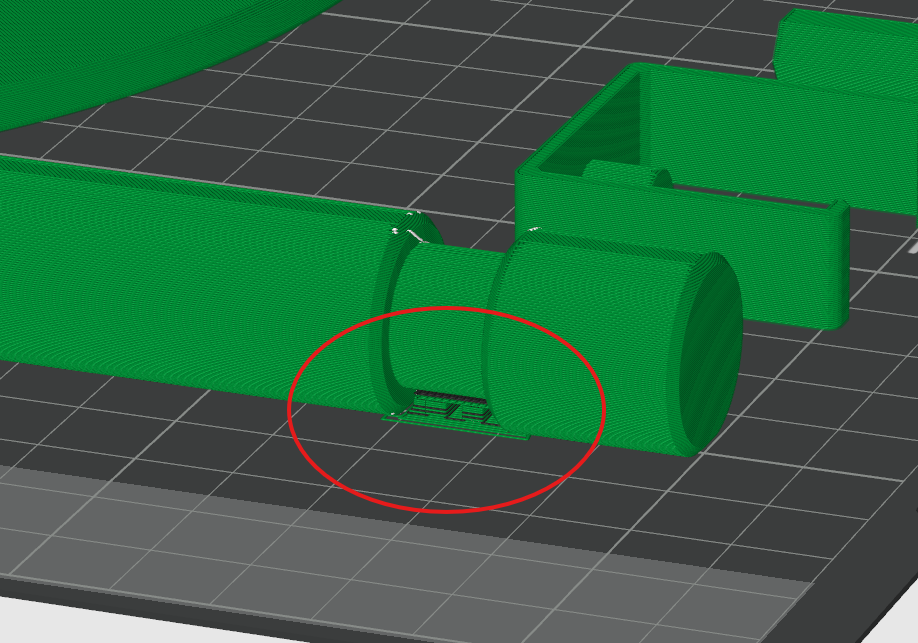
The bit holder on the cable winder is printed to be extra stable. A second body (90% infill) was added there with separate filling properties.
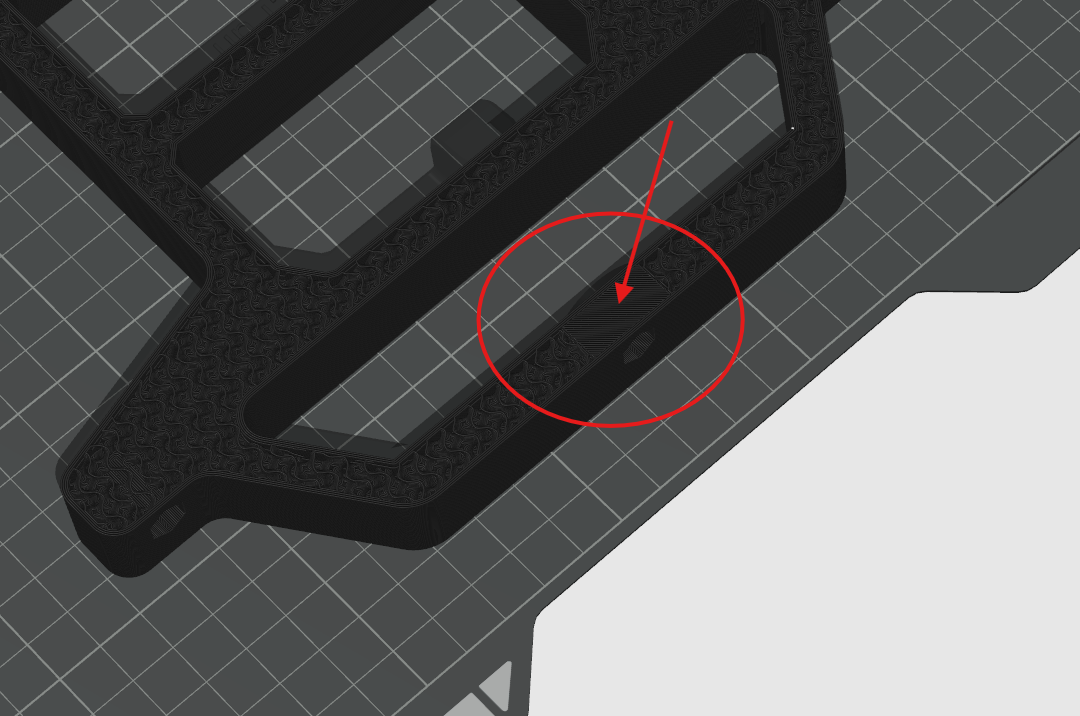
- The following settings are selected:
- Standard 0,2 Bambu
- Strength
Walls
Wall loops: 3
Sparse infill
Sparse infill pattern: Gyroid
Sparse infill desity:- Cable Winder: 15%
- Turntable: 30%
- Clip: 60%
- Turntable Pin: 80%
- Bit: 100%
Support - only for the turntable pin
Support
Enable Support: YesType: Normal
On build plate only: Yes
Support/raft base: Standard
Support/raft interface: PLA
Top Z distance: 0mm
Bottom Z distance: 0mm
- Strength
- Standard 0,2 Bambu
Function
Windup
With a cordless screwdriver
Take the bit out of the side holder and insert it into your cordless drill.
Insert the bit with the cordless drill into the opening at the top and wind up the cable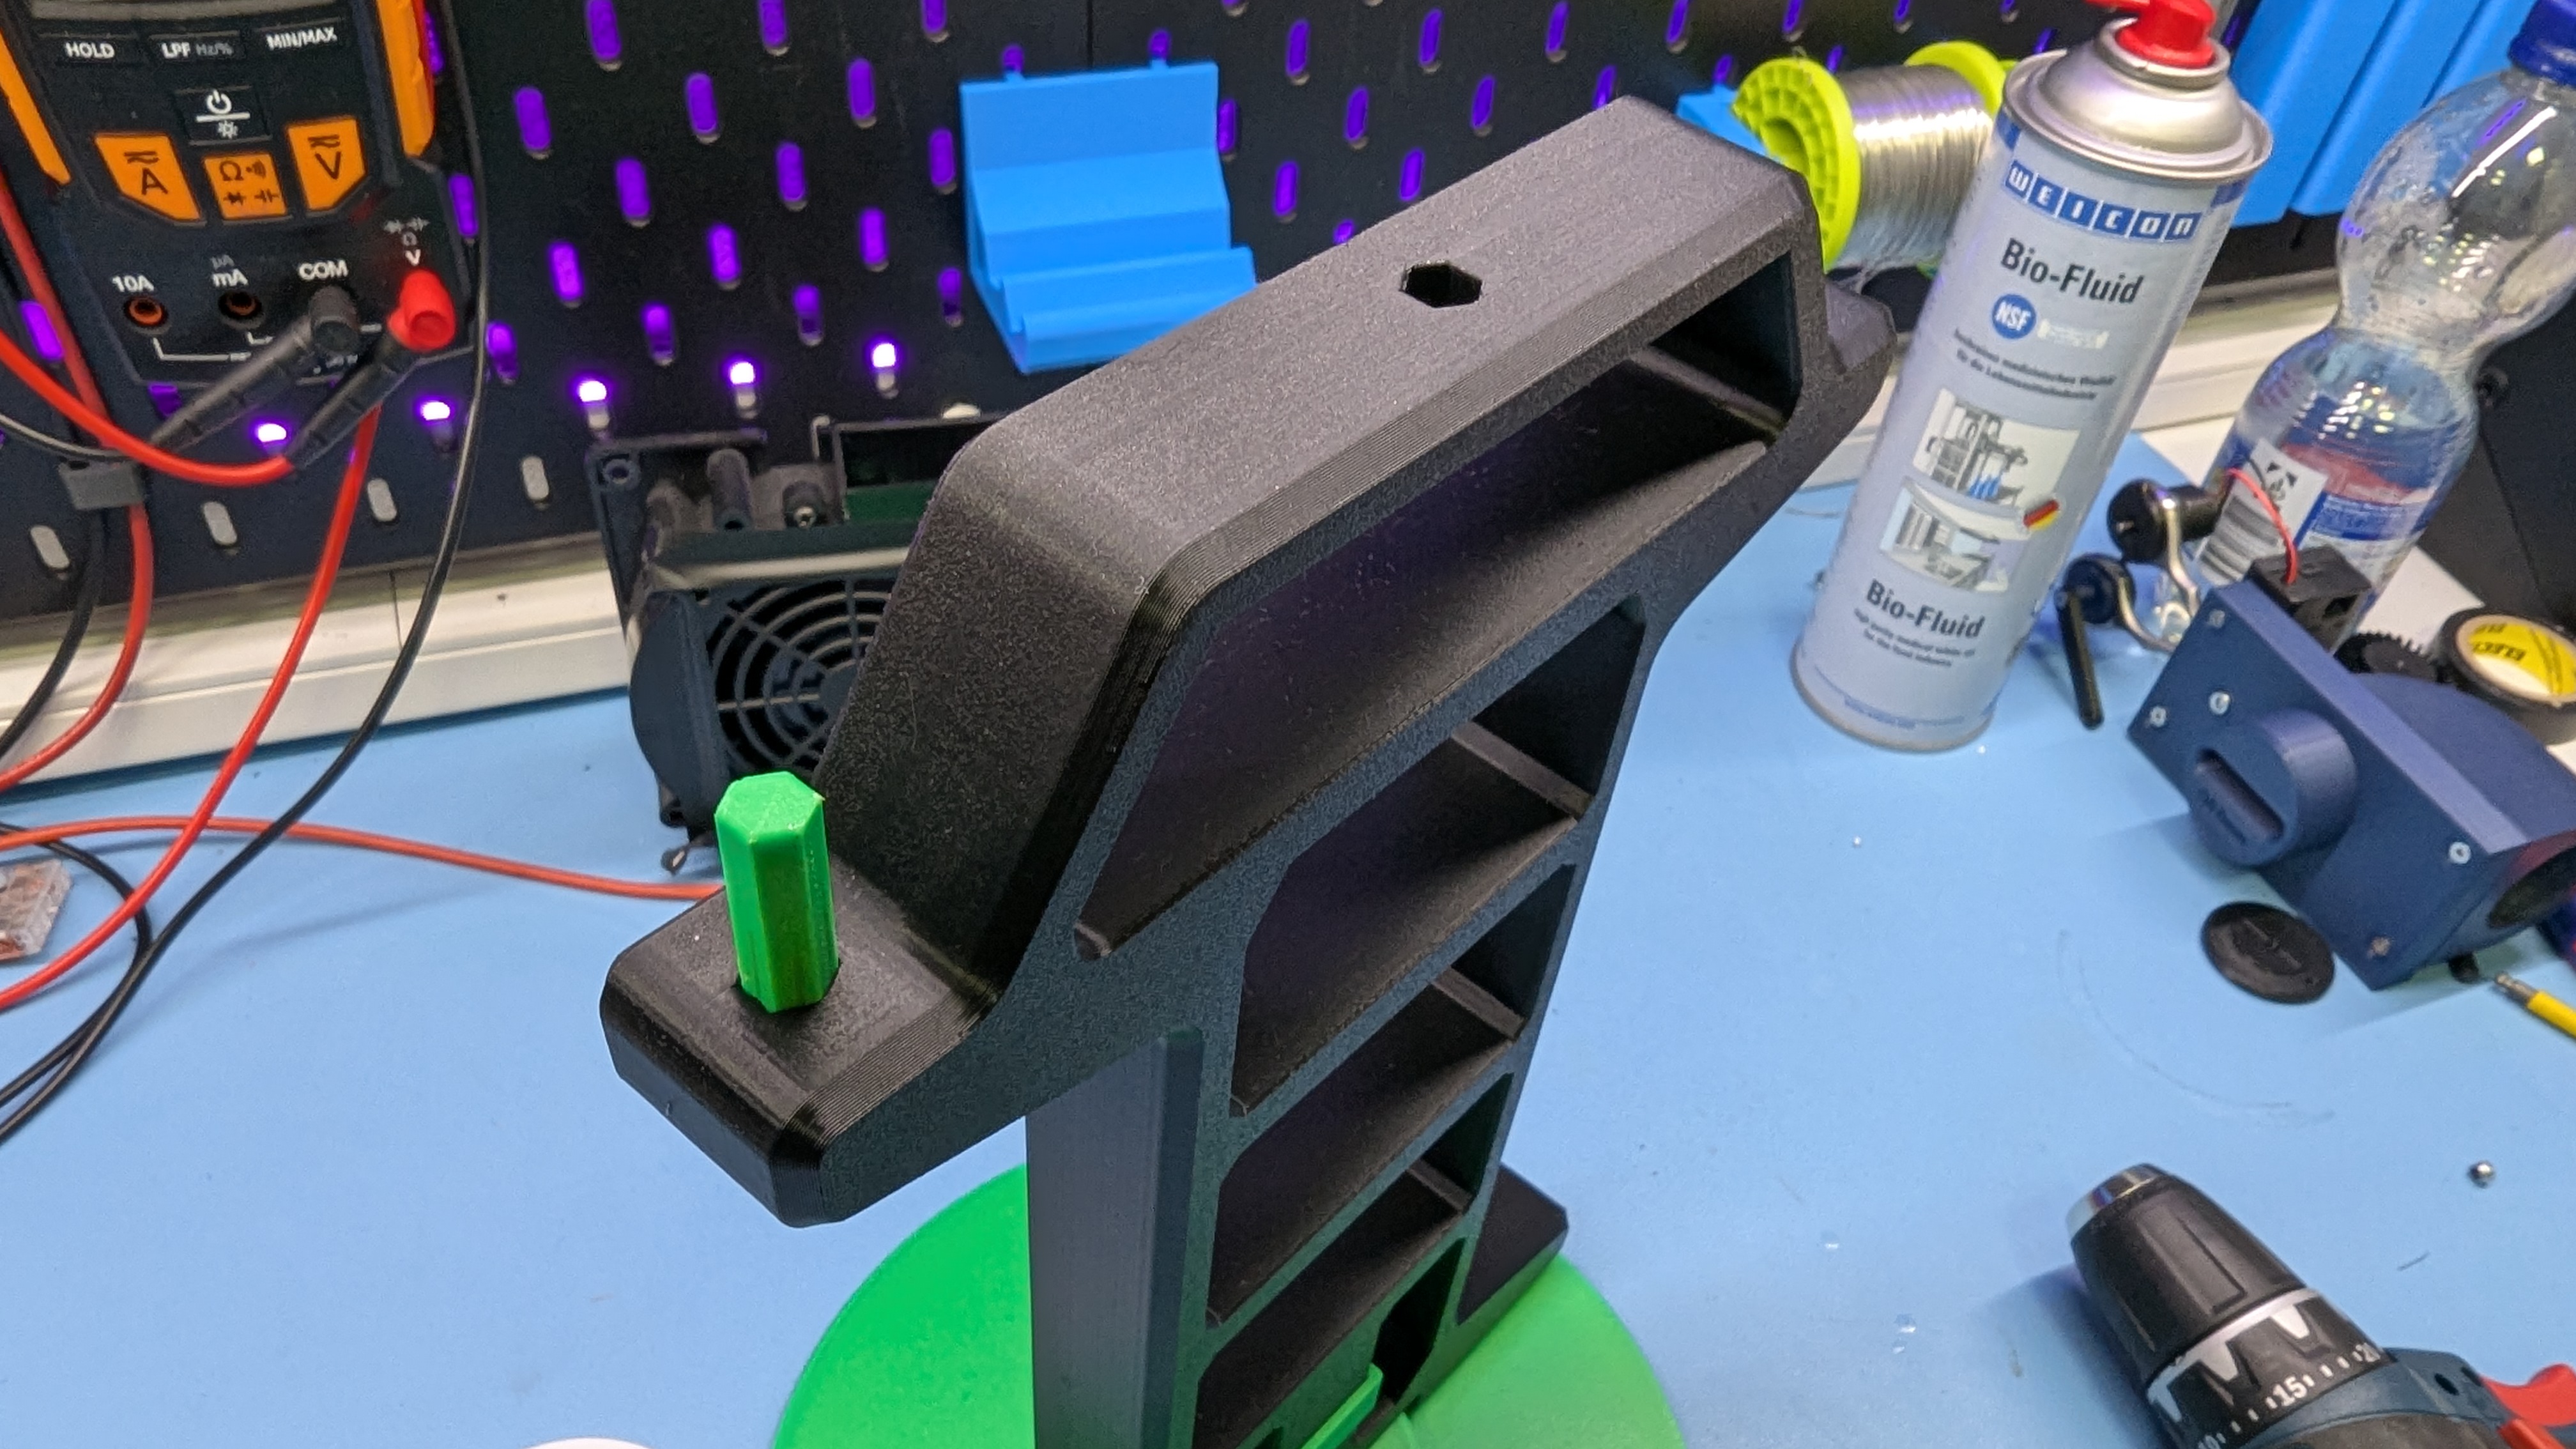
Important!
- Please start turning carefully and do not go full throttle right away.
- Set the cordless screwdriver to the slower speed.
Use the torque settings on the cordless screwdriver to protect your cable winder.
- Manual
Turn the cable winder by hand Unwind
Carefully pull on the cable to unwind it.
Feel free to take a look at my other makerworld models
Tinker.Fun 3D Models

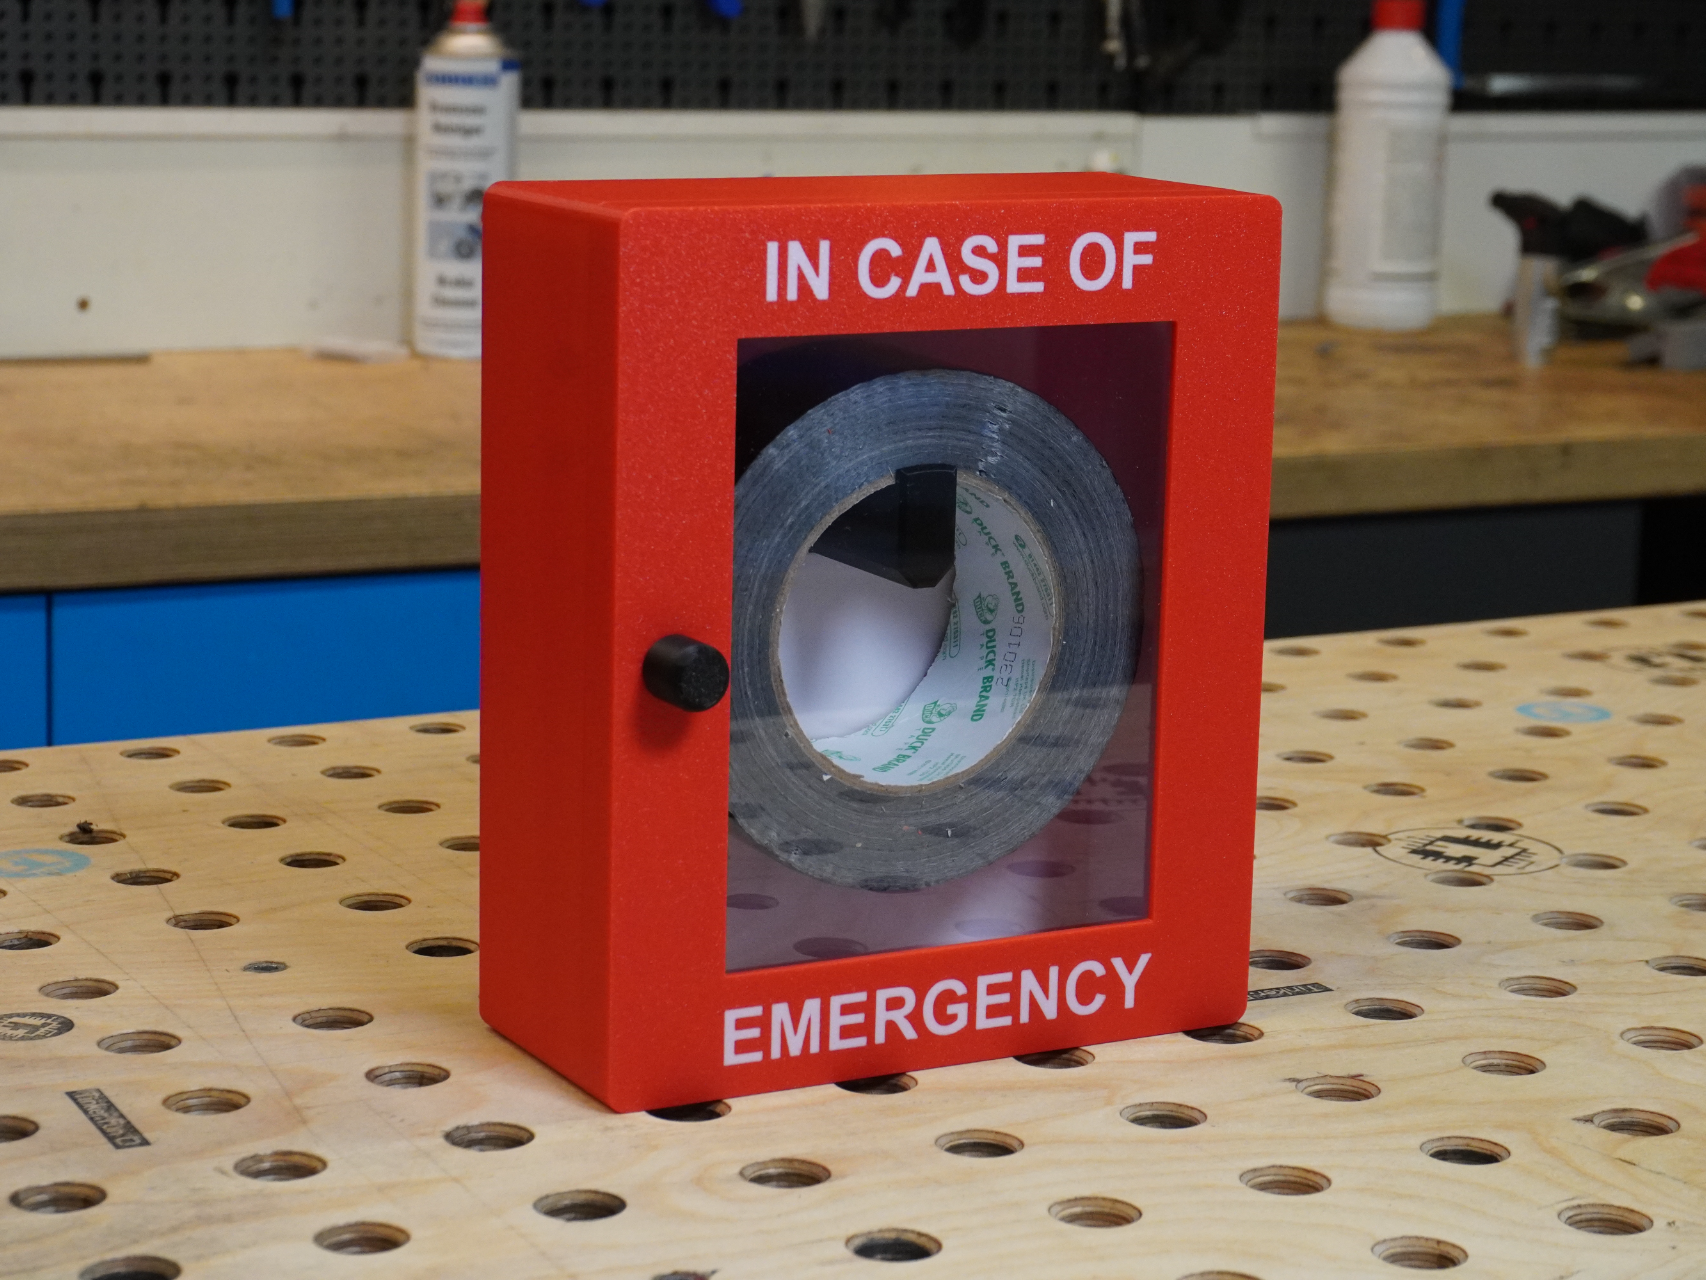
Examples from my models:
 | 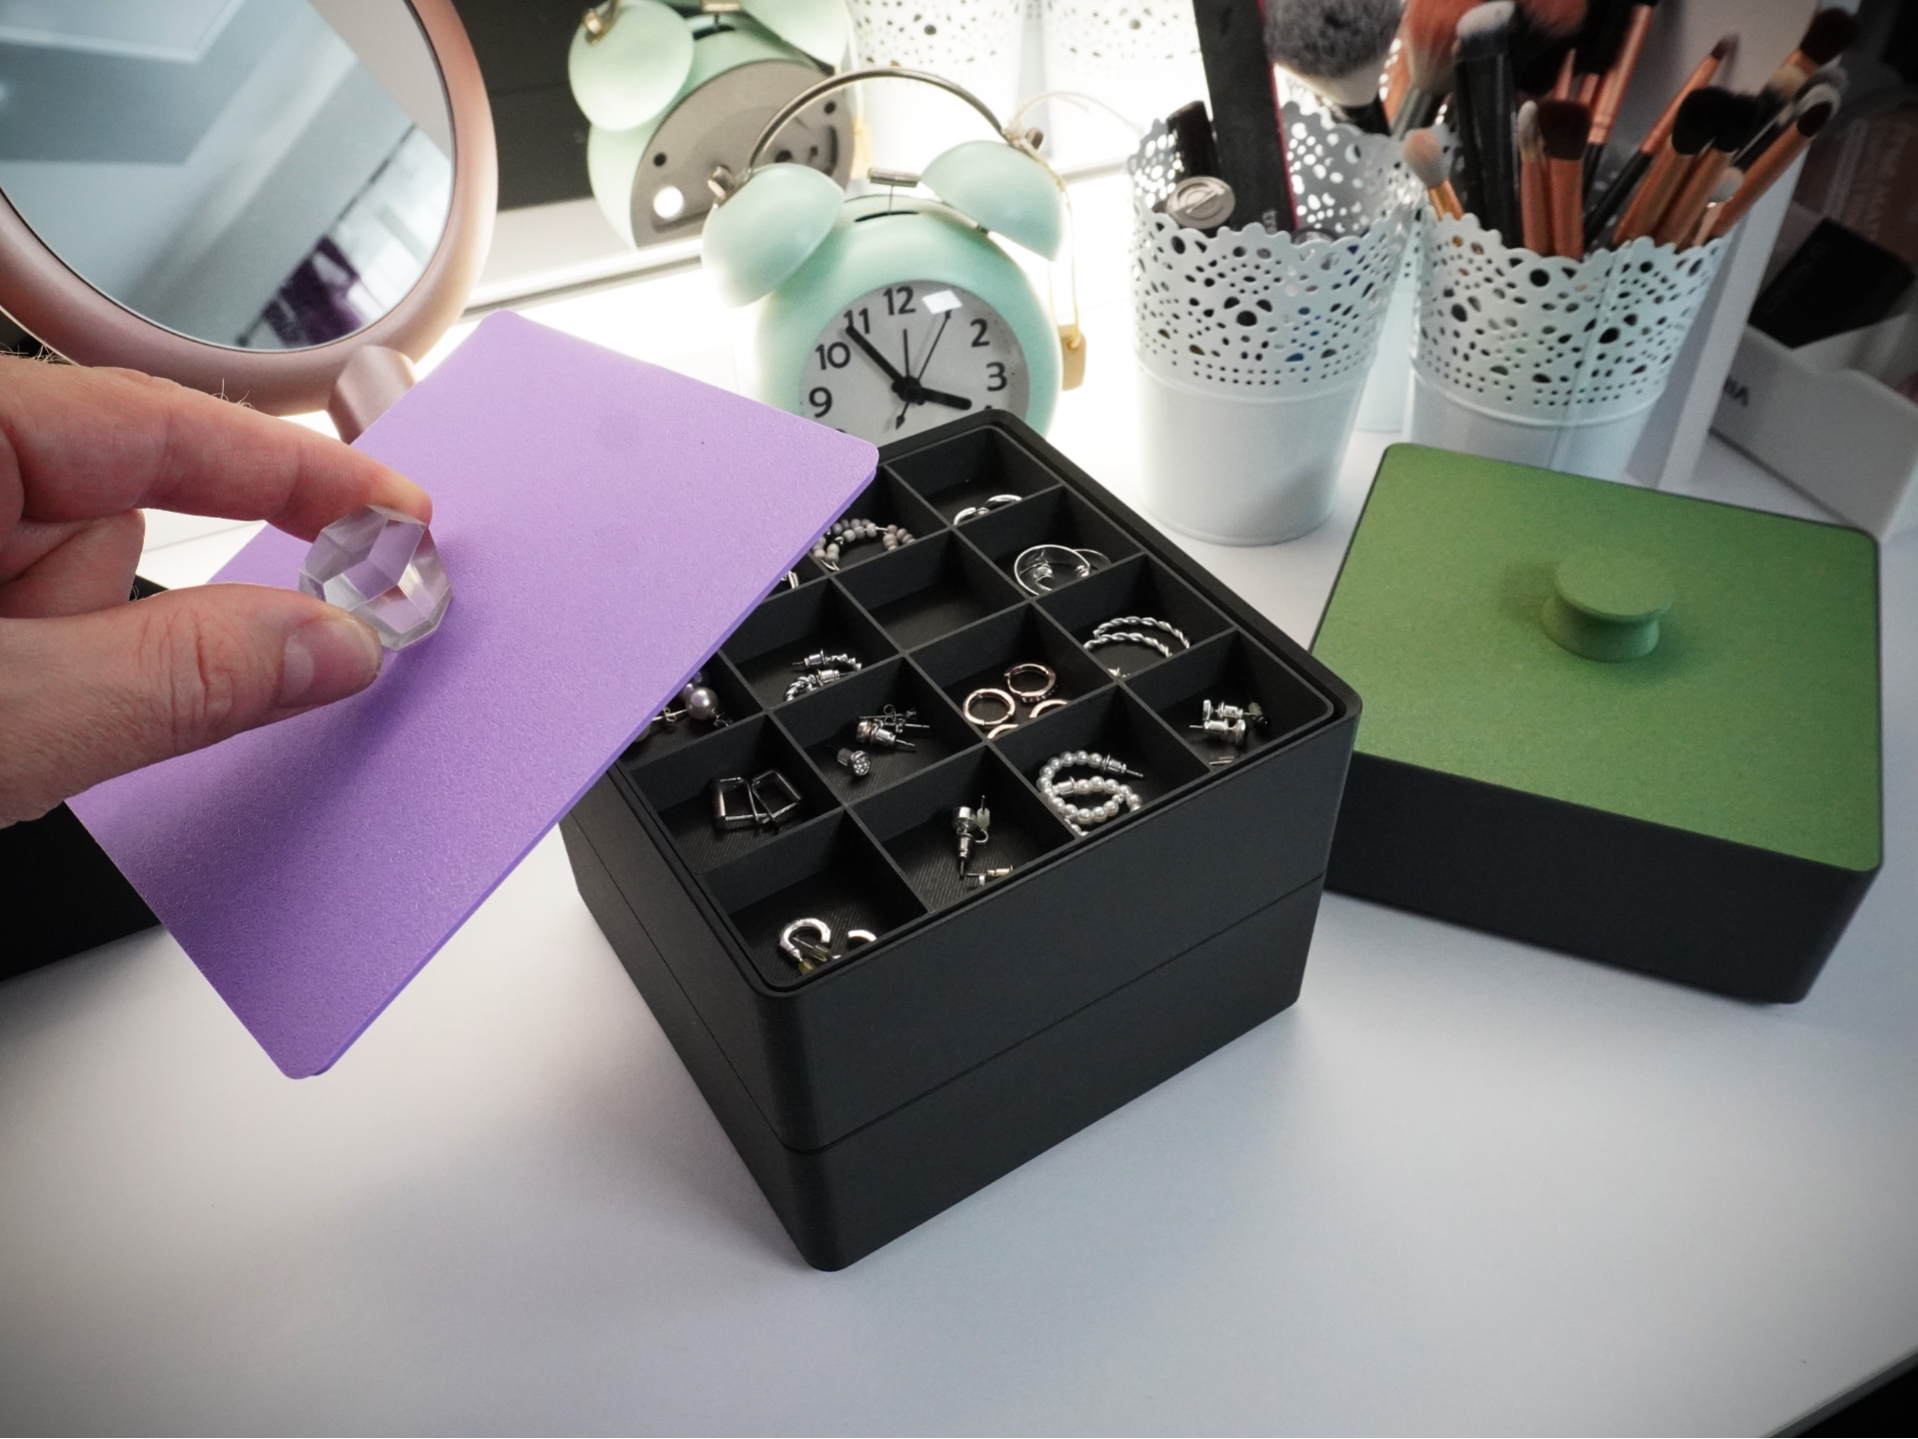 | 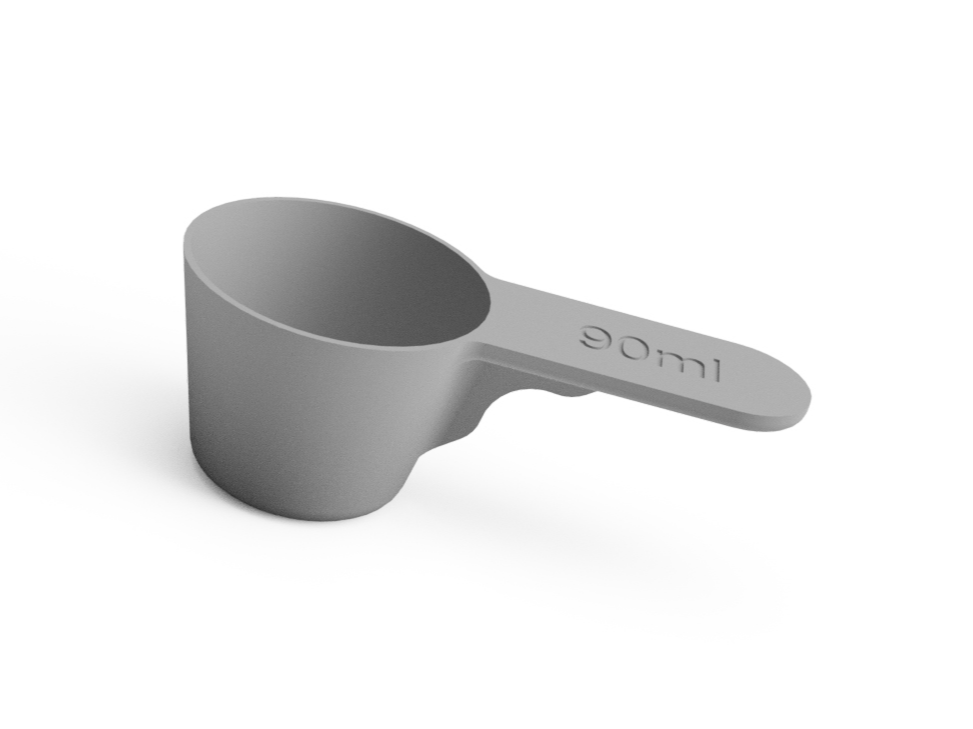 |
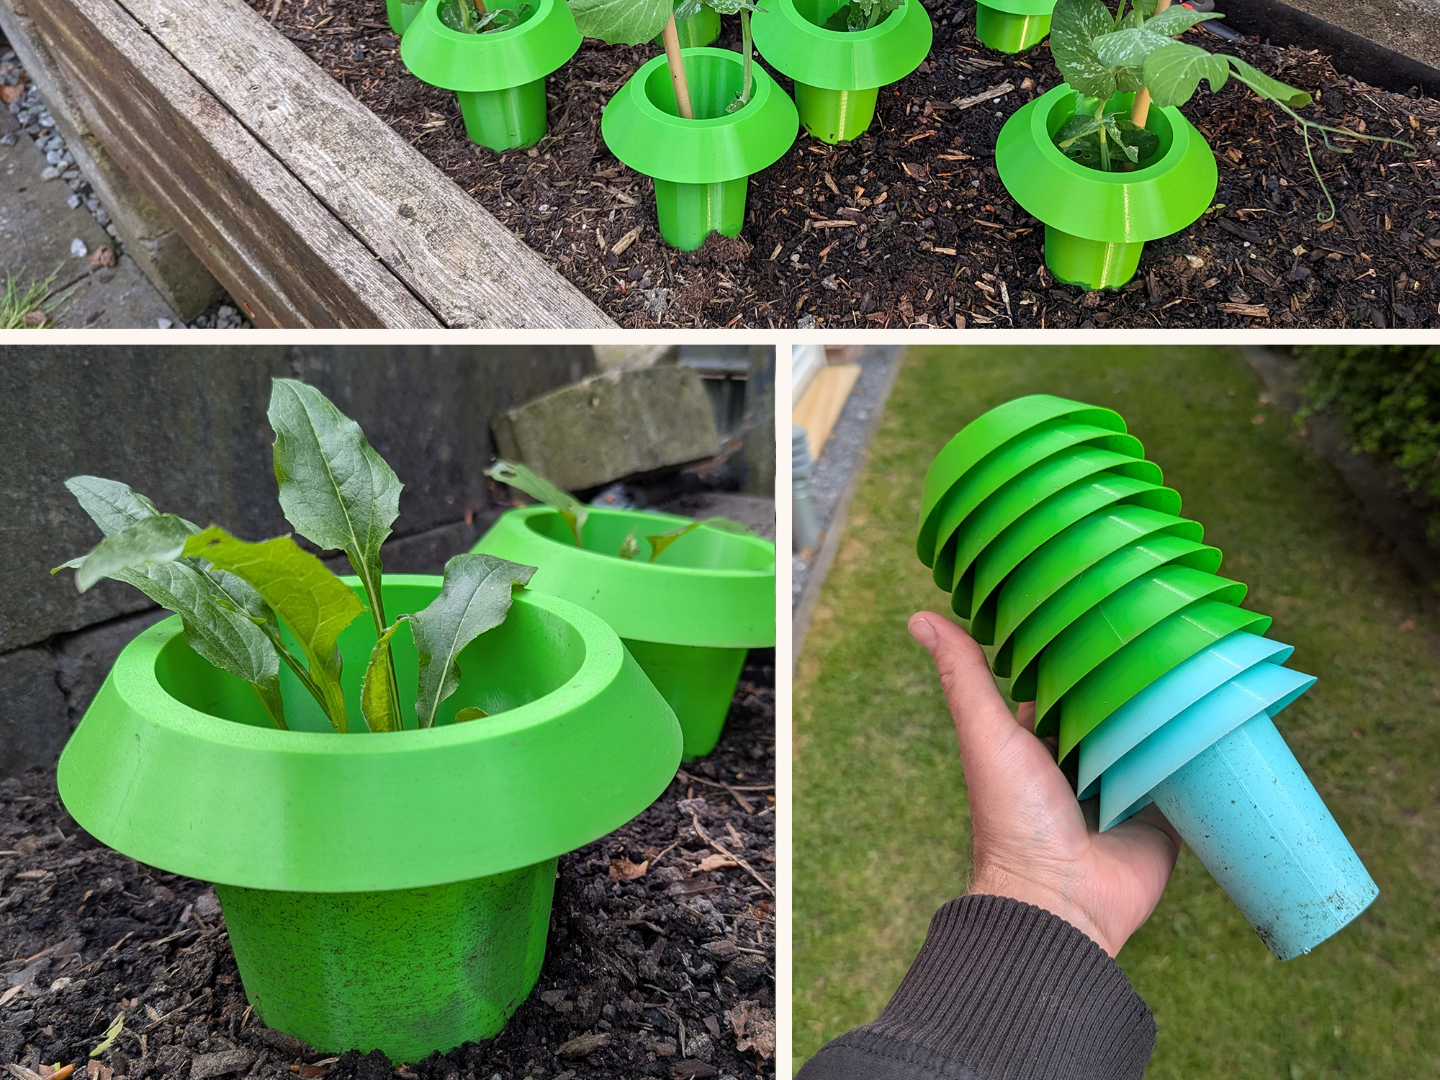 | 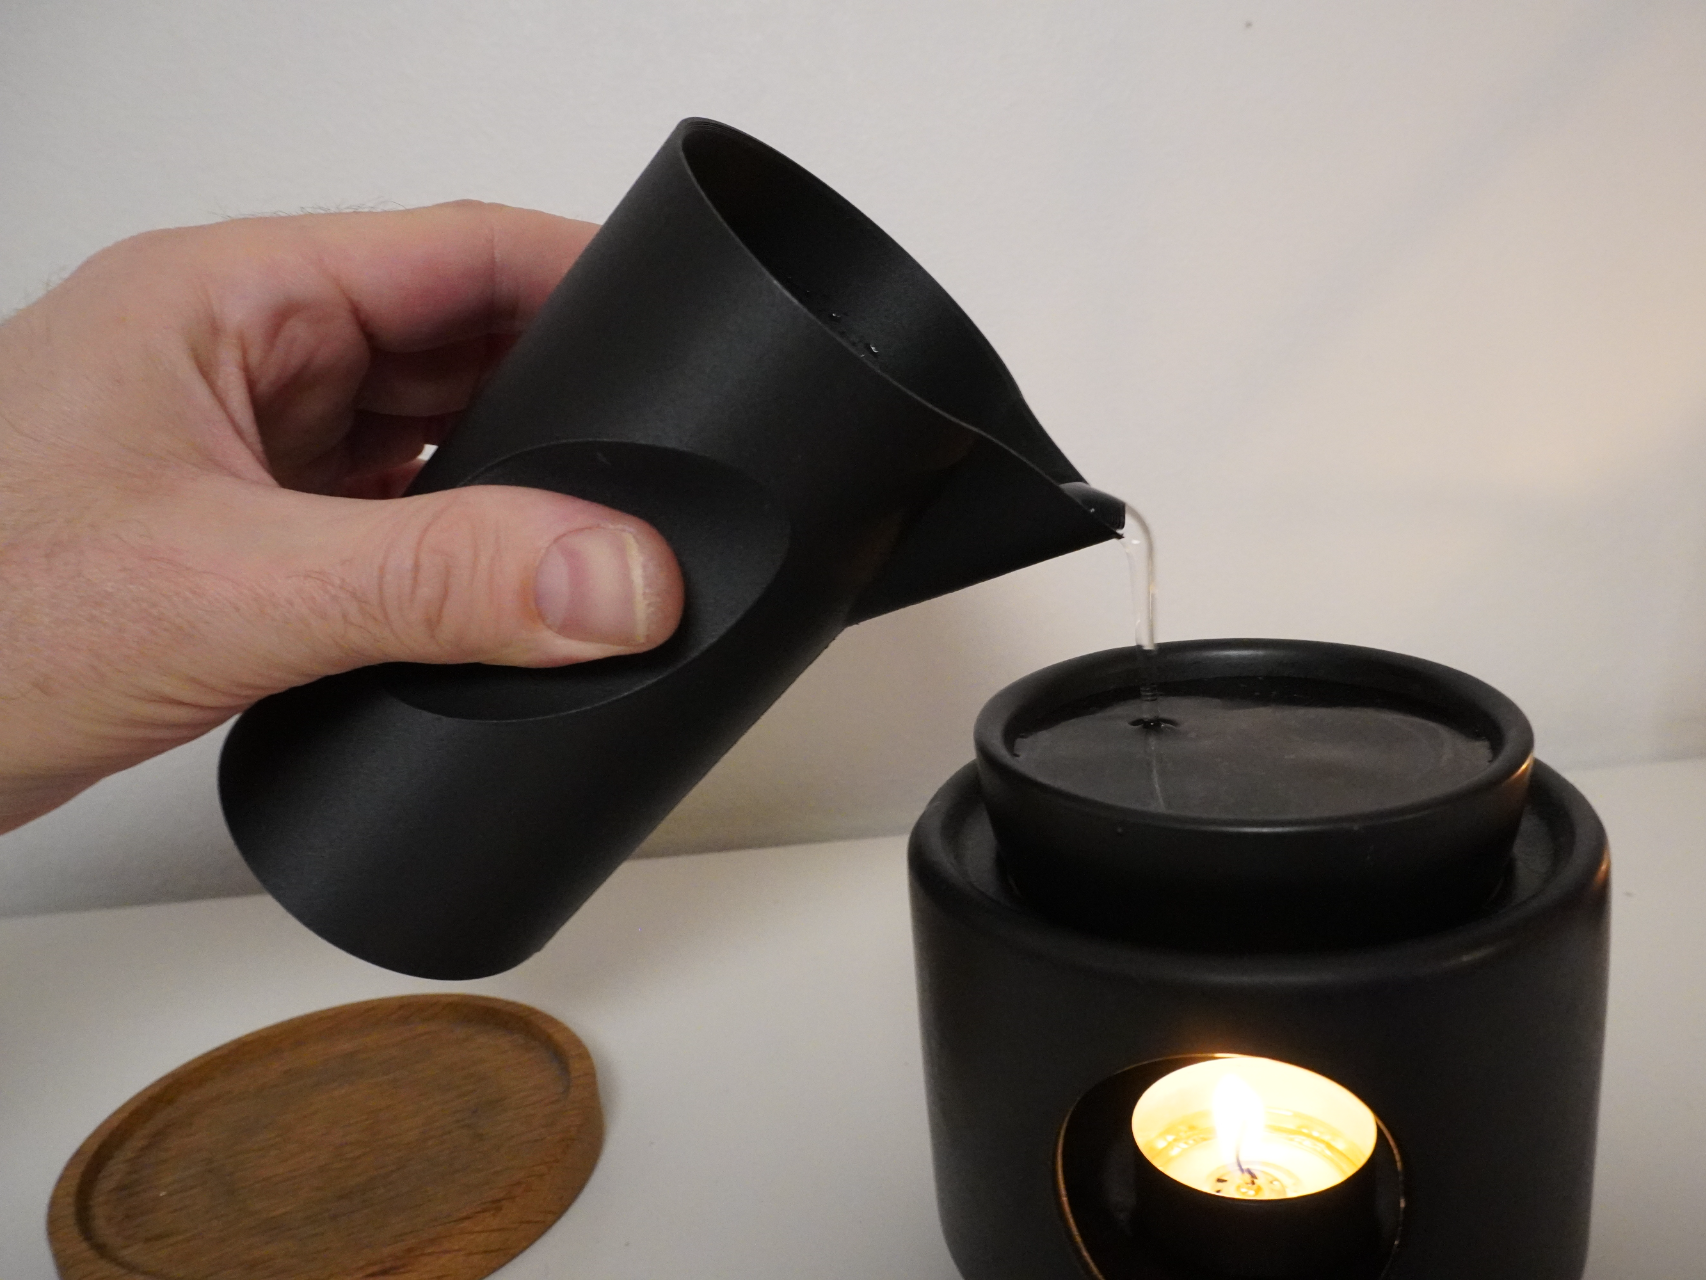 |  |
I would be very happy about your support: PayPal me
Tinker.Fun YouTube: [https://www.youtube.com/tinkerfun](https://www.youtube.com/tinkerfun)
Tinker.Fun Instagram: [https://www.instagram.com/tinker.fun](https://www.instagram.com/tinker.fun)
Cable Winder + Cordless Drill Wind Up Function
Publicado em 23 de jan de 2026
Gostou deste modelo? Crie uma conta grátis para salvar seus favoritos e voltar a eles depois.
Criar conta