Você está no 3DFinder
Buscamos em Thingiverse, MakerWorld e Printables ao mesmo tempo para te dar o melhor de cada uma.
Descrição
PLA.station (PLA Go)
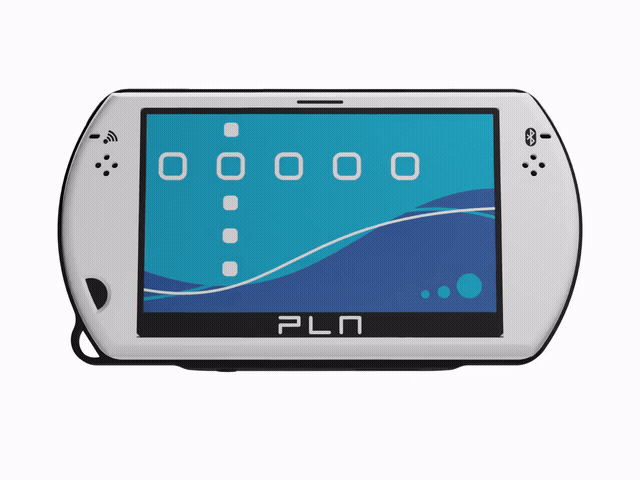
The latest generation of non-functional portable game consoles is here.
About:

I'm going to be honest. This is mostly a replica of the PSP Go, an cult classic in the PlayStation world. The design is an attempt to fit working interactive/flexure features in a low profile package - the sliding mechanism, shoulders, face buttons and sticks are all there (to varying degrees of success) and the whole thing adheres to the dimensions of the genuine device.
In any case, it looks cool, and we can thank the original product designers and engineers for that, not me.
Printing:
The design requires PETG for the mechanical parts. You ought to use some generic high flow PETG available anyhere, including from Bambu themselves. There are numerous colour highlights that make using AMS ideal, but you can always skip this, though it won't look as nice. Thanks to print orientation, these colour additions don't add too much to the print time, or create too much waste.
The only parts that require supports are the base and the button/sticks parts.
WARNING: Take it easy when releasing the PETG parts from the bed, as they have fine features that you could accidentally break, also: don't start flexing things until the print has cooled.
Assembly:

The assembly is designed to be quite foolproof. You can probably intuit where everything goes without instruction. Here are some notes though:
- Drop the “interactives” plane (PETG) into the base, followed by the shoulder buttons.
- Place the frame ring over this, and try and squeeze it into place, it might be quite tight, so don't force it too hard. If you can't, wait for the next step.
- Place the face buttons over the associated spring parts, you can leave the thumbsticks until later, and then place the face panel over this.
- At this point you might want to use your heel or some solid surface to really press the face into the frame, and the frame into the base. I know it's hard, but I think you can do it. Be careful not to damage anything.
- Slot the slide spring into the face socket, tilt and press the left side of the carriage first and it should all pop in.
- Squeeze the screen into the top piece - you can flex it around as you need - and drop the top piece onto the slide spring until it's snugly fitted. That finishes the job.
Usage:
Look at it and fiddle with it.
