Você está no 3DFinder
Buscamos em Thingiverse, MakerWorld e Printables ao mesmo tempo para te dar o melhor de cada uma.
Descrição
Dyson V8 trigger lock (v1.1)
This is an updated version of my previous Dyson V8 trigger lock.
What has changed:
Before and after.
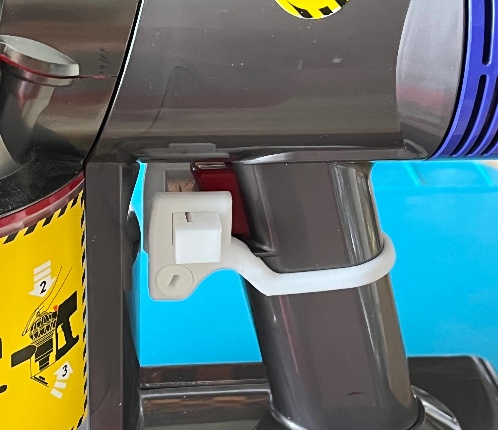
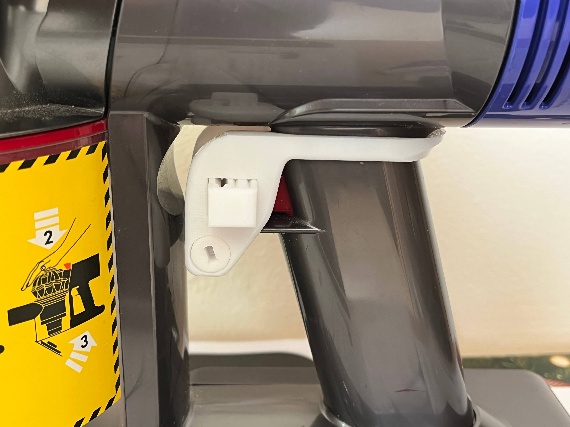
What to print if you already have the previous version:
If you have printed the previous version you will need to print the base and the trigger only. If so, just untick the check box next to the bolt assembly (see pic).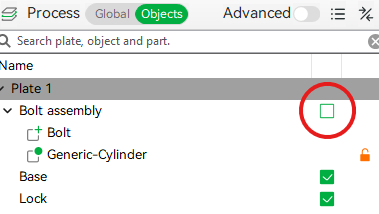
Otherwise, you’ll need to print all the parts.
Post processing:
Base only.
Remove the supports and use a needle type tool to remove them from the grooves. They just pop out.
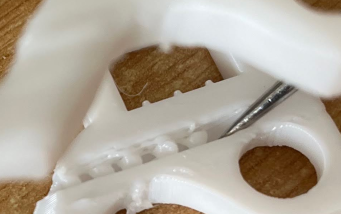
(Note: The picture above was published in the previous version – it shows only how to remove the supports from the grooves).
What to sand:
Sand (very little) wherever the support was touching, but do not sand the trigger rails (see below).
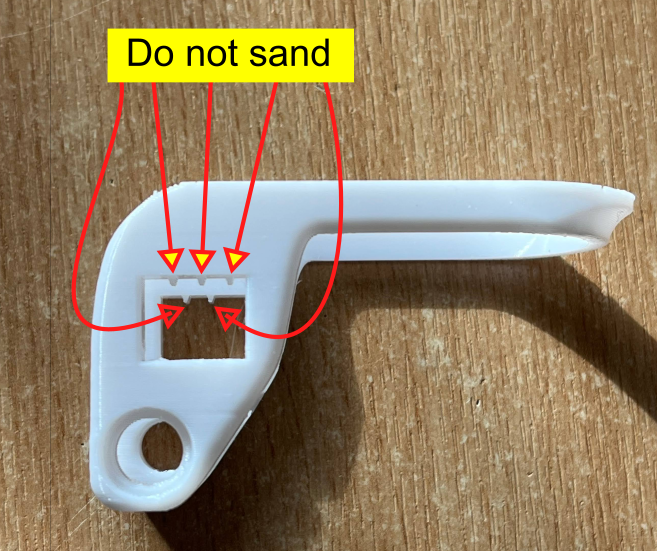
Instructions (copied from the previous version):
Run in the screw a couple of times on the main body before putting it on the Dyson.
Put the main body on the Dyson next from the back of the handle. The slots of the main body (see pic above) should enclose the extension under the trigger.
Put the bolt (screw) in.
Now put the trigger. The narrow side of the trigger goes first on the larger square (with the 3 small rail guides on the top). Push it in to bypass the lock. It’s ready. It should be very firm now.
If you want to remove the trigger press the lock on its side and pull it out.
I have the Dyson V8 and I think it'll work with V6 and V7 as well; but I am not sure if it works with any other models. Because it’s a small print (less that 15gr.) you may take the risk and try it out if you have one of the other models. Please make a comment if you succeed or fail in this case so others will know as well.
Please do not change the orientation of the model prior to printing, but if you know what you’re doing it’s fine.

Gostou deste modelo? Crie uma conta grátis para salvar seus favoritos e voltar a eles depois.
Criar conta