Você está no 3DFinder
Buscamos em Thingiverse, MakerWorld e Printables ao mesmo tempo para te dar o melhor de cada uma.
Descrição
E-Ink Weather Display Frame (Github Link)
Features
- 🌡️ Current conditions, feels-like temp, high/low
- 📊 24-hour temperature graph
- 📅 7-day forecast
- 🌅 Sunrise/sunset, UV index, air quality
- 💨 Wind, pressure, humidity
- 🌐 Web-based configuration UI
This is a housing for a DIY e-ink weather display using:
Raspberry Pi Zero 2 W
Waveshare 7.5” E-Ink Display
InkyPi by fatihak
A minimal desk frame for a Raspberry Pi-powered e-ink weather station. Clean design, easy assembly, tool-less, no additional fees or subscriptions. The display shows current weather, 7-day forecast, and a 24-hour temperature graph. Update every 5 minutes via WiFi. Powered by InkyPi, a fully open source framework.
InkyPi is a e-display alternative, open-source framework with a clean, EASY web UI with various plugins - such as Calendar, Images, Clock, and several more. For this project, I will focus on Weather, however you can have multiple displays run through the day!
Why build this?
- No subscription fees — one-time hardware cost
- Open source software
- Clean, minimal aesthetic
- Tool-less design
- Low power (~0.4W idle)
Bill of Materials
- Raspberry Pi Zero 1/2 WH (or solder your own headers)
- Waveshare 7.5inch E-Ink Display HAT Compatible with Raspberry Pi, 800x480 SPI Interface
- 5V micro-USB Power
- +8GB microSD Card
My Print Settings
- PLA came out best, fine pre-setting, painted Fuzzy skin (0.1 / 0.1) and custom supports
Files Included
- Display bezel/frame
- Rear housing/lid
Assembly
- Print all parts
- Set HAT switches before attaching to Pi:
- Display Config: B
- Interface Config: 0
- Slide Display through the top slit (be careful with the fpc cable)
Connect fpc cable to the e-Paper Adapter
- To seat the cable, push the black part in, insert the cable, and pull black clip away from the inserted cable
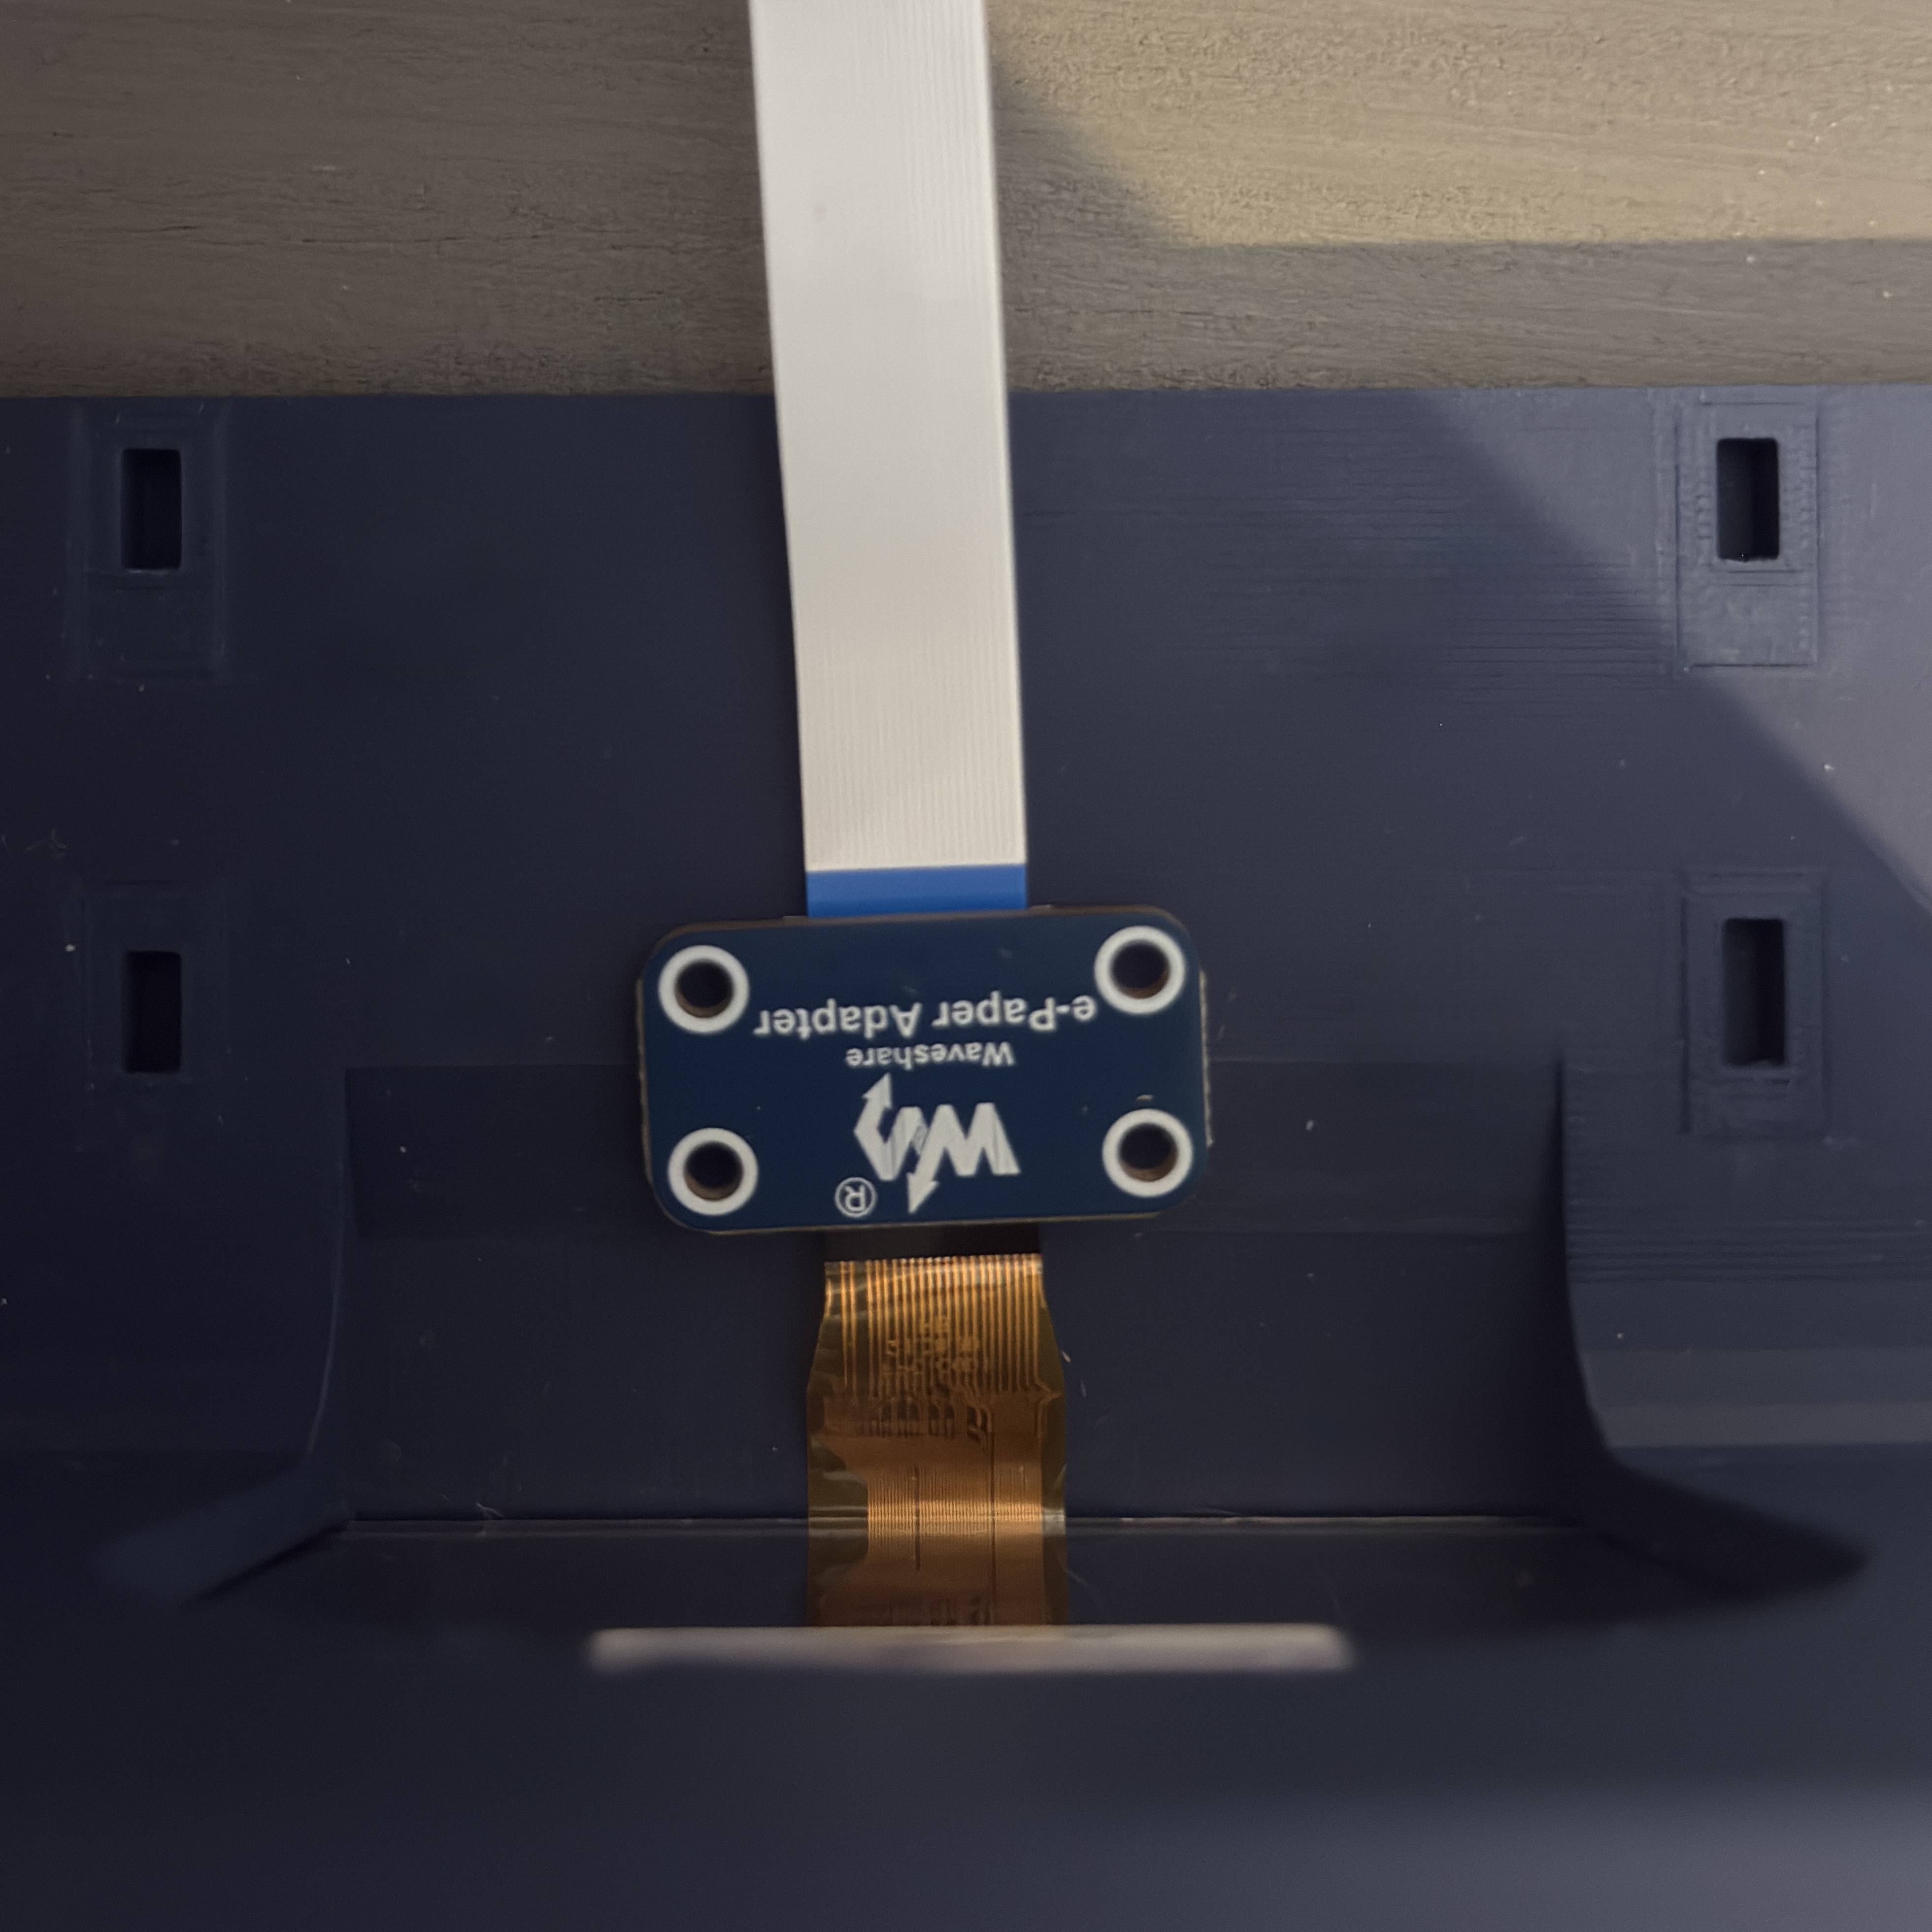
Tip: Connect adapter first, and slide into display slot (detach from white cable) 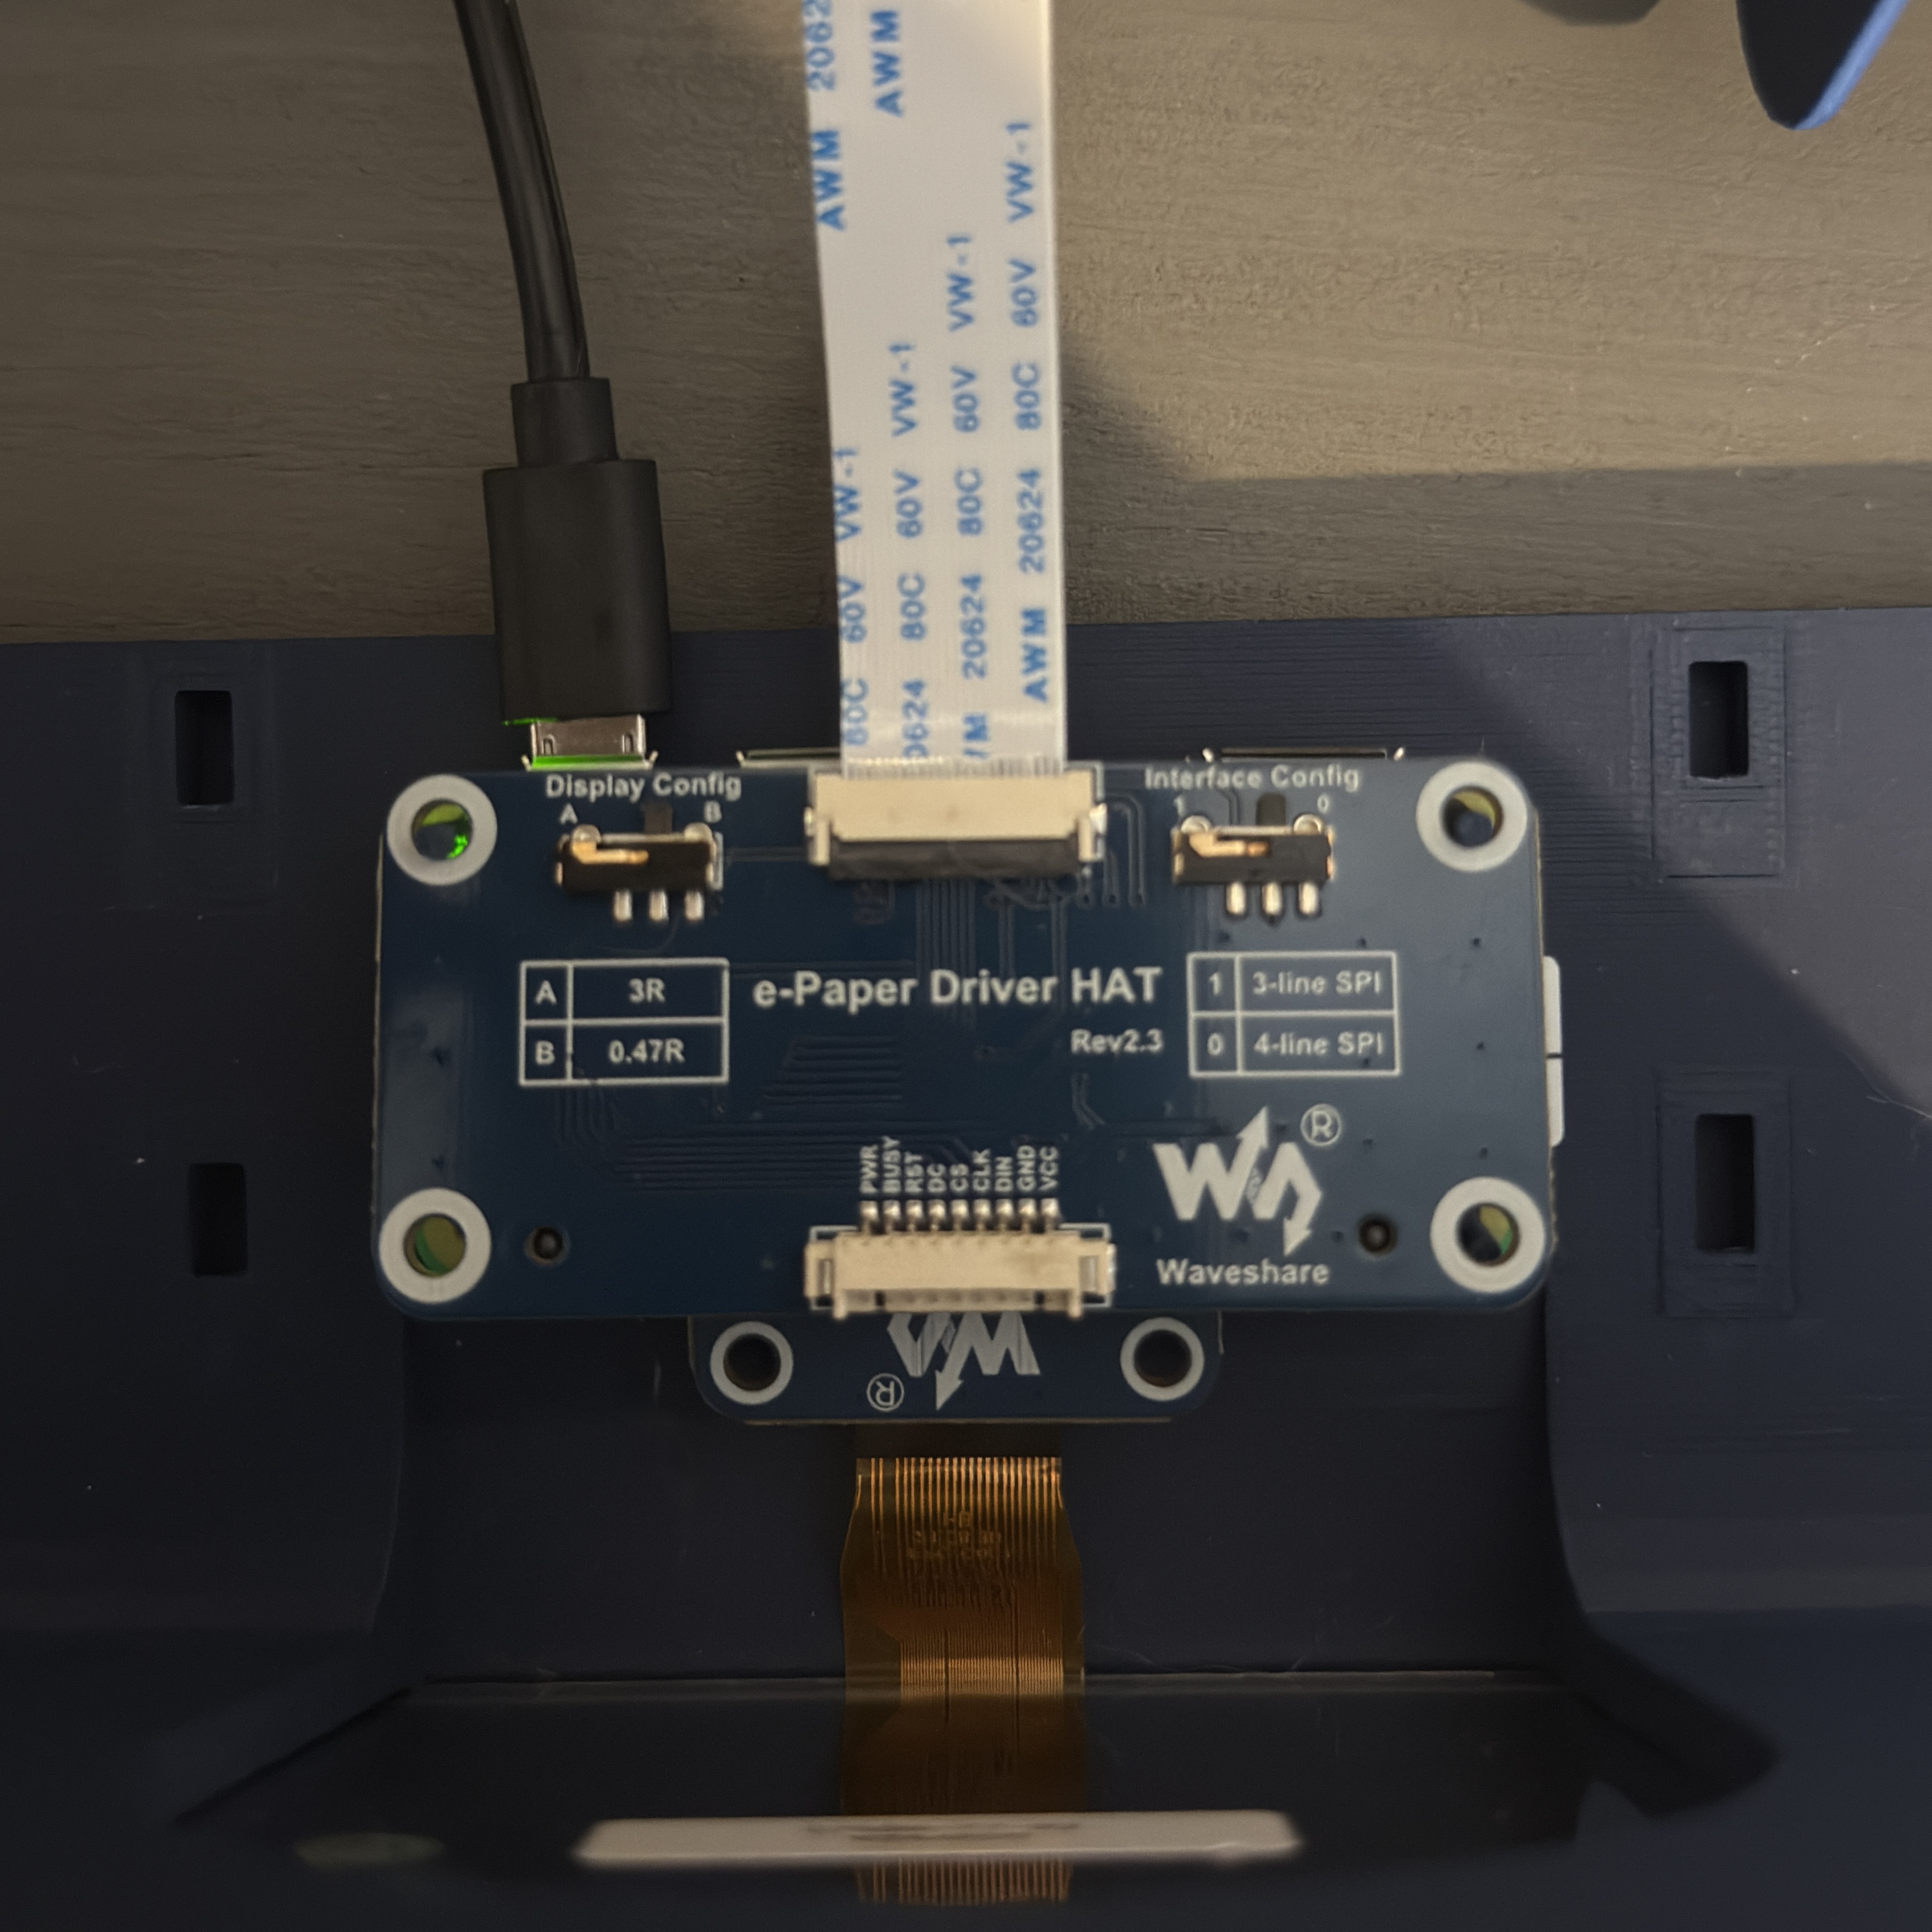
Stack your Pi Zero 2 WH under the HAT, loop white cable around underneath stack. 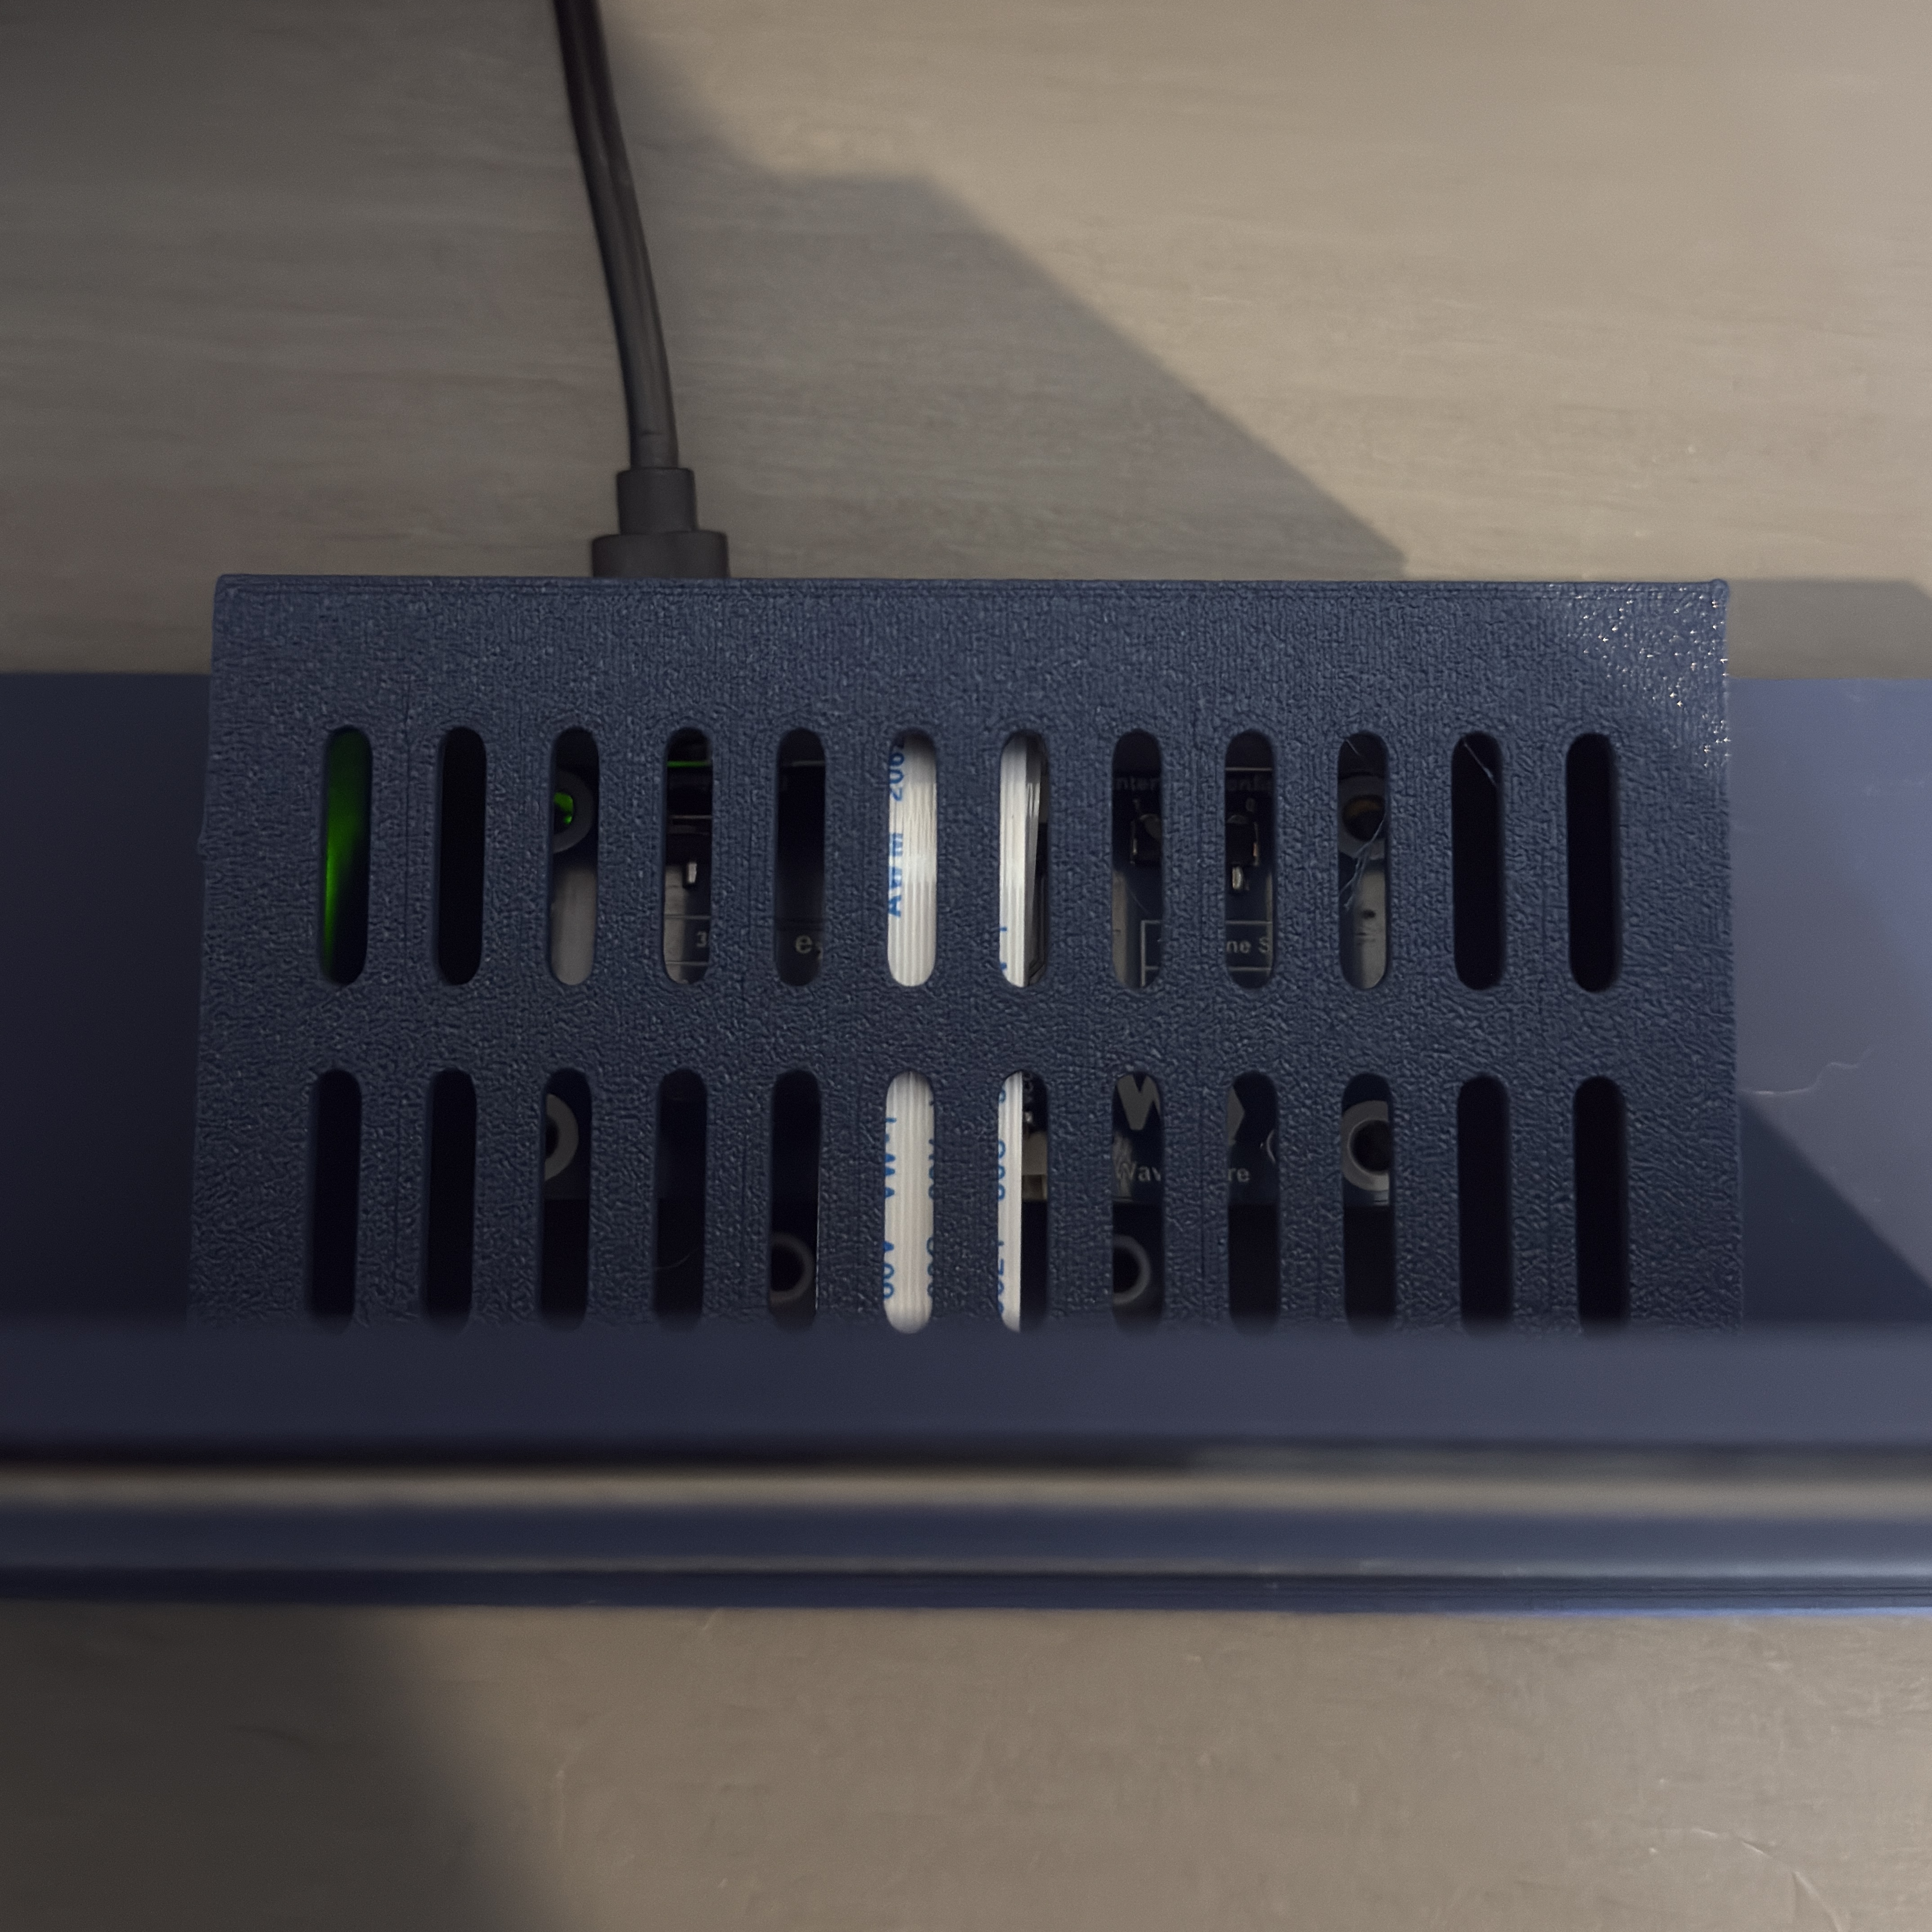
Gently bend cable over stack and slide on the lid.
Software Setup (Summary)
Full instructions: GitHub Repository
- Flash Raspberry Pi OS Lite (64-bit) with WiFi configured
- SSH into Pi: ssh <user>@weather.local (or IP address)
Install InkyPi:
sudo apt update && sudo apt install -y git git clone [https://github.com/fatihak/InkyPi.git](https://github.com/fatihak/InkyPi.git) cd InkyPi sudo bash install/install.sh -W epd7in5_V2
- Reboot, then open [http://weather.local](http://weather.local) in browser
- Configure Weather plugin with your location
Weather API Options:
- Open-Meteo — Free, no API key required
- OpenWeatherMap — Free tier (1,000 calls/day), requires account
Display Features
- Current temperature + feels like
- High/low temps
- Sunrise/sunset
- Wind, humidity, pressure
- UV index + air quality
- 24-hour graph
- 7-day forecast
- All in crisp black and white e-ink
Tips
- The magnet-utilized print is HIGHLY RECOMMENDED over the non-magnetic version.
- WH model strongly recommended — Saves headaches with GPIO connections
- Safe shutdown — Always run sudo shutdown now before unplugging
- 5 to 15-min weather refresh — Good balance of current data vs. API limits
- Set overall system refresh to at least once every 24 hours
Credits (see for more information)
License
STL files: CC BY-NC-SA 4.0 Enjoy your new weather display!
If you enjoyed this model and want to support my work, feel free to Buy Me a Coffee!
Weather E-Ink 7.5inch Display

Publicado em 23 de jan de 2026
Gostou deste modelo? Crie uma conta grátis para salvar seus favoritos e voltar a eles depois.
Criar conta