Você está no 3DFinder
Buscamos em Thingiverse, MakerWorld e Printables ao mesmo tempo para te dar o melhor de cada uma.
Descrição
Raspberry Pi Model 4b Mini Desktop Case
Introducing our newest addition to our educational programming accessories!
The Mini Desktop Case for the Raspberry Pi Model 4b.
The small case will help you keep your Pi safe from unwanted contact with other components (DON'T FRY YOUR PI) while keeping it accessible through a cover that can be removed to utilize the GPIO pins. All ports are also available for use as well as additional slots to run the ribbon cable through should you want to connect the Pi Camera.
The design was influenced by some modern aspects as well as some futuristic and industrial. A modern sleek designed case that is put together with M3 screws for an industrial touch and the font + optional ICE Tower LED fan to give it a futuristic touch.
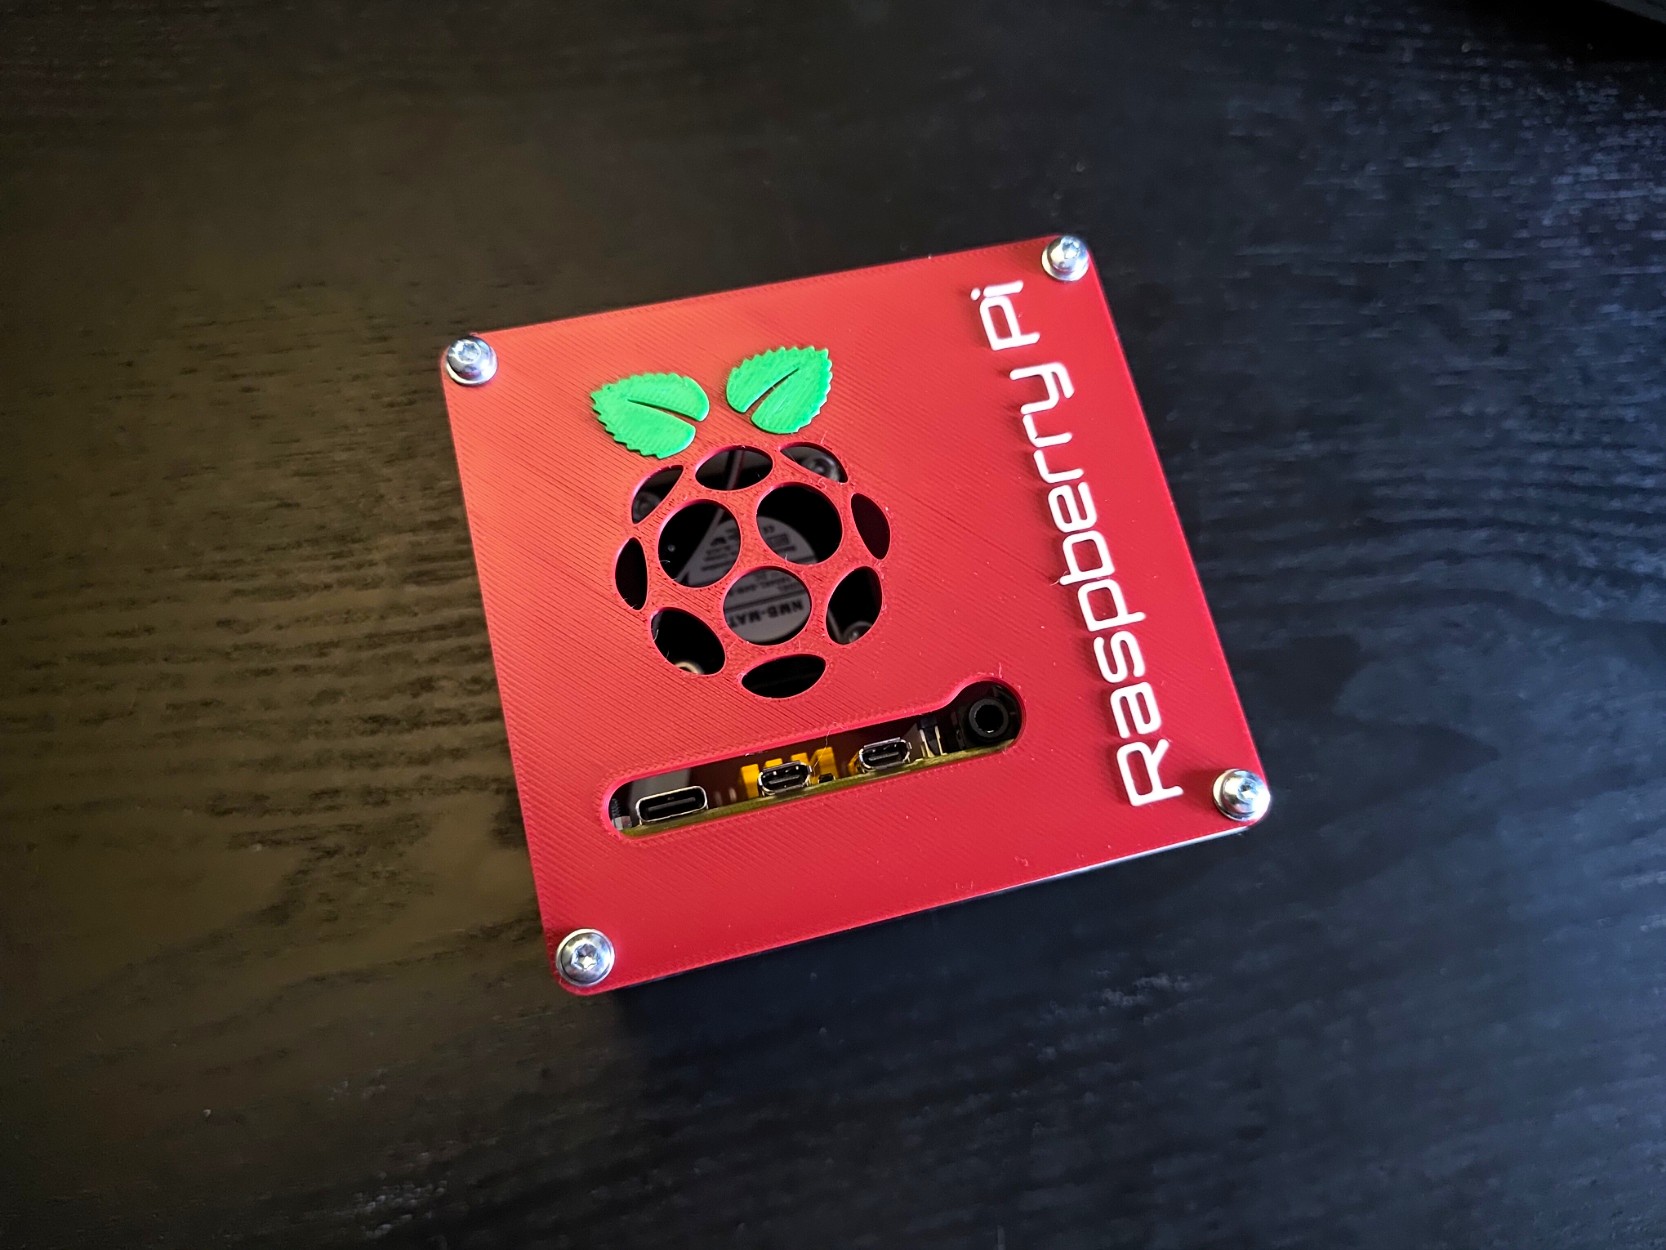
The covers can either be printed with an AMS for a colored option or NON AMS where the Logo and text are extruded. Combine these with the use of an ICE Tower cooling fan and your setup will turn into a real eye catcher!
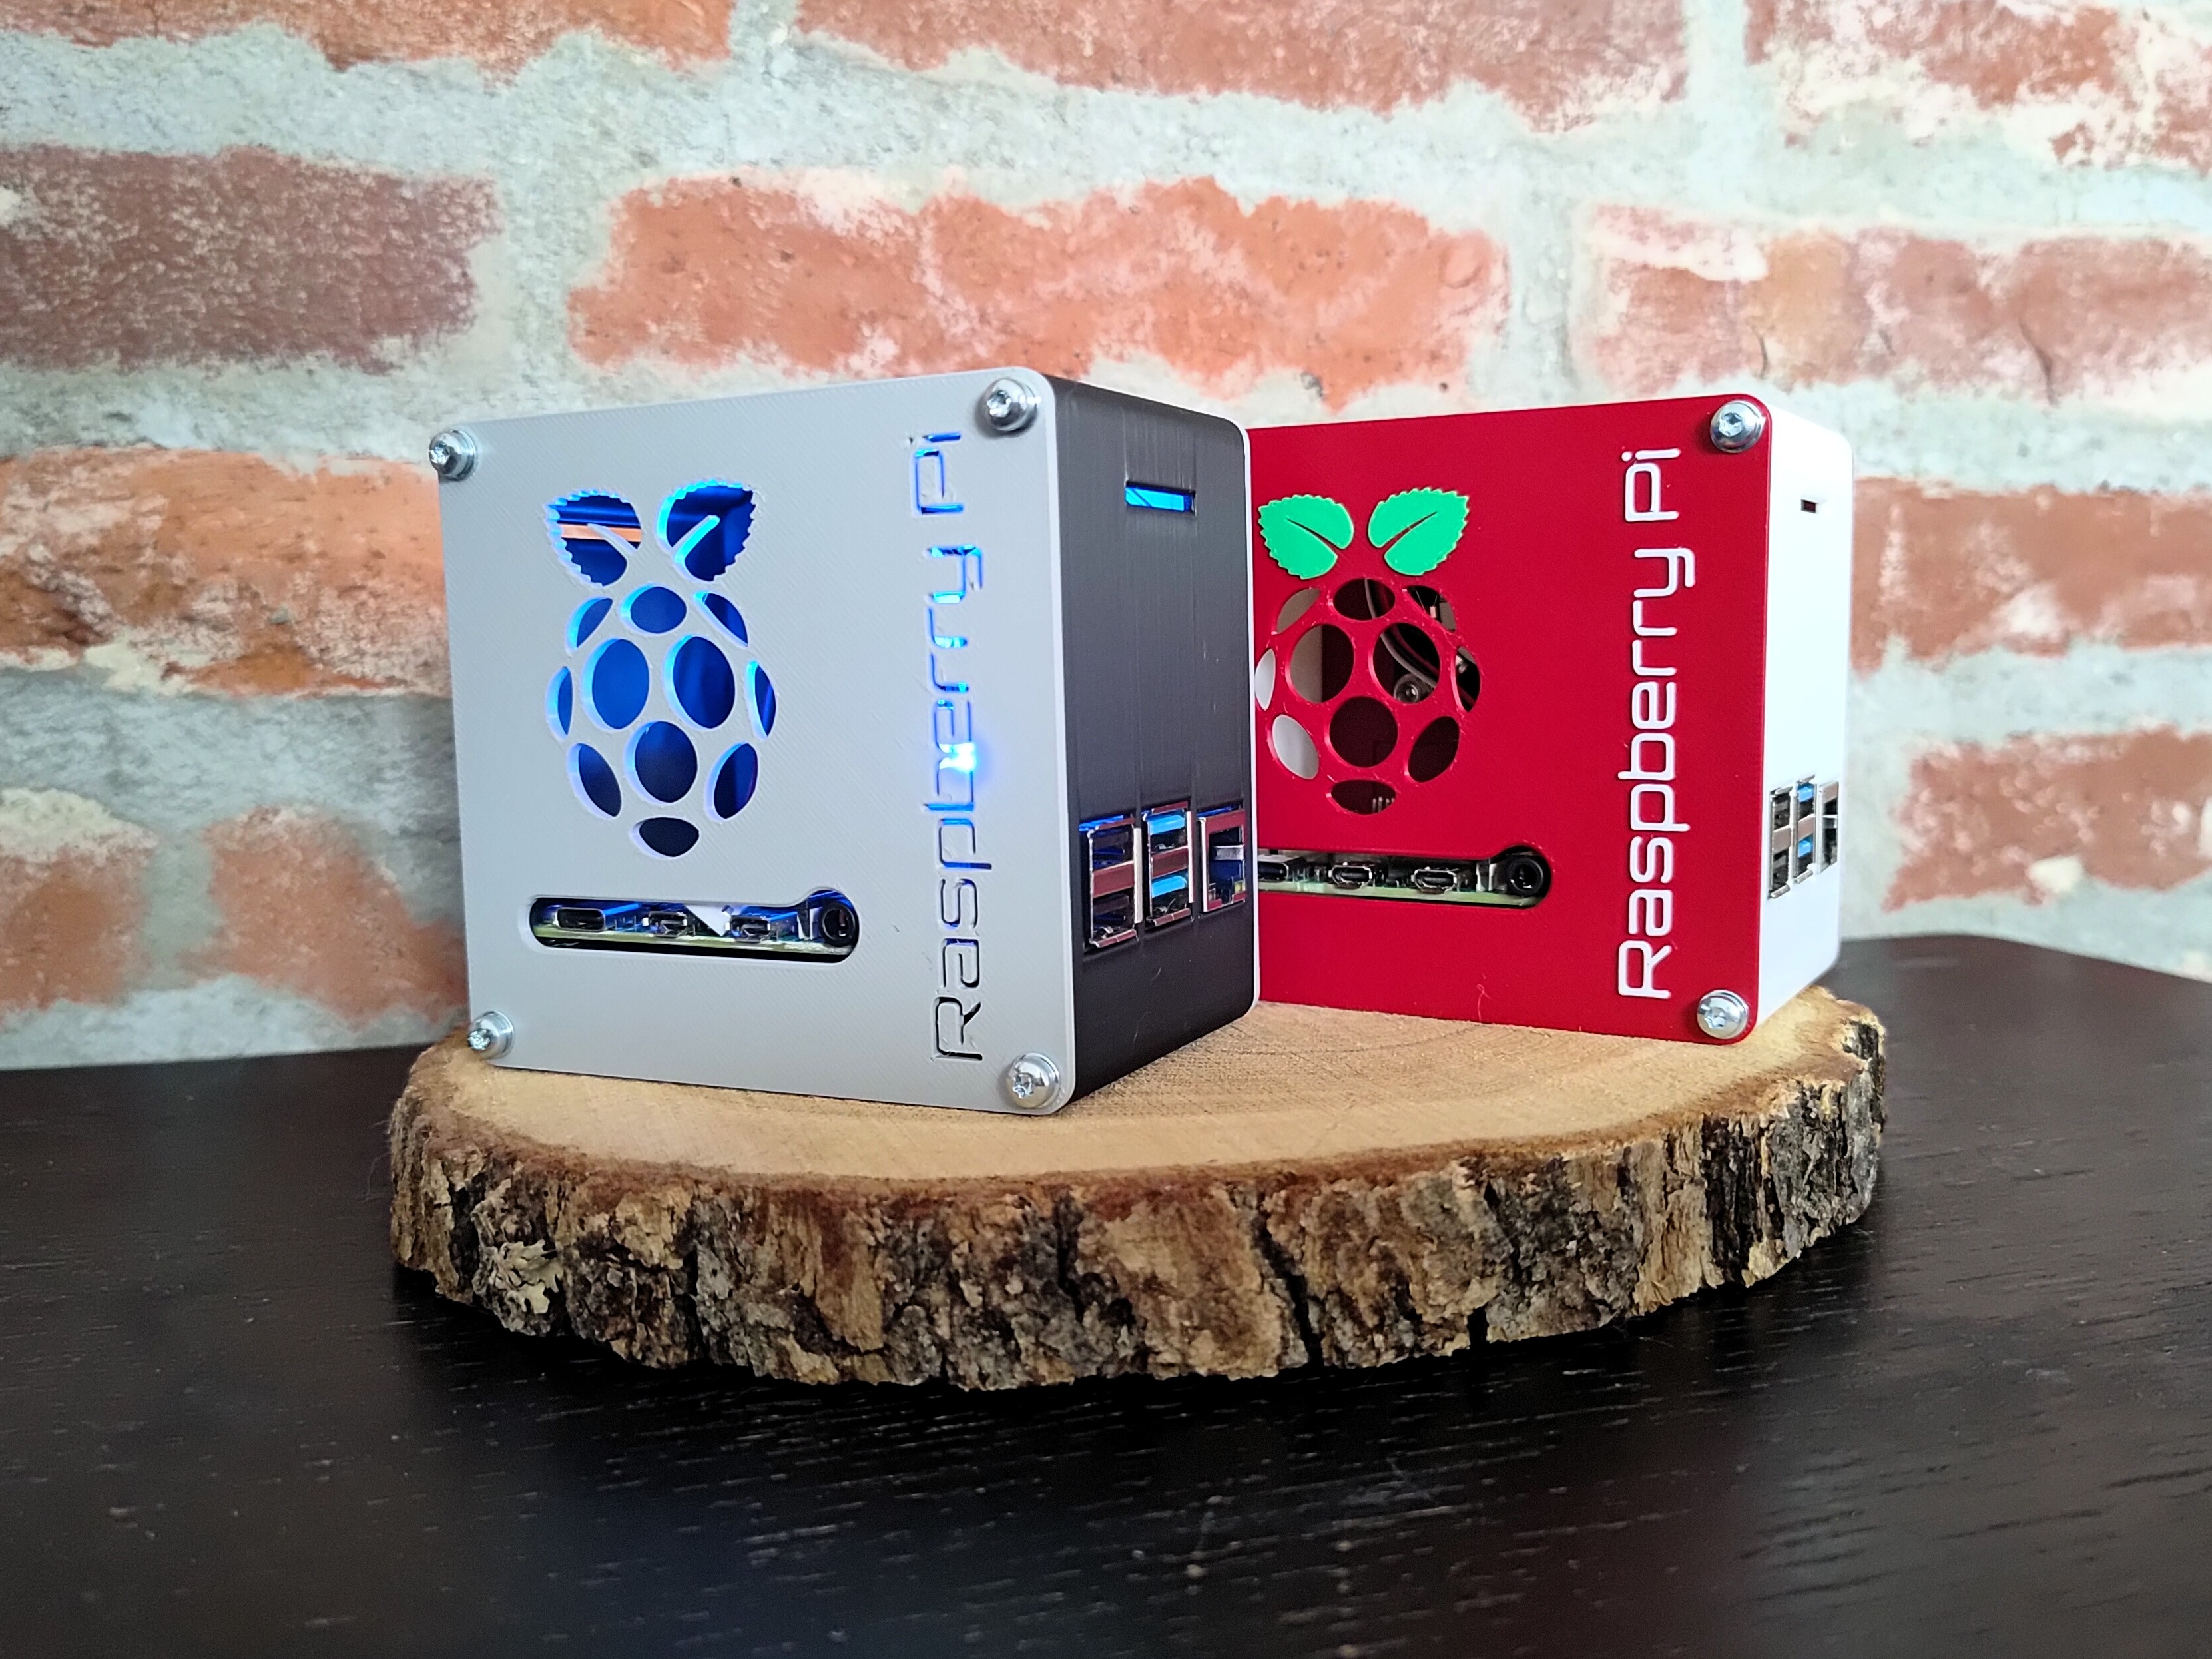
Compatible with all Bambu printers: X series, P series, H series. A1 and A1 mini.
Hardware requirements:
- 8x M3 Threaded Inserts
- 12x M3 Machined Screws
- 4x M3 Nuts
- 4x M2,5 Machined Screws
- 4x M2,5 Nuts
- 1x Raspberry Pi 4b (why would you otherwise print this case?)
Instructions
- Choose your color combo and whether or not you want to use an AMS.
- Print the Frame, Front Panel, Back Panel + GPIO Cover and optionally the Fan cover.
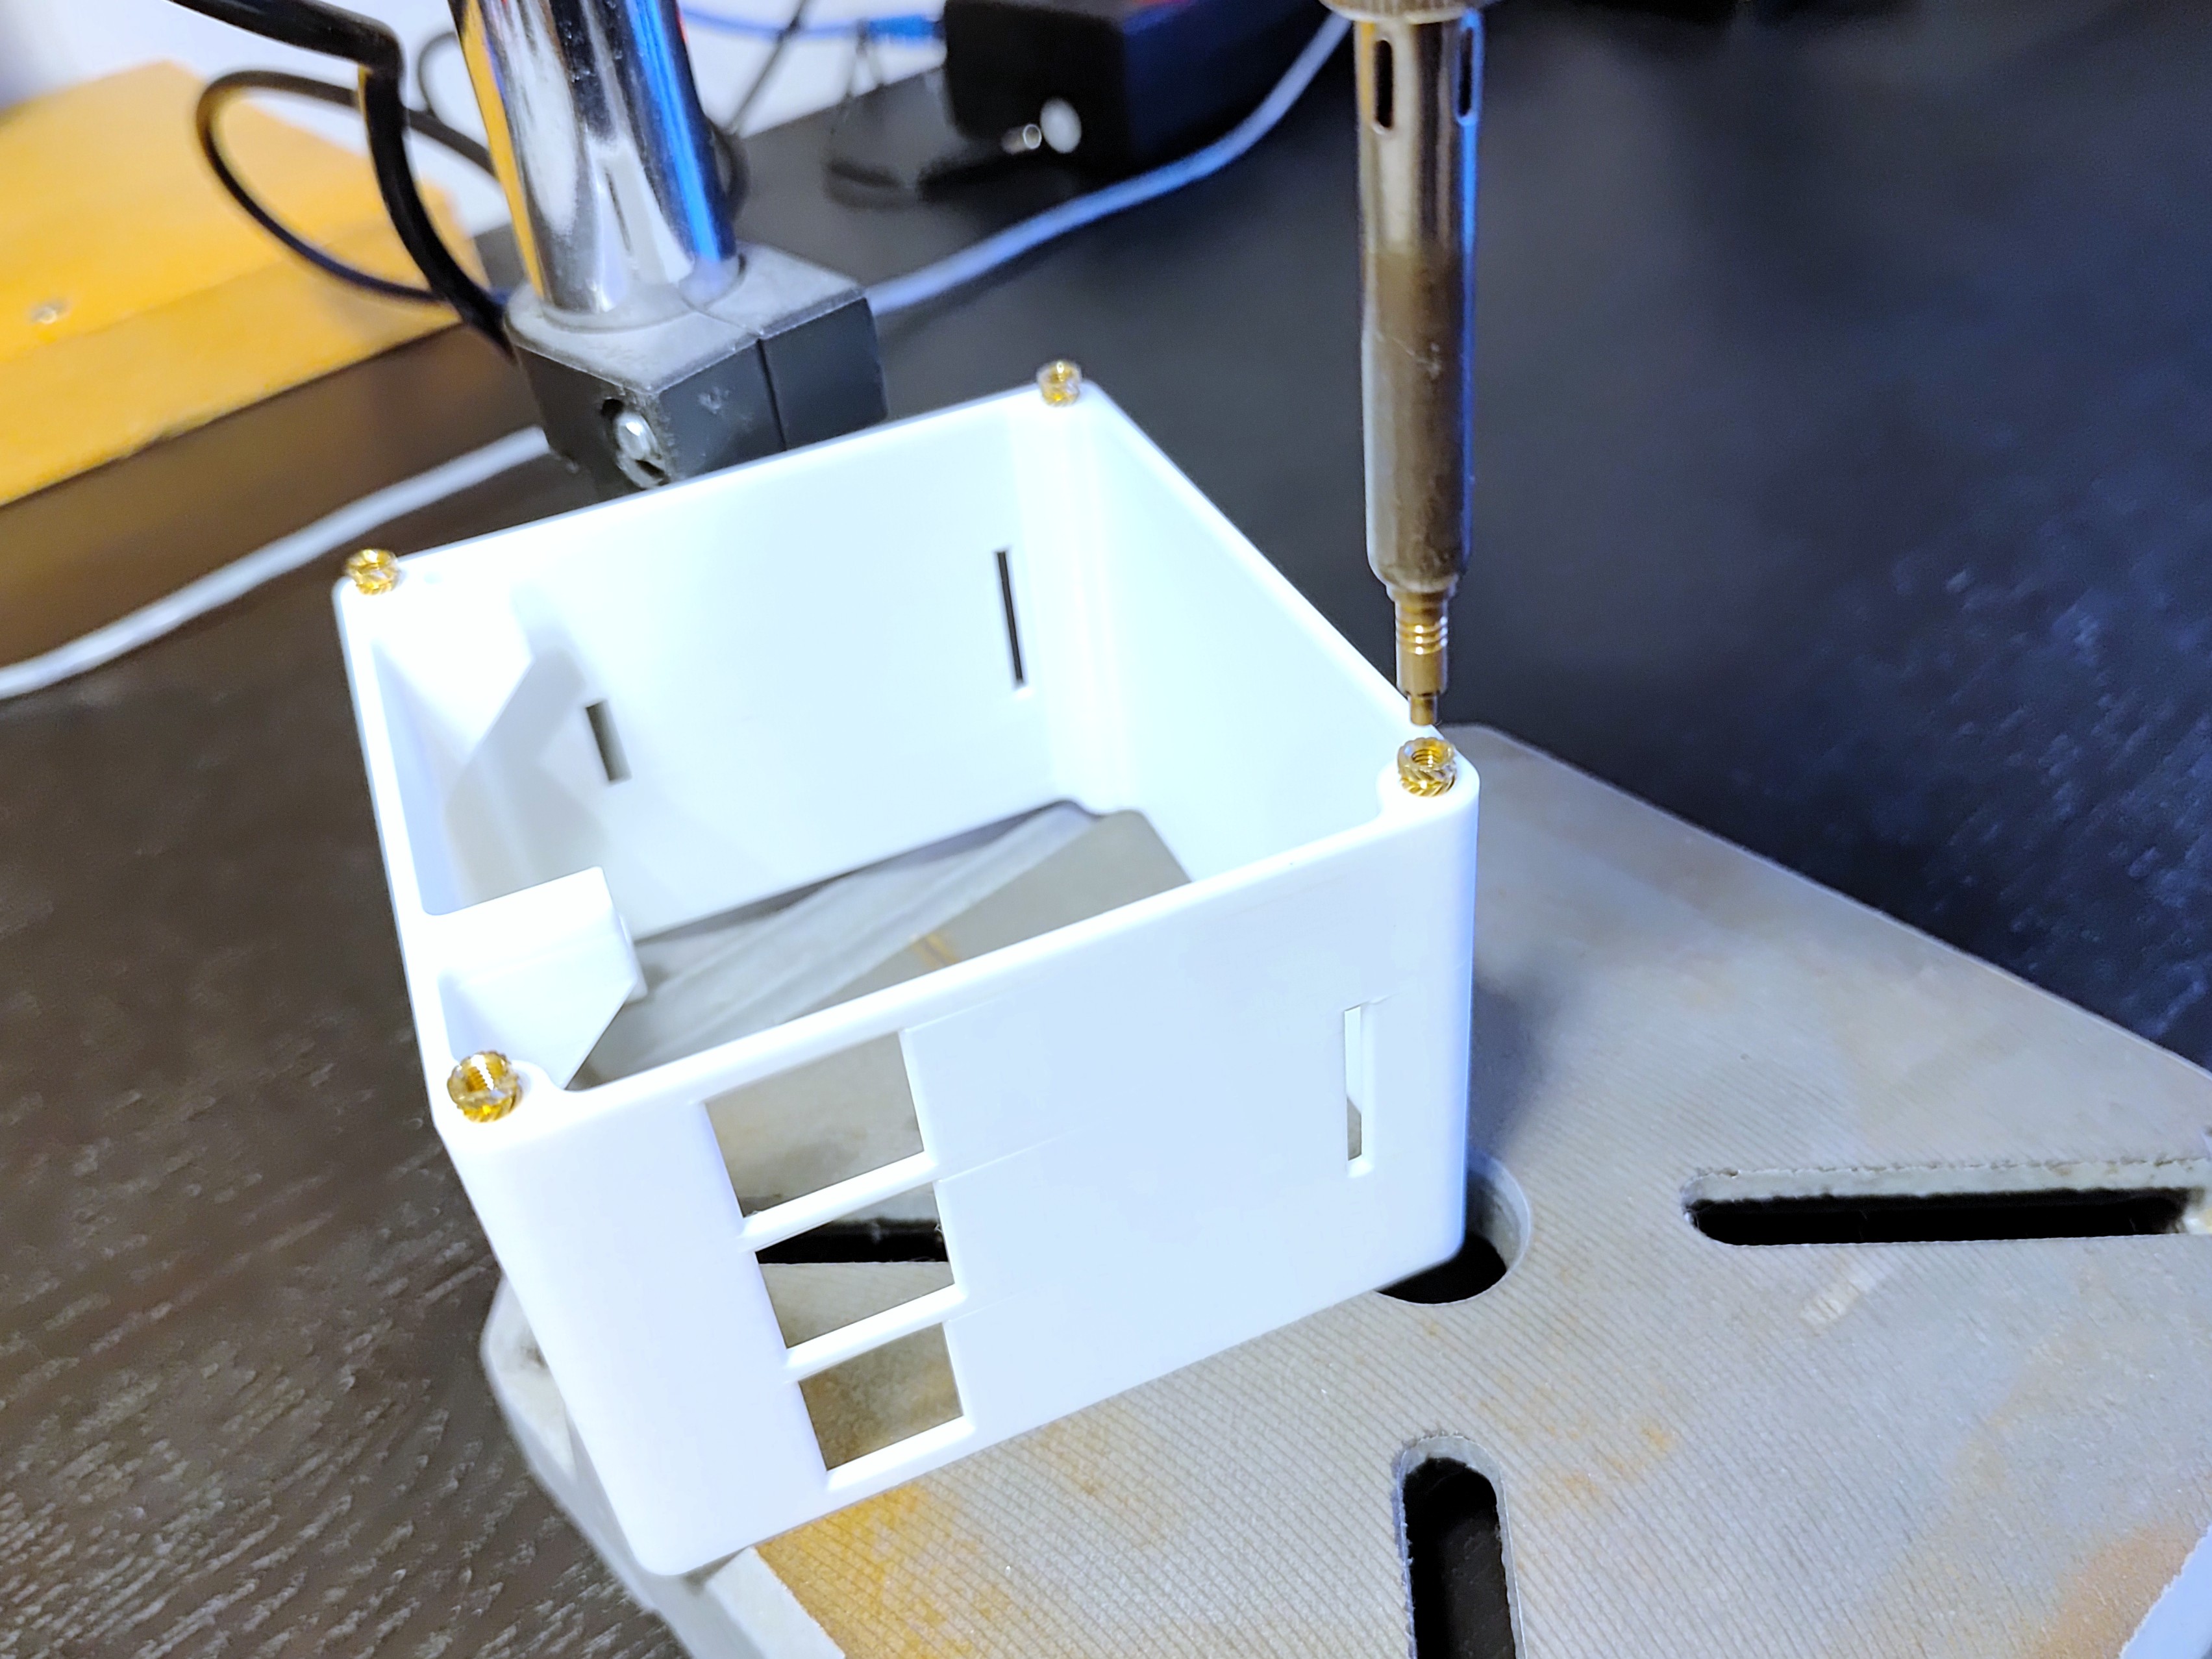
- Insert 8x M3 brass inserts into the Frame.
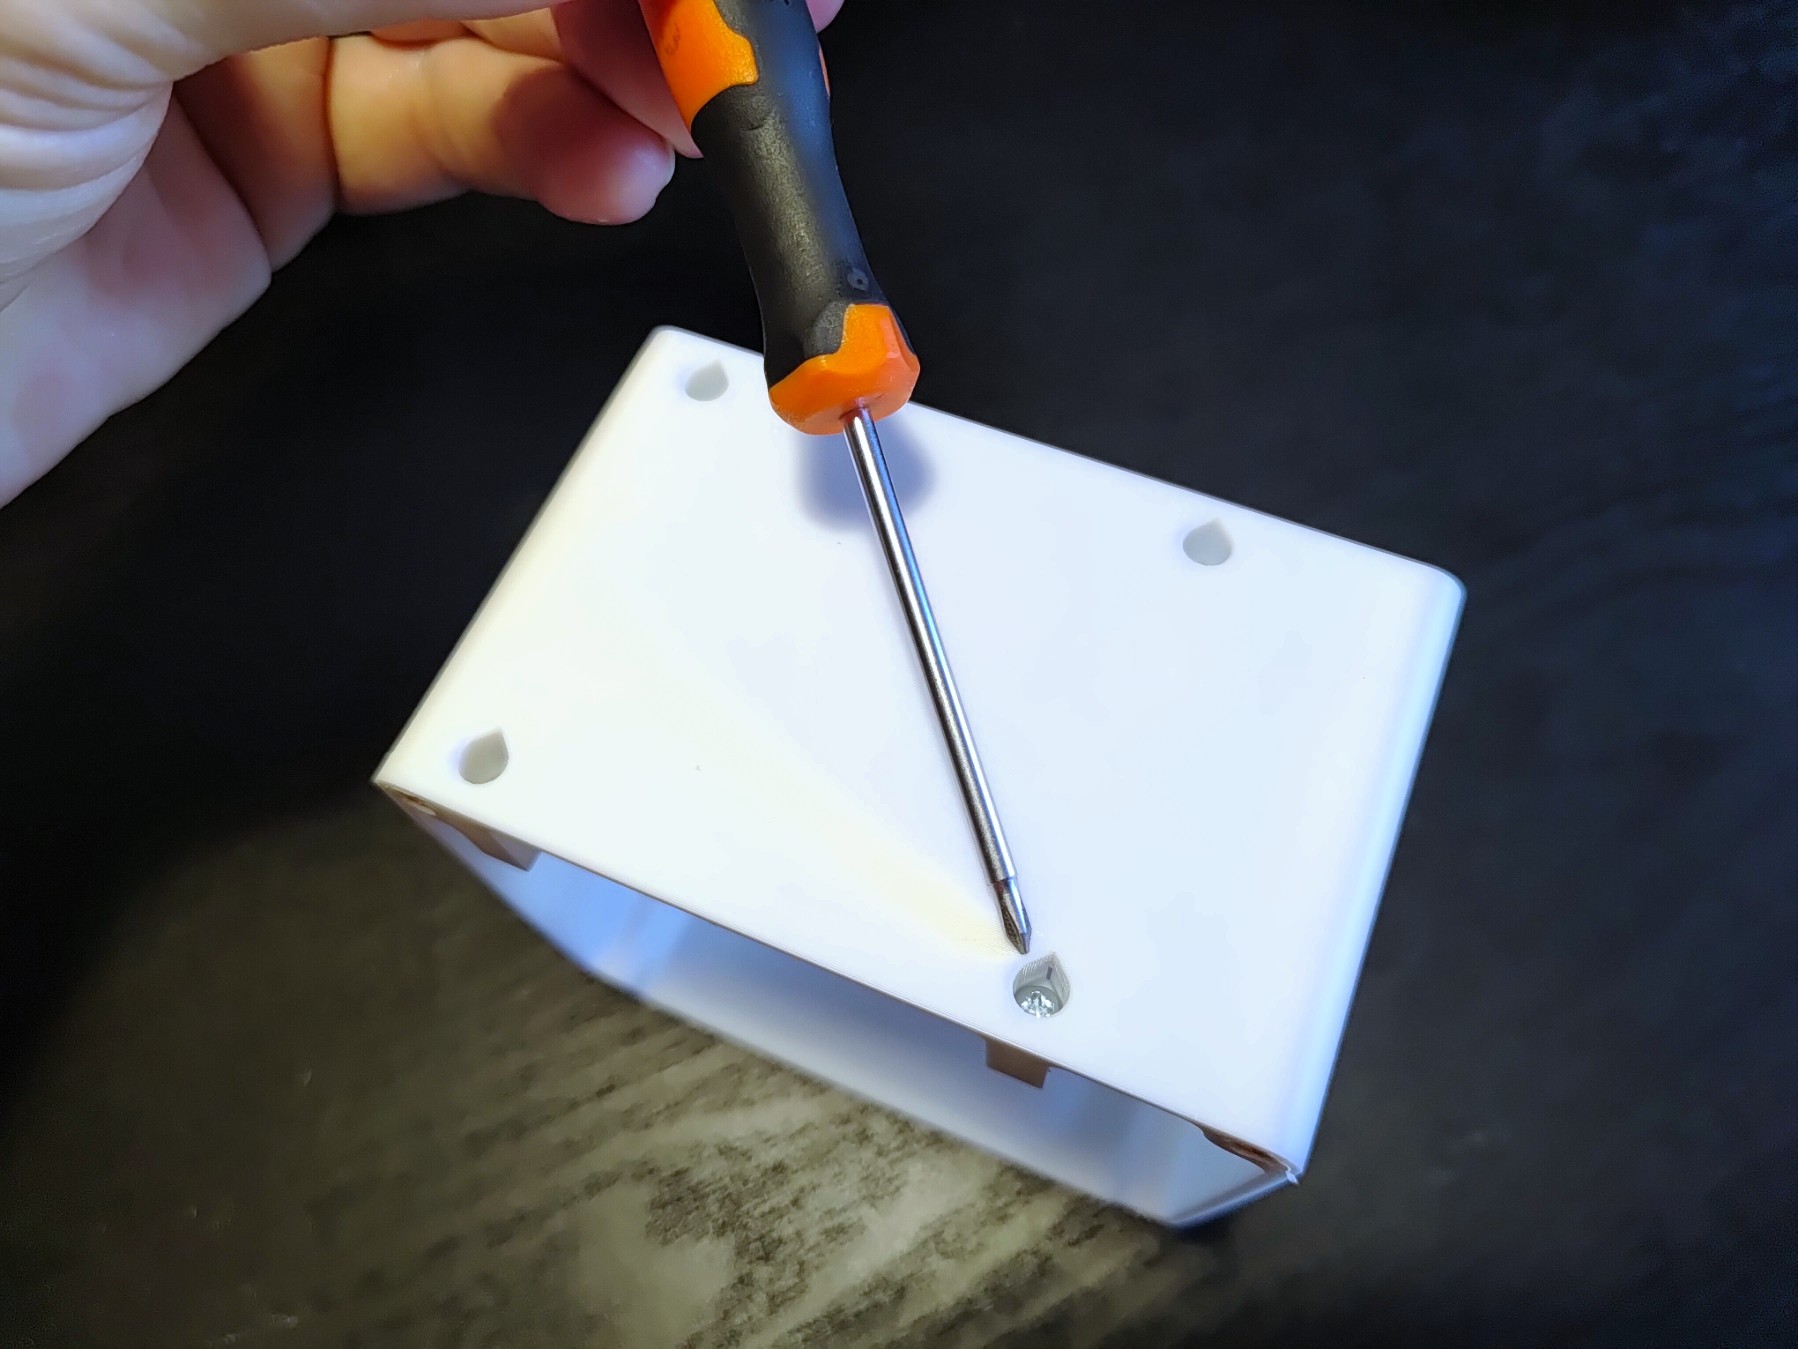
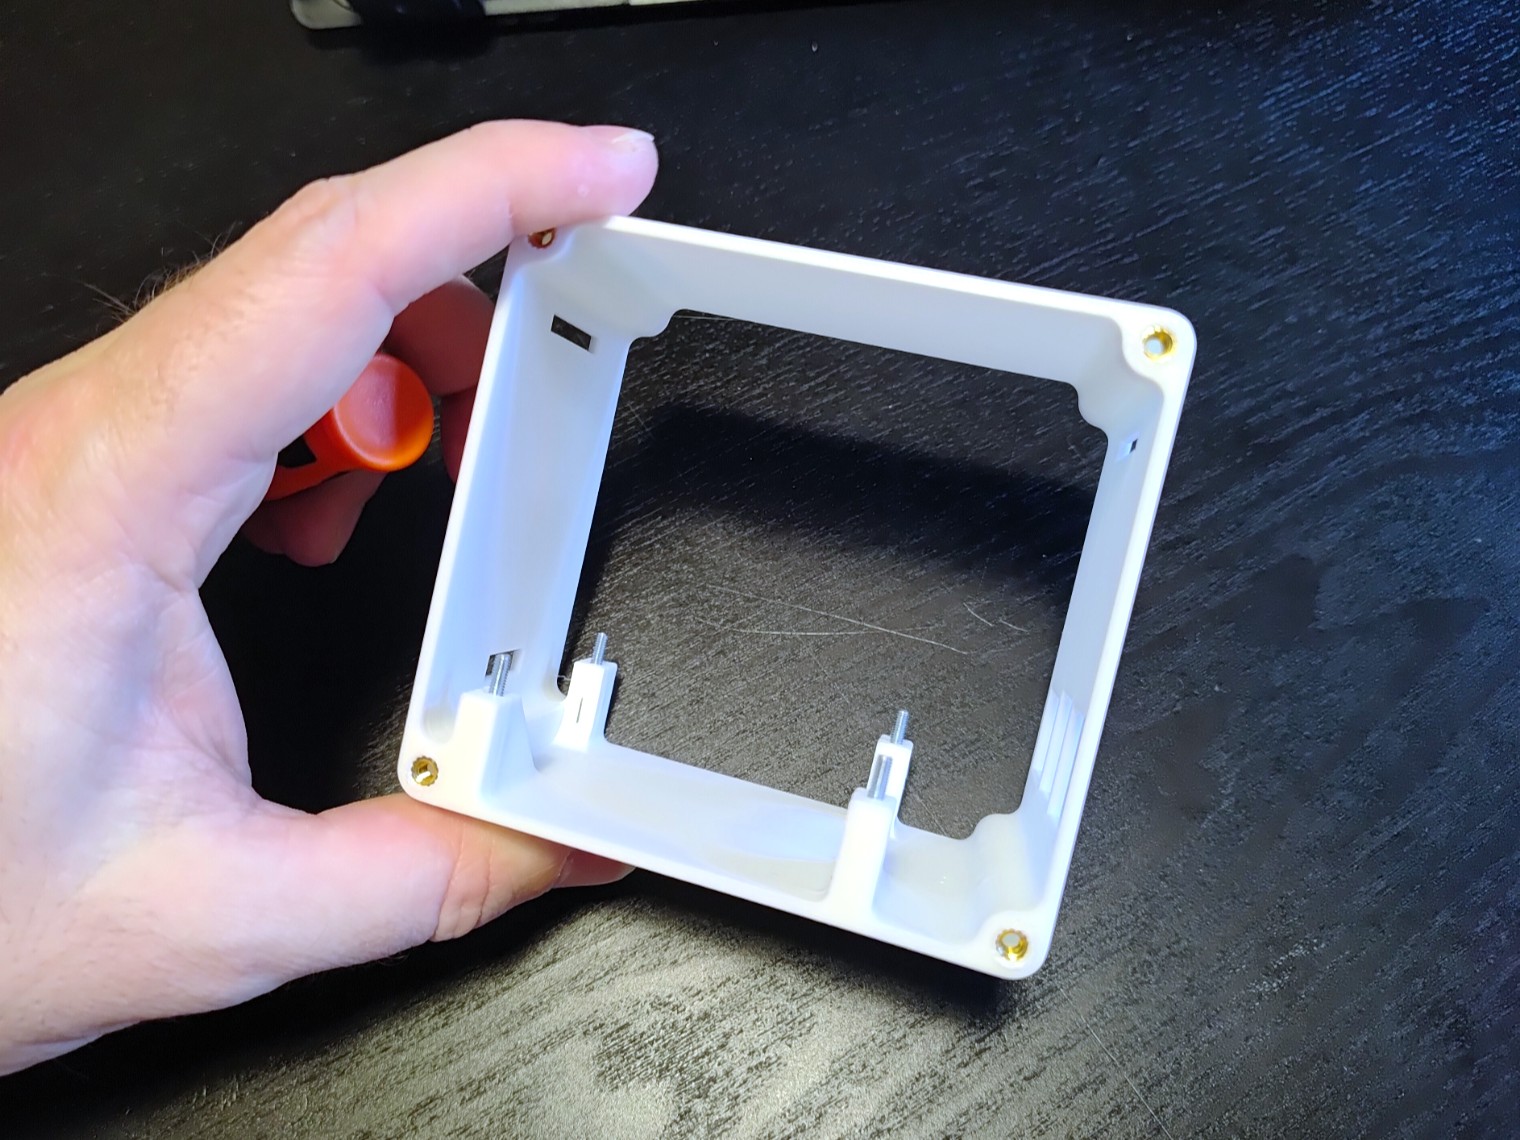
- From the bottom of the frame insert 4x M2,5 screws, due to tolerance in the design they should stay in place even when the frame is rotated back the right way up. From here insert the Raspberry Pi and secure it using 4x M2,5mm nuts.
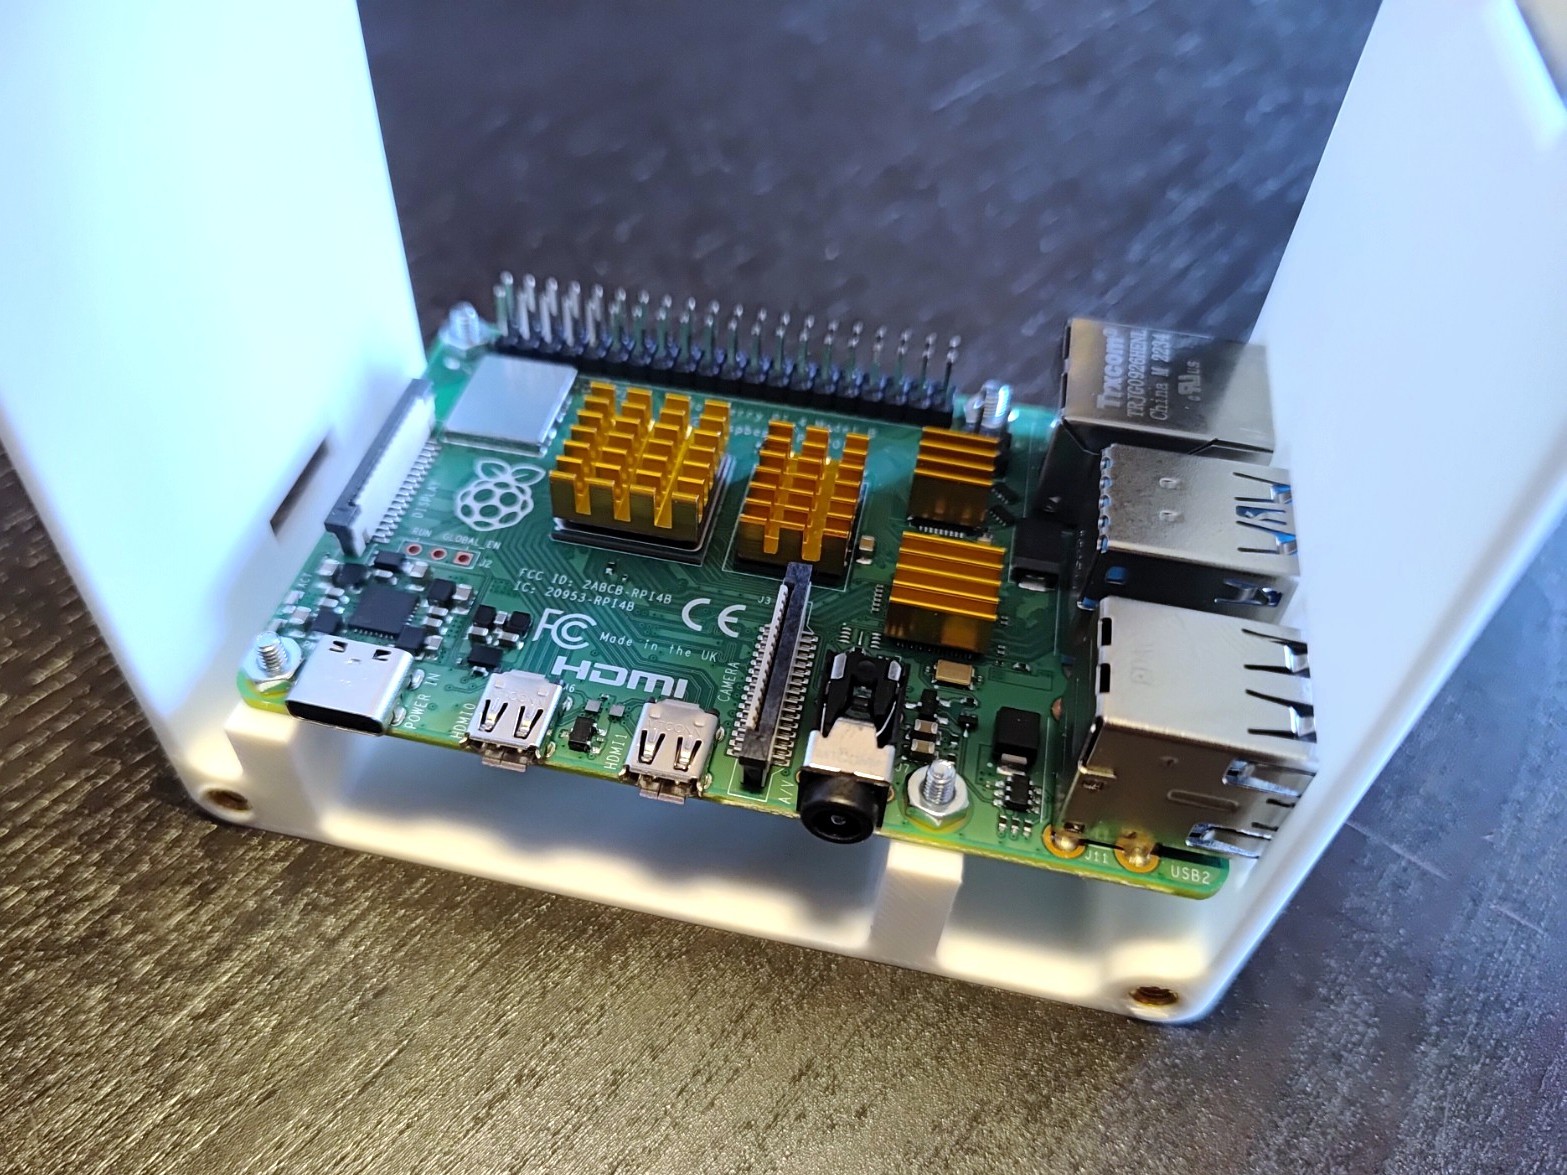
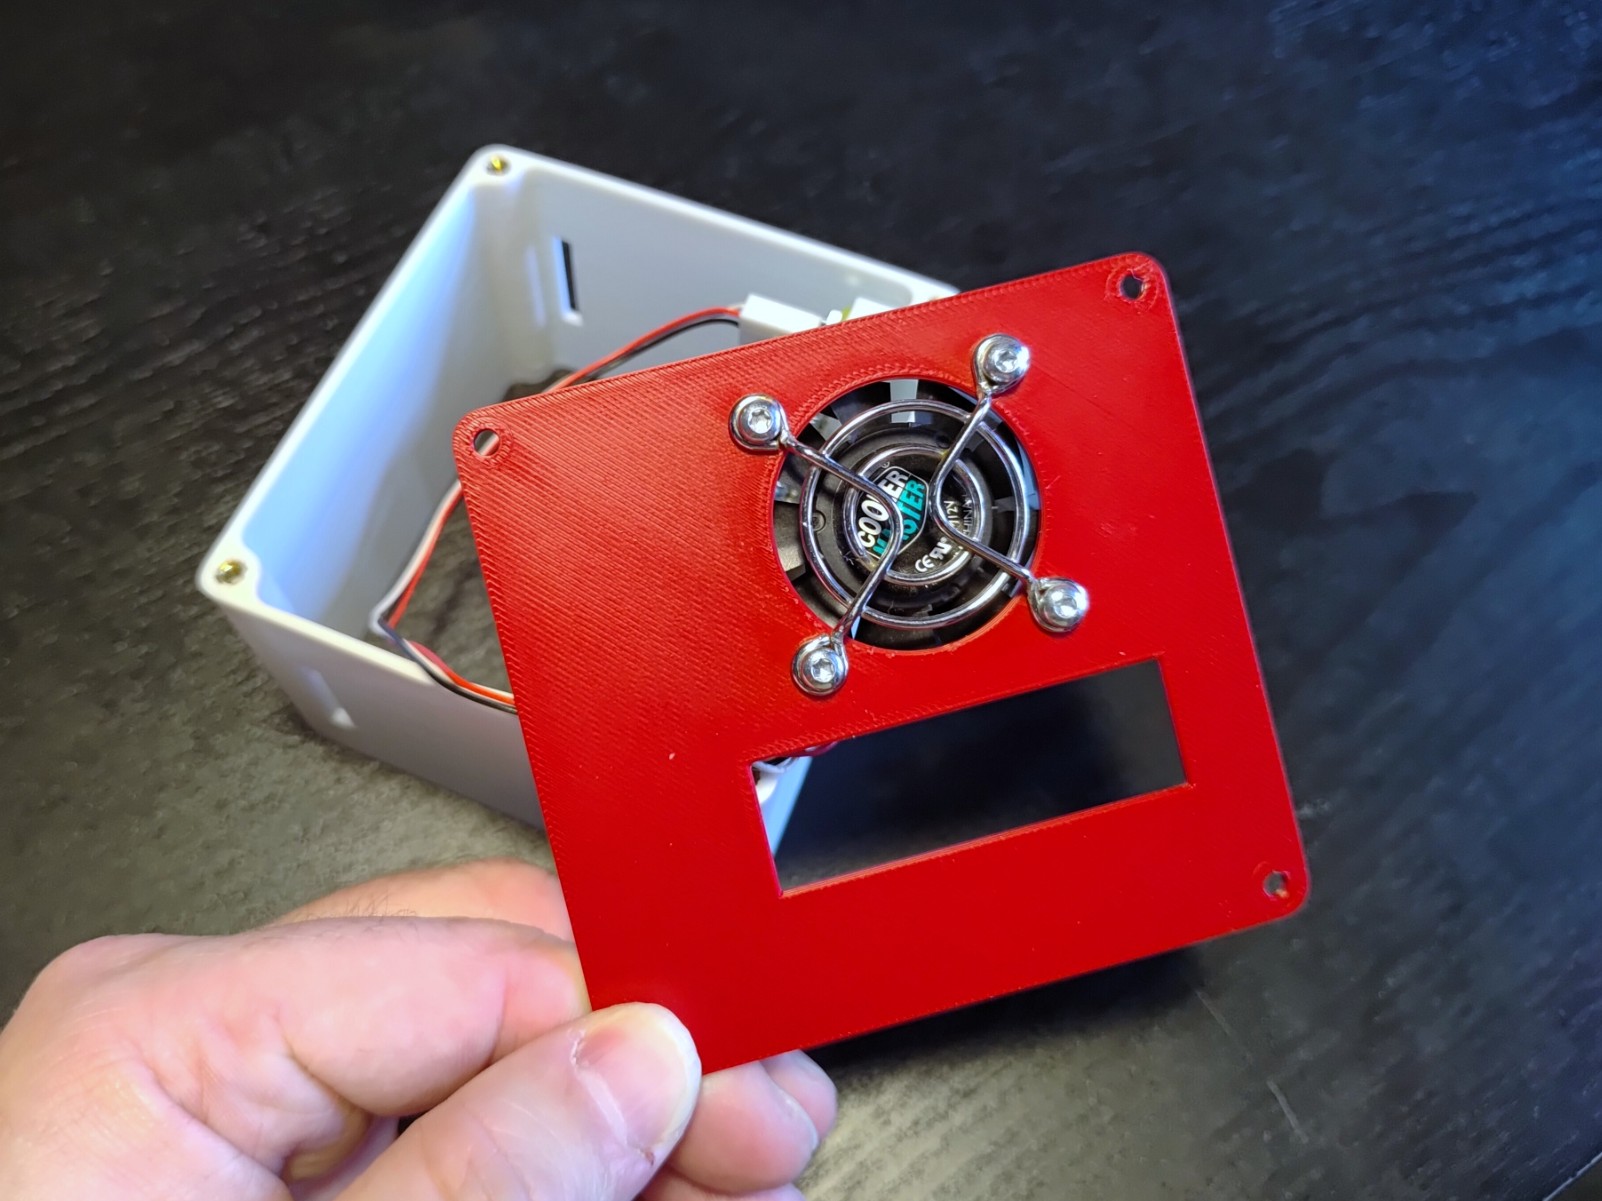
Attach Fan (and the optional Fan cover) to the Back Panel using 4x M3 screws and 4x M3 nuts.
Plug in fan connector onto the correct pins (read your fan suppliers manual!)
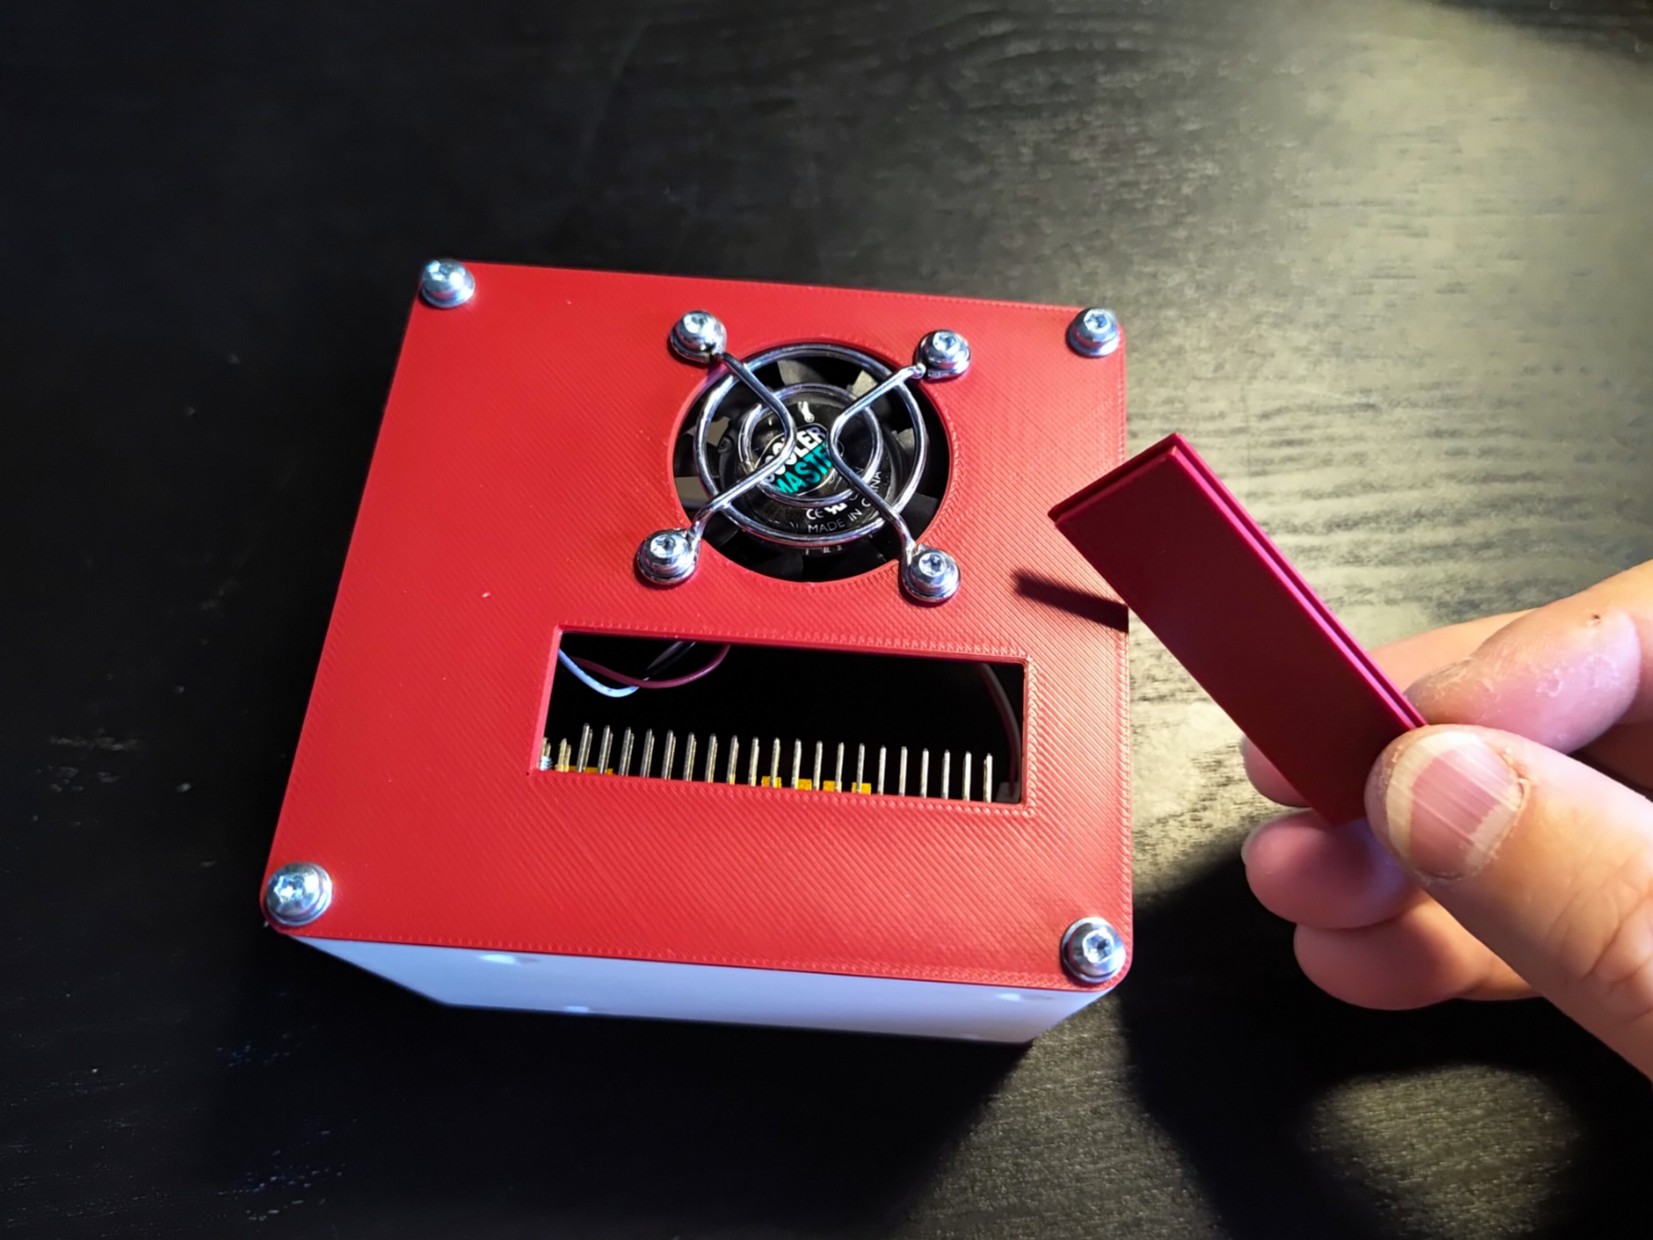
- Secure the Back panel using 4x M3 machined screws. Install optional GPIO cover by simply pressing it in place :)
- Attach Front Panel to Frame using again 4x M3 machined screws.
Tips
- There are 2 types of covers available: the colored AMS version and the NON colored extruded version.
- Make sure you are always working with ESD safety in mind! Raspberry Pi's and other micro electronics generally do not like static electricity and can irreversibly damage your electronics.
Print Settings (recommended)
- No supports needed
- Standard settings
- Slower speeds on the bridging section on the frame.
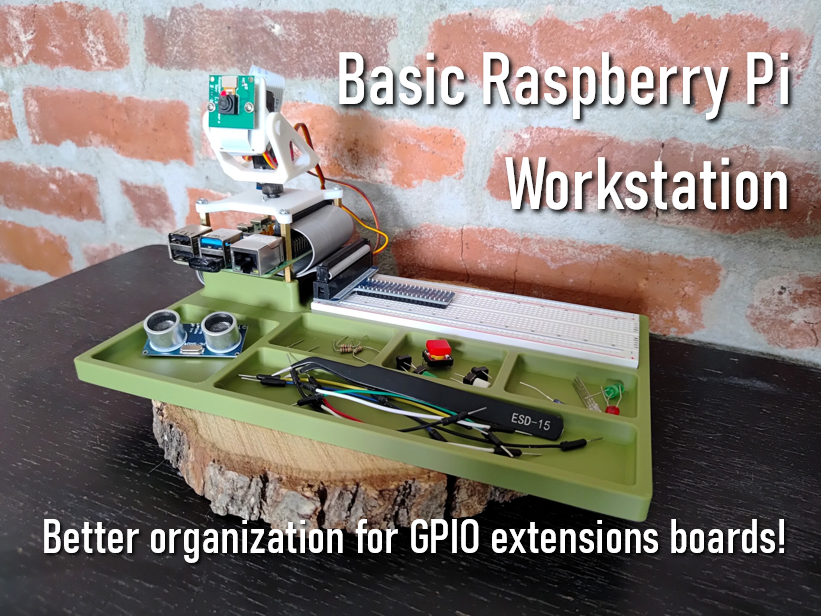
Looking for something more prototyping friendly? Check out our ‘Basic Raspberry Pi Workstation’ (Click on image below!)
Raspberry Pi Model 4b Mini Desktop Case

Publicado em 4 de jan de 2026
Gostou deste modelo? Crie uma conta grátis para salvar seus favoritos e voltar a eles depois.
Criar conta