Você está no 3DFinder
Buscamos em Thingiverse, MakerWorld e Printables ao mesmo tempo para te dar o melhor de cada uma.
Descrição
Mechanical Calendar
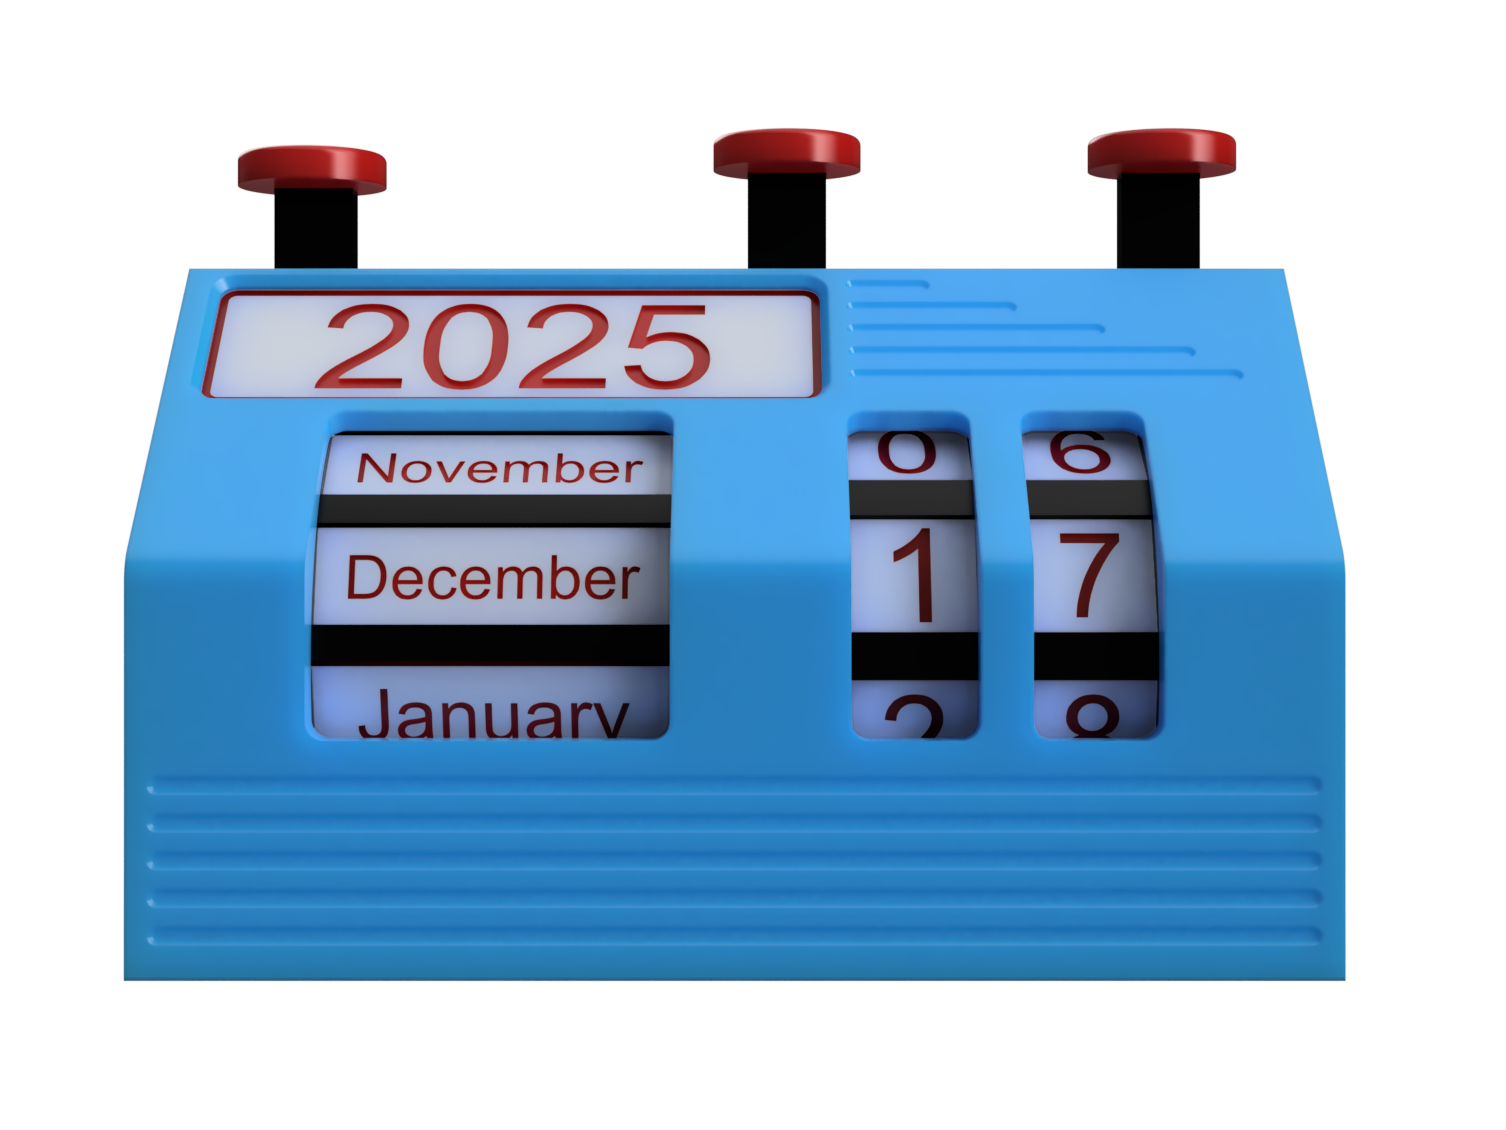
(So clicky)
🔧 Edit:
Added test pieces to see if you need more clearance(print them before you print all the labels).
2026 plate in the the print profile
- Added a print profile for labels with bigger tolerance for anyone having trouble installing them.
- Added a print profile for months in German, Spanish Chinese, and Japanese. There are AMS and No AMS plates for all of them. (If you want any other languages leave a Comment) scale to 98% if you need more tolerance.
- Added bigger tolerance Labels to the original print profiles
- Added A1 mini print profiles (scale the labels to 98% if there do not fit)
🎯 Purpose:
This is a rotating calendar but, instead of turning a knob on the side you click a button on the top. The Mechanical mechanism inside creates a satisfying click that changes the date. Unfortunately you can only hear this satisfying click once a day. if you cant a fidget top based of this mechanism leave a Comment.
🧼 About:
Recently I have been replacing some of the old prints in my bathroom. This time I wanted to design all the new ones, so stay tuned for a bunch of bathroom models. The Mechanical Calendar uses a ratcheting mechanism witch uses a spring and a compliant 3d printed arm that takes the place of the second spring that you usually find on ratcheting mechanism. There are 3 of these mechanisms in the calendar and each spins a bank of numbers/months. Each number/month/year is a multi color print but, fortunately no AMS is needed. I have created a print profile with built in stops to manually change the color(for help look in the Printing section below). Yes there is a 2026 panel in the profile.
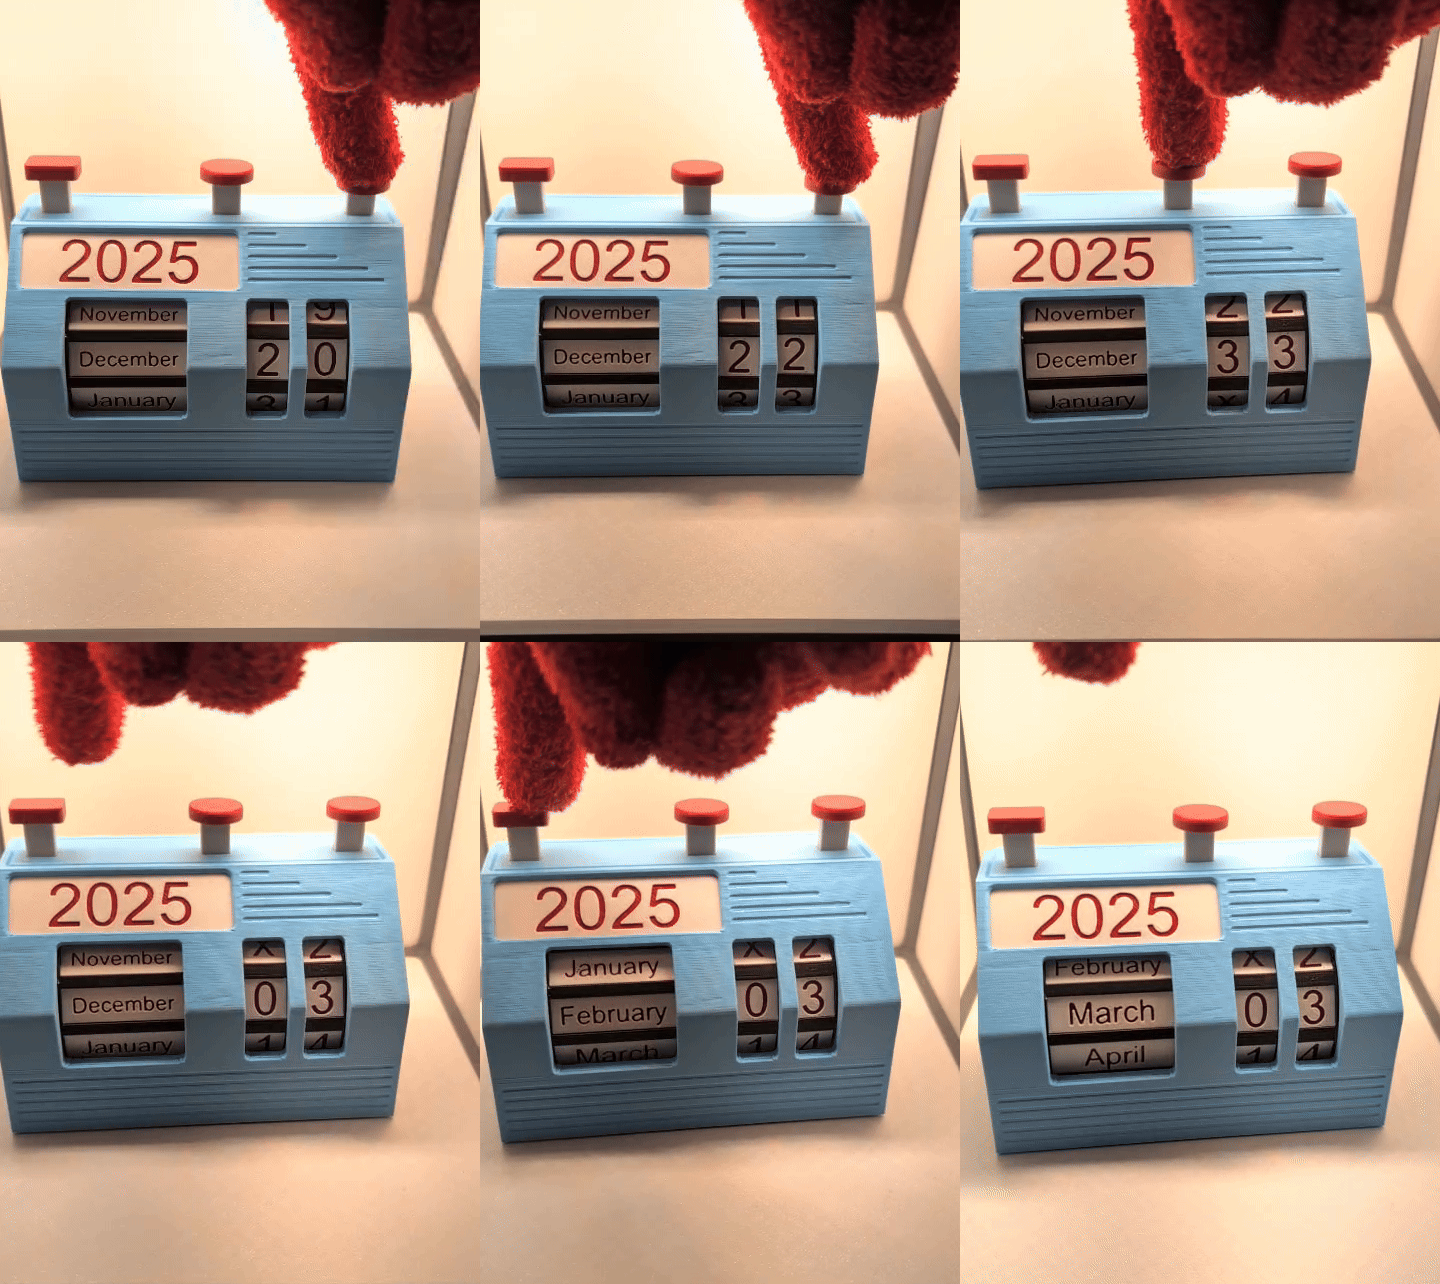
🔄 Changing The Date:
- To change the date use etch button on top to rotate the number under it.
- If the mechanism gets stuck you can spin the numbers up to reset it.
Size:
- L=130mm W=65mm H=95
Printing:
- Print Profile has all settings pre applied
- Everything can be printed form PLA (PETG Arms will probably last longer but i haven't had a problem with PLA).
- .2 layer Hight(you can use .24 for the main body to cut down on time)
- 15% infill(10% on the main body)
- 2 walls
- Auto Tree support
- use a raft or brim if needed
- Use Additive layer height for all parts with threads . Quality=1.4 Radius= 10
- AMS and non AMS profiles are provided.
Non AMS Help.
- print Profile has all settings pre applied
- Stops are built in for color changes
- For help with non AMS multicolor printing watch this: [https://youtu.be/AGS3z6qCXUs?t=35](https://youtu.be/AGS3z6qCXUs?t=35)
Non 3d Printed Parts:
0.5x5x20 mm Helical Compression Spring You can try a pen spring; I don't know if they will fit but its worth a try:]
Tools:
Flat heed Screwdriver or an object with a flat end like a coin
Pre Assembly:
Support removal.
Remove all supports. For the supports under the bridges on the sub bodies, use an alien key or a small screwdriver to push them out. You might want to scrape the top where the support came off of if the surface doesn't look clean.
Assembly Animations:
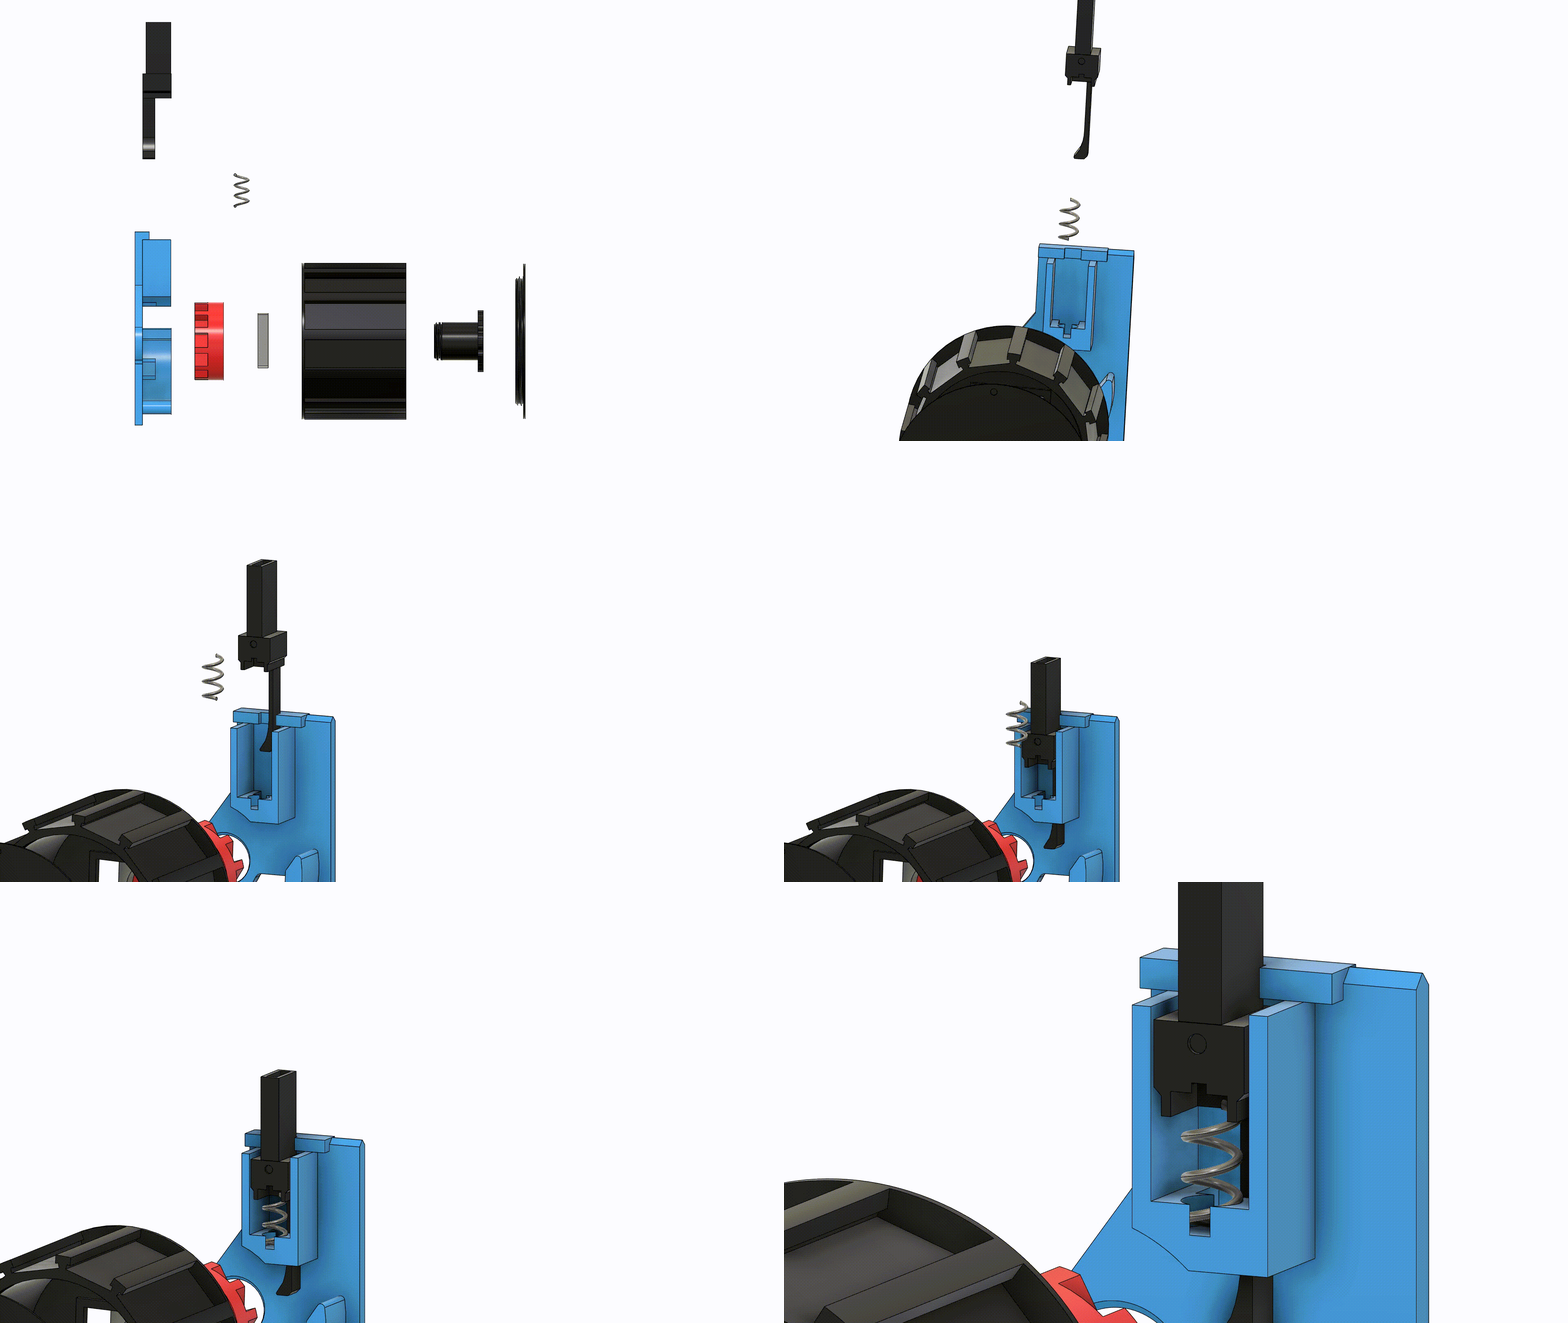
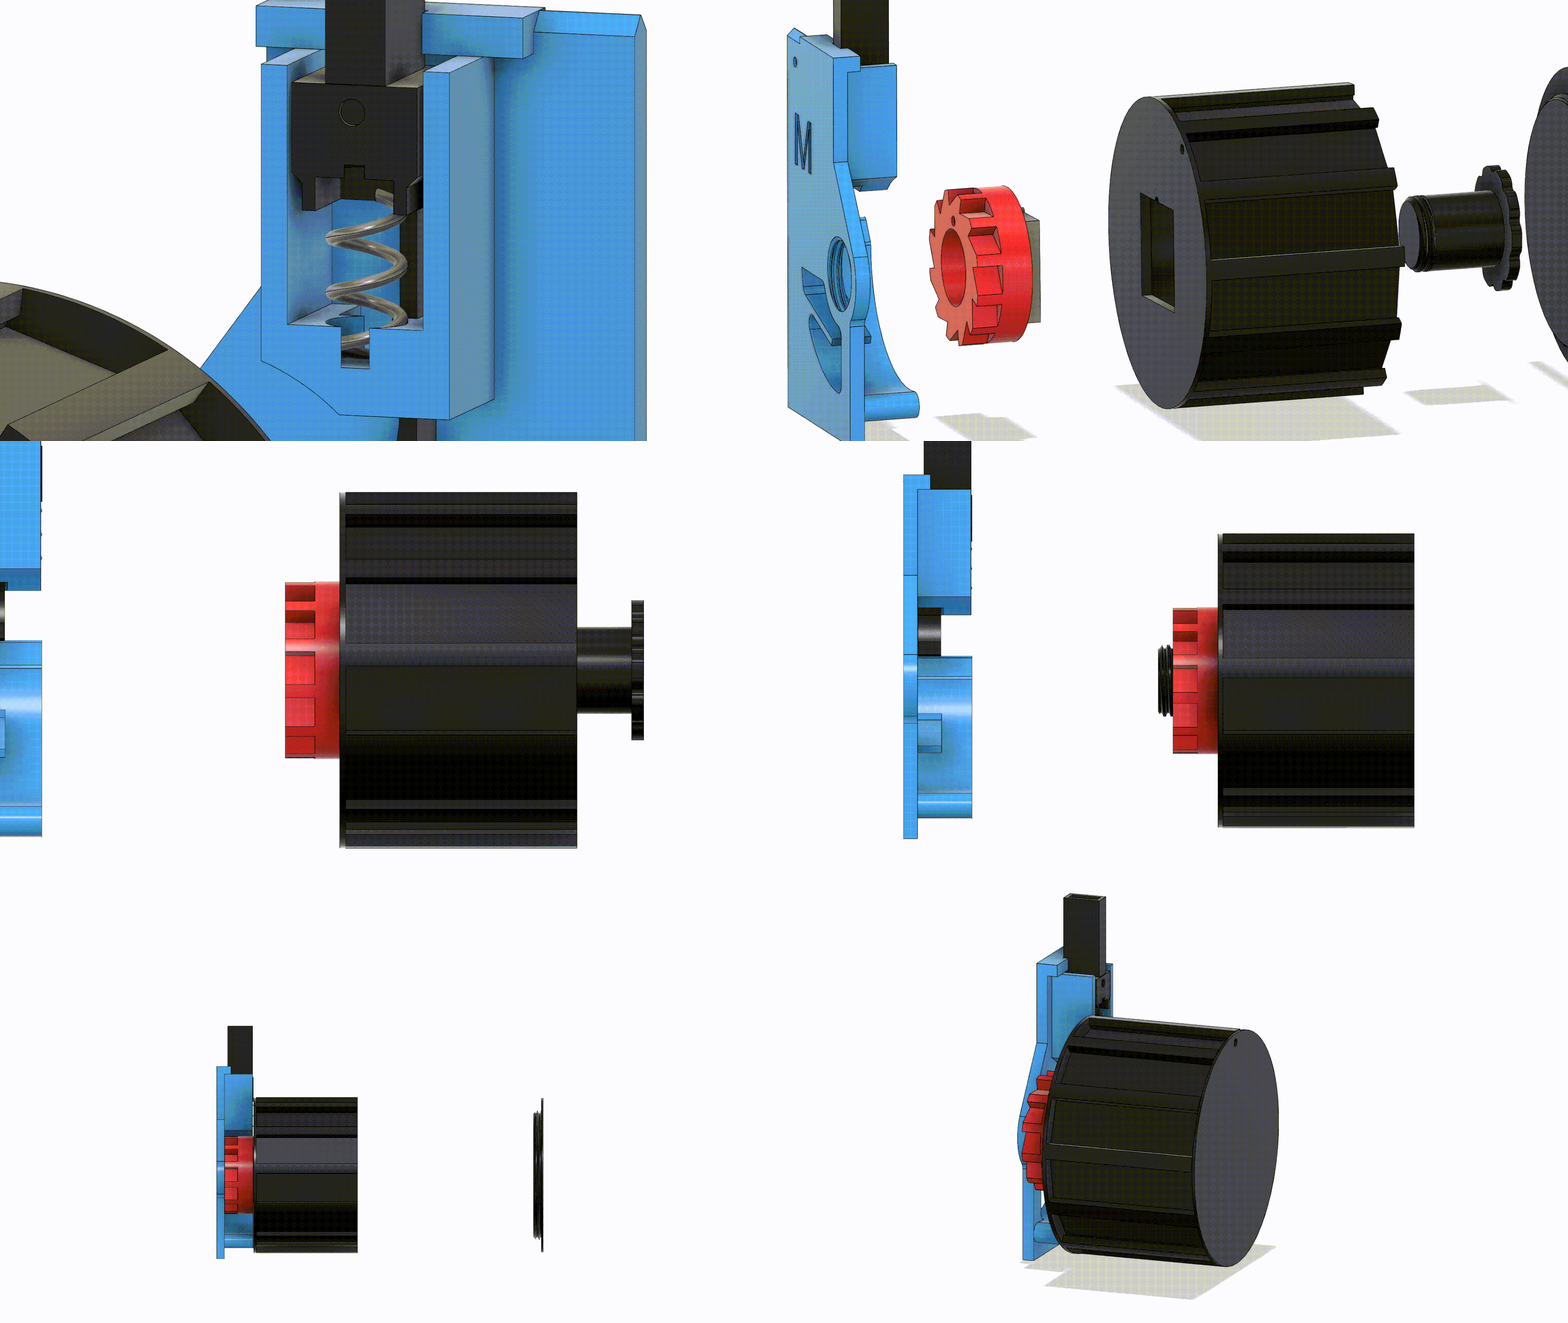
- These are animated instructions you can use along with the Assembly guide
- Parts of the mechanism are labeled by 1,2,or 3 dots. Parts with the same amount of dots go together.
Step #1-2
(steps can be done in reverse order)
Step #3-8
Main Body Assembly Step #1
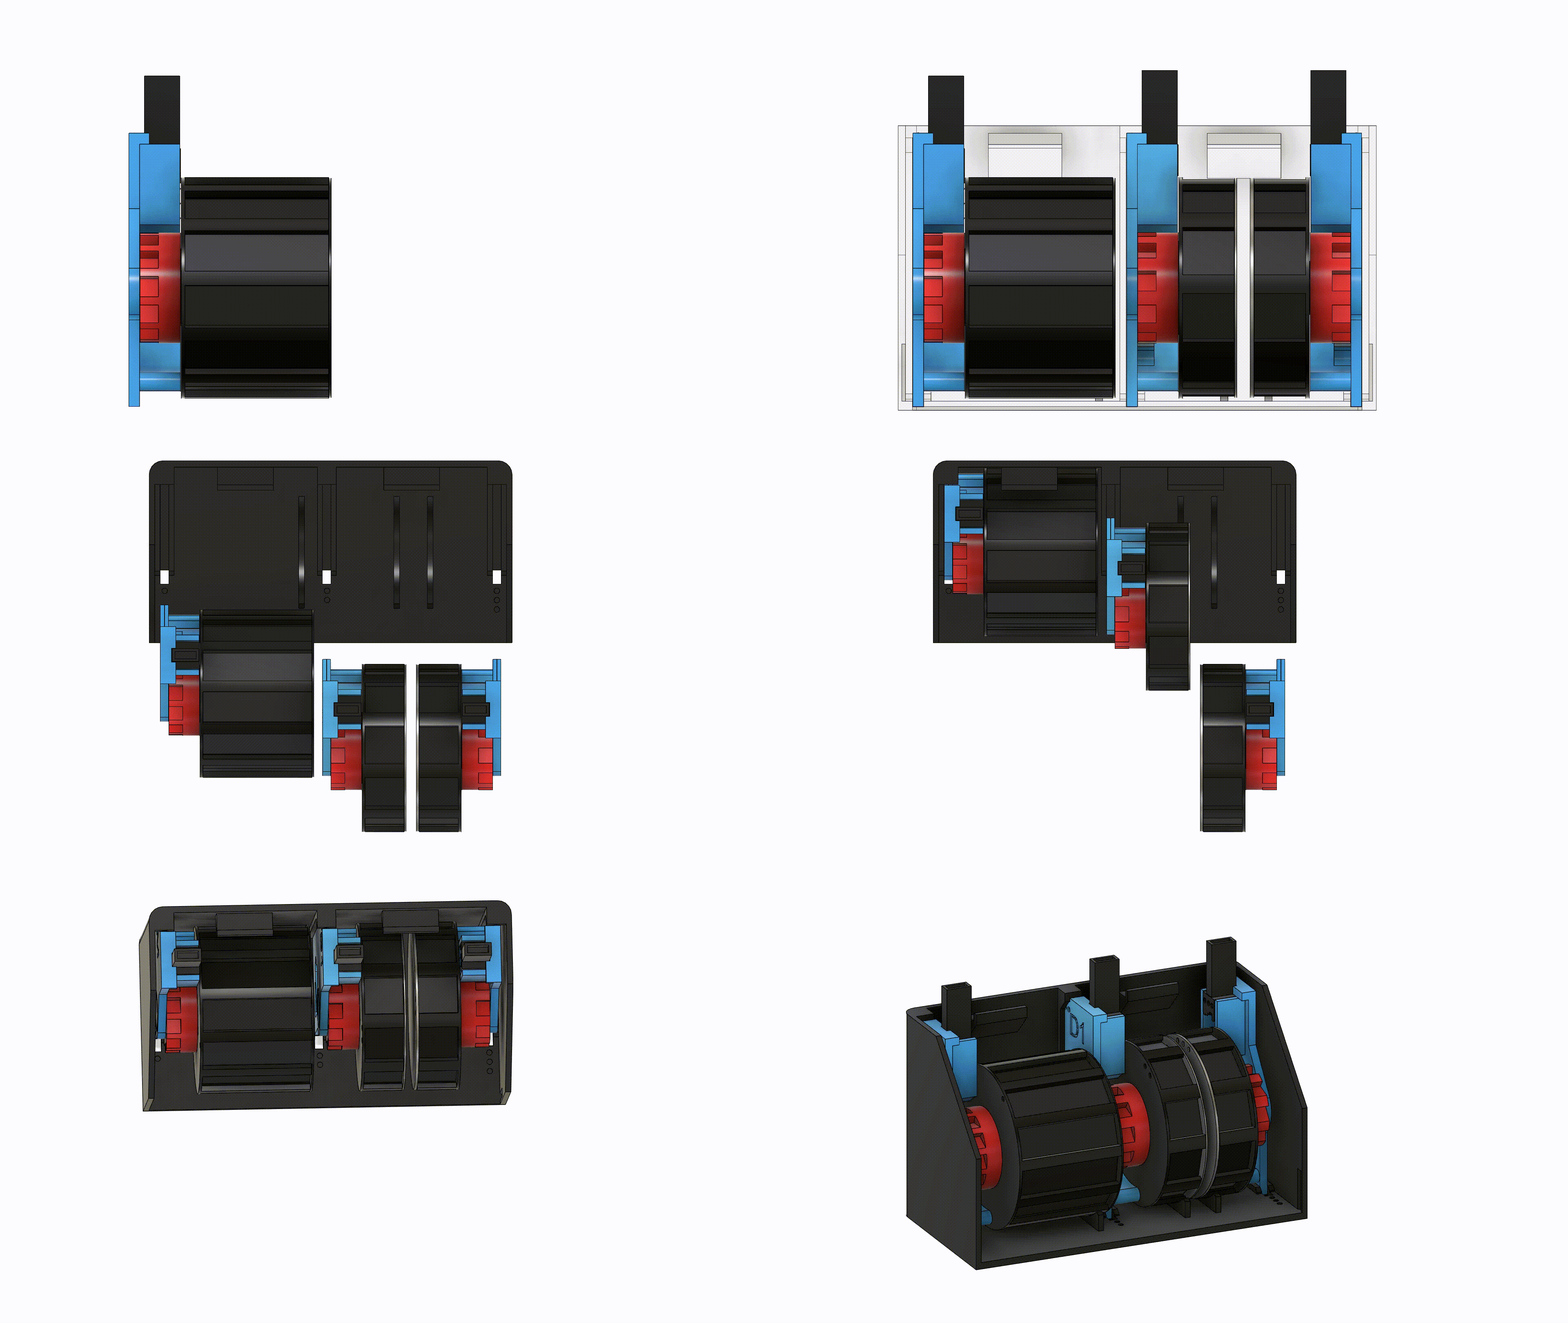
Main Body Assembly Step #2
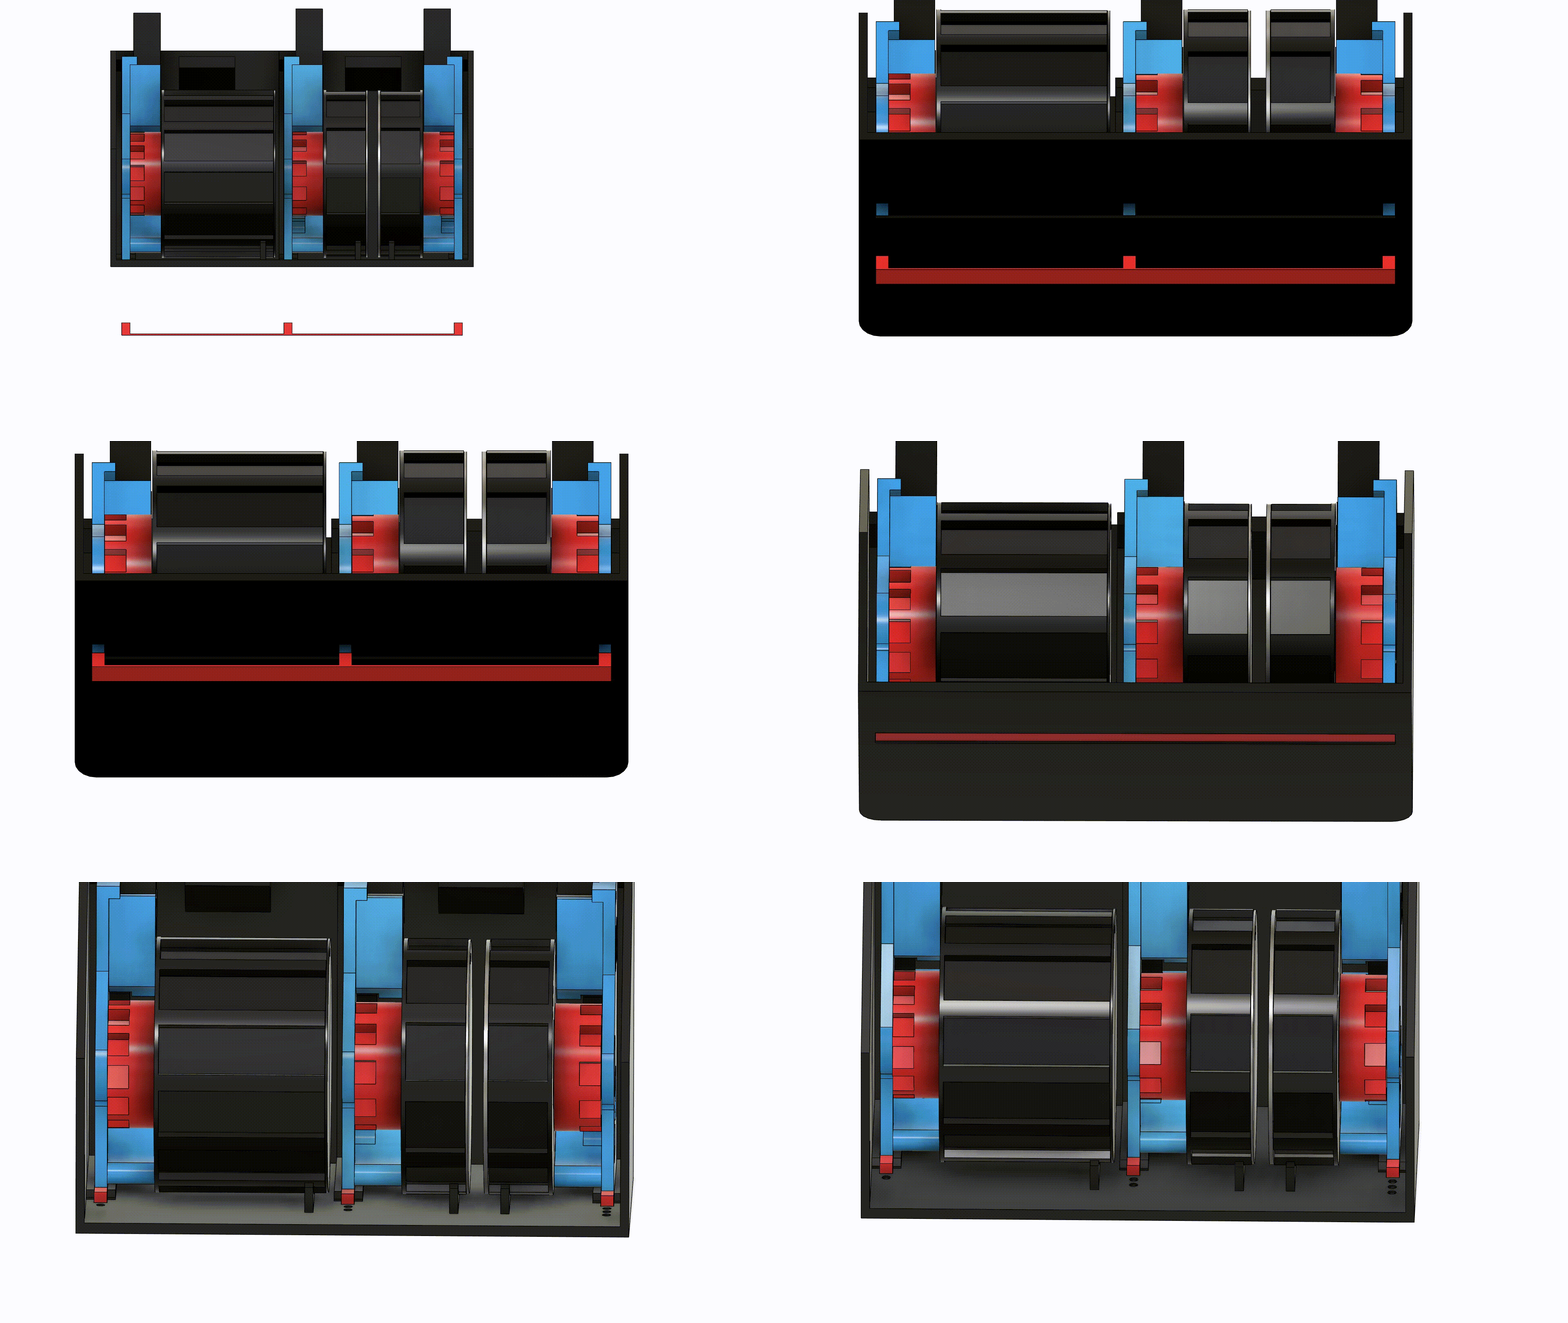
Main Body Assembly Step #3
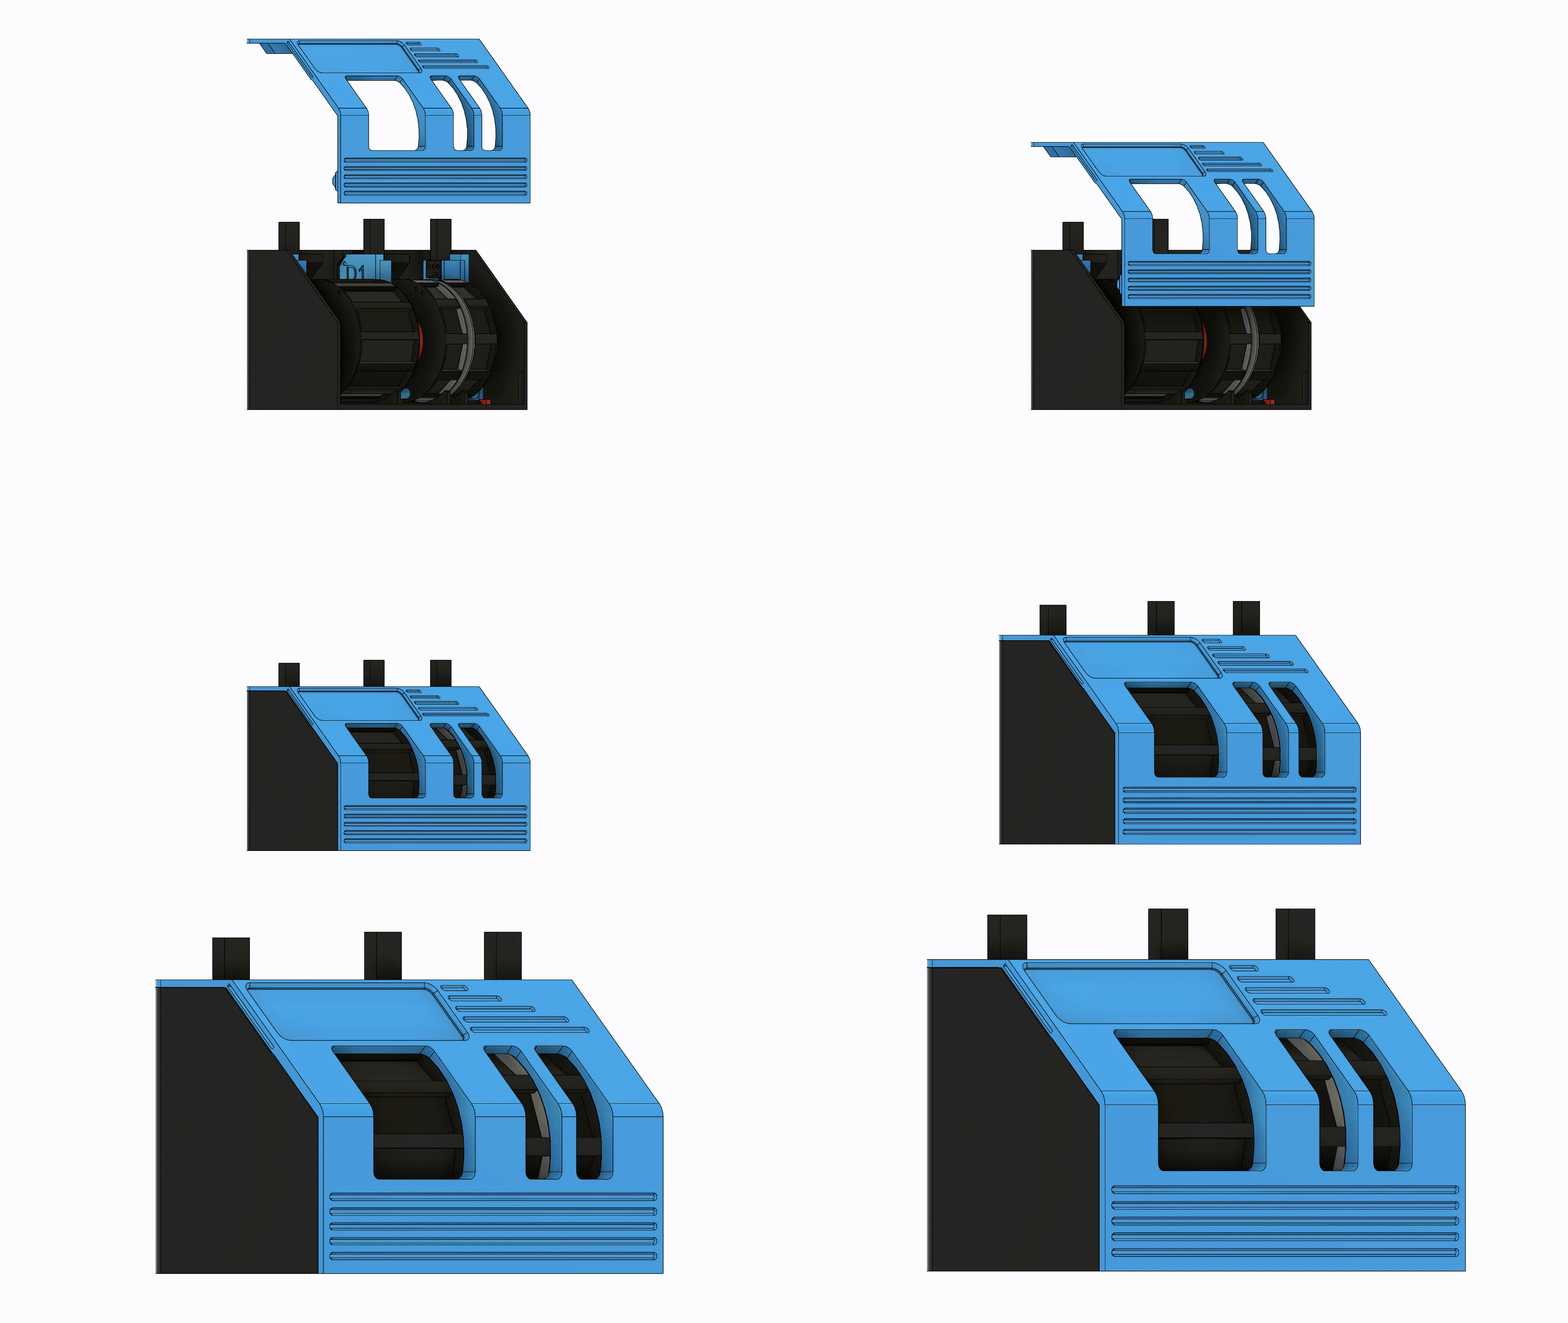
Main Body Assembly Step #4
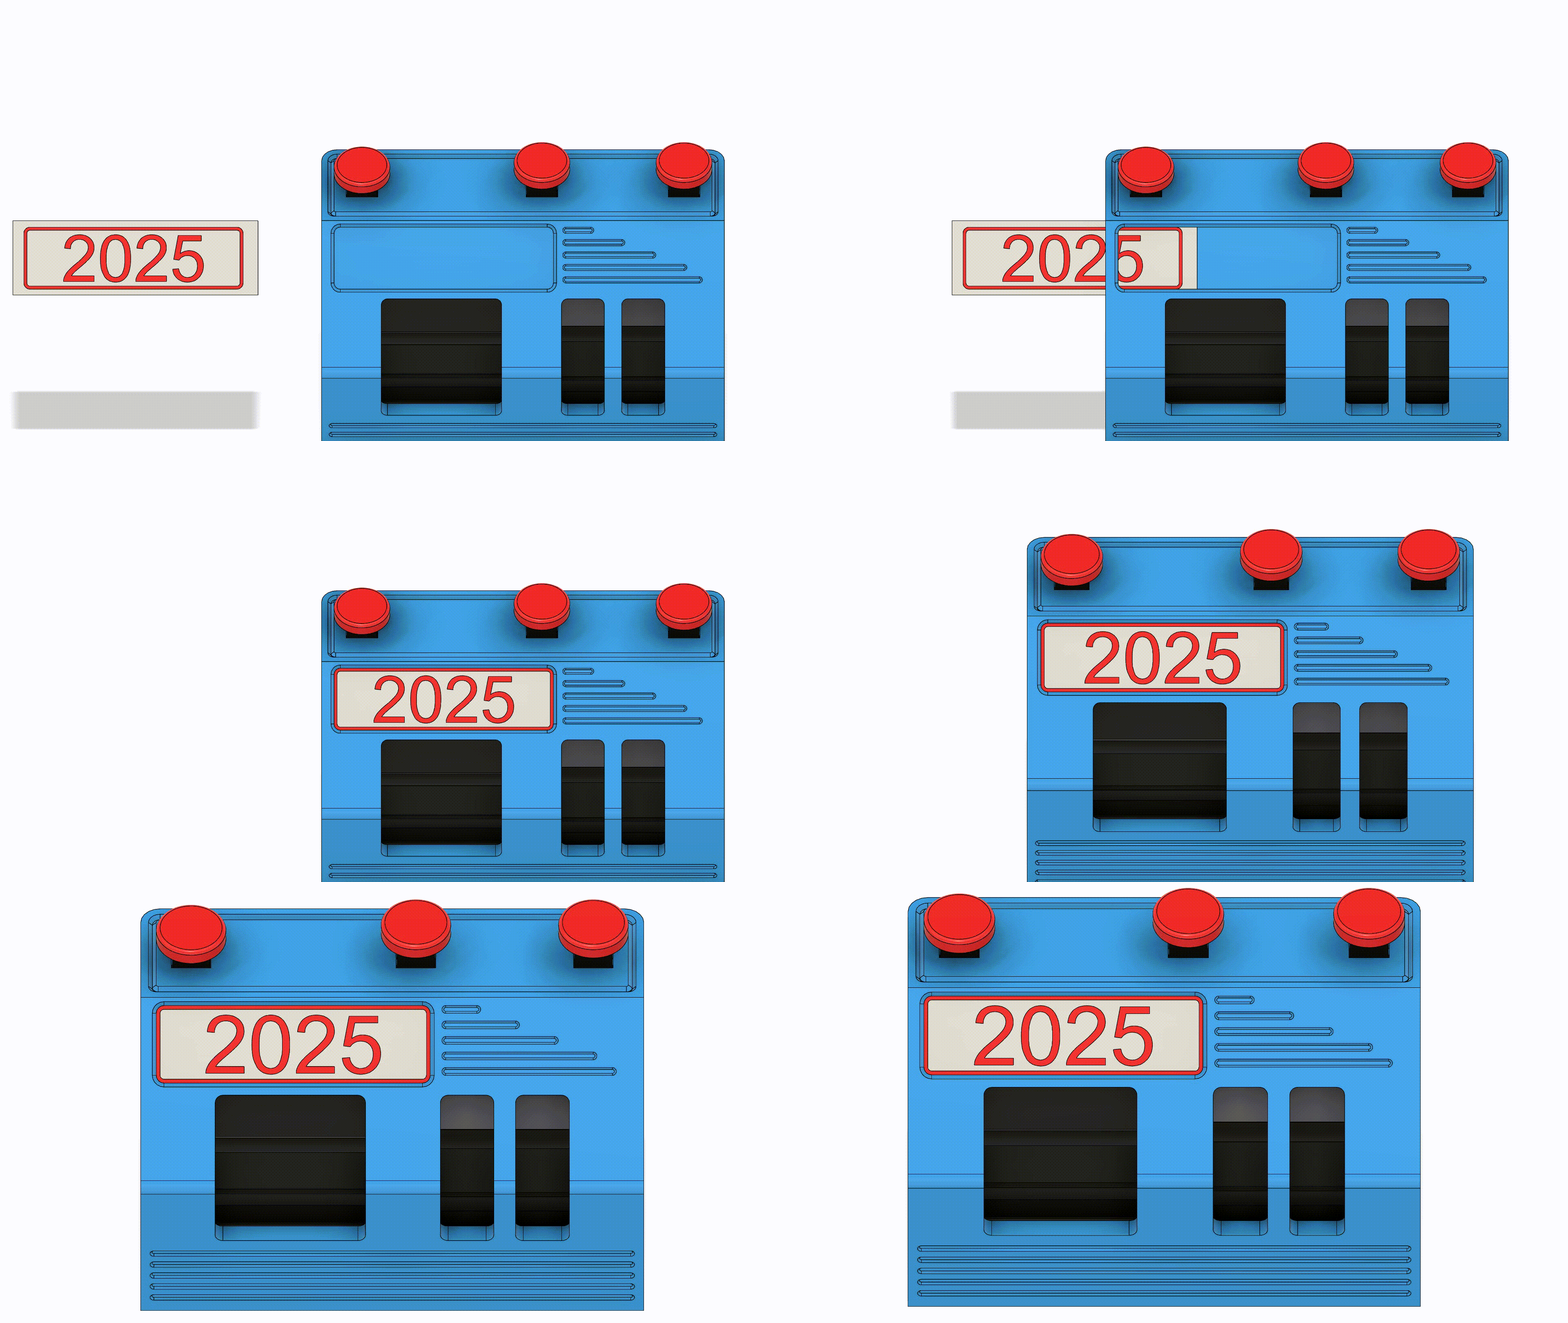
(Let me know if you want a different button design)
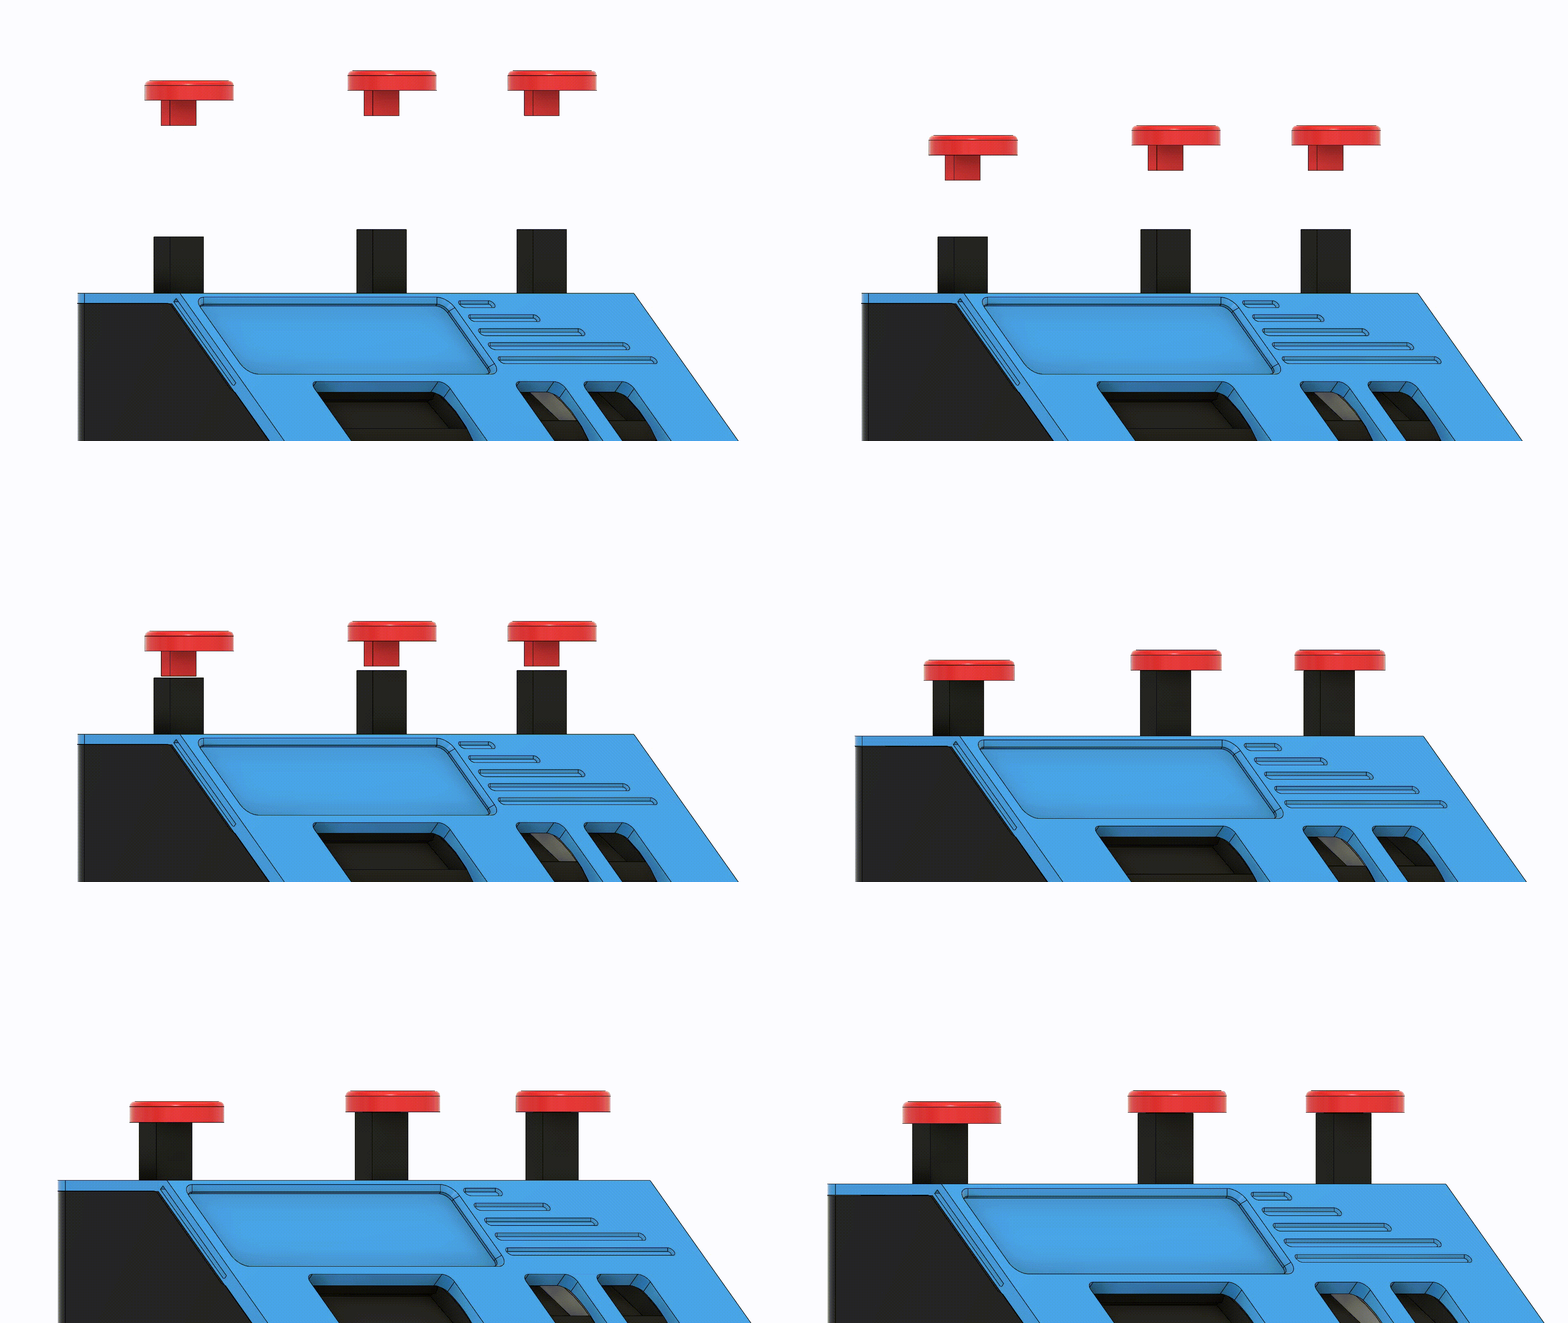
Main Body Assembly Step #5
THX For Printing :)

Gostou deste modelo? Crie uma conta grátis para salvar seus favoritos e voltar a eles depois.
Criar conta