Você está no 3DFinder
Buscamos em Thingiverse, MakerWorld e Printables ao mesmo tempo para te dar o melhor de cada uma.
Descrição
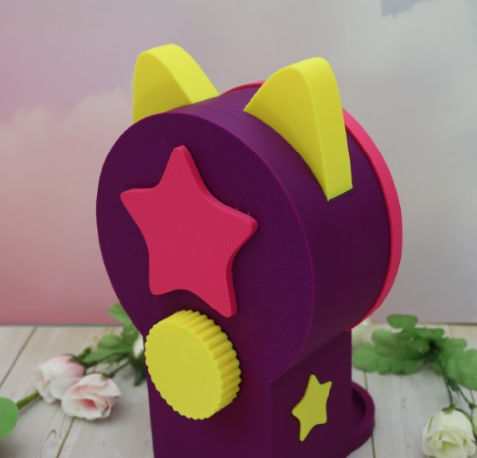
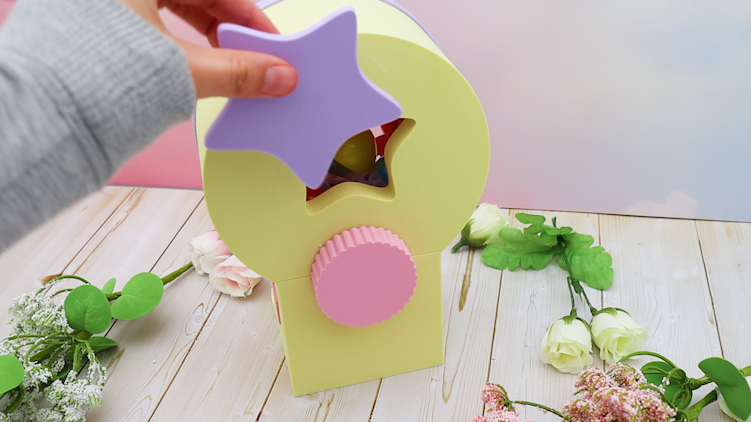
⭐ Starry Gacha Machine Assembly Guide ⭐
(Experimental Model — please read the warning at the end! Also please keep in mind this is a 3D printed Gacha machine & my first 'functional' model😅💖 this model took me 4-5 weeks to finish so I hope you guys enjoy it <3 <3)
--Designed for 1.5 inch capsules.
Note: Do not overfill the machine or it will be harder to turn- leaving some space for things to move around is best!
If you prefer a video, you can find one here, but please make sure to read through this guide for instructions and tips!
✨ Step 0 — 3D Print Your Machine

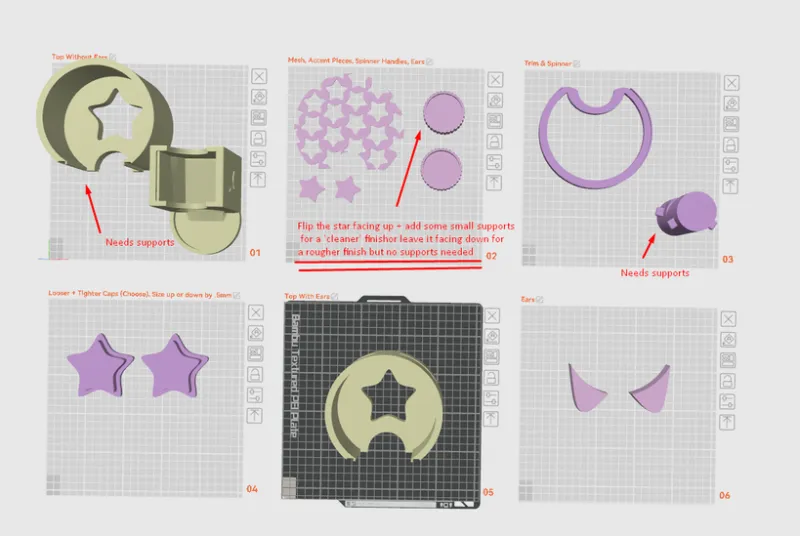
Things to note:
- If you want a cleaner finish on your front star handle, please flip it the other way and add supports. It will be rougher with the star facing down, but require no supports.
- There are two star caps, please choose between the looser or tighter version. Please size it slightly up or down by .25mm-.5mm if it is too loose or too tight. This tolerance will vary after printing based on your printer and filament.
- The only multi-color piece I printed was on one layer of the star handle to add some contrast as this is one piece. You can do this on a single-colour printer by adding a layer color change pause (doing it this way will also colour the outer rim).
- Two pieces require supports as of the orientations above; the dome, and the inner spinner. If you flip the star handle, that may also require some light supports but will look better as a finished product as the visible part will be nice and clean!
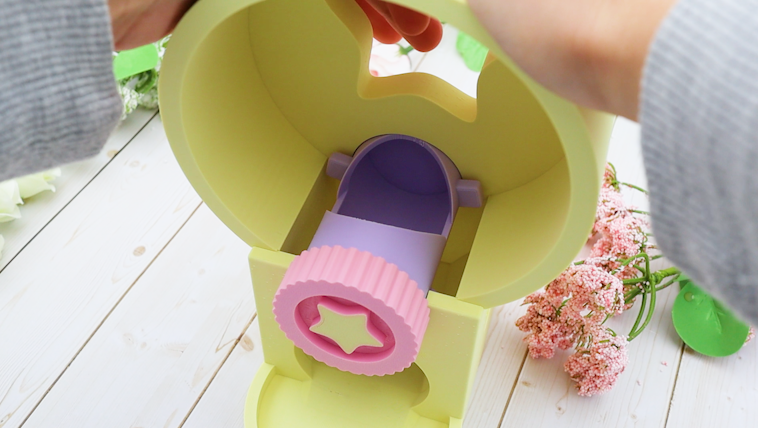
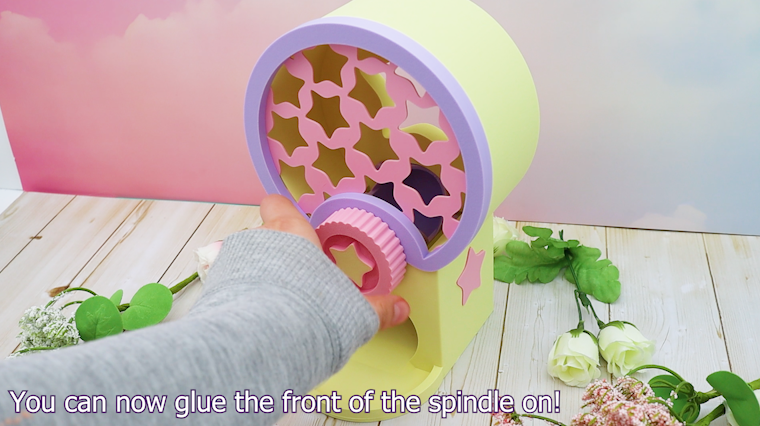
✨ Step 1 — Build the Turn Handle
Grab the center spindle (the tall cylinder piece). You’ll notice a star imprint on one end — that’s the front.
- Attach the flat end (no star) to the inner spinner base (the flat disk).
Glue is optional — it will hold without glue!

🔸 Important note: In my photos/videos, I did place the front star cap on early — you can do that too, just don’t glue it yet. You’ll need to remove it later when attaching the front of the machine!
✨ Step 2 — Insert the Spindle

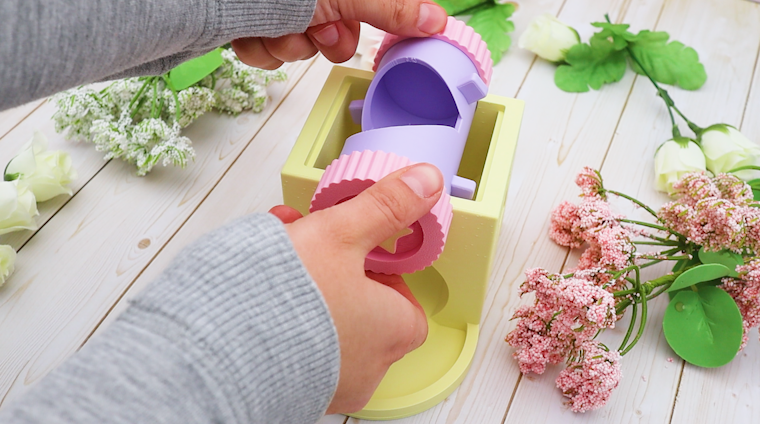
Place the spindle into the gacha machine base so it sits centered and upright.
✨ Step 3 — Attach the Top Dome
Add a thin line of glue around the bottom rim of the dome (top piece).
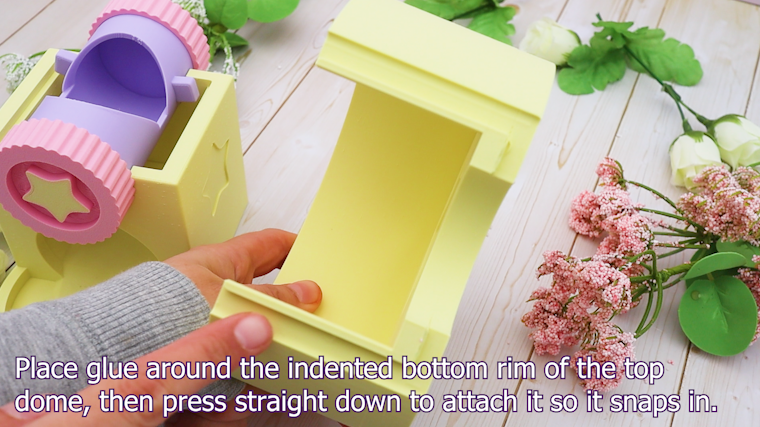

Place it on the base and press straight down until it snaps in.
✨ Step 4 — Add the Side Stars (Optional)
Glue the decorative side stars into their indents.
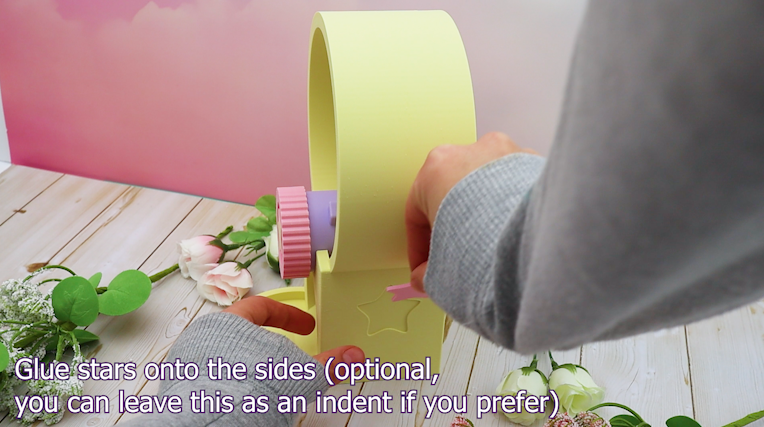

If one doesn’t fit, rotate it slightly until it does.
Hold each star in place for about a minute.
✨ Step 5 — Assemble the Front Display Window
Add glue around the front rim.
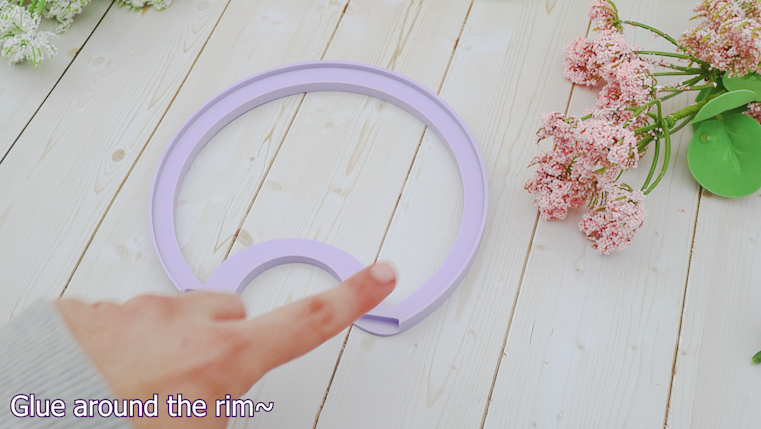

Place the mesh window over it, lining up the bottom edge.
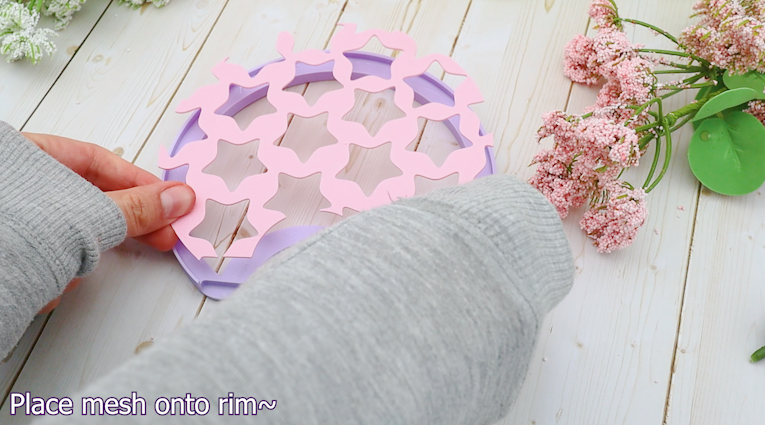

- Add a second ring of glue around the mesh rim — this is what sticks it to the machine.
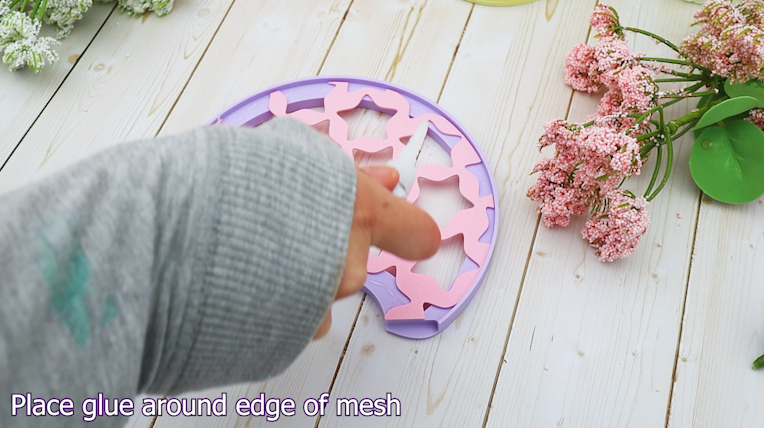

Remove the front star handle if it’s already on.
Press the assembled rim + mesh onto the front of the machine. Hold gently for about a minute.
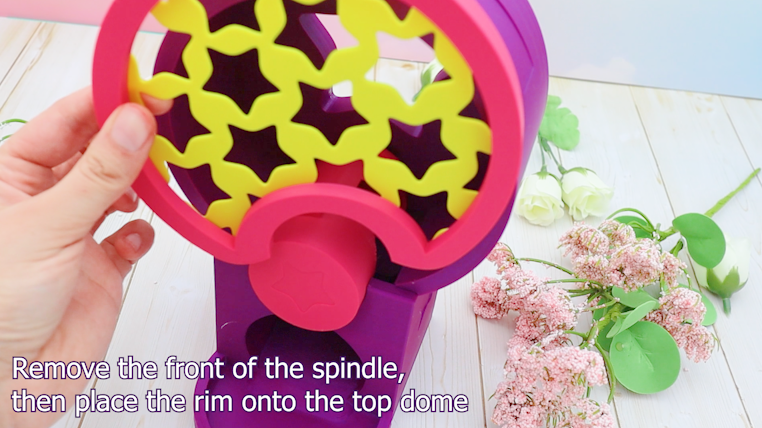

Reattach the front star handle afterward (glue optional).

✨ Step 6 — Add the Ears (Optional)
If you printed the ear version, slide the ears into the side slots with a little glue.
Hold for about a minute so they set nicely.

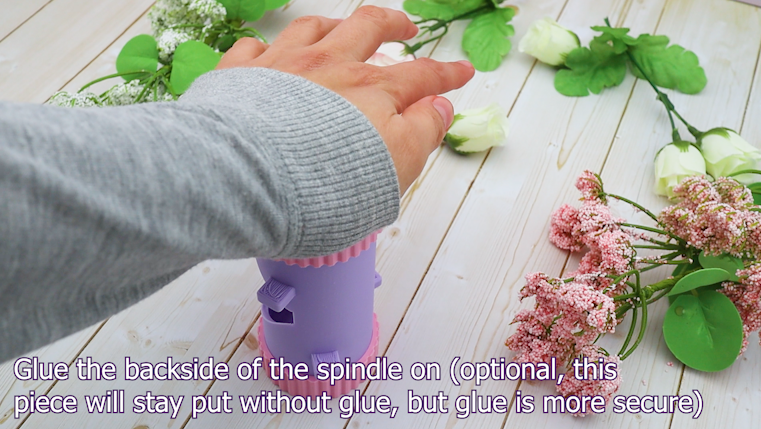
✨ Step 7 — Seal the Back
Attach the star stopper to the back opening.
There are two types:
- Tight fit: very secure but may require a metal scraper to remove when refilling.
Loose fit: easier to remove and still stays on unless the machine is tipped.

Resize the stopper by ±0.25–0.5 mm if needed.
💛 Tip: Print all parts on the same printer. Even identical printers have slightly different tolerances — but they stay consistent within their own prints!
⚠️ Warning: Experimental Model!
This is an experimental design, which means it’s a bonus model created so I can try new ideas, shapes, mechanisms, and tolerances! 🌸🧪
✨ Please expect some quirks — that’s part of the magic!
Feel free to share your thoughts, critiques, and suggestions. Depending on interest and feedback, this model may be:
- expanded,
- refined and fully finalized,
- or left as a one-of-a-kind little experiment 💫
----------------------------------------------
Hi there! I'm Mouse and I love art & 3D printing. I am inspired by cottage-core, fantasy, and kawaii things! Thank you for taking the time to read this. :)
If you like this design, please check out my other models: cults3d.com/en/users/StarMouse3D/creations
StarMouse3D creations are protected by copyright. My files are for personal use only, and you do not have the right to sell the files or the models without explicit consent from me.
To legally obtain permission to sell PHYSICAL prints of any of my other models, you may obtain permission to sell every model as an active Patreon supporter through this link: patreon.com/c/StarMouse3D
Please do not share digital files! Thank you. Please be warned that these models are not toys and not recommended to be printed for young children, or anyone at risk of a choking hazard. There are small parts that can be broken off if roughly handled. Print at your own risk!
Starry Gacha Capsule Machine

Publicado em 3 de dez de 2025