Você está no 3DFinder
Buscamos em Thingiverse, MakerWorld e Printables ao mesmo tempo para te dar o melhor de cada uma.
Descrição
The MistView Organizer is a sleek storage solution for 3D printer accessories and hotends, featuring a translucent lid with magnetic latches for stylish visibility and quick access.
Key Features:
• Standardized box and lid design works across multiple printer models
• Translucent lid elegantly displays tools while keeping them organized
• Magnetic latching system for secure, easy access
• H2D version: 8 hotend slots (2 per size)
• A1 version: 4 hotend slots plus open bin for additional parts
• XP series: 2 open storage bins for spare parts
• A1 mini: Compact version with same functionality
Hybrid Build Options:
This is a hybrid model that combines 3D printing with optional laser-cut pieces (3mm thick). The laser-cut components are completely optional and can be replaced with 3D printed pieces for full customization without AMS or material changes. Use glue in addition to press fit for assembly.
Base Liner Compatibility:
All storage compartments include 2mm extra height at the bottom for optional liners:
• TPU printed liner (recommended)
• Laser-cut cork liner (recommended)
• Standard PLA liner (may have fitment issues)
What's Included:
Every print profile includes standardized box and lid files (A1 mini uses smaller dimensions). Standard-sized magnets recommended for best latching performance, smaller magnets can be glued in but may reduce latch strength.
Assembly:
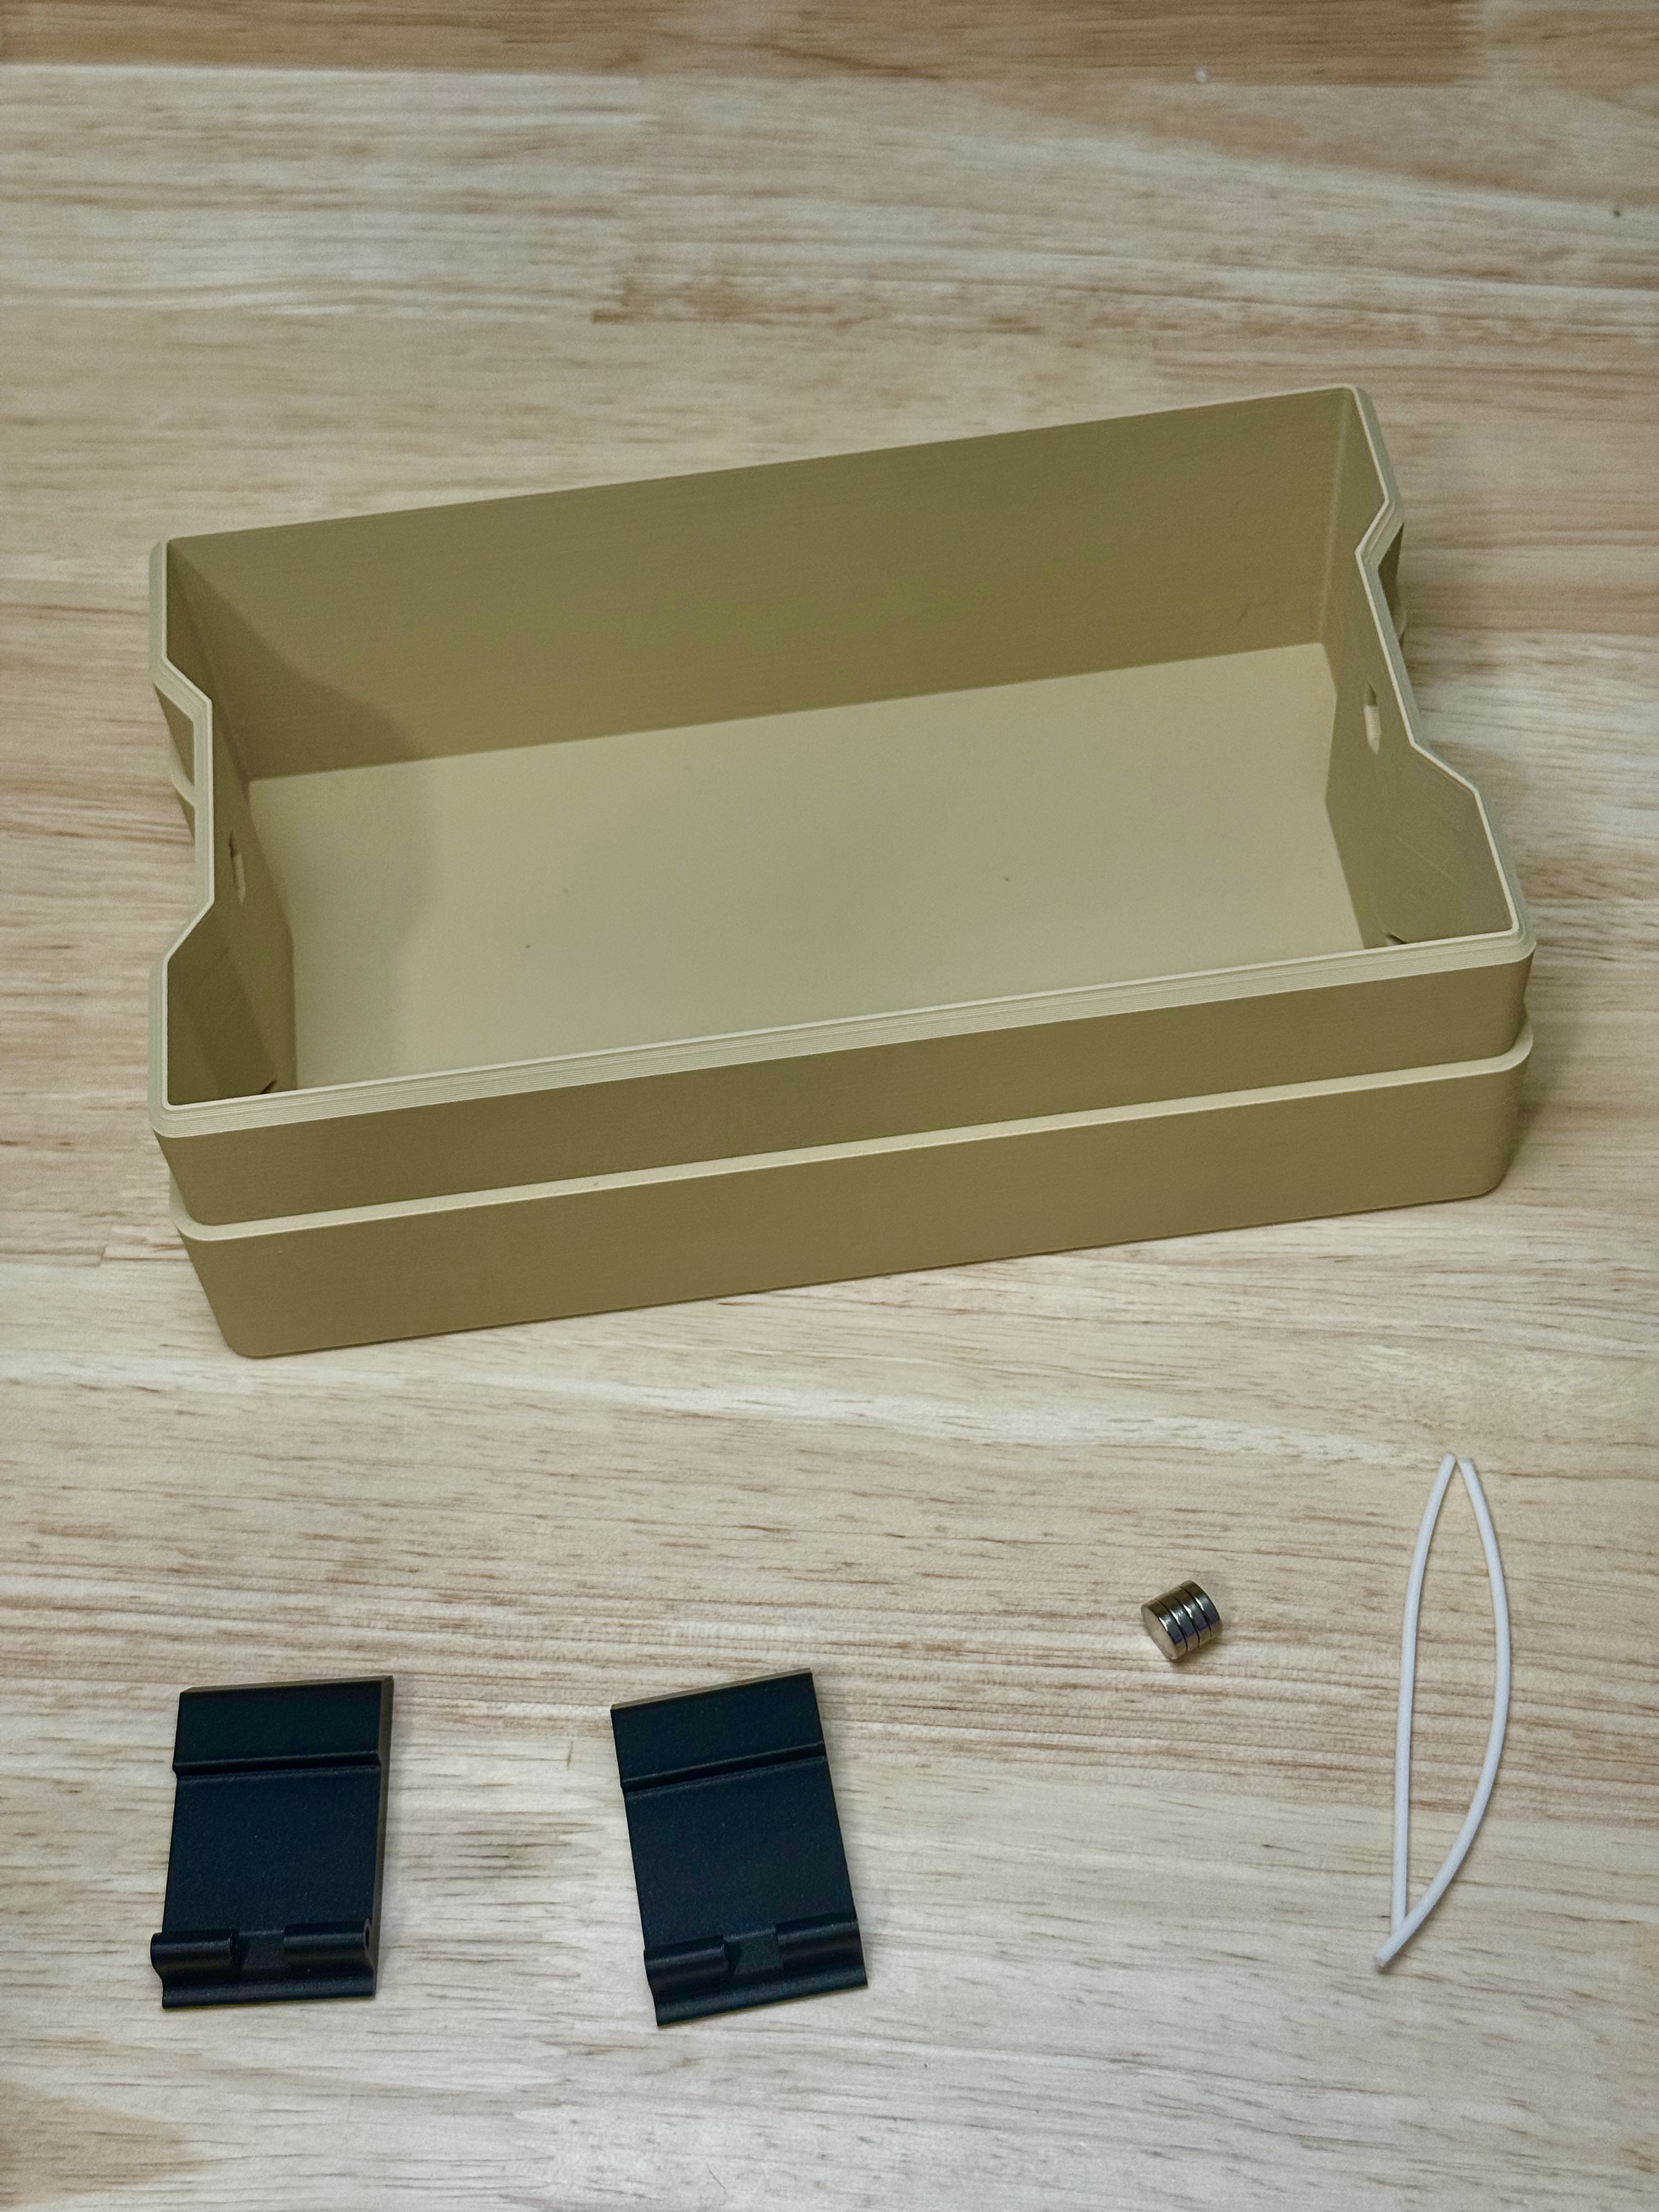
For assembly, you will need 4 magnets (8x2), 2 clips, 2 pieces of filament cut from the spool (non-abrasive works best), and the box.
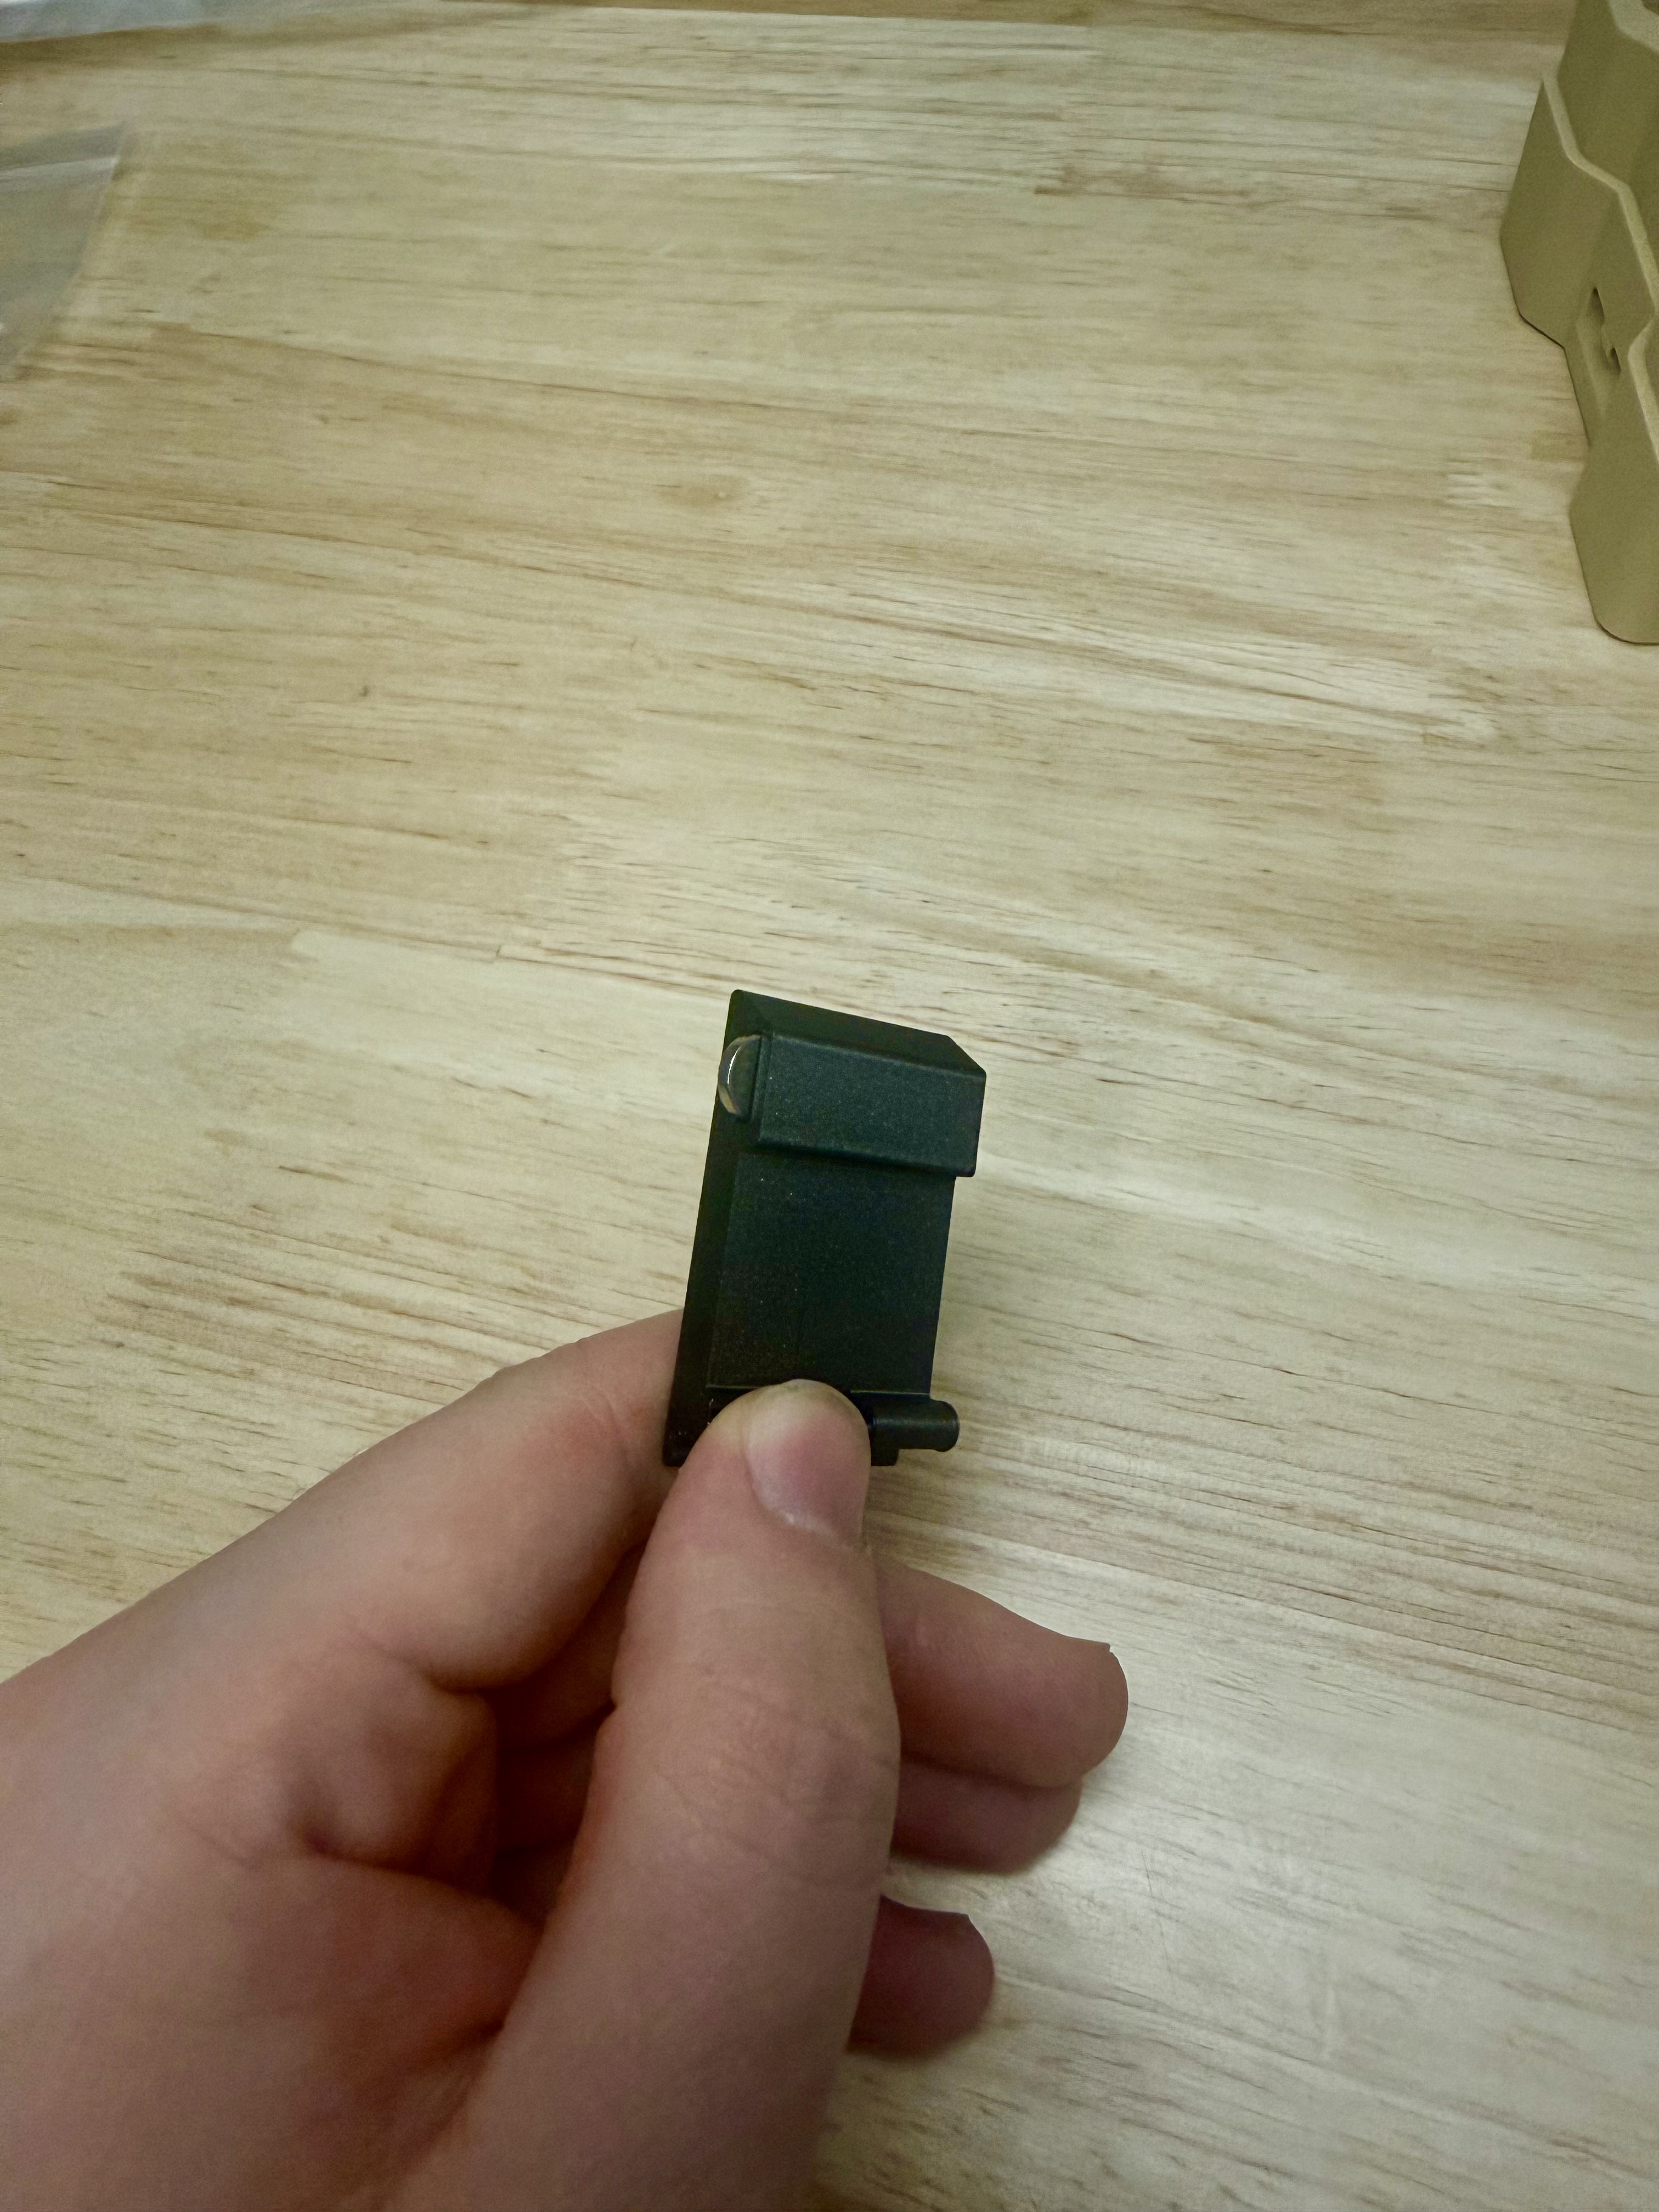
Start by inserting the magnets into each of the clips, they should stay without glue but depending on tolerance may need some adhesive.
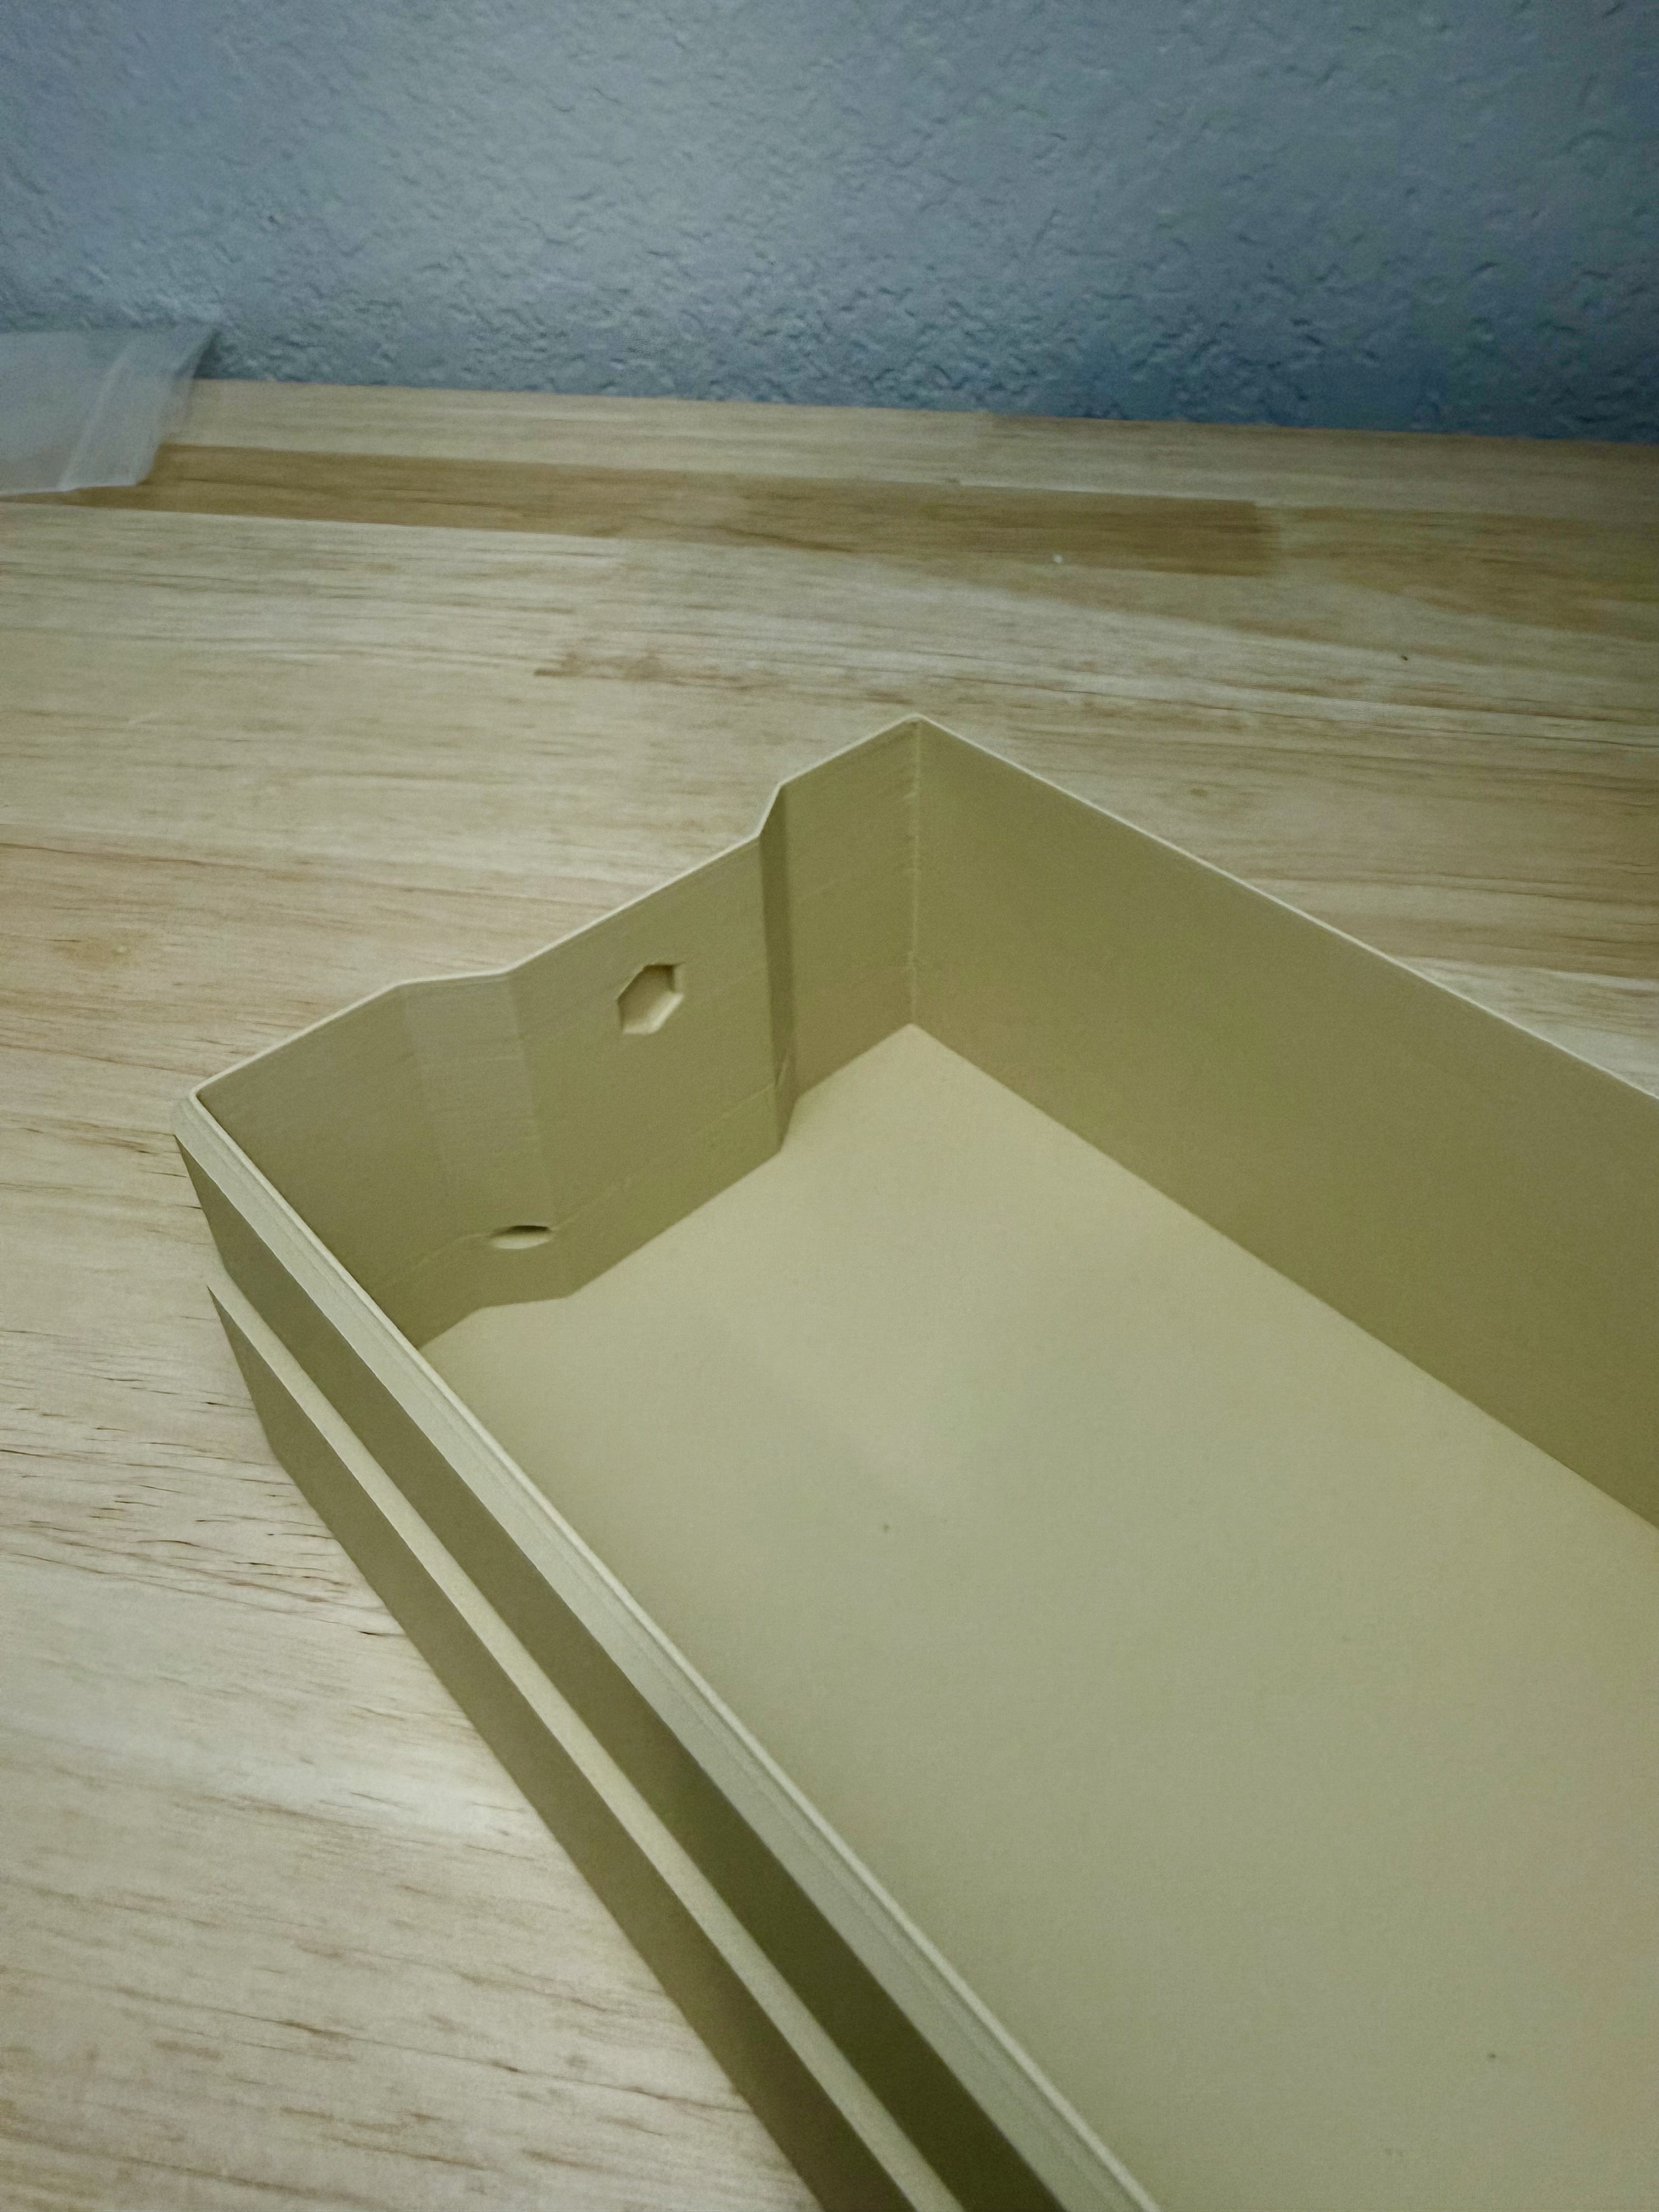
Next we will be inserting the magnets into the hexagonal hole on the inside of the box. It is a friction fit and may require high force to get it to sit properly, or may require glue/ adhesive.
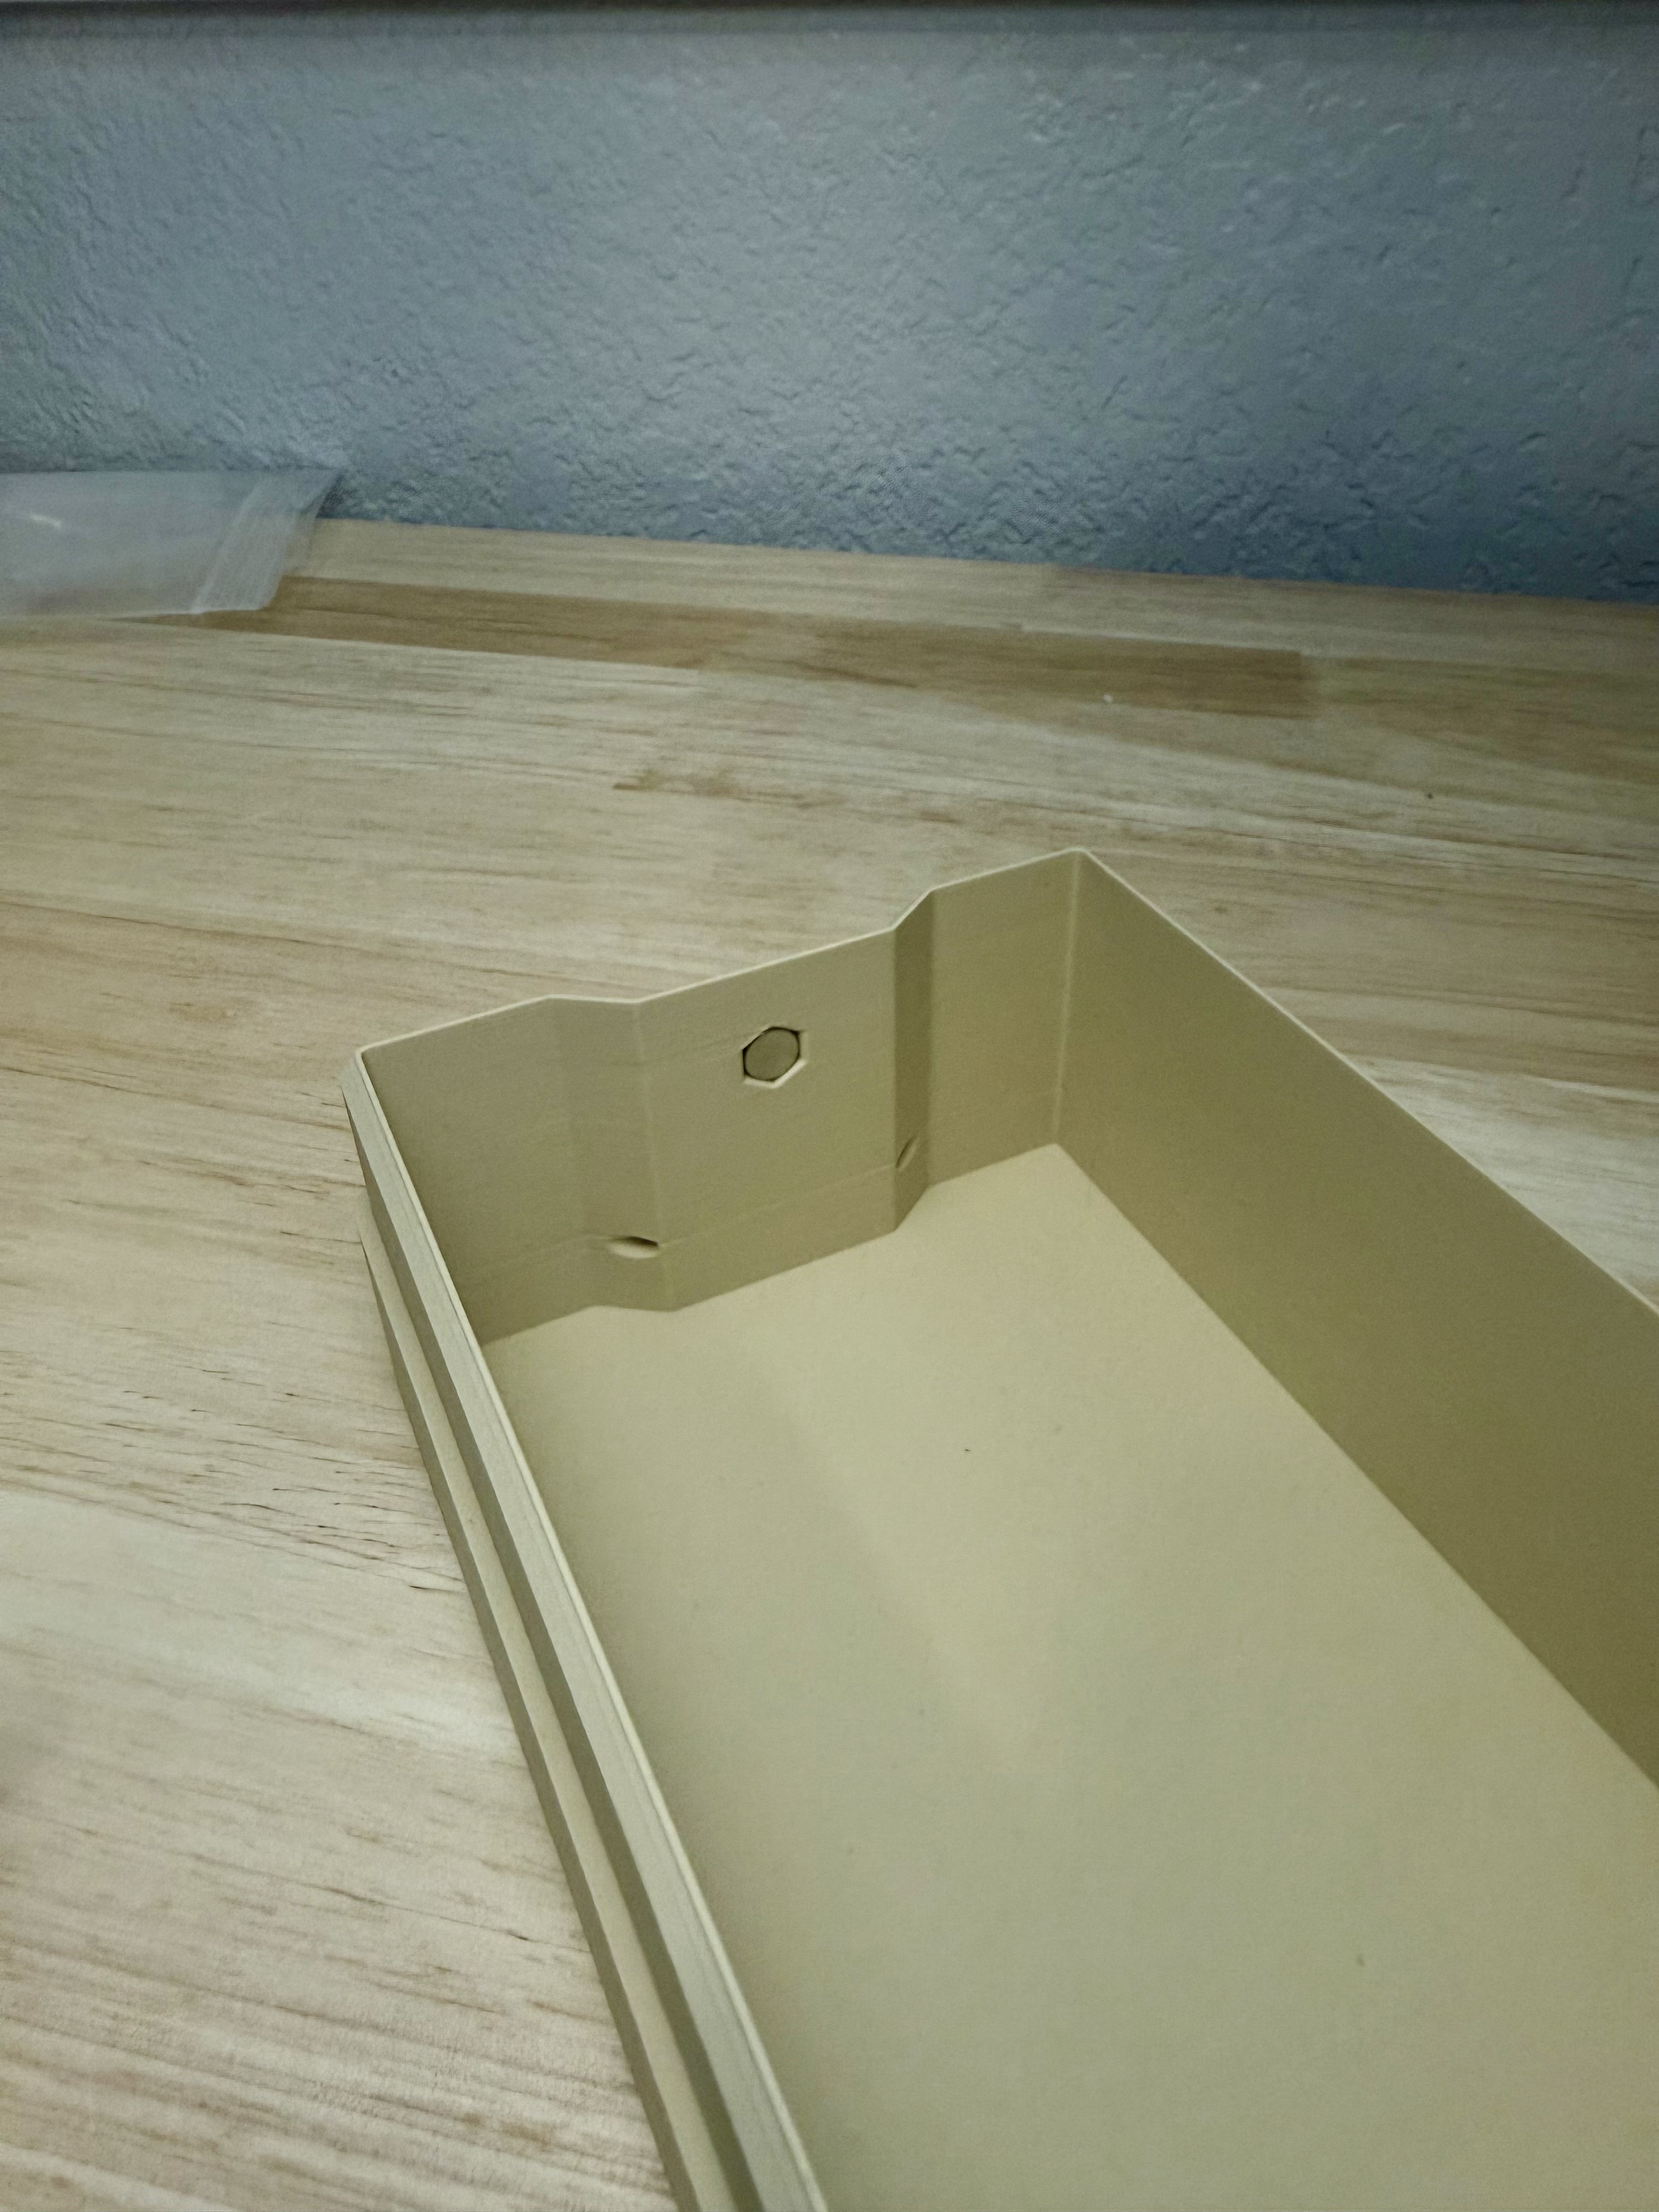
Ensure that the magnets of the clip and box attract to each other and are not repelling, the clip should be pulled towards the box.
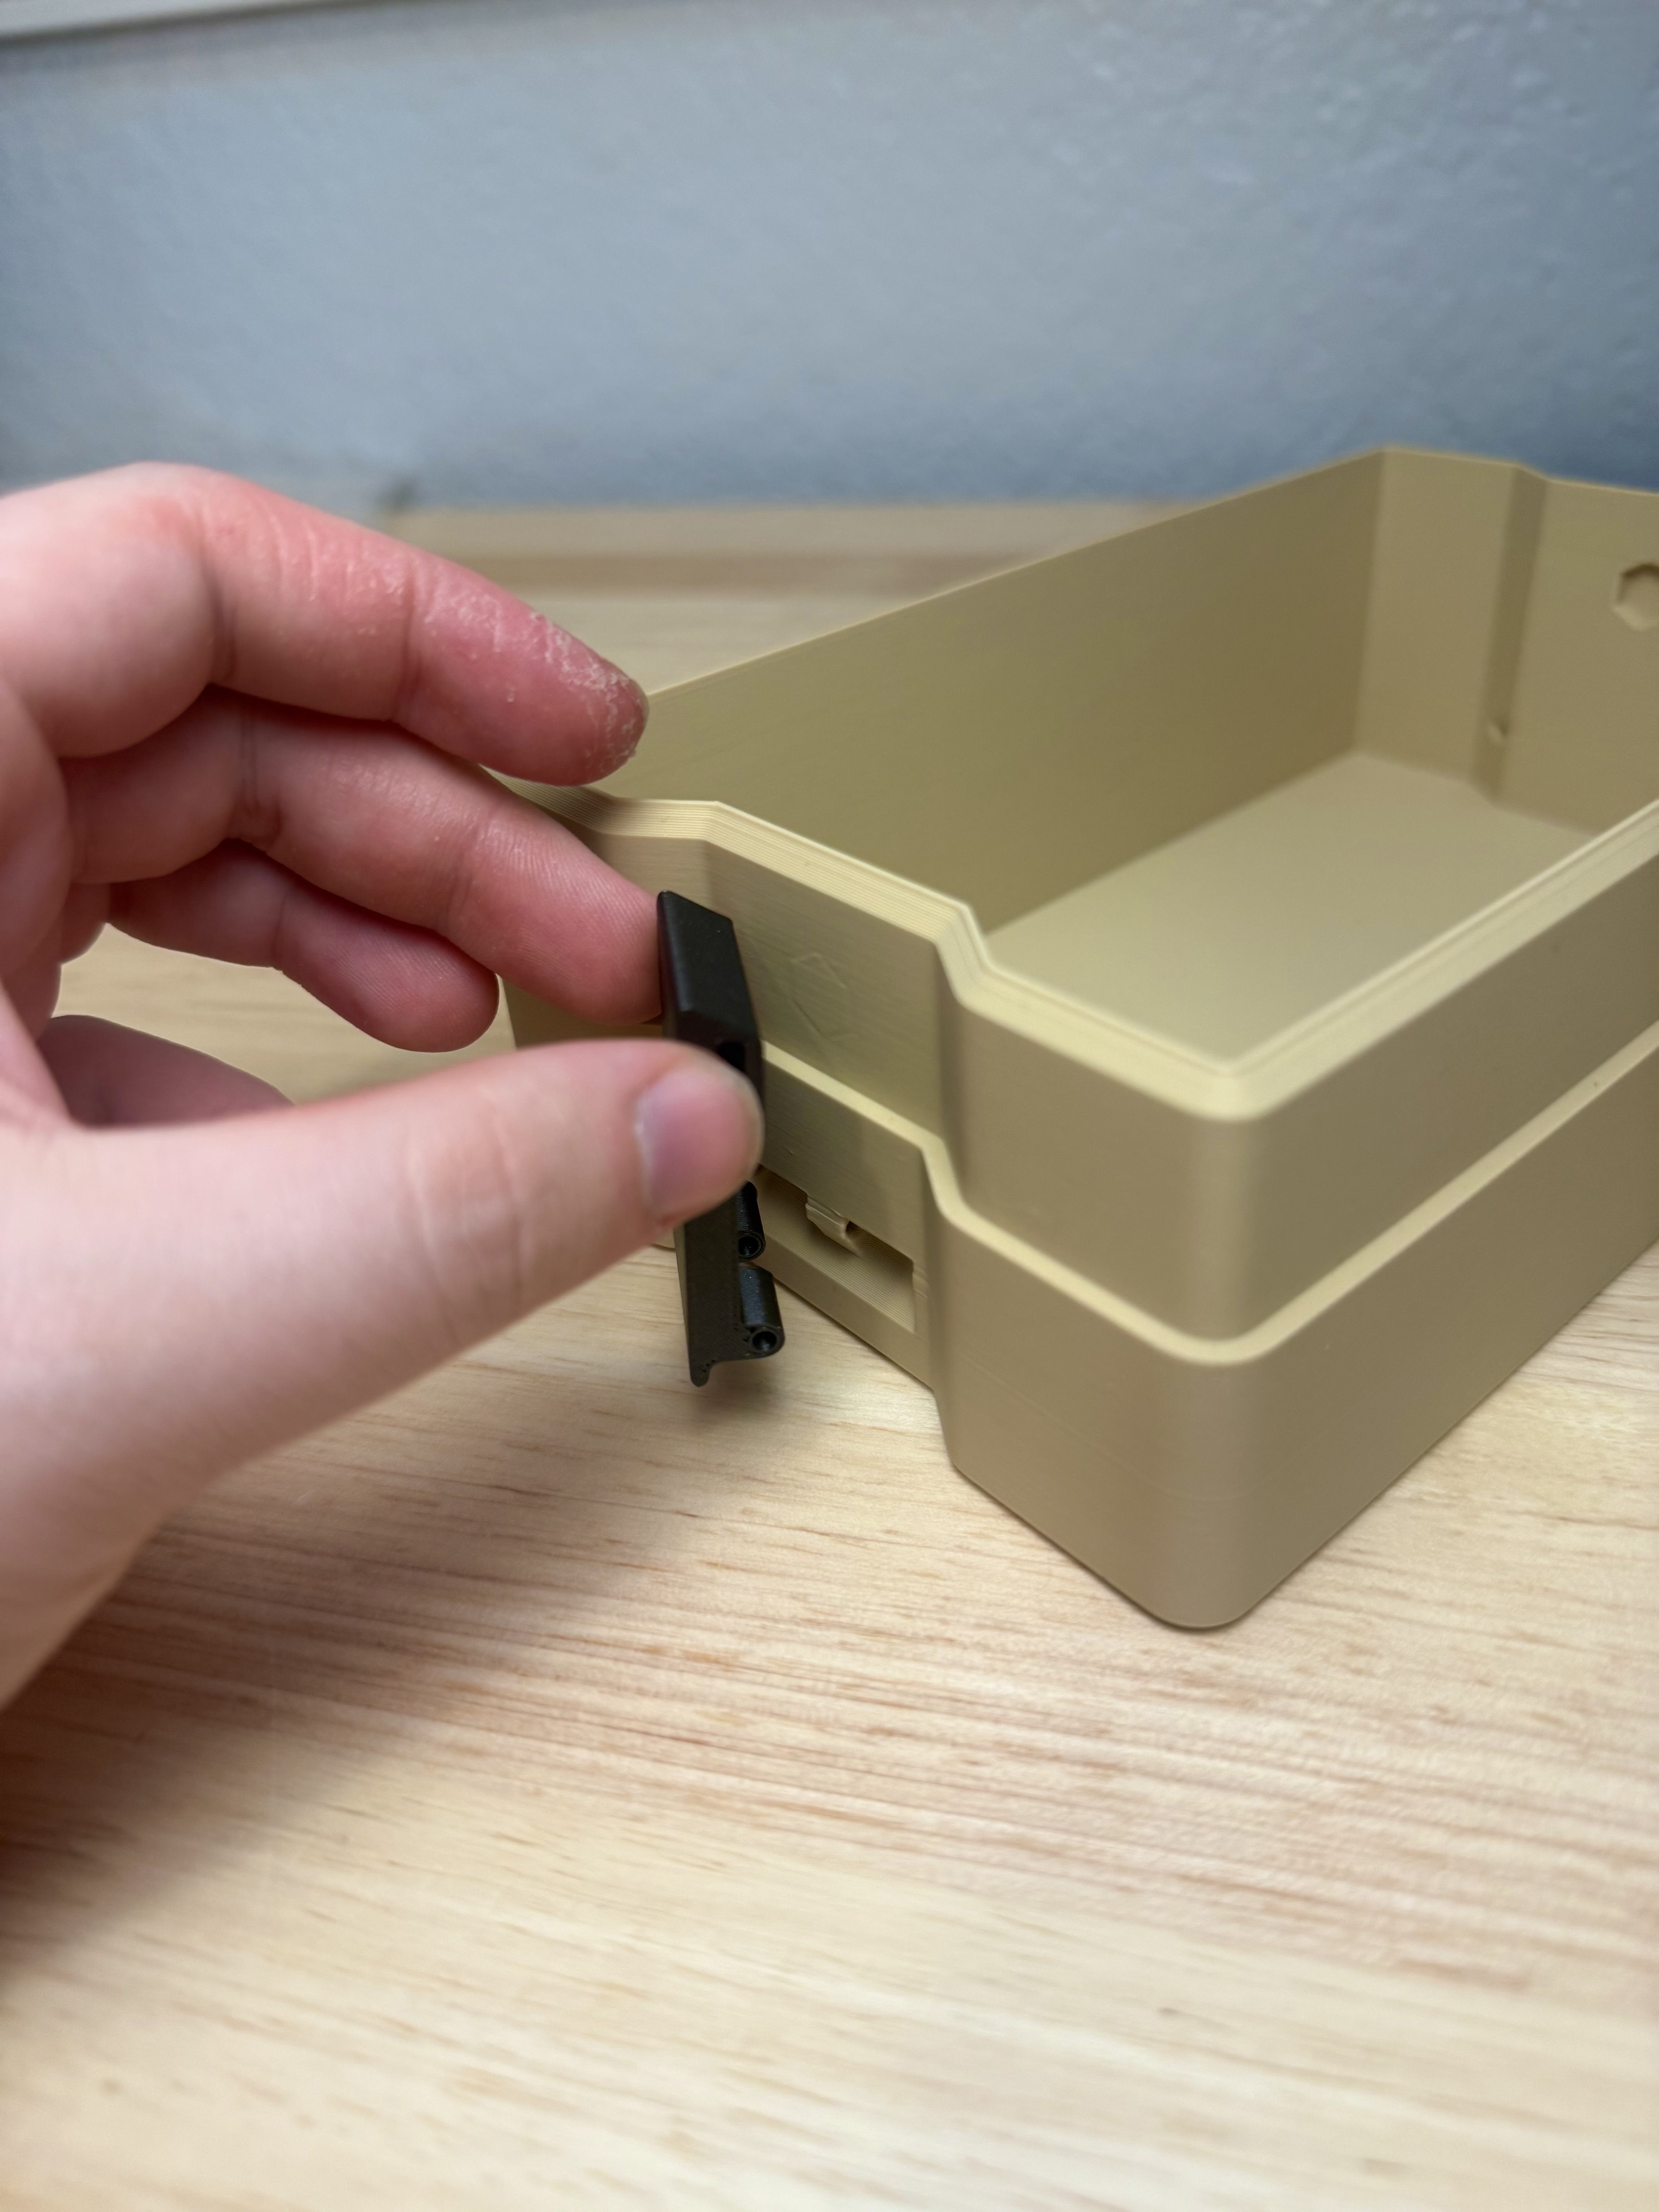
Next we will be attaching the clips to the box, for ease of use when assembling, you can place the clip in position on the side of the box relying on the magnets to hold it in place.
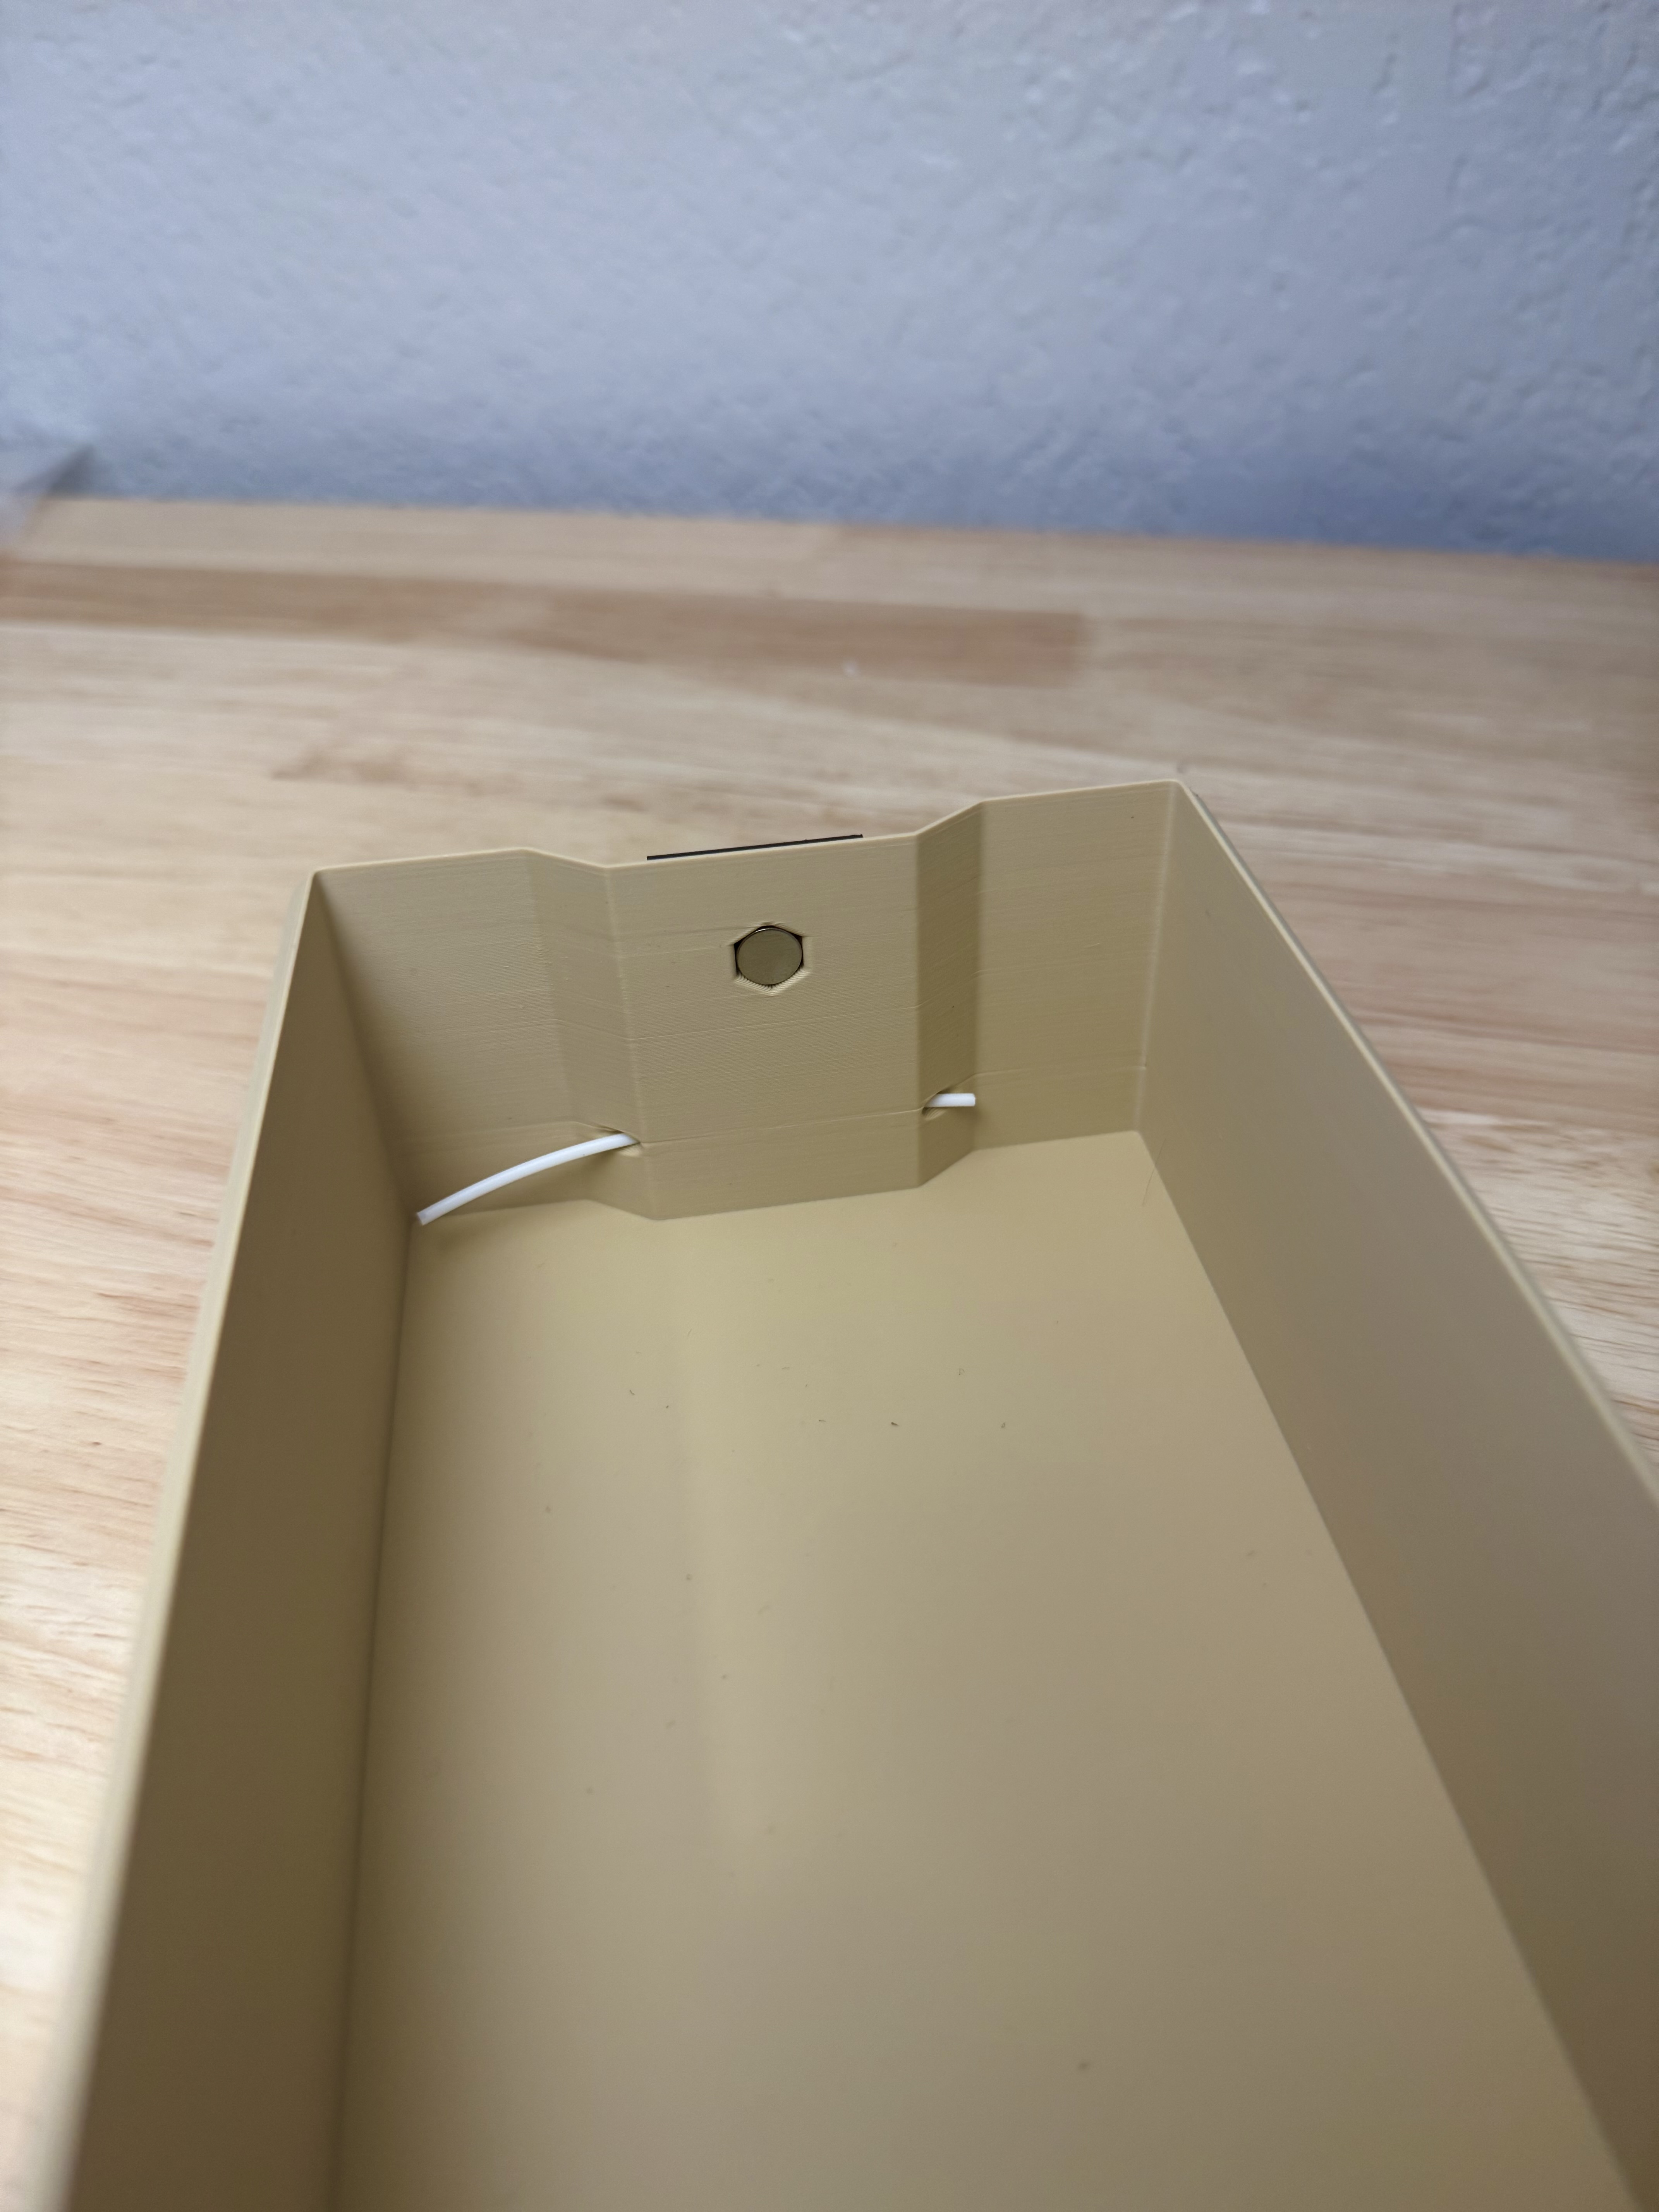
Now take your filament cut from the spool and push it through the hole found below the hexagonal hole for the magnet. It will go through the box, then through the clip alternating untill it comes out the other side of the box.
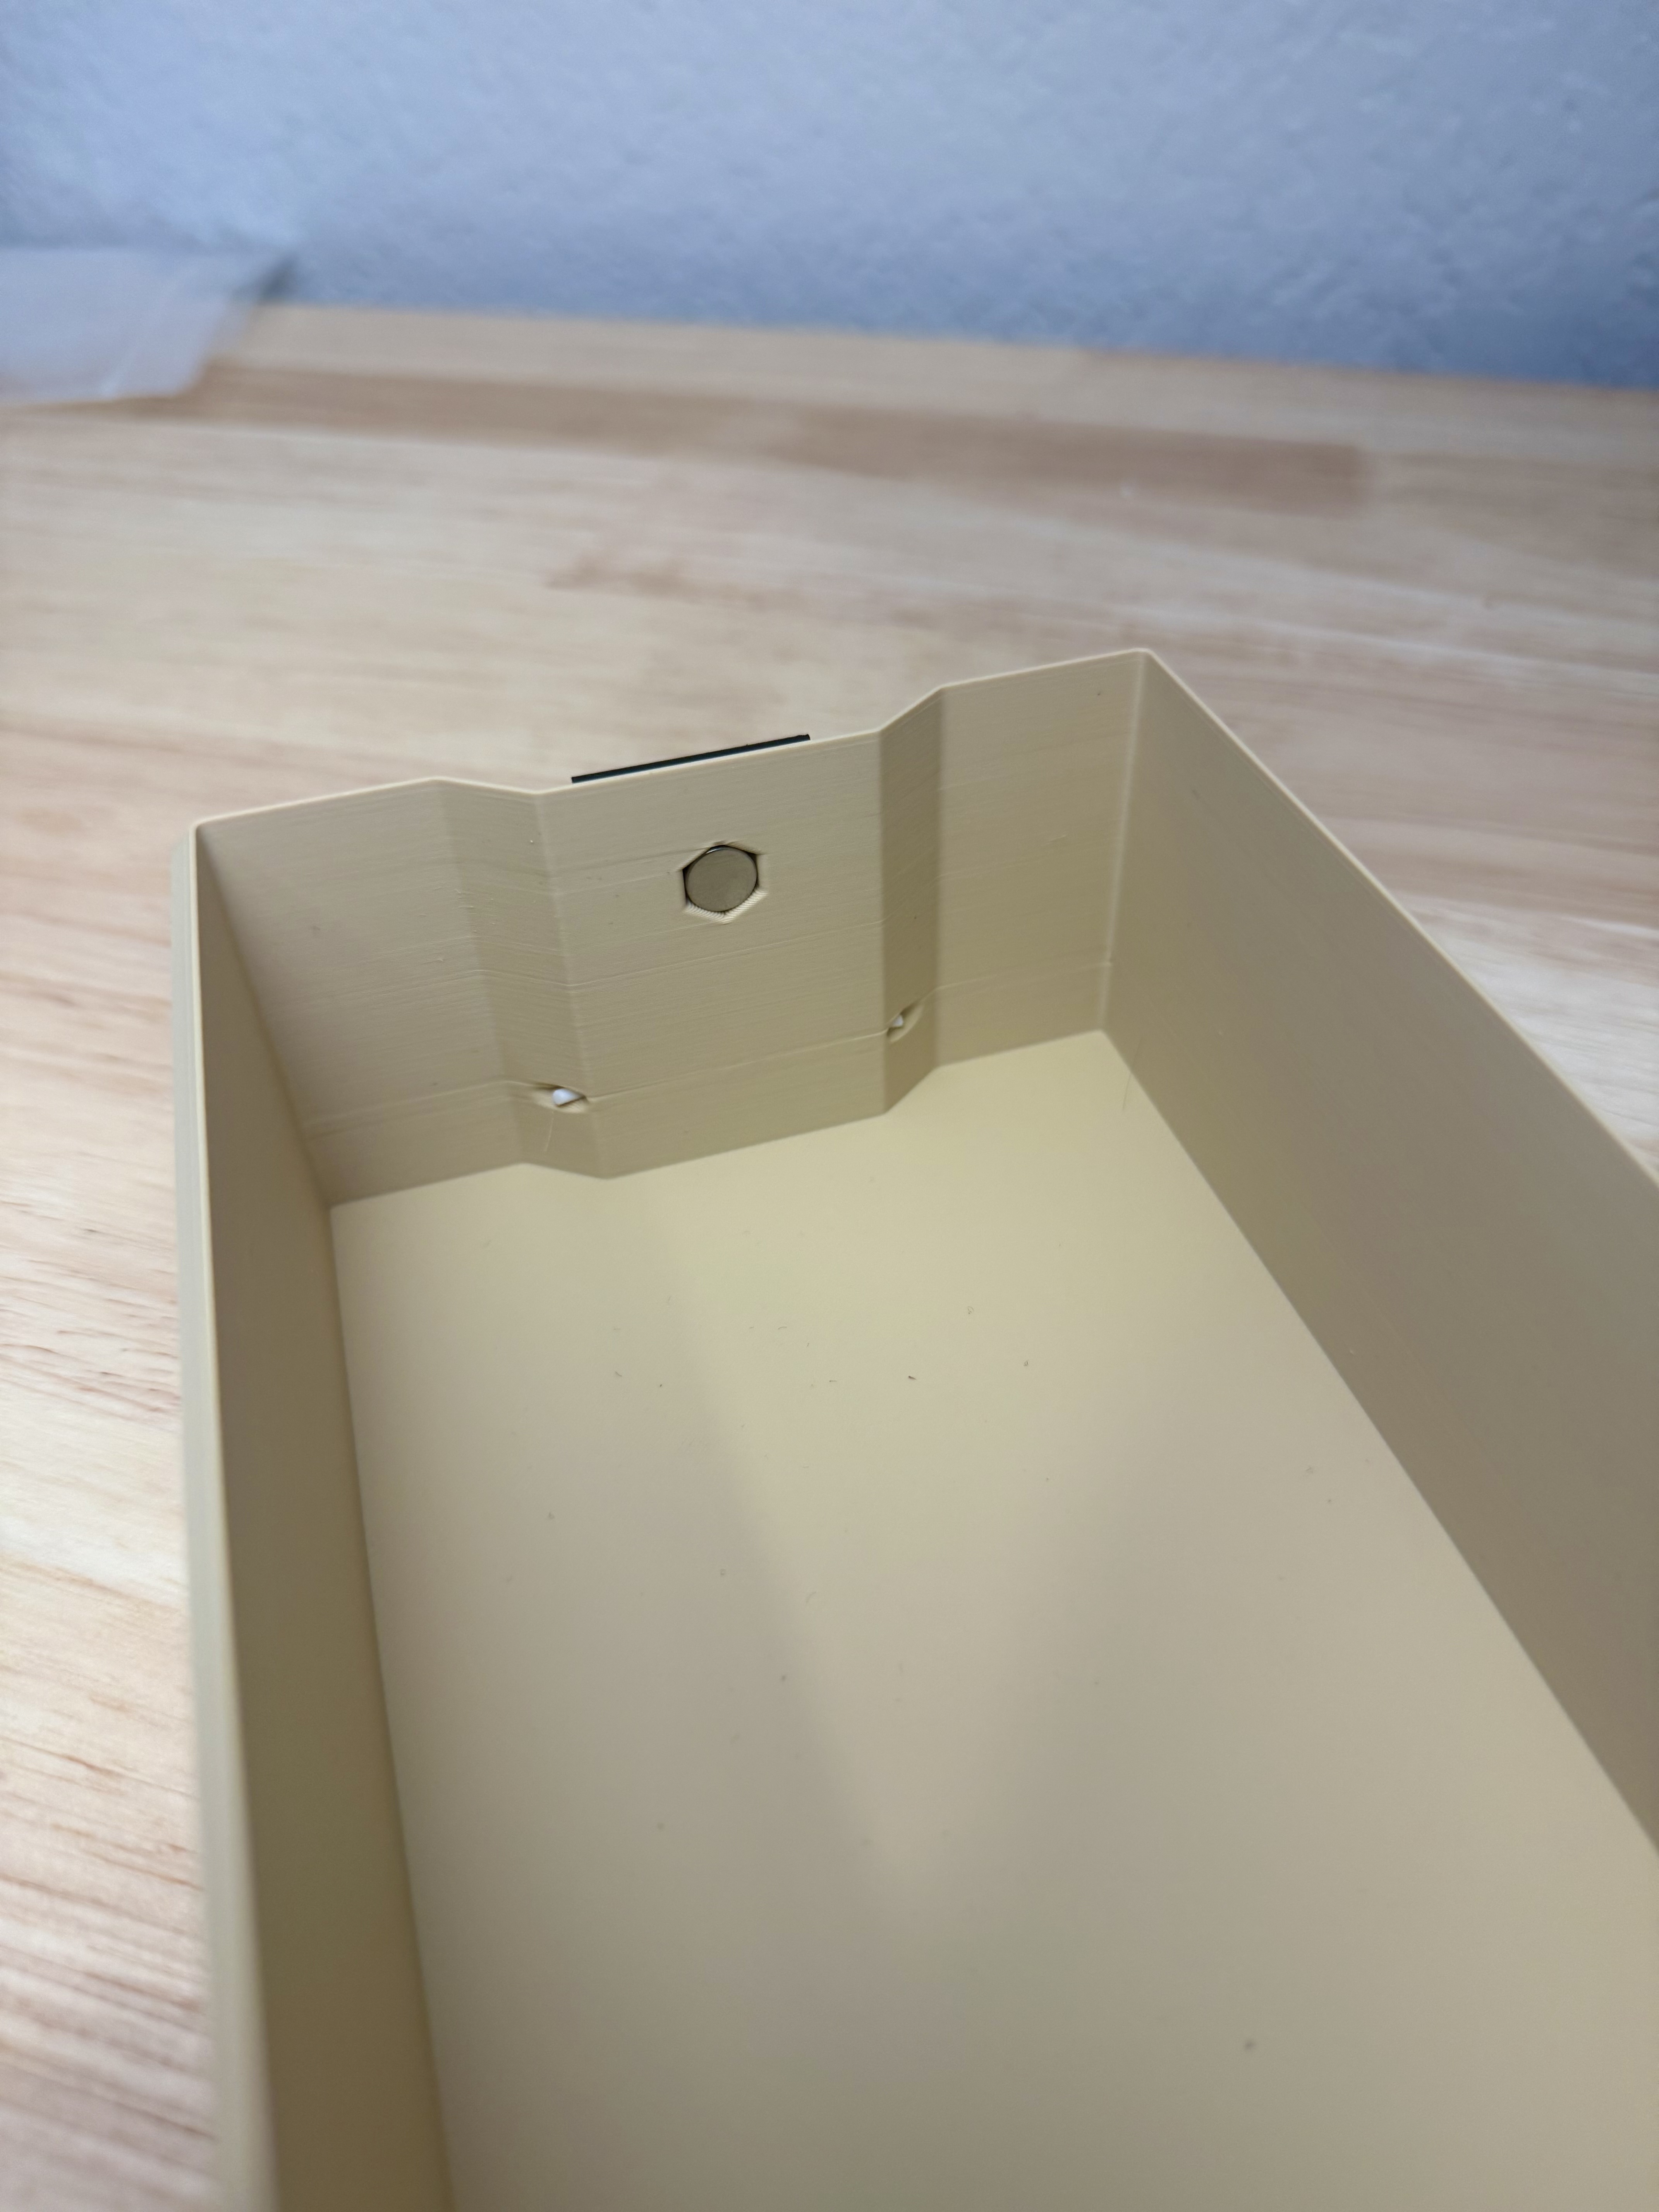
Finally trim the filament flush, it may be lose but this is okay. The lower organizational box will be holding this in place and keep it out of sight so you do not need to use any specific color filament as the hinge.
MistView - Universal Accessory Storage Boxes

Publicado em 31 de out de 2025
Gostou deste modelo? Crie uma conta grátis para salvar seus favoritos e voltar a eles depois.
Criar conta