Você está no 3DFinder
Buscamos em Thingiverse, MakerWorld e Printables ao mesmo tempo para te dar o melhor de cada uma.
Descrição
The Problem
Standard slicer settings space bridged filament with the same line to line distance as supported layers, but bridged filament printed in midair maintains a circular cross-section instead of being squished into an oval. This causes gaps between lines and poor surface quality. The following images, from Bambu Lab's Line Width page, help describe the problem.
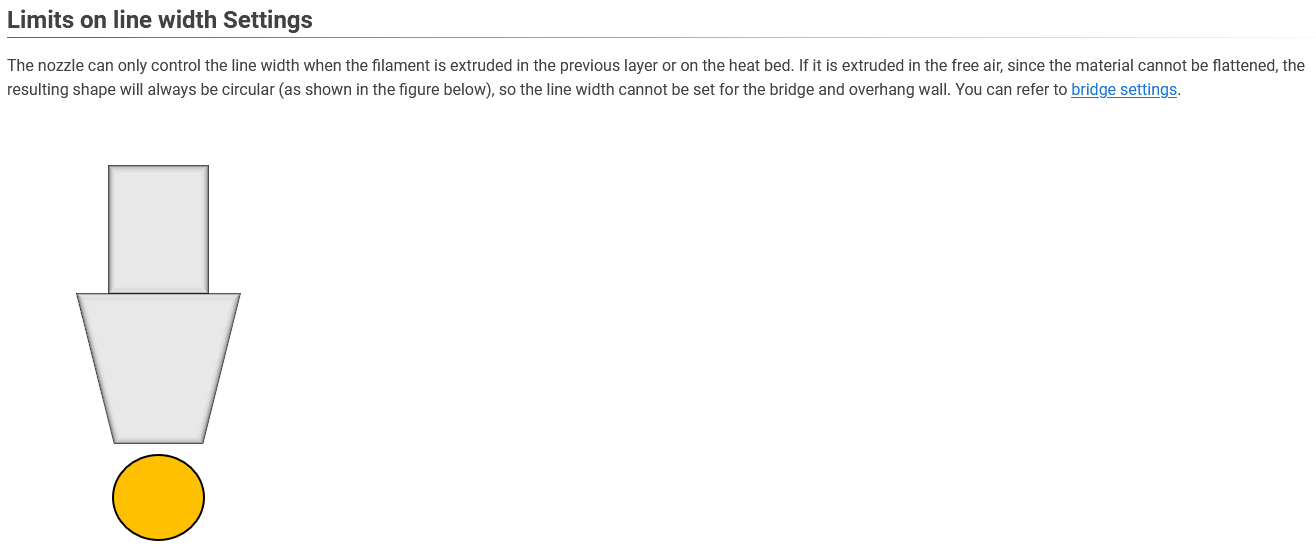
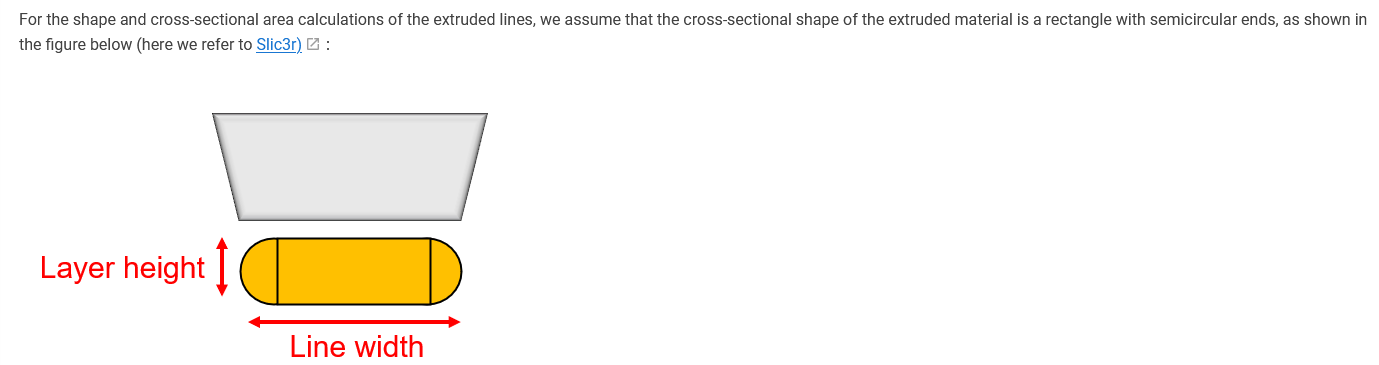
The Solution
Through systematic testing, I found that increasing bridge flow beyond the typical <1 range allows adjacent lines to bind properly. Combined with reduced bridge speed, this produces remarkably smooth bridges.
Hypothesis 1: If bridge flow is increased beyond 1.0, then extruded bridge lines will expand enough to contact adjacent lines, providing lateral support through inter-line adhesion rather than relying solely on anchor points at the bridge endpoints.
ACCEPTED
Hypothesis 2: If bridge print speed is reduced, then each extruded line will have more time to cool and solidify before more weight is added by further printing, allowing for better adhesion between adjacent lines and reducing sagging.
ACCEPTED
Hypothesis 3: If nozzle temperature is decreased, then bridge line sagging near the model corners will decrease because less heat will need to be dissipated while the lines are being printed.
REJECTED
Hypothesis 4: If the bridge direction is rotated so that initial lines span a shorter distance, then each subsequent line will have a more rigid structure to bind to, reducing overall sagging.
REJECTED
Hypothesis 5: If bridge flow is reduced for bridge lines placed on walls, then the sagging and distortion of bridge lines near the corners will decrease.
ACCEPTED
Optimal Settings Discovered
- Bridge Flow: 1.5
- Bridge Speed: 10 mm/s
These settings work together to give the filament time to cool and adhere while providing enough material for proper layer bonding.
Test Results Featured on YouTube
This project includes comparison prints showing progressive adjustments from standard settings to optimized parameters. You can see the dramatic improvement in surface finish.
Open Questions - You can make a contribution here
Many commenters have asked some excellent questions that I do not know the answer to. I thought that I'd put them here just in case someone has the ambition and time to explore these, and add to this body of knowledge. They will be numbered, so that if you do decide to attempt an answer you can cite it in your comment.
Open Question (OQ) 1: -What is the limit of bridge length with these parameters? When does quality begin to decrease?-
Answered (mostly, because we maxed out our print volume): @Criticalprint3d demonstrated a 300mm bridge with Bridge Flow 2, Bridge Speed 10 mm/s.
I replicated this with BF 1.5 and BS 10 and using the test model that he designed.
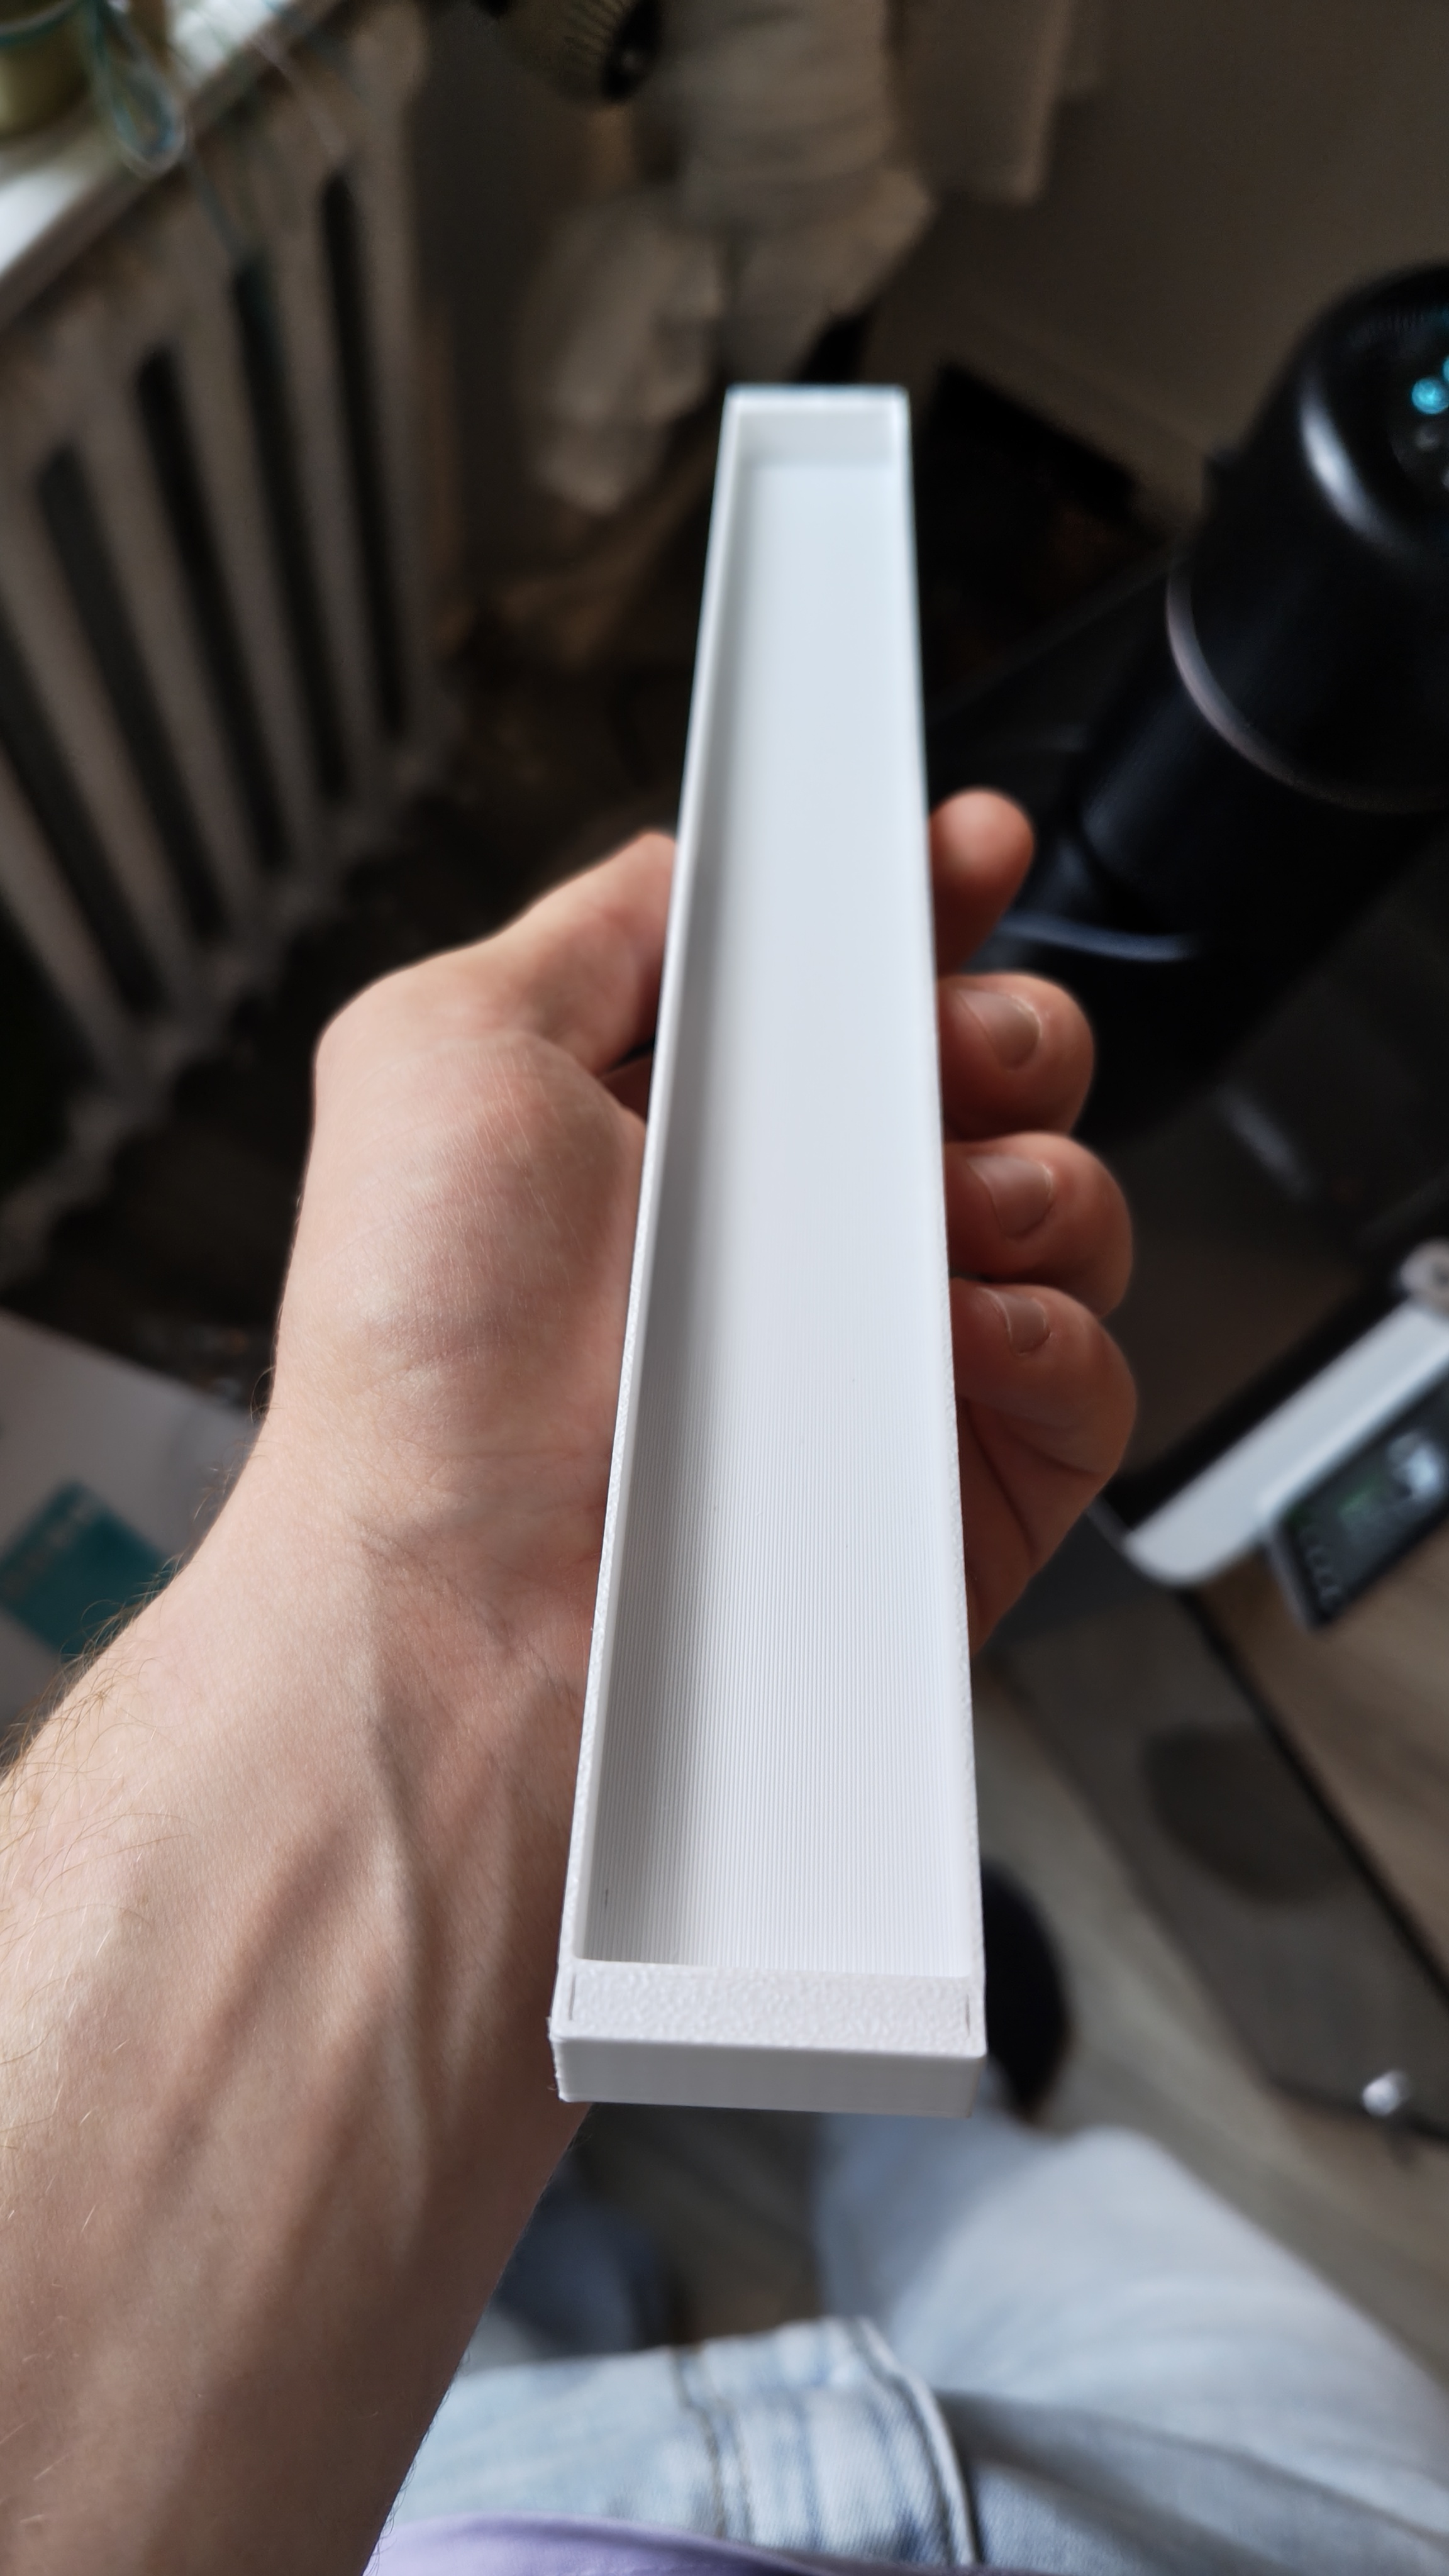
OQ 2: What are the performance results for Bridge Flow values below 1, with slower speeds?
OQ 3: How do different fan speeds effect bridge quality? These tests were performed on an X1C with a 0.15A fan at 100% for the entire print, and auxiliary fan at 80%. Which, may not perform as well as some of your printers (Ember Prototypes).
OQ 4: Can you increase the quality of the bridge (reduce sagging) by increasing the amount of filament in contact with the wall in the form of wall anchors, step over, or just larger walls?
Notes on Test Piece Design
Overall Dimensions = 61mm*61mm*5mm
Inner Bridge Dimensions = 45mm*45mm*4mm
Design FAQ:
- Why is the border 8mm? Because this leaves enough room for 6mm text. The text allows for tracking of test iterations.
- Why is the print profile the default one? This was left as is, because it reduces the number of confounding variables when conducting the experiments.
- Why is the part 45mm? This is based on the Bridging Test model from marternh. The Bambu X1C consistently produces great bridges at this length, and the number of quality issues, like bridge anchor snapping, or extreme sagging increase as the bridge length increases.
- Why is the Inner Bridge dimension 4mm, why not 1 or 2mm? Heat from the bed or turbulence from the part cooling fan can cause interference with bridging at these heights. So, to be safe, the height was increased until no heat interference was detectable on the bridging layer.
- Why are the corners rounded? Because this test piece was designed as a model for an overhang that I was optimizing on a more complex part. That part had rounded corners.
Unsupported Bridge Experiments

Publicado em 23 de out de 2025
Gostou deste modelo? Crie uma conta grátis para salvar seus favoritos e voltar a eles depois.
Criar conta