Você está no 3DFinder
Buscamos em Thingiverse, MakerWorld e Printables ao mesmo tempo para te dar o melhor de cada uma.
Descrição
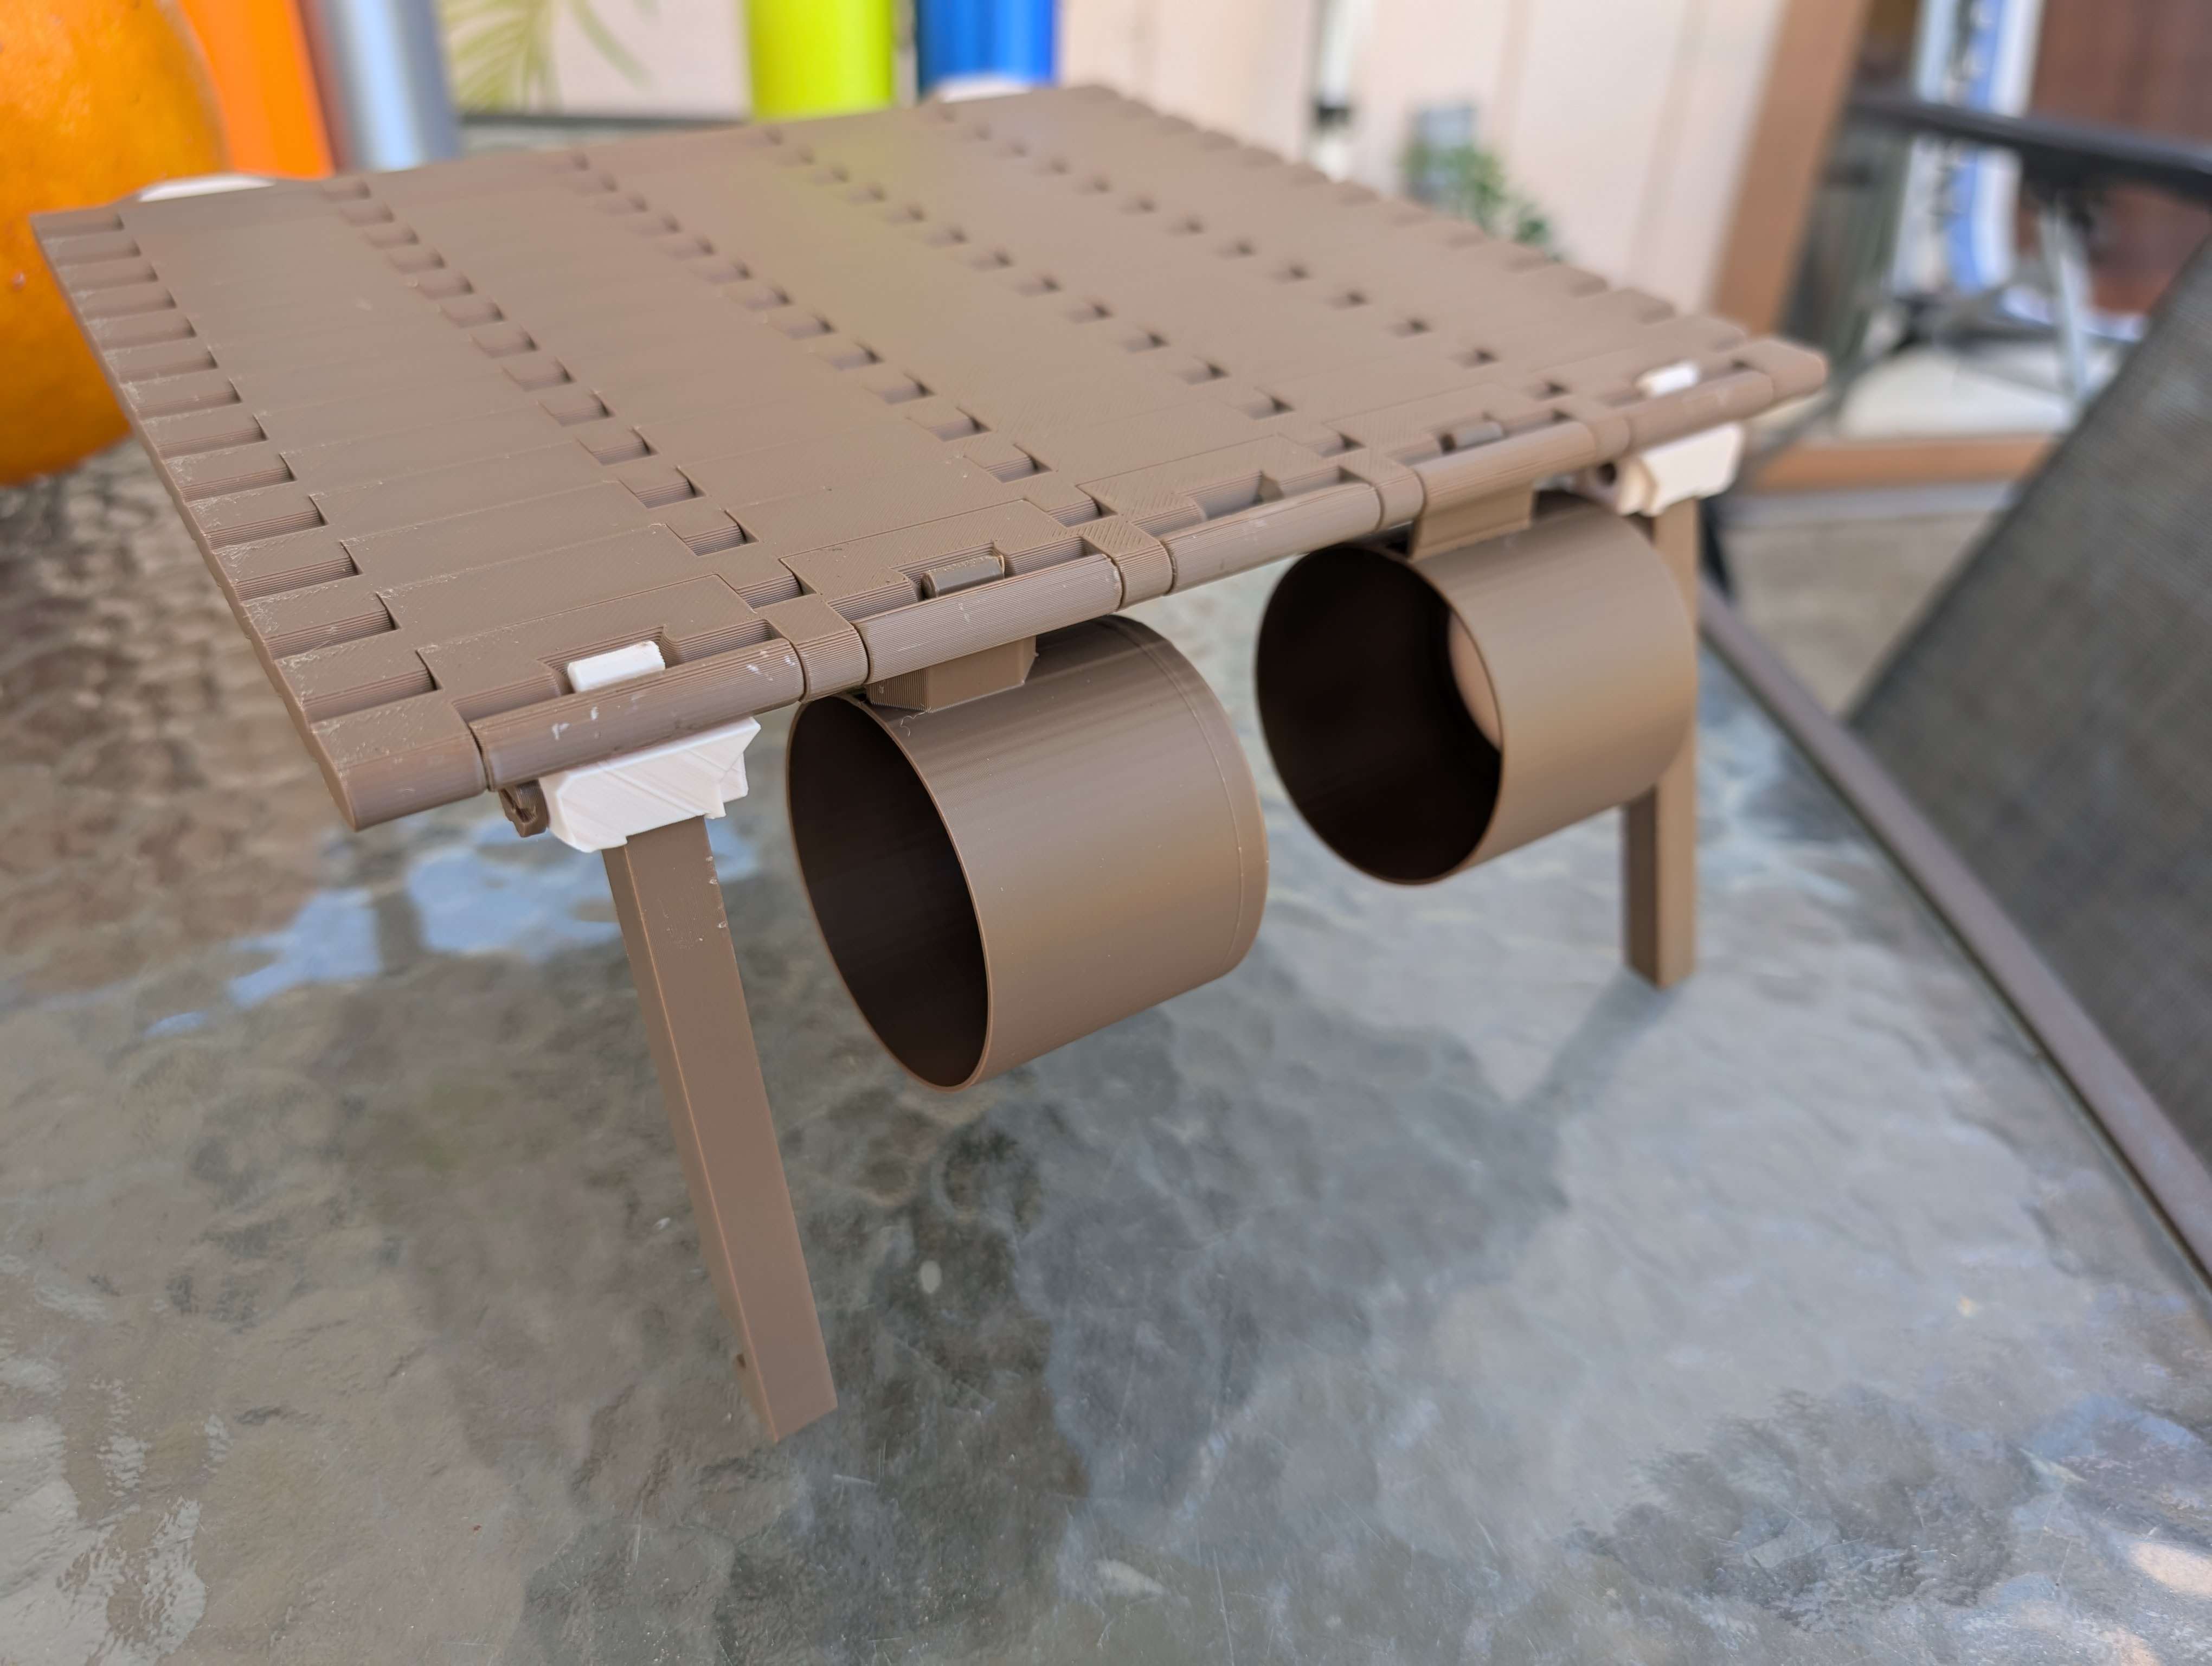
Portable Rollup Table V2
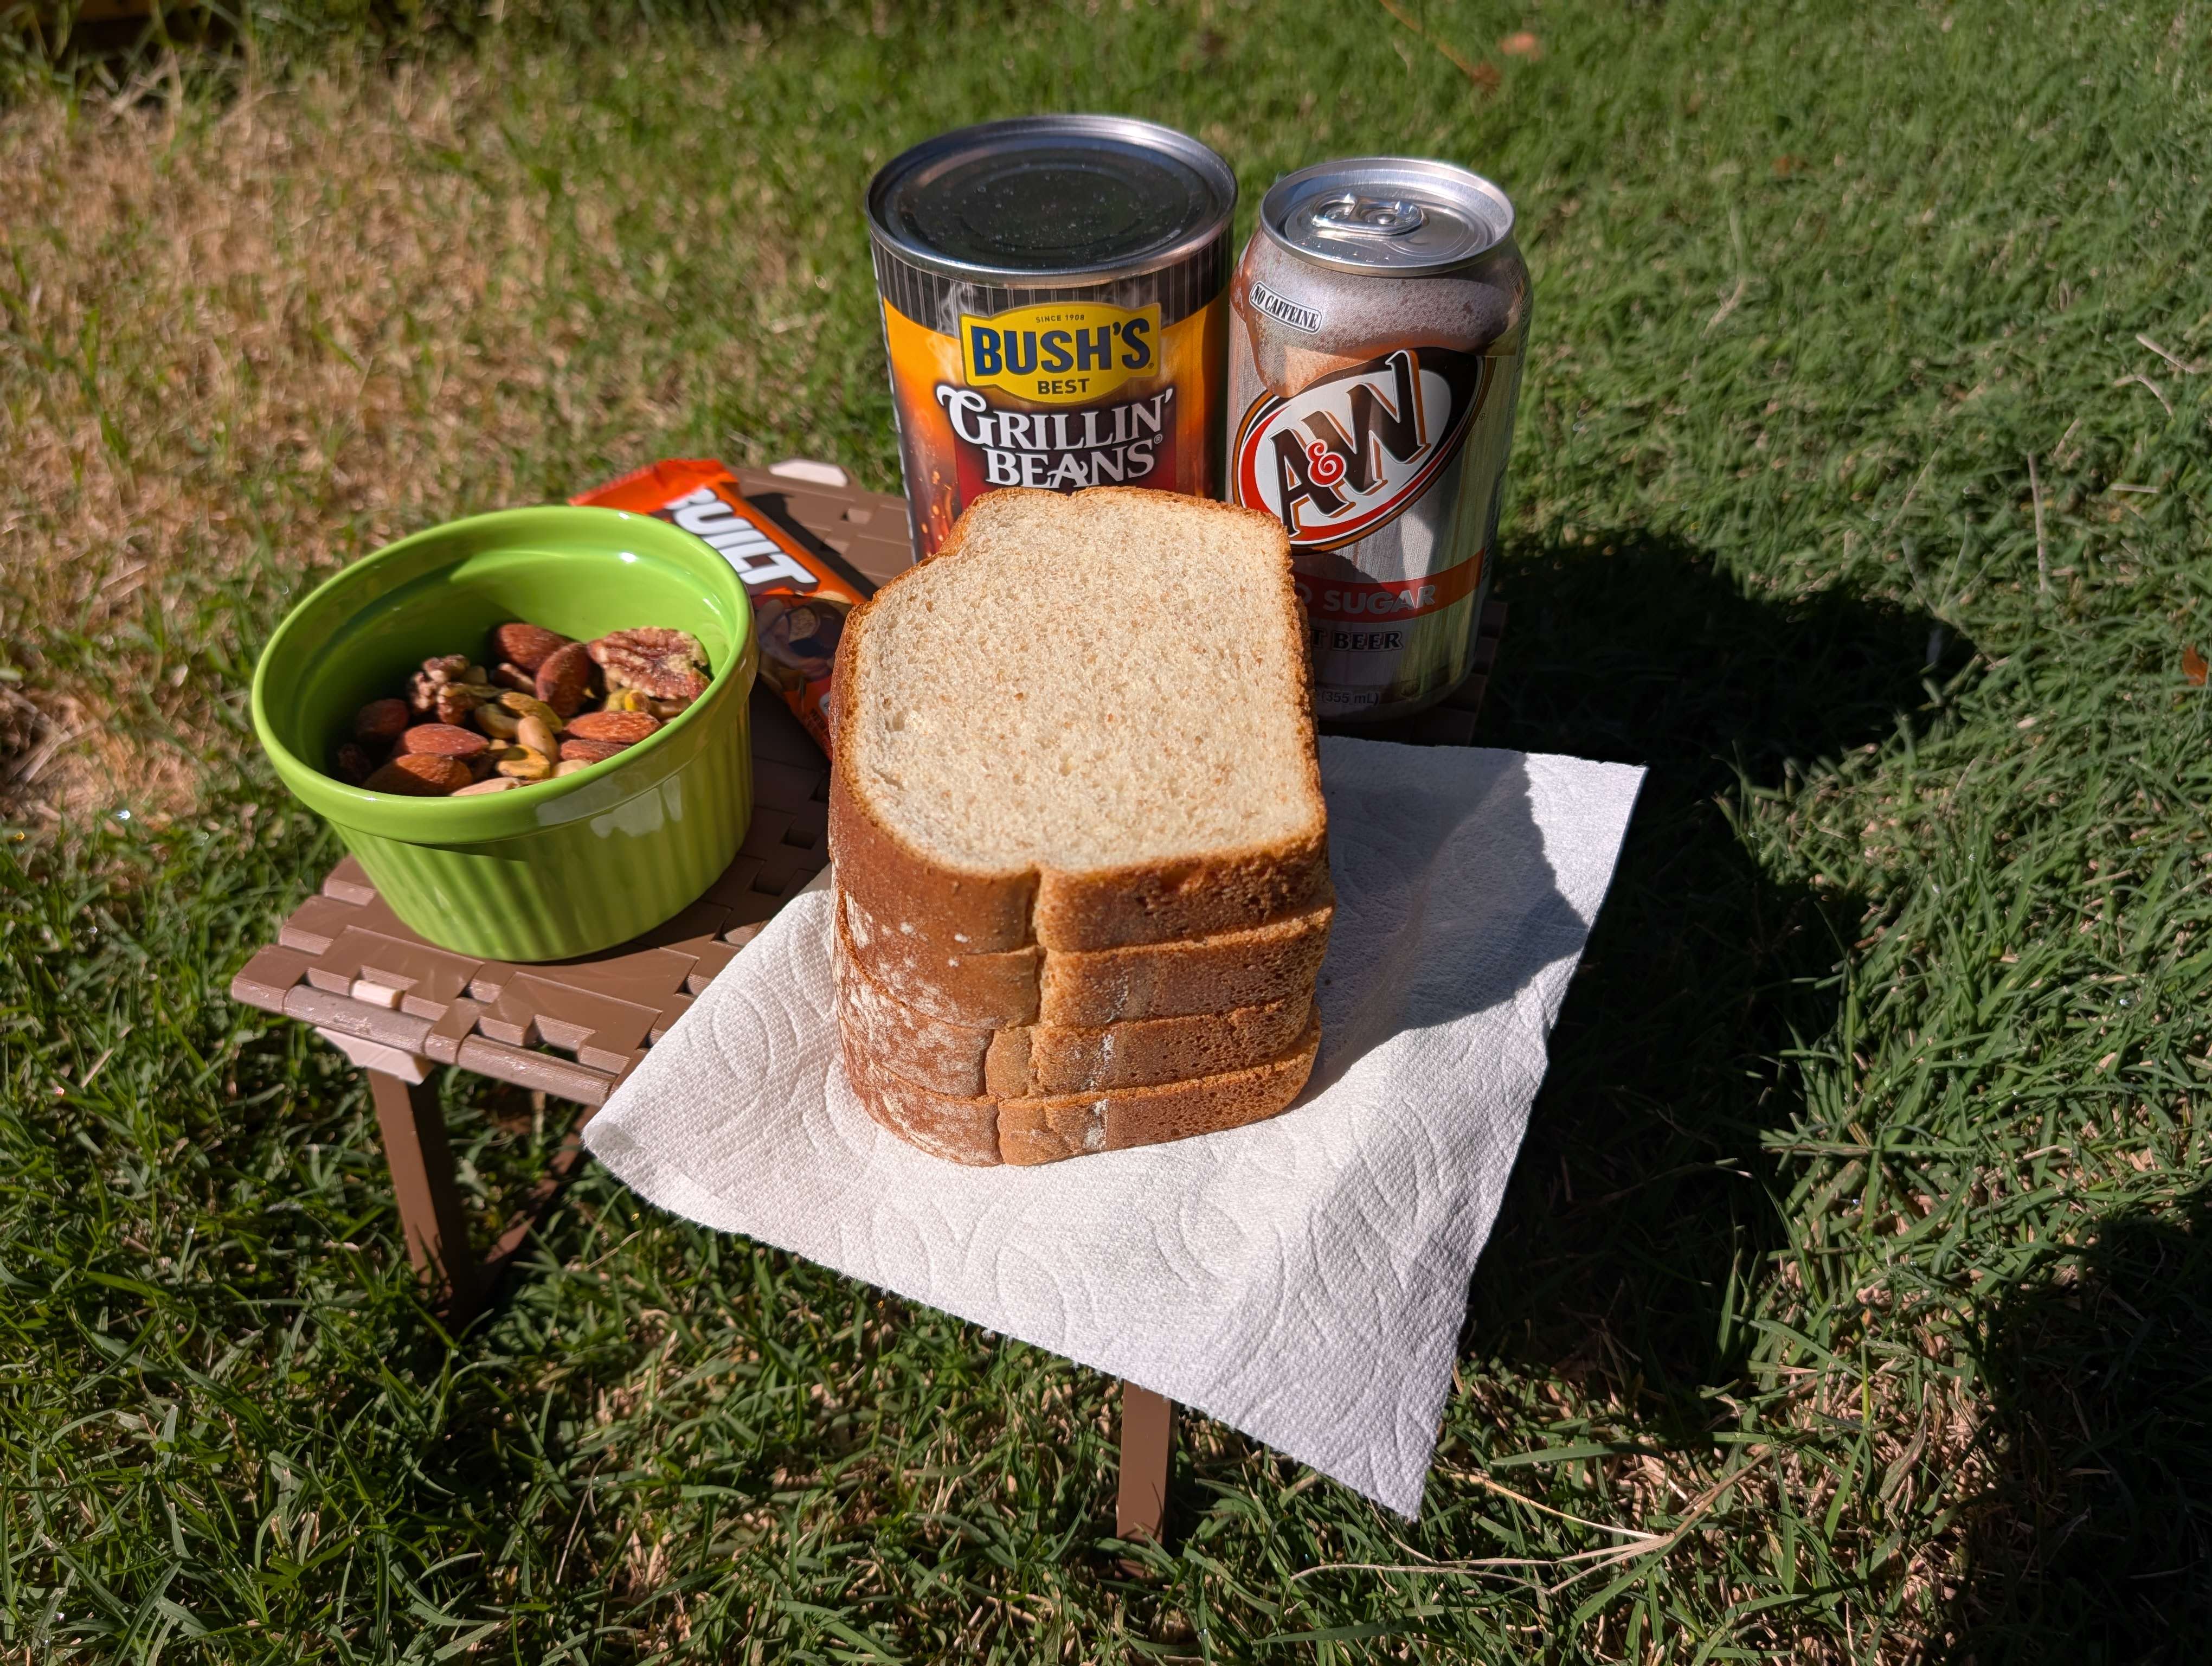
Now with more Bread
Purpose:
Have you ever found yourself hiking, camping, or just is some random field and its time to eat? Well, this table is perfect for you. Weather you're eating or just want to keep your stuff off the dirty floor Portable Rollup Table V2 takes all the functionality of the v1 version and takes it to the next level. With a 225x245mm table to the table top it bigger and stronger. Finally you get all this and 3 whole ways to store it Flat Pack, Half Pack, and, Full Pack.
About:
This is the next revision in my Rollup Table line up. Bigger, Stronger, and more stable this table takes you're feedback and fixes many drawbacks of the previous design. There is now 3 ways to store this table; Flat pack, Half Pack, Full Pack. They are all in separate print profiles so there's no guessing on what to print. Along with that, when stress testing the table easily held 40 lbs.(18kg) when printed with PLA.
Updates:
3 storage solutions are included
Joint walls are thicker so they won't separate
The table top is strong enough to act as a cross brace
The table top can now hold 40 lbs (18KG)
All screws will easily screw in
- table top only rolls one way for strength
Storage Solutions

Flat Pack.
- Legs fold in and stabilizer bars clip into the table top.
- Takes up the least thickness.
- Great for inside of backpacks.
Half Pack.
- End caps clip on then table top rolls around it. Then, Legs and stabilizer bars fit inside.
- When table is in use you can clip the End caps on under the table
- You can tie a rope through the lid and hang it from your backpack.
- Basically a low filament container
- Fits in the bottle slot on a backpack
Full Pack.
- Table top rolls up and everything fits inside case.
- Two sides screw together
- Great for keeping your table clean if your hiking in the rain or your back pack is just dirty.
- Fits in the bottle slot on a backpack
Instructions:
Print settings:
- All the print settings are already set in the print profile
- PLA is strong enough but if your using it in hot places PETG will be better.
- If your printing on another printer make sure there are no supports on the table top.
- End caps only need support in critical locations
- .2 layers
- 15% infill
- 2 wall loops
Assembly:
Step 0.
Remove supports and roll the table top to loosen the joints.
Step 1.
Use a coin or a flat head screwdriver to screw legs together.
Flatter side goes in the inside.
Step 2.

Press the legs into the table top.
Step 3
Support bars clip on to the top of the legs.
These bars are used on the Flat Pack and the Half Pack.
Step 3.1
Support bars clip in to the notches on the bottom of the legs.
Used on the Full Pack
Flat Pack:

Legs fold in and stabilizer bars clip into the table top.
Half Pack:
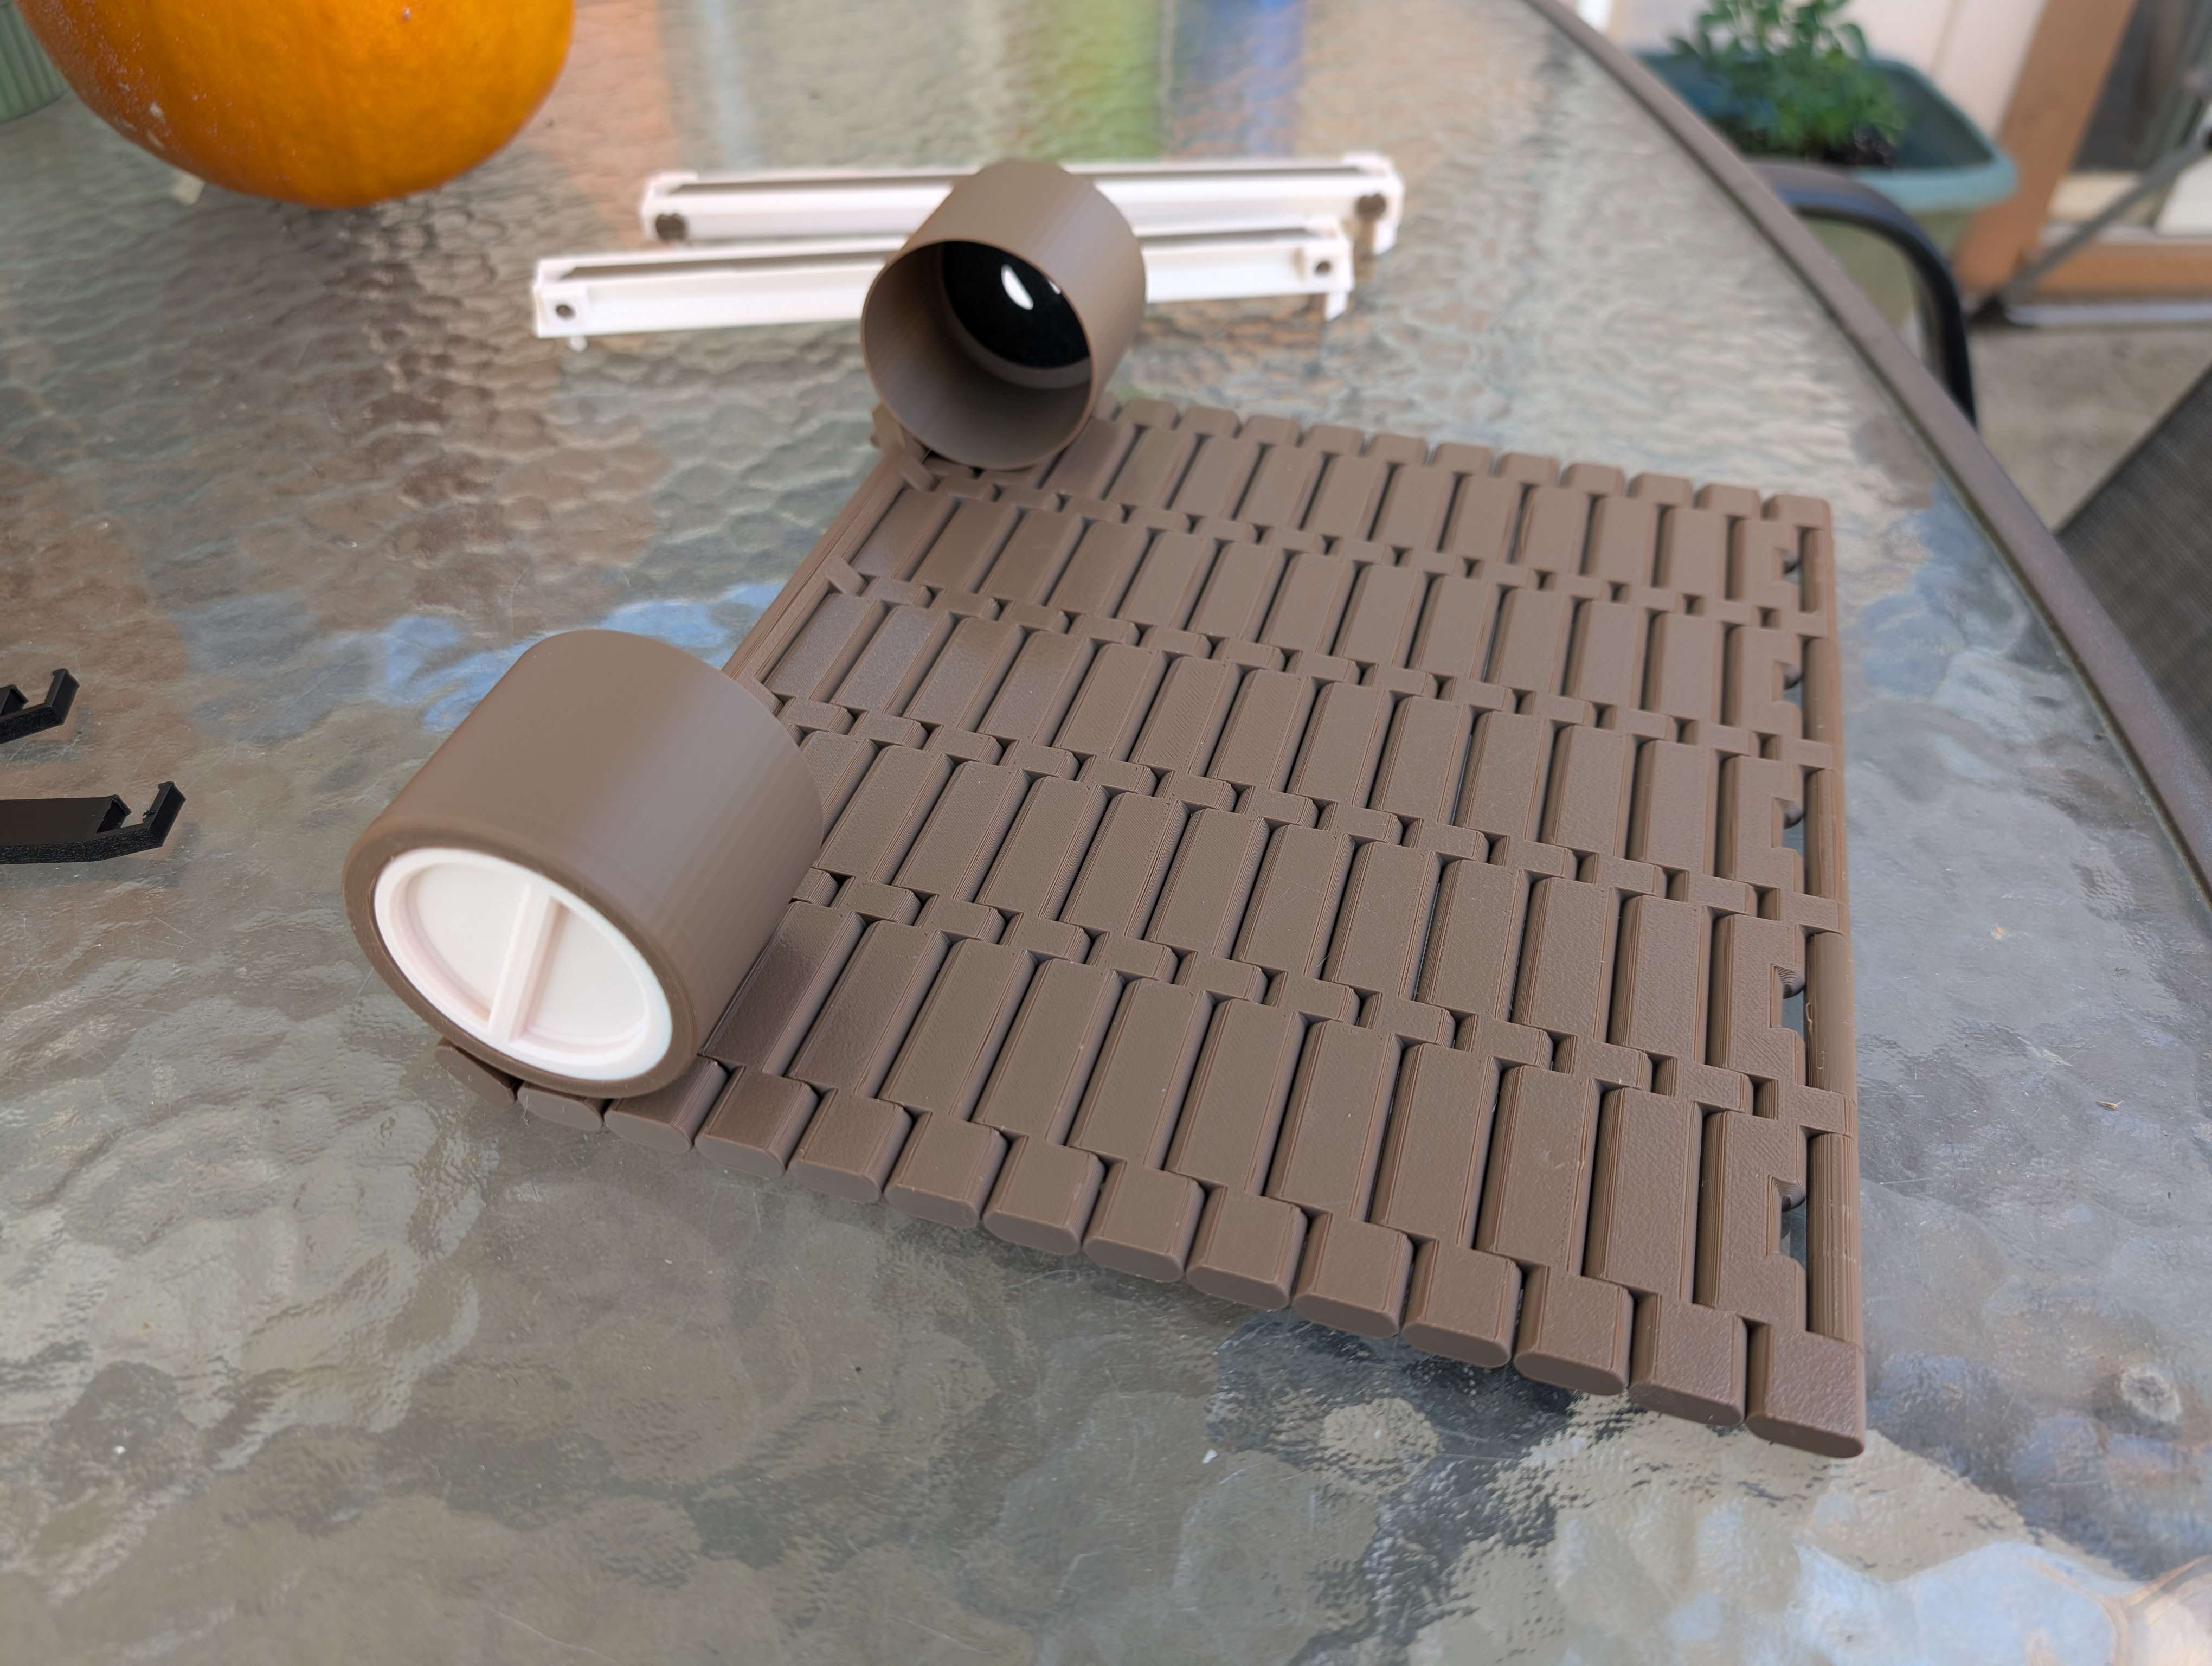
End caps clip on then table top rolls around it.

Then, Legs and stabilizer bars fit inside.
When table is in use you can clip the End caps on under the table
Full Pack:
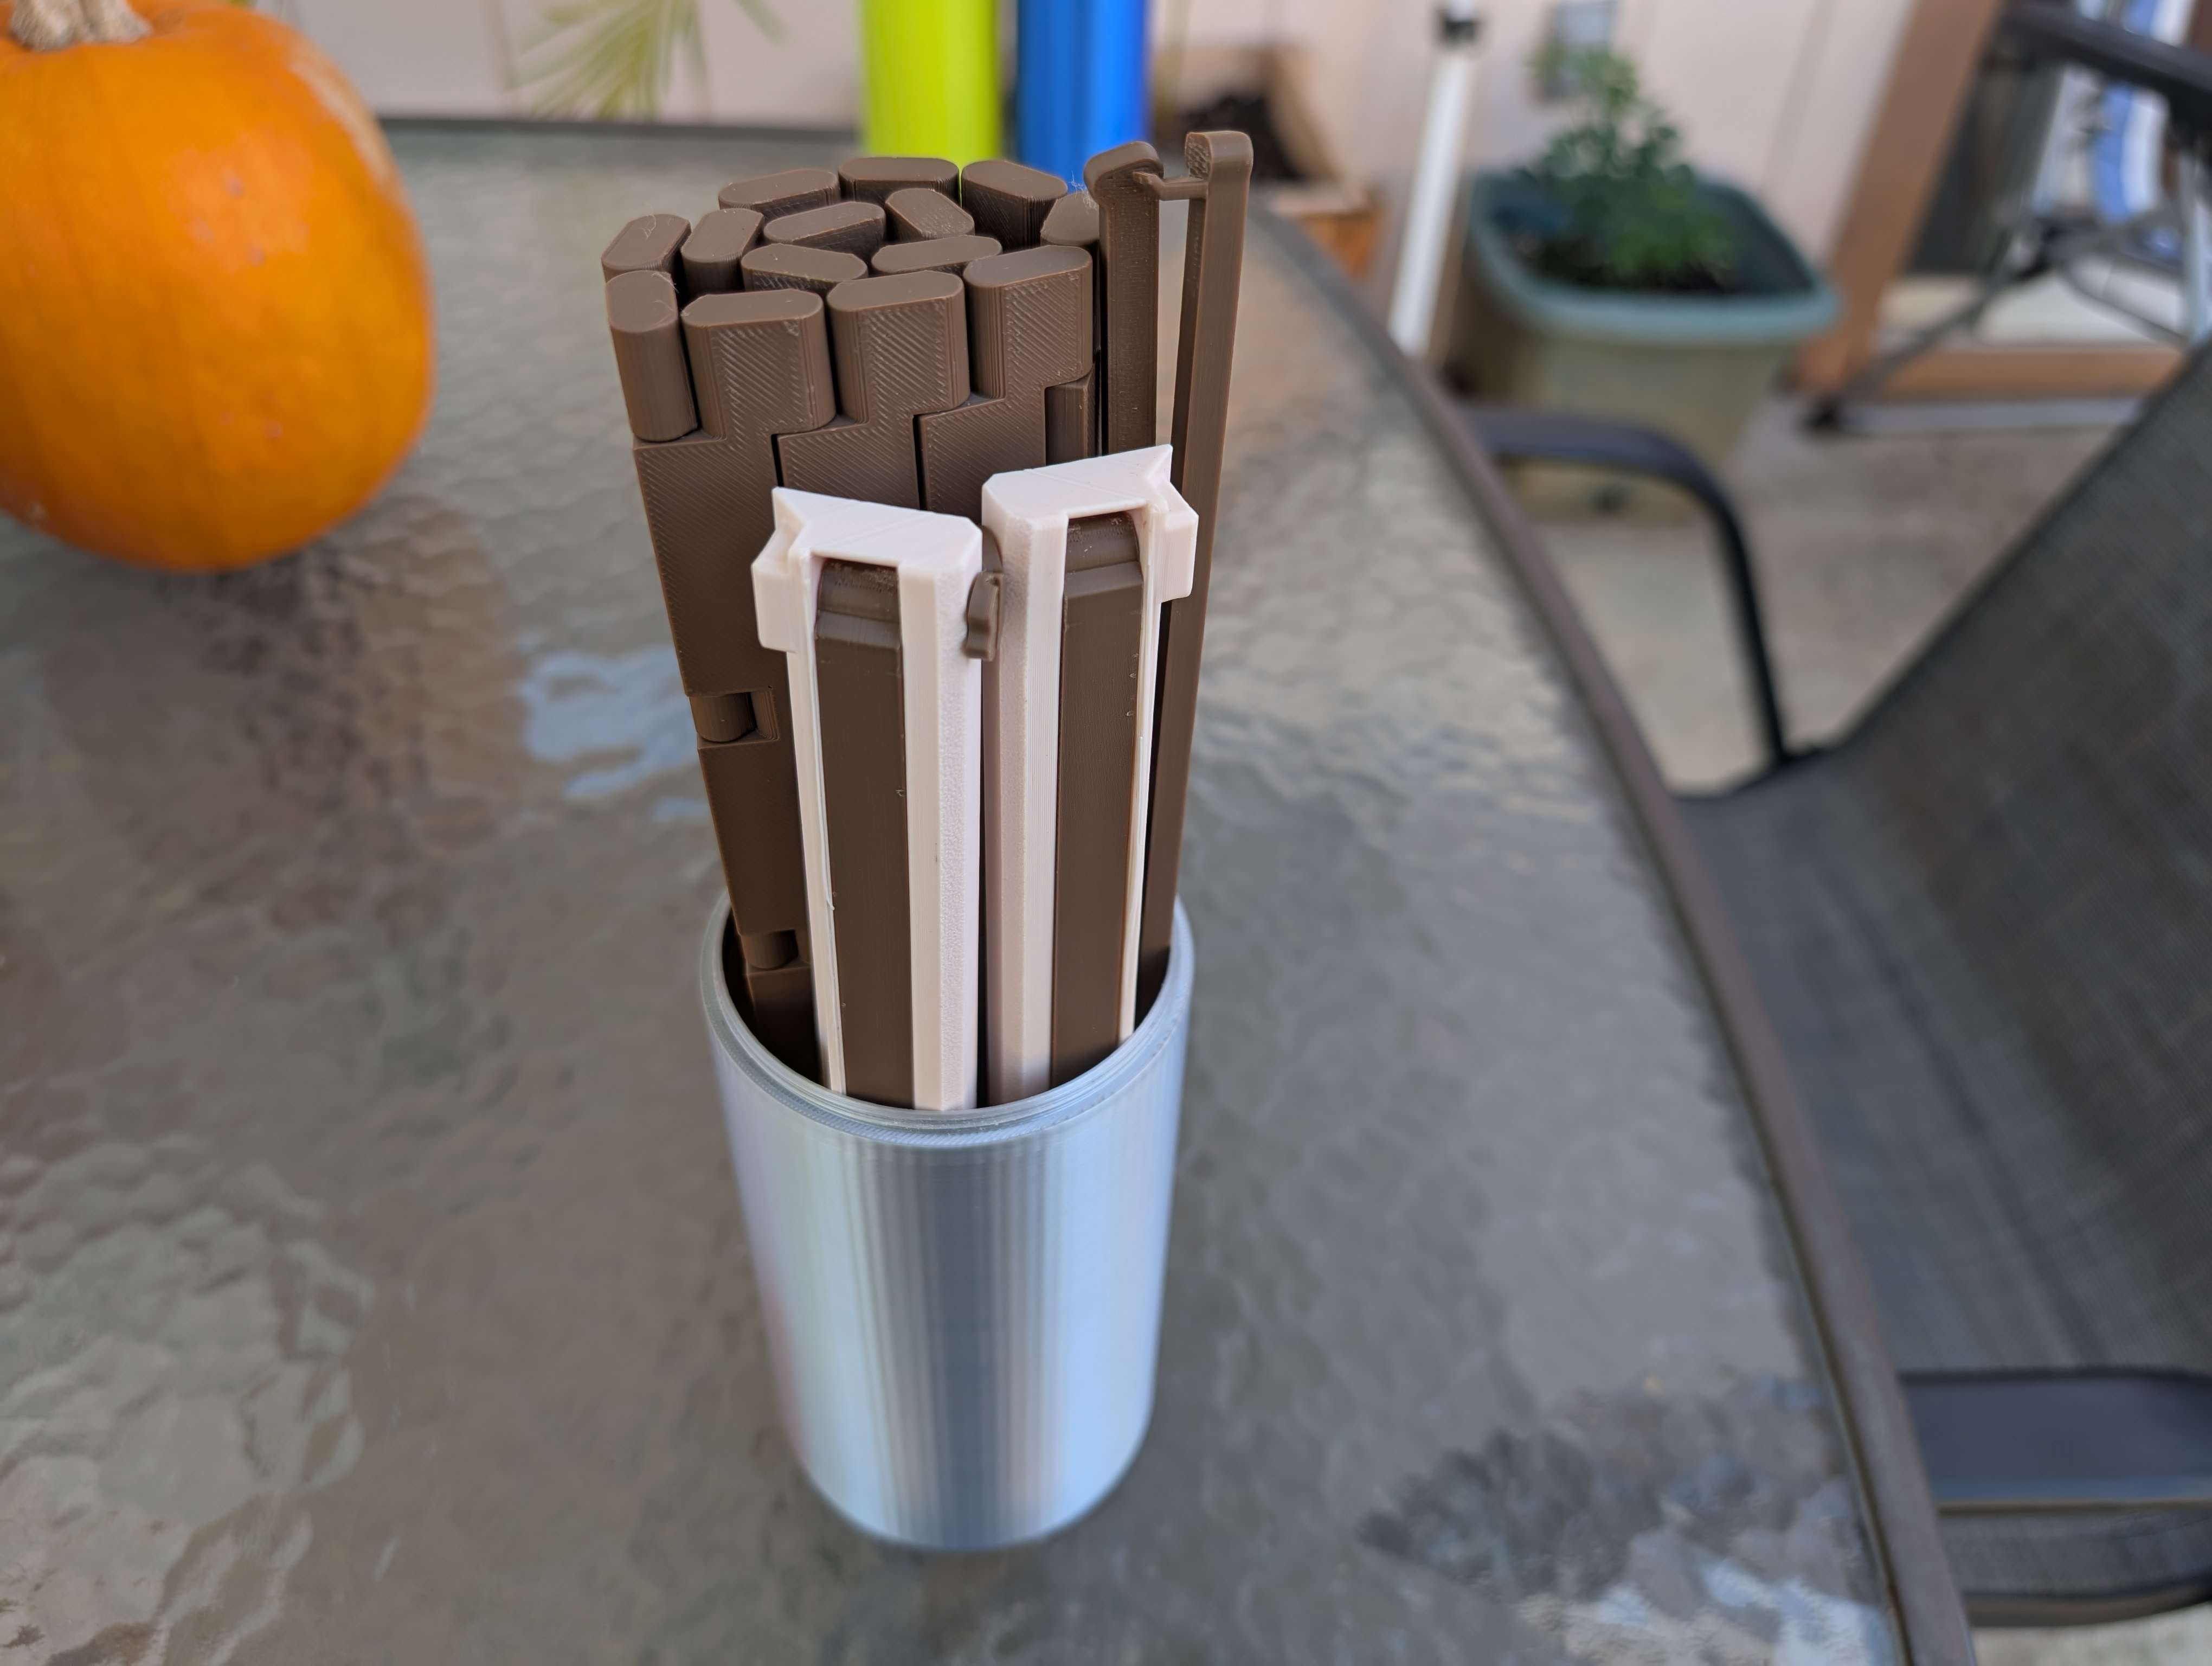
Table top rolls up and everything fits inside case.
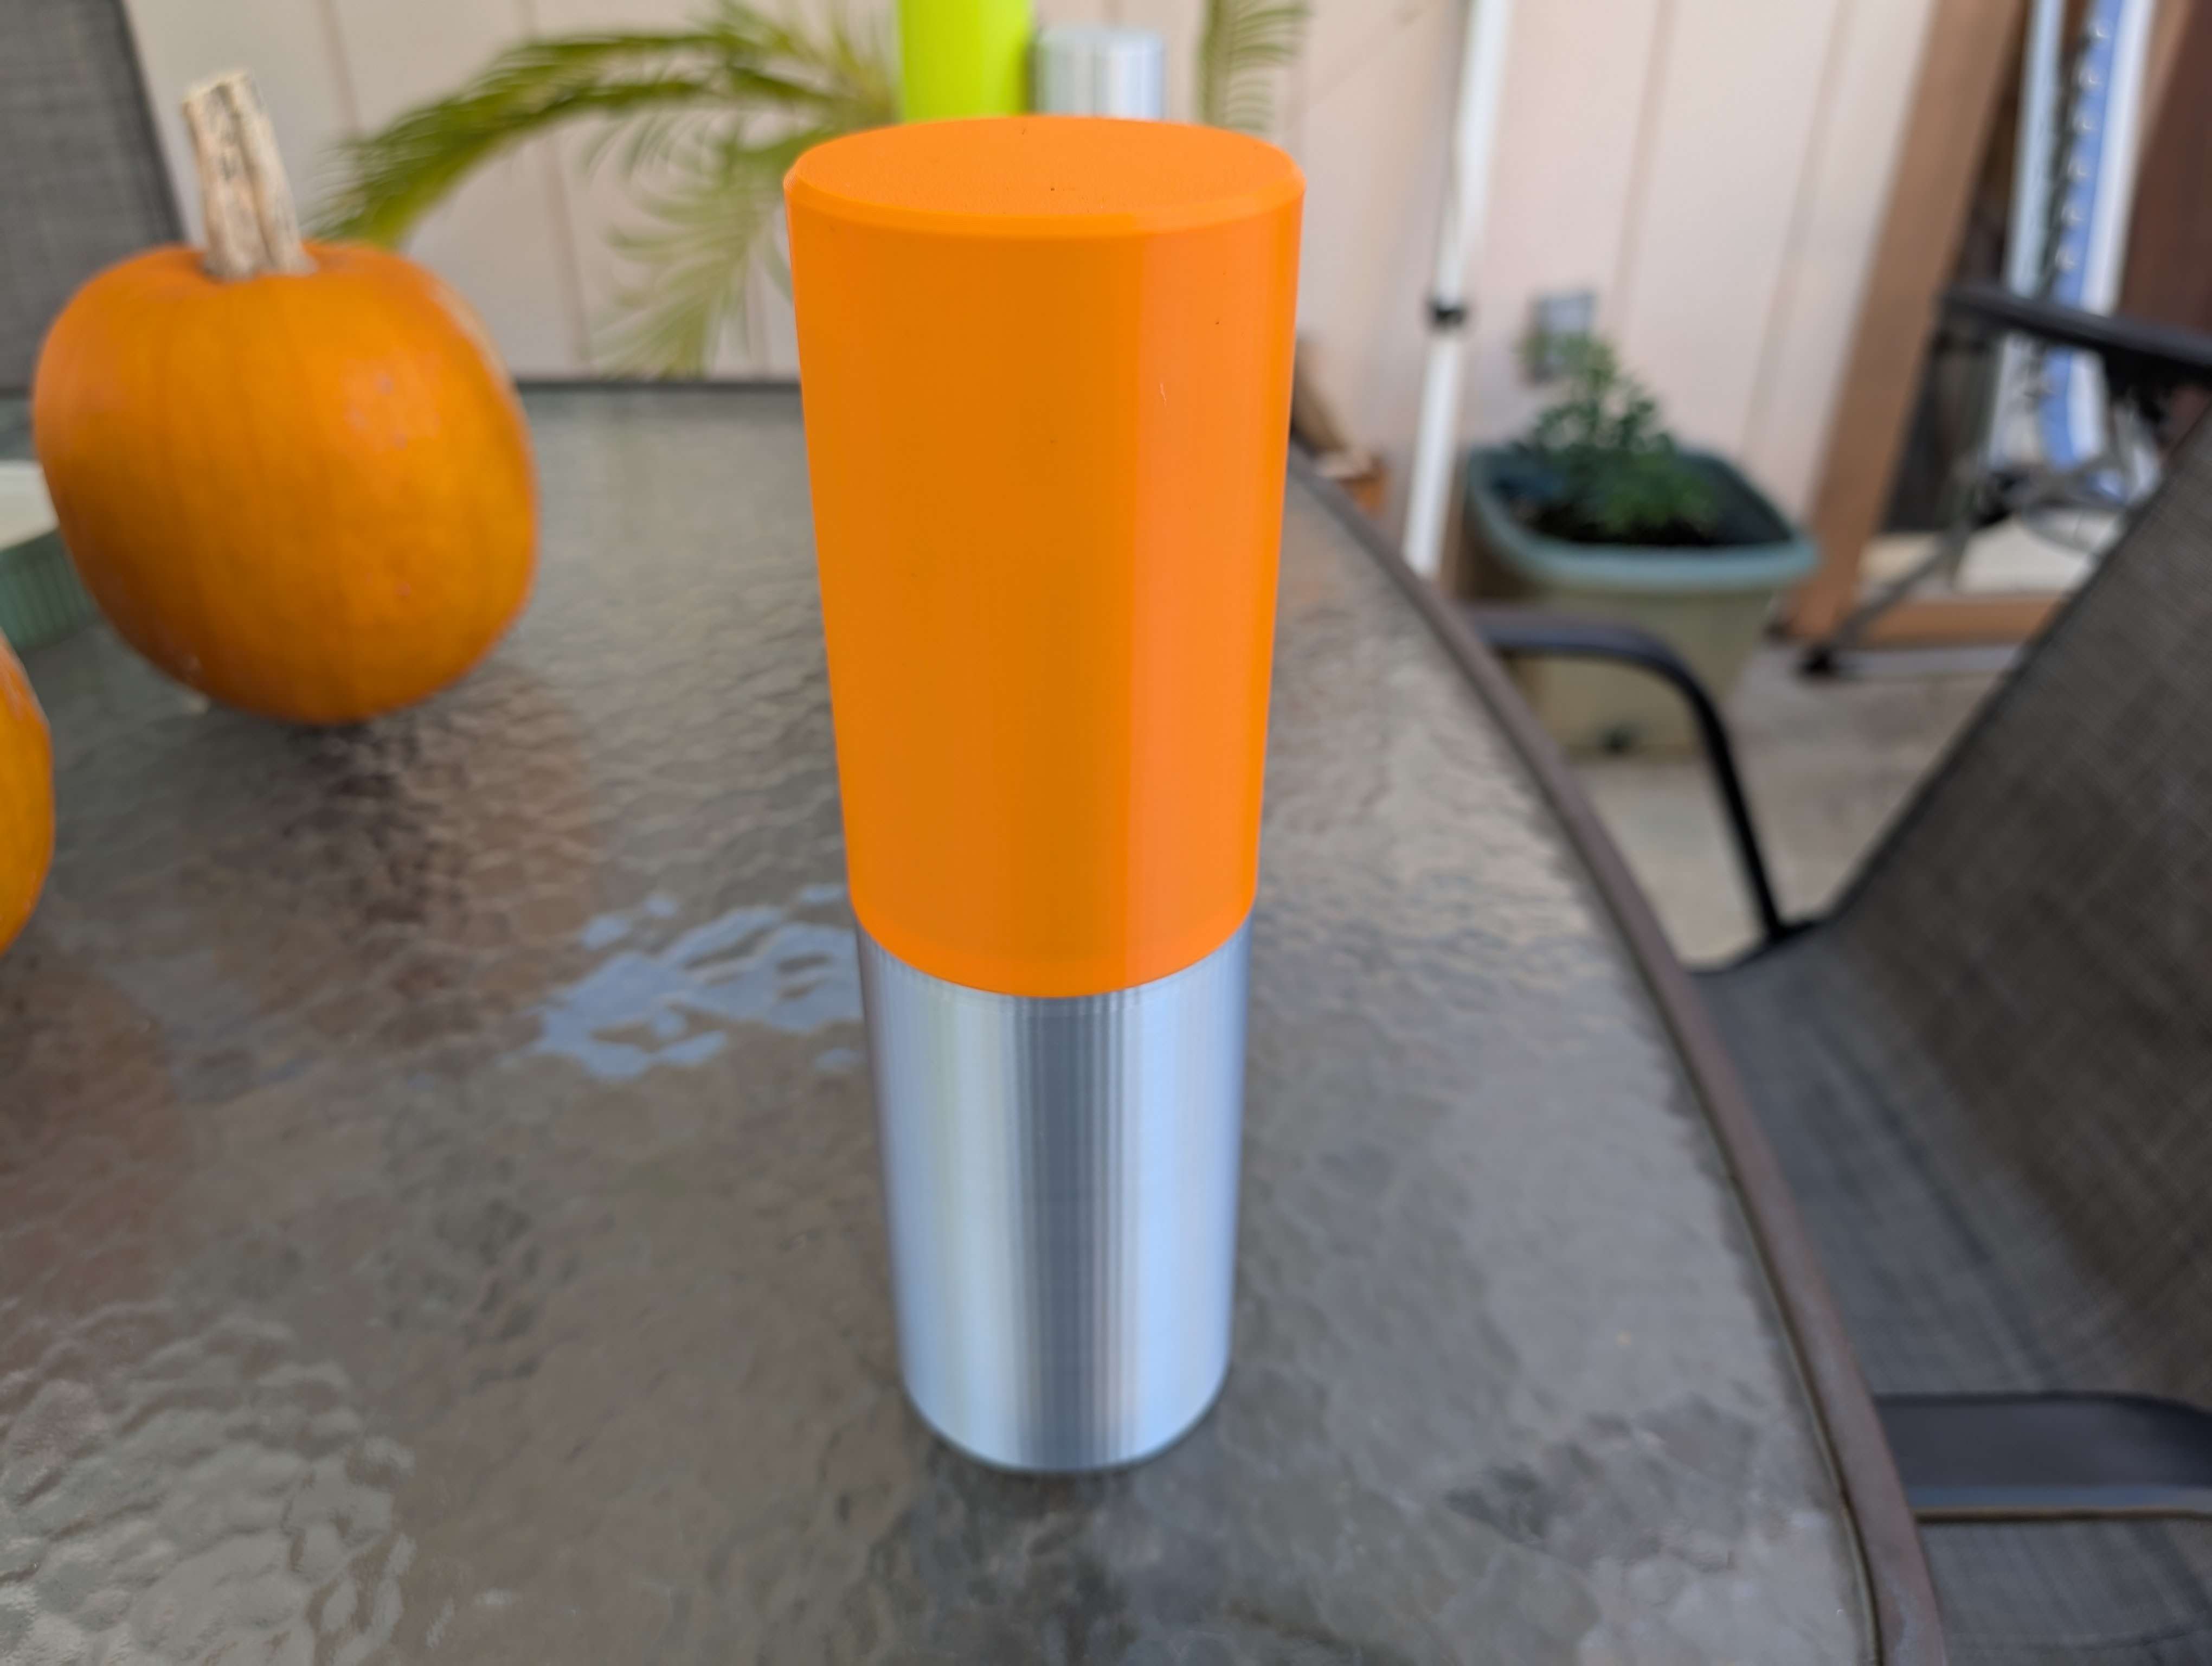
Two sides screw together
