Você está no 3DFinder
Buscamos em Thingiverse, MakerWorld e Printables ao mesmo tempo para te dar o melhor de cada uma.
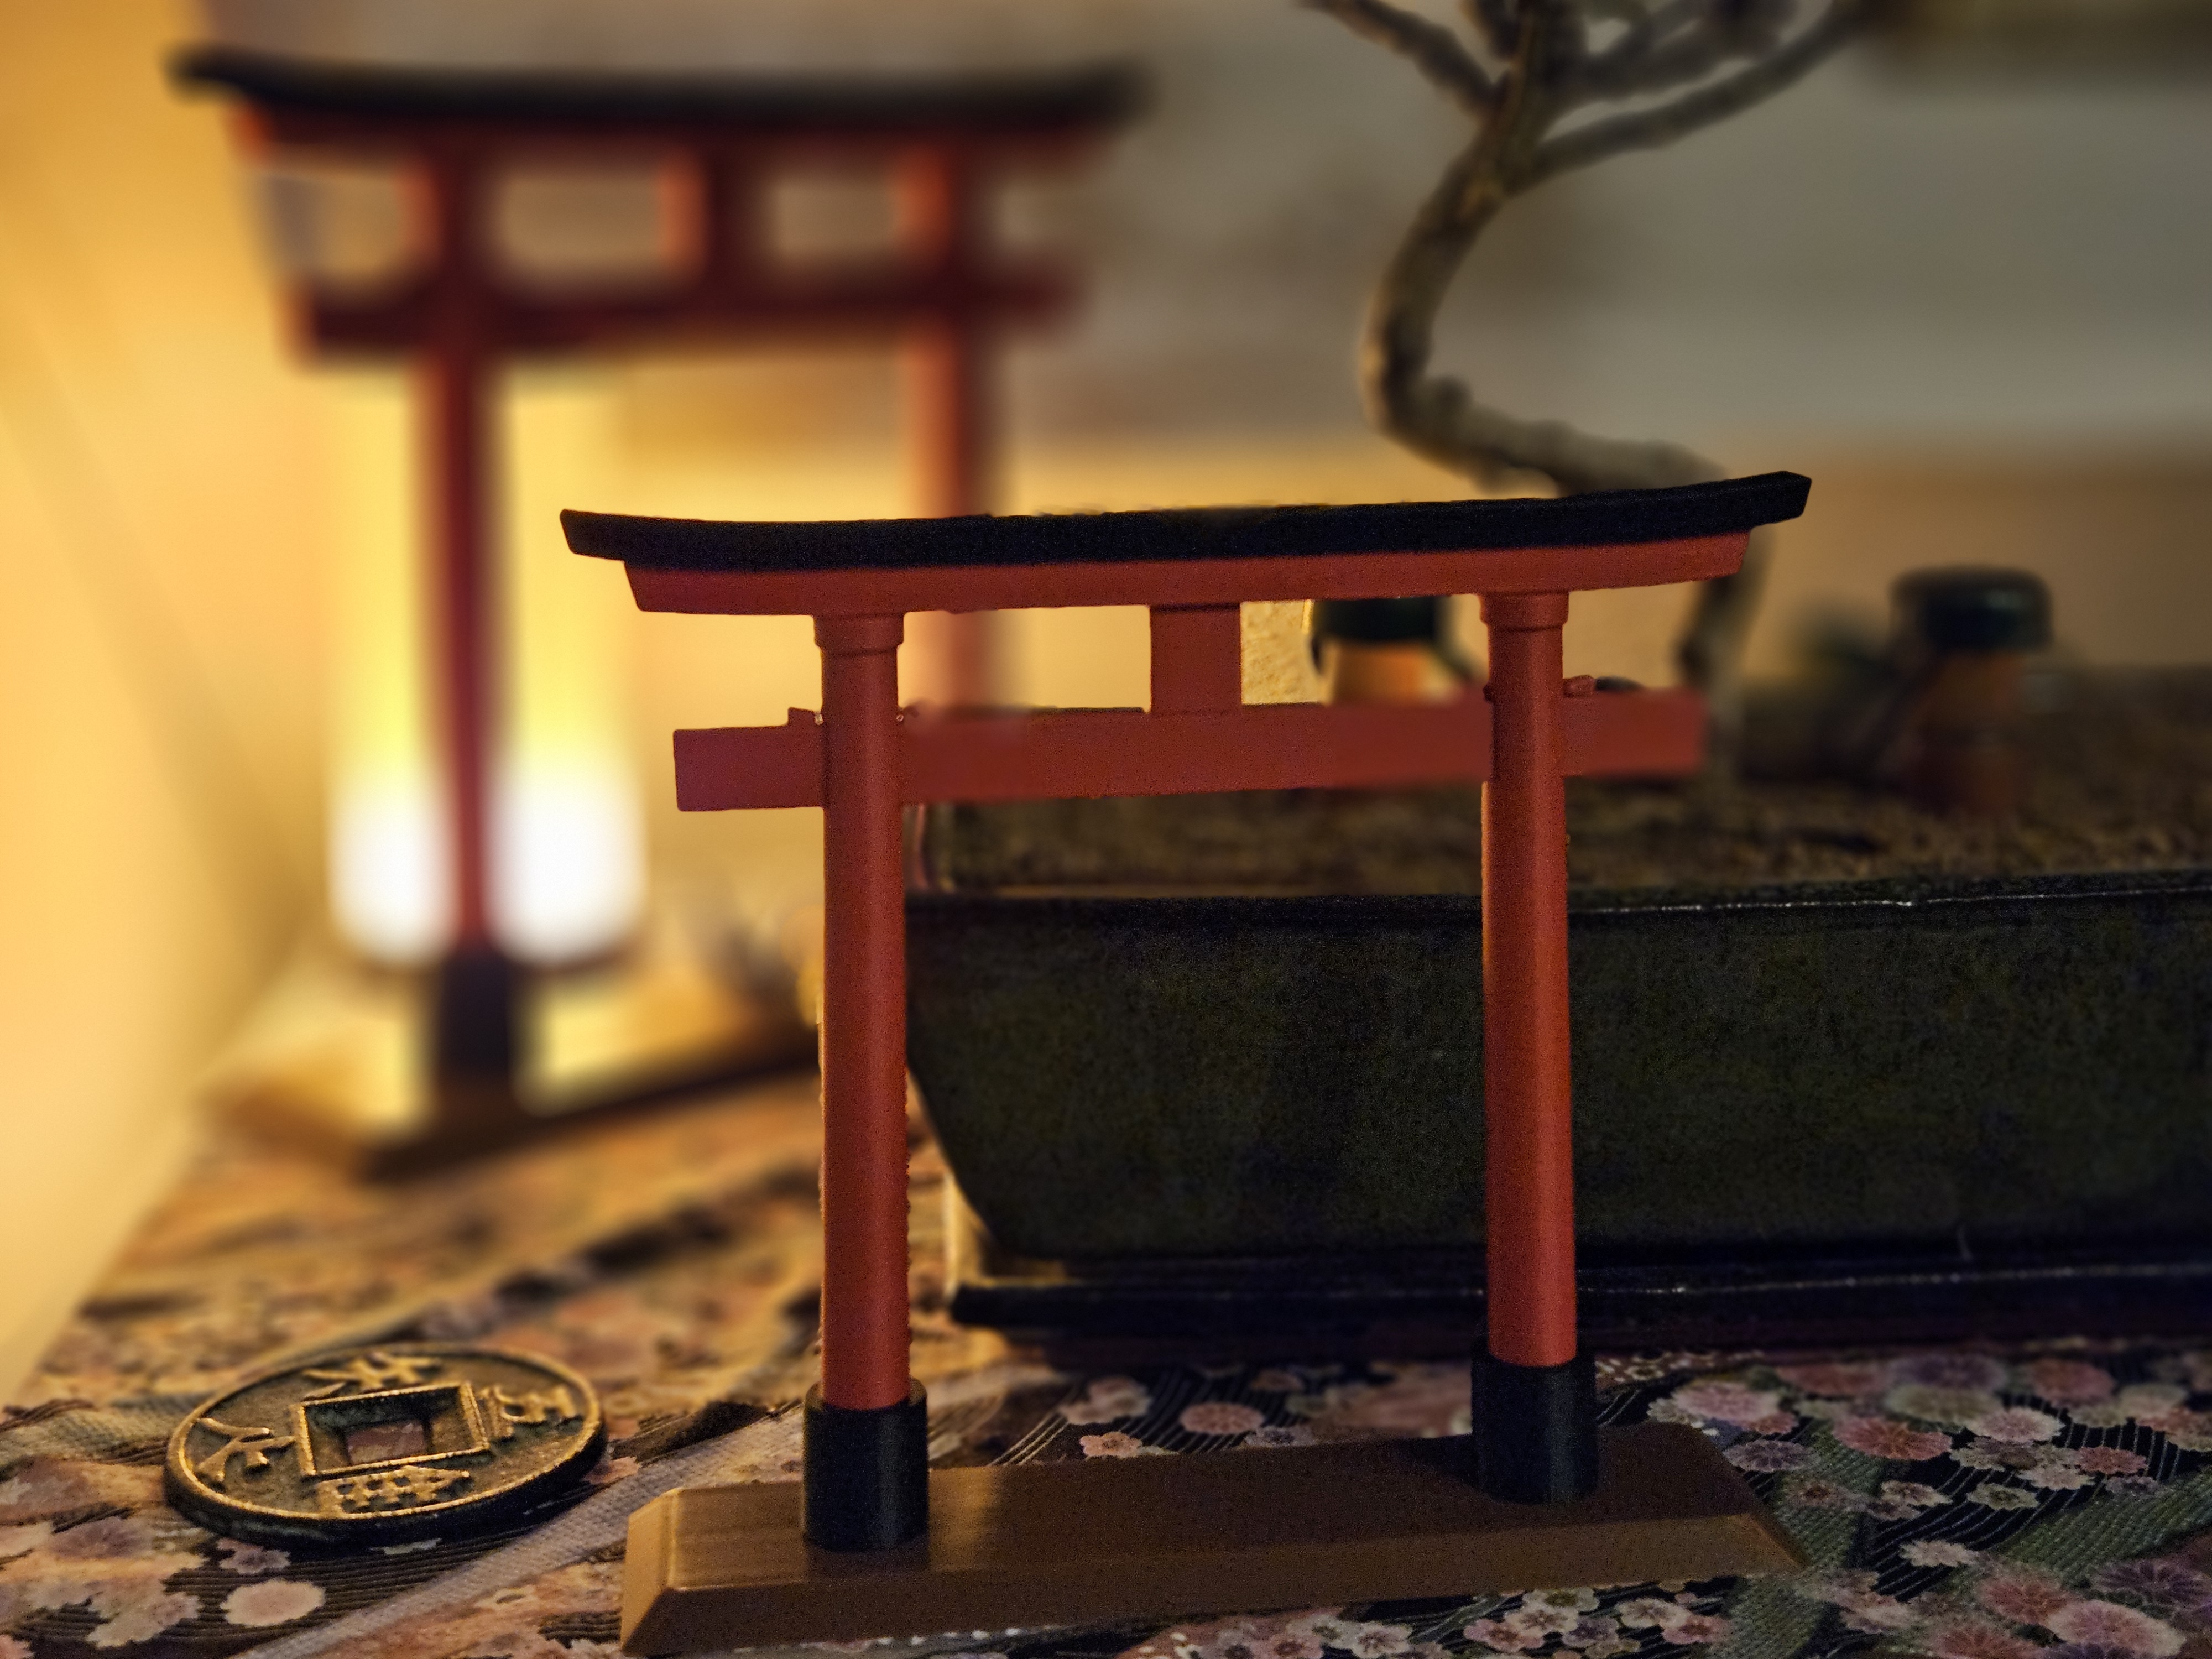
Descrição
Update 29.10.2025 - Added scaled down version, optimized for A1 Mini. Further information at the end.
Before You Start
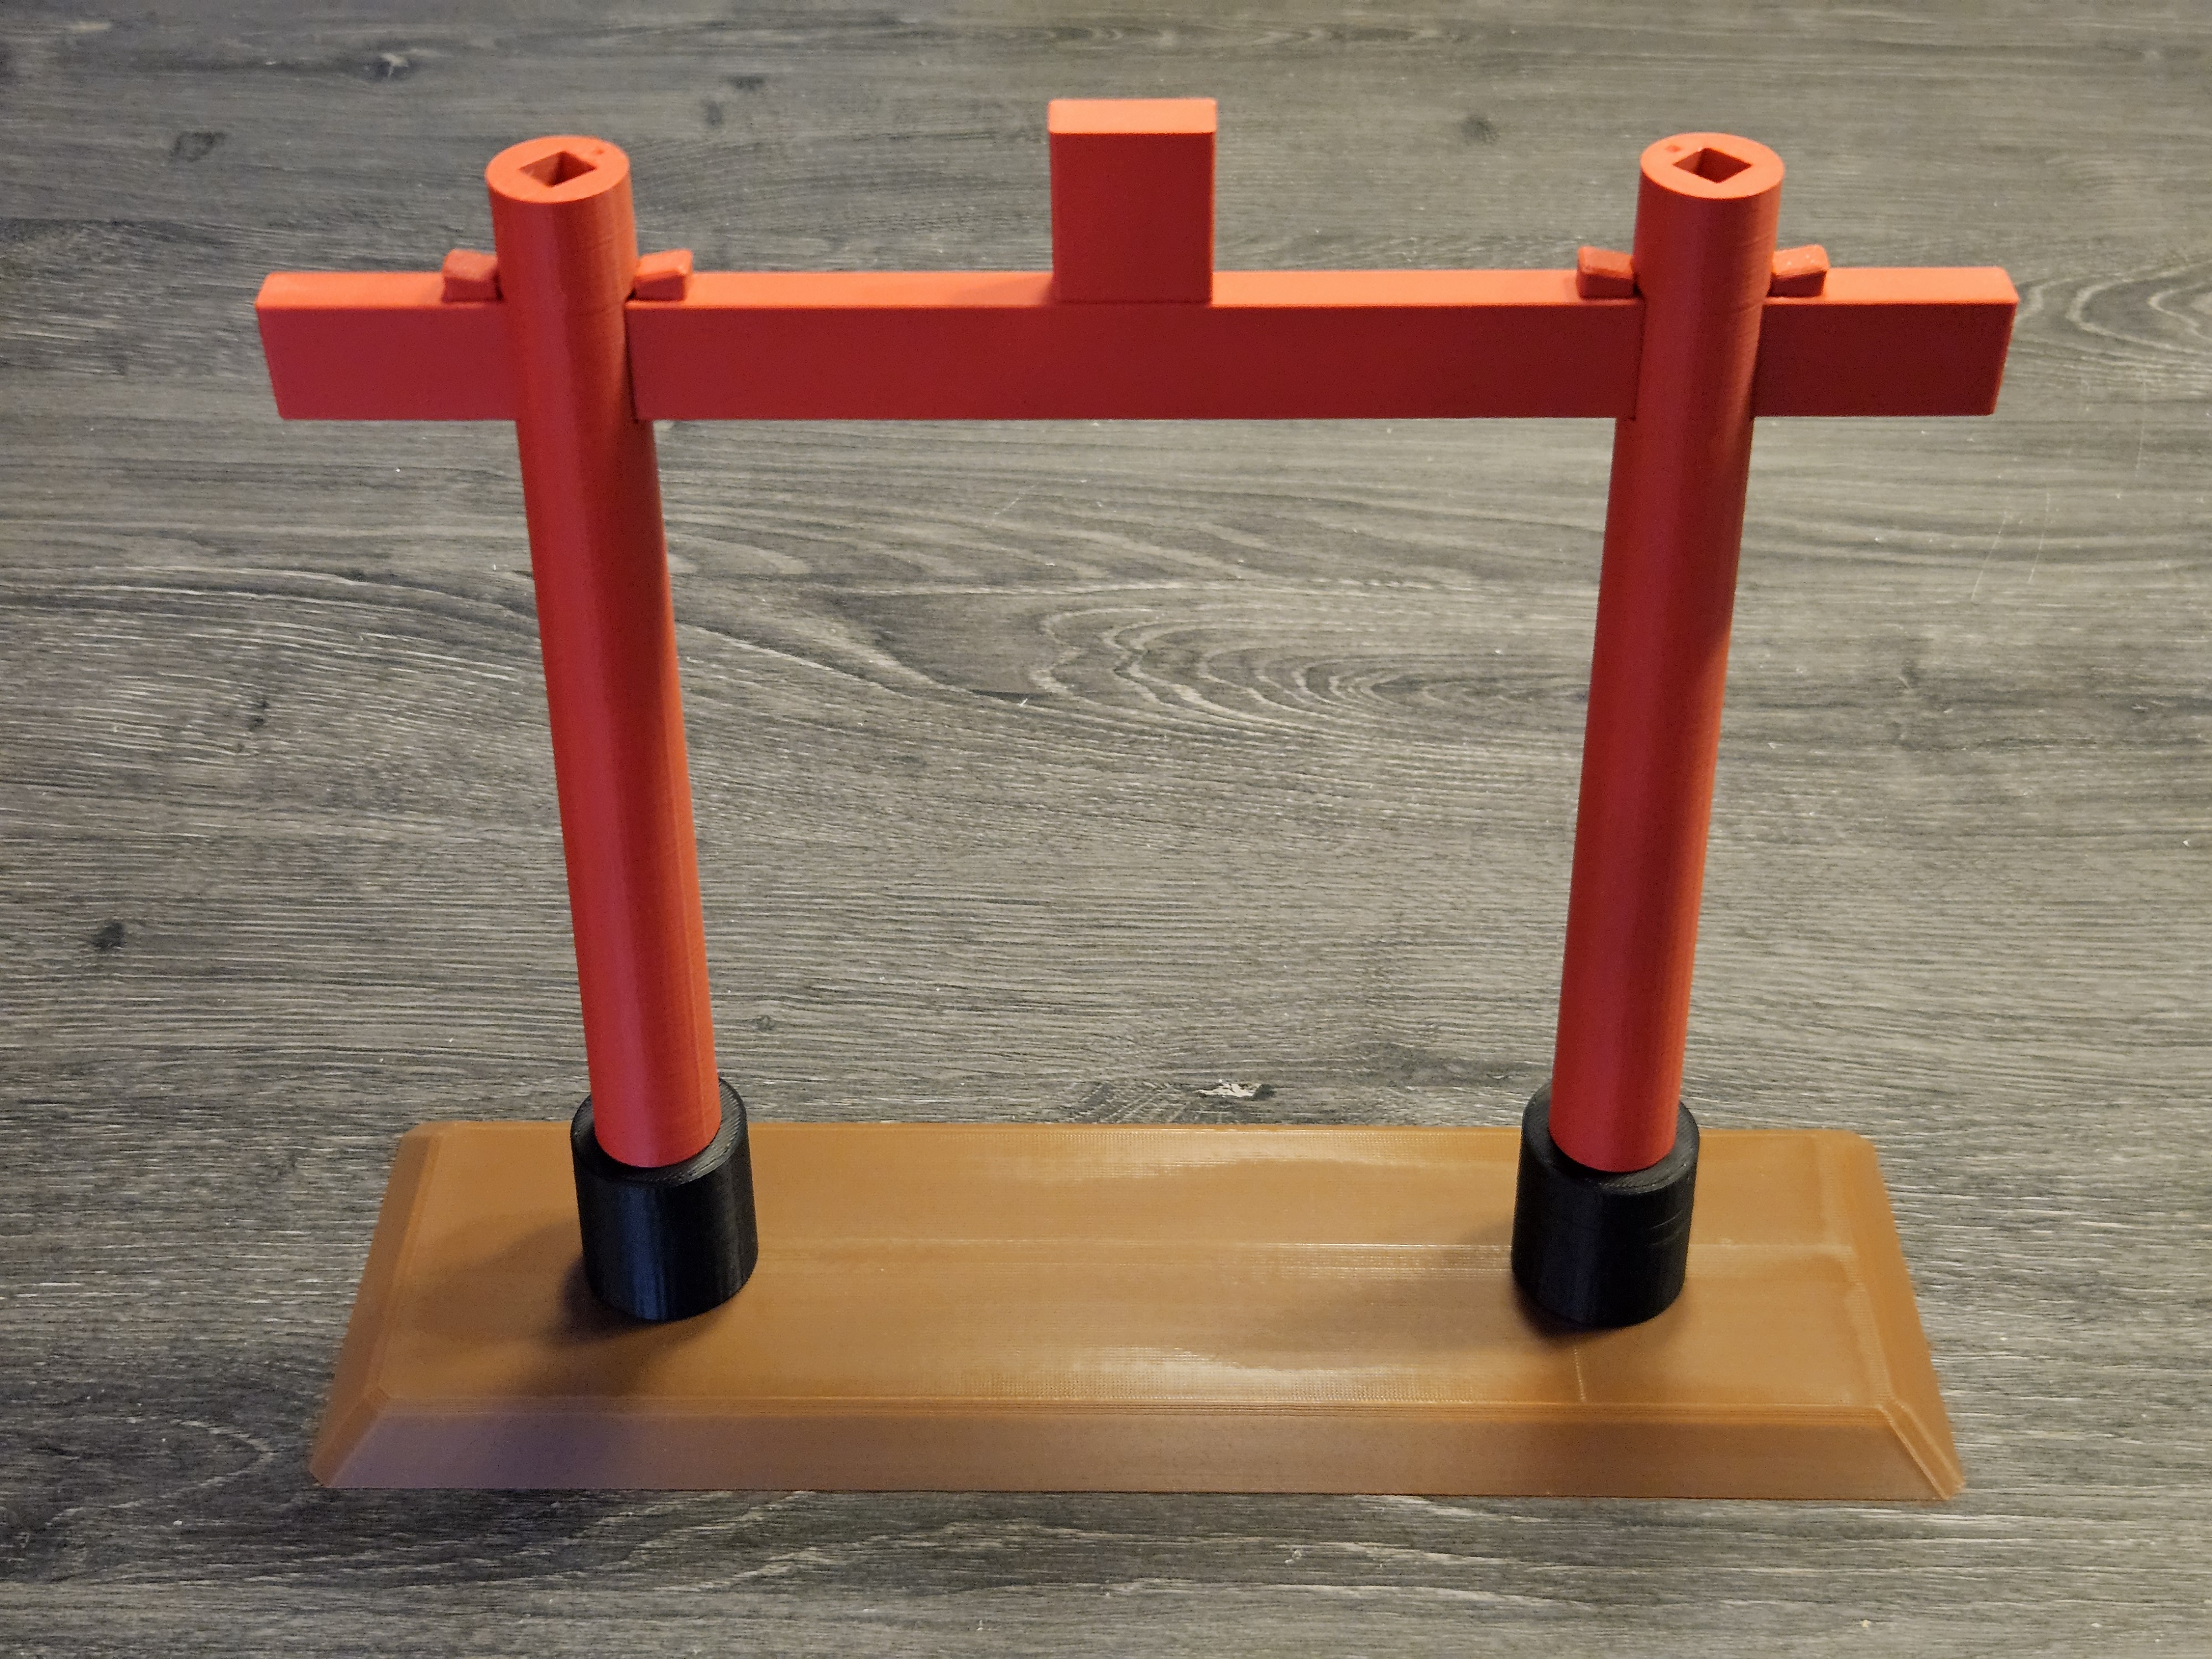
All parts are snap-fit. The assembly order matters, so please read this guide first. Example photos are referenced below.
- Tools: a small rubber mallet (or a tool wrapped in a soft cloth). Parts fit tightly by design for stability.
- Handle with care: press straight and fully; do not twist. Excess force can break parts.
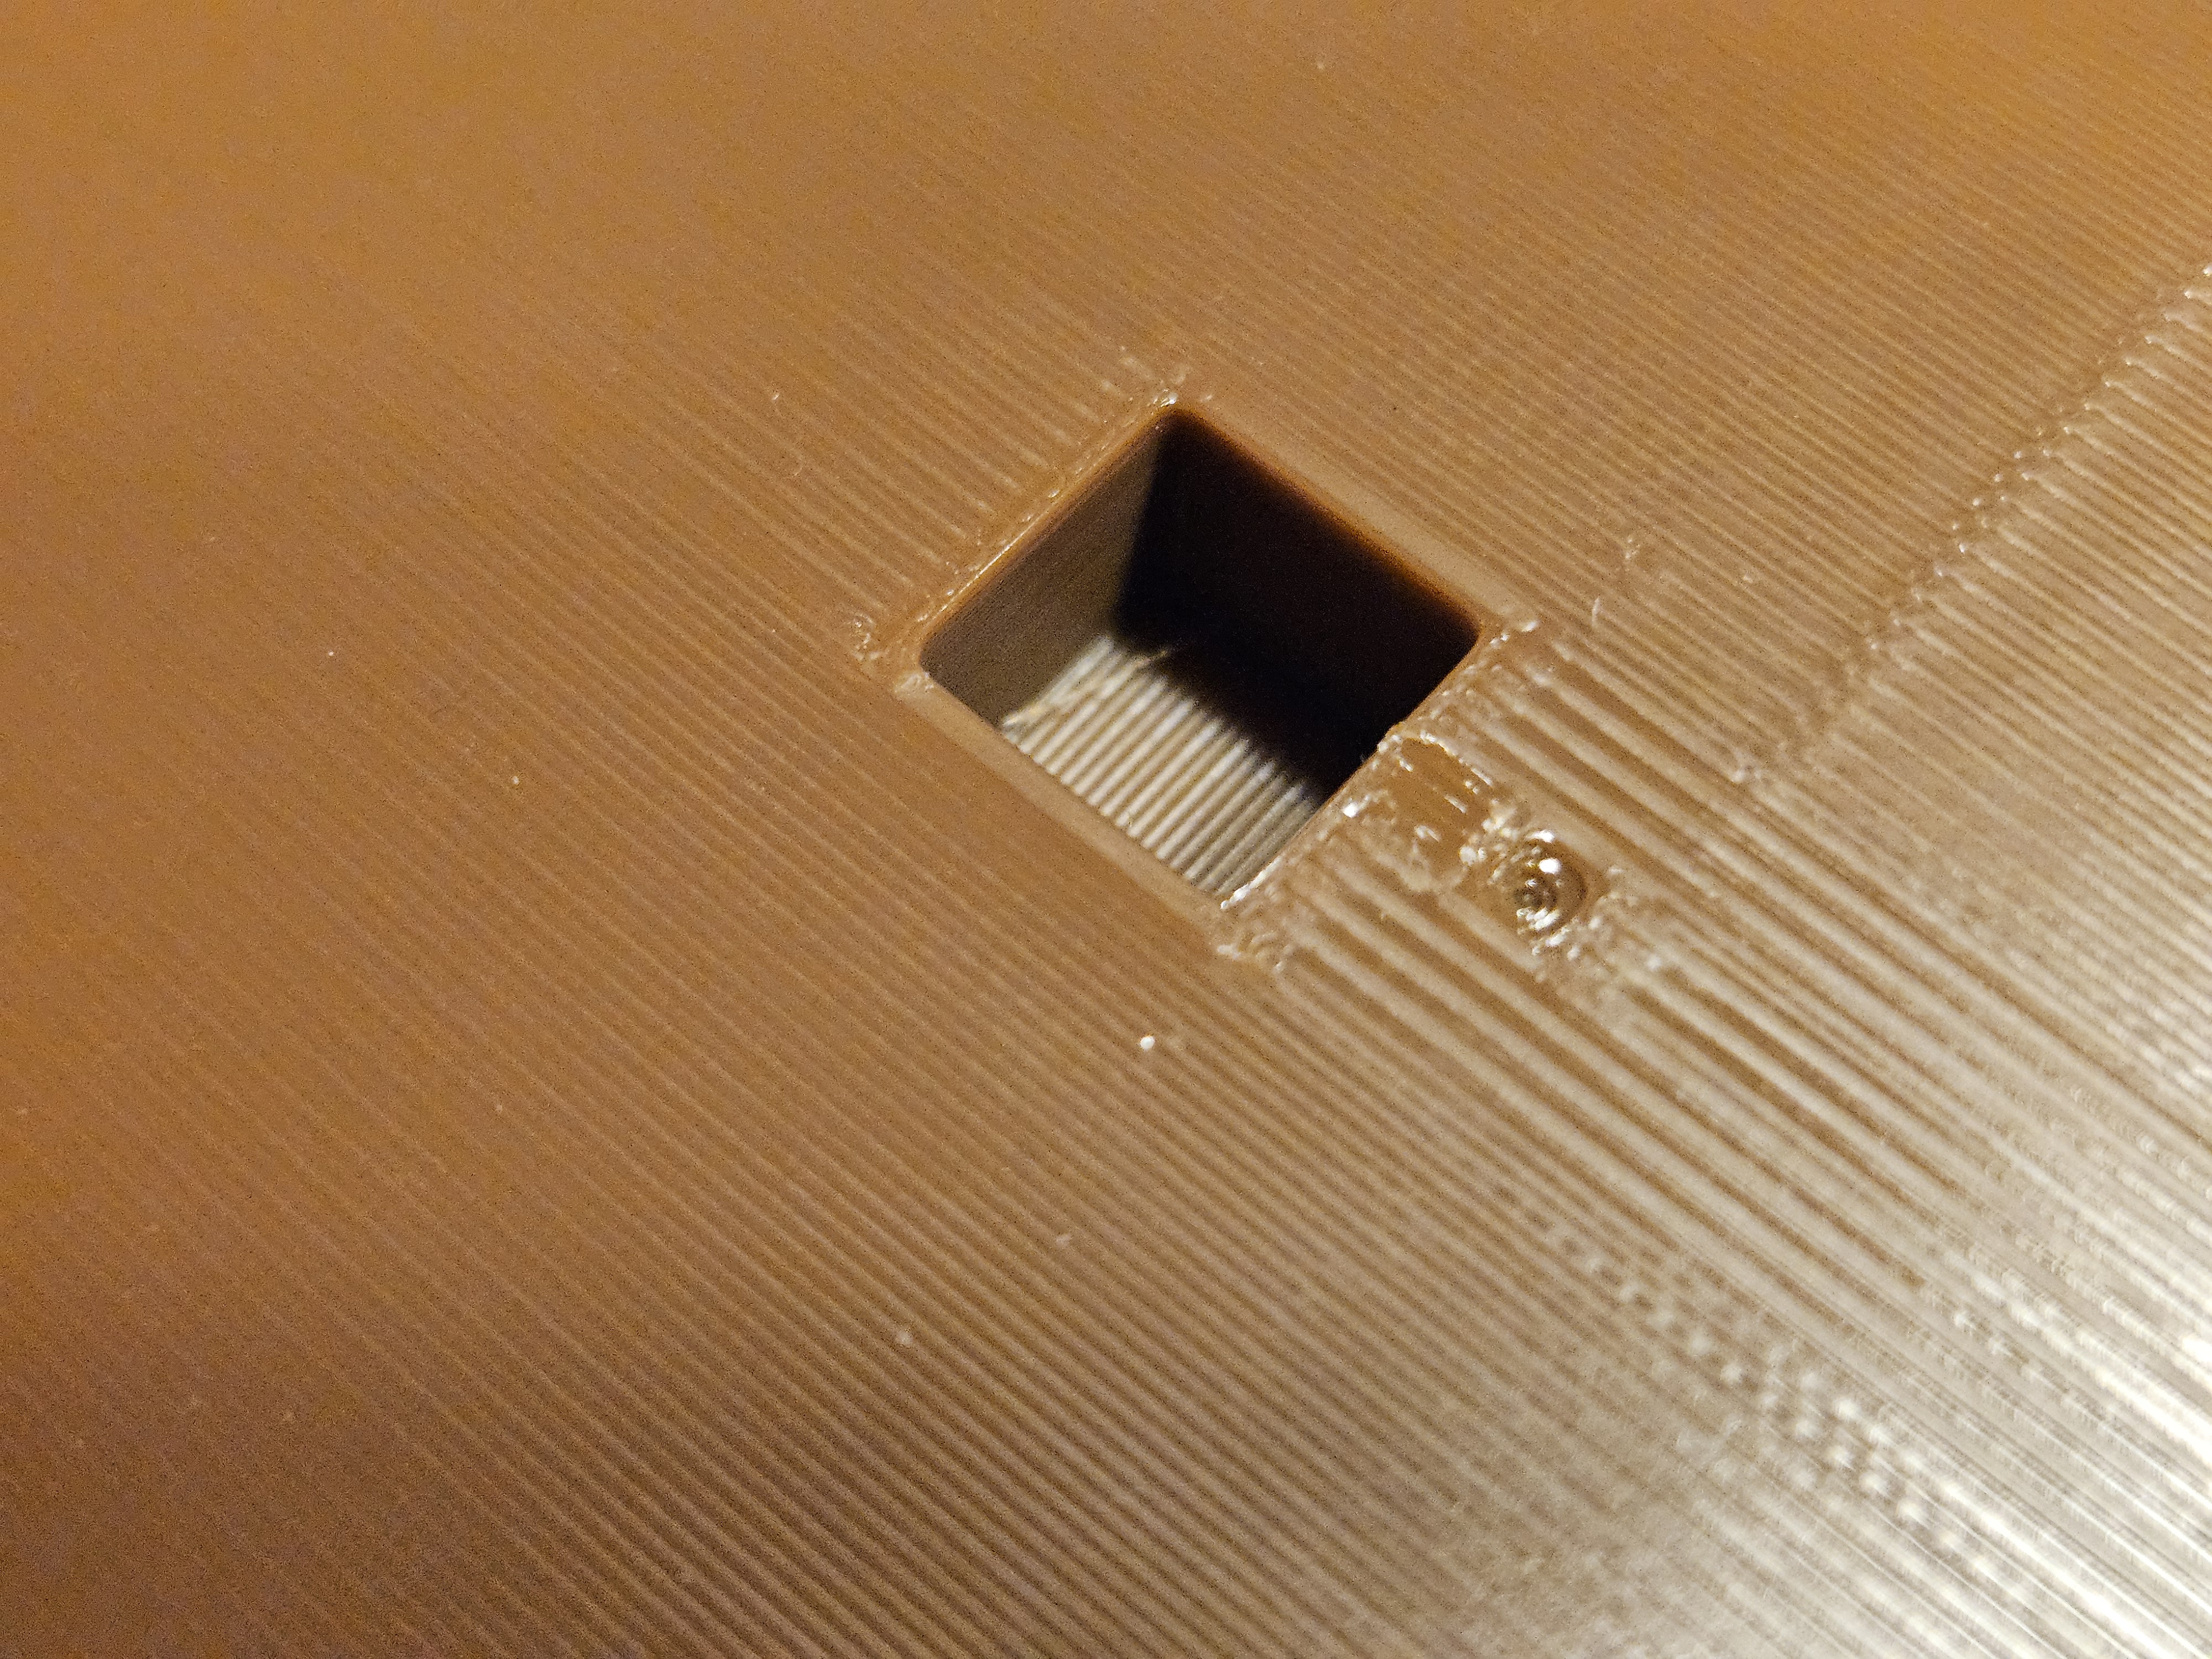
- Alignment marks: some parts include small alignment marks to ensure correct orientation. Where used, marks appear on opposite faces (e.g., top & bottom).
- Post tilt: the two posts have a slight tilt. Orient them correctly (use the alignment marks) so the gate looks balanced.
- Tip: lay out all pieces in final order before assembly.
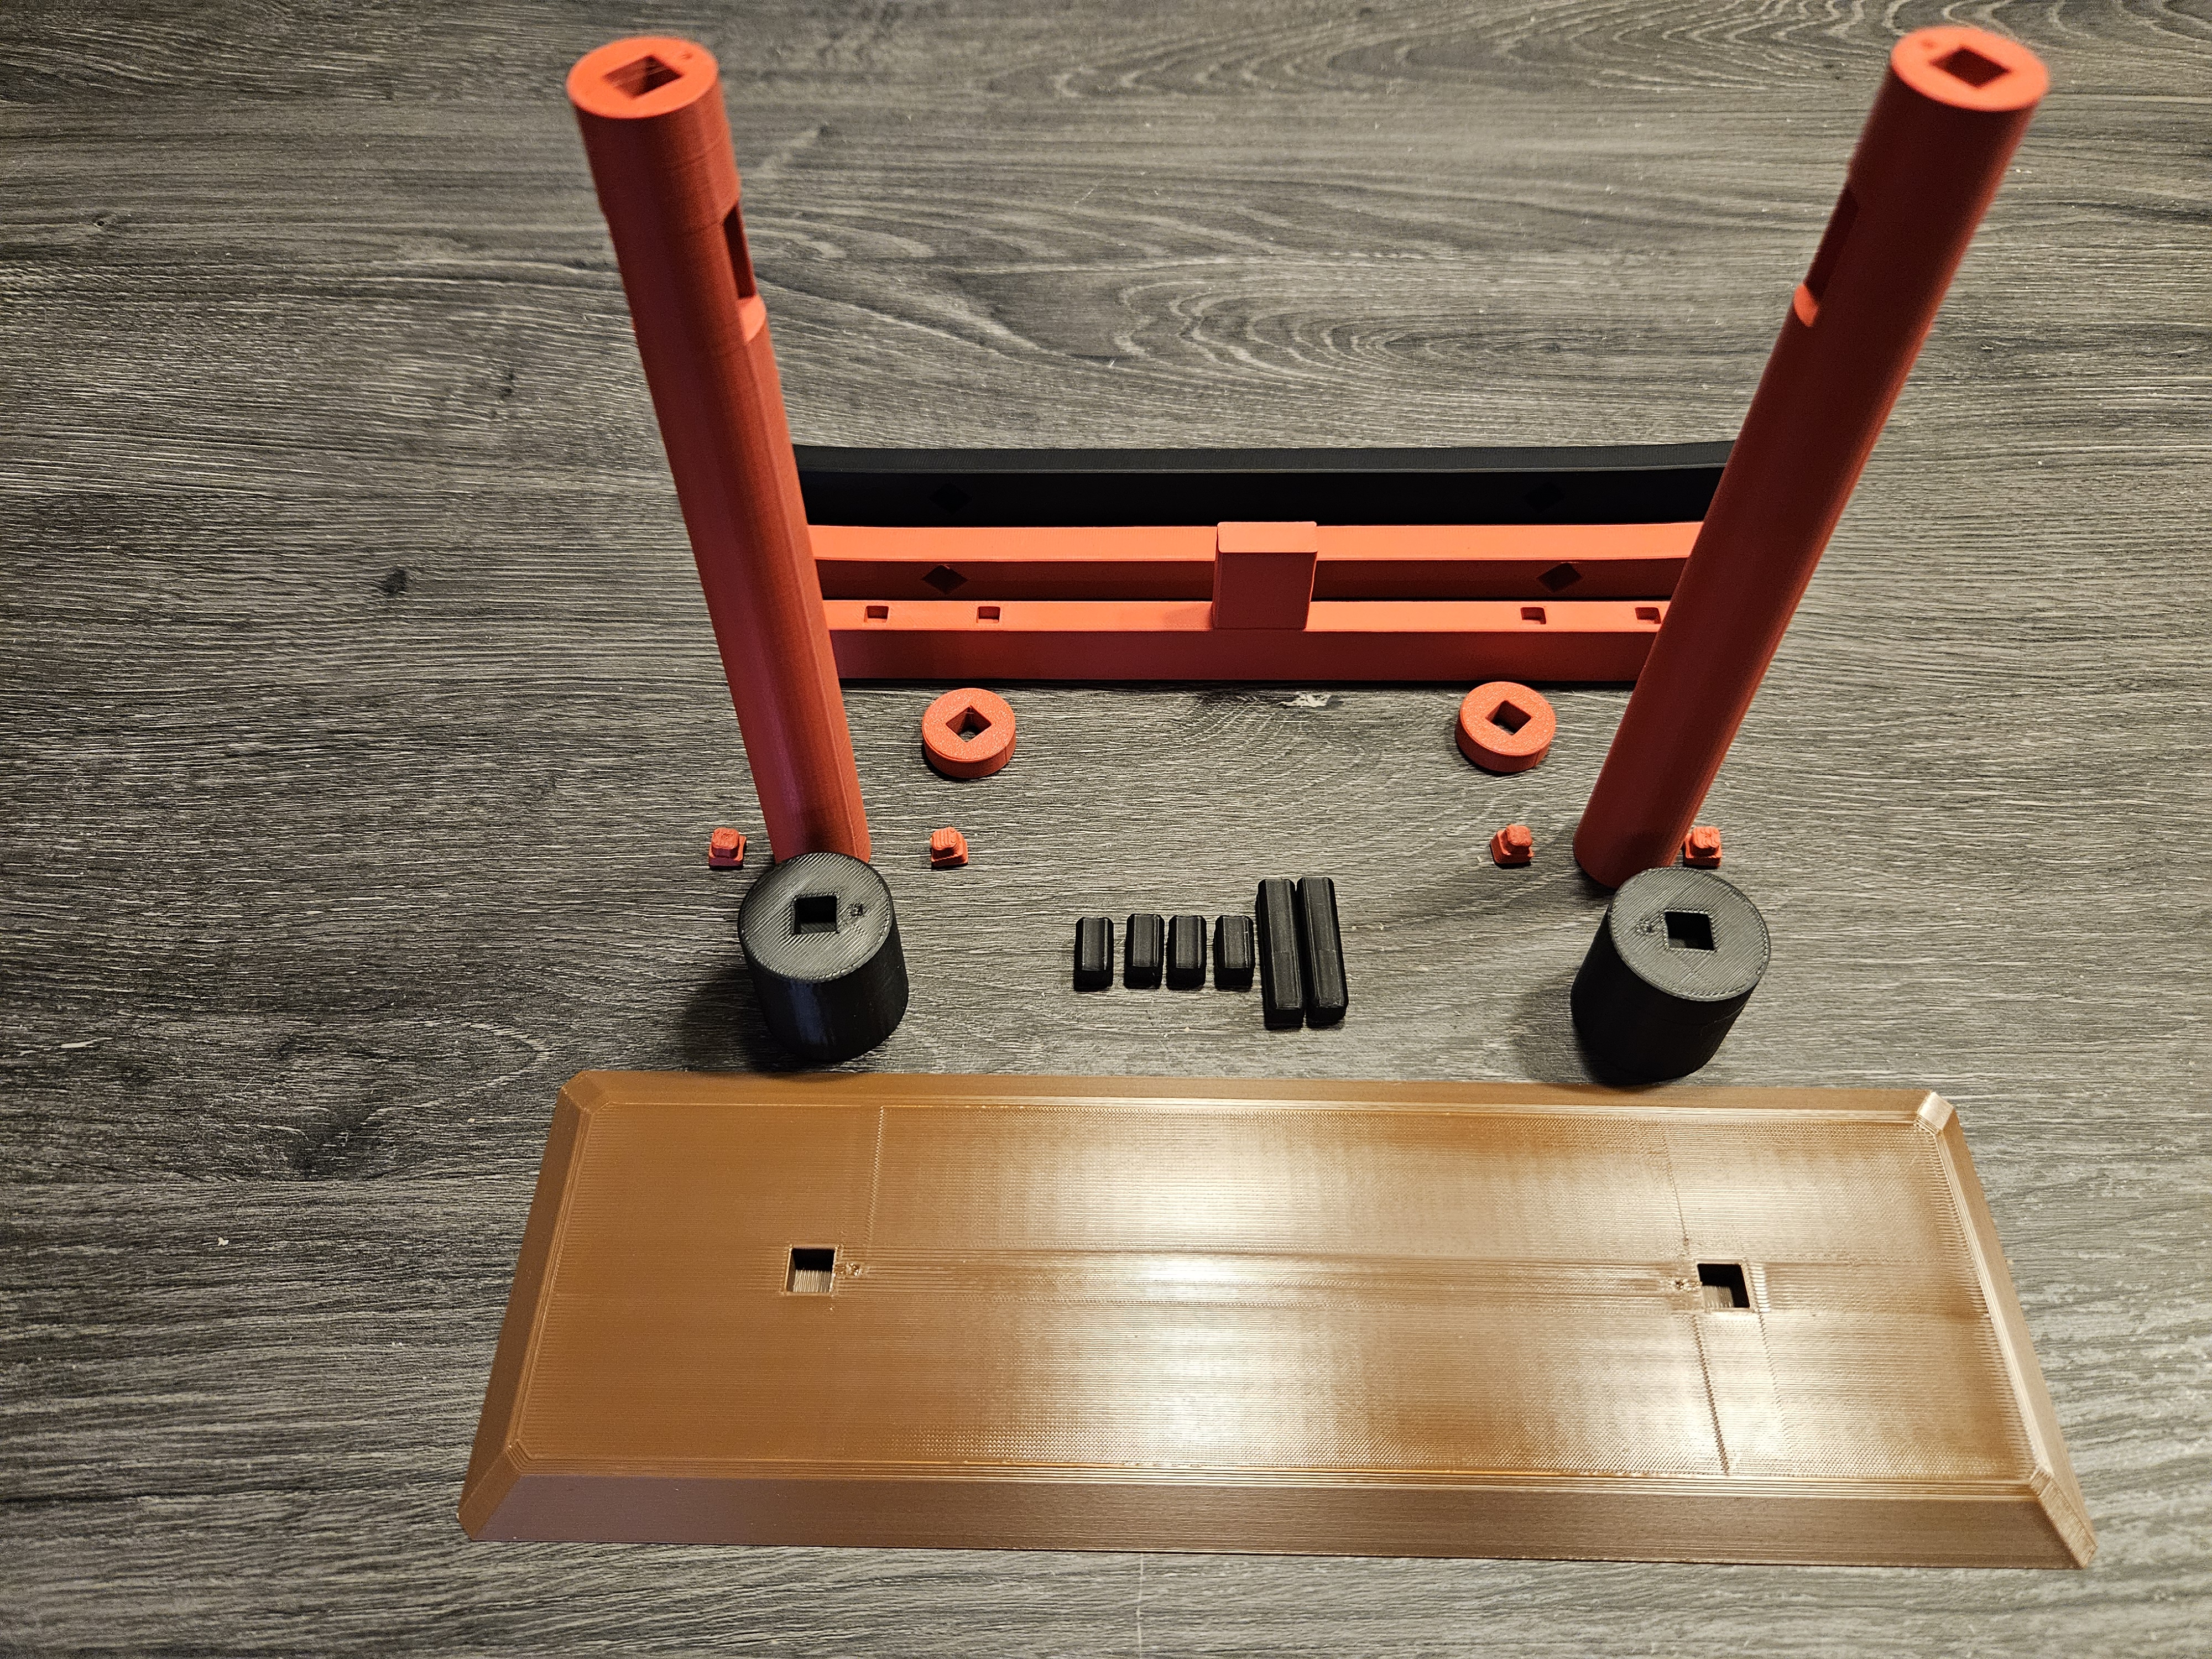
Assembly (Order is important)
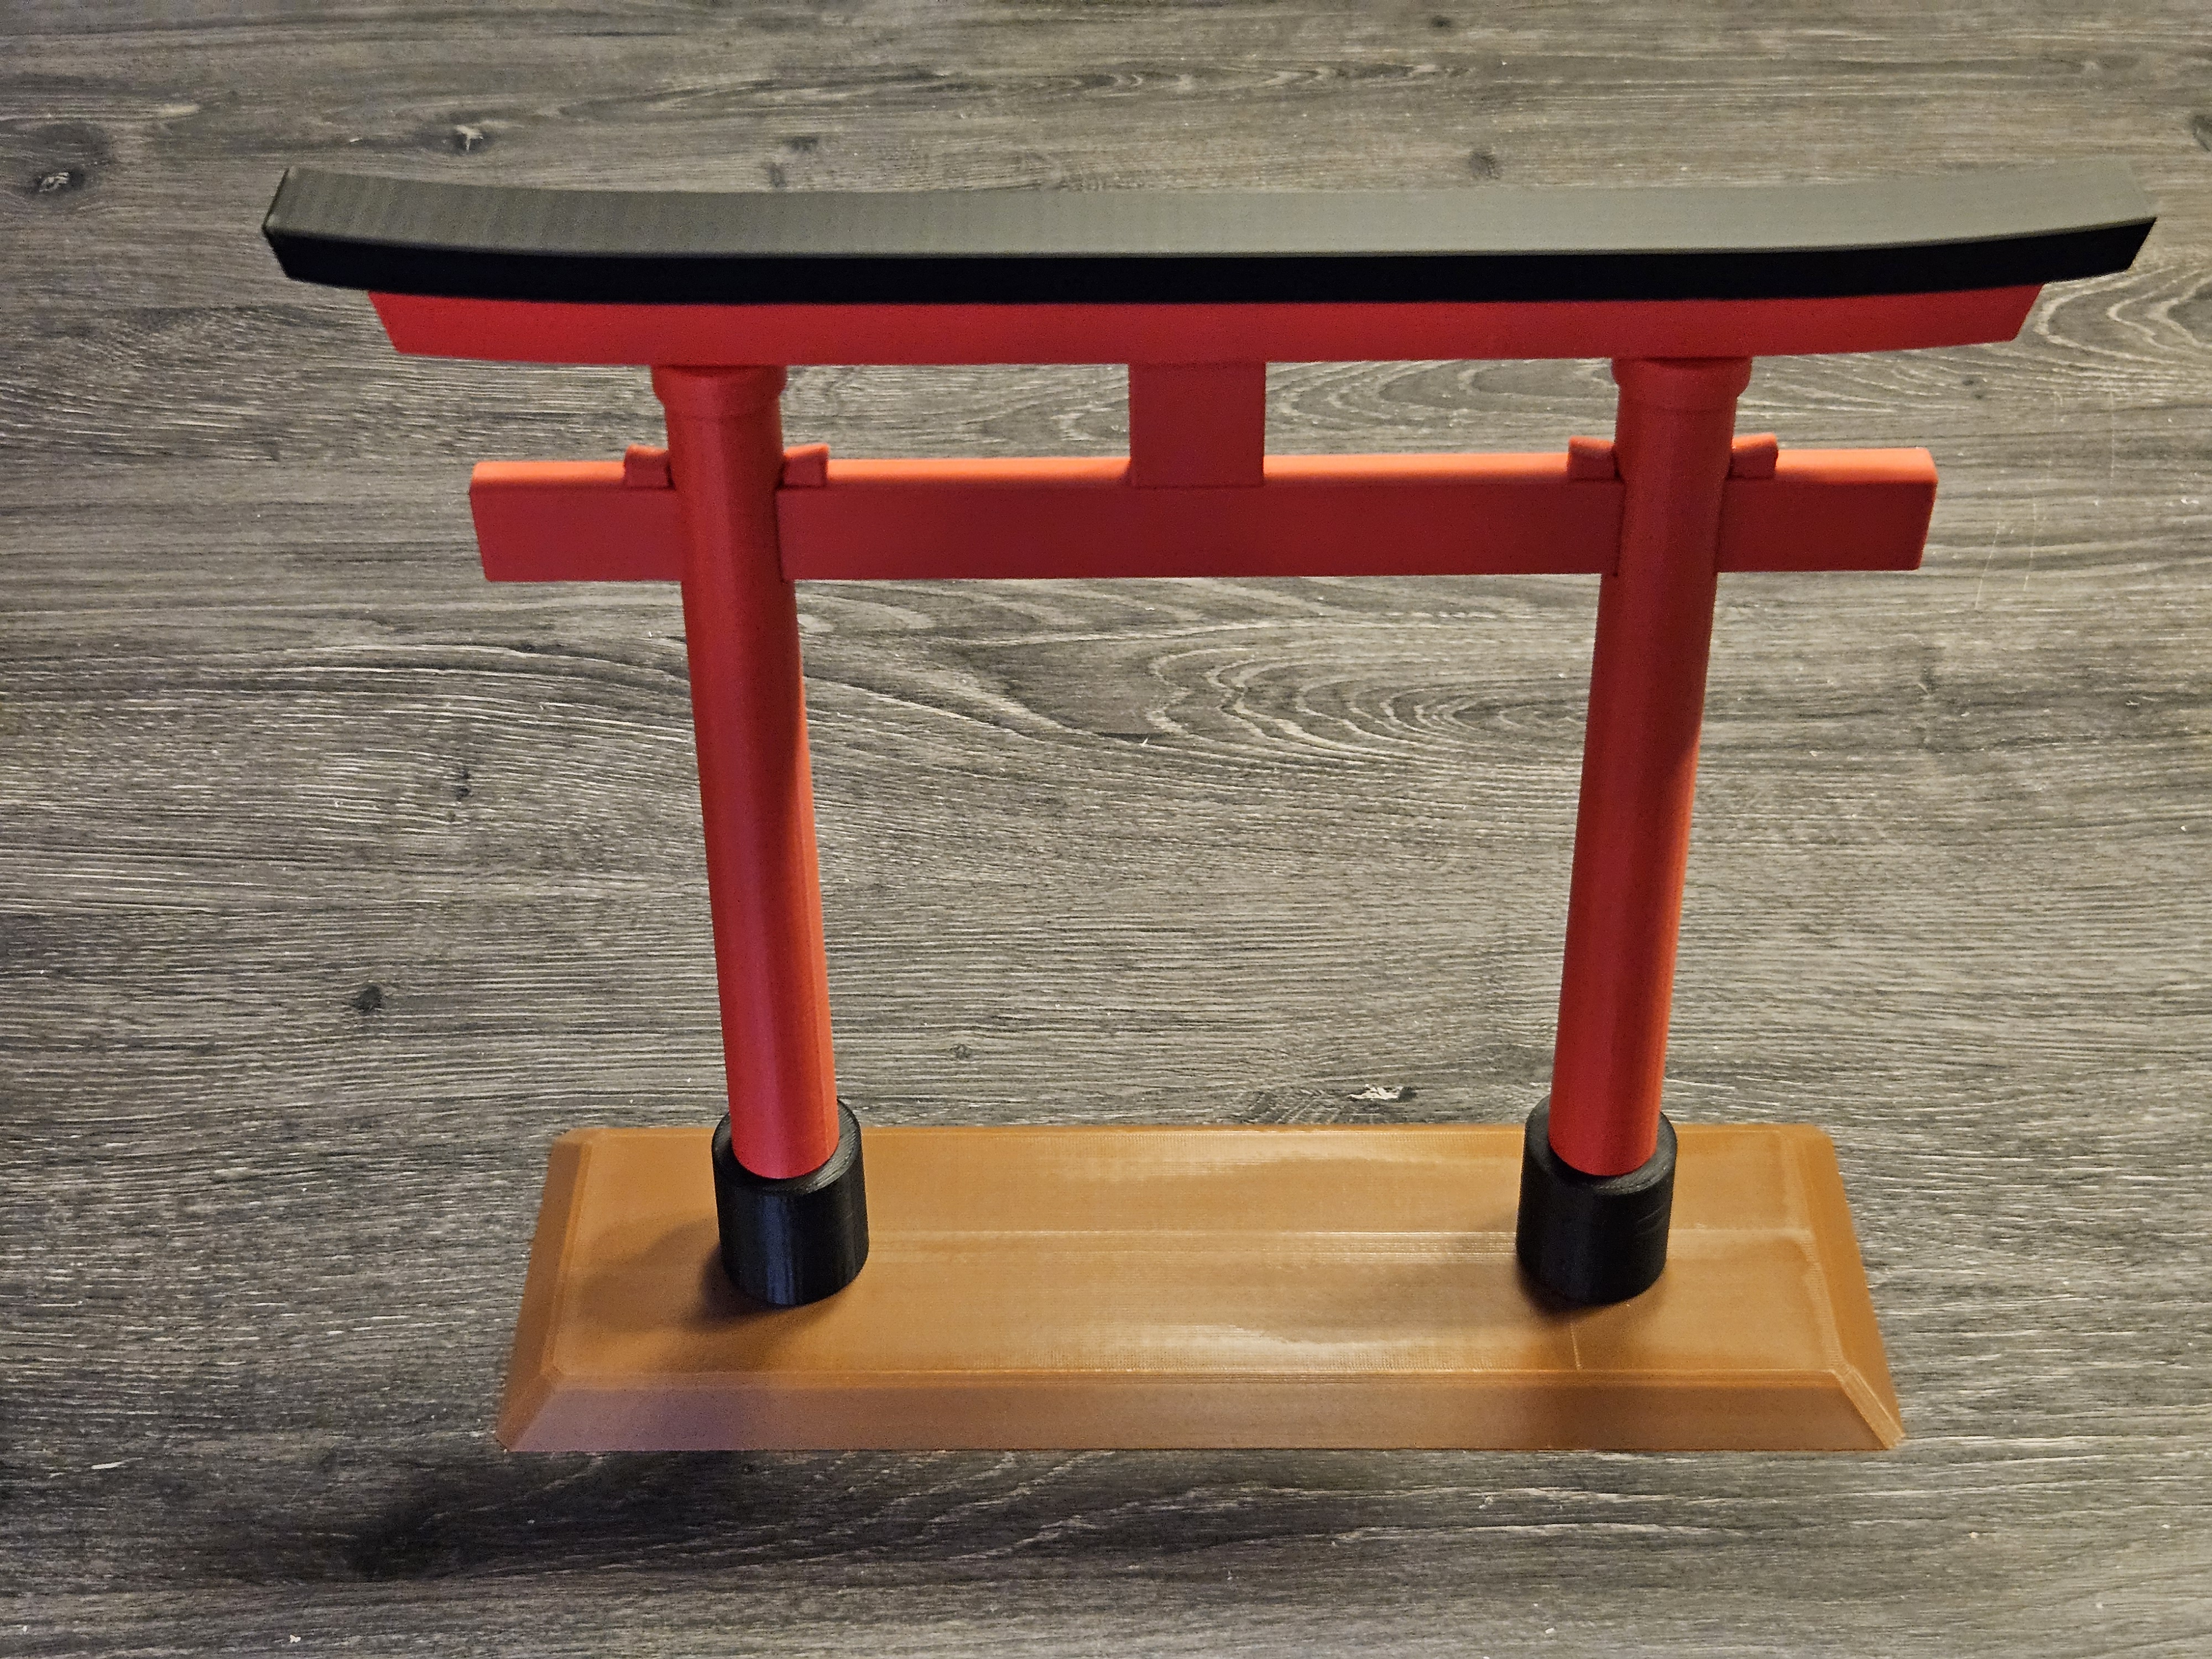
- Base → Connectors
Insert two connectors into the base. Push them all the way in.
Black Feet onto Base
Press the two black feet fully onto the connectors. Use a rubber mallet with gentle taps if needed.

- Pre-assemble Posts + Middle Crossbeam
Take the two posts and the middle crossbeam (the straight red beam between the posts).
Slide the posts onto the crossbeam from the outside so the crossbeam sits between them.
Check alignment marks and post tilt before locking them in.
Posts Assembly → Feet
Insert two more connectors into the feet, then press the post–crossbeam assembly down onto the feet.
Push straight and fully; use the rubber mallet carefully if required.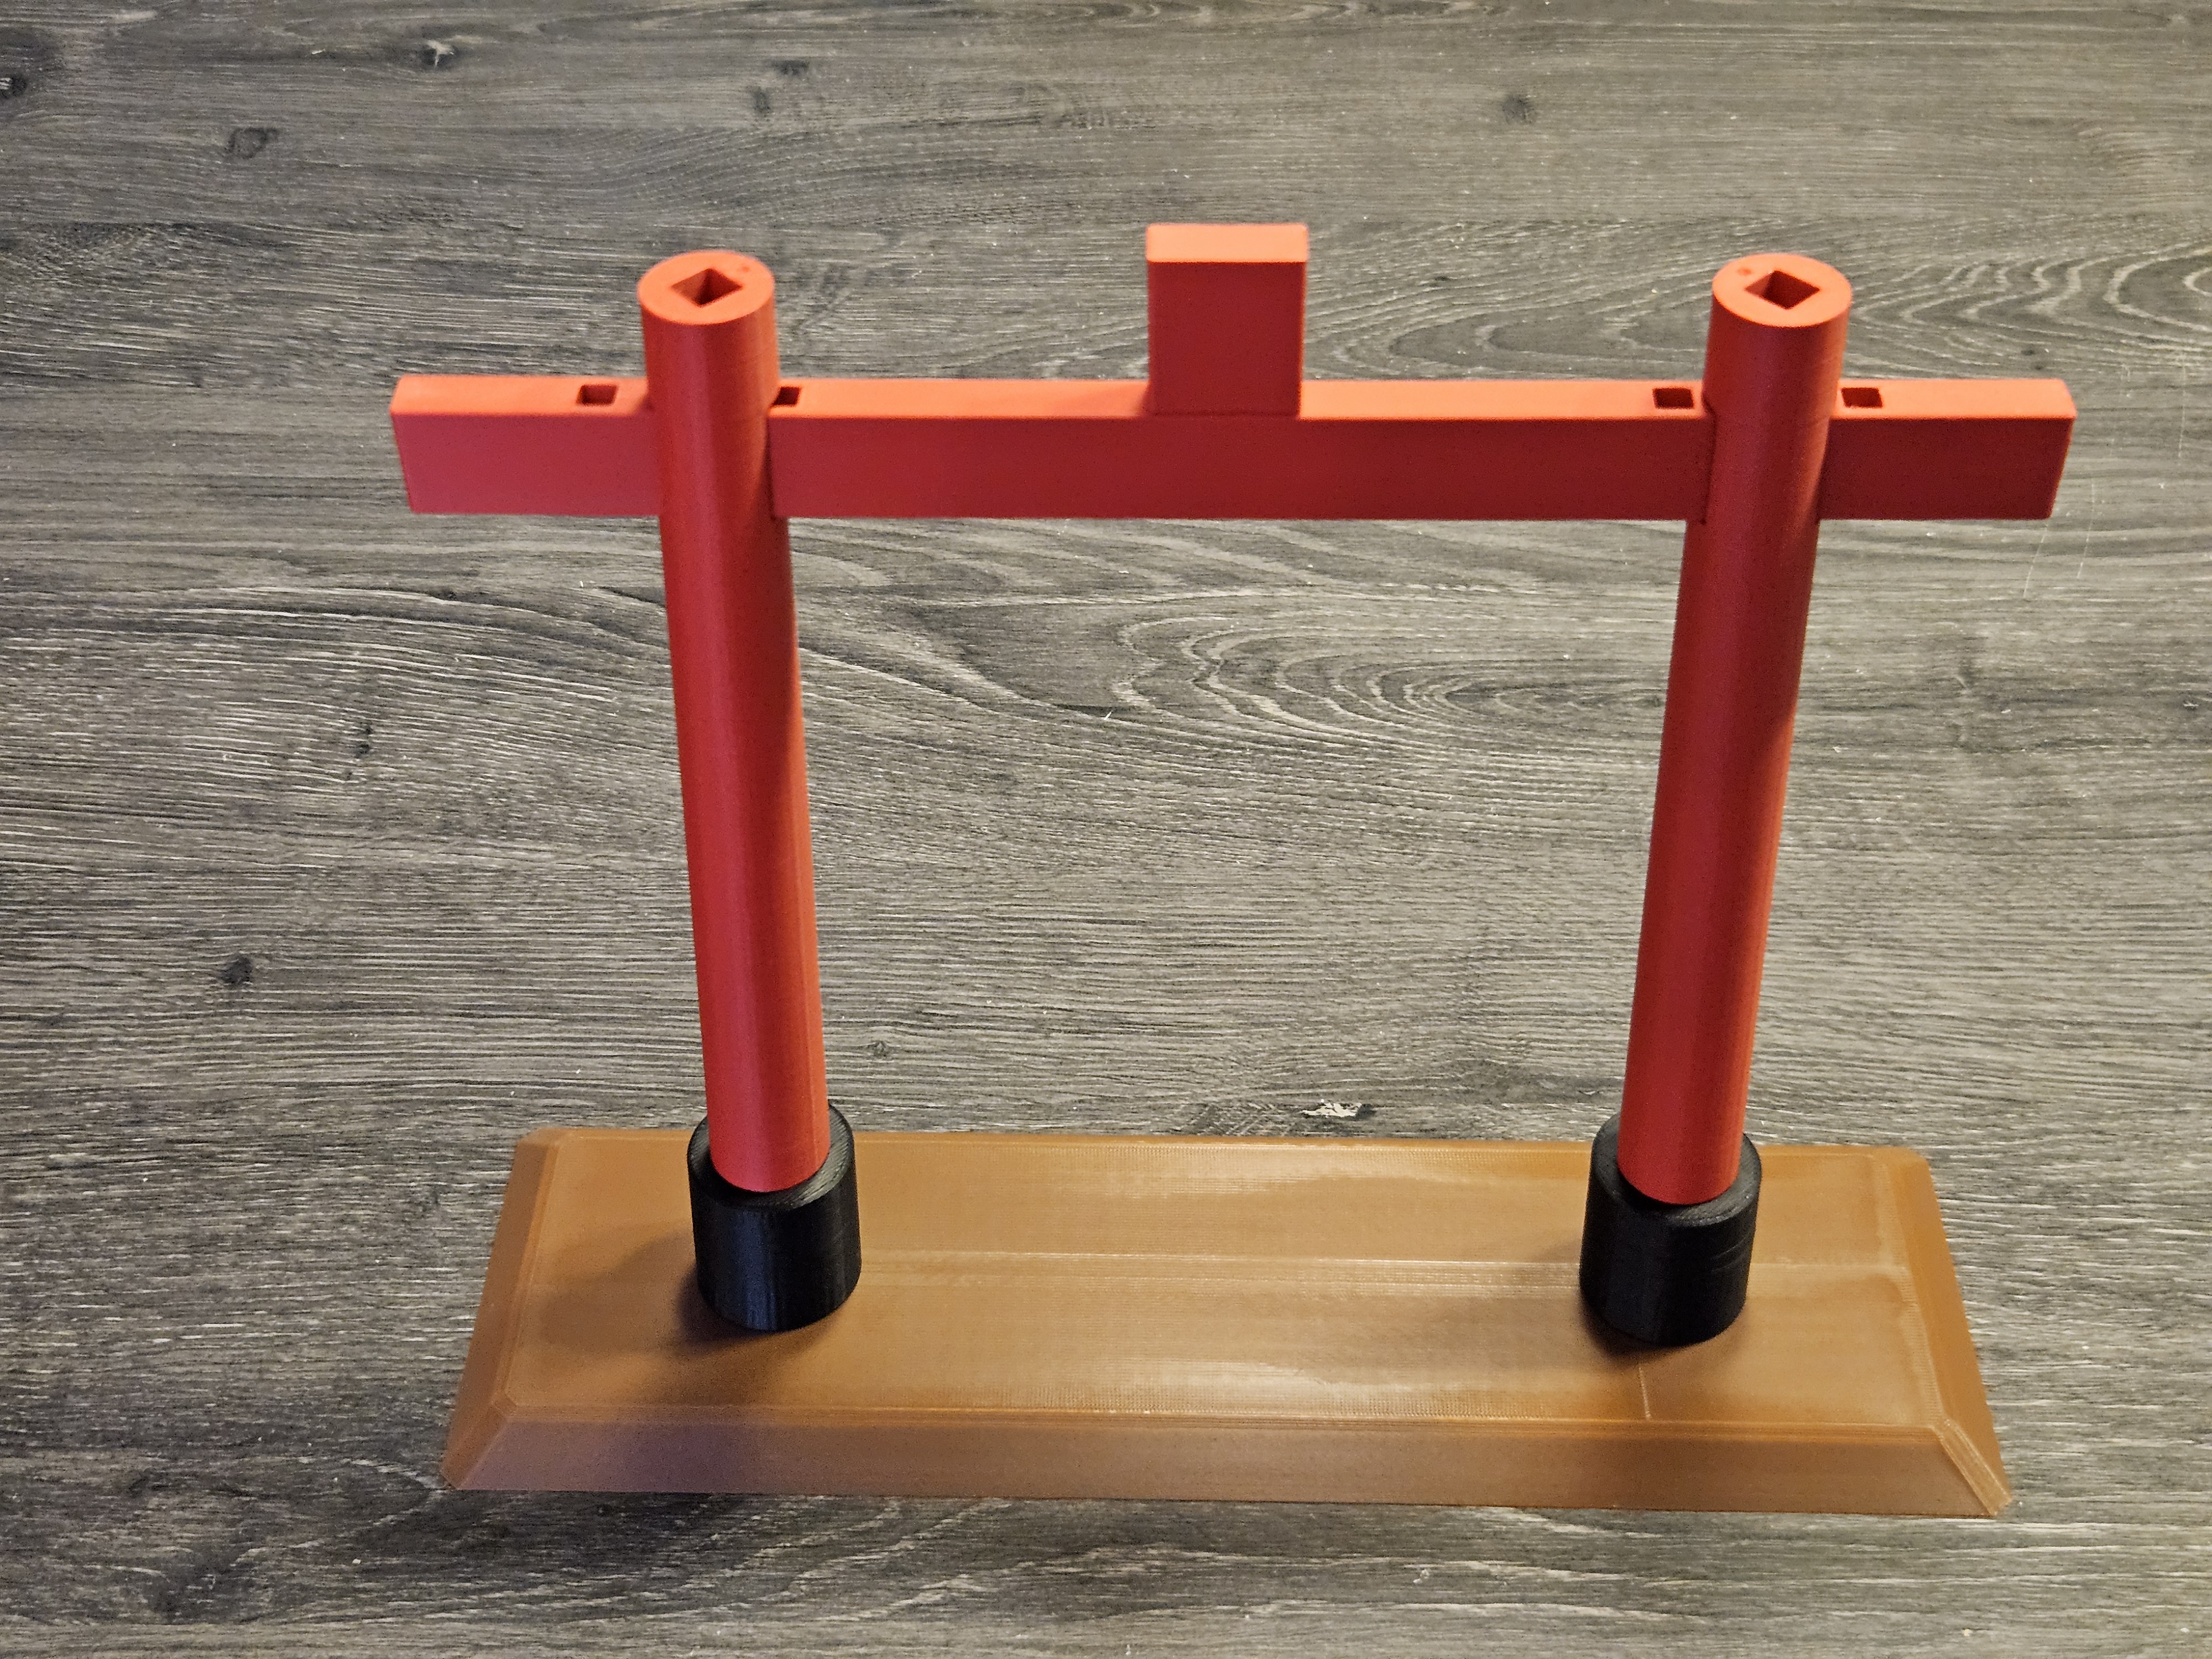
Small Blocks on Crossbeam (4 pcs)
Press the four small blocks onto the crossbeam.
Keep them perfectly straight; align using the left/right marks.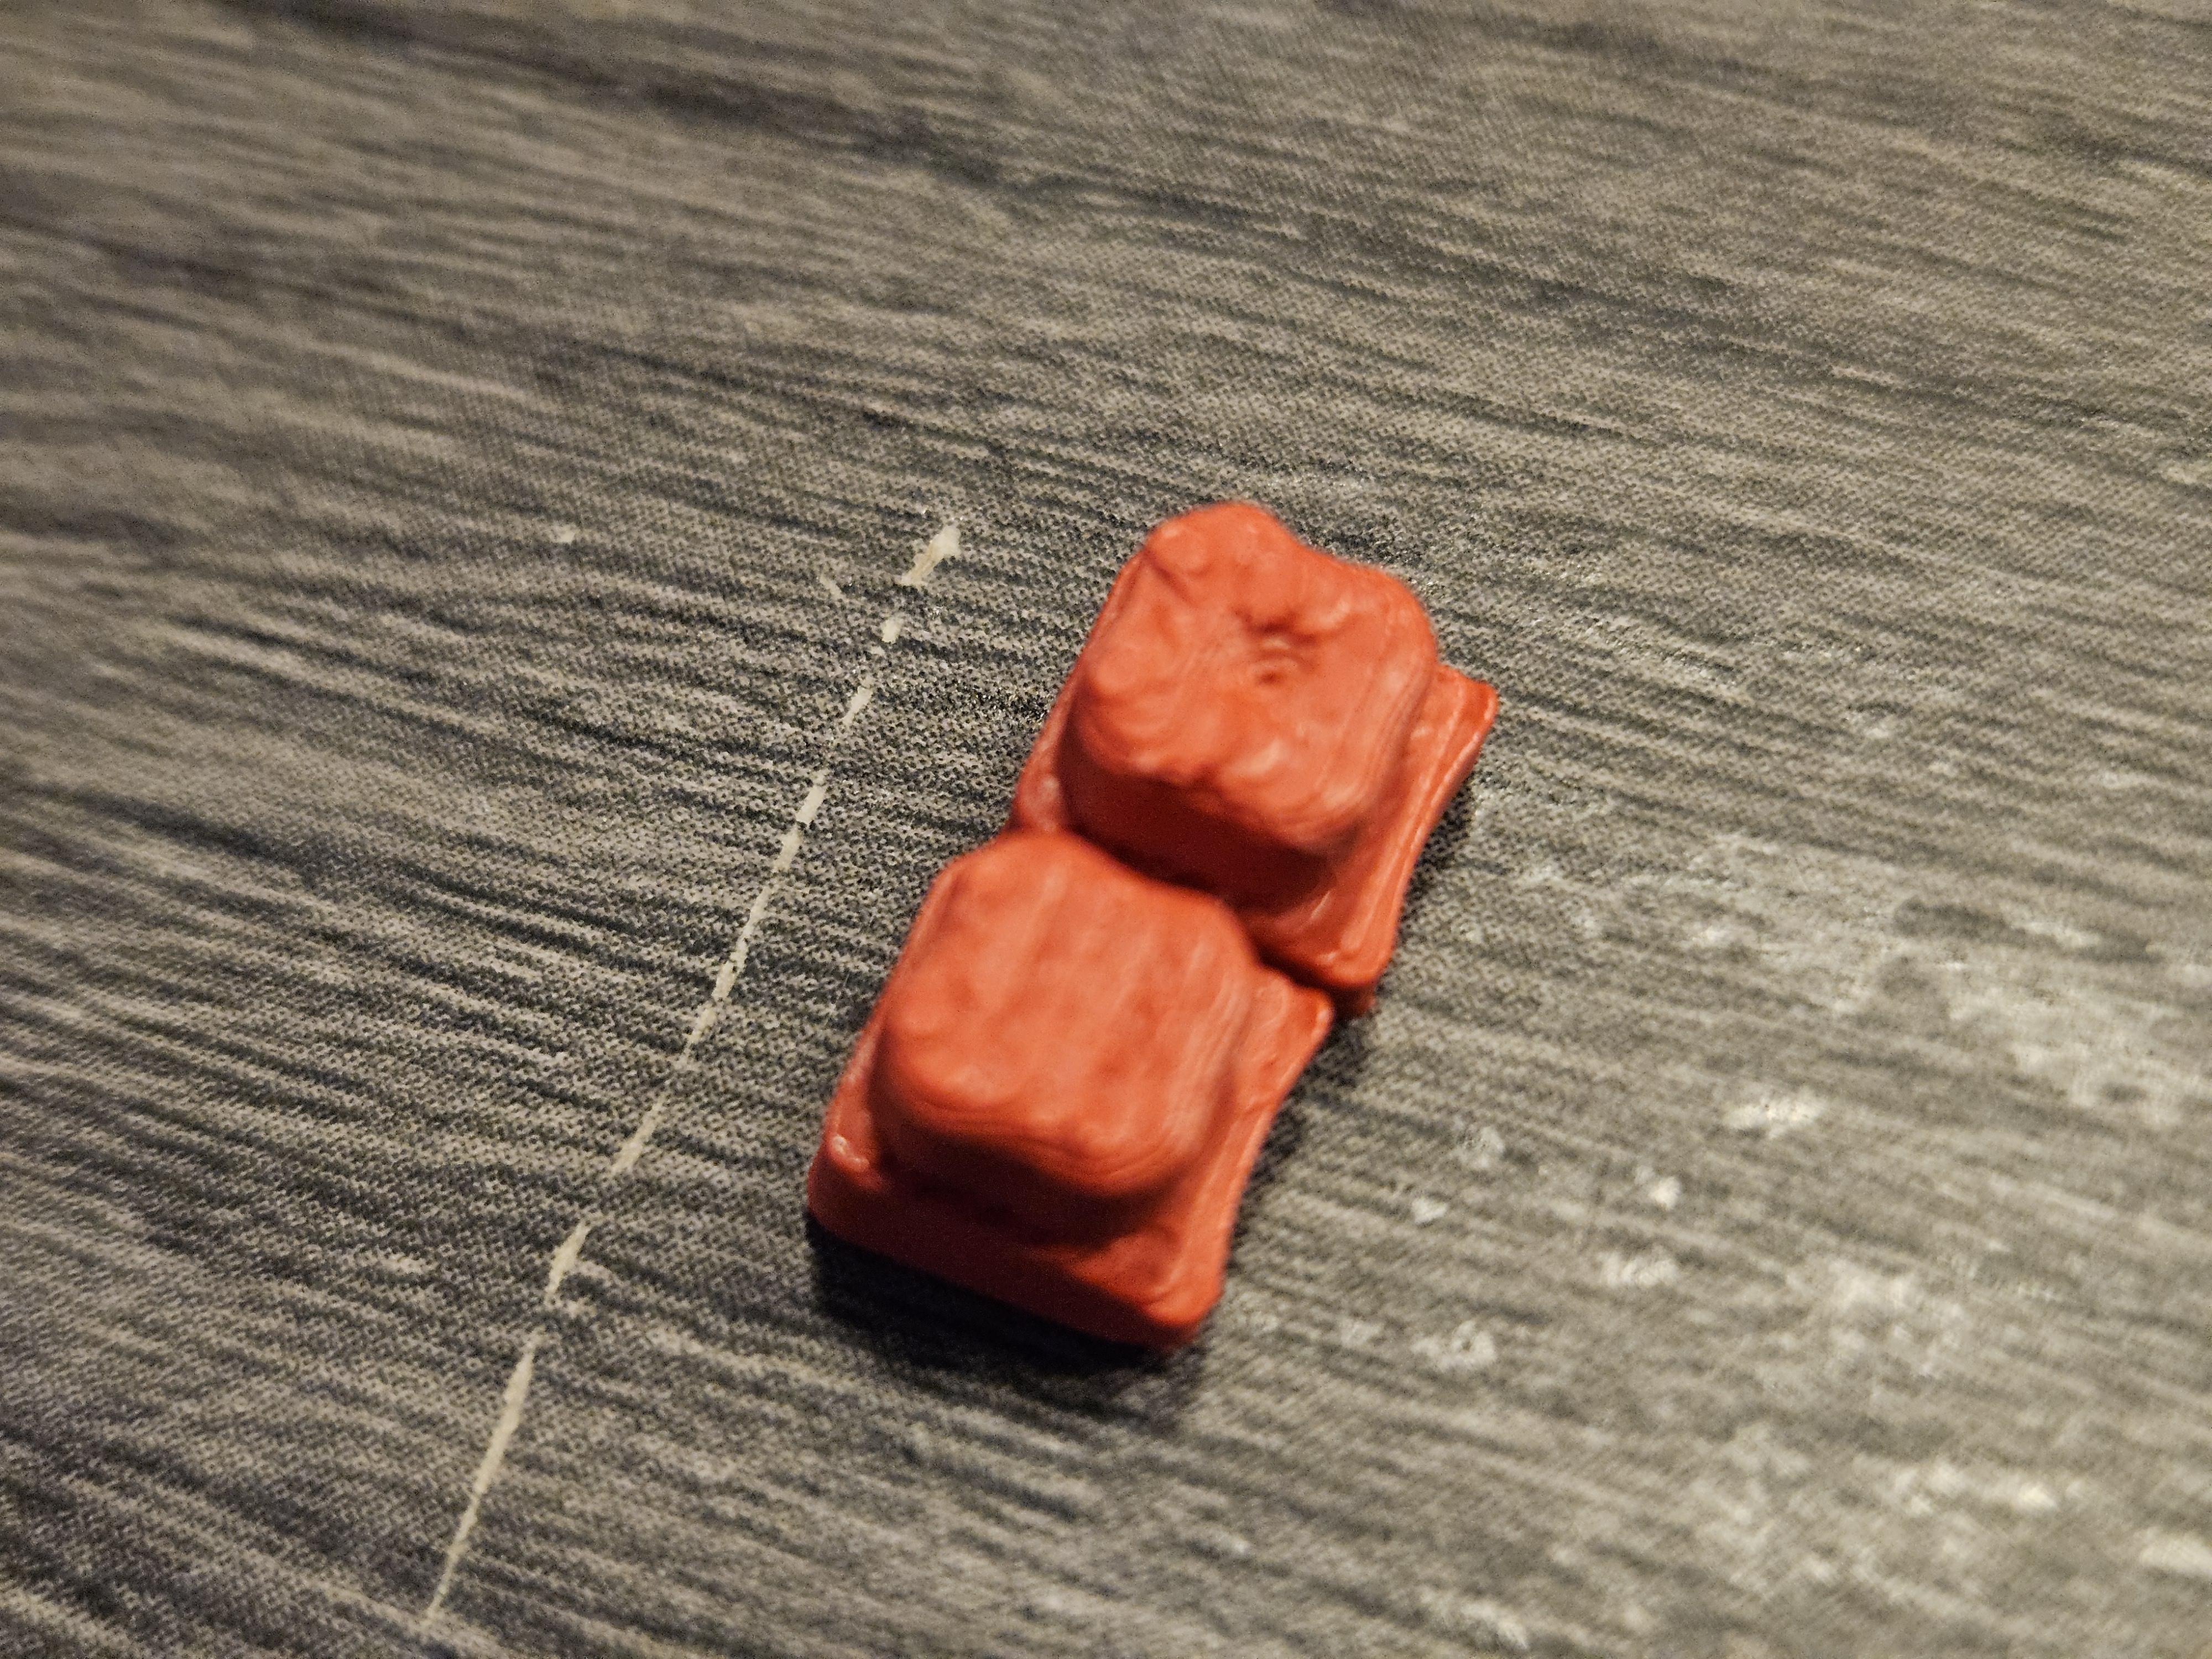
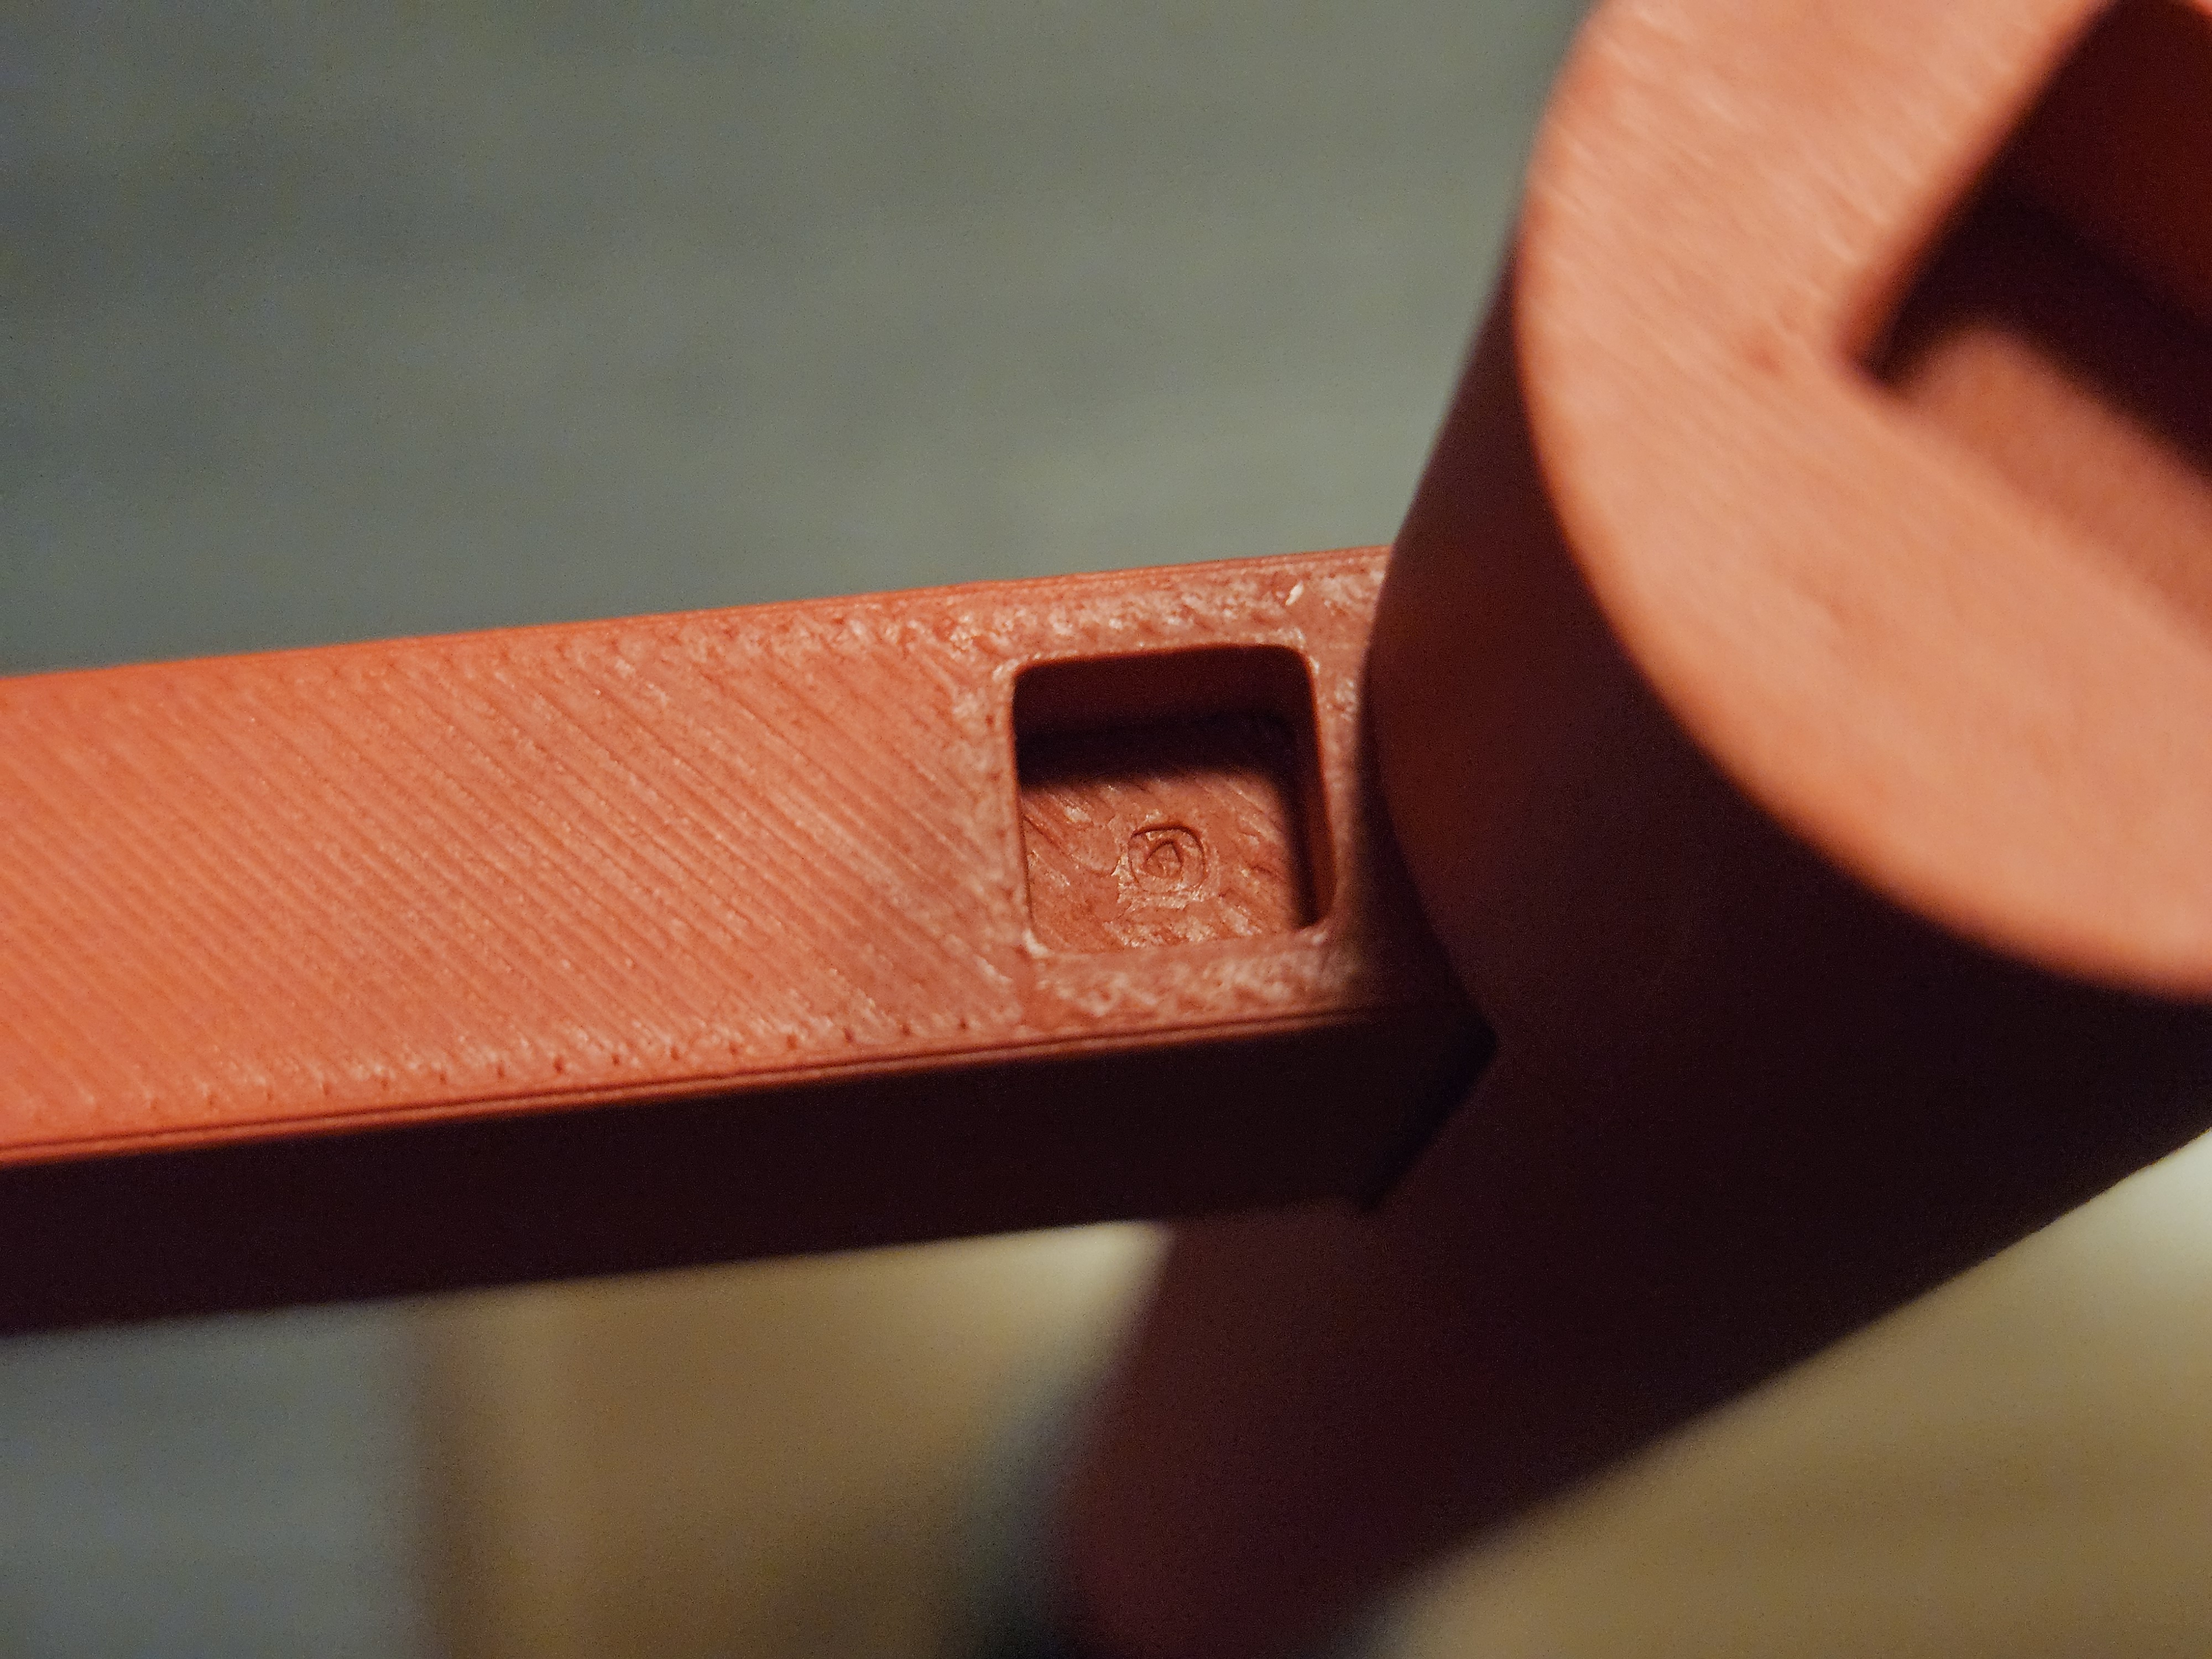
Rings + Long Dowels (each post)
Place the two rings in the correct orientation on top of the posts and insert one long dowel per post through the ring and post.
This step can be tight—go slowly, align carefully, and push until the dowel passes all the way through.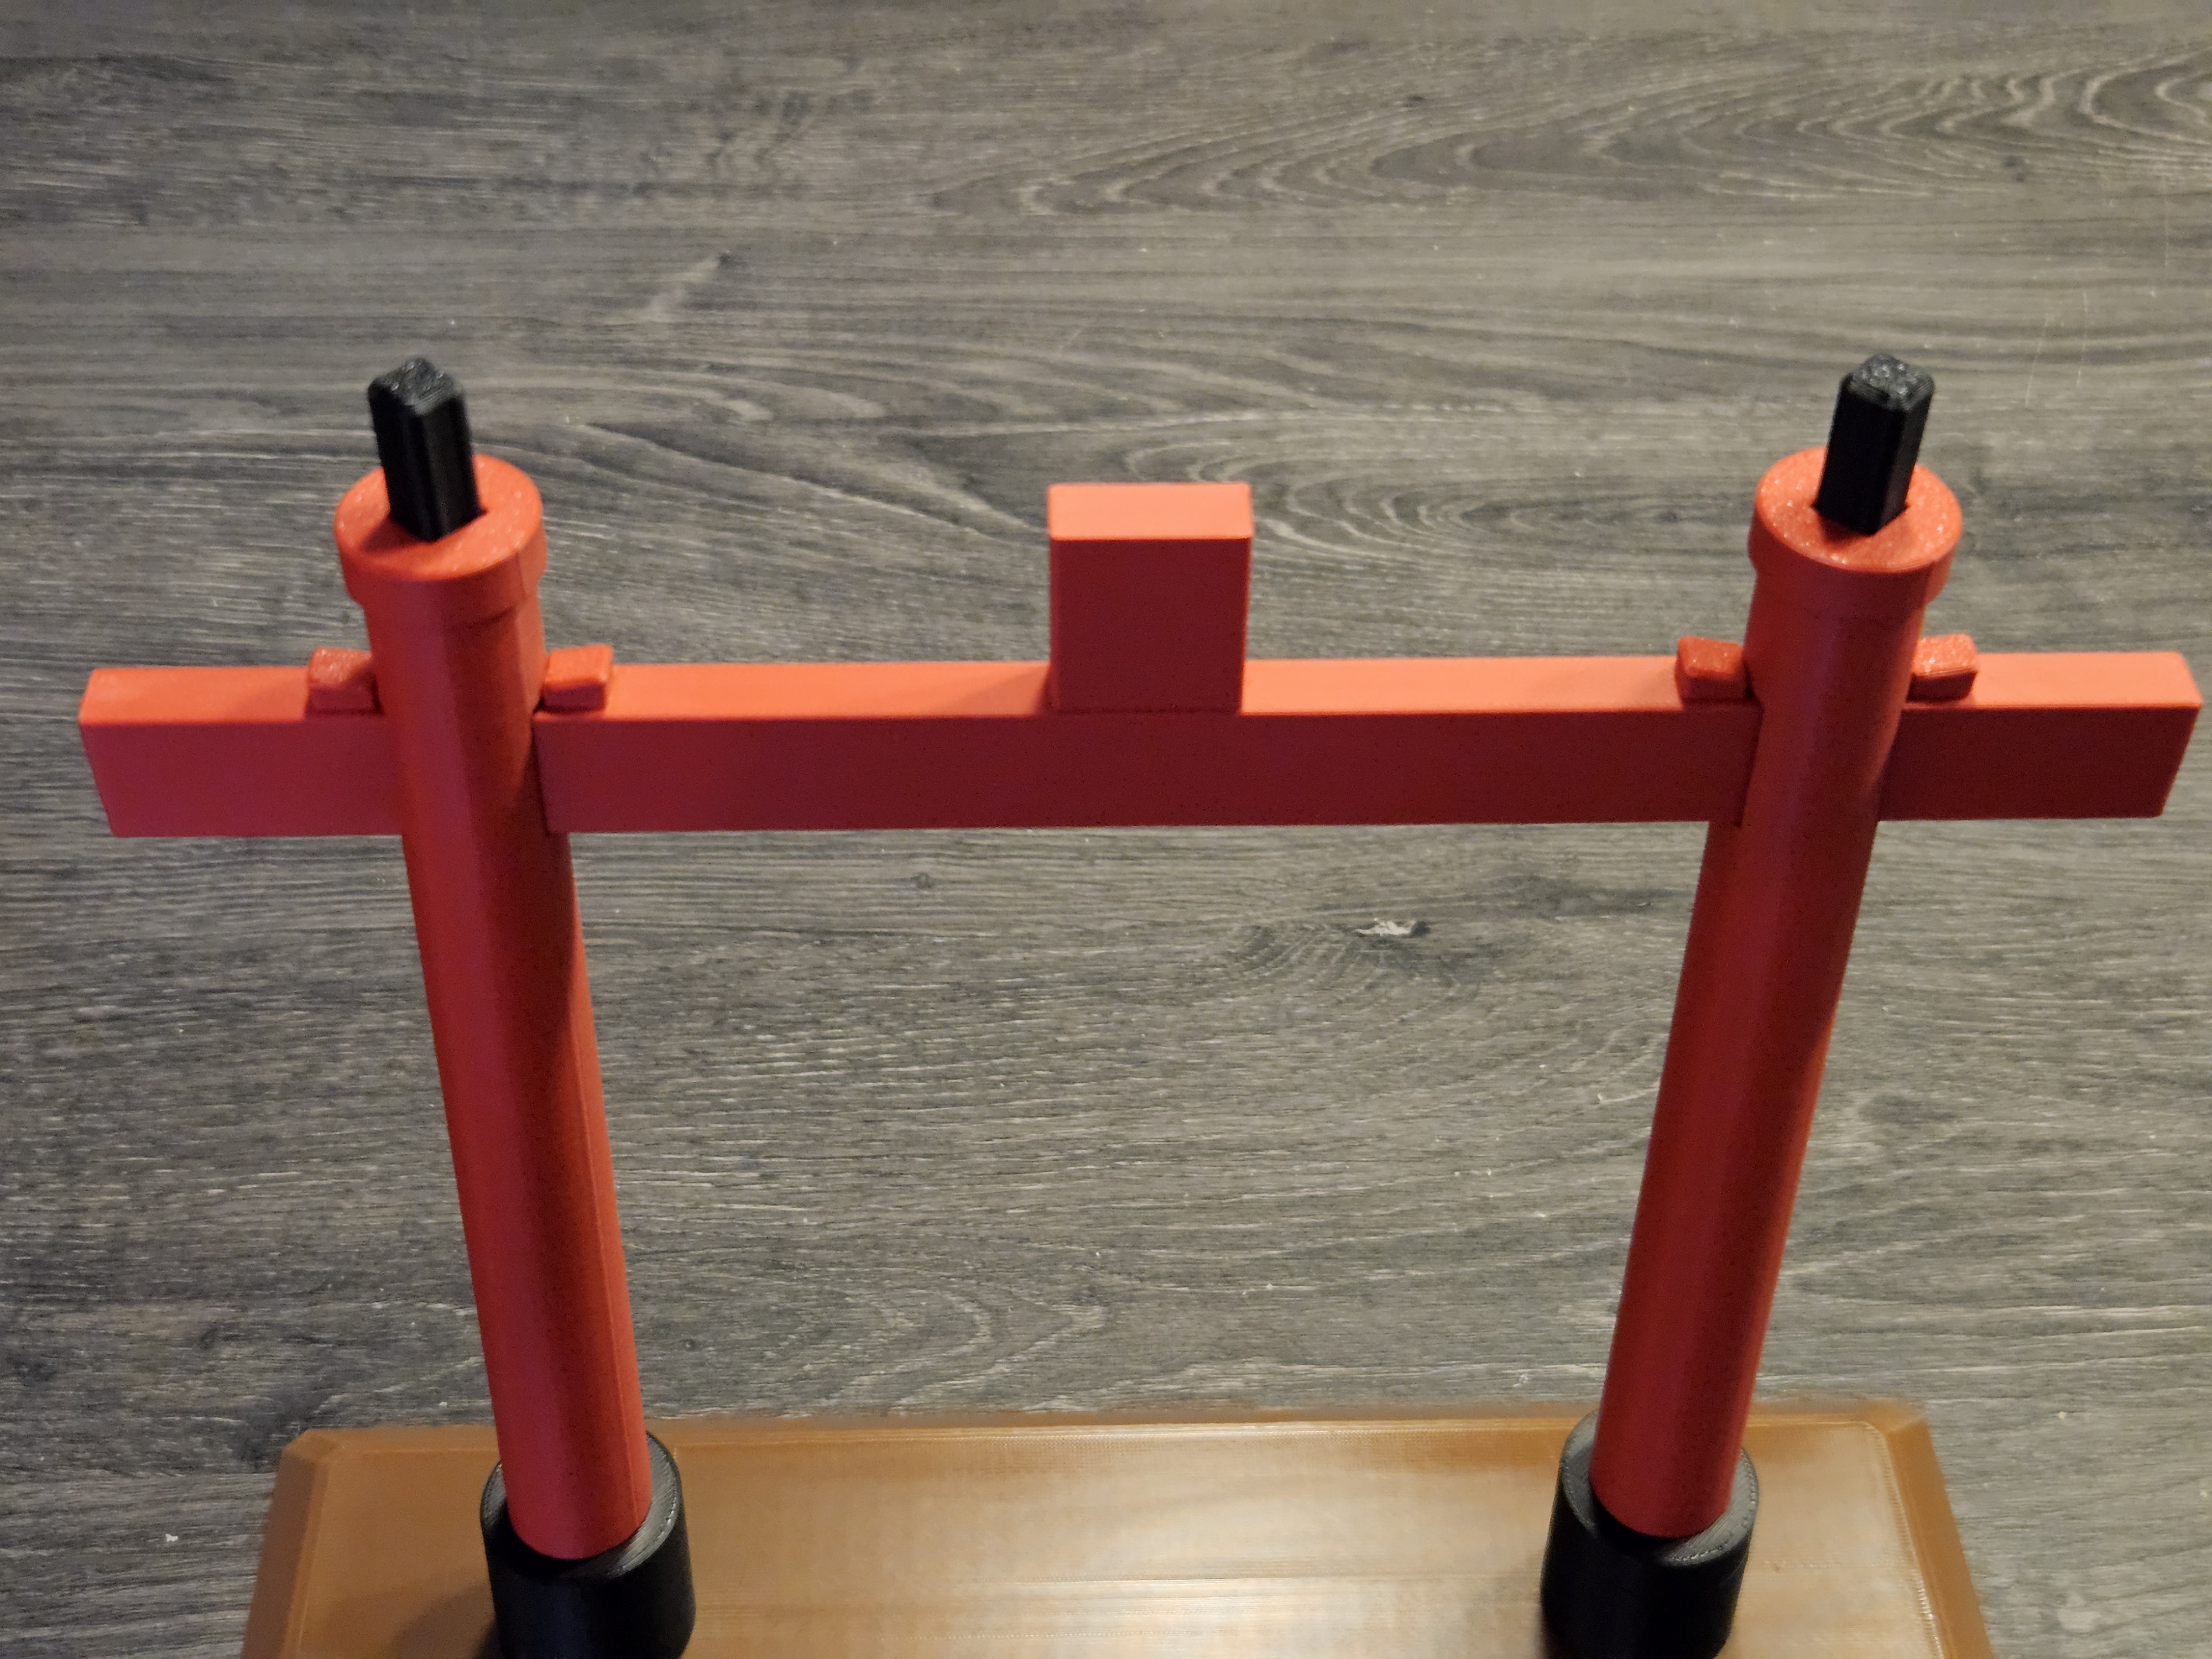
Curved Red Beam
Slide the curved red beam through its sockets above the rings.
Ensure it is centered and seated.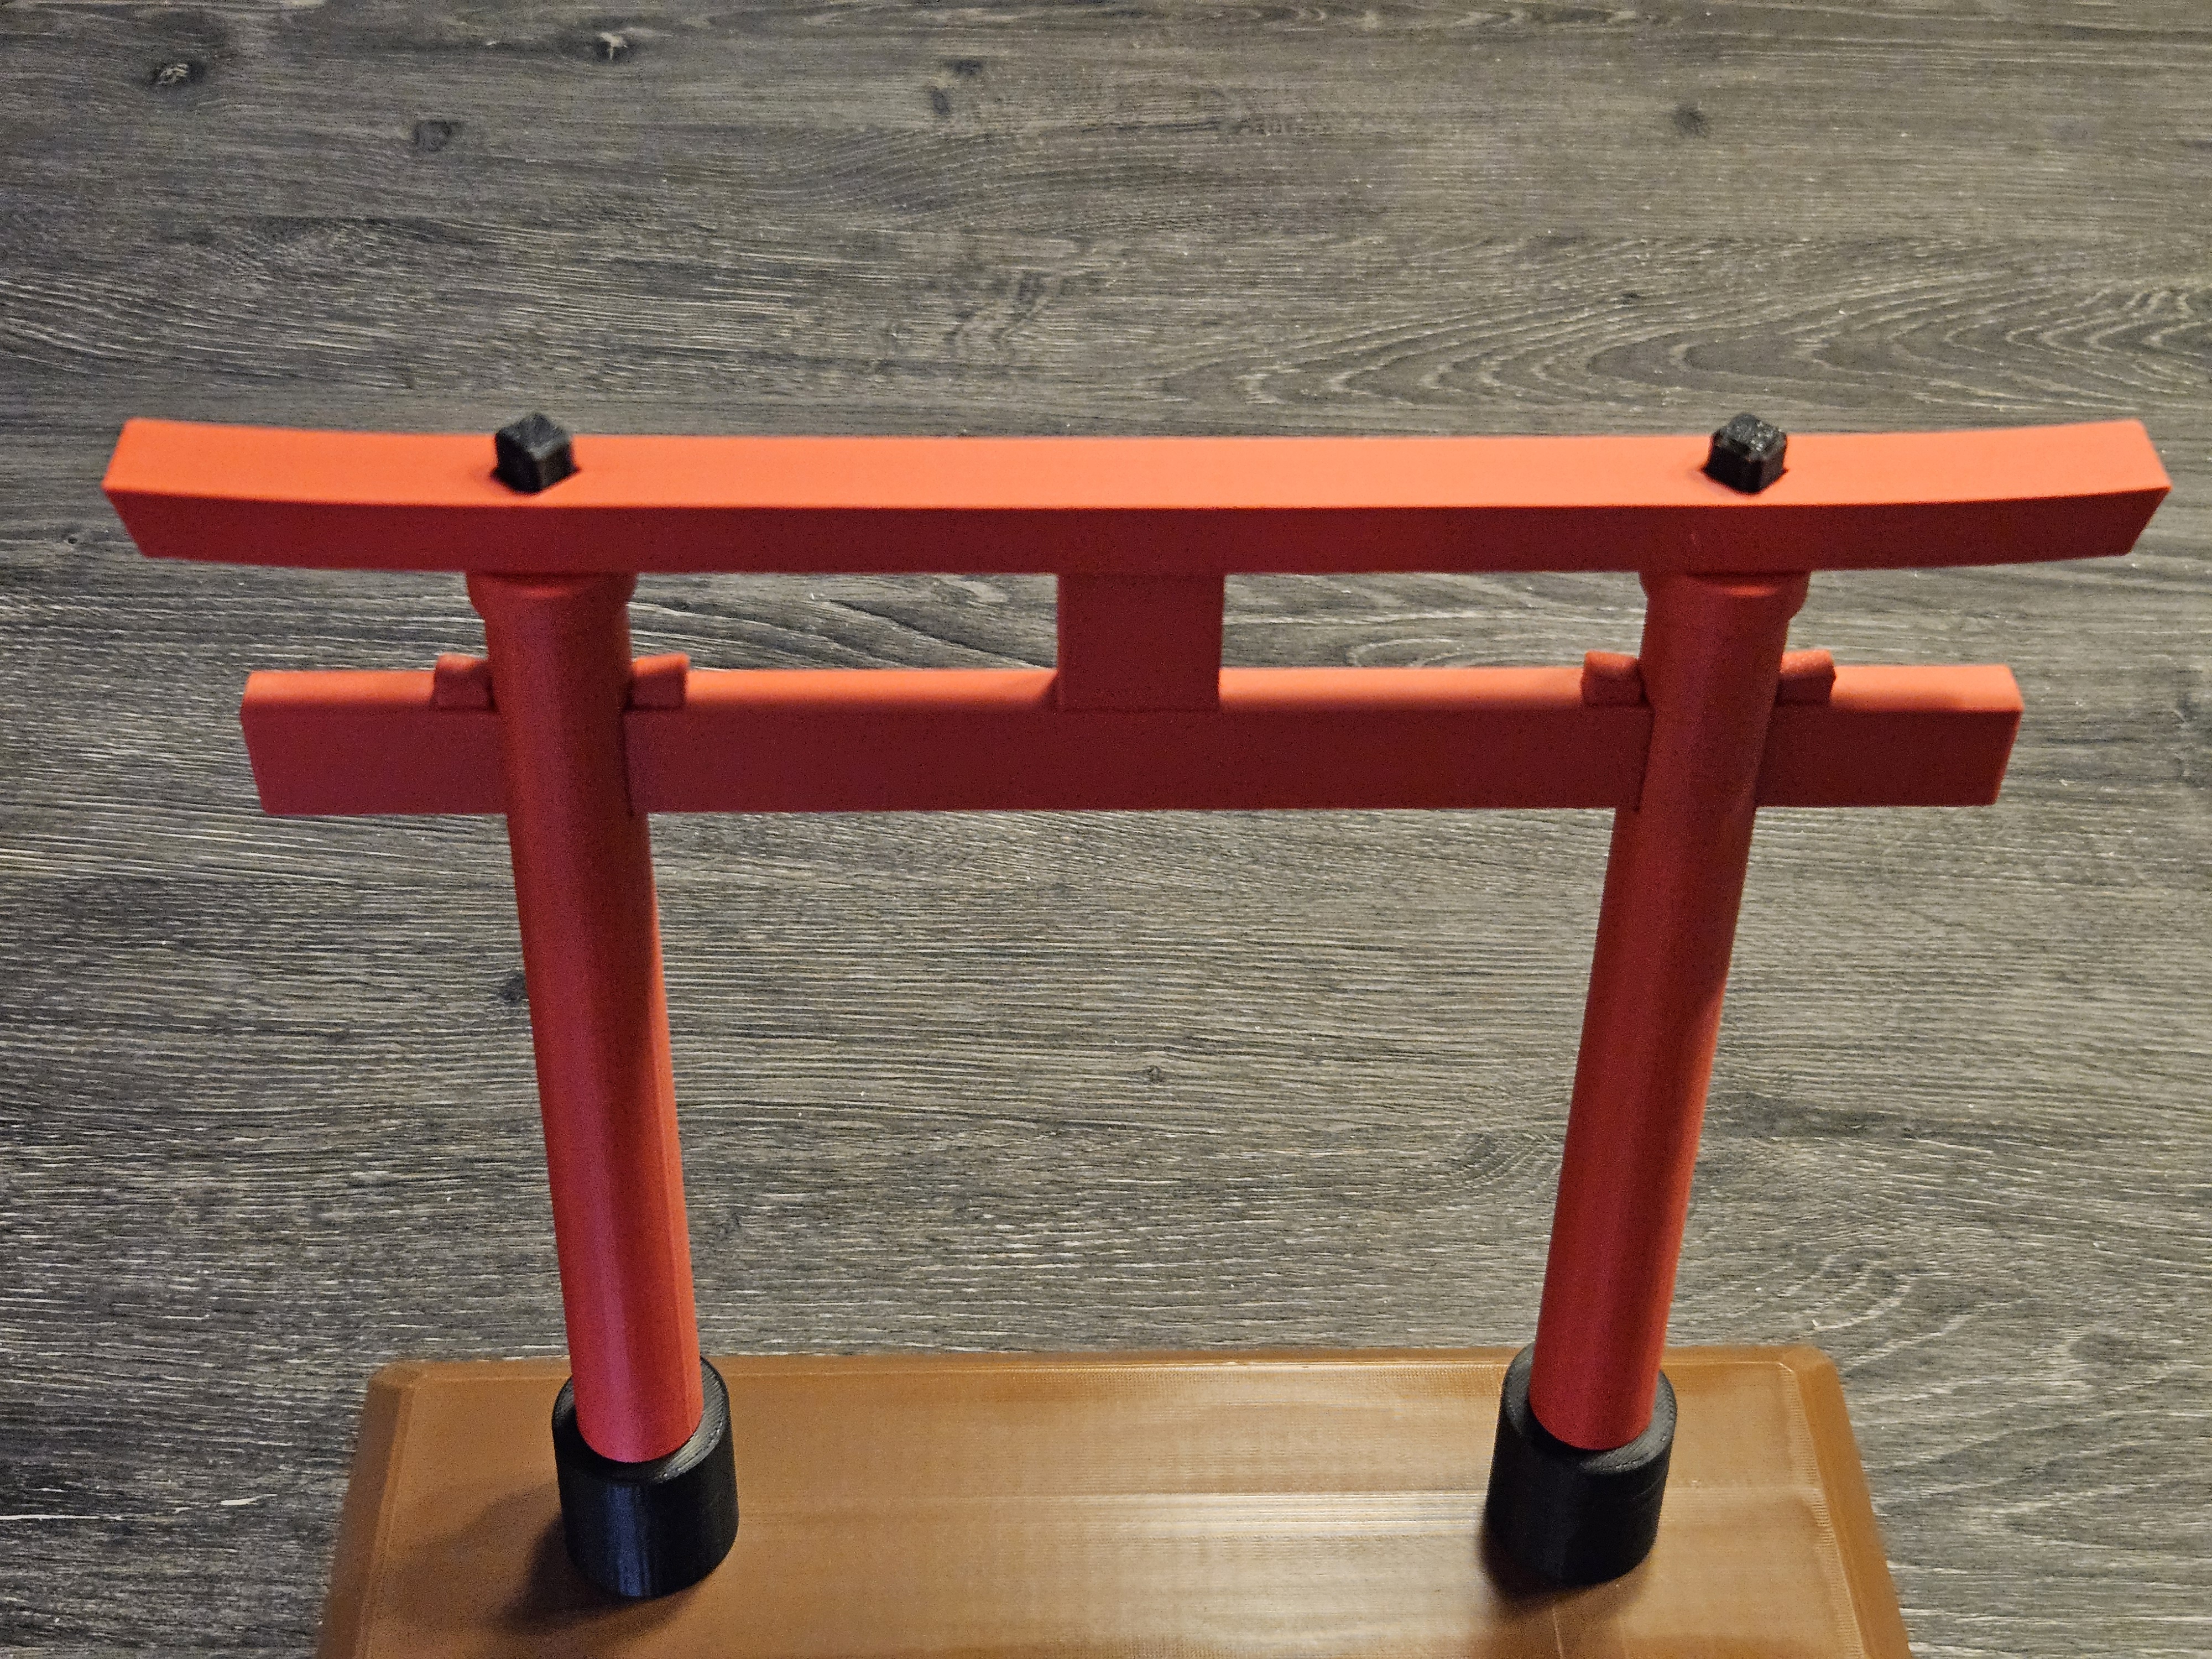
Black Top Beam (final cap)
Place the black top beam on top as the final piece.
Check the full assembly: all parts are fully seated, marks aligned, and posts angled correctly.
Notes & Tips
- Tight fits are intentional for stability. If a joint is too firm, apply gentle, straight pressure and use the rubber mallet—light taps only.
- Avoid twisting; press straight to prevent stress on thin parts.
- No glue is needed. If you plan to disassemble later, press from both sides to release parts evenly.
Notes for the smaller version
- This version is a little more fiddly—please be patient.
- Use needle-nose pliers to position the four small blocks on the crossbeam and press them fully into place (they’re smaller than in the regular model).
- Deburr the bridge areas with a small file (or the edge of your pliers) so the crossbeam slides smoothly through the posts.
- The alignment marks are smaller and harder to see—double-check orientation before pressing parts home.
- Otherwise, assembly is unchanged and should snap-fit without glue.