Você está no 3DFinder
Buscamos em Thingiverse, MakerWorld e Printables ao mesmo tempo para te dar o melhor de cada uma.
Descrição
2D Image Printer Fun
Have you ever wanted to make a 3d print of a picture?
Have you ever wanted to make your favorite family portrait or headshot into a cartoon?
Inspired by innovative efforts like the Relief Sculptor Maker and Make My Lithophane, I thought it would be fun to try and make a tool for making 2-tone prints of pictures with one background color and one foreground color. This differs from the variety of tools that use varying brightness to determine the height of a 3d printed surface, instead using a variety of mathematical/artisanal methods to find vibrant ways to render images using only 2 colors.
Looking into the wide world of things (special shoutout to the YouTube channel of Acerola) I discovered that finding good ways to reduce images like this is difficult, and beyond the scope of image processing that tools like OpenSCAD or Bambu Lab’s Parametric Model Maker natively support.
Because of this, I’ve made this model to support transforming your pictures into 2-dimensional art!
How It Works
To create a 2-tone version of your image, I've made a website for adapting images and converting it into an .svg file that can be uploaded into this model (visit the website at [https://thegreengo.github.io/edges/edges.html](https://thegreengo.github.io/edges/edges.html)).
The interface in the Website looks something like this:
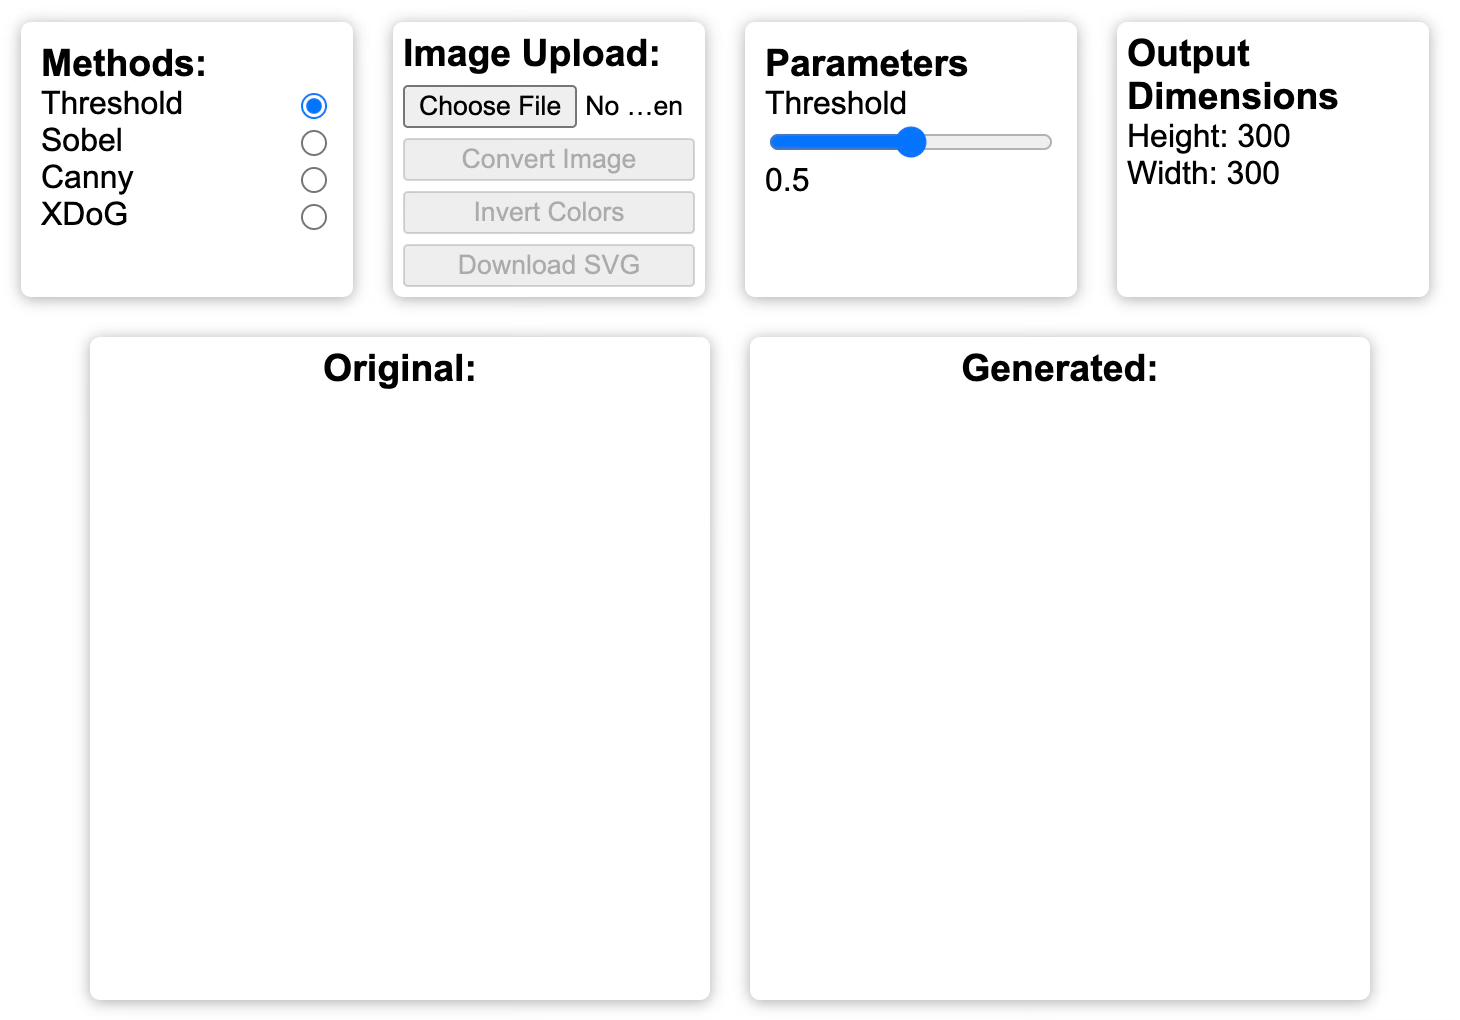
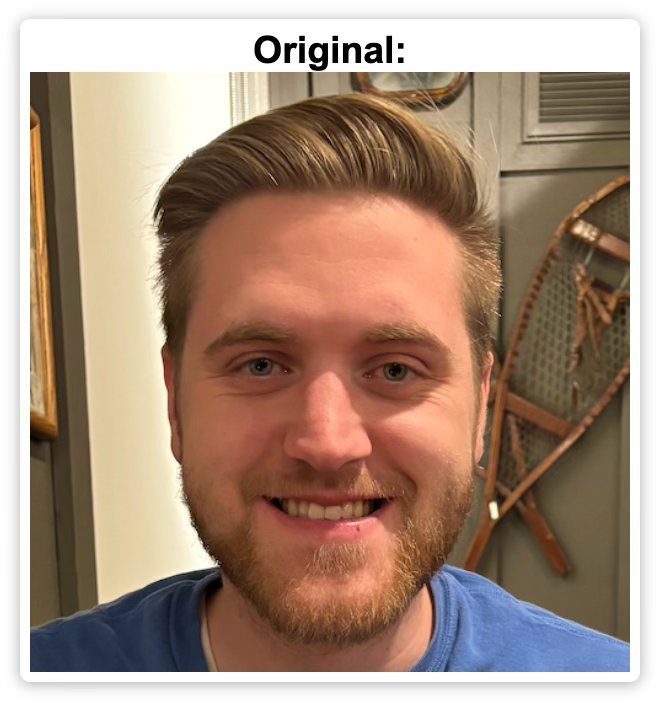
To get started, click on the “Choose File” button to upload your picture. Once it’s uploaded, it should show up under where it says “original”.
On the top row, you’ll find all the “controls” for the tool. On the left you’ll see where you can select your method of choice (more on this later). To start, “Threshold” is selected, as it is the easiest method.
Beside that are buttons to upload a different picture, convert the image into a 2-tone version of itself, invert the colors (switch black to white and white to black), and to download your new image as an .svg (once downloaded, this .svg can be uploaded into the “customize” part of this model listing to get your own, custom print profile for your image).
The next section allows you to tune the parameters of the mathematical model that’s generating the black and white image. For “Threshold” the image is converted to a grayscale (what we normally mean by black-and-white) image and then, a threshold of brightness is applied, with pixels below the threshold being set to black and all others being set to white.
Adjusting the parameters or clicking “convert image” will render the 2-tone version of your original picture.
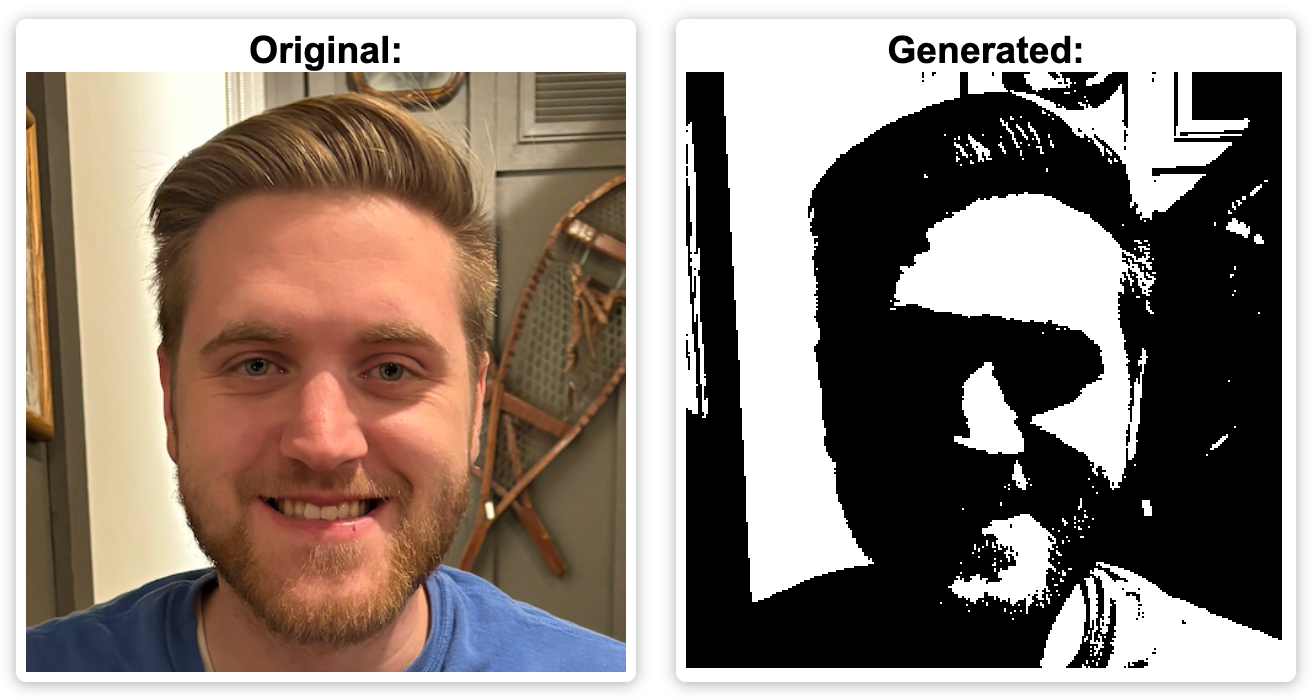
I recommend trying out a variety of parameters on all 4 different methods until you find one you like best.
Here’s a comparison of the results of the 4 methods (you can find descriptions on the website):
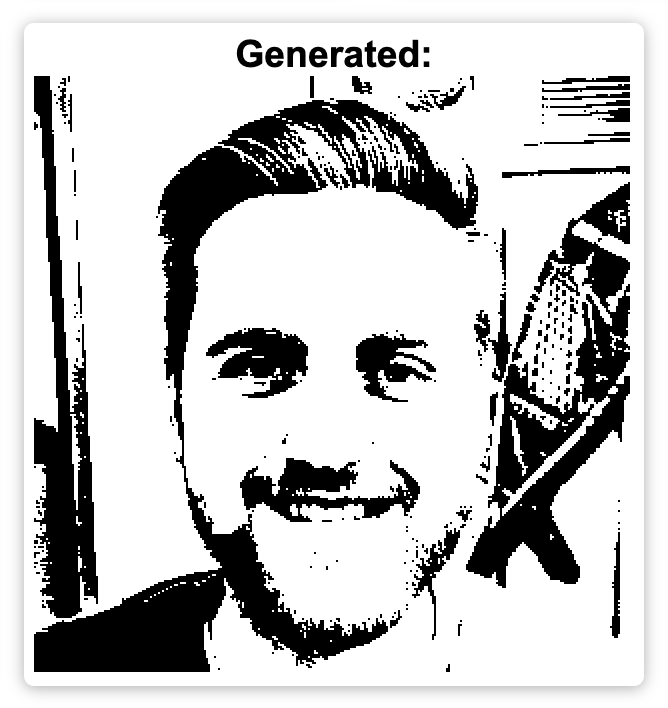
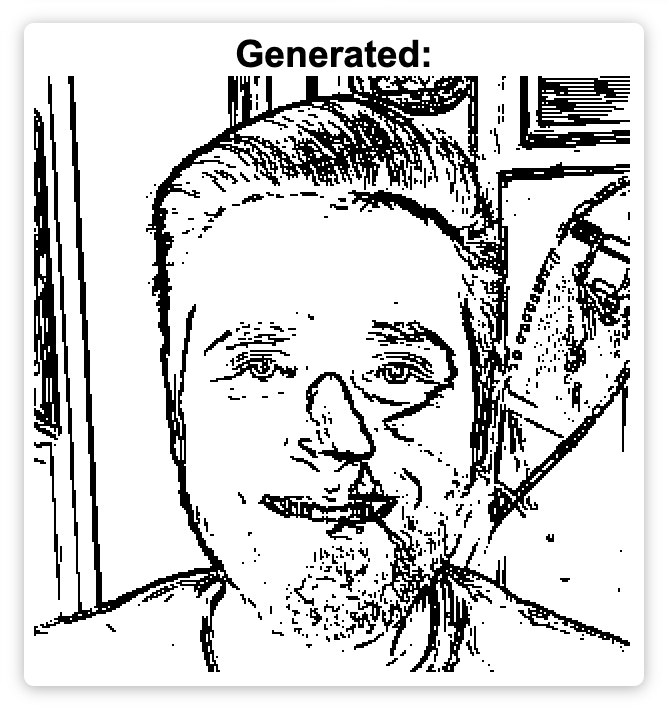
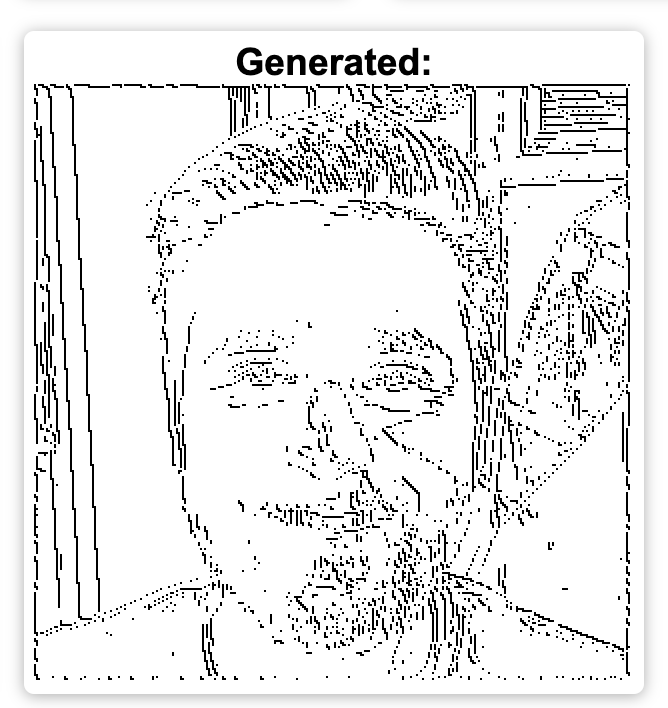
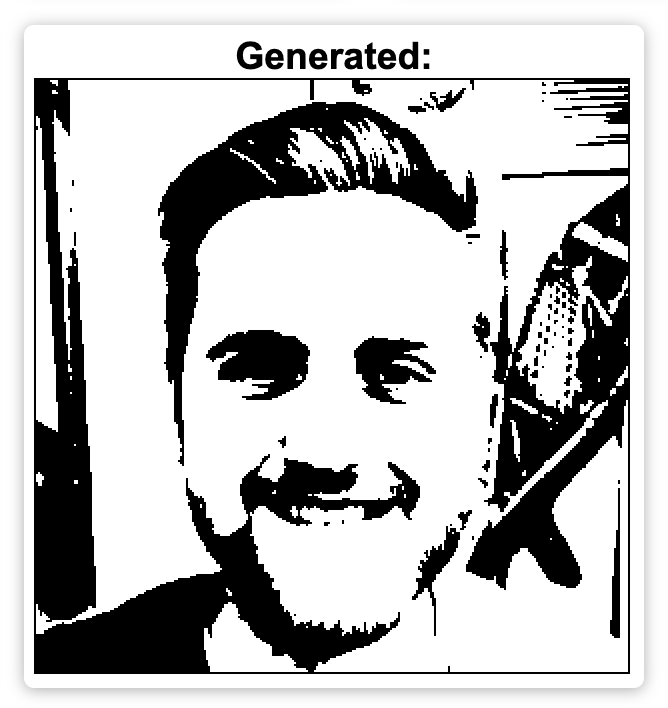
(from left to right: threshold, sobel, canny, XDoG)
I’ve personally found that XDoG yields some of the best results, with Threshold being the simplest. The Sobel and Canny methods work well for really simple images, or when just edge lines are wanted.
Creating Your Print Profile
Once you’ve gotten an .svg version of your image generated, take note of the part of the website where it says “Output Dimensions”. You’ll need to upload these values, along with your .svg, to get your print ready to go.
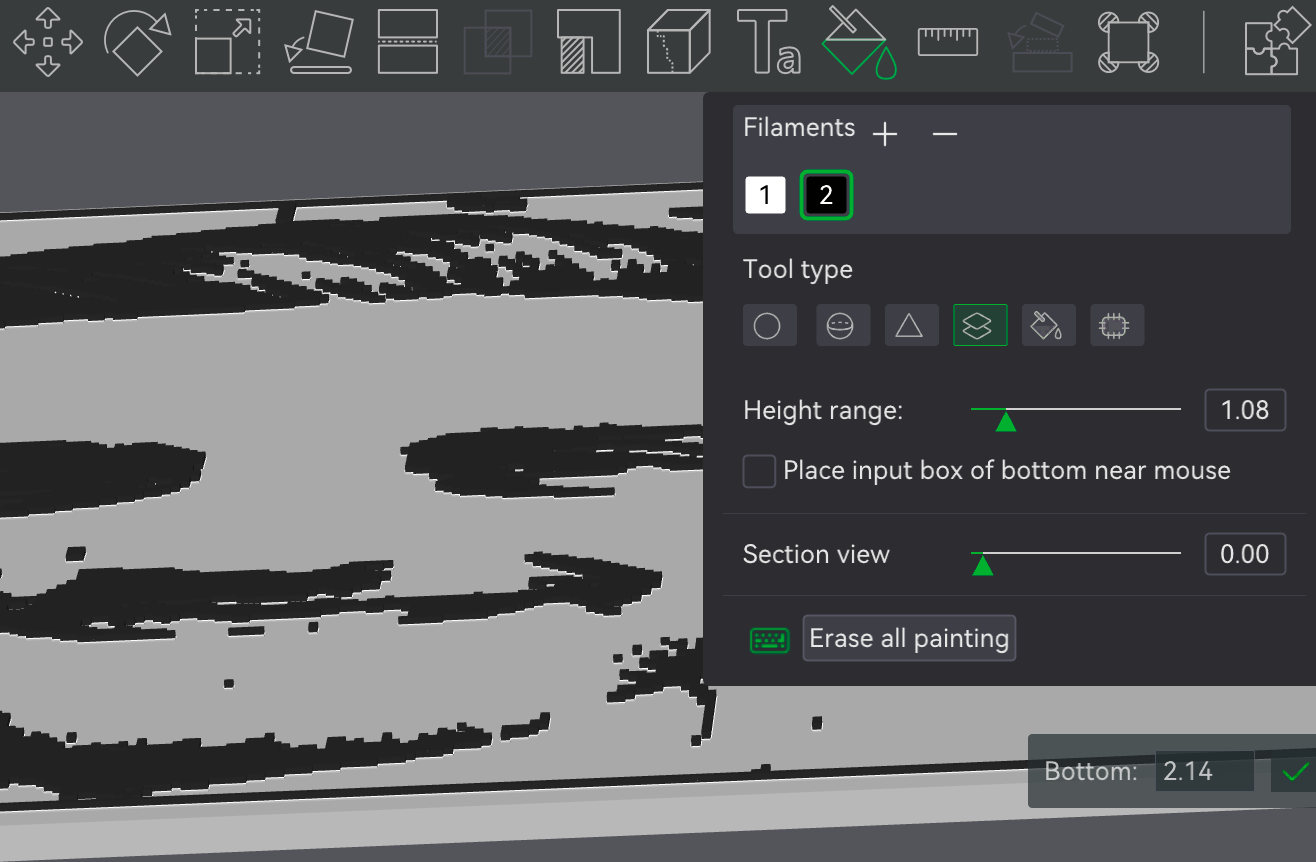
When printing, make sure to either pause and change filaments at layer 11, or to set a filament switch above 2.01mm. (Here’s how you can do it in bambu studio with the “paint” tool, it’s a little tricky but you’ll need to click on the model for where you want the 2nd type of filament to start)
Backlit Images
One fun thing I discovered is that, although this isn’t meant to work as a lithograph, certain prints with light background colors and dark foreground look really good with a backlight, or with the base layer being glow-in-the-dark.
Assembly
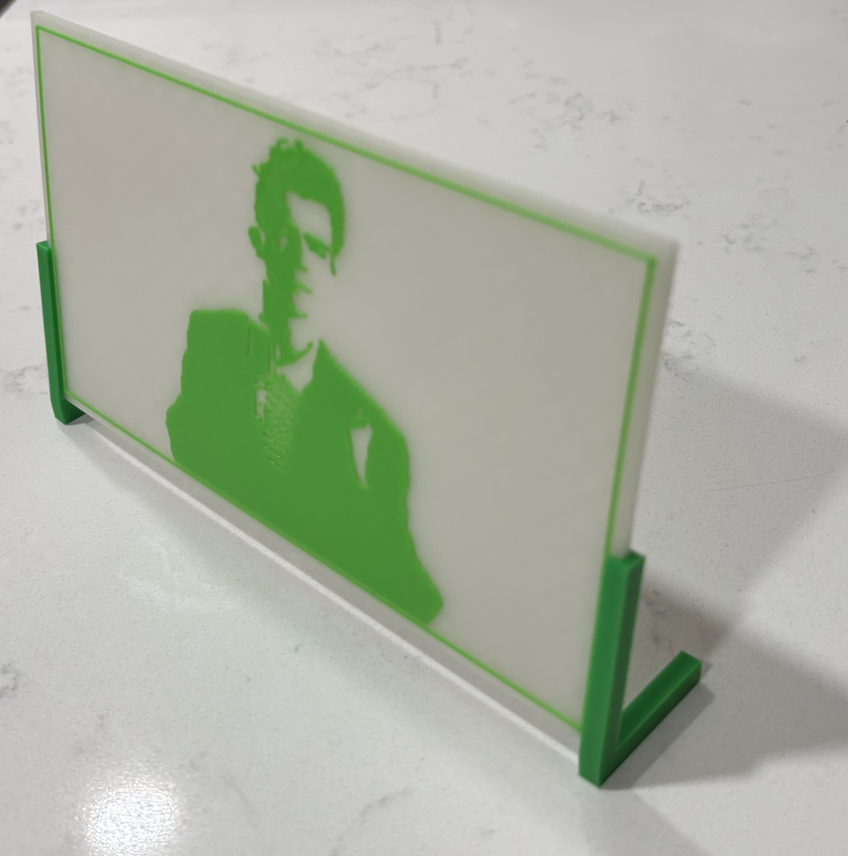
To make it easy to display your image, I’ve also made some “legs” you can print out to hold your print upright.
To assemble
- Take each leg, lay it on its side with the cutout/opening facing up
- Line the bottom corner of your image print up with the cutout
- Push down (firmly) until the print is seated all the way in
- Repeat 1-3 for the other side and leg
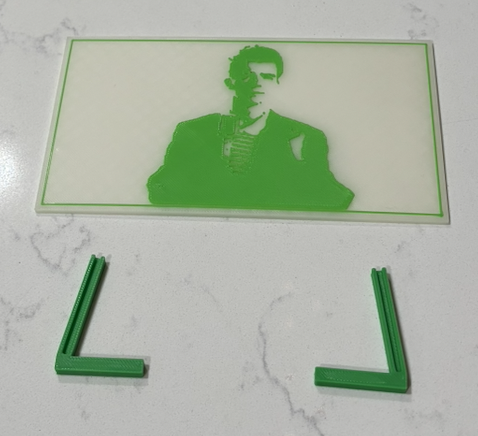
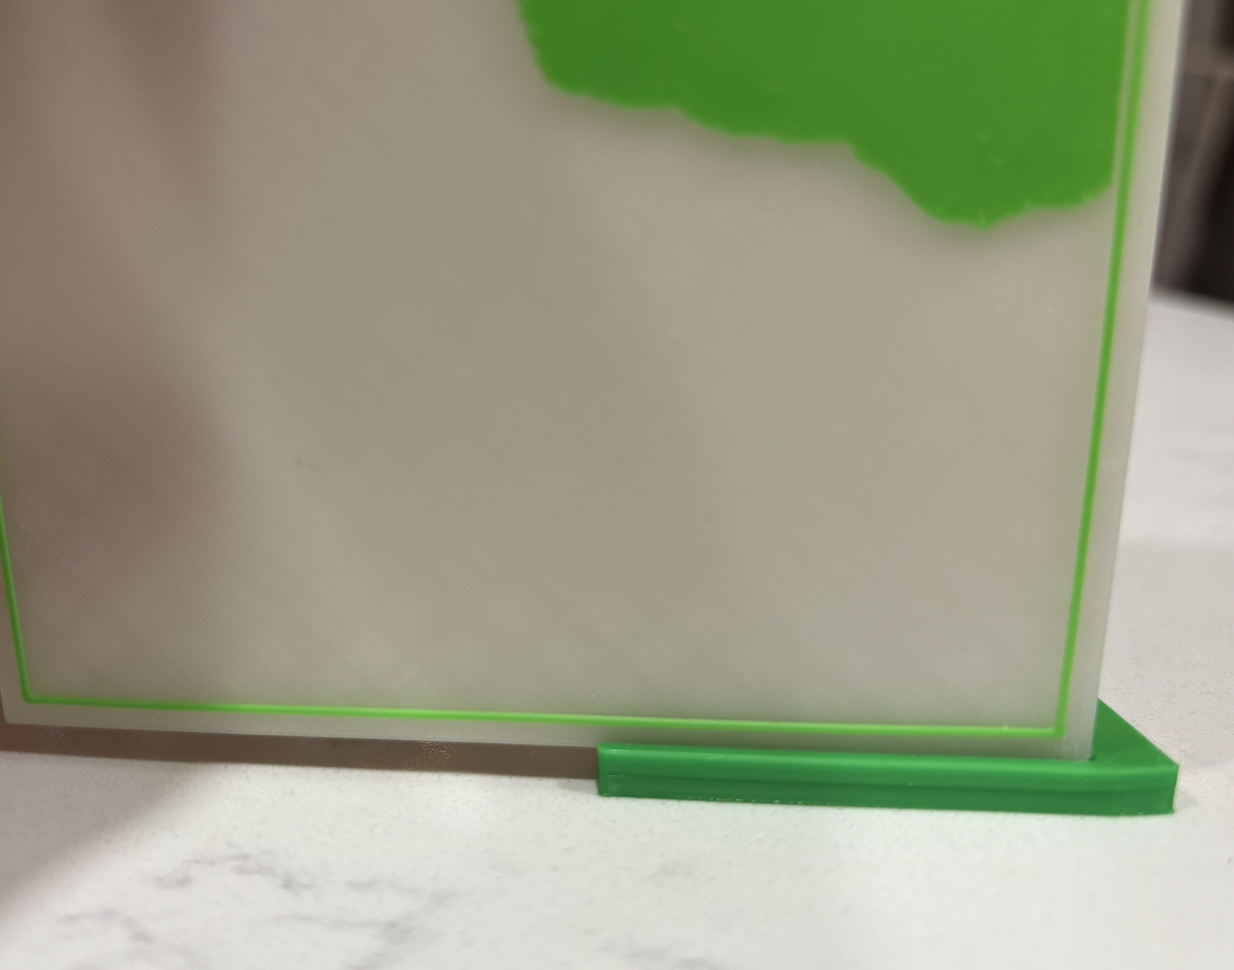 .
. 
Conclusion
I hope you all have as much fun as I have working with this model and having fun generating 2-tone images and fun prints!
This model has been a labor of love and a ton of work so please, please, please show support by boosting, liking, commenting, and sharing this model. It’s taken a lot of time to get it to this state and I’d love to continue adding new features, polishing, and improving, but I’ve decided to post it as-is to see if it’s well enough liked to be worth any more effort.
And of course, please comment with pictures of your prints so I can see what fun creations you’ve been able to make!
Gostou deste modelo? Crie uma conta grátis para salvar seus favoritos e voltar a eles depois.
Criar conta