Você está no 3DFinder
Buscamos em Thingiverse, MakerWorld e Printables ao mesmo tempo para te dar o melhor de cada uma.
Descrição
This is a clock model that uses an inexpensive battery powered pedulum clock mechanism. It has close tolerances which means only a mimimal amount of glue is needed for the top and front/back panels. Depending on your printer and choice of material a small amount of persuading may be required to fit the pieces. I recommend checking all the channels and pegs for remaining support material and imperfections before assembling. The pegs are easing breakable, so disassembly could be difficult. If you would prefer a model that uses a non-pendulum clock mechanism like the Bambu Lab kit you can find one here: Mission Style Clock
You can find my entire Praire/Mission/Craftsman Style collection here: Priairie/Craftsman Collection
Assembly Instructions:
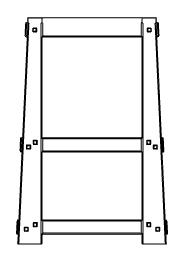
Step 1: Assemble the two frames that form the front and rear of the clock
These are identical and are each made up of:
1- Verical A 1- Verical B 1- Horizonal Top 1- Horizontal Center 1- Horizontal Bottom |
 |
Step 2: Install the three panels in the frames. I recommend a small amount of glue to keep them in place during handling.
1- Face 1- Lower Front Panel 1- Lower Rear Panel | 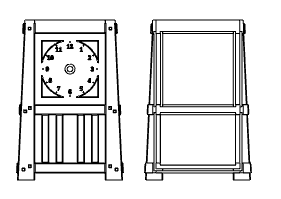 |
Step 3: Install the two side panels abd bottom into either the front or rear assembly. No glue should be necessary.
2- Side Panels 1- Bottom | 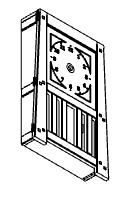 |
Step 4: Install the other front/rear assembly and the top.
1- Top | 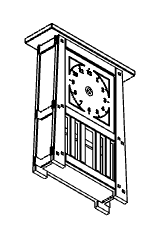 |
Step 5: Final assembly. First hook the pedulum onto clock mechanism. Then lower it into place and fasten with the washer and nut. Finally install the hands and cap.
1- Clock mechanism 1- Hour Hand 1- Minute Hand 1- Cap | 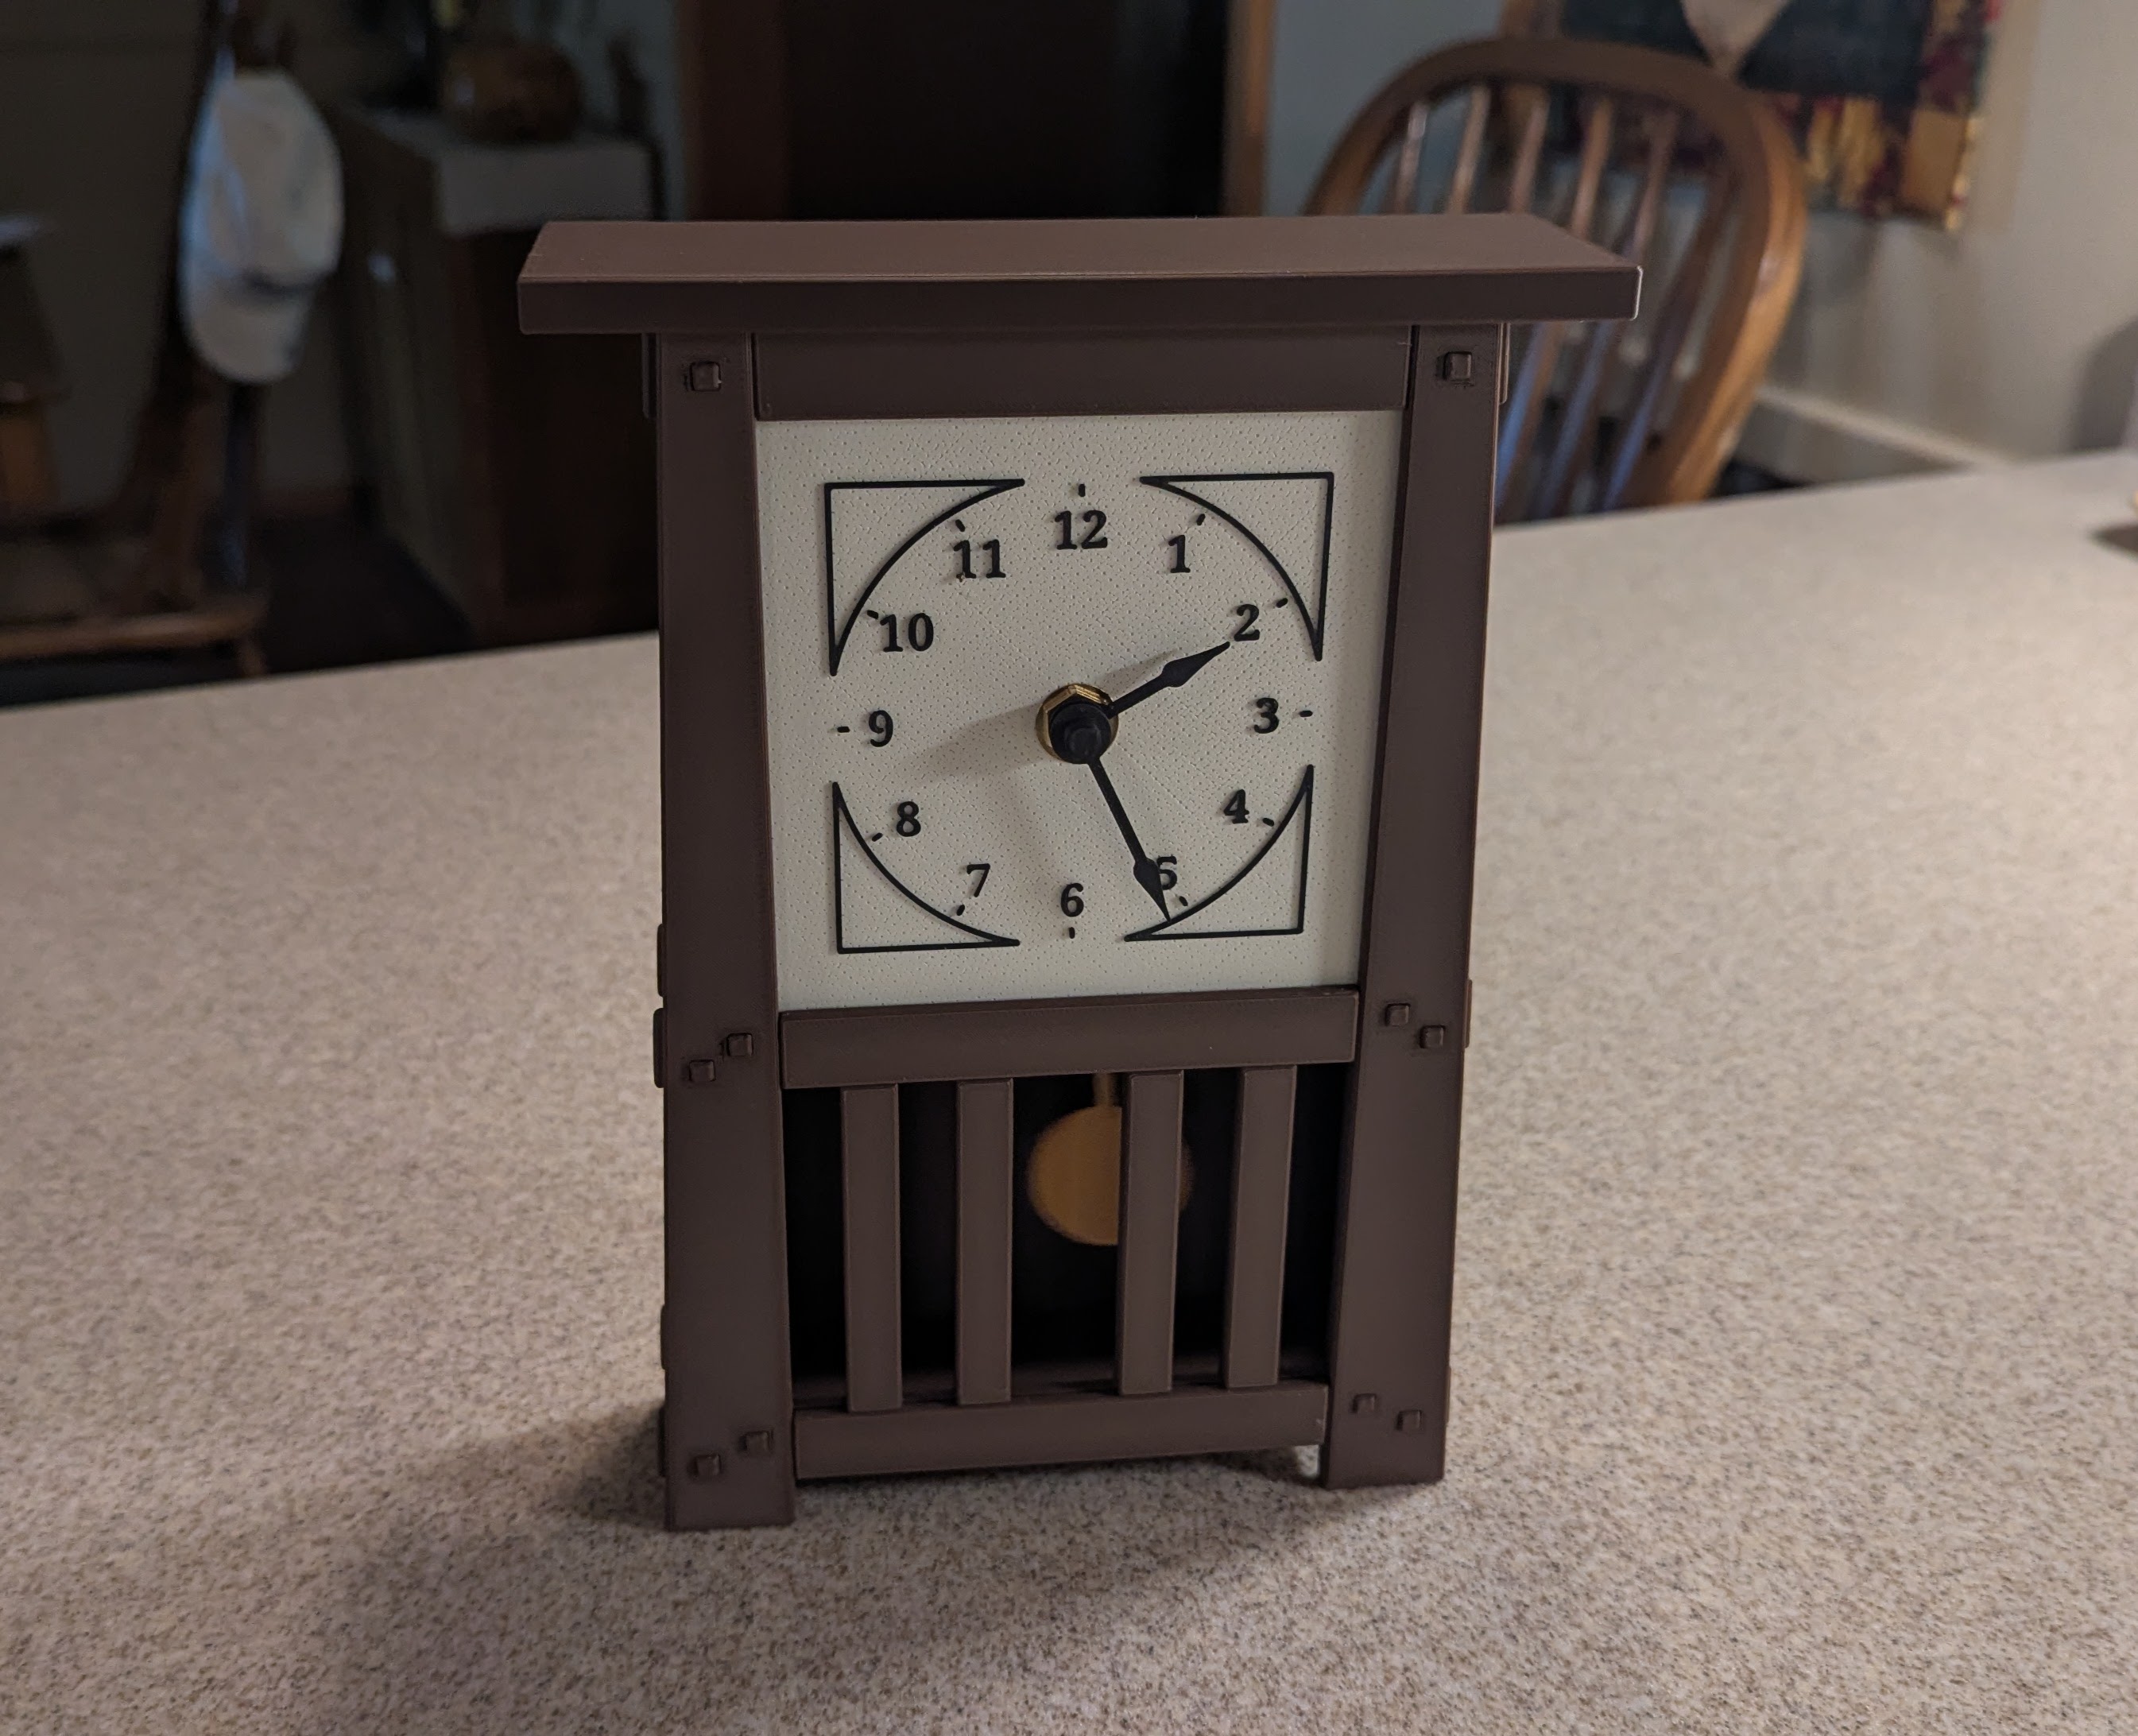 |
Mechanism
The clock mechanism kit you obtain should be similar to this picture. The one I used can be seen here. | 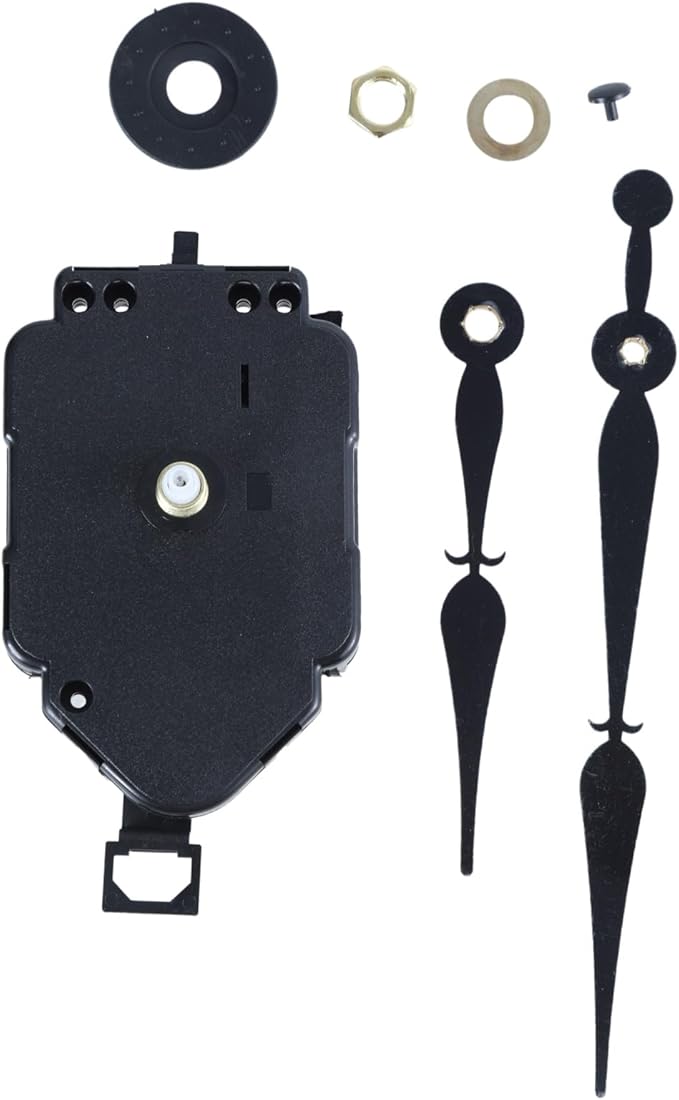 |
Mission Style Pendulum Clock

Publicado em 10 de out de 2025