Você está no 3DFinder
Buscamos em Thingiverse, MakerWorld e Printables ao mesmo tempo para te dar o melhor de cada uma.
Descrição
Support
All my designs and mods are free to use and remix. They have a non-commercial license. If you enjoy this or any of my other designs you can send me a small donation using the link below. Thanks :)
About
This is a quick and useful test for 3D printers, it's less than 9 g in total and can be printed quite fast. There are other similar tests available and I've tried a few but they are often quite big and wasteful and take a long time to print while testing things you don't really need to test in order to dial in your printer.
For this test the overhangs test is split into two columns to give each part some time to naturally cool so you can print it a little faster.
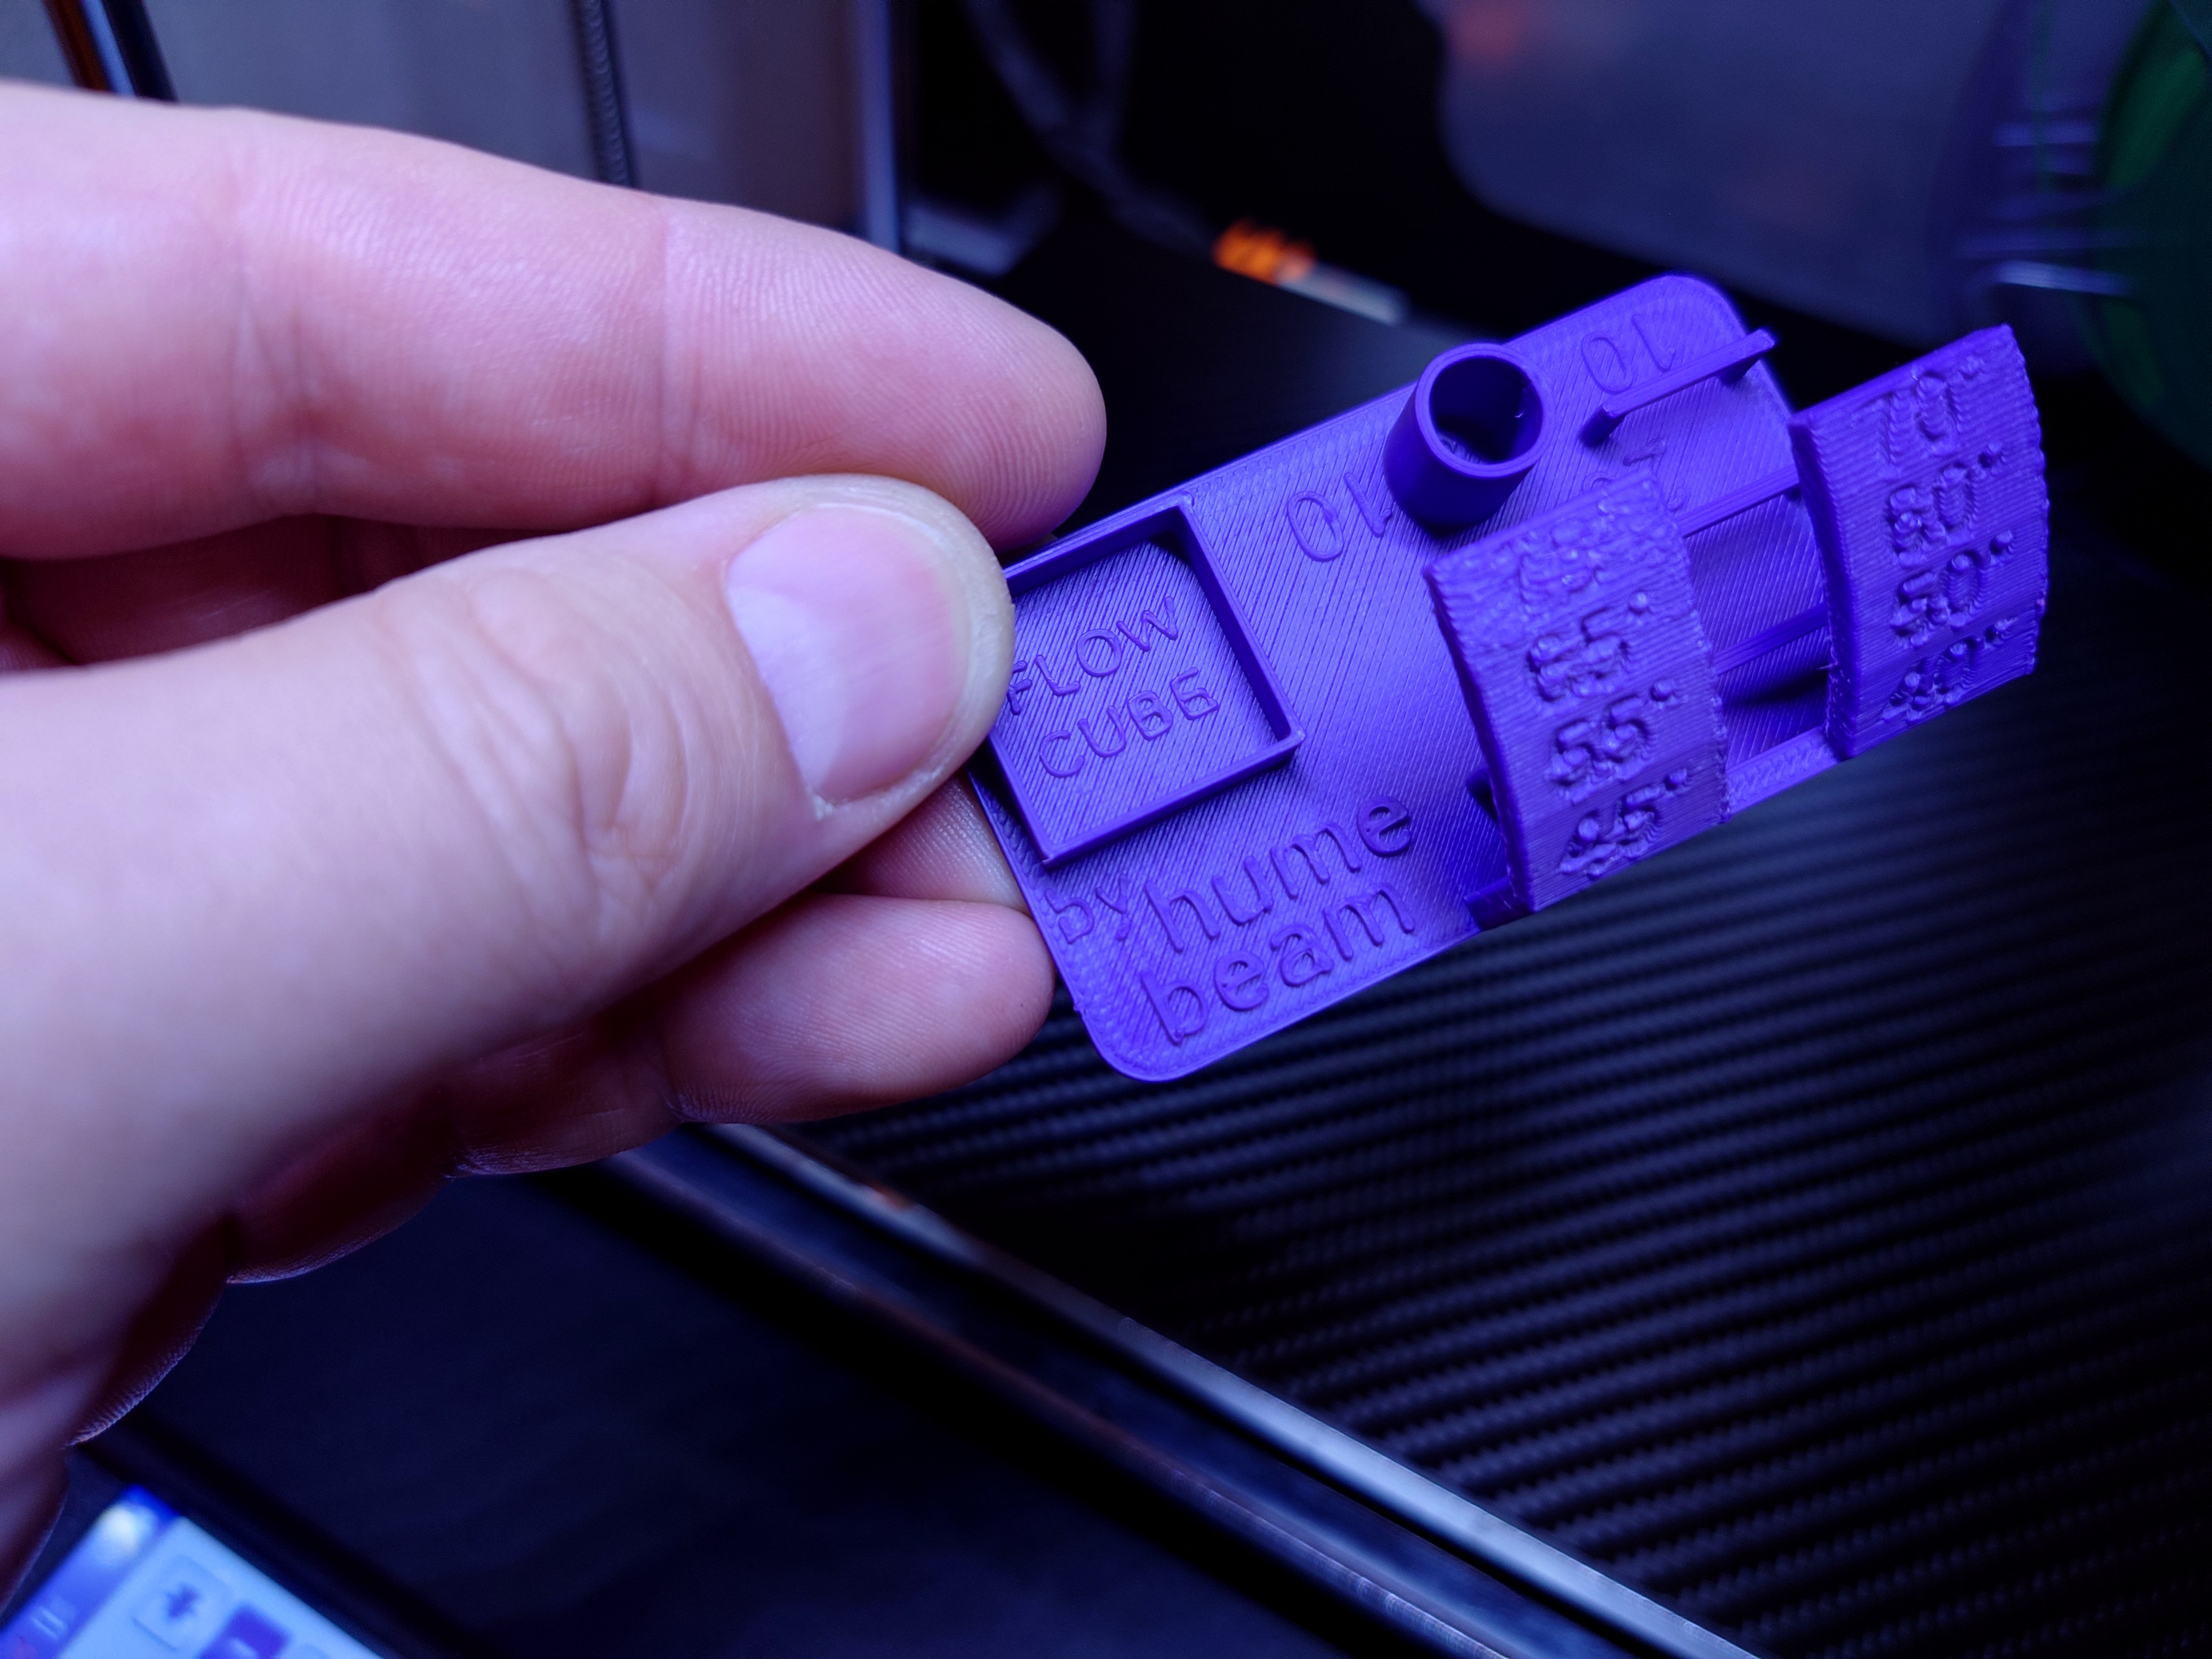
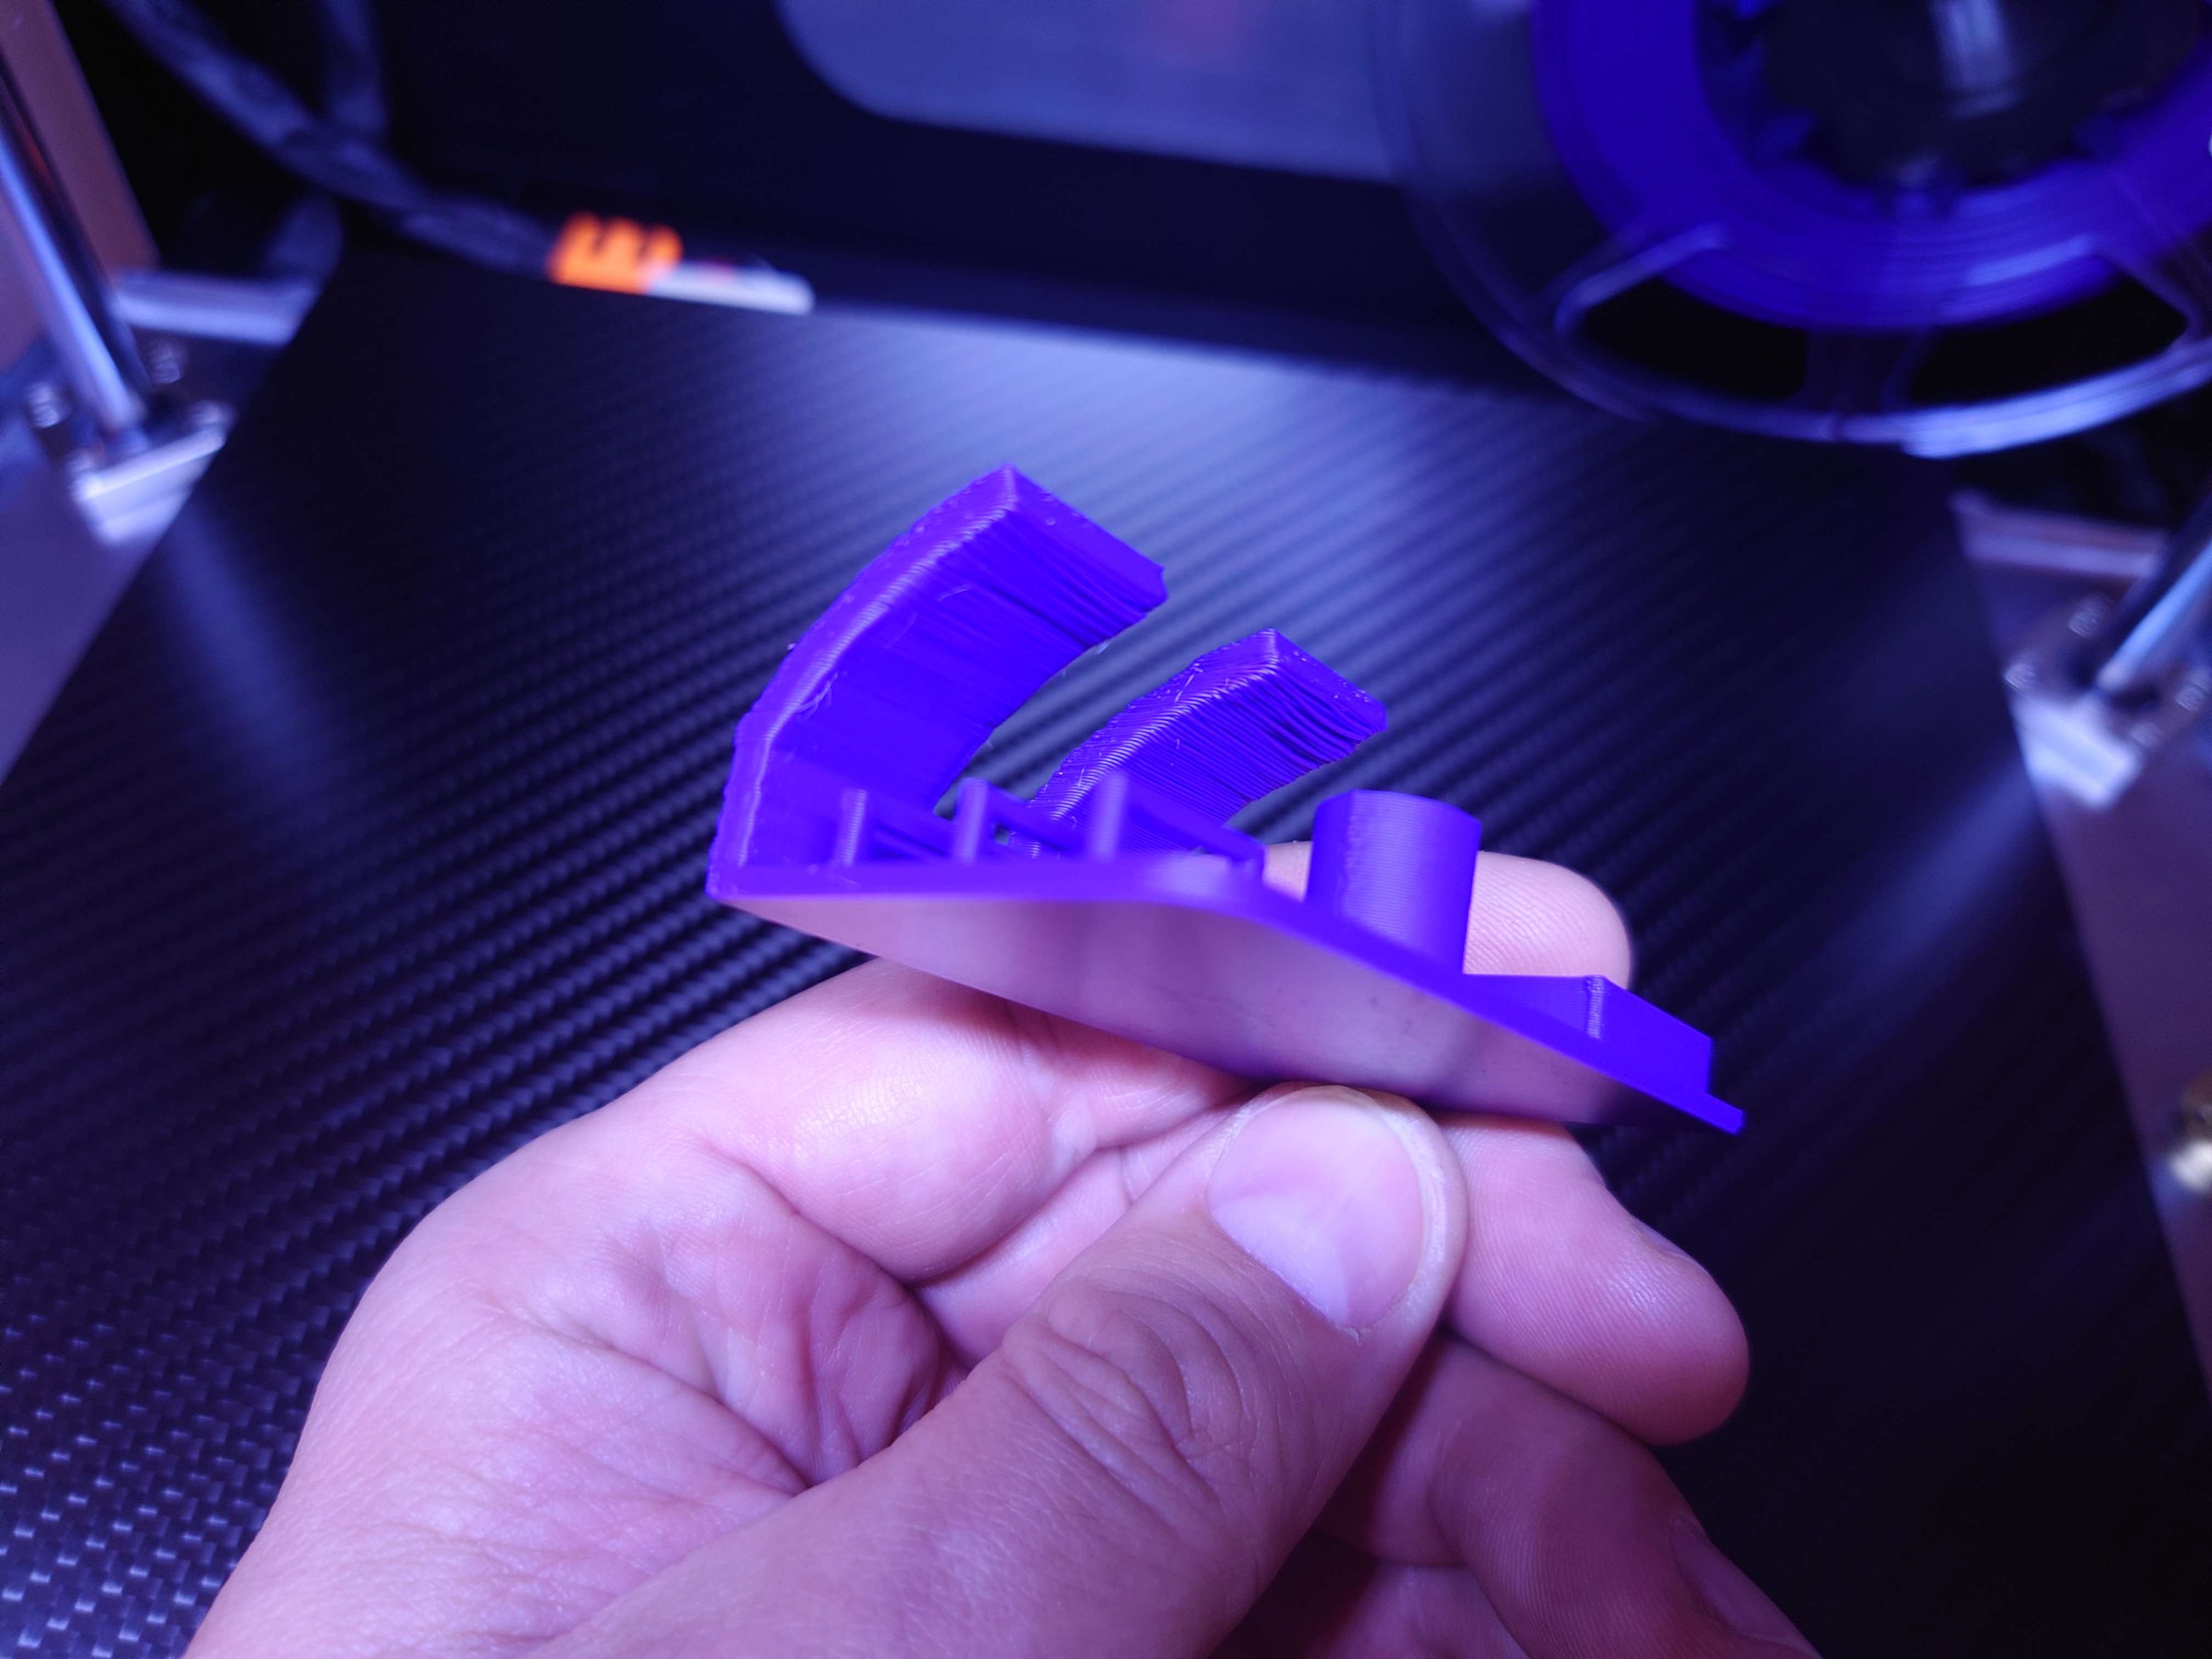
The 3D Printer Mini Test has the following features/tests:
- Flow Calibration Cube
- Overhangs test: 40° to 75° in 5° increments
- Bridging test: 10, 20 and 30 mm
- Diameter test: 10 mm
- Hole test: 8 mm
- Fine text test
While most of the tests above are easy to just measure with calipers or by inspecting the print, the flow calibration cube requires measuring with calipers and also some basic math, there's a guide just below. The flow calibration cube part of the test is also available as a super quick standalone test here but I included it in this test as well.
Print settings:
I recommend printing the test with a 0.40 mm nozzle and a 0.40 mm line width, 0.20 mm layer height and 3 perimeters, 3 top layers and 3 bottom layers. Overhangs are usually printed best inside out.
Guide: Flow Calibration Cube, 0.40 mm nozzle
For example, using a 0.40 mm nozzle, set the line width to exactly 0.40 mm in your slicer and print this calibration cube which has 0.80 mm walls. After you have printed it, measure the thickness of all four walls with a caliper and take a note of the widths.
For example, let's say these are the widths of the walls measured:
0.81, 0.82, 0.83, 0.83
Then the formula to calculate the flow rate is:
0.80 / ((0.81 + 0.82 + 0.83 + 0.83) / 4) ≈ 0.97
So, the flowrate or extrusion multiplier is about 97% or 0.97 which you then set in your slicer. Print the cube again to confirm. The measured walls should now be very close to 0.80 mm thick.
What about other nozzle size?
The formula is the same for the other nozzle sizes. Set the line width to be exactly the same as your nozzle size then print that specific flow calibration cube. Then measure all walls with a caliper.
Here's the formula to calculate the flow rate:
(Nozzle size* 2) / ((Wall 1 width + Wall 2 width + Wall 3 width + Wall 4 width) / 4)
Notes:
The method is not completely accurate as each slicer deals with wall widths and flow a little differently. It's a good tool to get a quick indication though.

Gostou deste modelo? Crie uma conta grátis para salvar seus favoritos e voltar a eles depois.
Criar conta