Você está no 3DFinder
Buscamos em Thingiverse, MakerWorld e Printables ao mesmo tempo para te dar o melhor de cada uma.
Descrição
Meshtastic is an open-source project that uses LoRa radios to provide secure, long-range messaging without internet or cellular networks. By forming self-sufficient P2P and mesh networks on license-free bands, it delivers ultra-low-power communication ideal for outdoor adventures, emergency response, rural areas, and IoT applications.
What is FoBE Mesh Tracker C1?
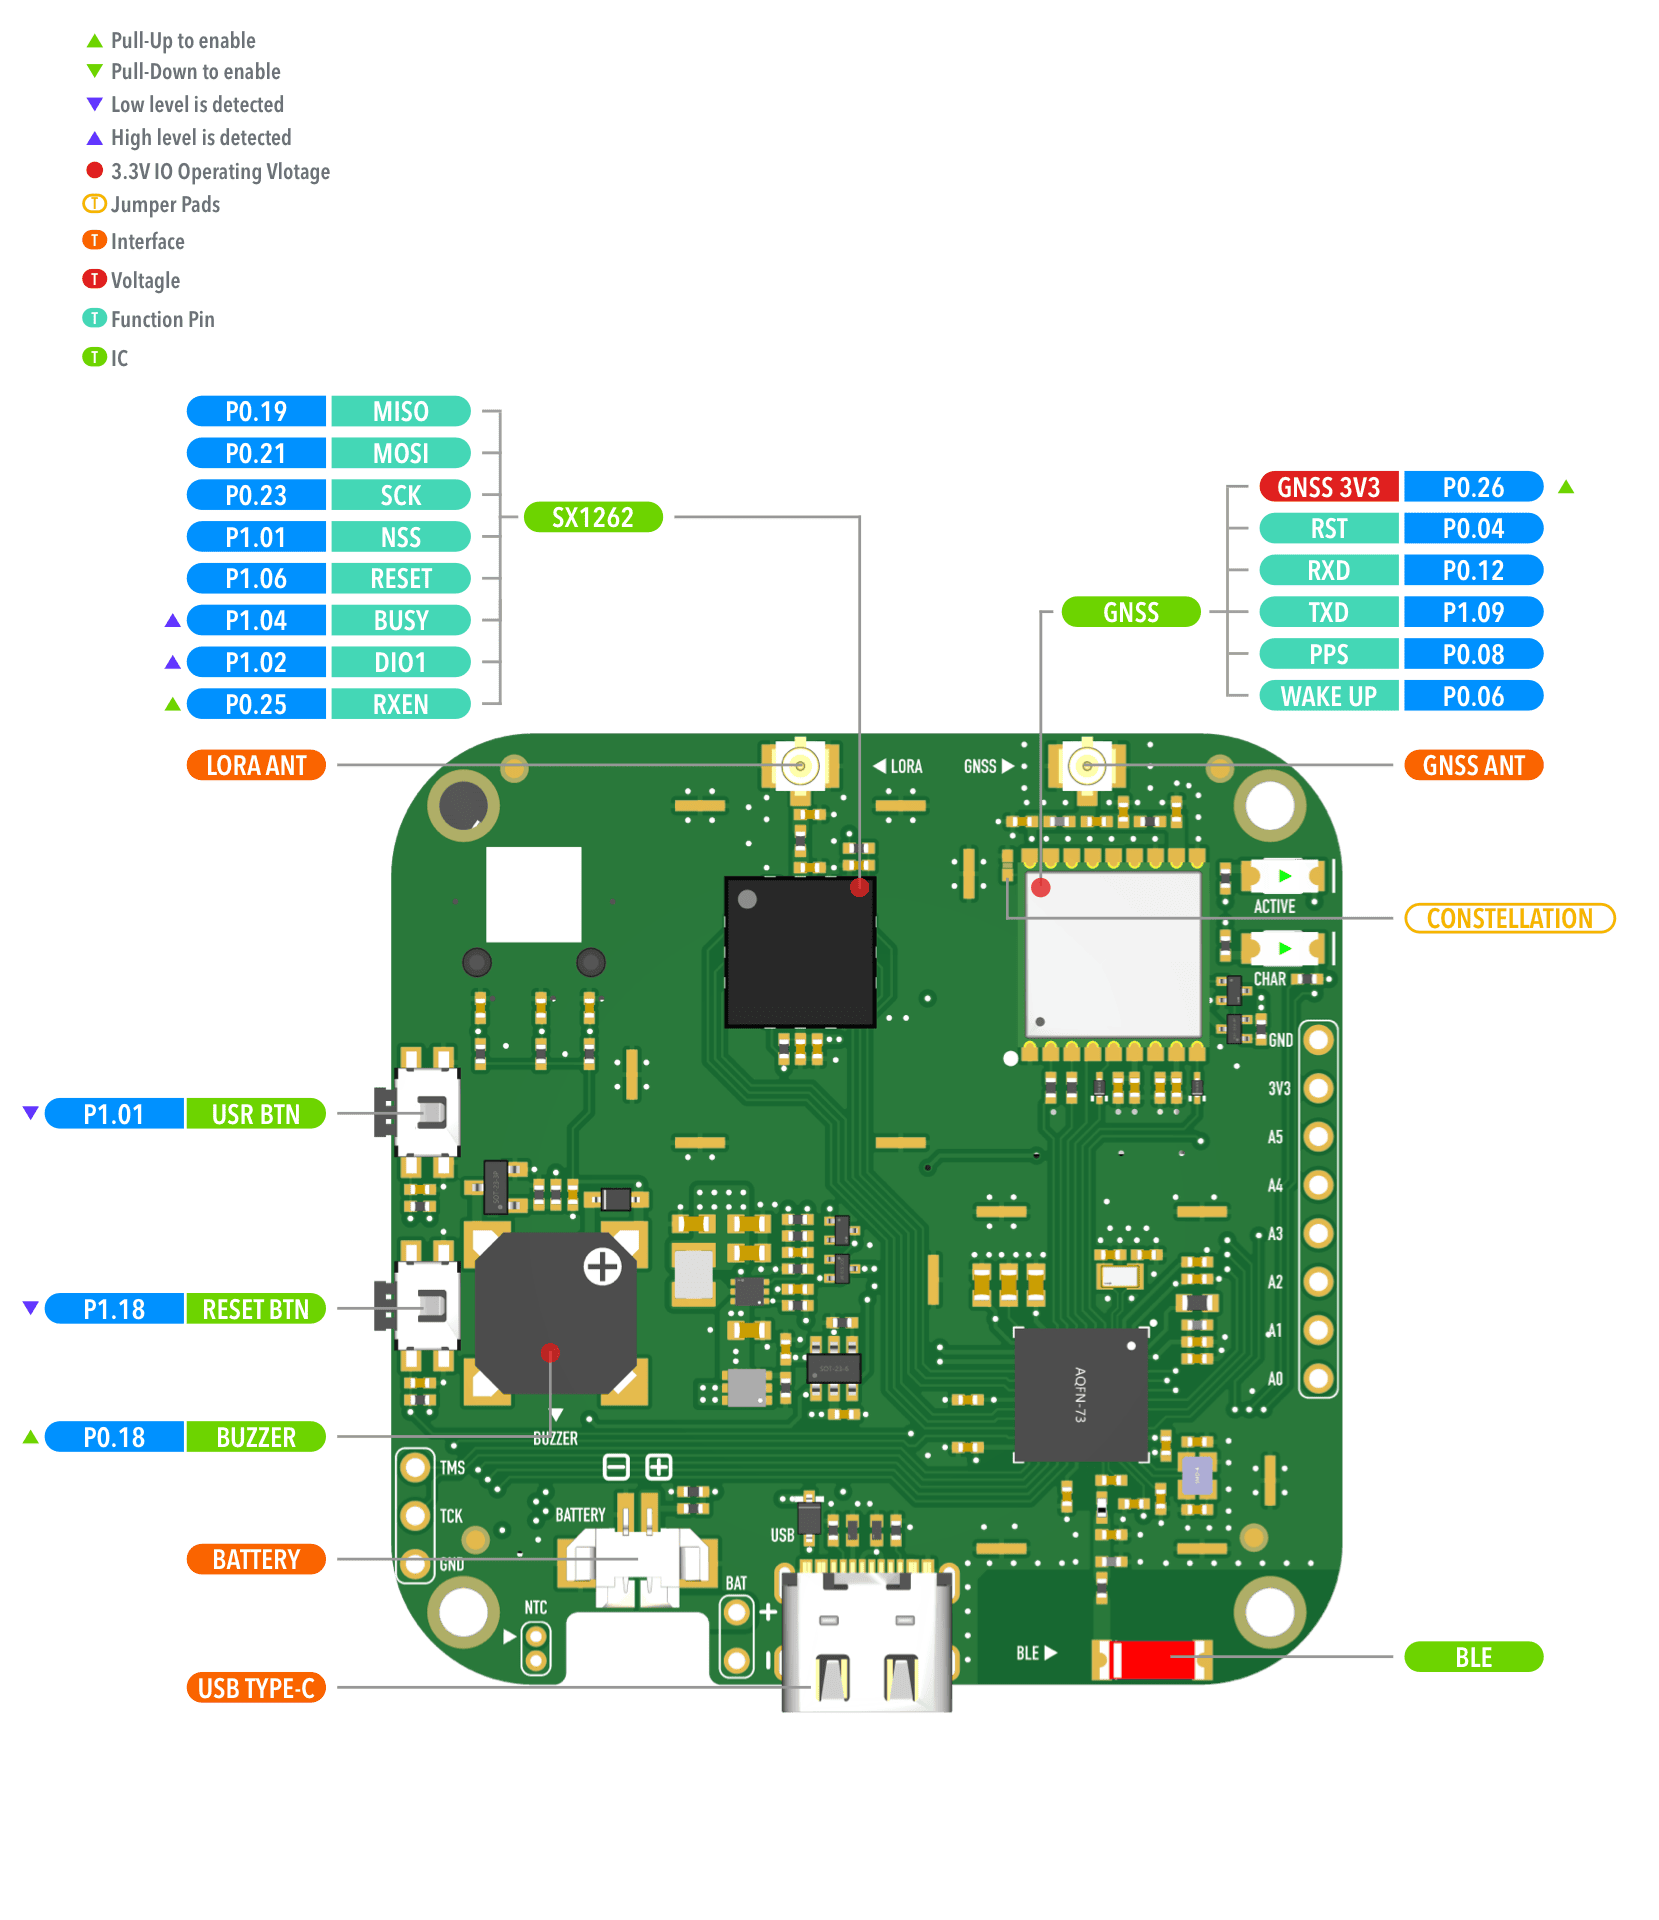
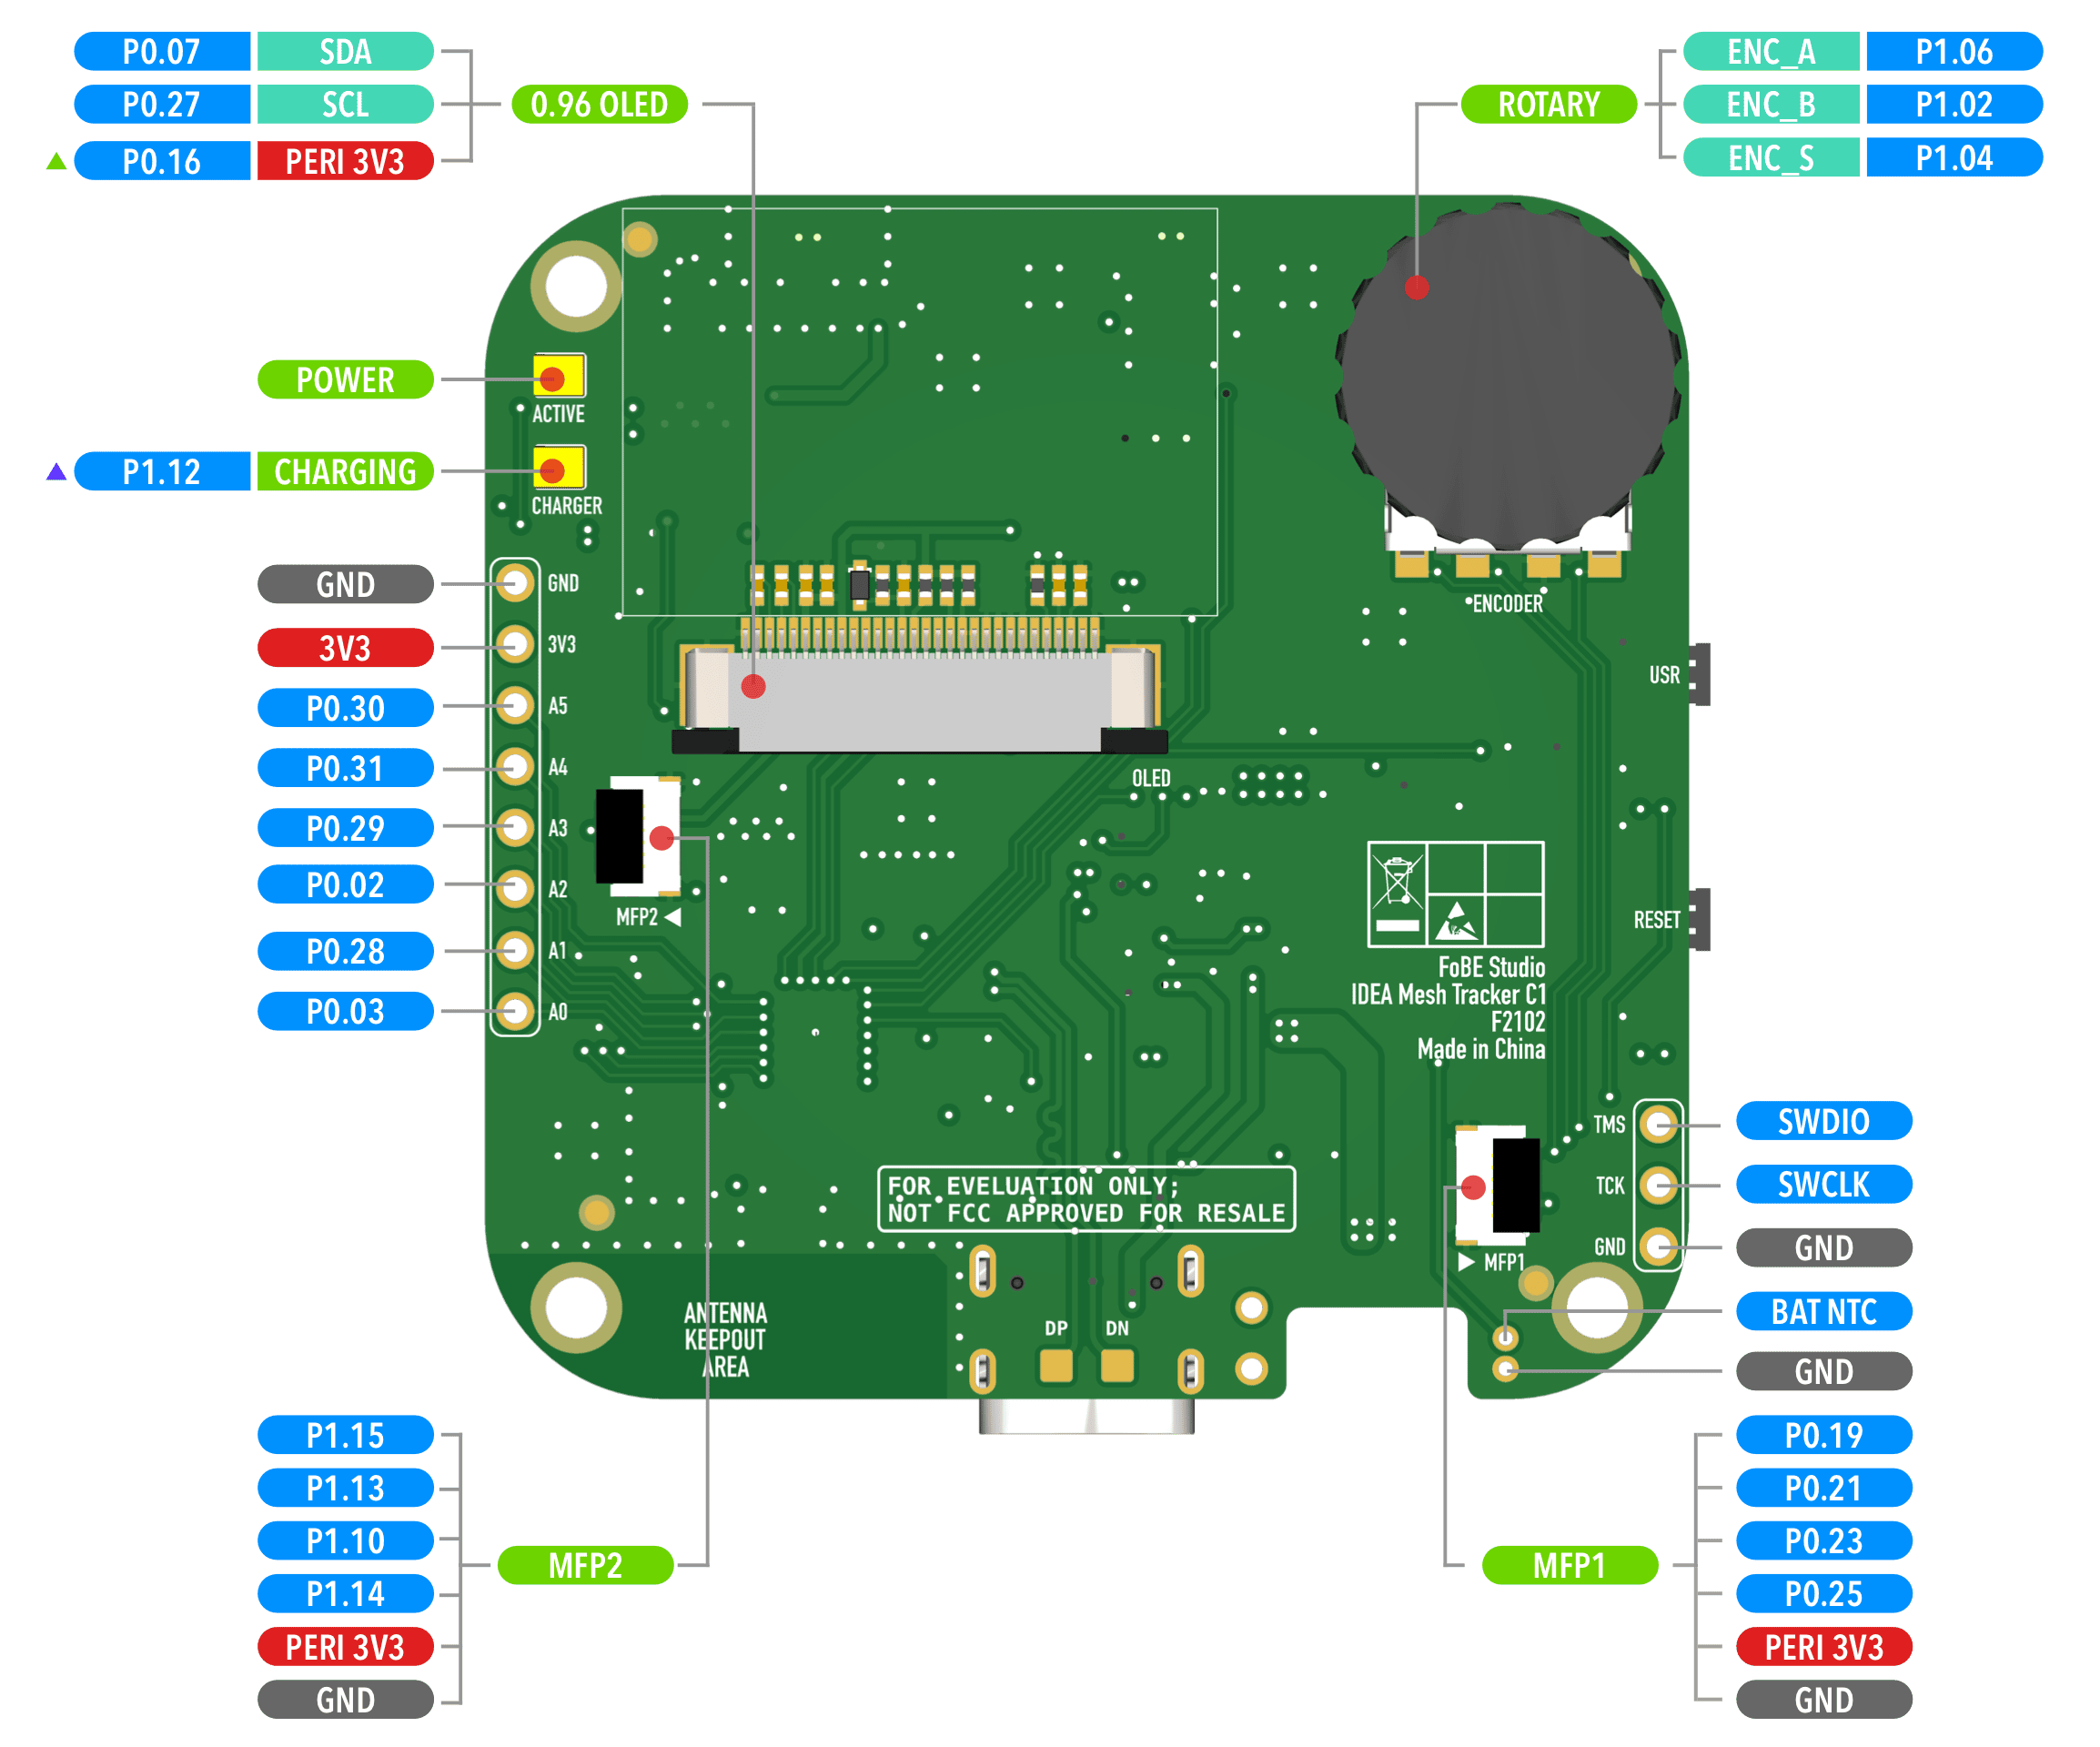
FoBE IDEA Mesh Tracker C1 is a complete application board designed for outdoor LoRa communication. It integrates a nRF52840 MCU, GPS, buzzer, display screen, and LoRa transceiver, providing all the necessary features for an outdoor LoRa communication device.
What You’ll Need
FoBE IDEA Mesh Tracker C1
You can get it right here in our FoBE Store.
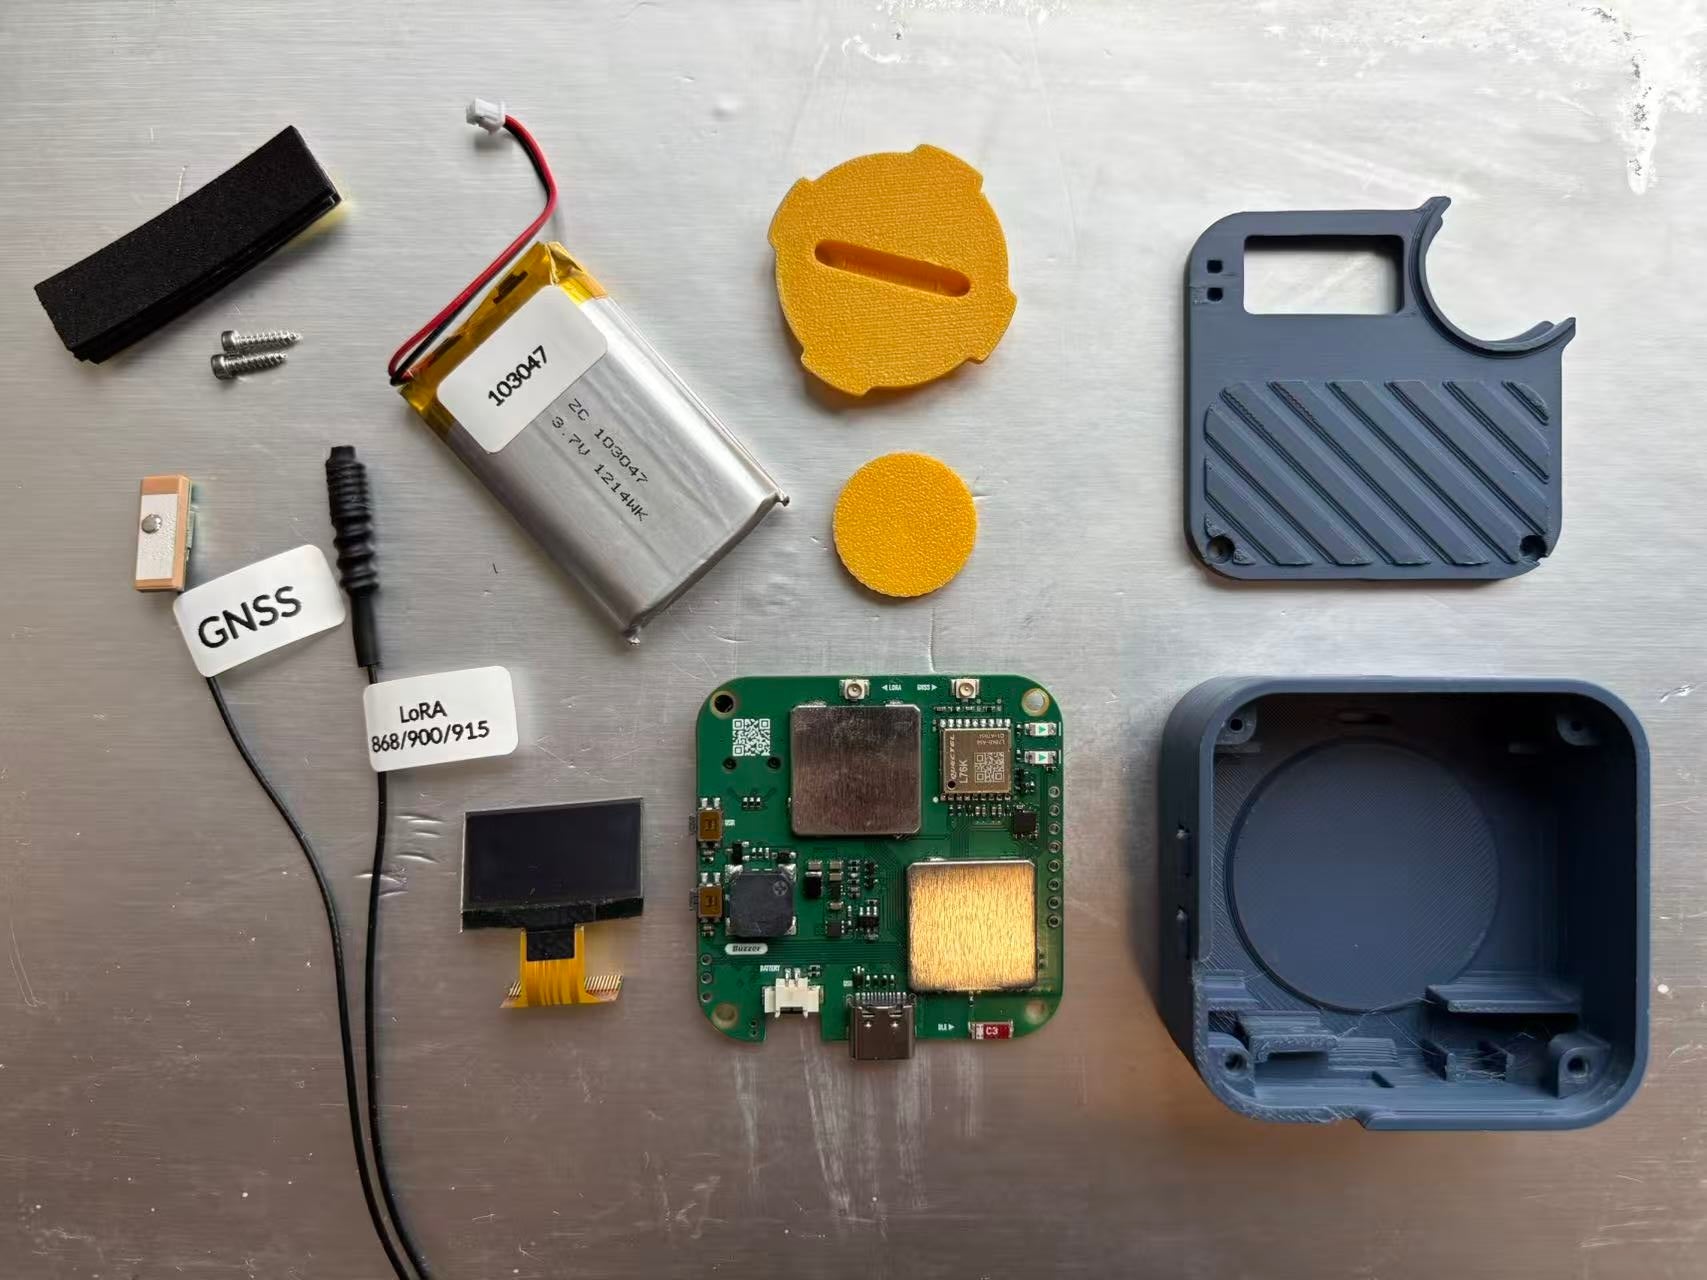
- Development Board x1.
- Ceramic active GNSS antenna x1.
- LoRa RF spring antenna x1.
- These accessories come with the FoBE IDEA Mesh Tracker C1.
Enclosure
You can get the design files for this enclosure here and 3D print it yourself.
Or just grab one from the FoBE Store.
- 3D-Printed Enclosure. (This MakerWorld Project)
- M2×8mm hex self-tapping screw x 2.
- Cushion foam tape.
Lithium Polymer ion-Battery
You can purchase a suitable battery from Amazon, AliExpress, or local stores. Be sure to check that the supplier is qualified and compliant.
- MX1.25 battery connector.
- Dimensions within 12 mm × 30 mm × 50 mm.
- Rechargeable.
- Maximum charging voltage 4.2 V.
- Recommended battery model: 112945 (1400 mAh), 803048 (1200mAh), 103047 (1500mAh).
Tools
- T6H Torx screwdriver
- A cup of coffee ☕️ (Stay sharp!you’ll be handling the battery!)
Time to get started!
Step 1: Stick foam tape onto the bottom case.
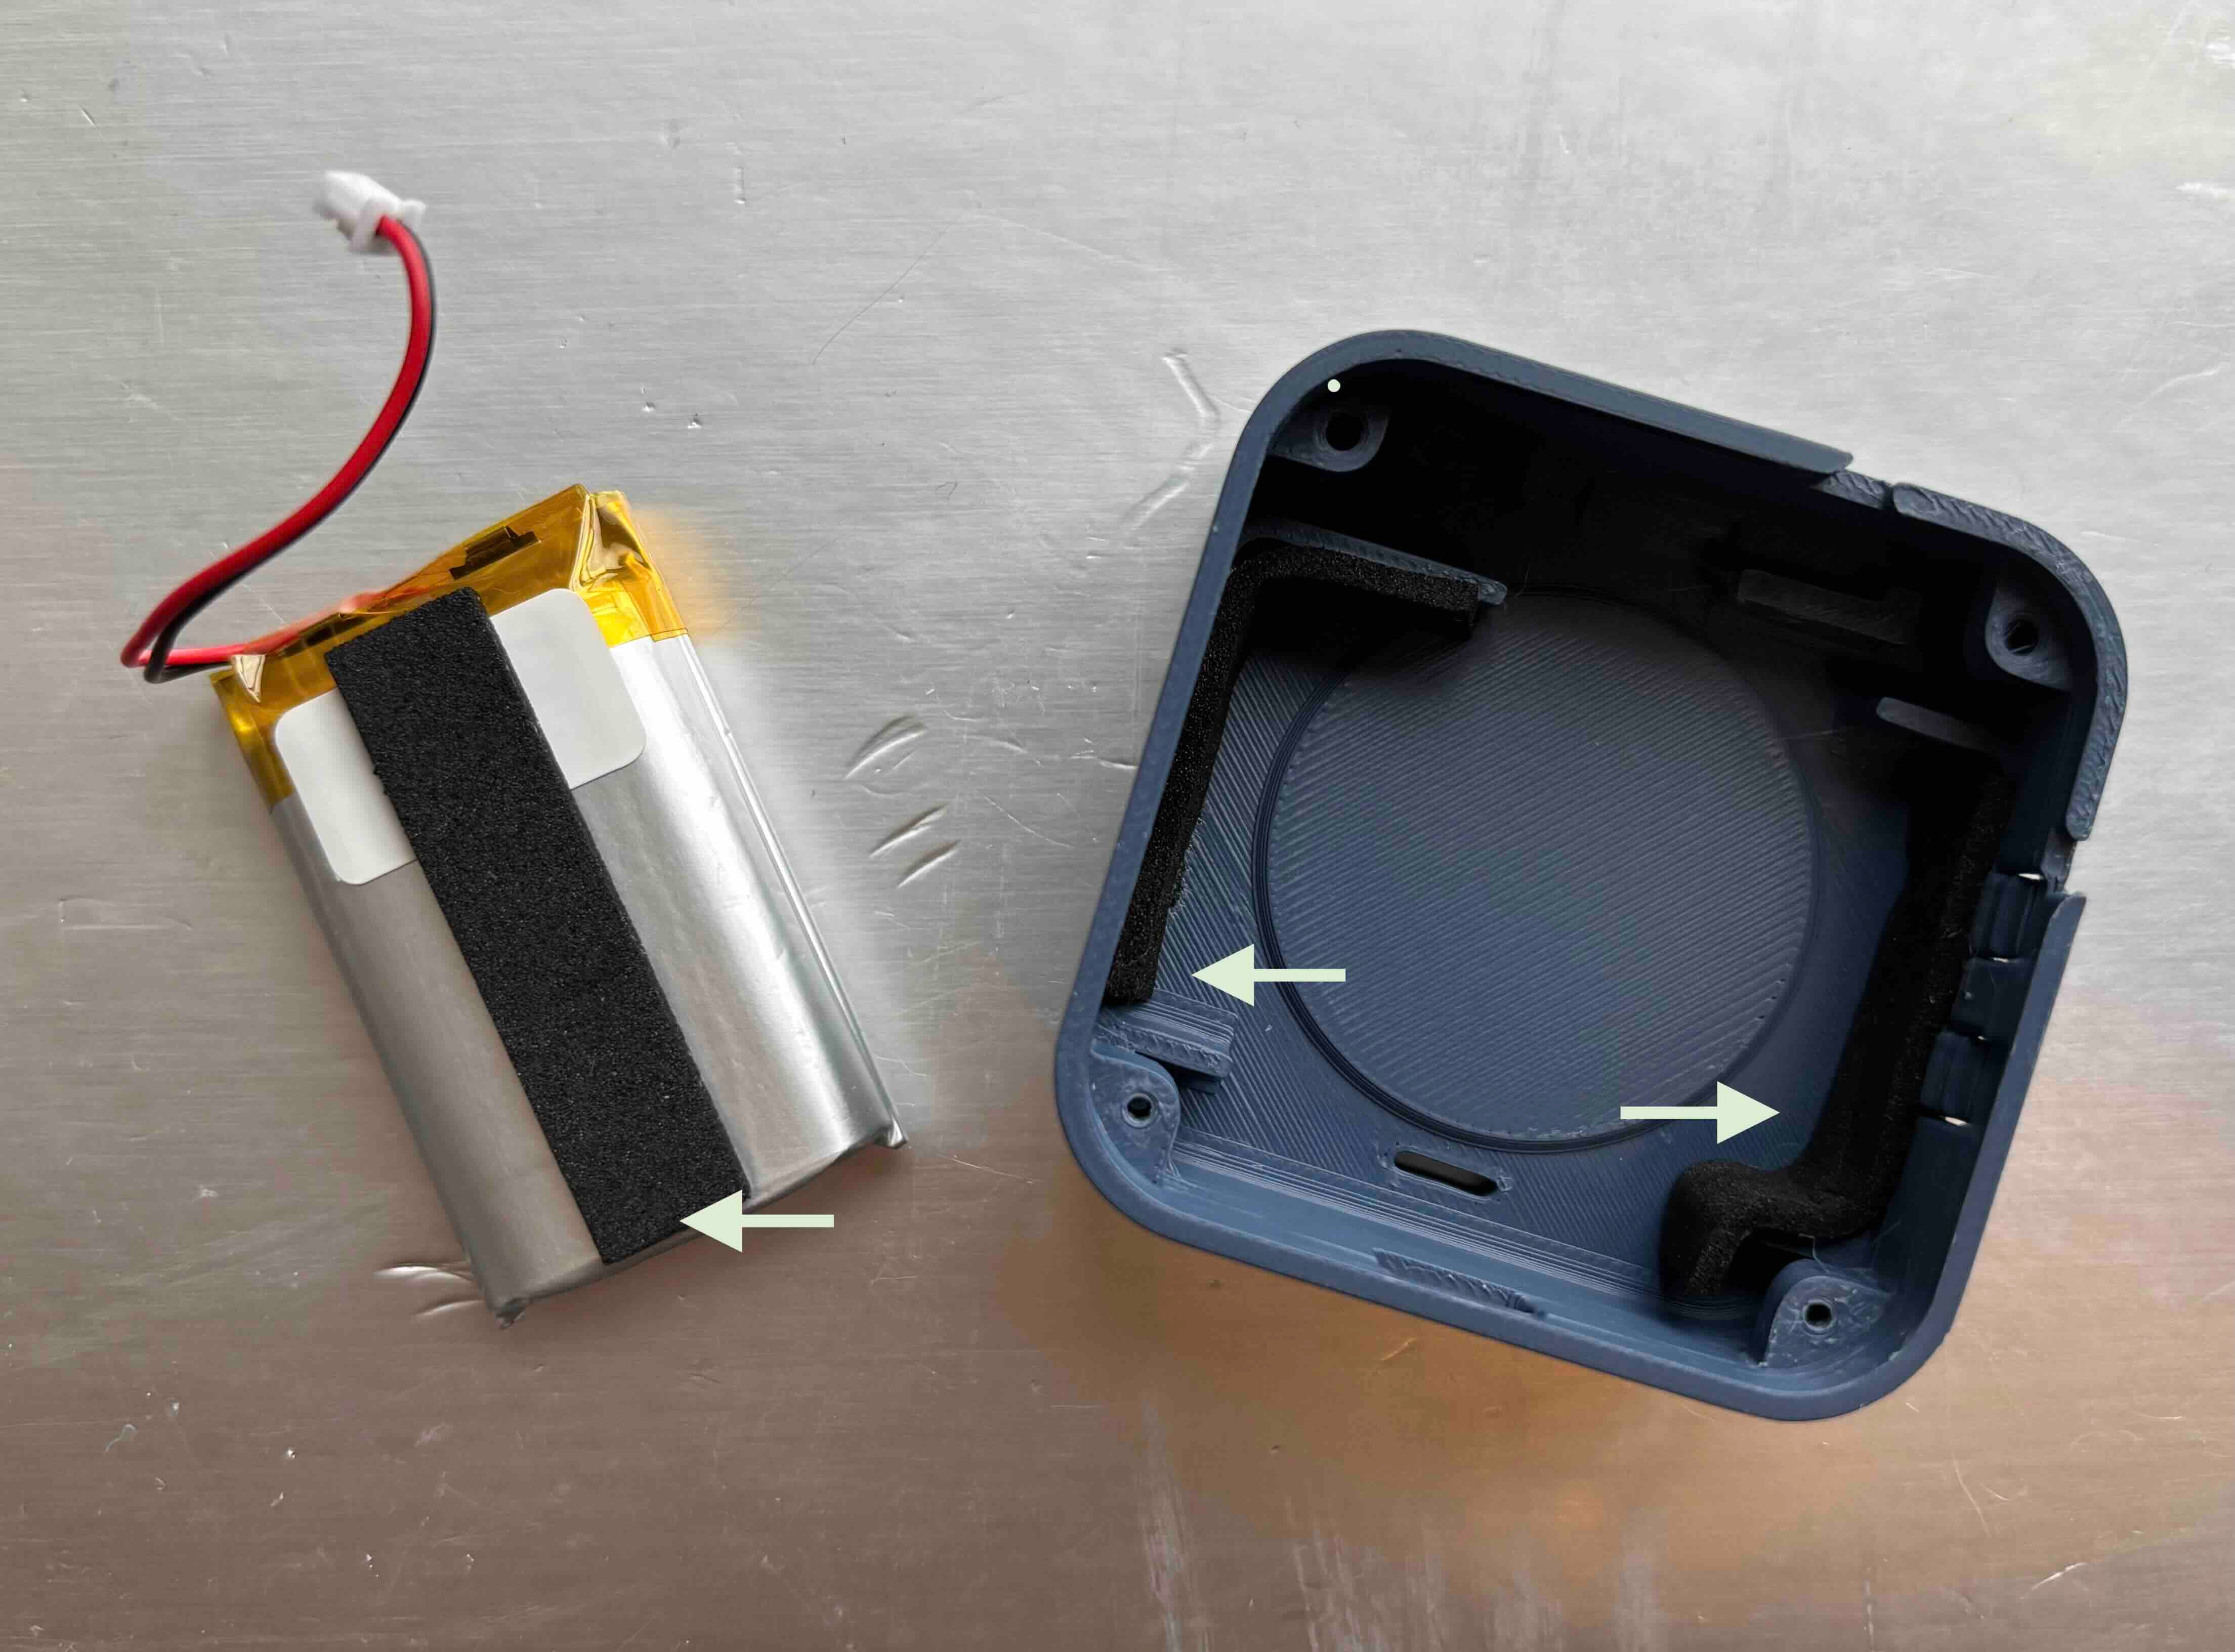
Step 2: Gently install the battery into the bottom case.
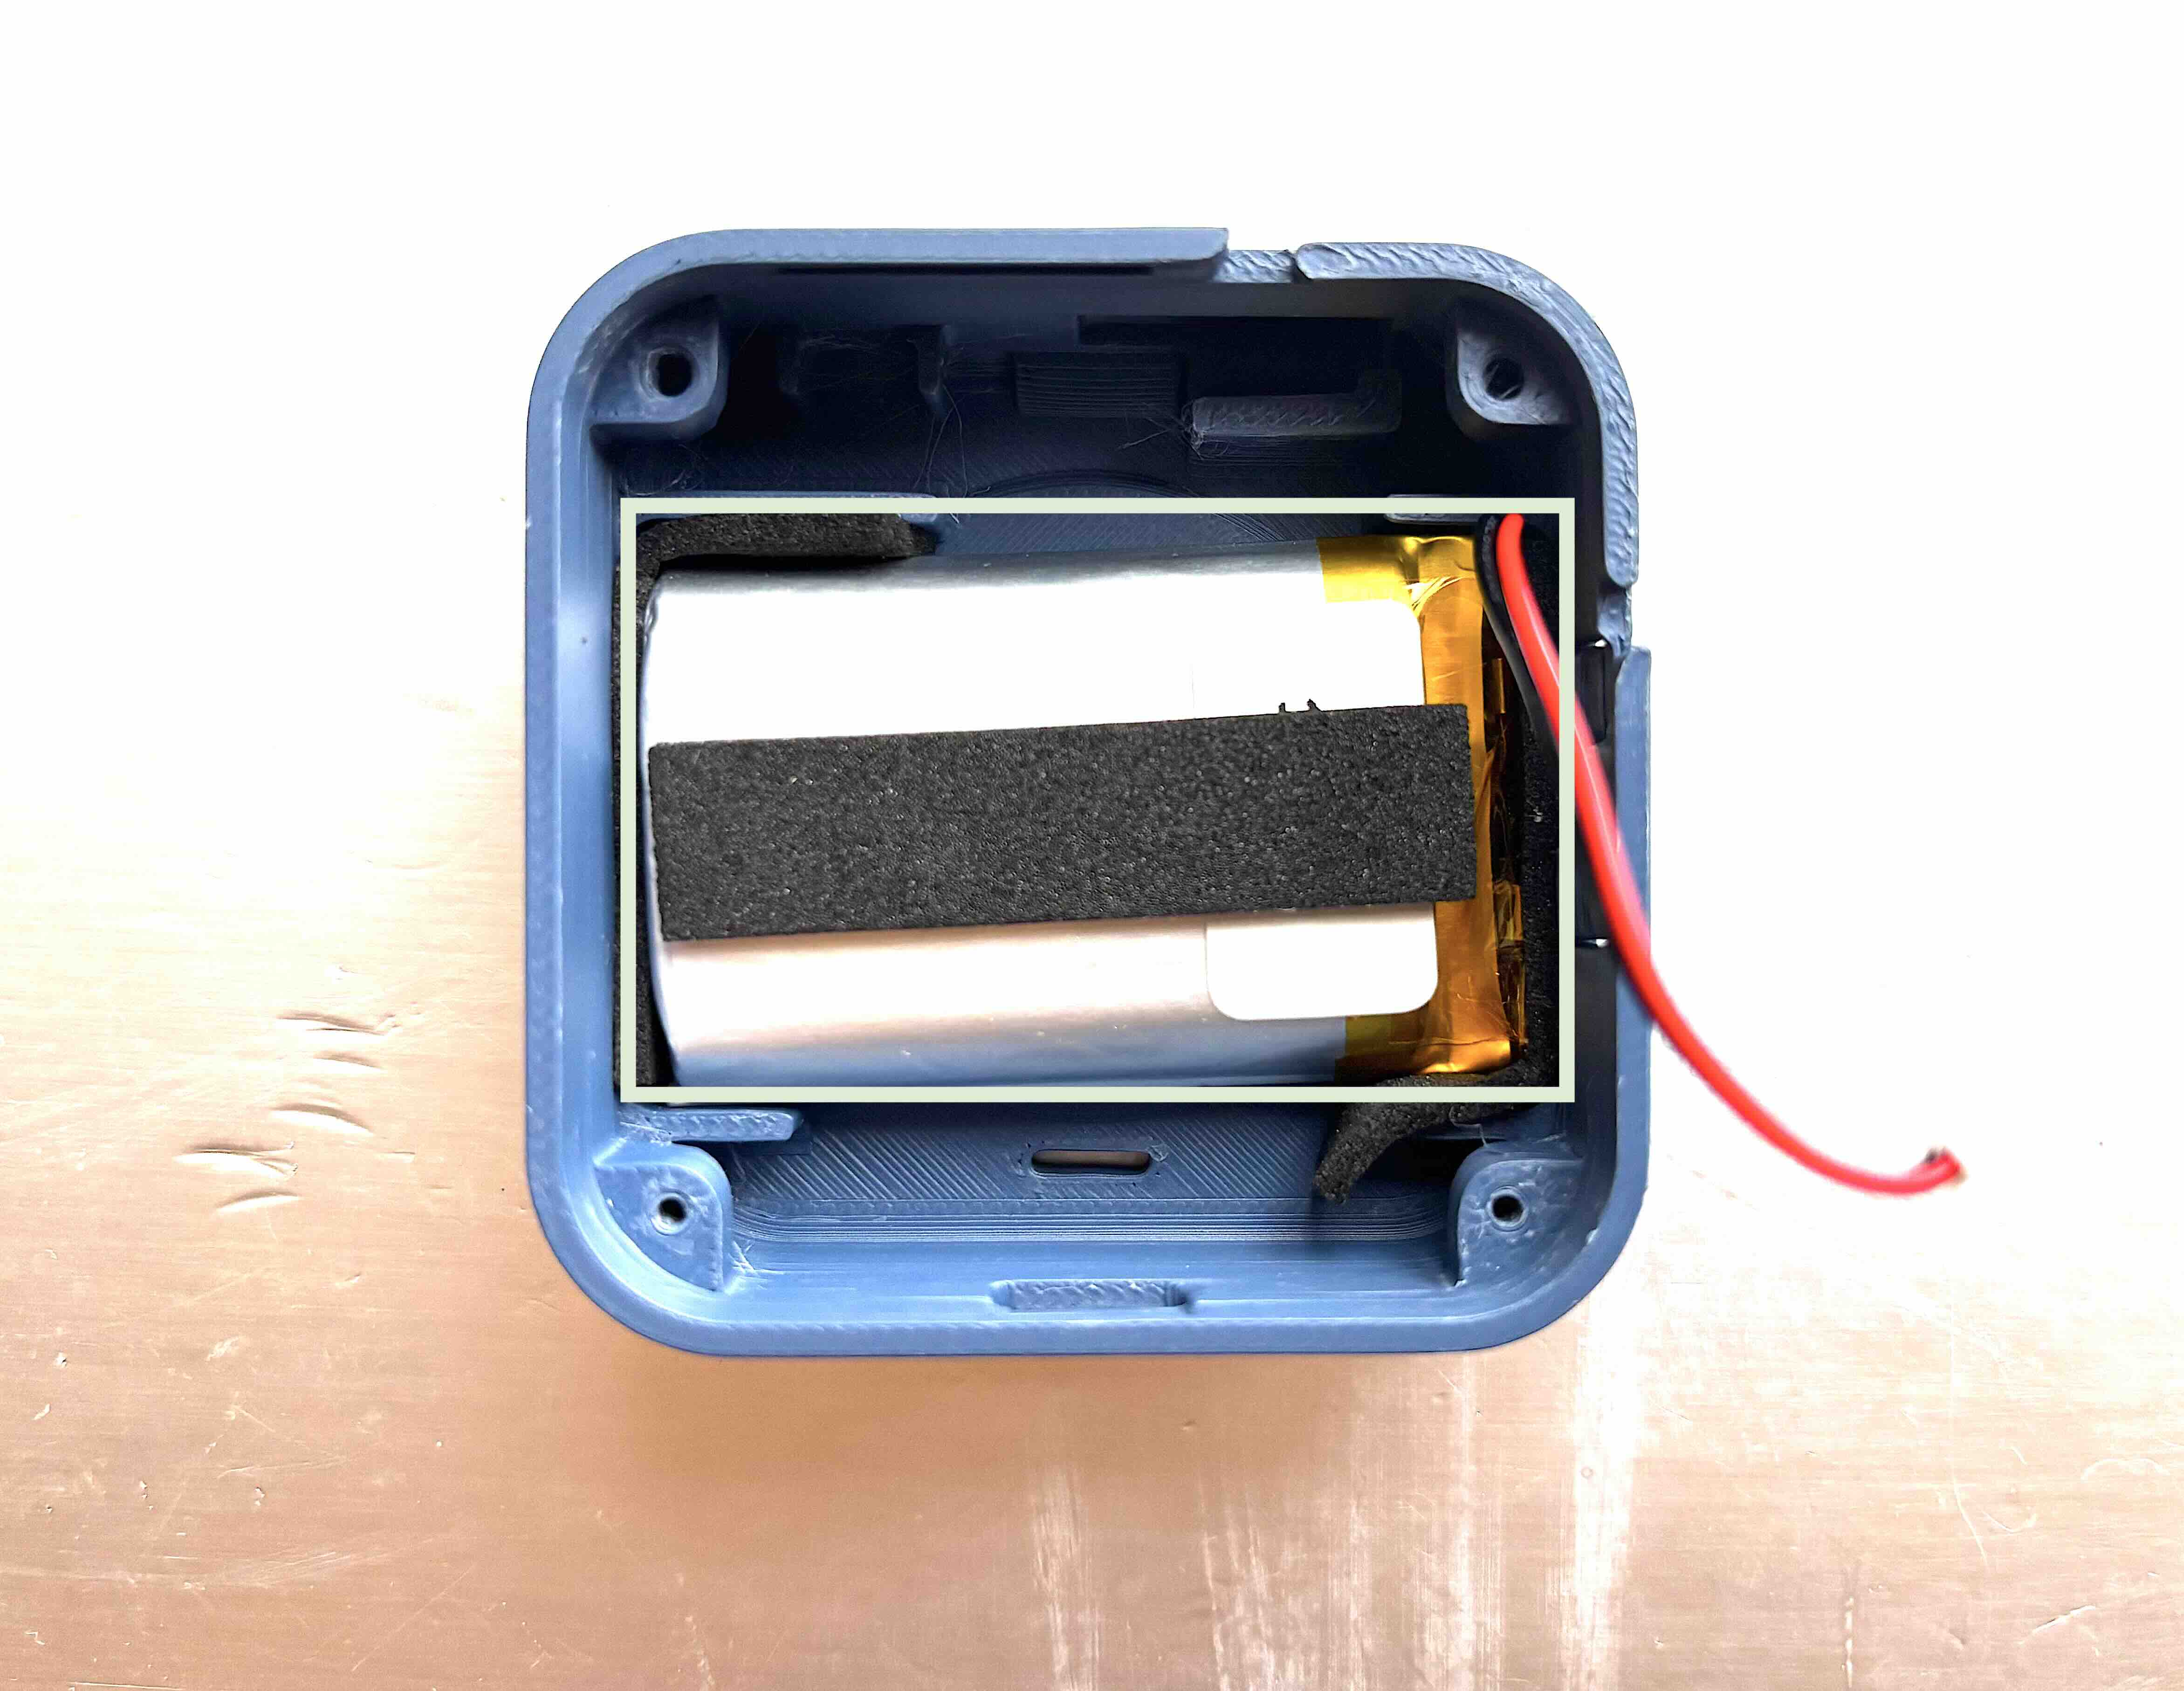
Step 3: Secure the GNSS and LoRa antennas in the antenna slots of the bottom case.
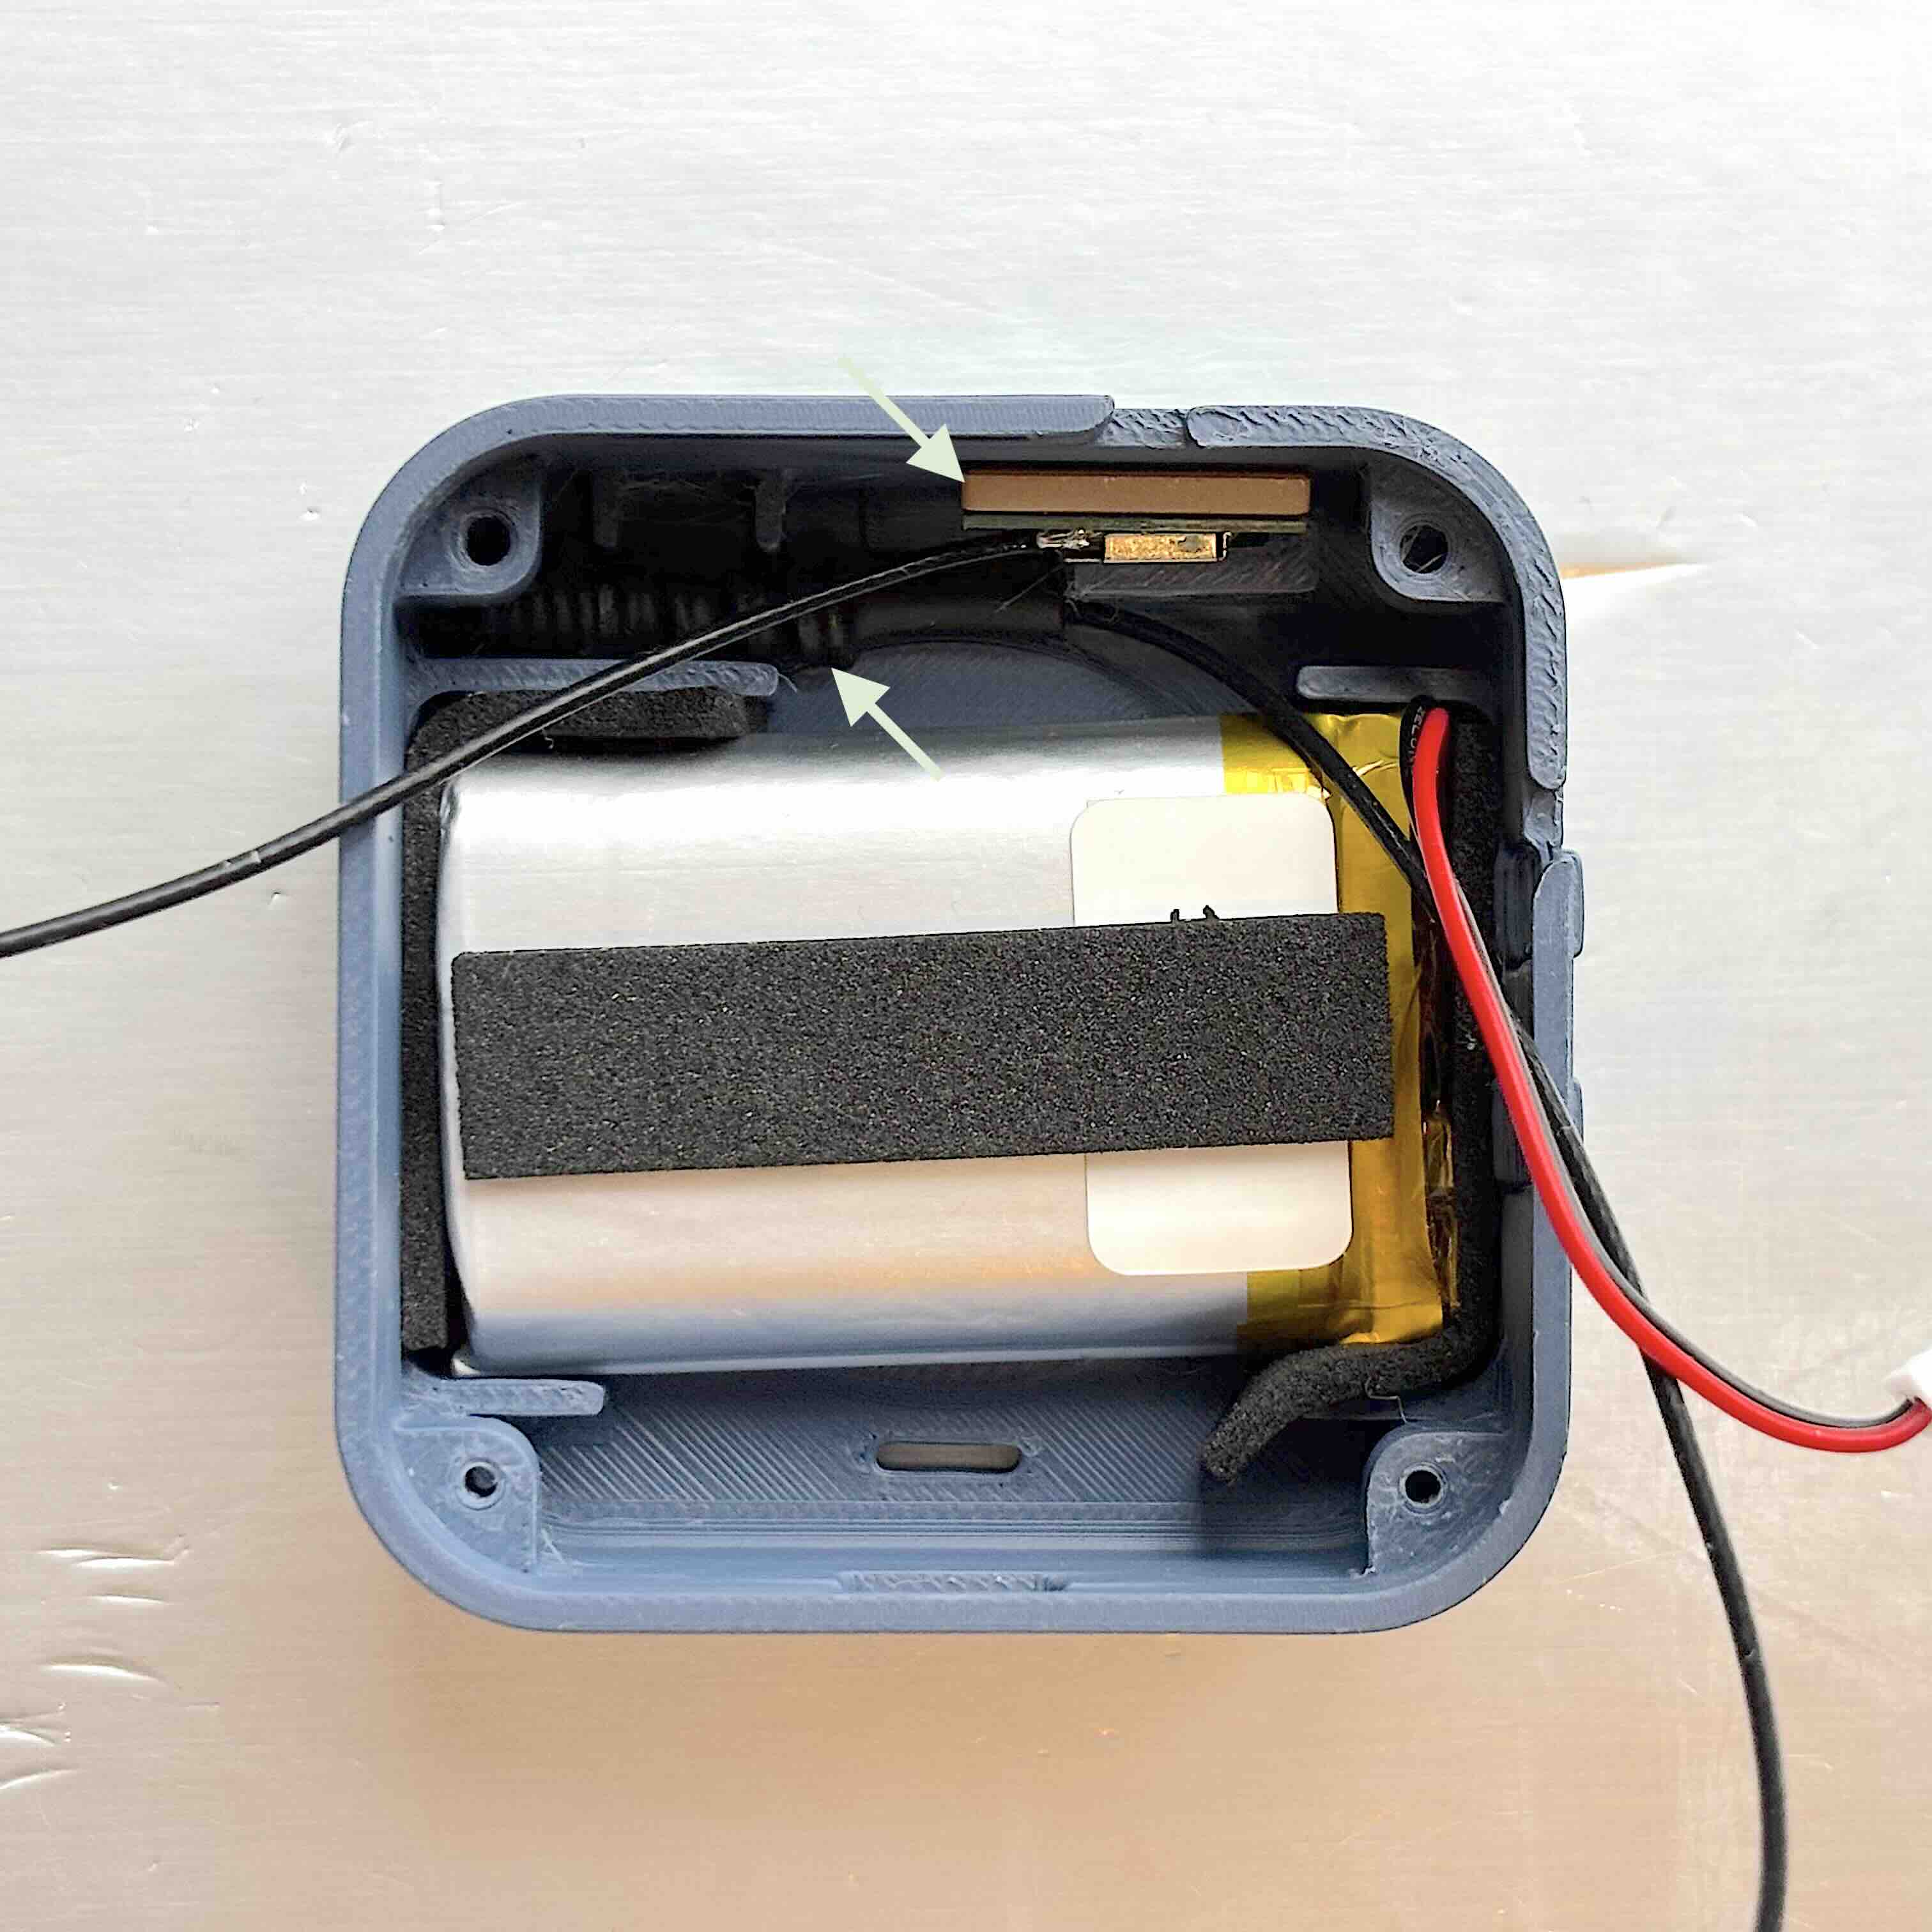
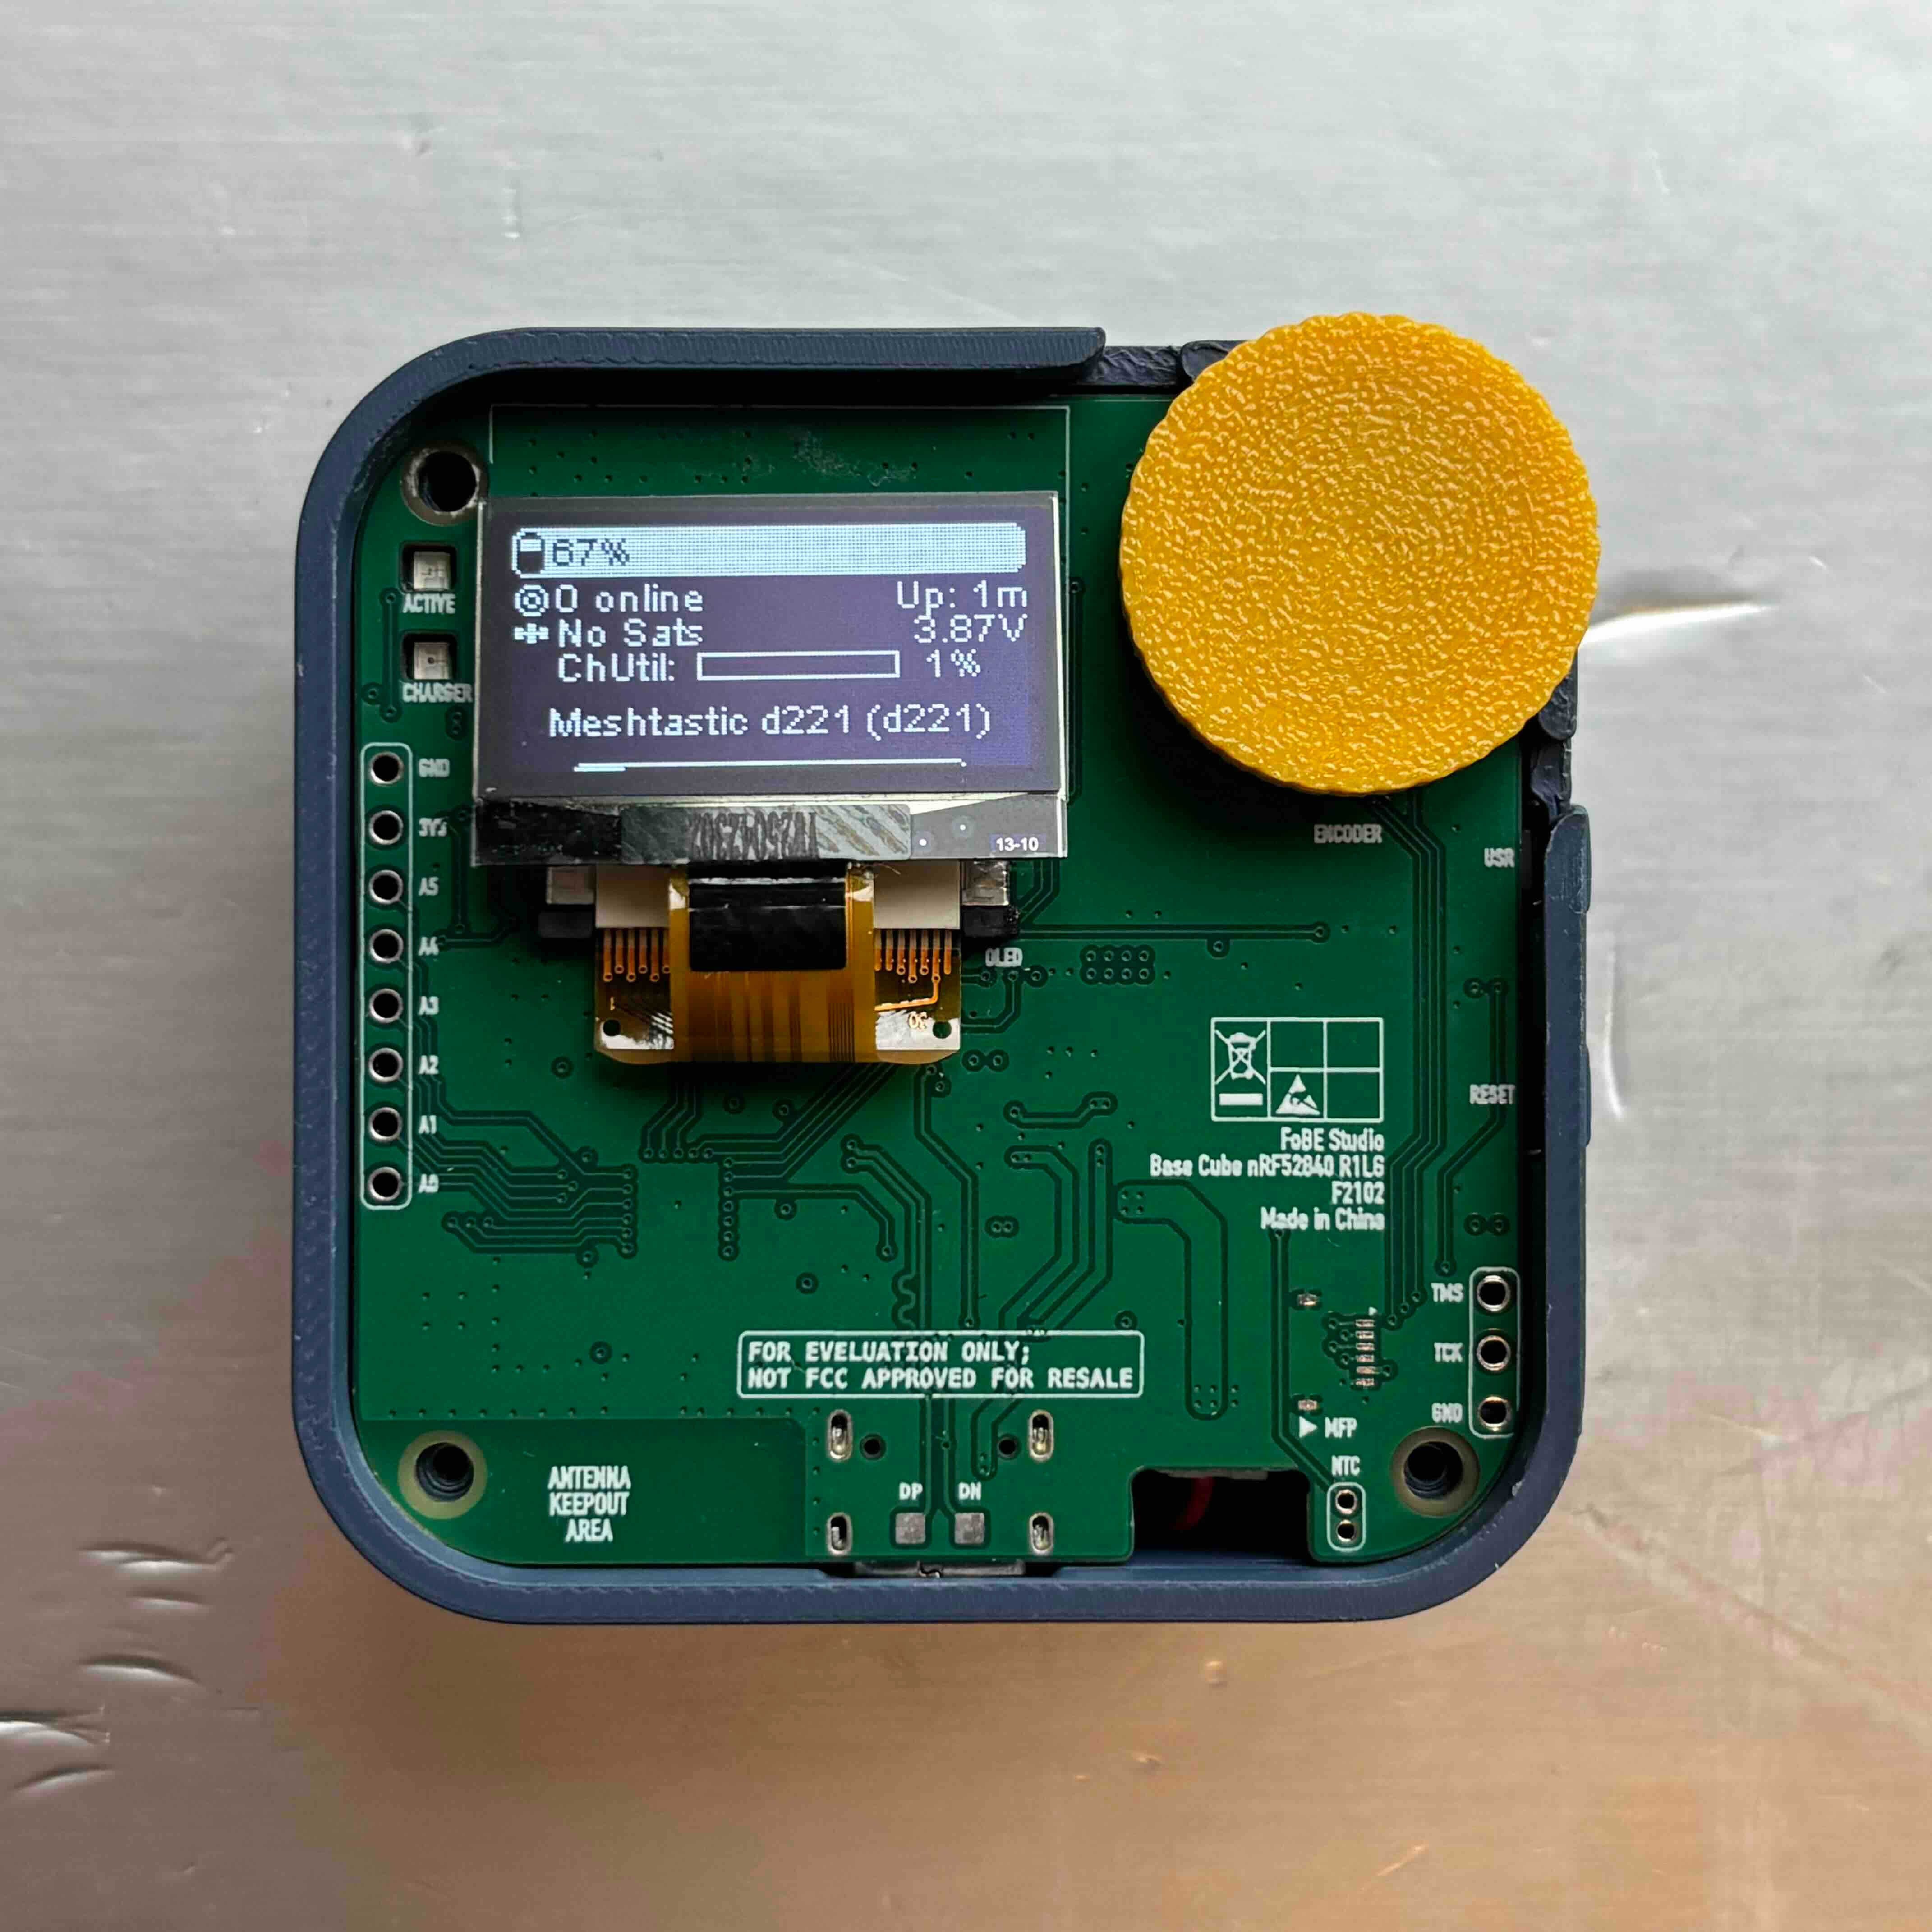
Step 4: Attach the OLED screen to the development board.
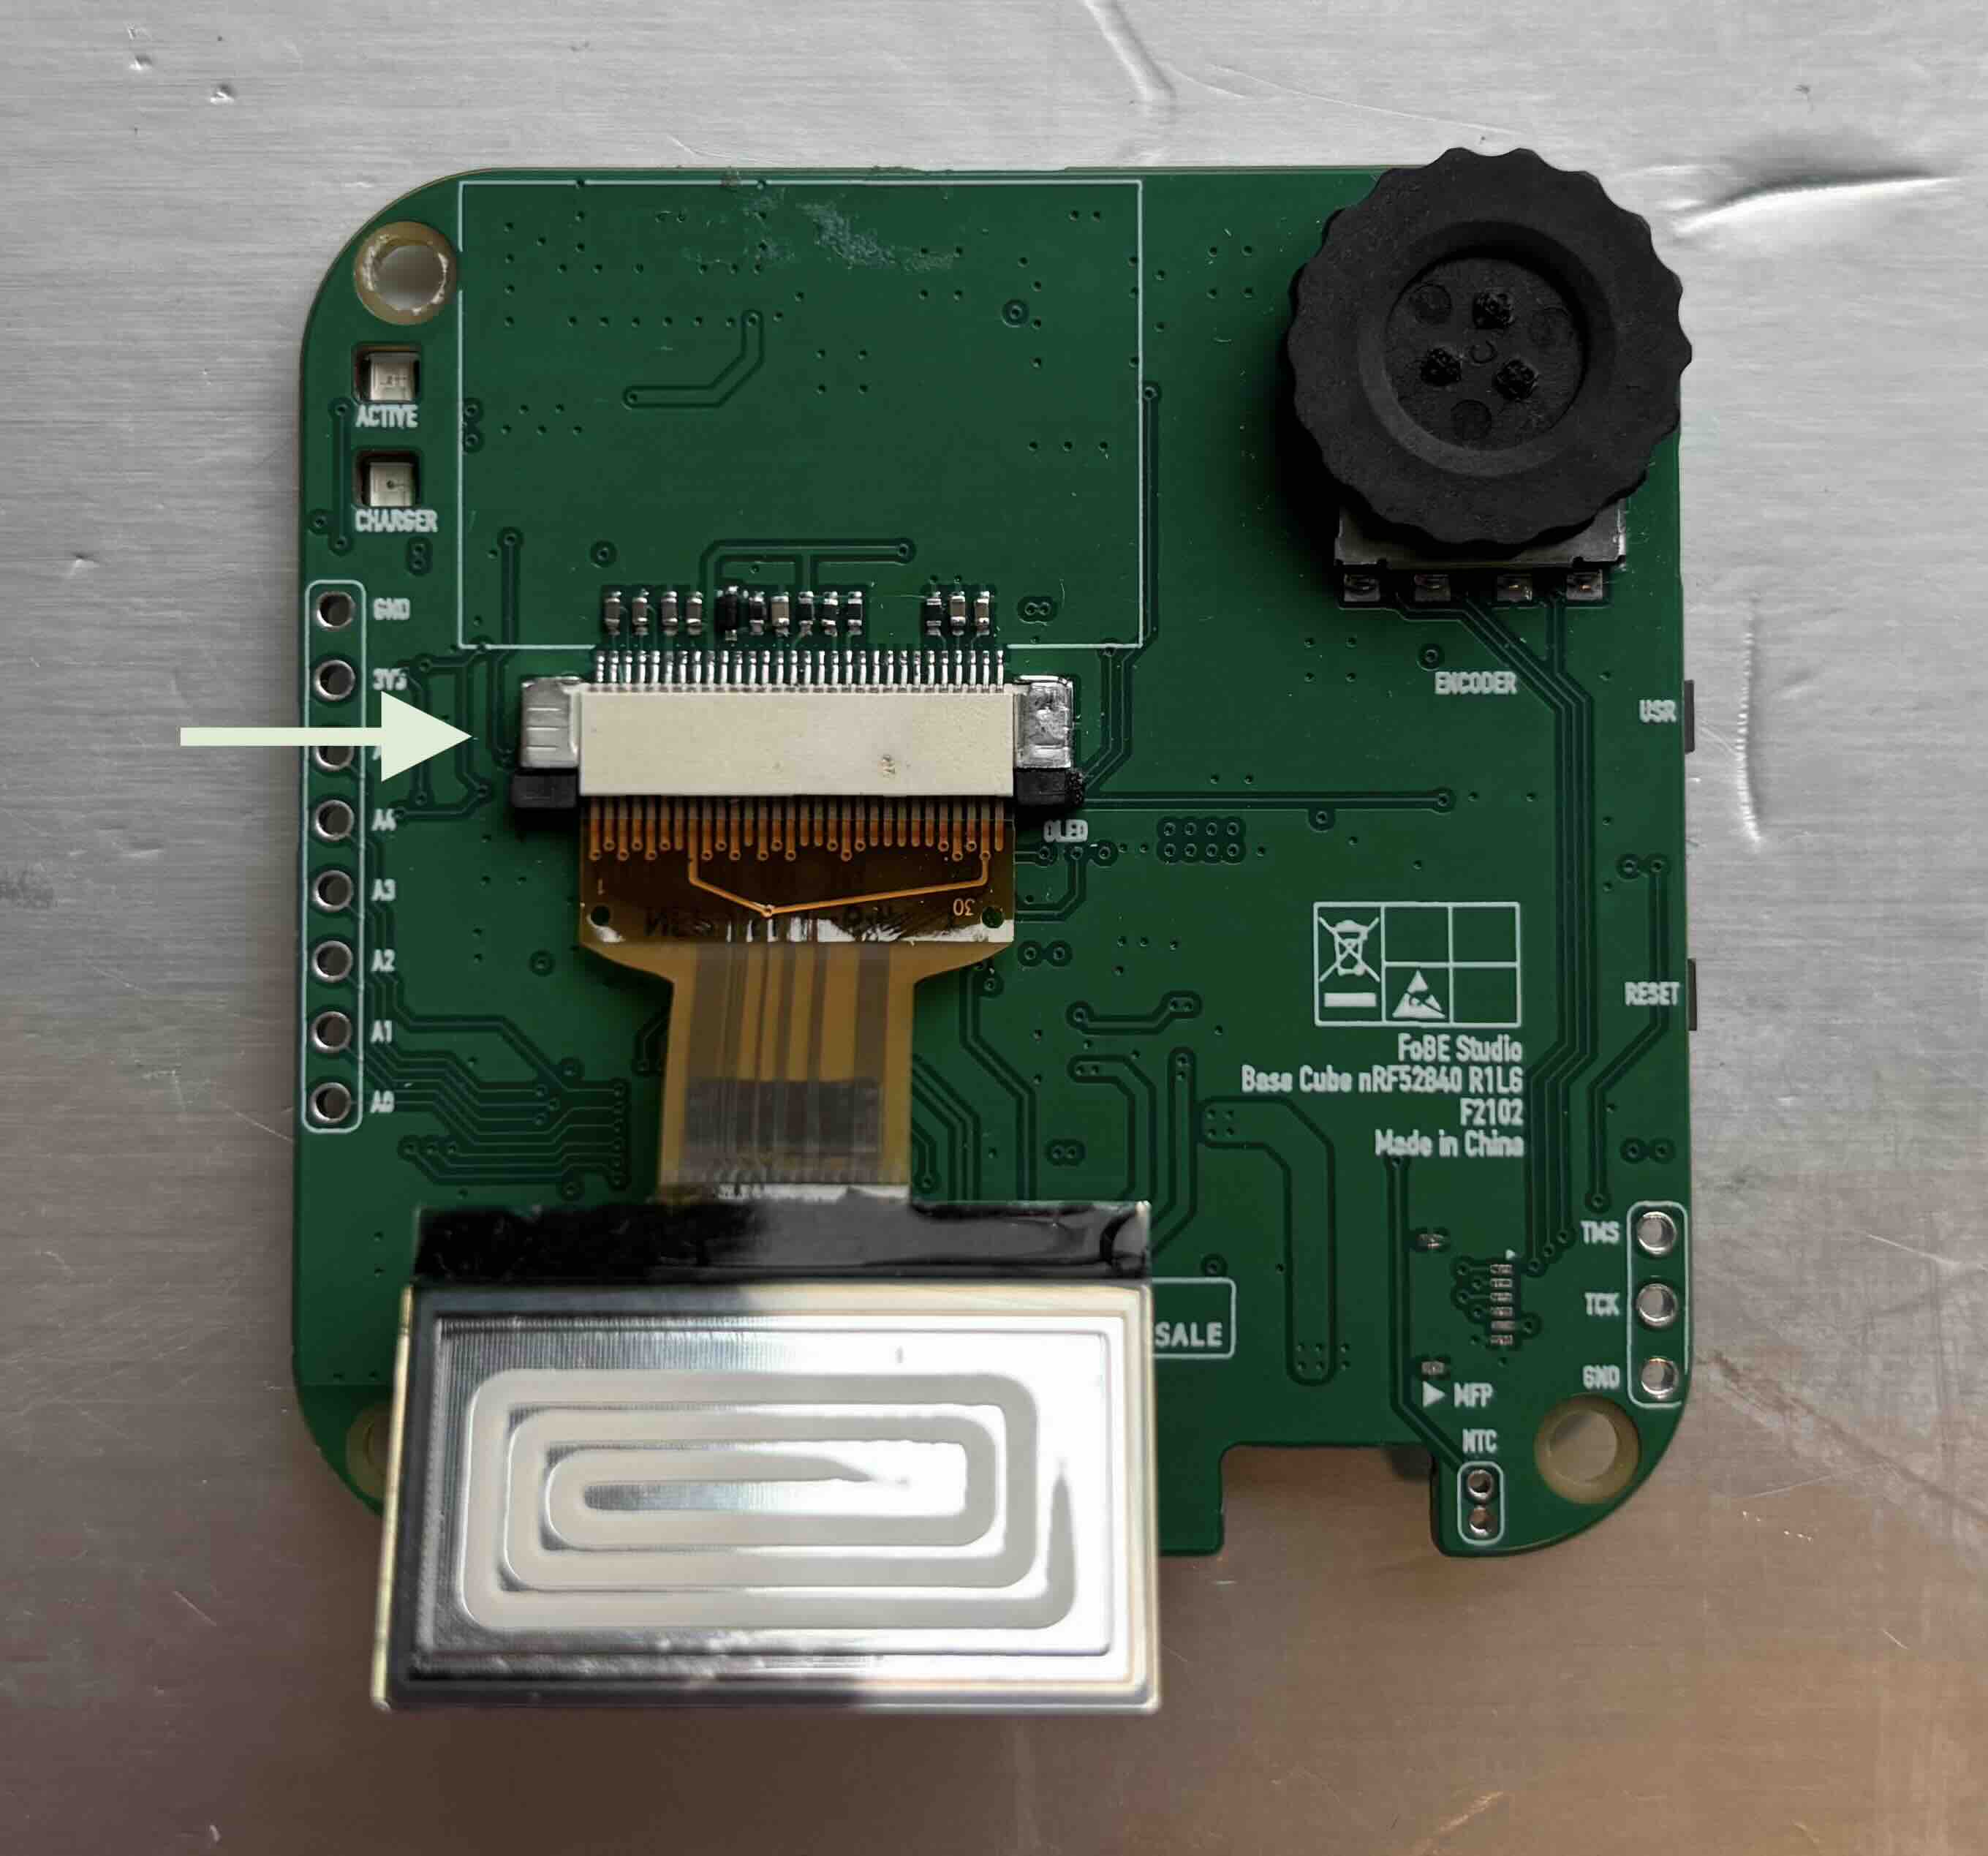
Step 5: Attach antennas and battery to the board, and install it in the bottom case.
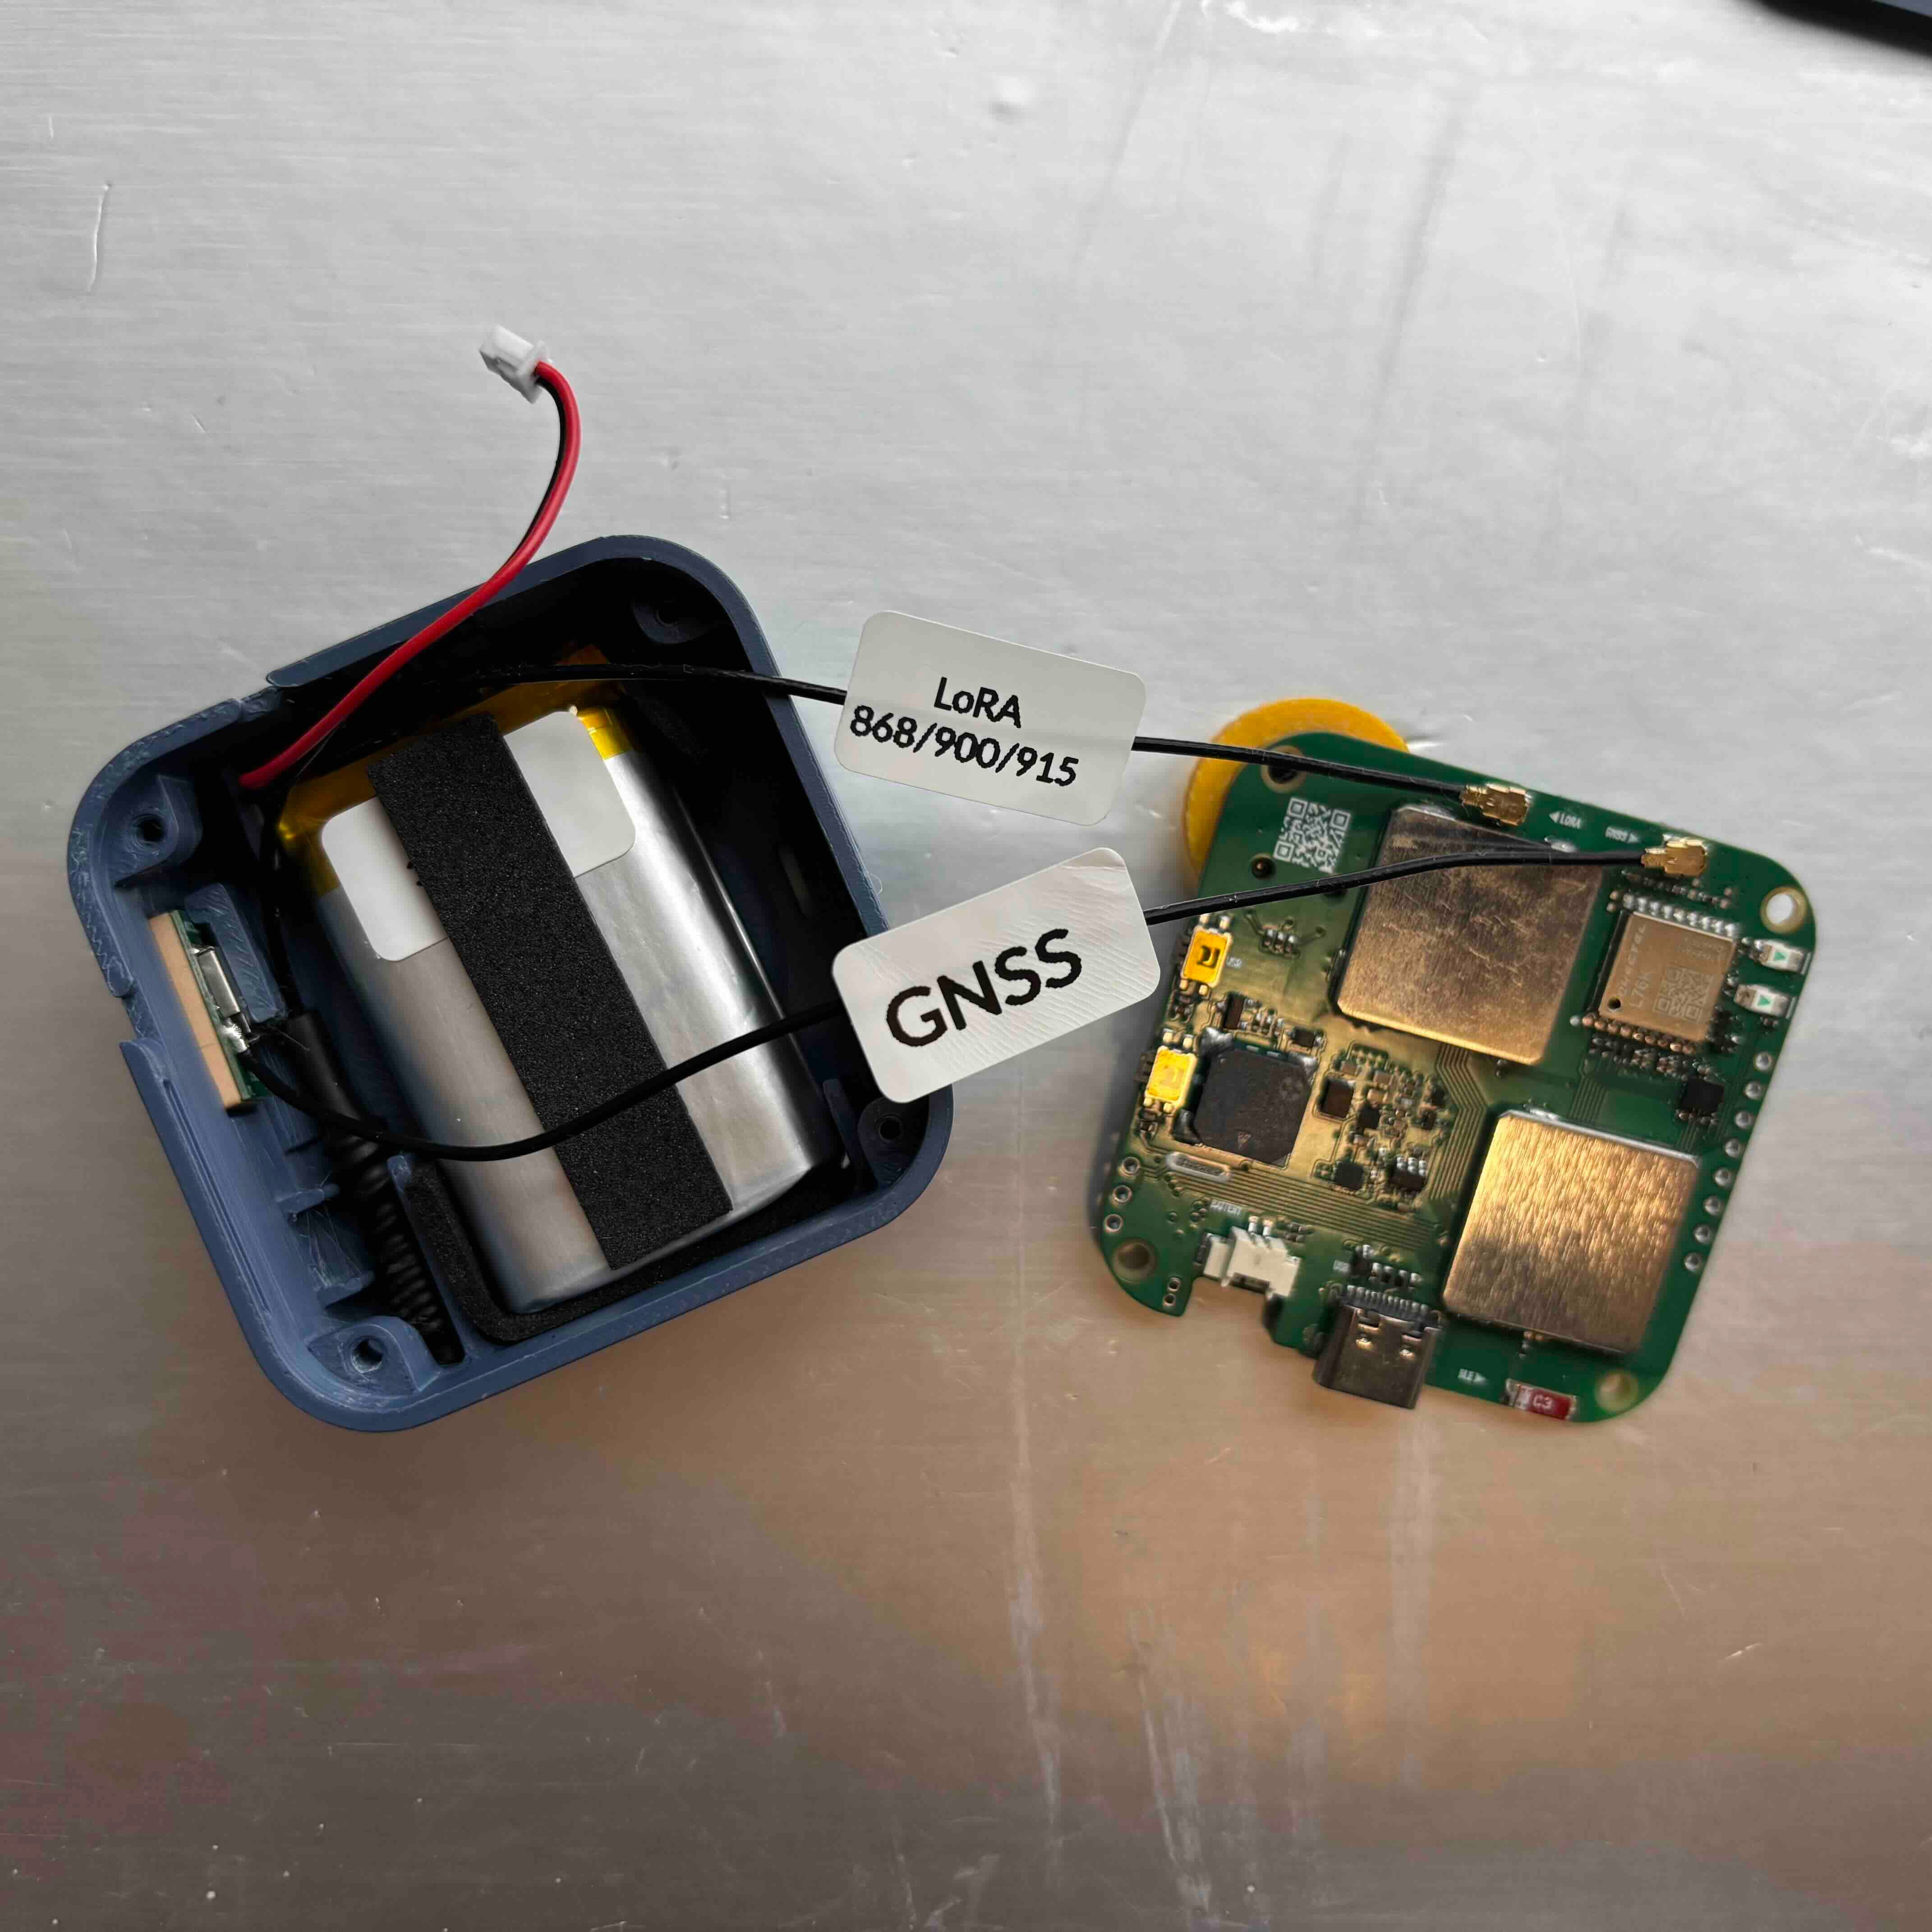
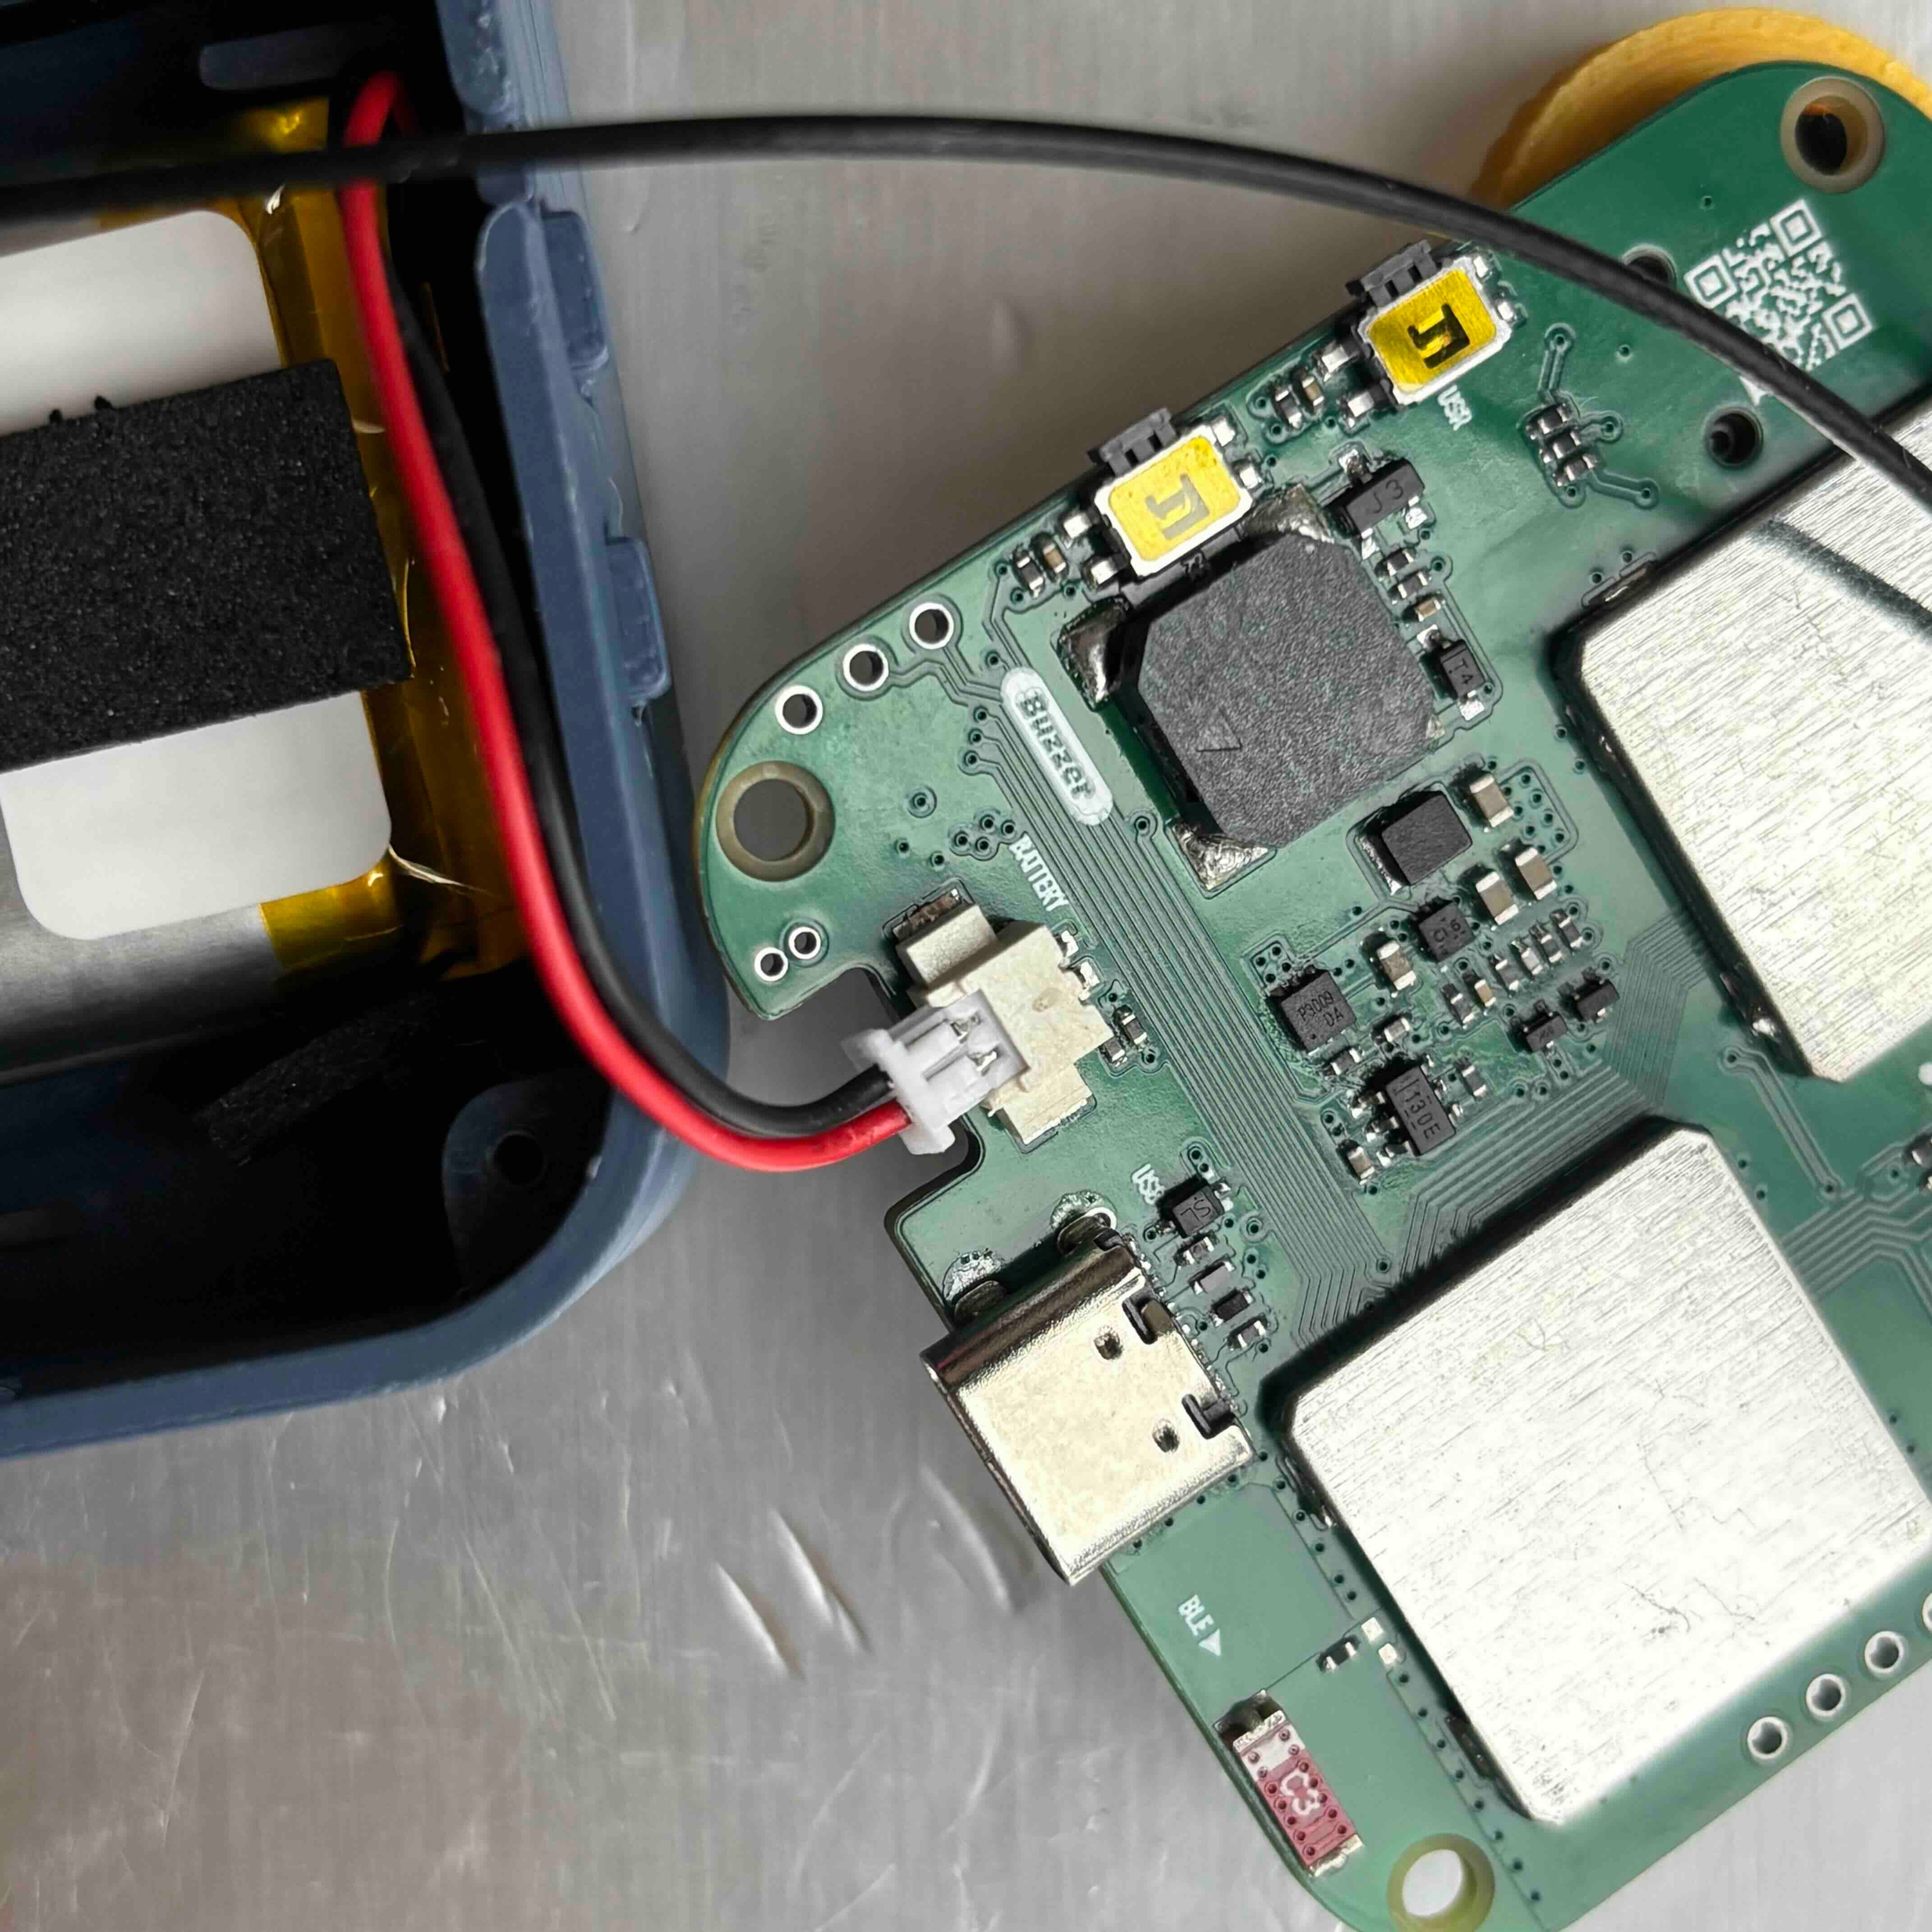
⚠️ Caution! Always check the polarity when connecting the battery.
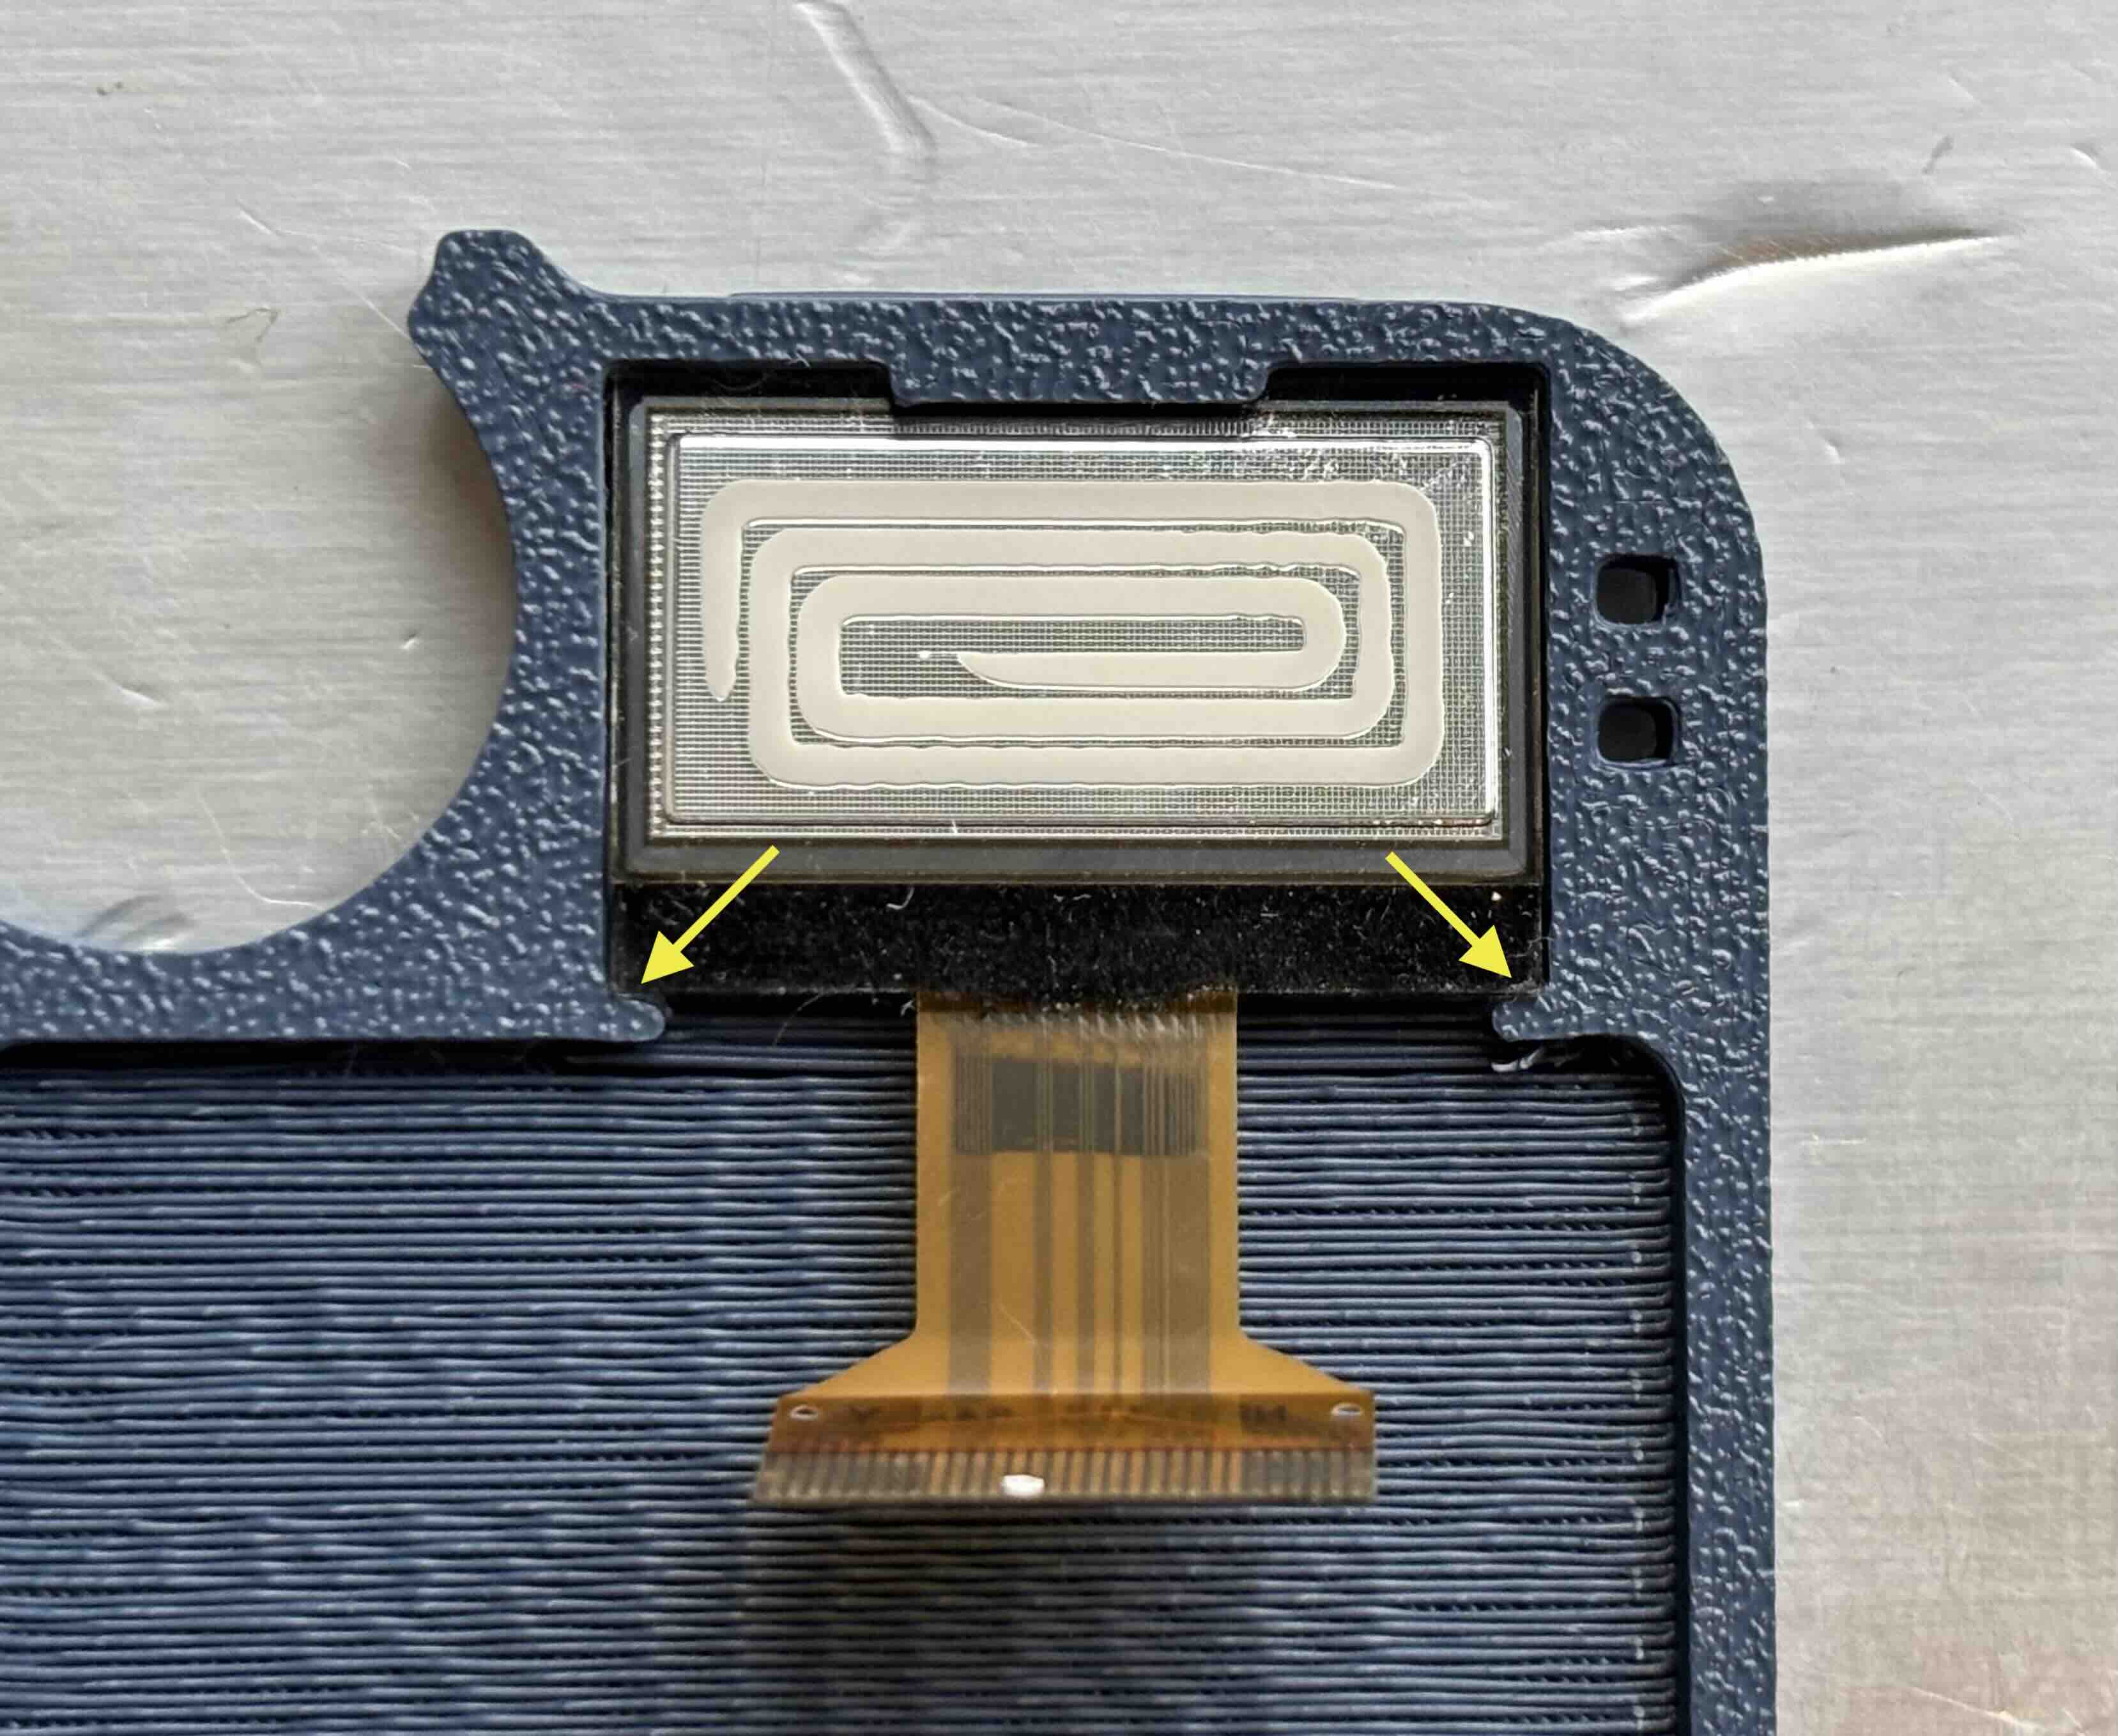
Step 6: Secure the OLED screen inside the top cover.
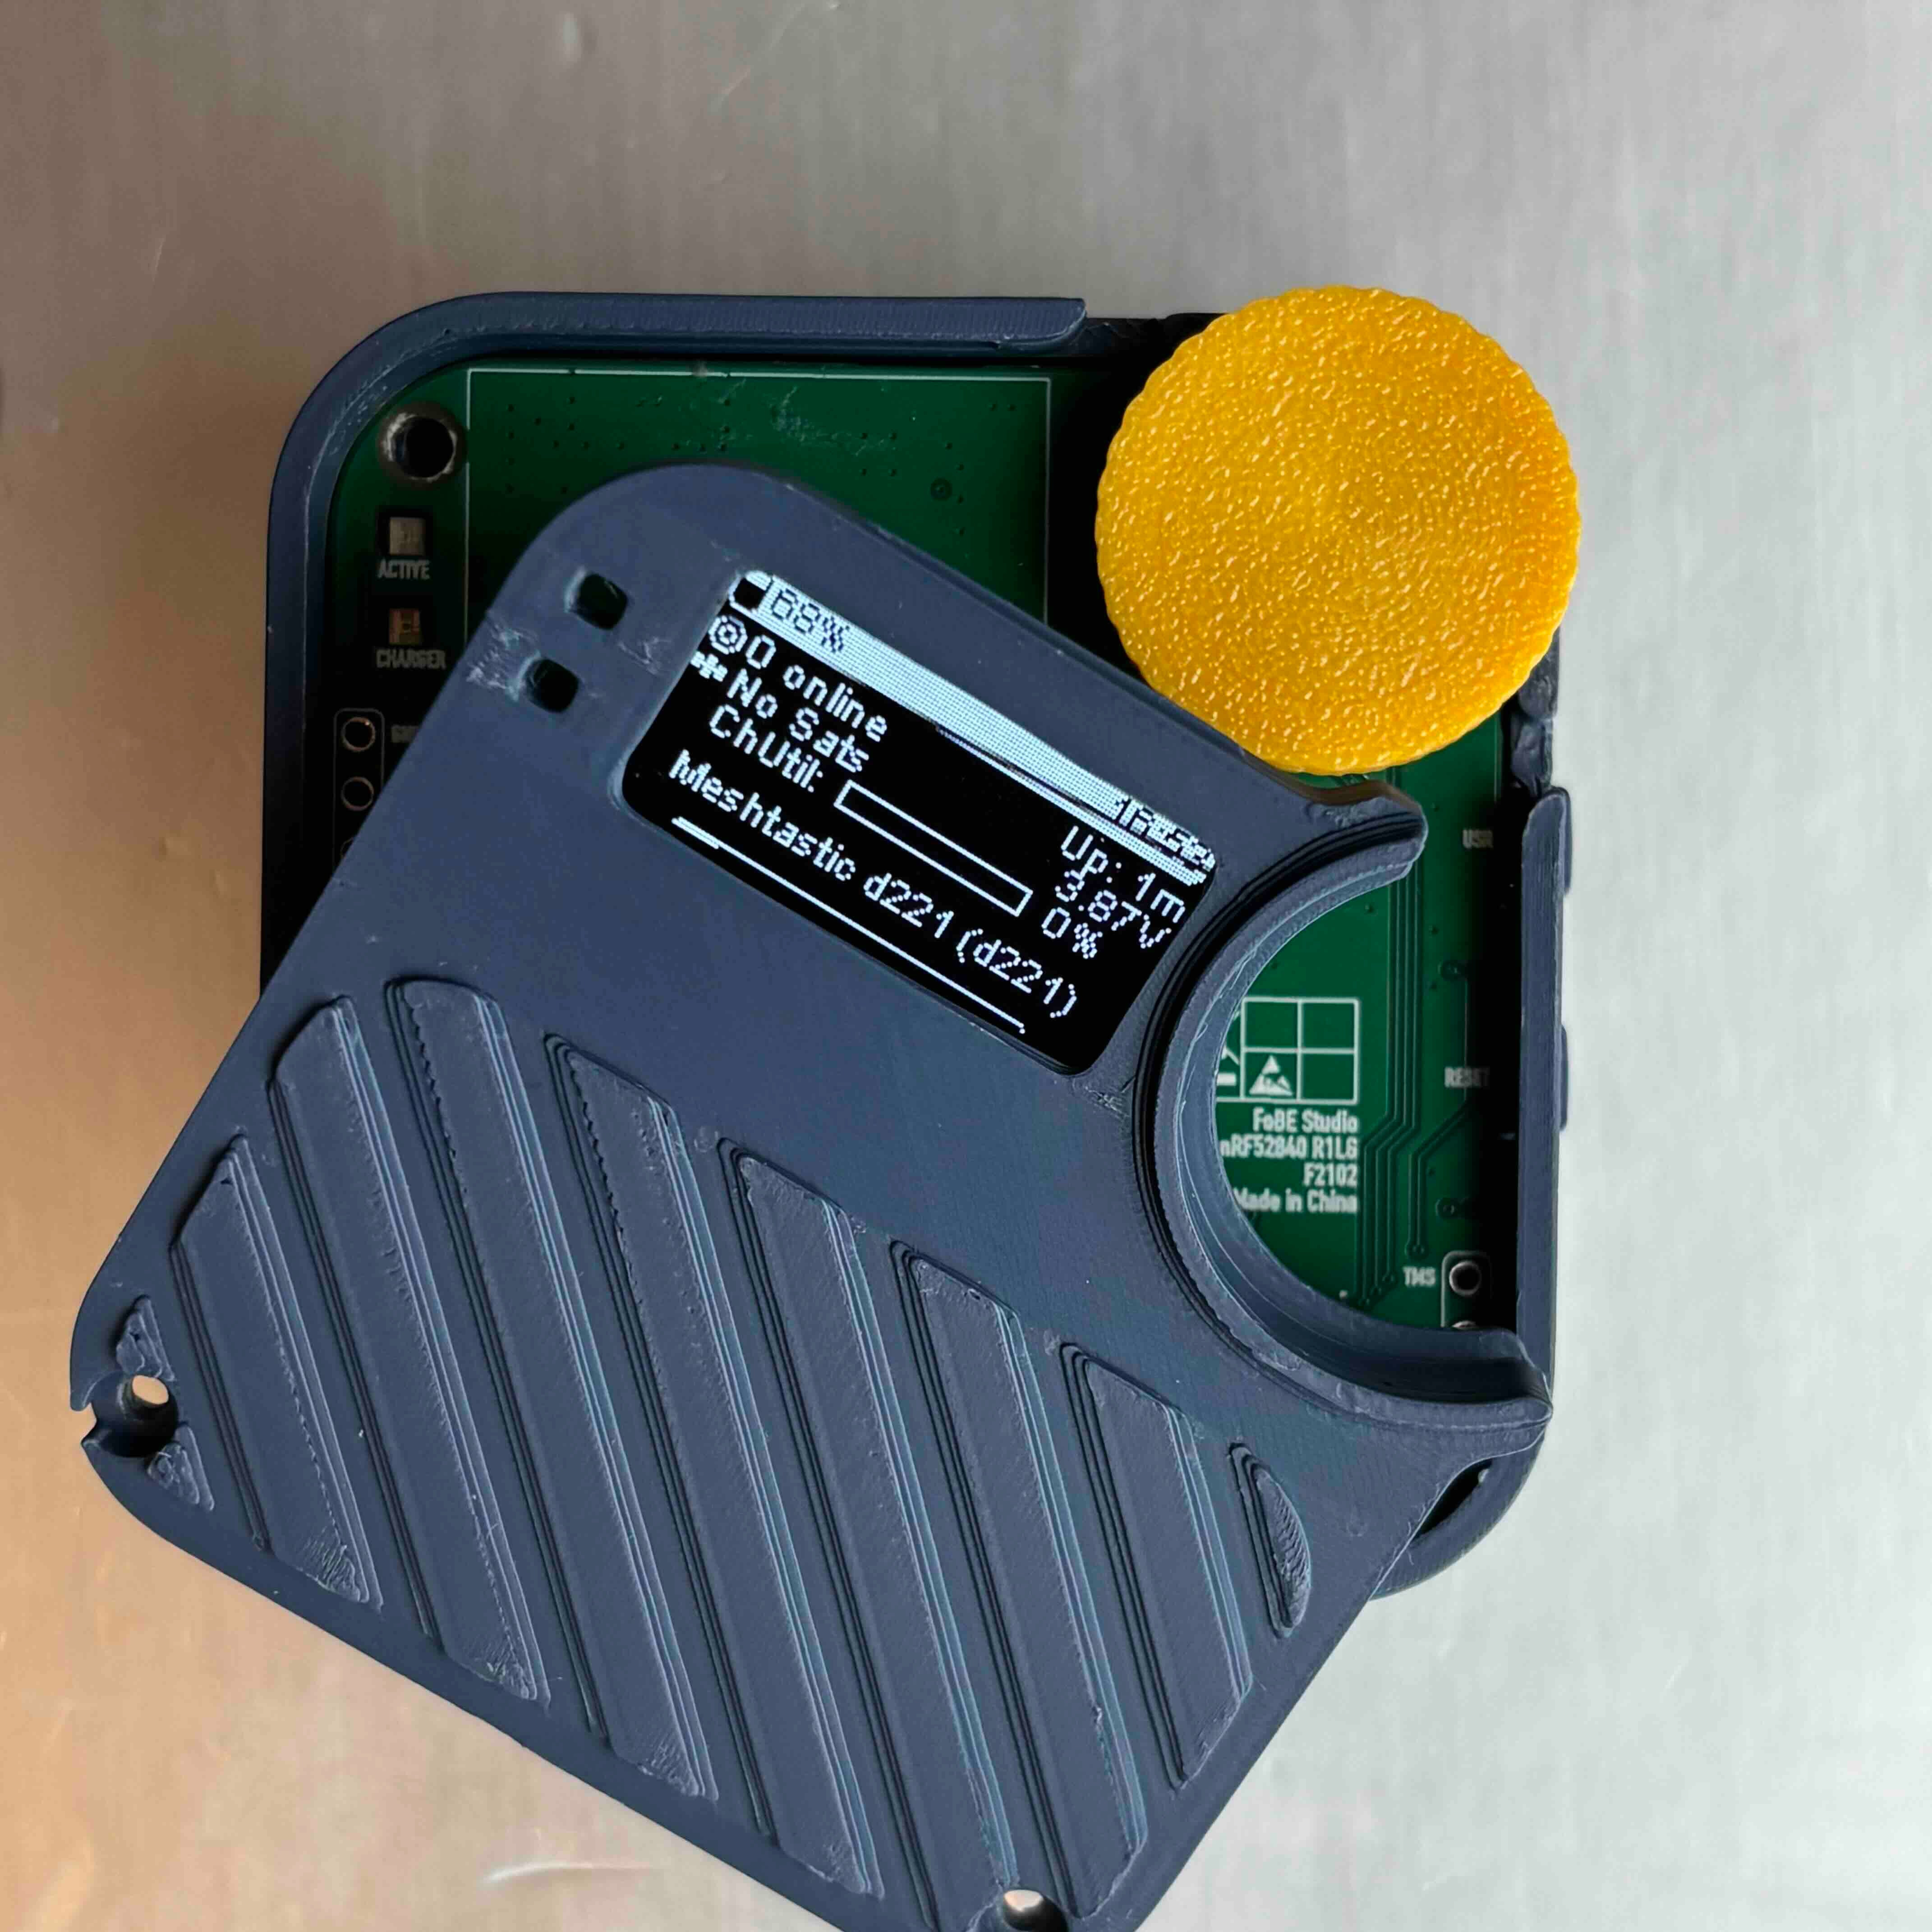
Step 7: Attach the top cover and secure with screws.
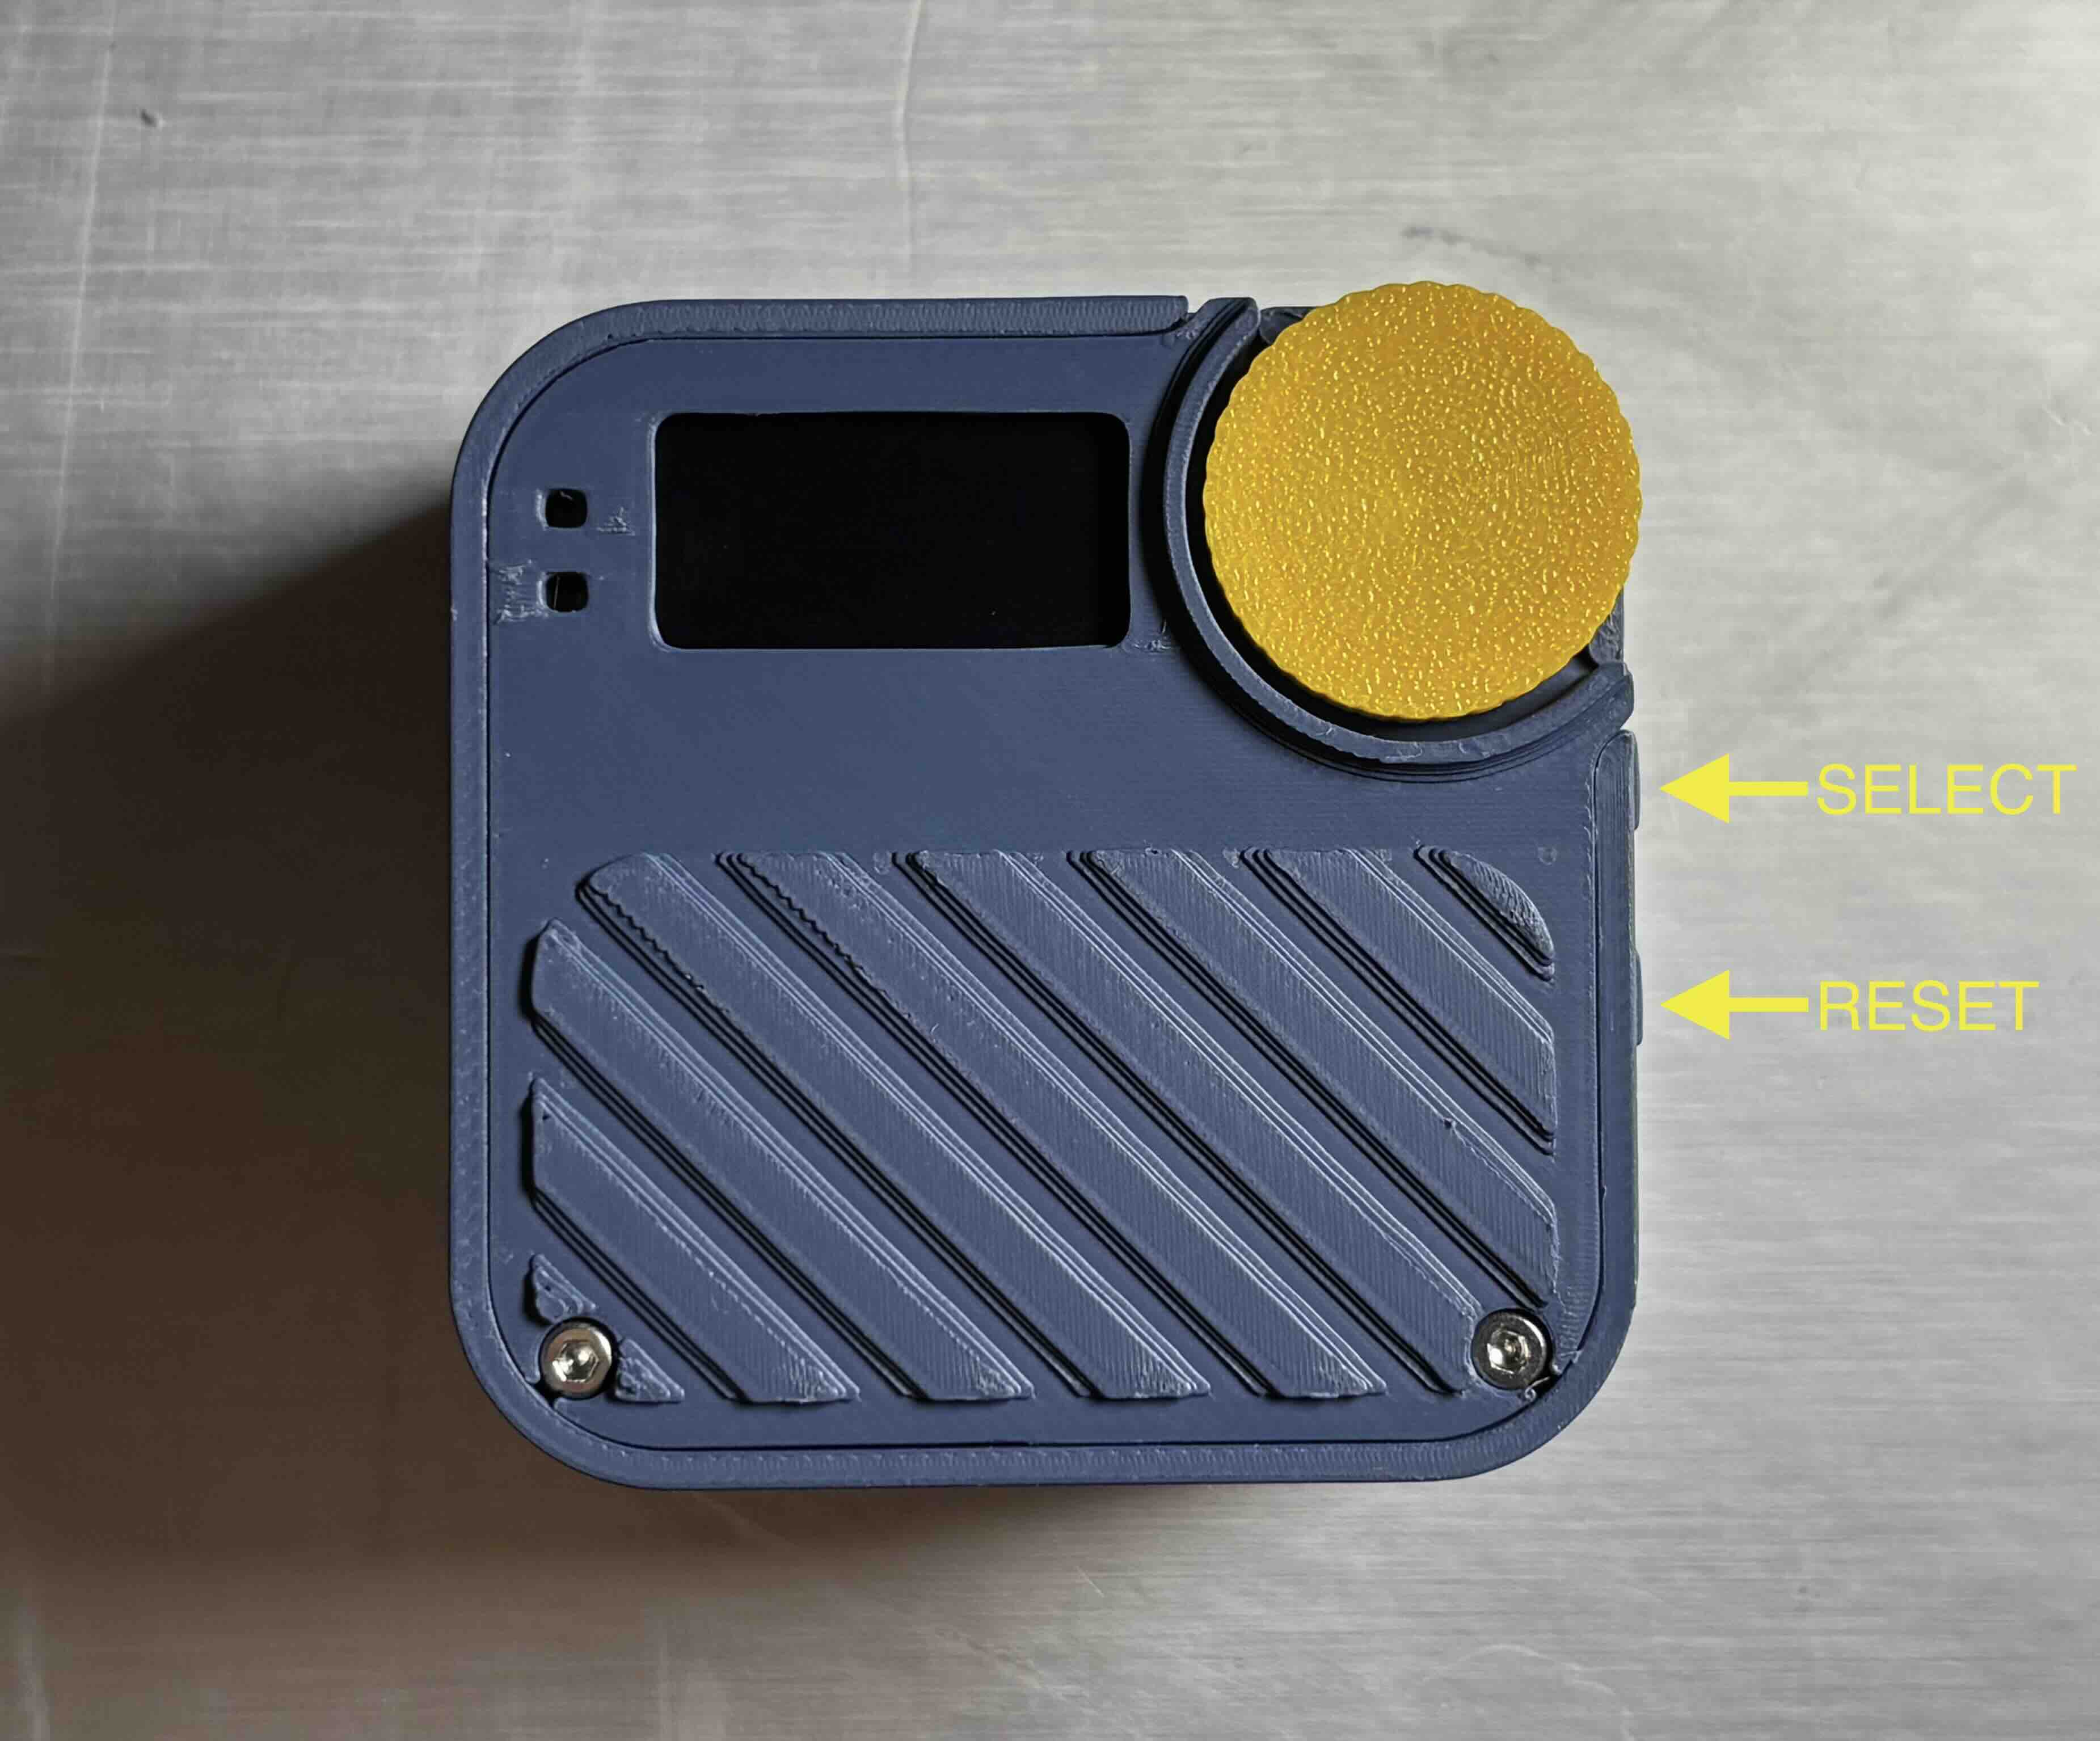
Step 8: Use USB Type-C to connect the device and flash the firmware.
Connect the device to your computer, then double-click the reset button.
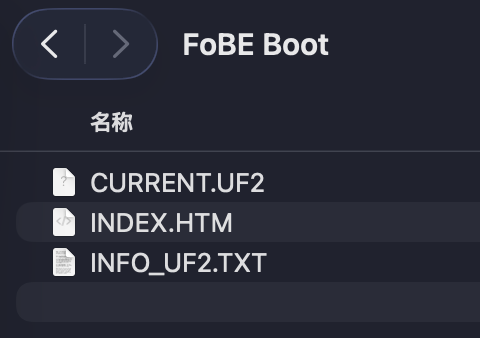
A removable drive called “FOBEBOOT” will appear in your file manager.
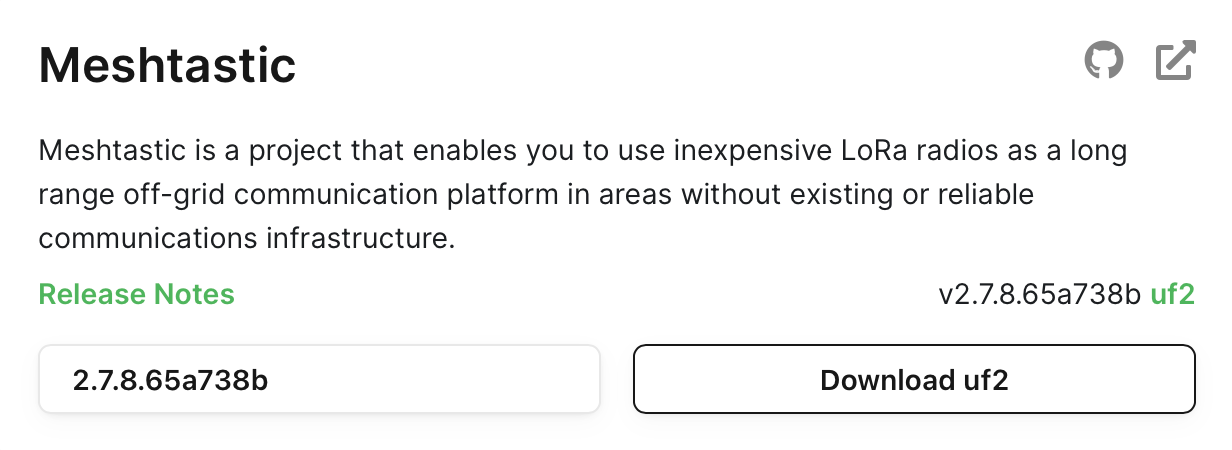
Download the latest Meshtastic firmware (UF2 format) from Firmware Hub.
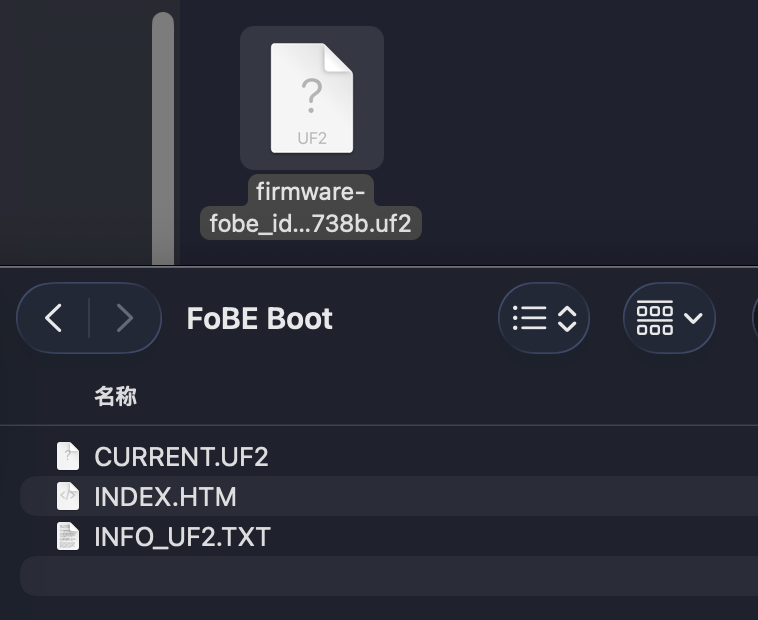
Paste the downloaded UF2 file into FOBEBOOT. After flashing, the device will reboot and sound a beep.
If everything works, the device should operate like this.
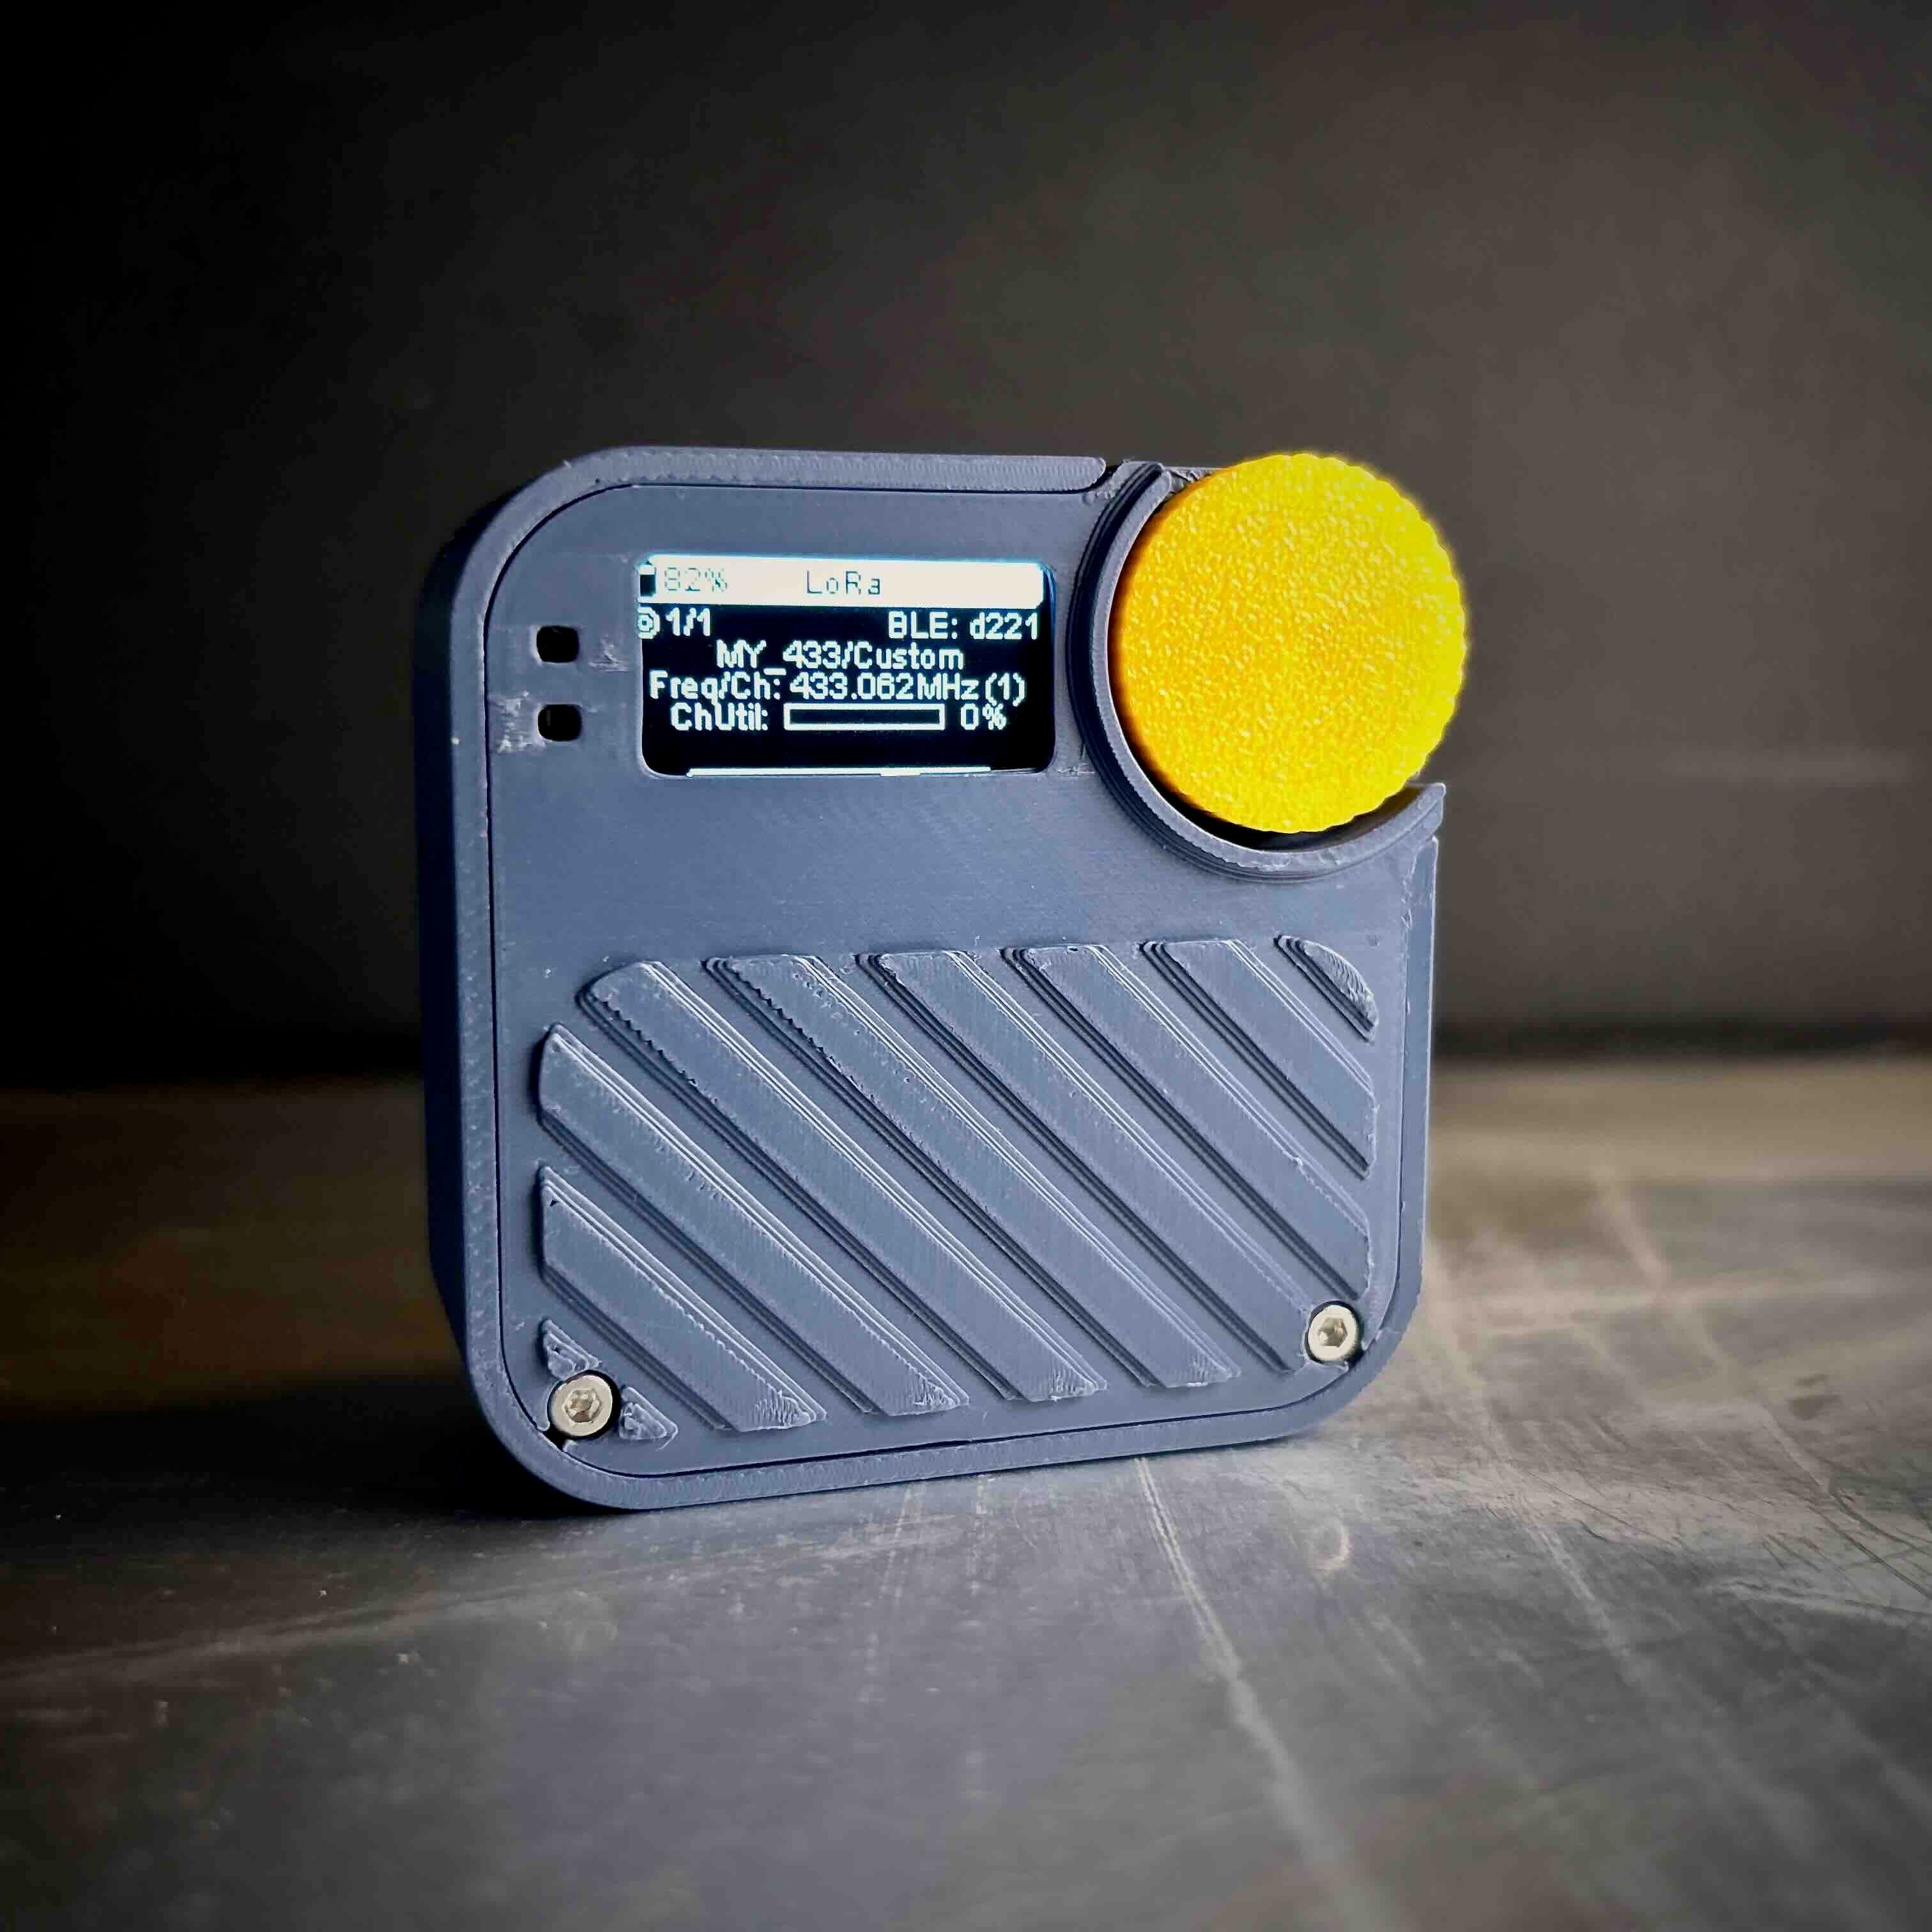
🎉 All done, enjoy your build!
Meshtastic Node - FoBE Mesh Tracker C1

Publicado em 29 de set de 2025
Gostou deste modelo? Crie uma conta grátis para salvar seus favoritos e voltar a eles depois.
Criar conta