Você está no 3DFinder
Buscamos em Thingiverse, MakerWorld e Printables ao mesmo tempo para te dar o melhor de cada uma.
Descrição
Nintendo Switch Pro controller (1 and 2) stand, Gamecube styled - No AMS needed!
A stand for your OG, or Pro 2 Nintendo Switch controller, styled after the legendary Nintendo Gamecube.
This has purposefully been designed to not need an AMS for simple printing, three colours needed, with minor assembly after, all detailed below.
Printing
Filament: 3 colours needed, Purple, Light Grey and Black, I used Bambu Basic PLA for all of it.
Build Plate: Textured PEI, this is printed face down to give a nicer finished, so textured PEI recommended.
Print the build plates one at a time, the main body is on one (purple), the grey insert on another (light grey) and finally the tiny black pieces on the 3rd plate (black).
Once printed, you will need to remove the brim around the grey insert, this came away very easily, feel free to use a burr removal tool after to tidy it up as appropriate.
Assembly
What you will need: Printed parts, glue (I recommend basic superglue). Please keep in mind, with any of the gluing, don't add too much, we don't want this seeping out when parts are pushed down.
Once printed, removed from the build plate and the grey part cleaned up, this is what you should be left with:
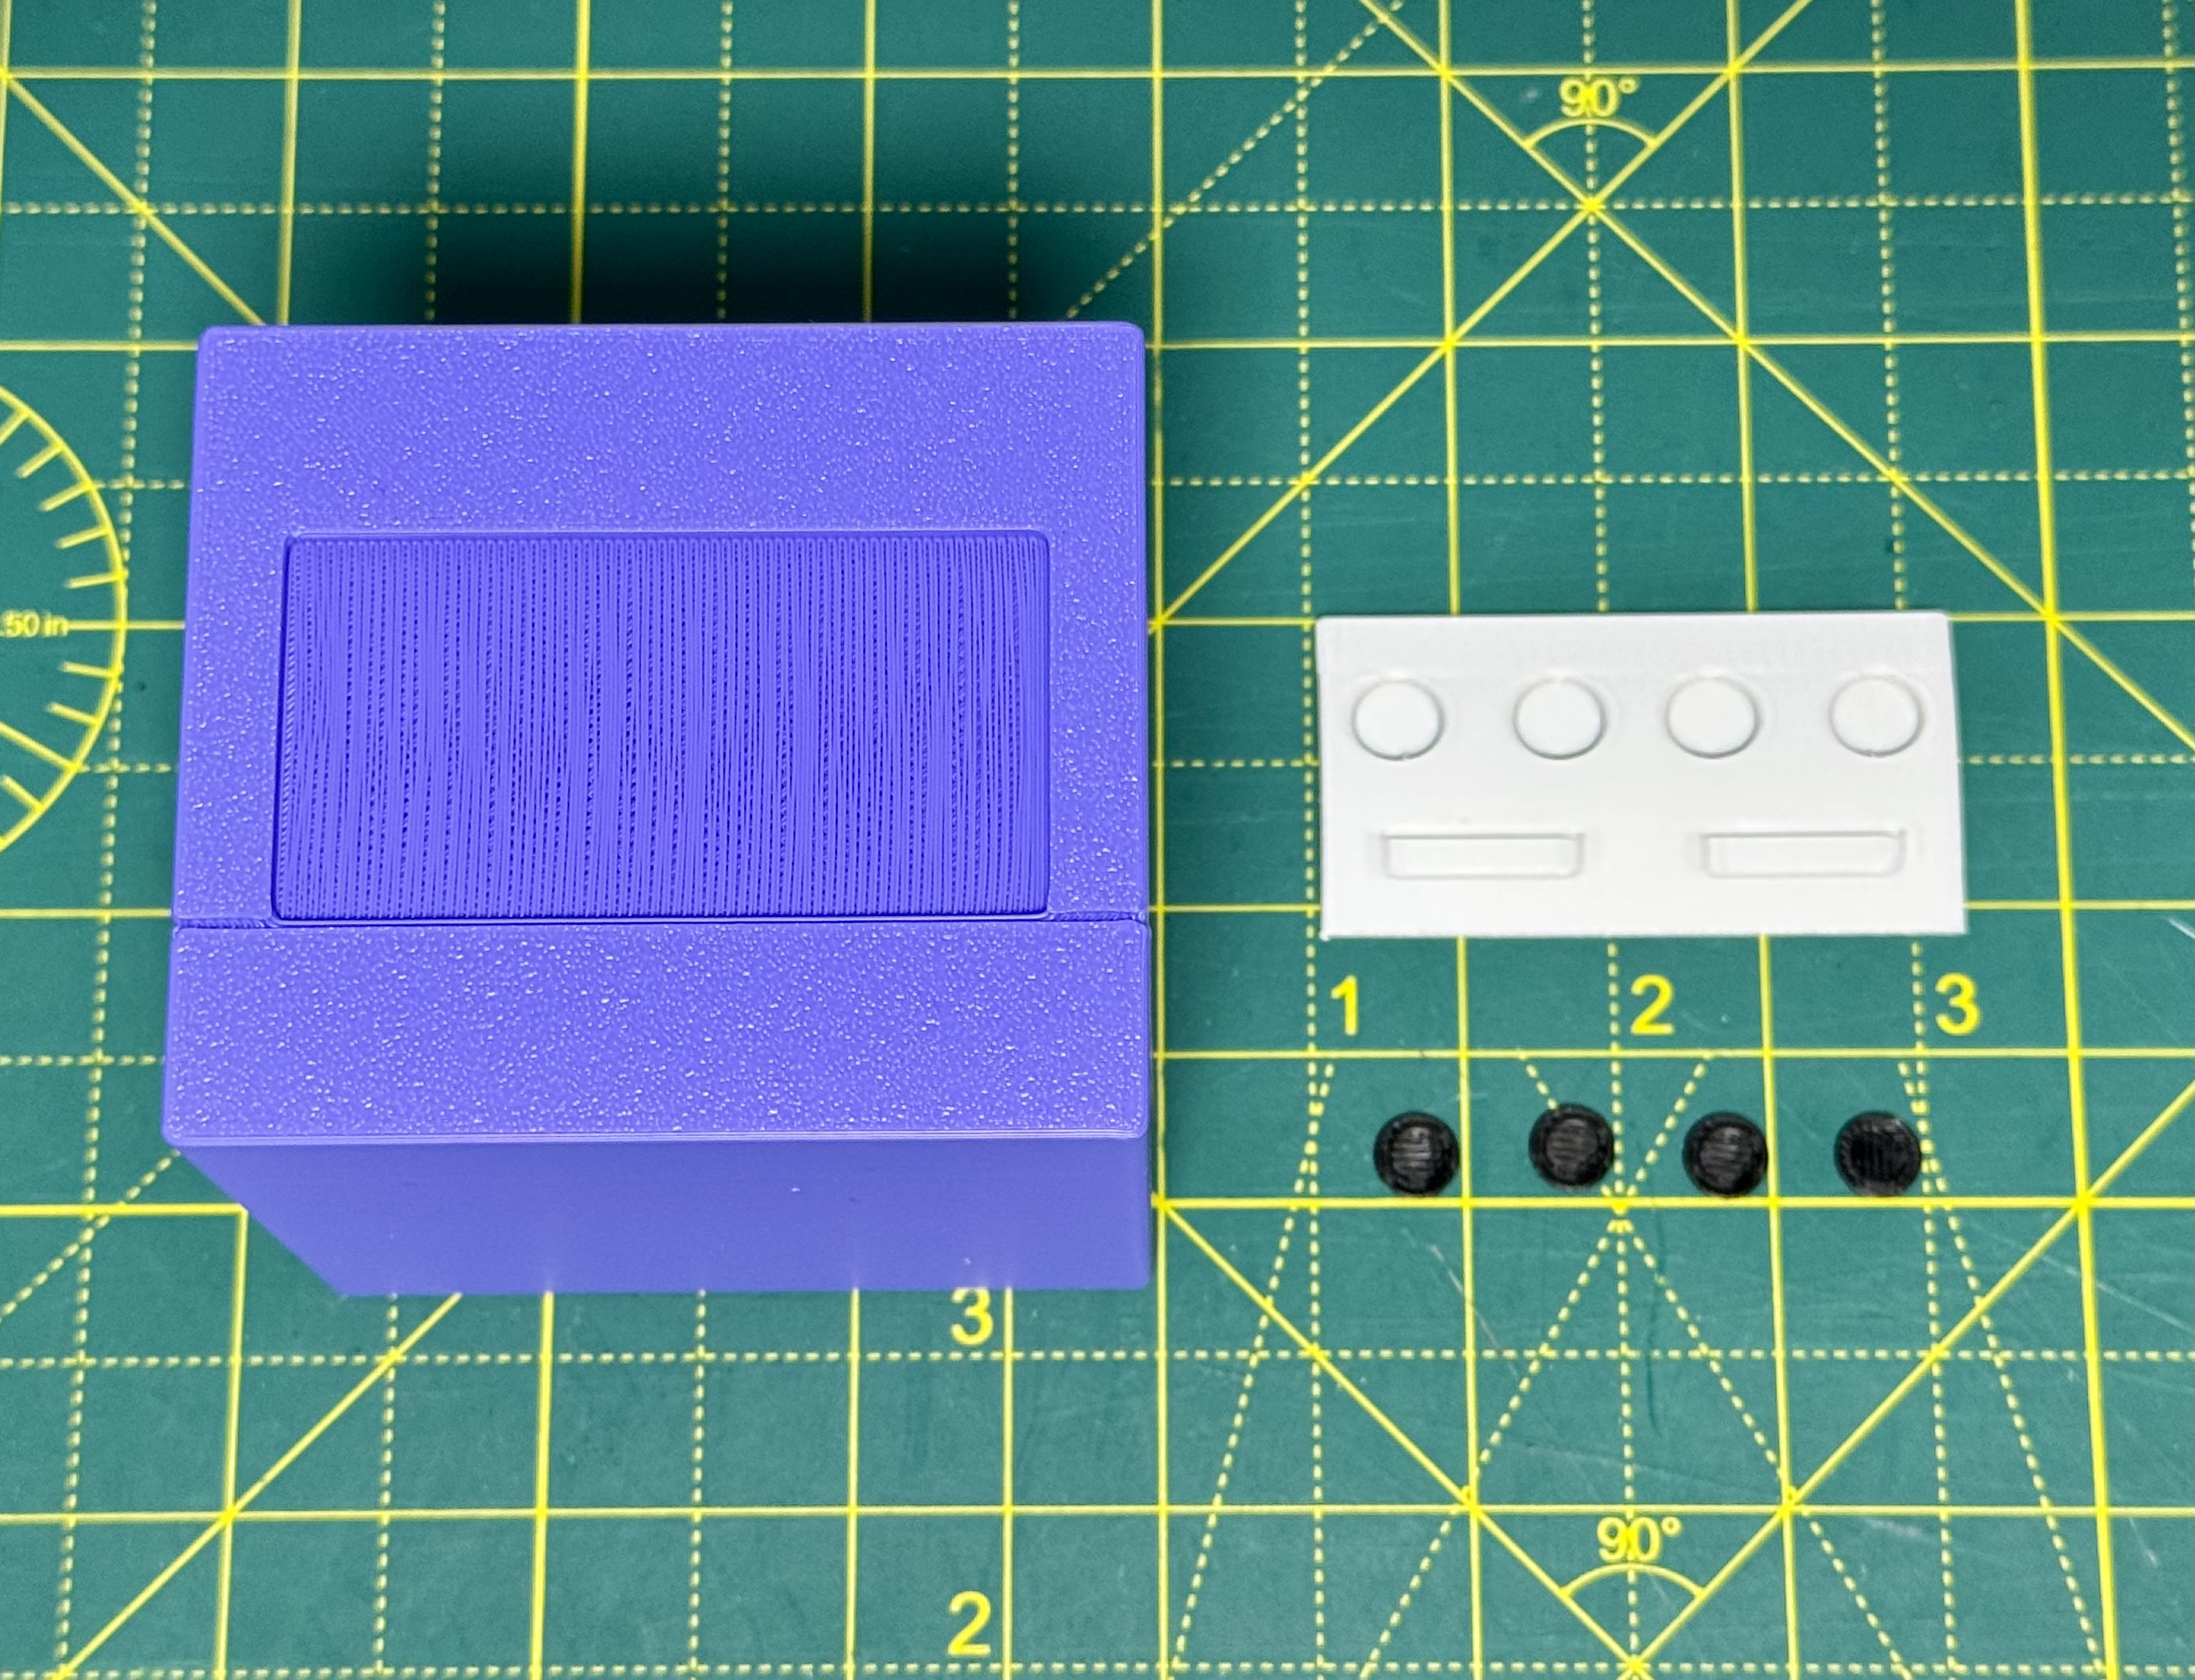
Our first job, is to attach the black controller inserts into the light grey facia piece, these are a bit small and fiddly, I've also included the flat top edges into the design, although you'll need to be pretty close up to see them!
Start by carefully putting some very small dabs of glue into the round cutouts of the grey facia. Then, carefully insert the black pieces one by one into the round cutouts. The flat piece in the black cutout should be at the top.
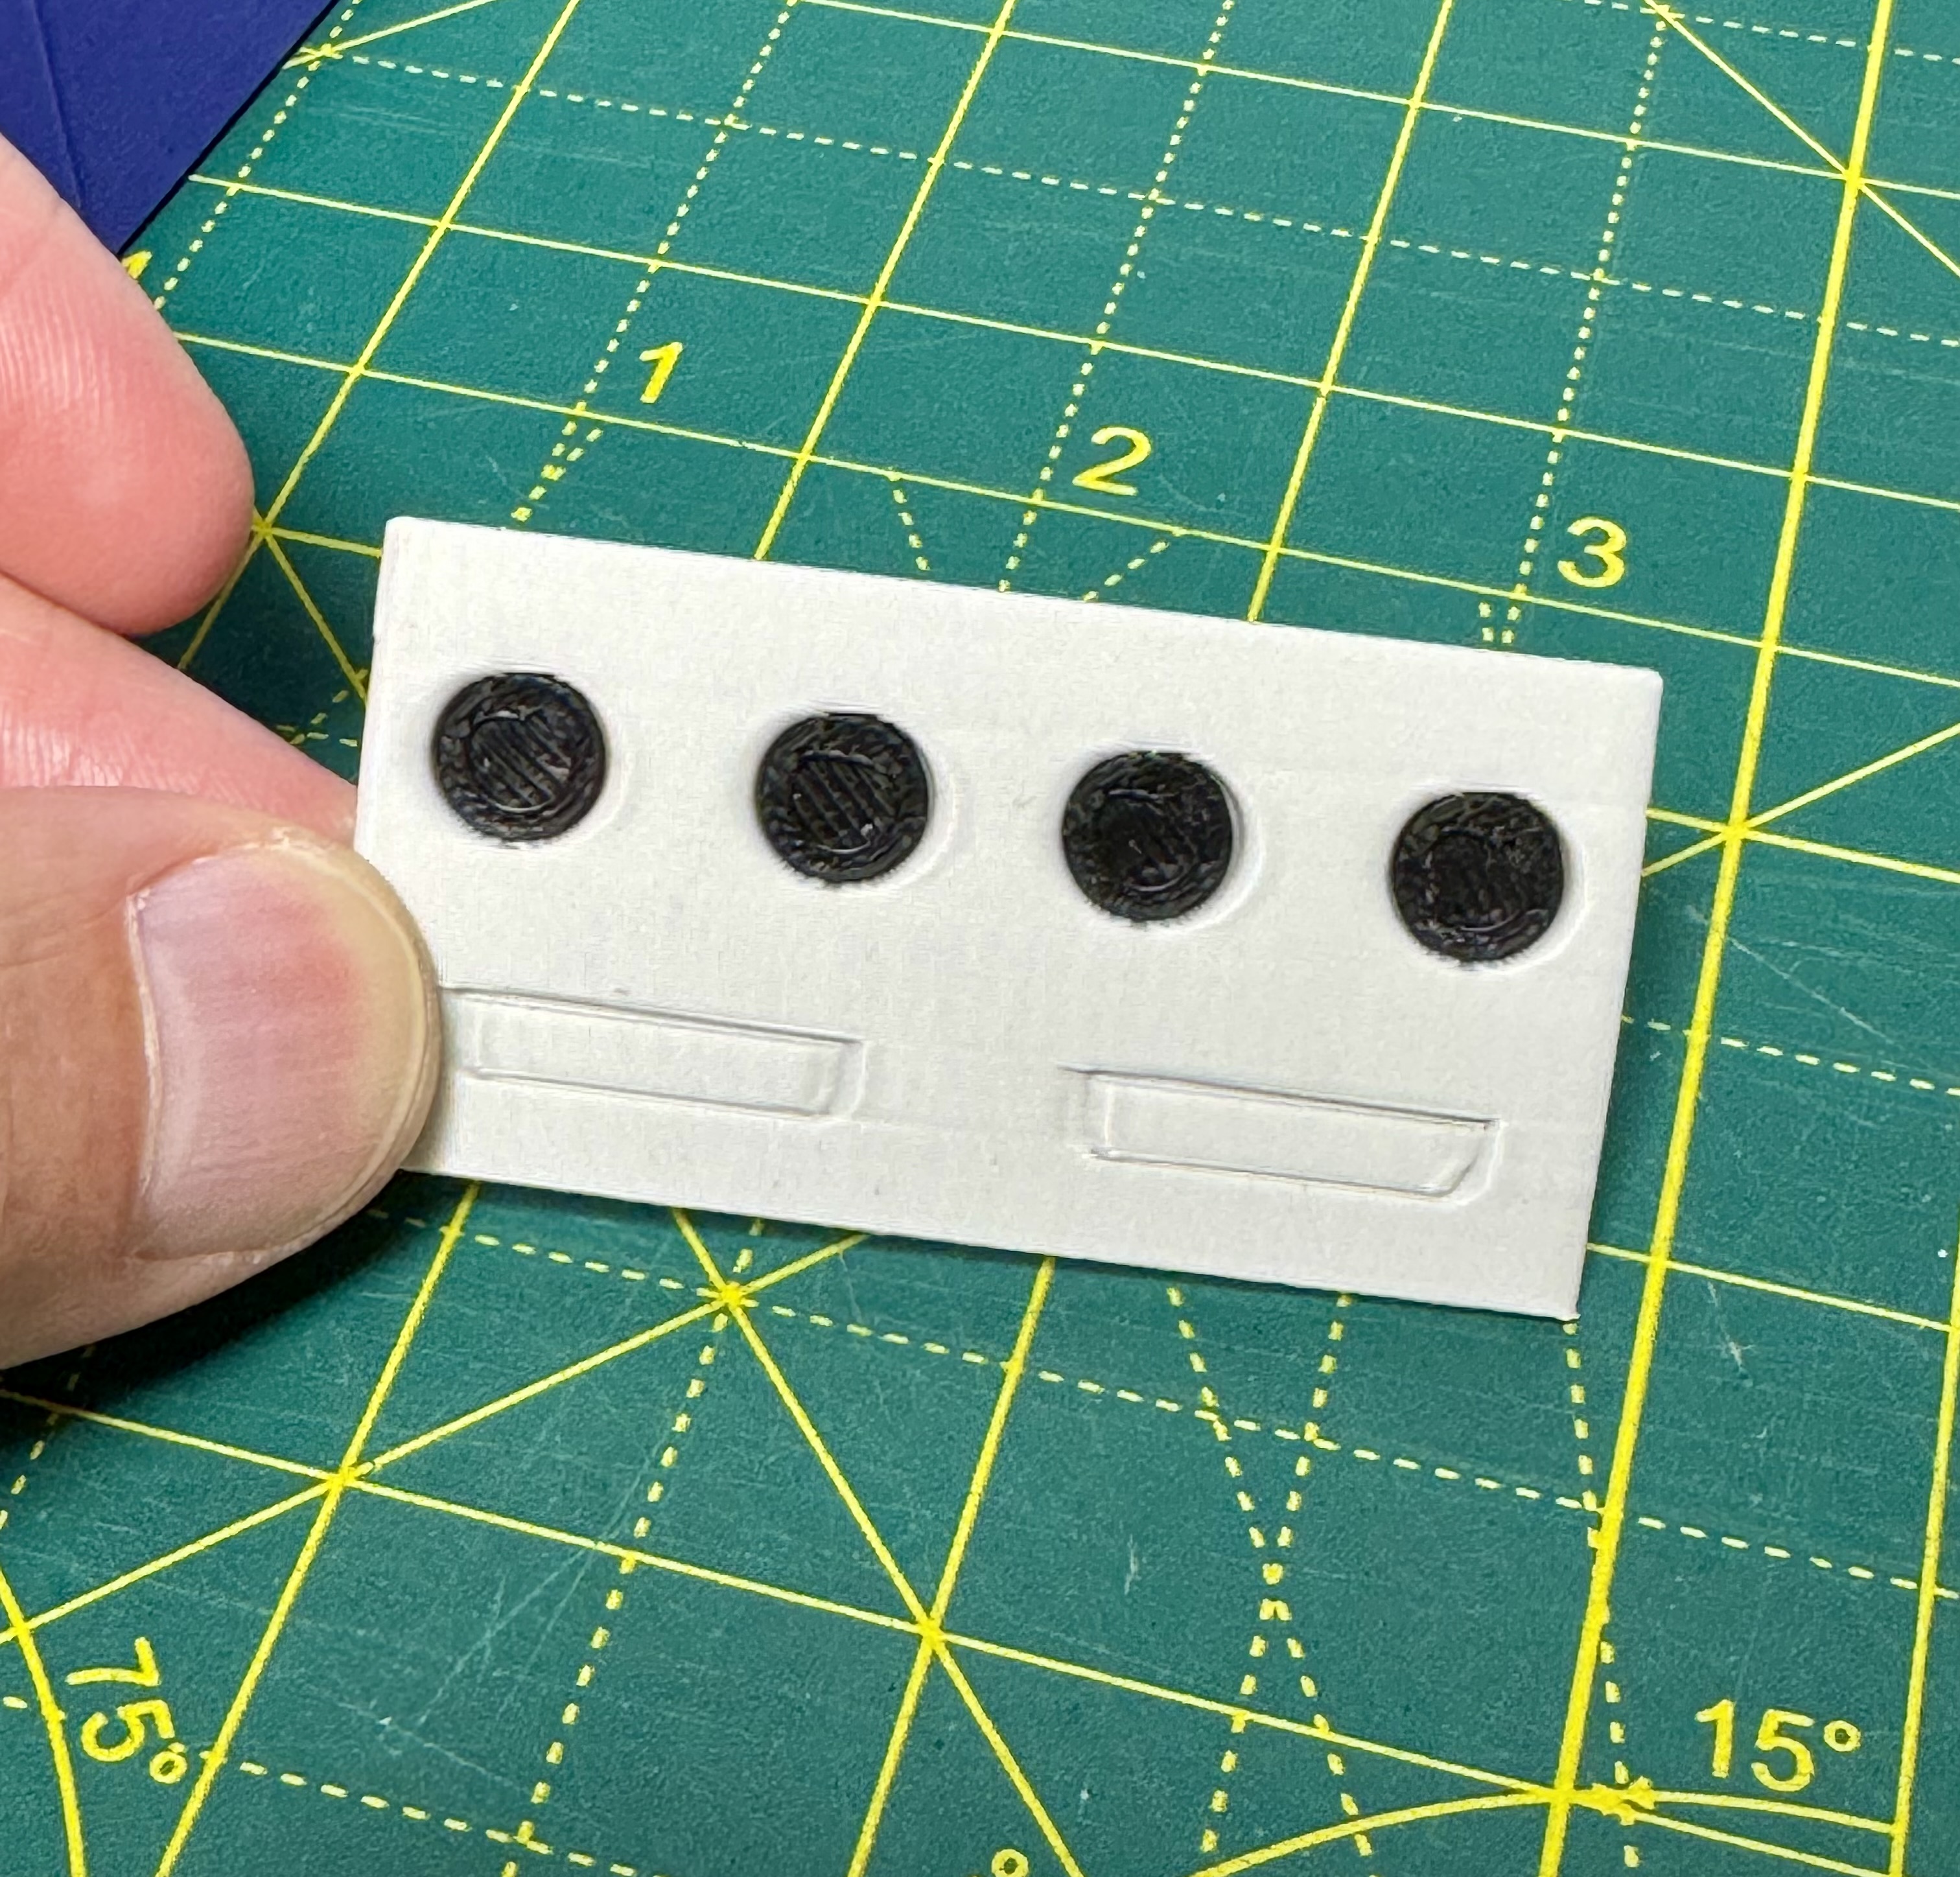
Once this is complete and given an adequate time to dry (this will depend on your glue), we can now glue the grey piece into the main body of the stand.
I recommend putting the glue on the back of the grey piece, rather than the purple body, mainly because where it has bridged and left some gaps, the glue might seep down before you attach the grey bit!
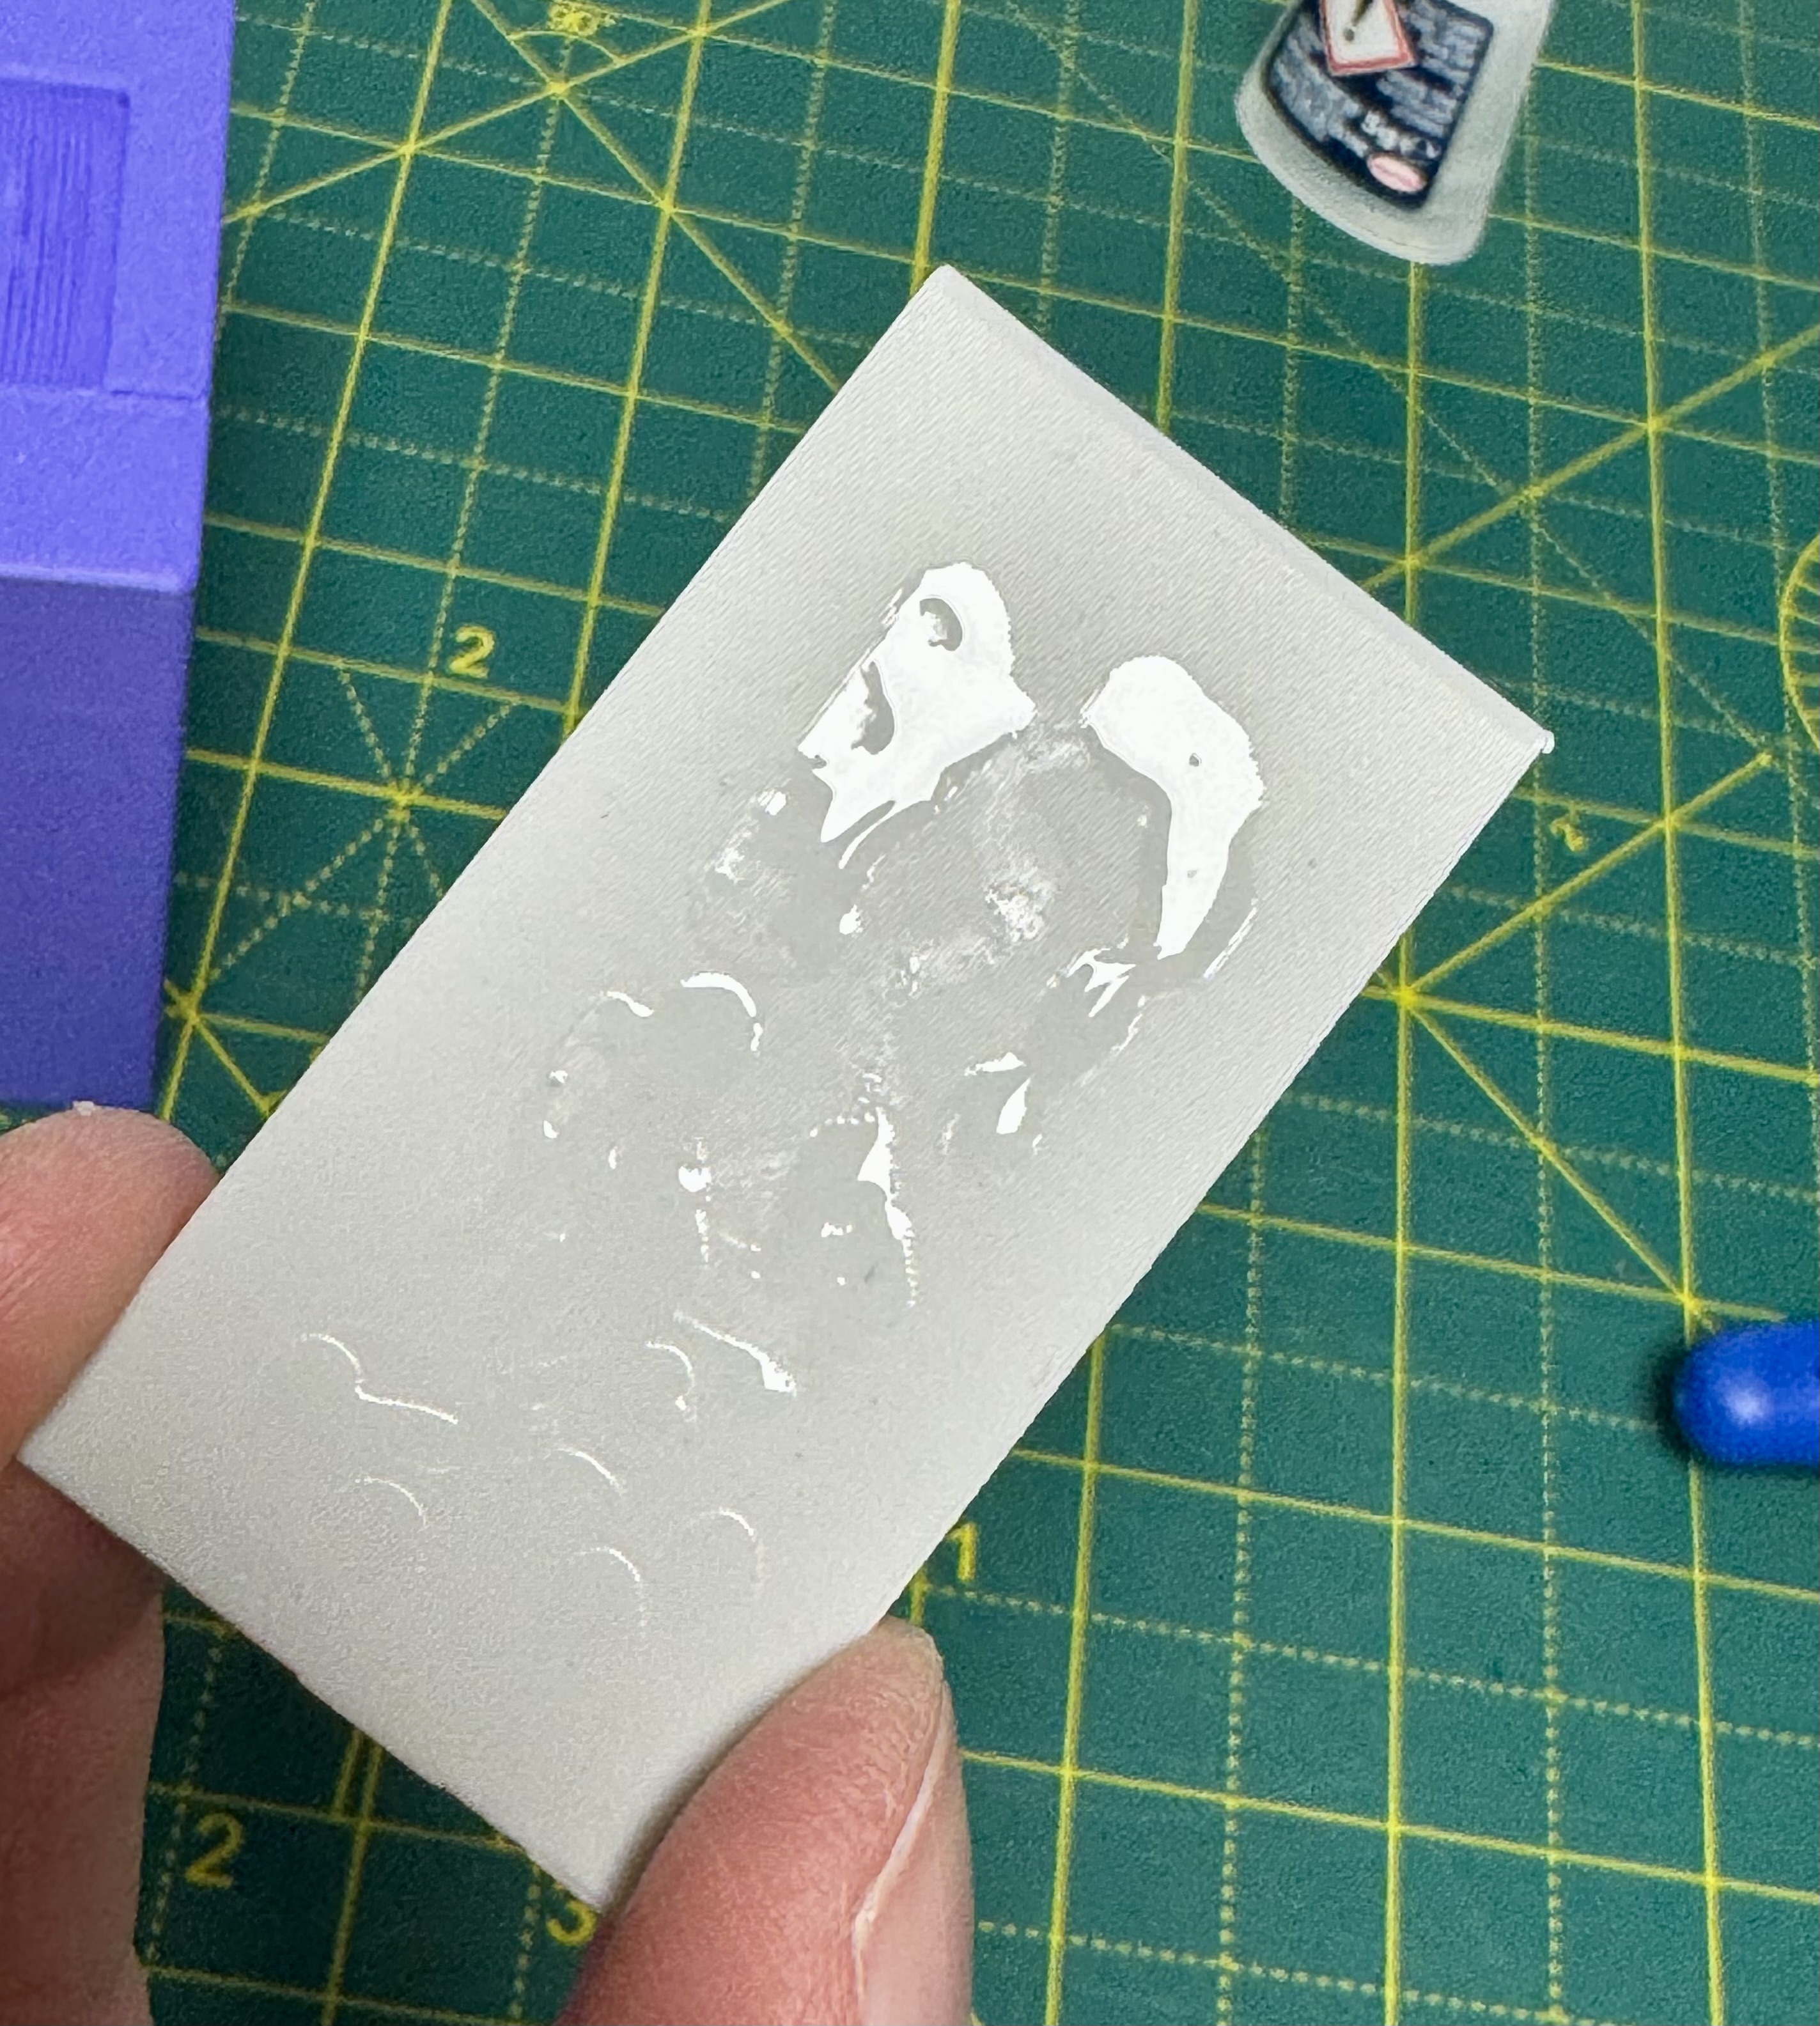
Now insert in place into the cutout on the main body, we want this so the black controller holes are pointing towards the top of the body, where the controller sits.
It is a tight fit, line it up before placing, then push down and get it even across the length of it.
Once the glue is set, you are good to go!
Enjoy the nostalgia :)
Nintendo Switch Pro controller stand - Gamecube!
Publicado em 12 de set de 2025
Gostou deste modelo? Crie uma conta grátis para salvar seus favoritos e voltar a eles depois.
Criar conta