Você está no 3DFinder
Buscamos em Thingiverse, MakerWorld e Printables ao mesmo tempo para te dar o melhor de cada uma.
Descrição
UPDATE: Added a dual-color AMS version. Note: this variant is untested, and because the print runs long, a clean build plate is essential. Please rate the profile and leave a comment if there’s anything to improve!
This is a life-size (~120 cm ≈ 47.2 in), 3D-printable replica of the Blasphemous Blade from Elden Ring. It’s designed for display or cosplay and assembles with hexagonal dowels — simple to put together and very, very sturdy once glued. The only tricky part is removing the supports on the hilt, so take your time and don’t hurt yourself.
Important: To get the pre-sliced parts and all hexagonal dowels, please print the included Print Profile. These are not in the raw STL downloads.
Design note
In the game, the blade’s “flesh” is a mass of grasping hands. I didn’t model thousands of tiny hands here — on FDM printers that kind of ultra-fine detail is nearly impossible to print cleanly and would create lots of weak, stringy artifacts. Instead, I stylized the surface into bolder ridges and cavities that read as molten, charred flesh after paint, while keeping the parts printable and durable.
Note: This is a PLA prop. Treat it as decorative — not for swinging or combat.
Print prep
Clean build plate = happy tall parts.
Before printing, wash your build plate with dish soap and warm water. Don’t use hand/skin soaps or anything with oils — they can reduce adhesion.
Assembly (no guide this time)
It’s straightforward, so I didn’t include a full step-by-step.
Only tip: Dry-fit everything before gluing to confirm orientation, then glue. The hex dowels will handle the alignment.
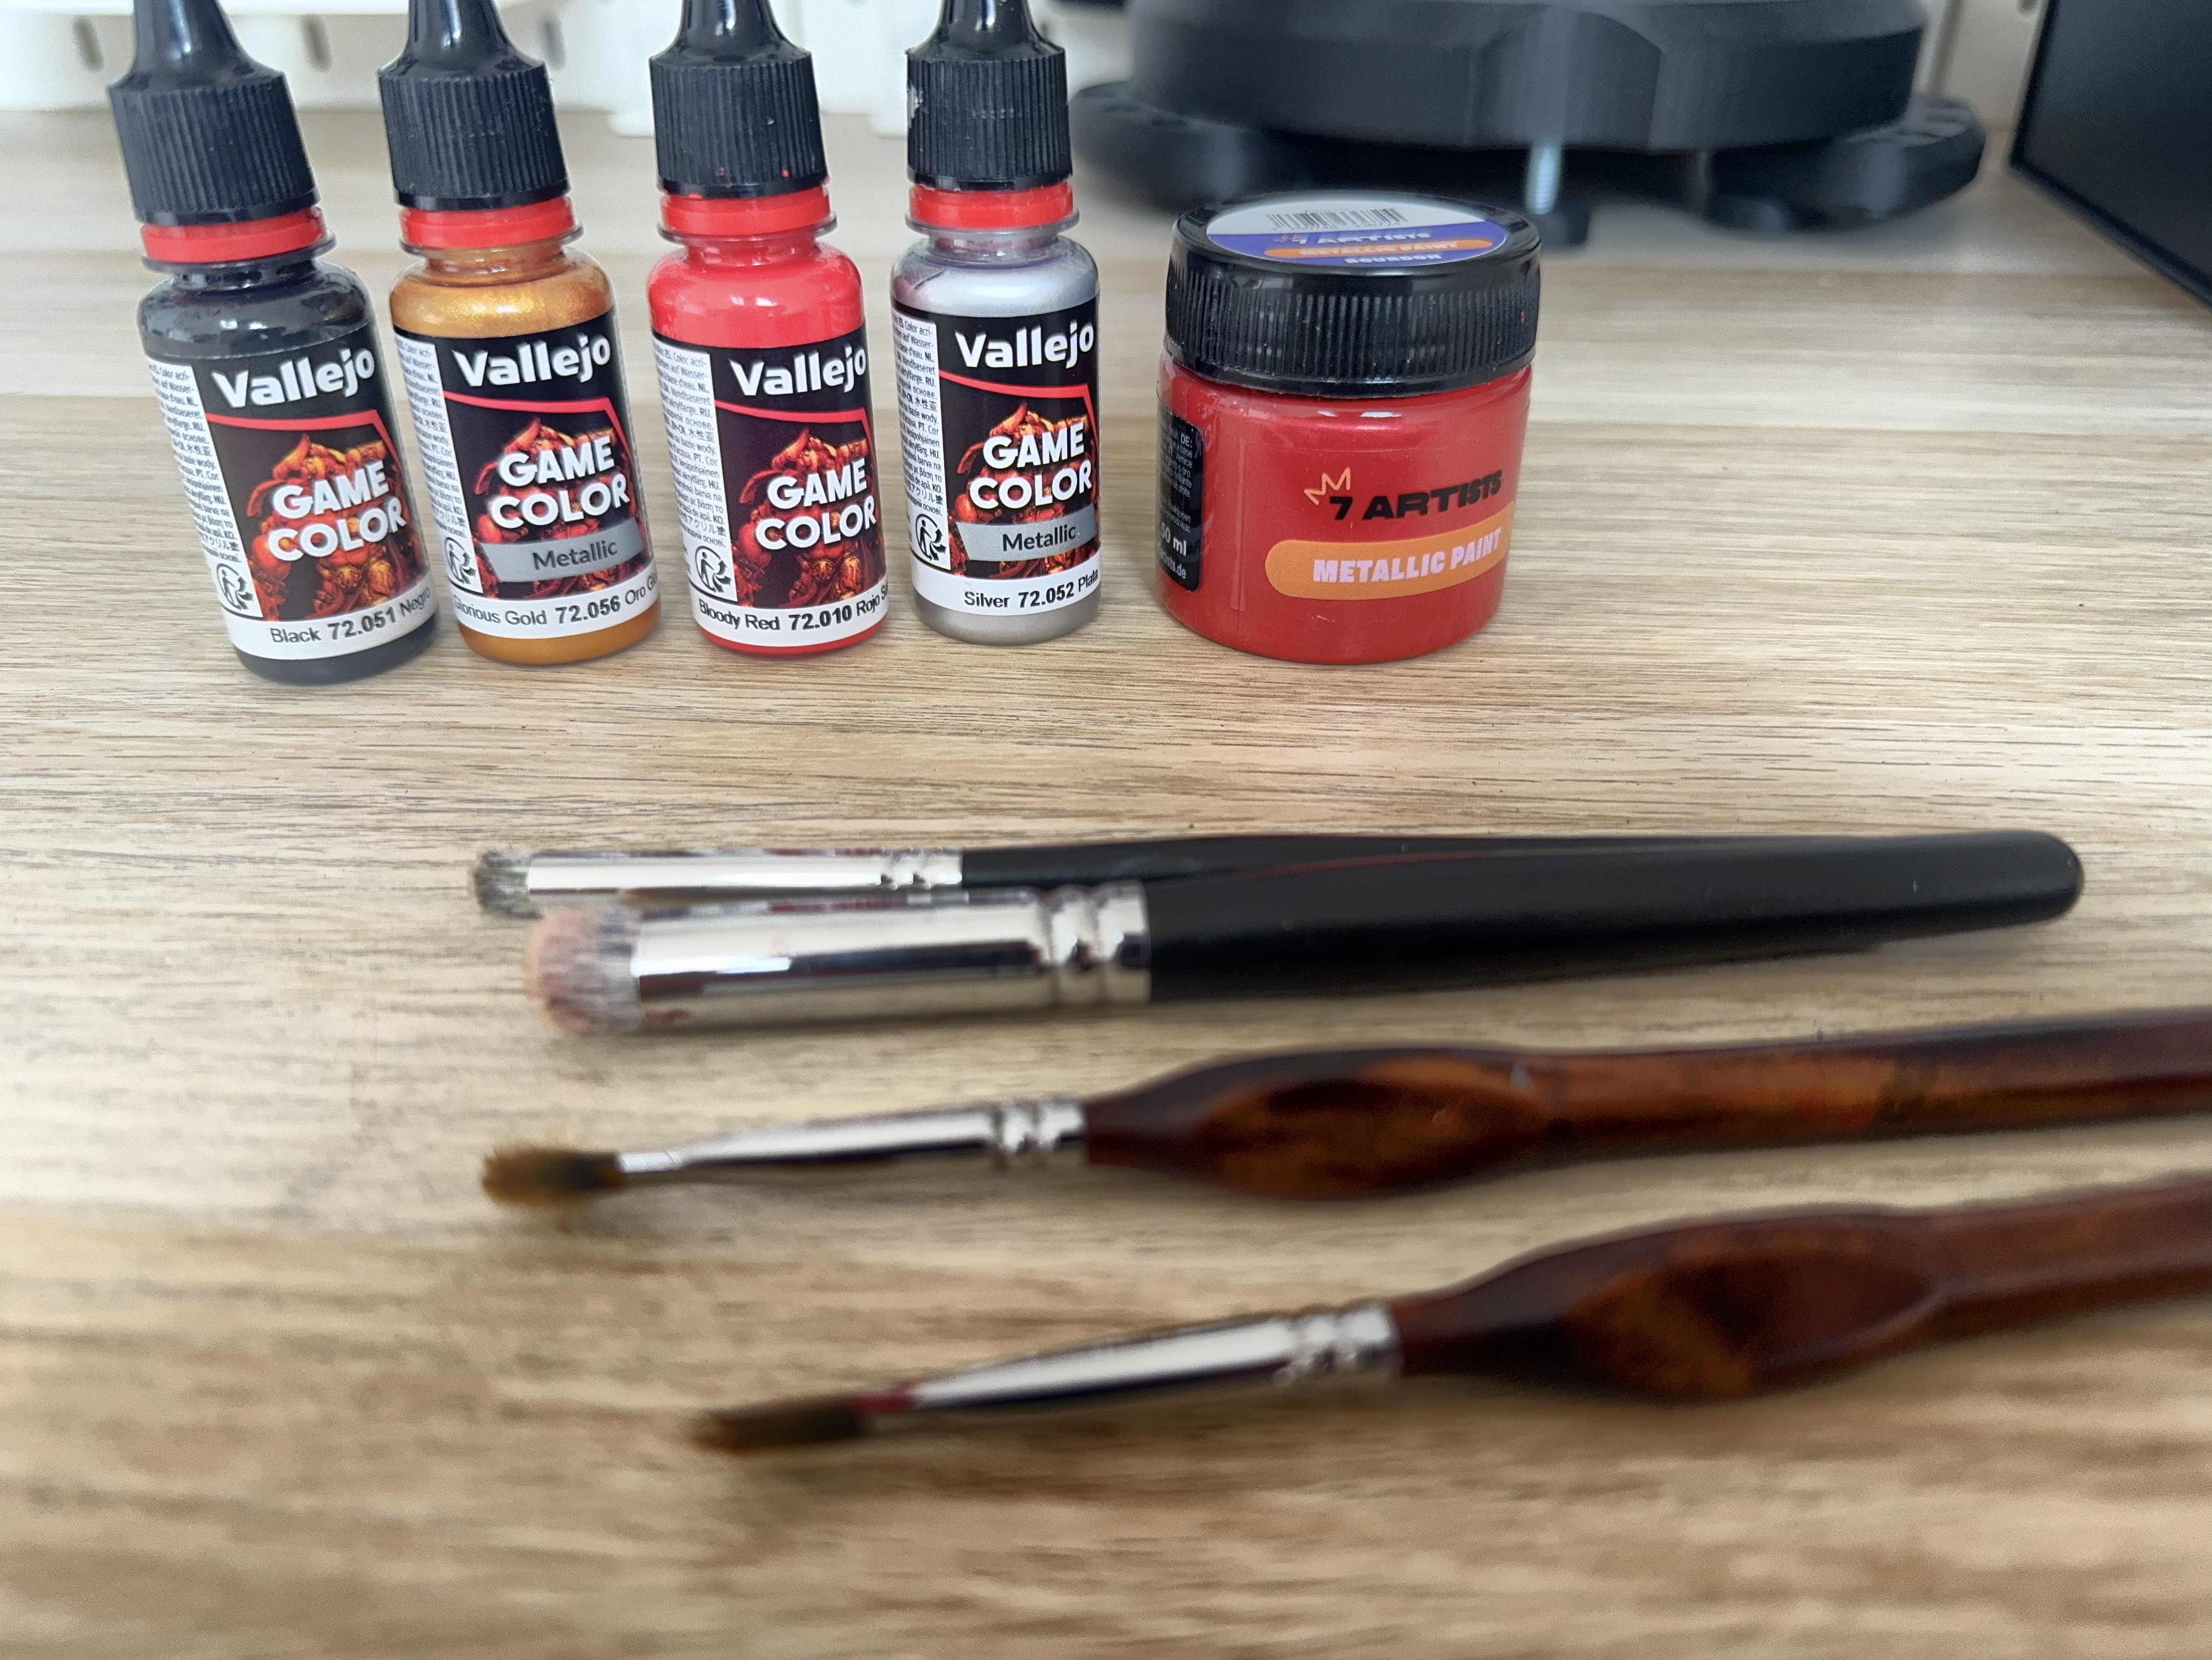
Painting (my lazy method)
No special talent required — just basic dry-brushing:
- Prime: I printed in white and primed the whole model with black acrylic. (This took the longest because I used a brush. If you can, spray paint the primer!)
- Gold first: Paint all areas that should be gold. I didn’t worry about perfect edges (I’m lazy when I paint).
- Fleshy areas: On the black, dry-brush red acrylic over the “flesh” sections to get that molten / bloody / charred look.
- Final touches: Light dry-brush with silver acrylic and a red-metallic acrylic for highlights on the blade.
Everything I used is shown in one photo — it’s really not complicated.
Gostou deste modelo? Crie uma conta grátis para salvar seus favoritos e voltar a eles depois.
Criar conta