Você está no 3DFinder
Buscamos em Thingiverse, MakerWorld e Printables ao mesmo tempo para te dar o melhor de cada uma.
Descrição
GLOW GLASSES - STYLE 2
(For Style 1, click here)
🆕👓New Style, but same assembly. The arms are interchangeable between styles👓🆕
Simple print that is perfect for Glow Raves, EDM, parties, etc. You could print these glasses out of any material, but the Glow PLA was a lot of fun.
✅Easy to print - No support required, each piece sit flat on the print bed
✅Easy to Assemble - No hardware required, use a spare piece of filament as the hinge
✅Customizable - You can add your own text to each arm using Bambu's built in tools
✅STEP File included - I've included the STEP file for more advanced customization, you can add custom logos in Fusion as an SVG
Assembly
I've printed and assembled probably 60+ pairs of these glasses. They can be assembled very quickly and easily with the instructions below.
- Position one of the arms in place so the hole in the arm lines up with the holes in the frame.
- Hold the frame on its side, on a flat surface as pictured below
- Press the arm down and into the frame. The flat surface of the desk helps to line up the holes perfectly.
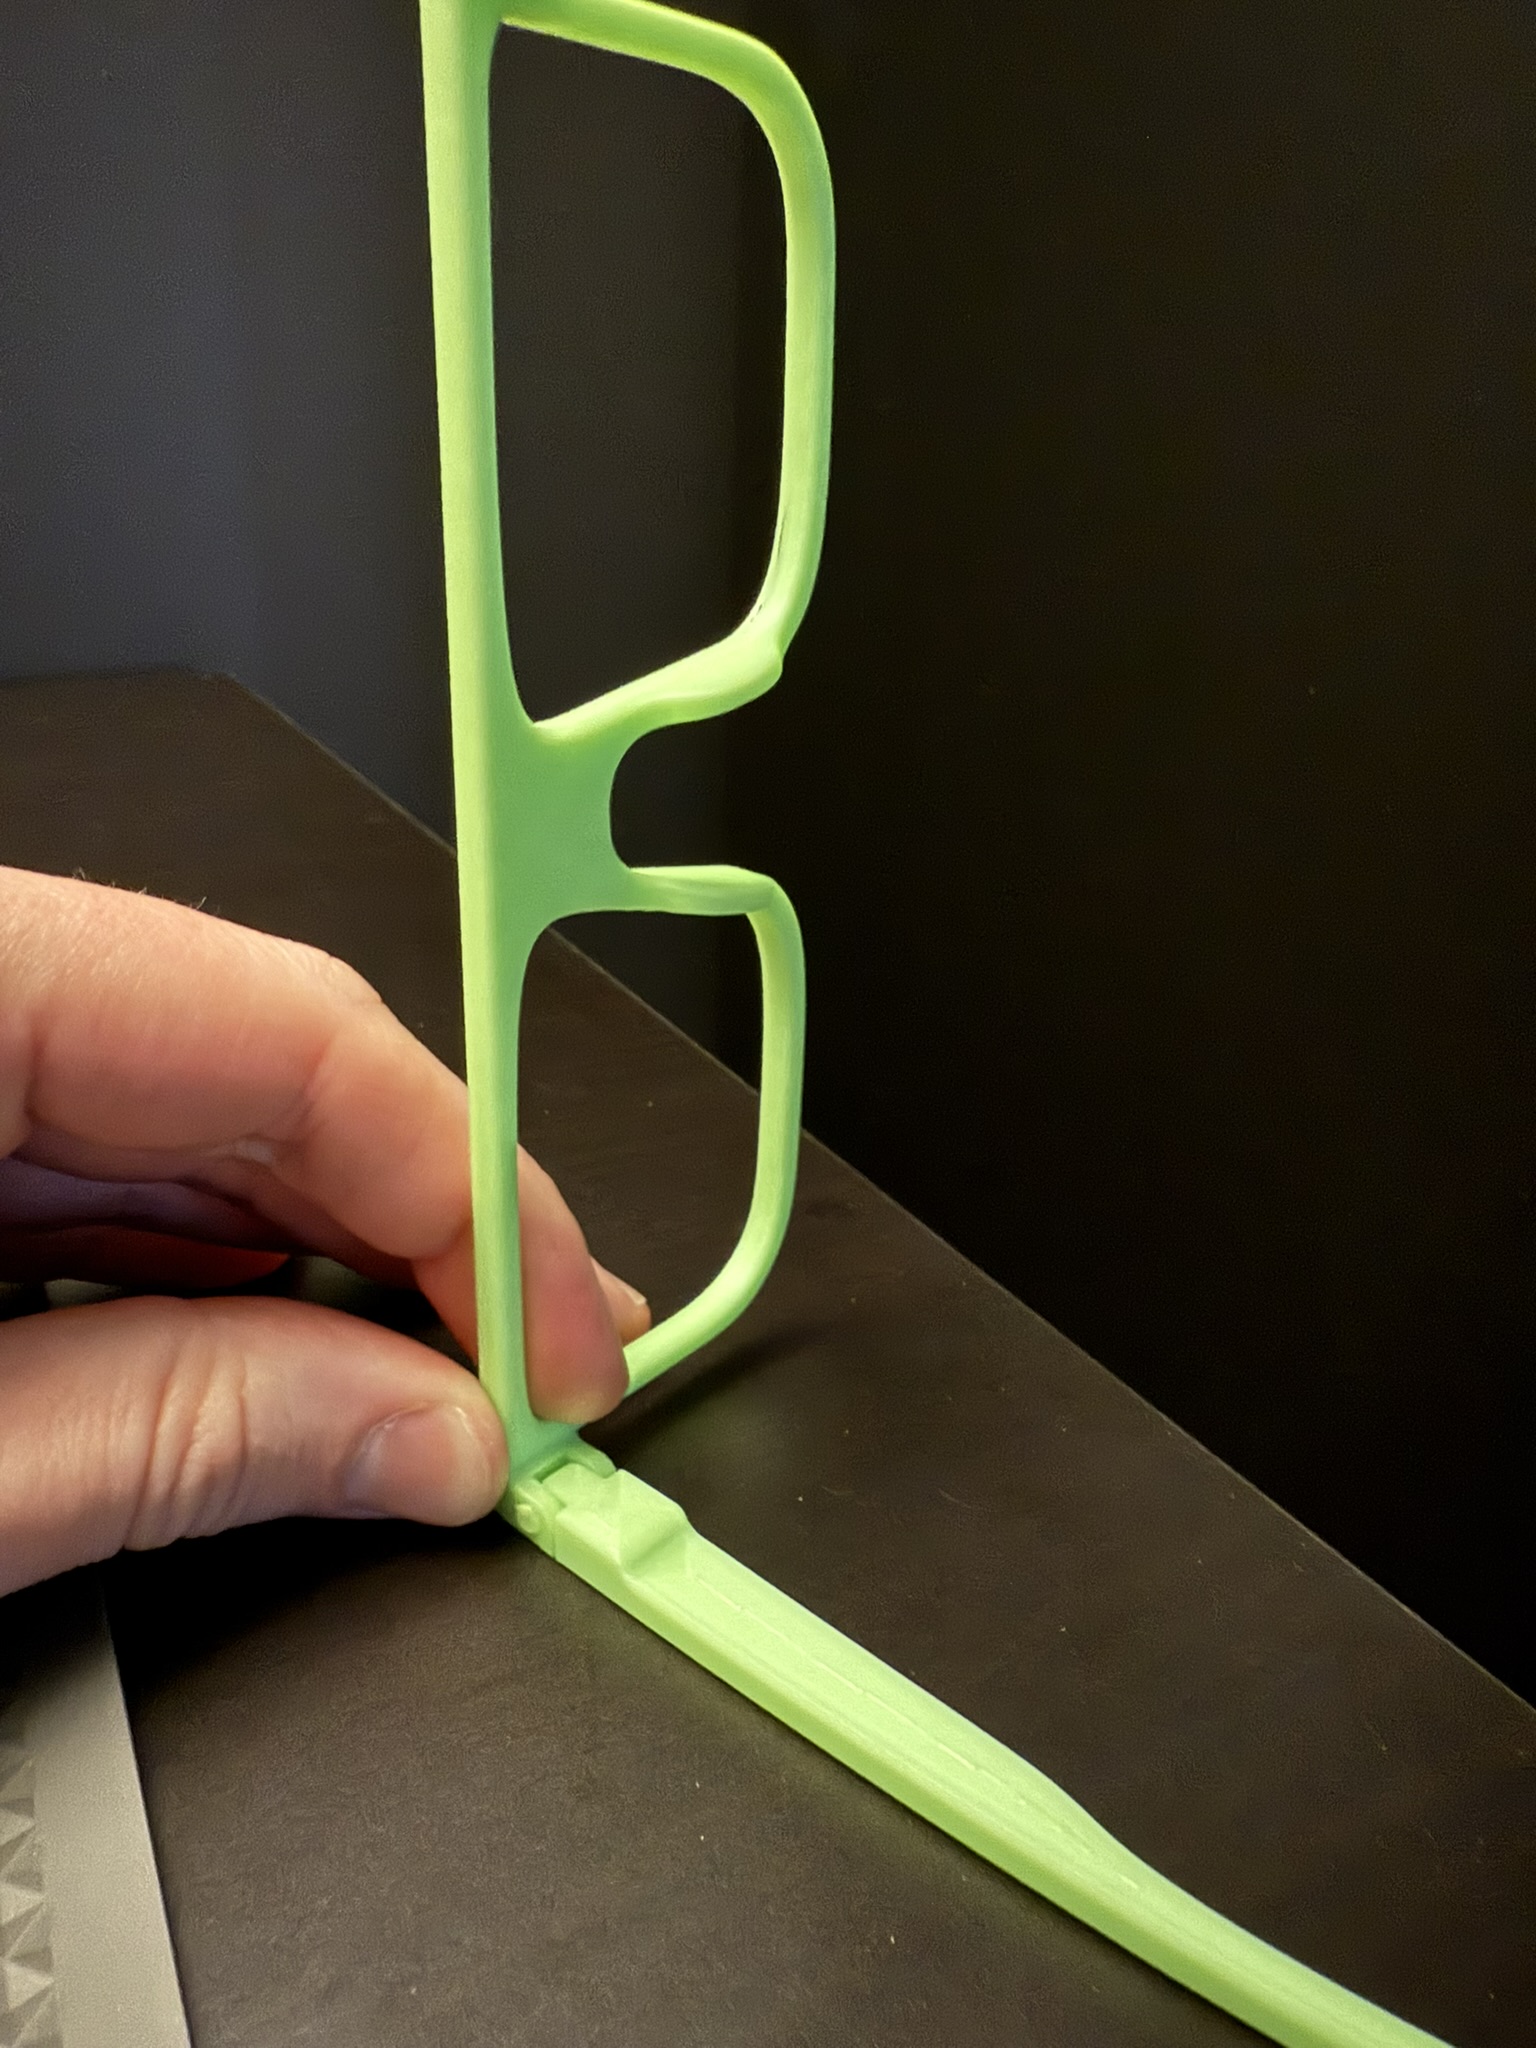
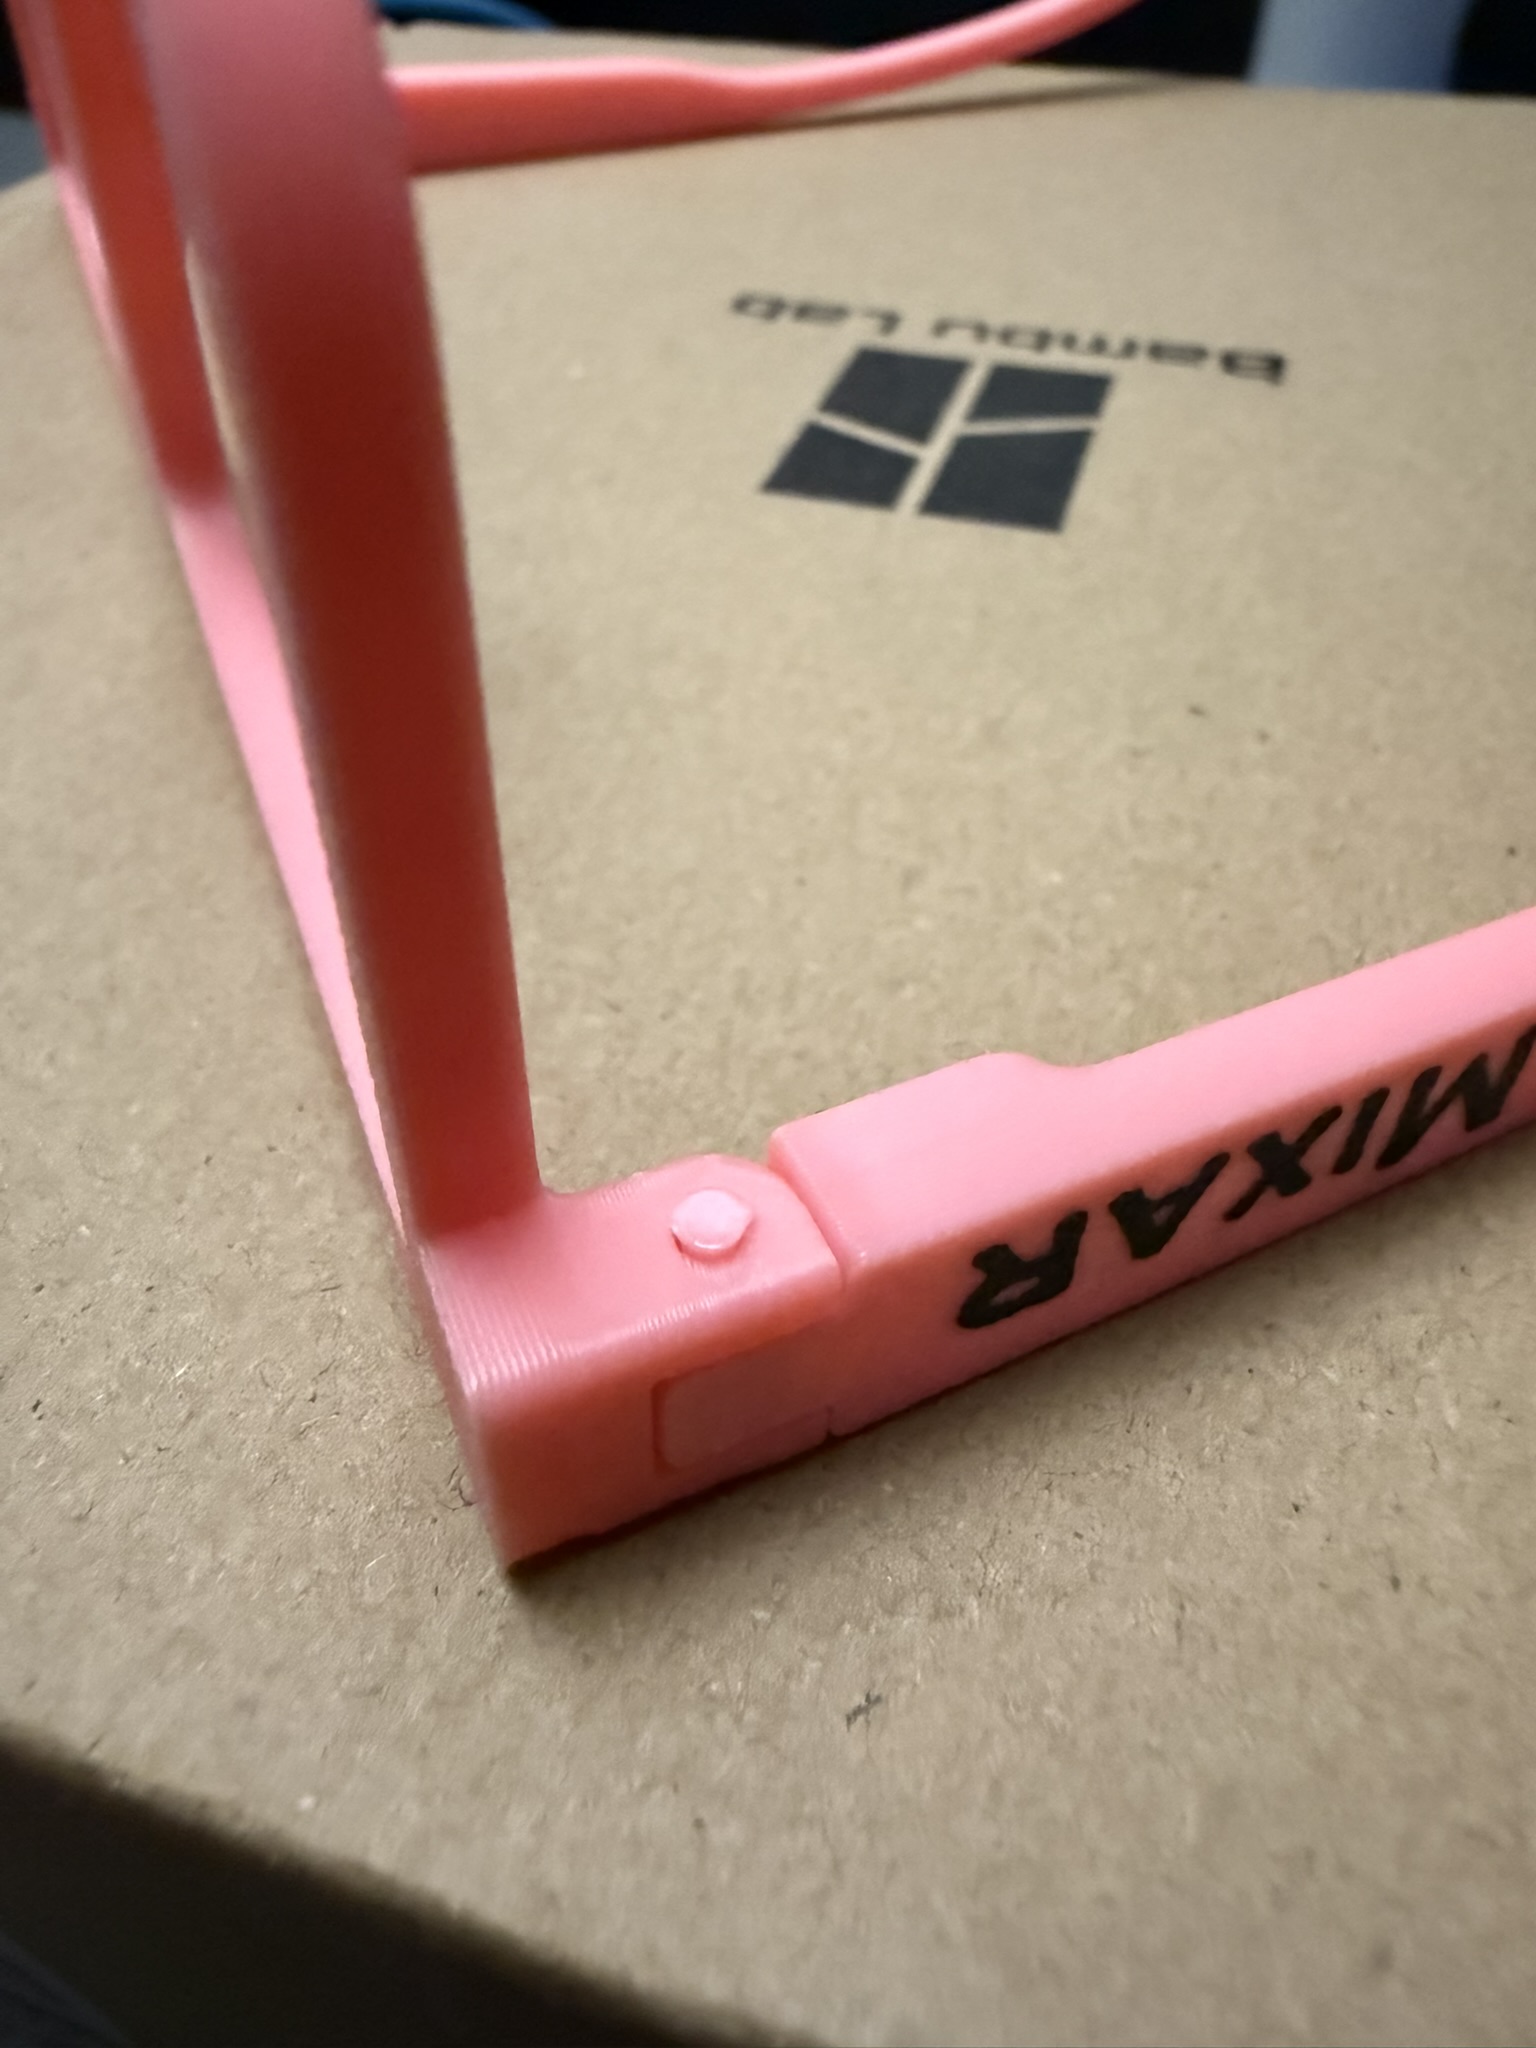
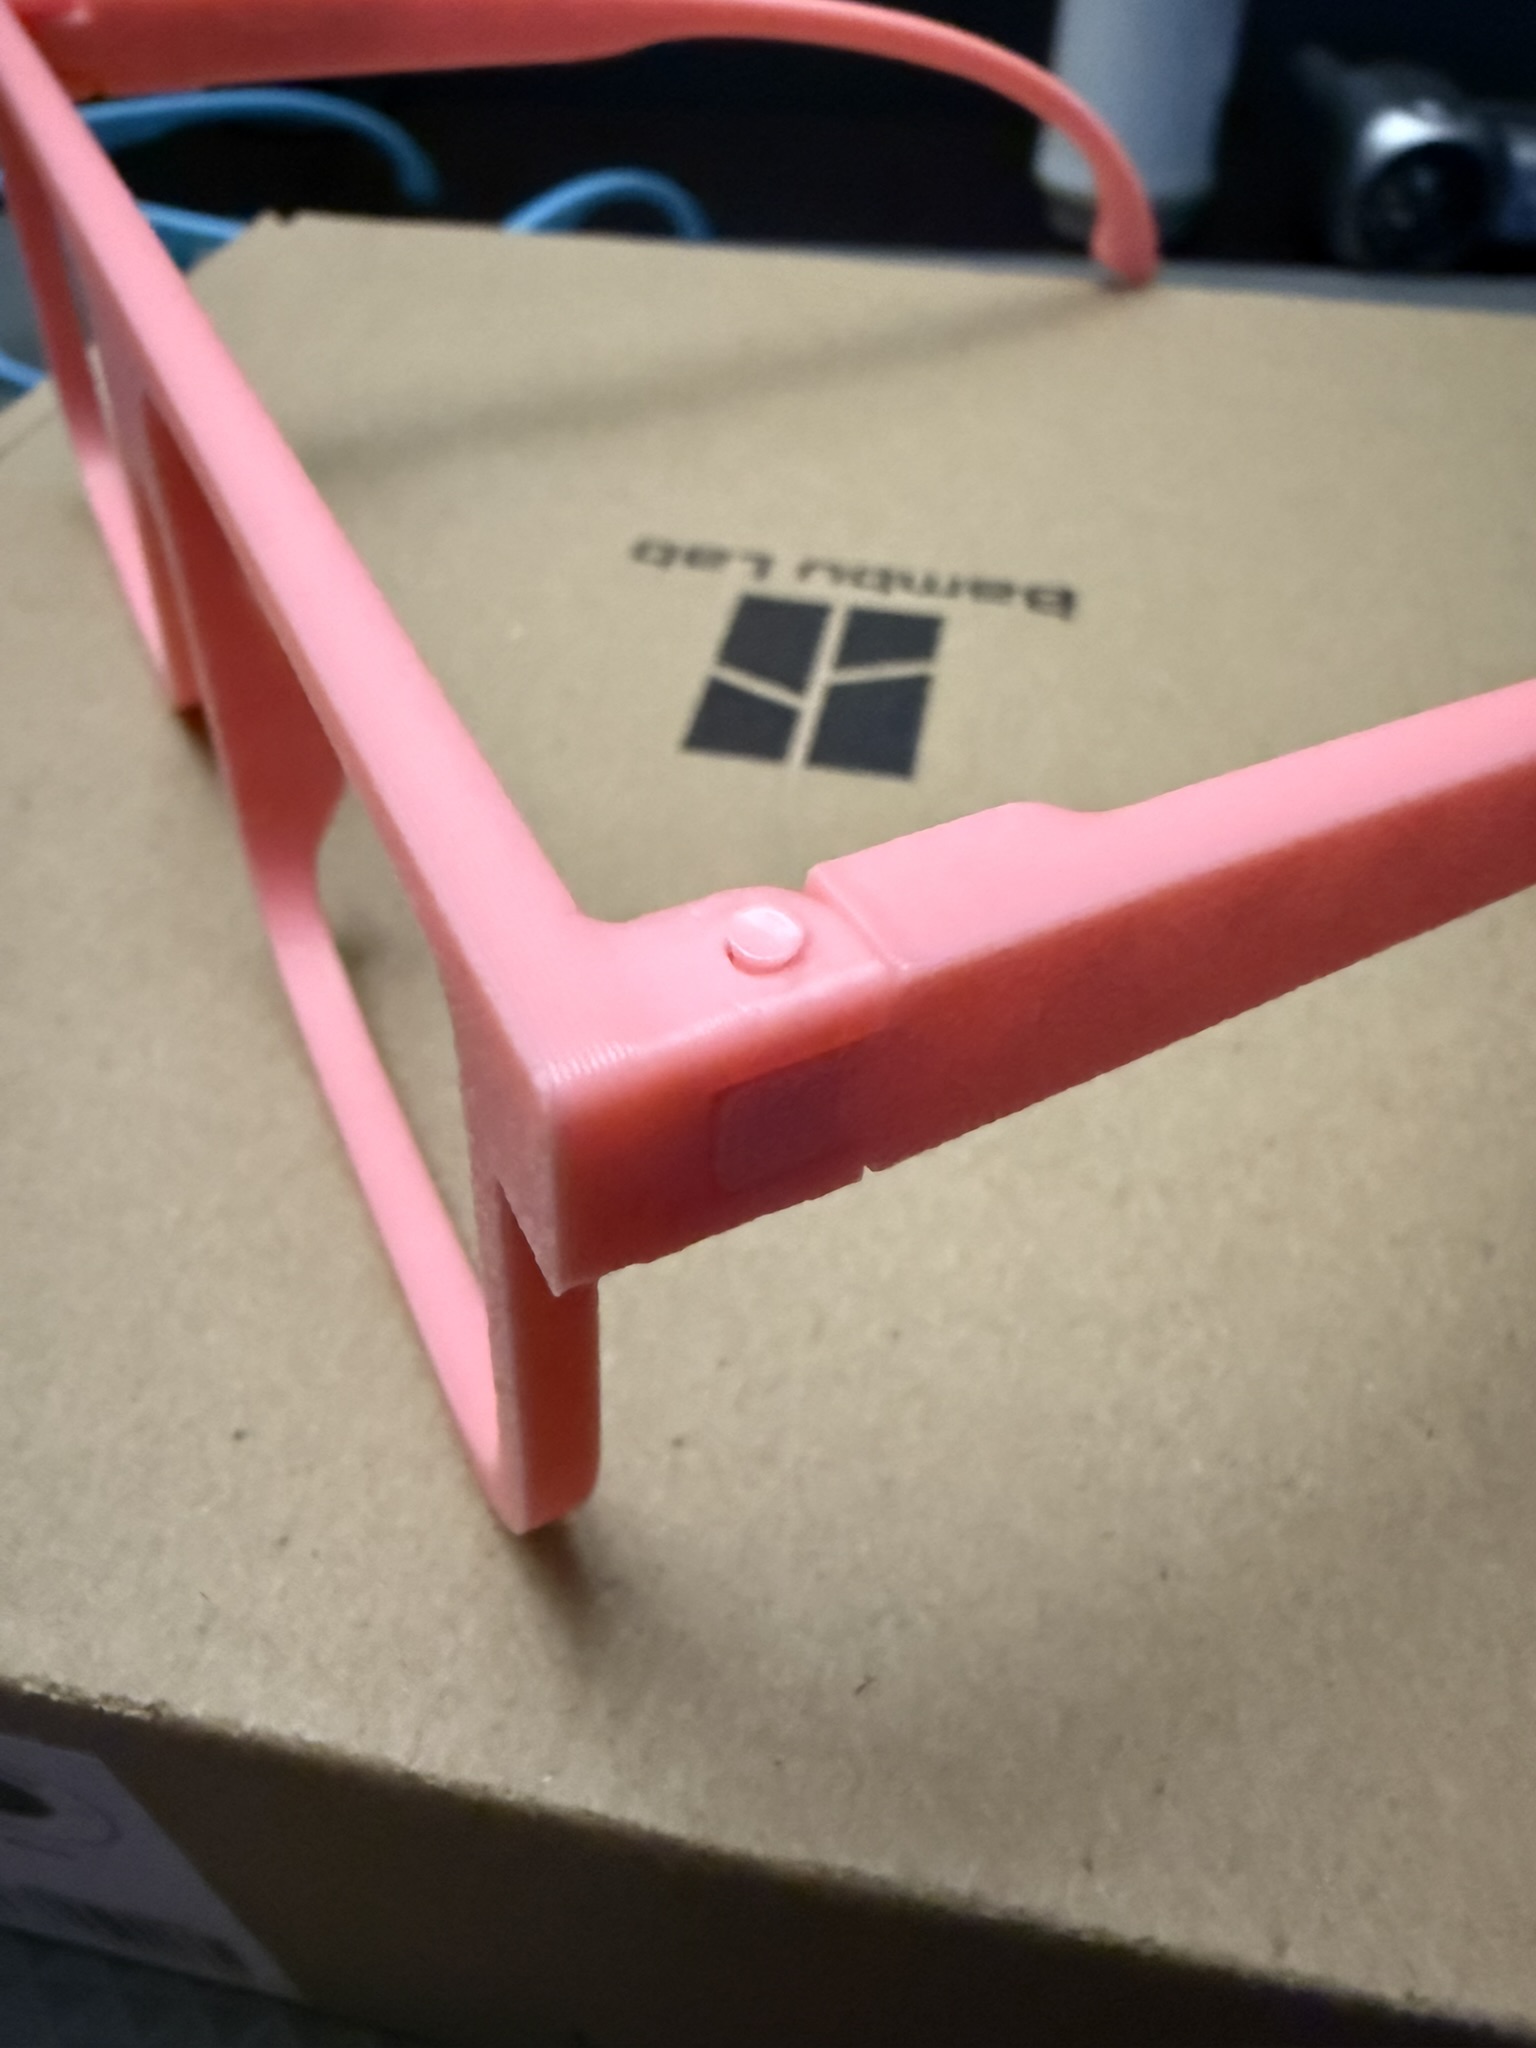
- Force a long spare piece of filament through the holes so that it sticks out the end, then cut off the excess filament leaving about 1-2mm sticking out of each side. (The filament will be a tight fit, that's a good thing. It helps to try to rotate the filament as you push it through.)
- Heat a butter knife or spatula with a heat gun, then press the heated knife flat against the excess filament sticking out of each side of the holes. This should cause the filament to “mushroom flat" on both ends, ensuring that your filament won't fall out of the holes in the future.
- Bonus tips for assembly
- For me, i only had to heat the butter knife for about 5-6 seconds for the first arm, then i heated it for another 2-3 seconds for additional arms since its still warm.
- The knife isn't hot enough if the filament doesn't melt, but it's too hot if the filament keeps sticking to the knife.
- If the filament does stick to the knife, don't pull it away, that will cause stringing. Instead, simply wait a couple seconds for it to cool, and it should come off clean.

Gostou deste modelo? Crie uma conta grátis para salvar seus favoritos e voltar a eles depois.
Criar conta