Você está no 3DFinder
Buscamos em Thingiverse, MakerWorld e Printables ao mesmo tempo para te dar o melhor de cada uma.
Descrição
update 16 April 2024 - added second version of printer mount with USB cable passthrough
Model Summary
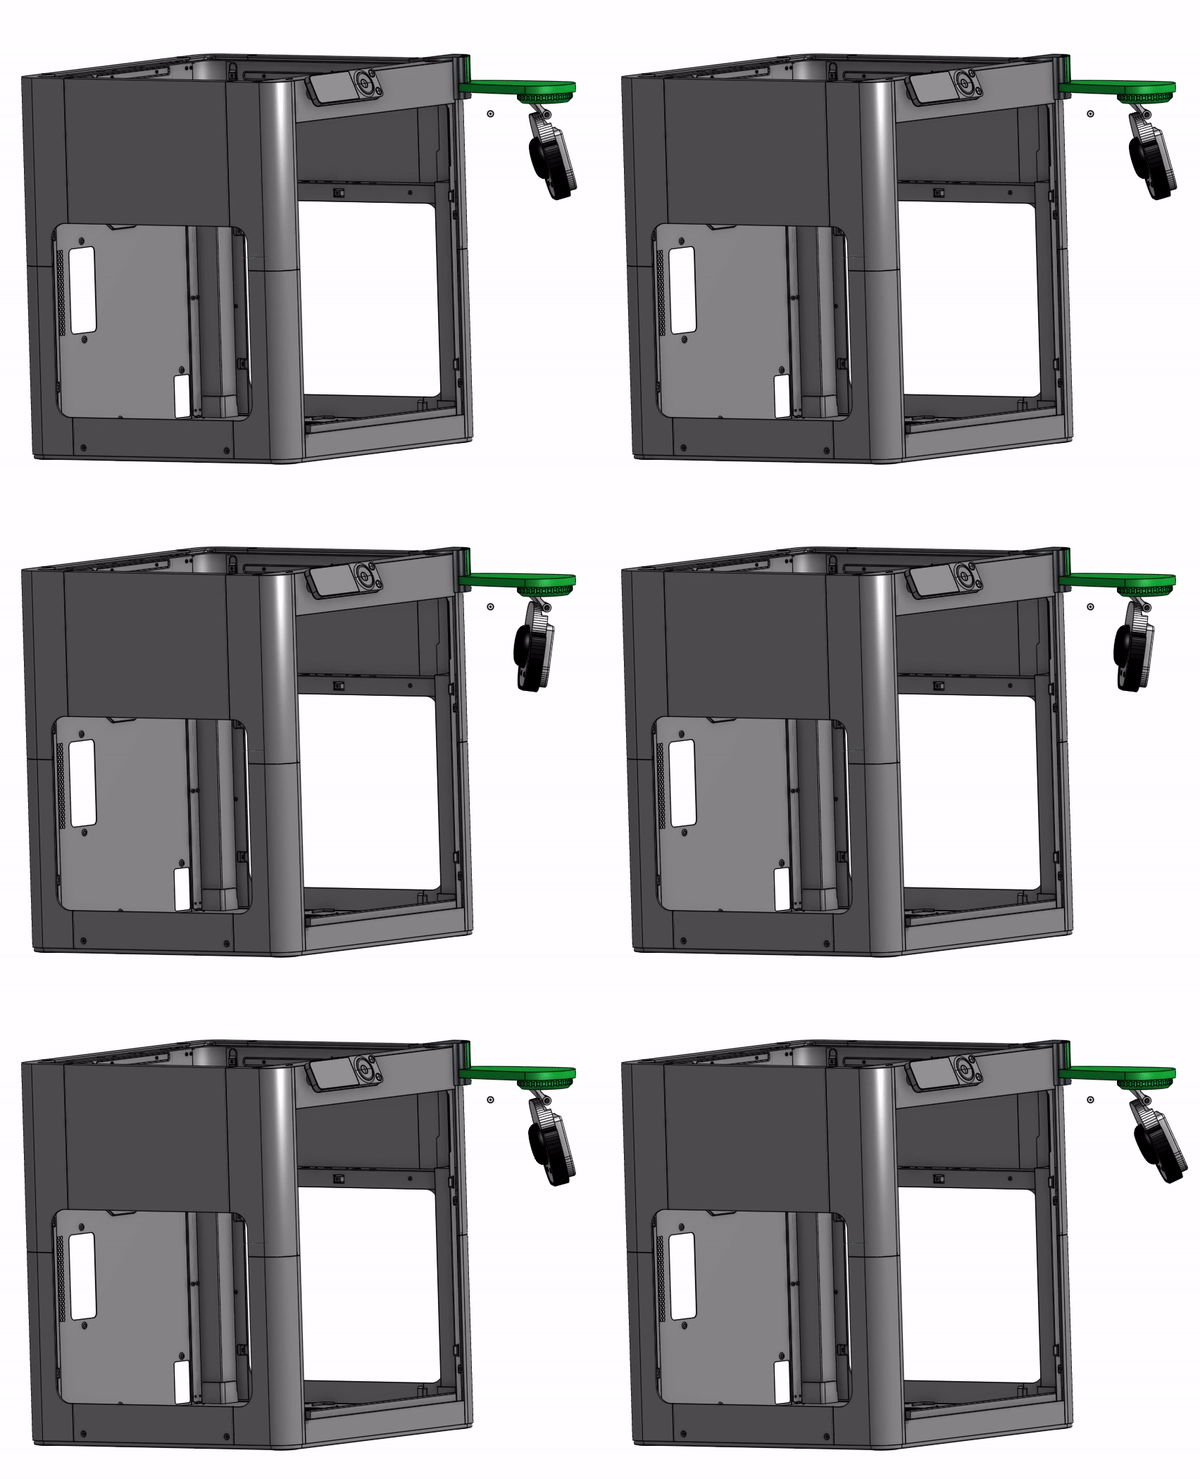
I was searching for a solution to the less-than-desirable Camera on the P1 series. I had a Beaglecam (see here for camera details: [https://www.mintion.net/products/mintion-beagle-camera](https://www.mintion.net/products/mintion-beagle-camera)) lying around which is of decent quality and importantly, not in use. One of the key criteria for me was to ensure that the camera view was parallel (as much as possible) to the build plate. I spent weeks looking through community creations and I couldn't find one I liked or that was suitable so I decided to design my own using the P1 Series CAD released by Bambu Labs to help me model the mount and also inspiration from @3DSourcerer where he too used the cutout on the top of the P1 frame to mount lights and cameras (if you're interested see this link: [https://www.printables.com/model/376514-the-bu-stik-for-the-bambu-lab-p1p](https://www.printables.com/model/376514-the-bu-stik-for-the-bambu-lab-p1p).
If you have a Beagle Camera V2, I have you covered here: [https://makerworld.com/en/models/399787#profileId-301270](https://makerworld.com/en/models/399787#profileId-301270)
Camera Mount features/details:
- No extra hardware required (other than the camera), snap-fit connections, threads and dovetails
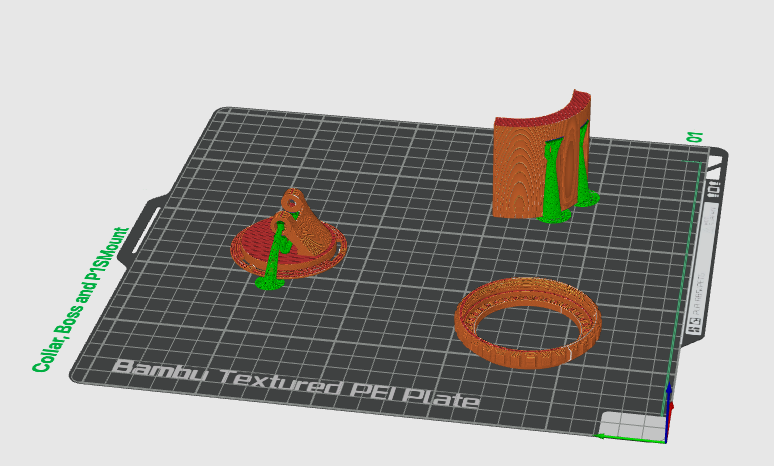
- I used tree supports (off the build plate) on the printer mount and the camera boss for a cleaner finish. NOTE: I actively removed supports from all threads - this is important. (See Fig. A below)
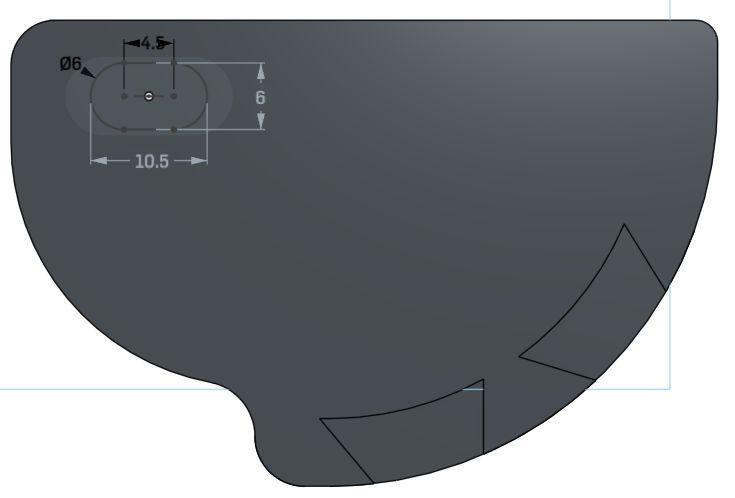
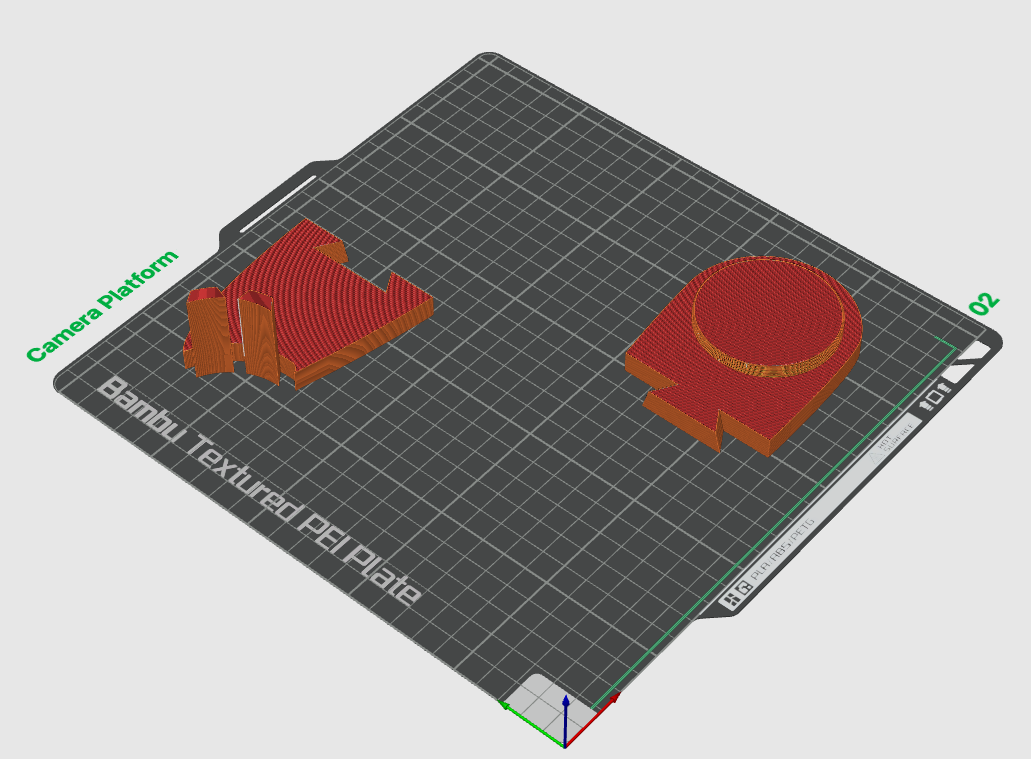
- I split the platform in BBL Studio using angled dovetails to make it printable and the fit and finish were excellent (See Fig. B below)
- You could easily remix this to fit your camera by changing the camera boss. (happy to help you if you need to fit your device - just message me)
- You can open/close the door without having to move the camera mount
- Considering this was printed at 0.2mm @15% with only 2 wall loops, It is incredibly strong and all up takes only 2h27m to print with 86g filament.
Fitment
Fitment was easy. after you printed the parts;
- Slide the Printer mount onto the printer
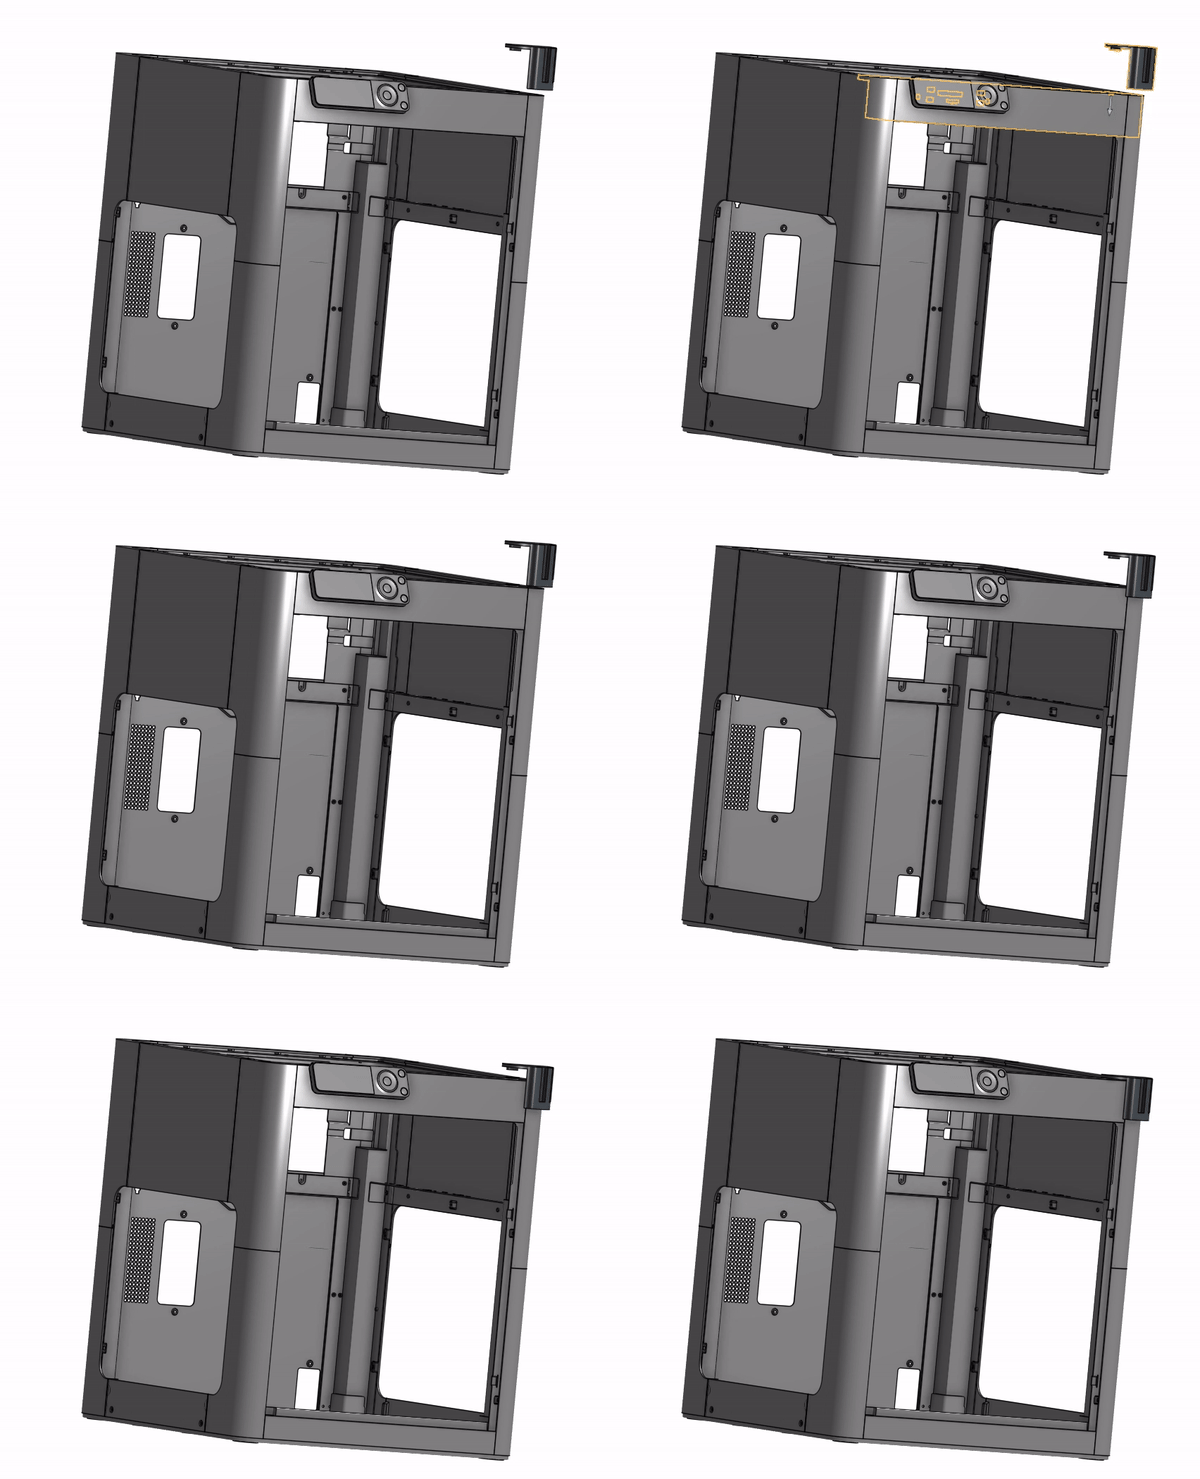
2. Slide the platform onto the printer mount from step 1
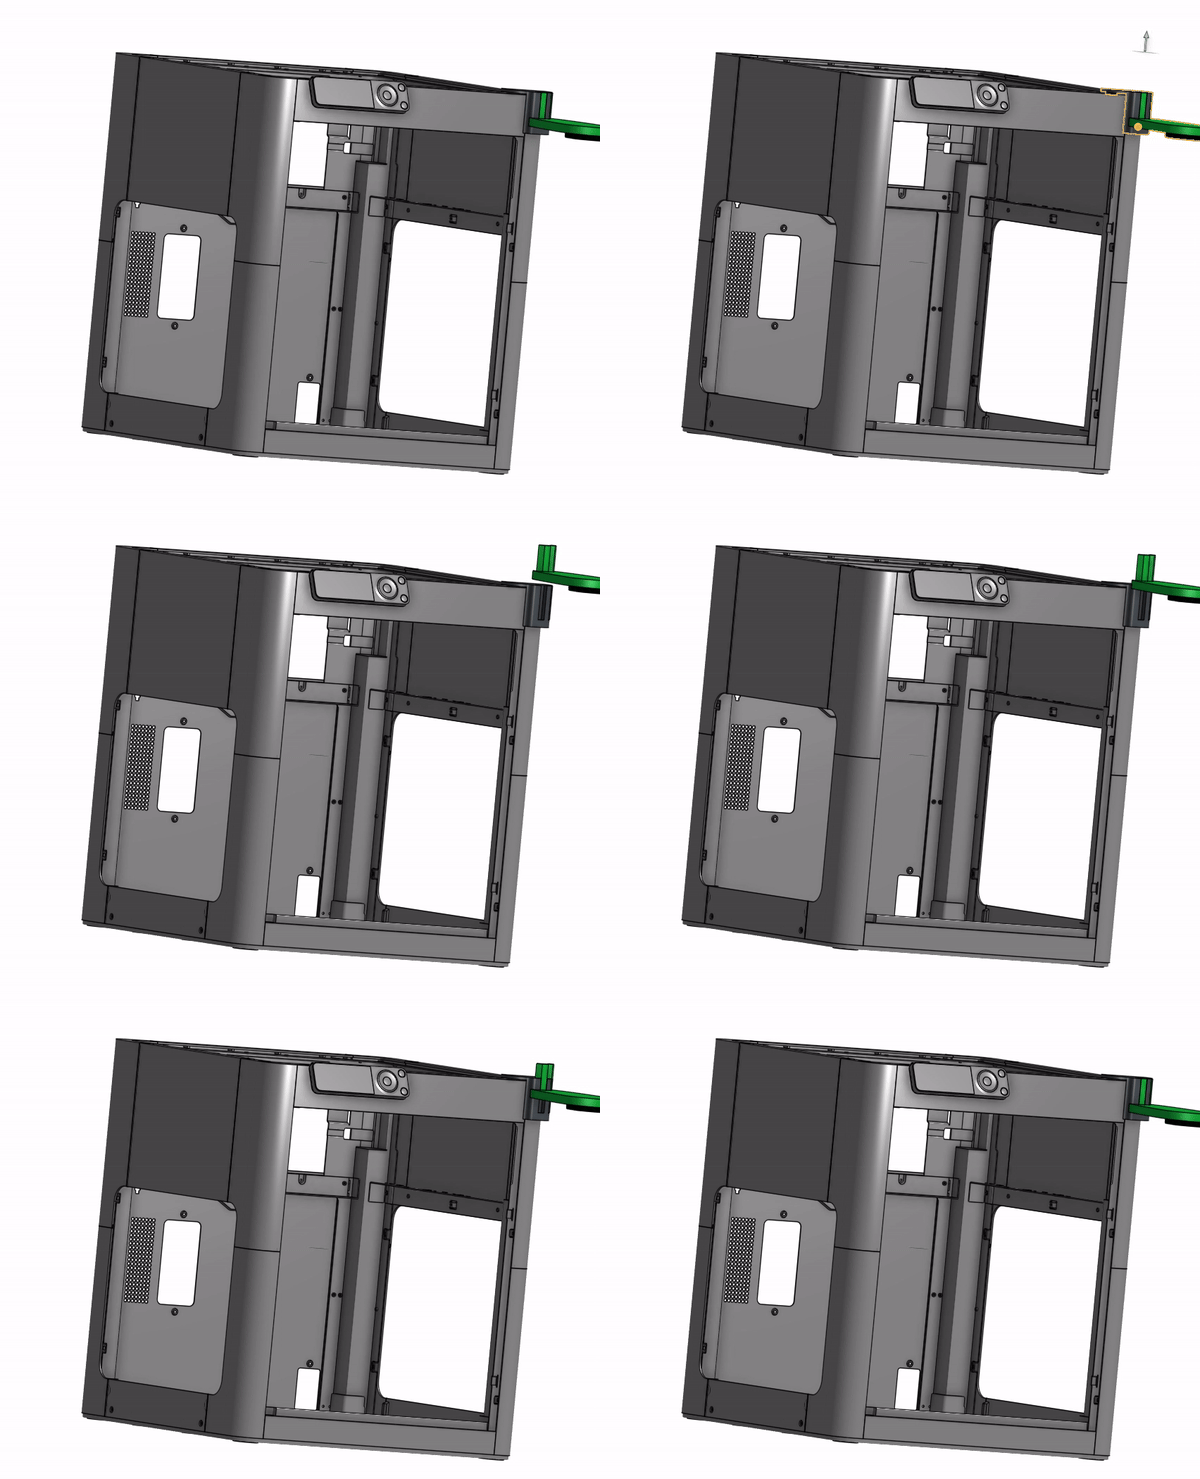
3. Place the camera boss flush onto the platform
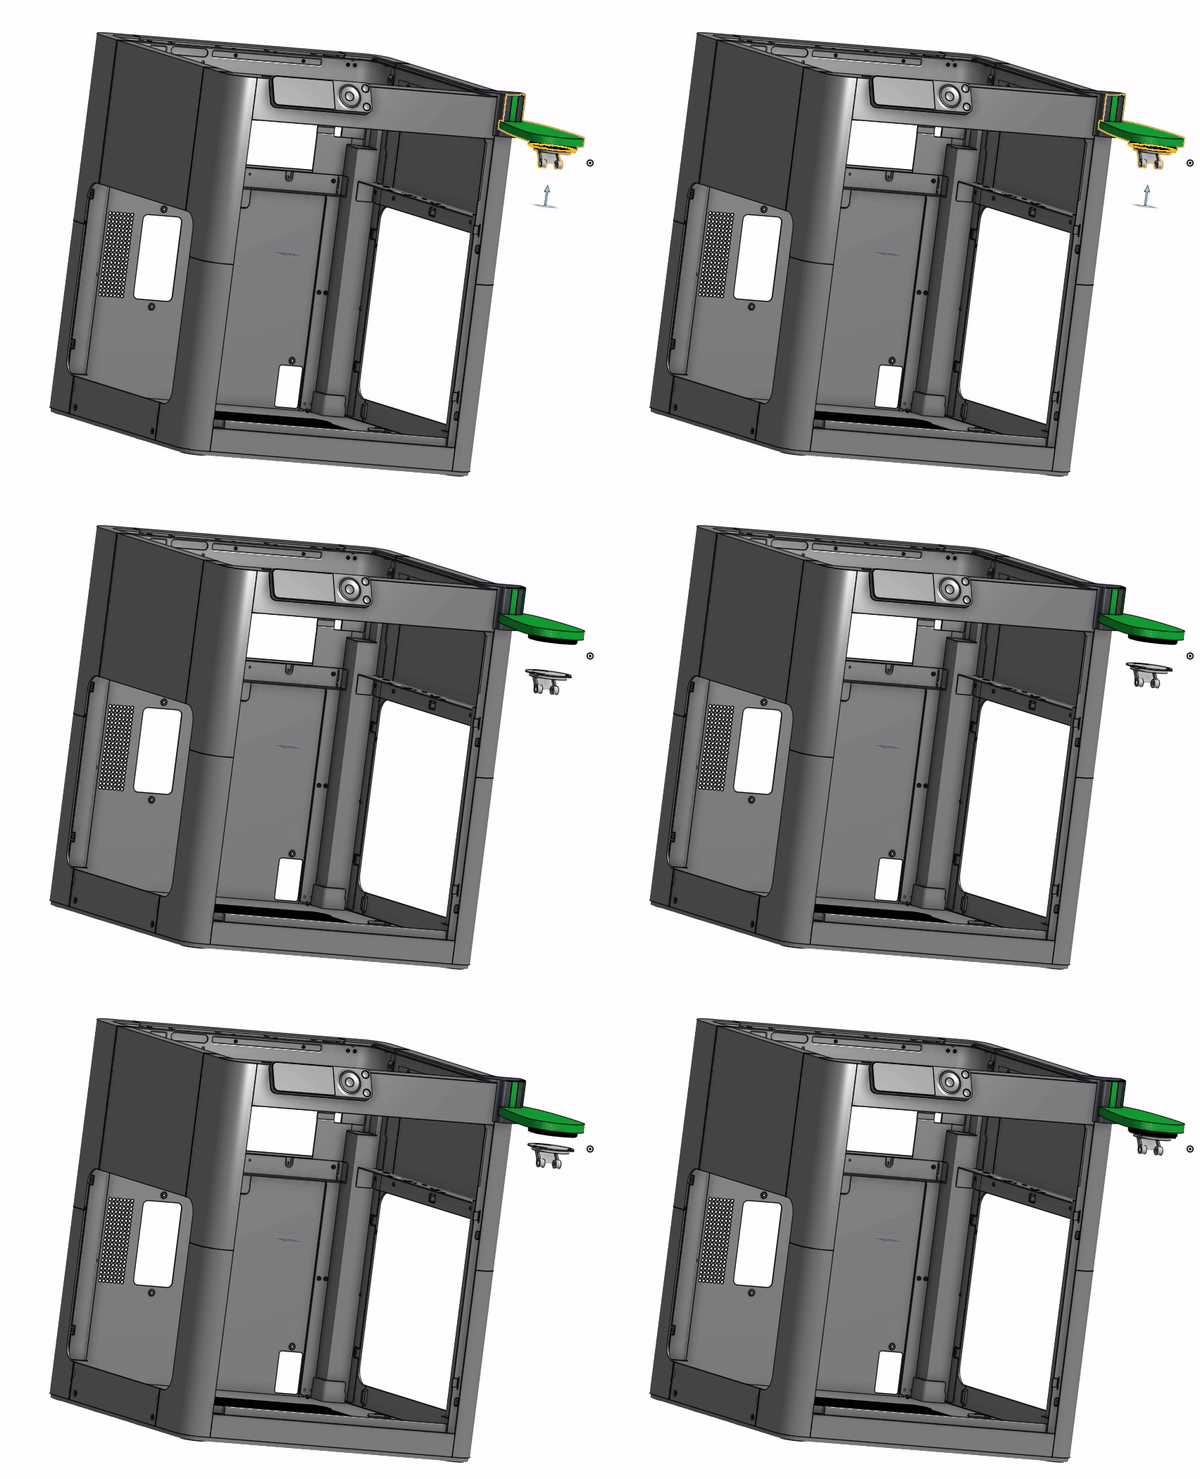
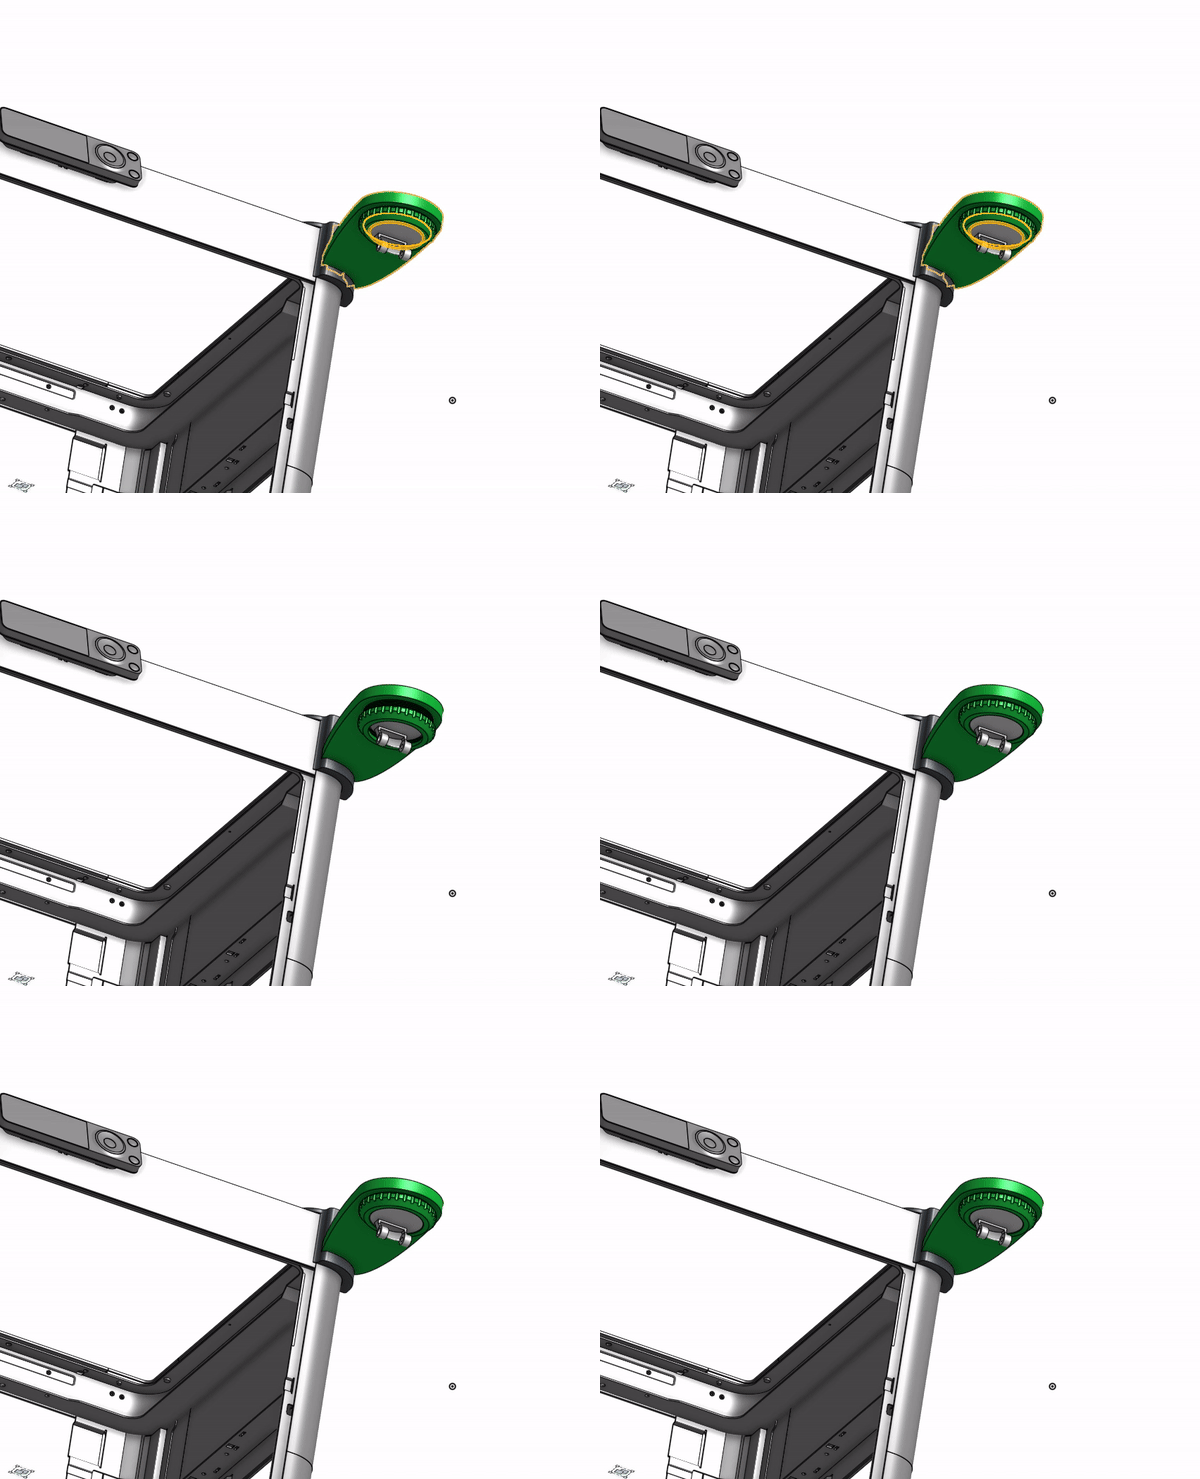
4. Screw the collar onto the platform capturing the camera mount
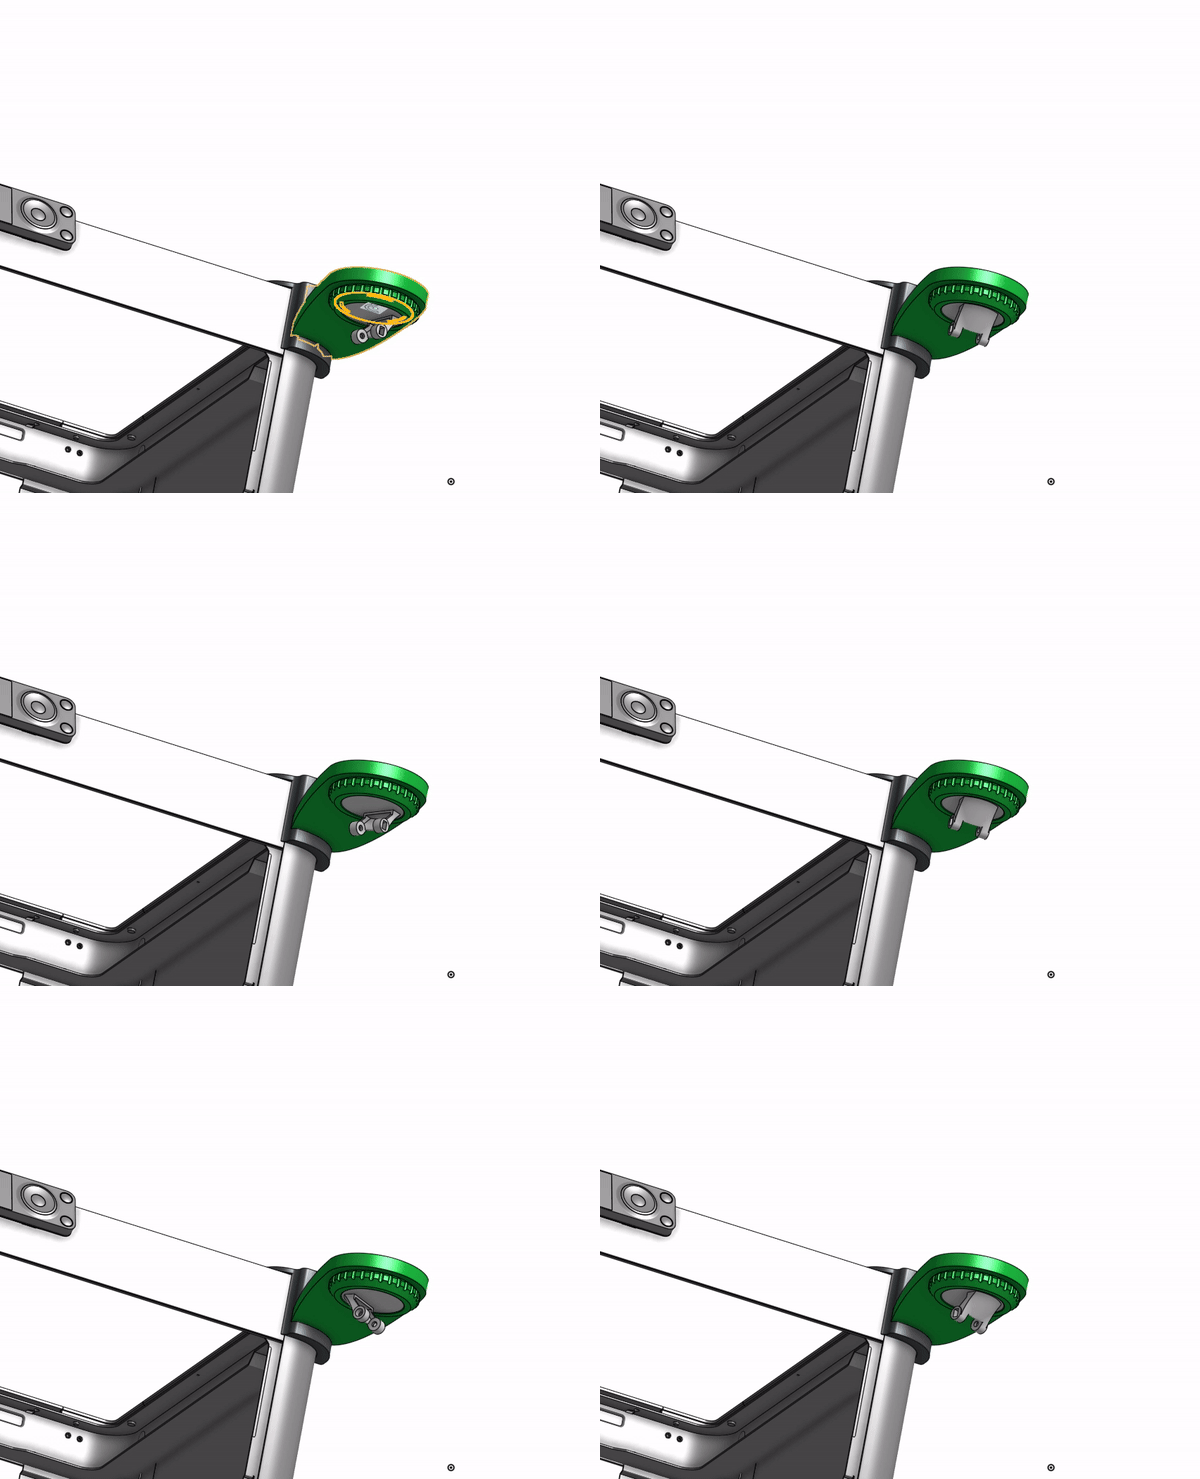
5. As for the camera, essentially, I recreated the camera boss so all I did was take the original camera stand off by unscrewing the original screws (note that there are screw under the foam on the bottom of the original stand) and connect it to my printed version using the original screws.
The printed version should allow you to move the boss (and camera) 360 degrees with some resistance due to the purpose-built ratchet. With the camera screwed on you should also have movement up and down.
Lastly, please give me a thumbs up if you like the work and even if you have feedback or questions.
Camera Mount for P1S using Beagle Camera

Publicado em 8 de fev de 2024
Gostou deste modelo? Crie uma conta grátis para salvar seus favoritos e voltar a eles depois.
Criar conta