Você está no 3DFinder
Buscamos em Thingiverse, MakerWorld e Printables ao mesmo tempo para te dar o melhor de cada uma.
Descrição
Have you got a lot of pictures/artwork lying around waiting to be displayed? Why buying a frame when you have a 3D printer! But you can't possibly measure and design a different frame for each picture (I mean, you can…), would it not be easier to have a single model to print whenever you want to hang something on your wall or display it on your bedside table?
Meet my new modular and adjustable picture frame! It fits any picture from 10 by 10 cm all the way to… ∞ by ∞. Just keep stacking pieces together to make it as long as you want!
You can choose between two different models, the single frame and double one. All the parts are identical, the double frame simply has double the parts to build a bigger frame. The single frame print goes from 10x10 cm (easy fit) to 20x20 cm (just about), whereas the double model goes from 20x20 cm (easy fit) to 40x40 cm (just about). In theory, you can stack as many elements together as you want and build an infinitely large frame, but in practice the back stand might bend if the frame is too large. The nail hook should work just fine no matter how big is the frame.
I printed it in a variety of different PLA colors and the tolerances were just perfect. Using different materials might result in a different fit, but should work just fine.
Assembly
Assembly is pretty easy, but there are a couple of things to keep in mind:
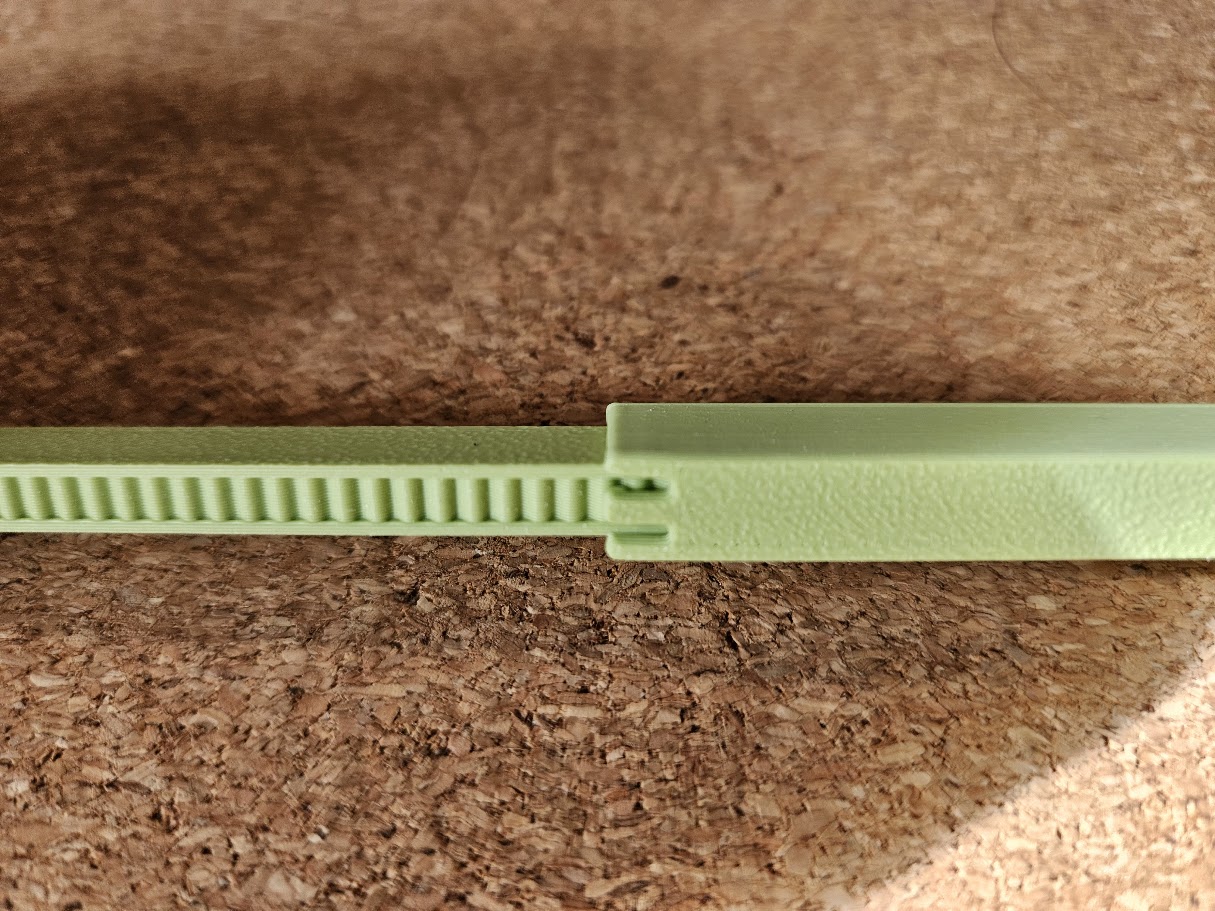
Before starting, please note that corners and rails have a smooth side and a toothed side. The toothed side of the rail must match the little stopper on the sleeve:
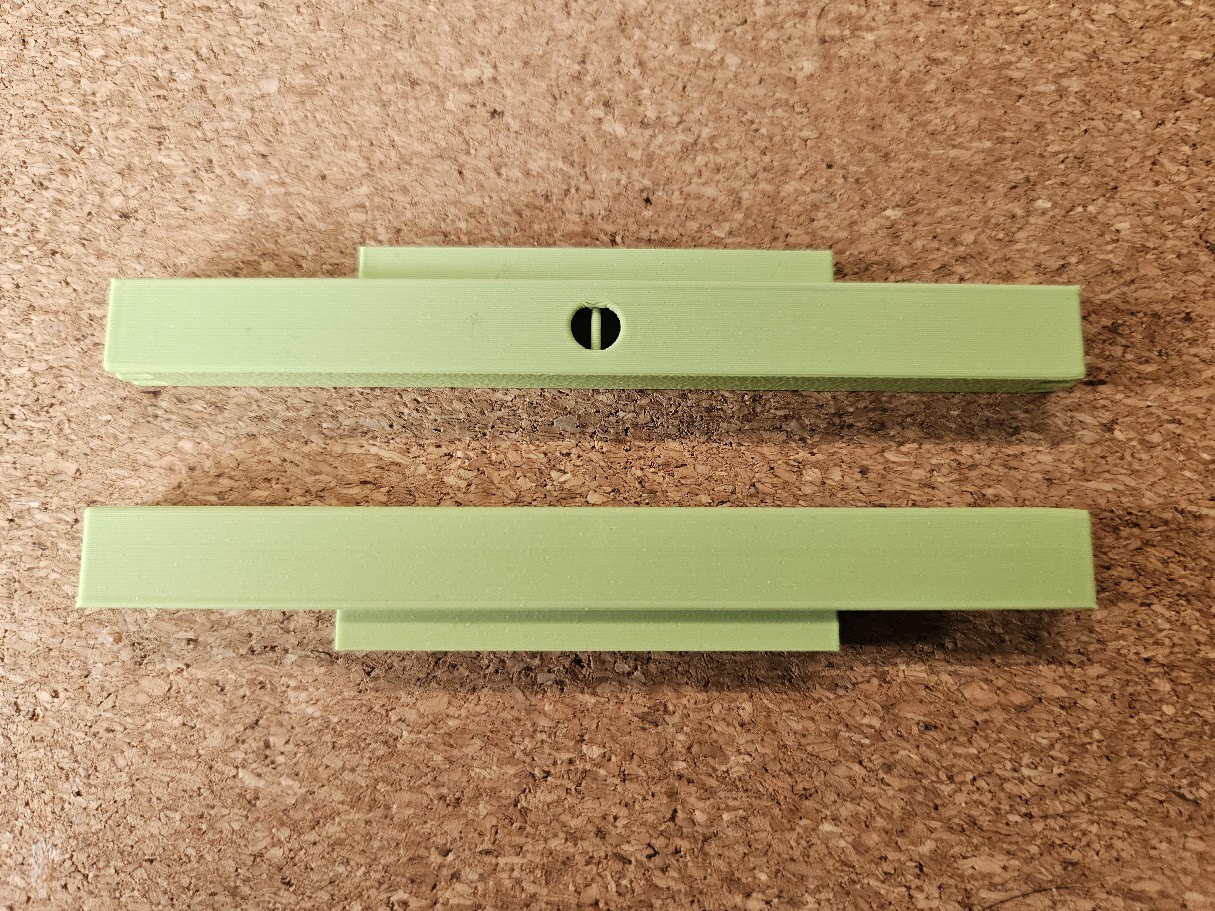
The sleeves have smooth side on the front and a hole at the back. You want to make sure all the holes are at the back:
Assembly:
- Start by fitting two corners in the sleeves to build a C shape
- Fit the other two corners to build a second C shape
- Make sure the rails are all the way into the sleeves (this makes the structure stronger and easier to assemble)
- Connect the two C shapes together to build the frame
- Make sure all the holes are at the back and all the rails are matching the little stopper on the sleeve
- Remove the tiny supports from the legs
- Attach the legs/hanger to finish
To fit a picture in the frame, I first adjust the size of the frame to be slightly bigger than the picture (making sure it's extended symmetrically). Then fit the picture a gently pull the frame back a notch or to to secure the picture in place.
Please note that the hanger is very delicate, once fitted it will probably break if removed.
Modular Adjustable Picture Frame -Fits everything!
Publicado em 3 de set de 2025
Gostou deste modelo? Crie uma conta grátis para salvar seus favoritos e voltar a eles depois.
Criar conta