Você está no 3DFinder
Buscamos em Thingiverse, MakerWorld e Printables ao mesmo tempo para te dar o melhor de cada uma.
Descrição
HX8 Magnet Pen Precise Control
UPDATE 14.NOV 2025:
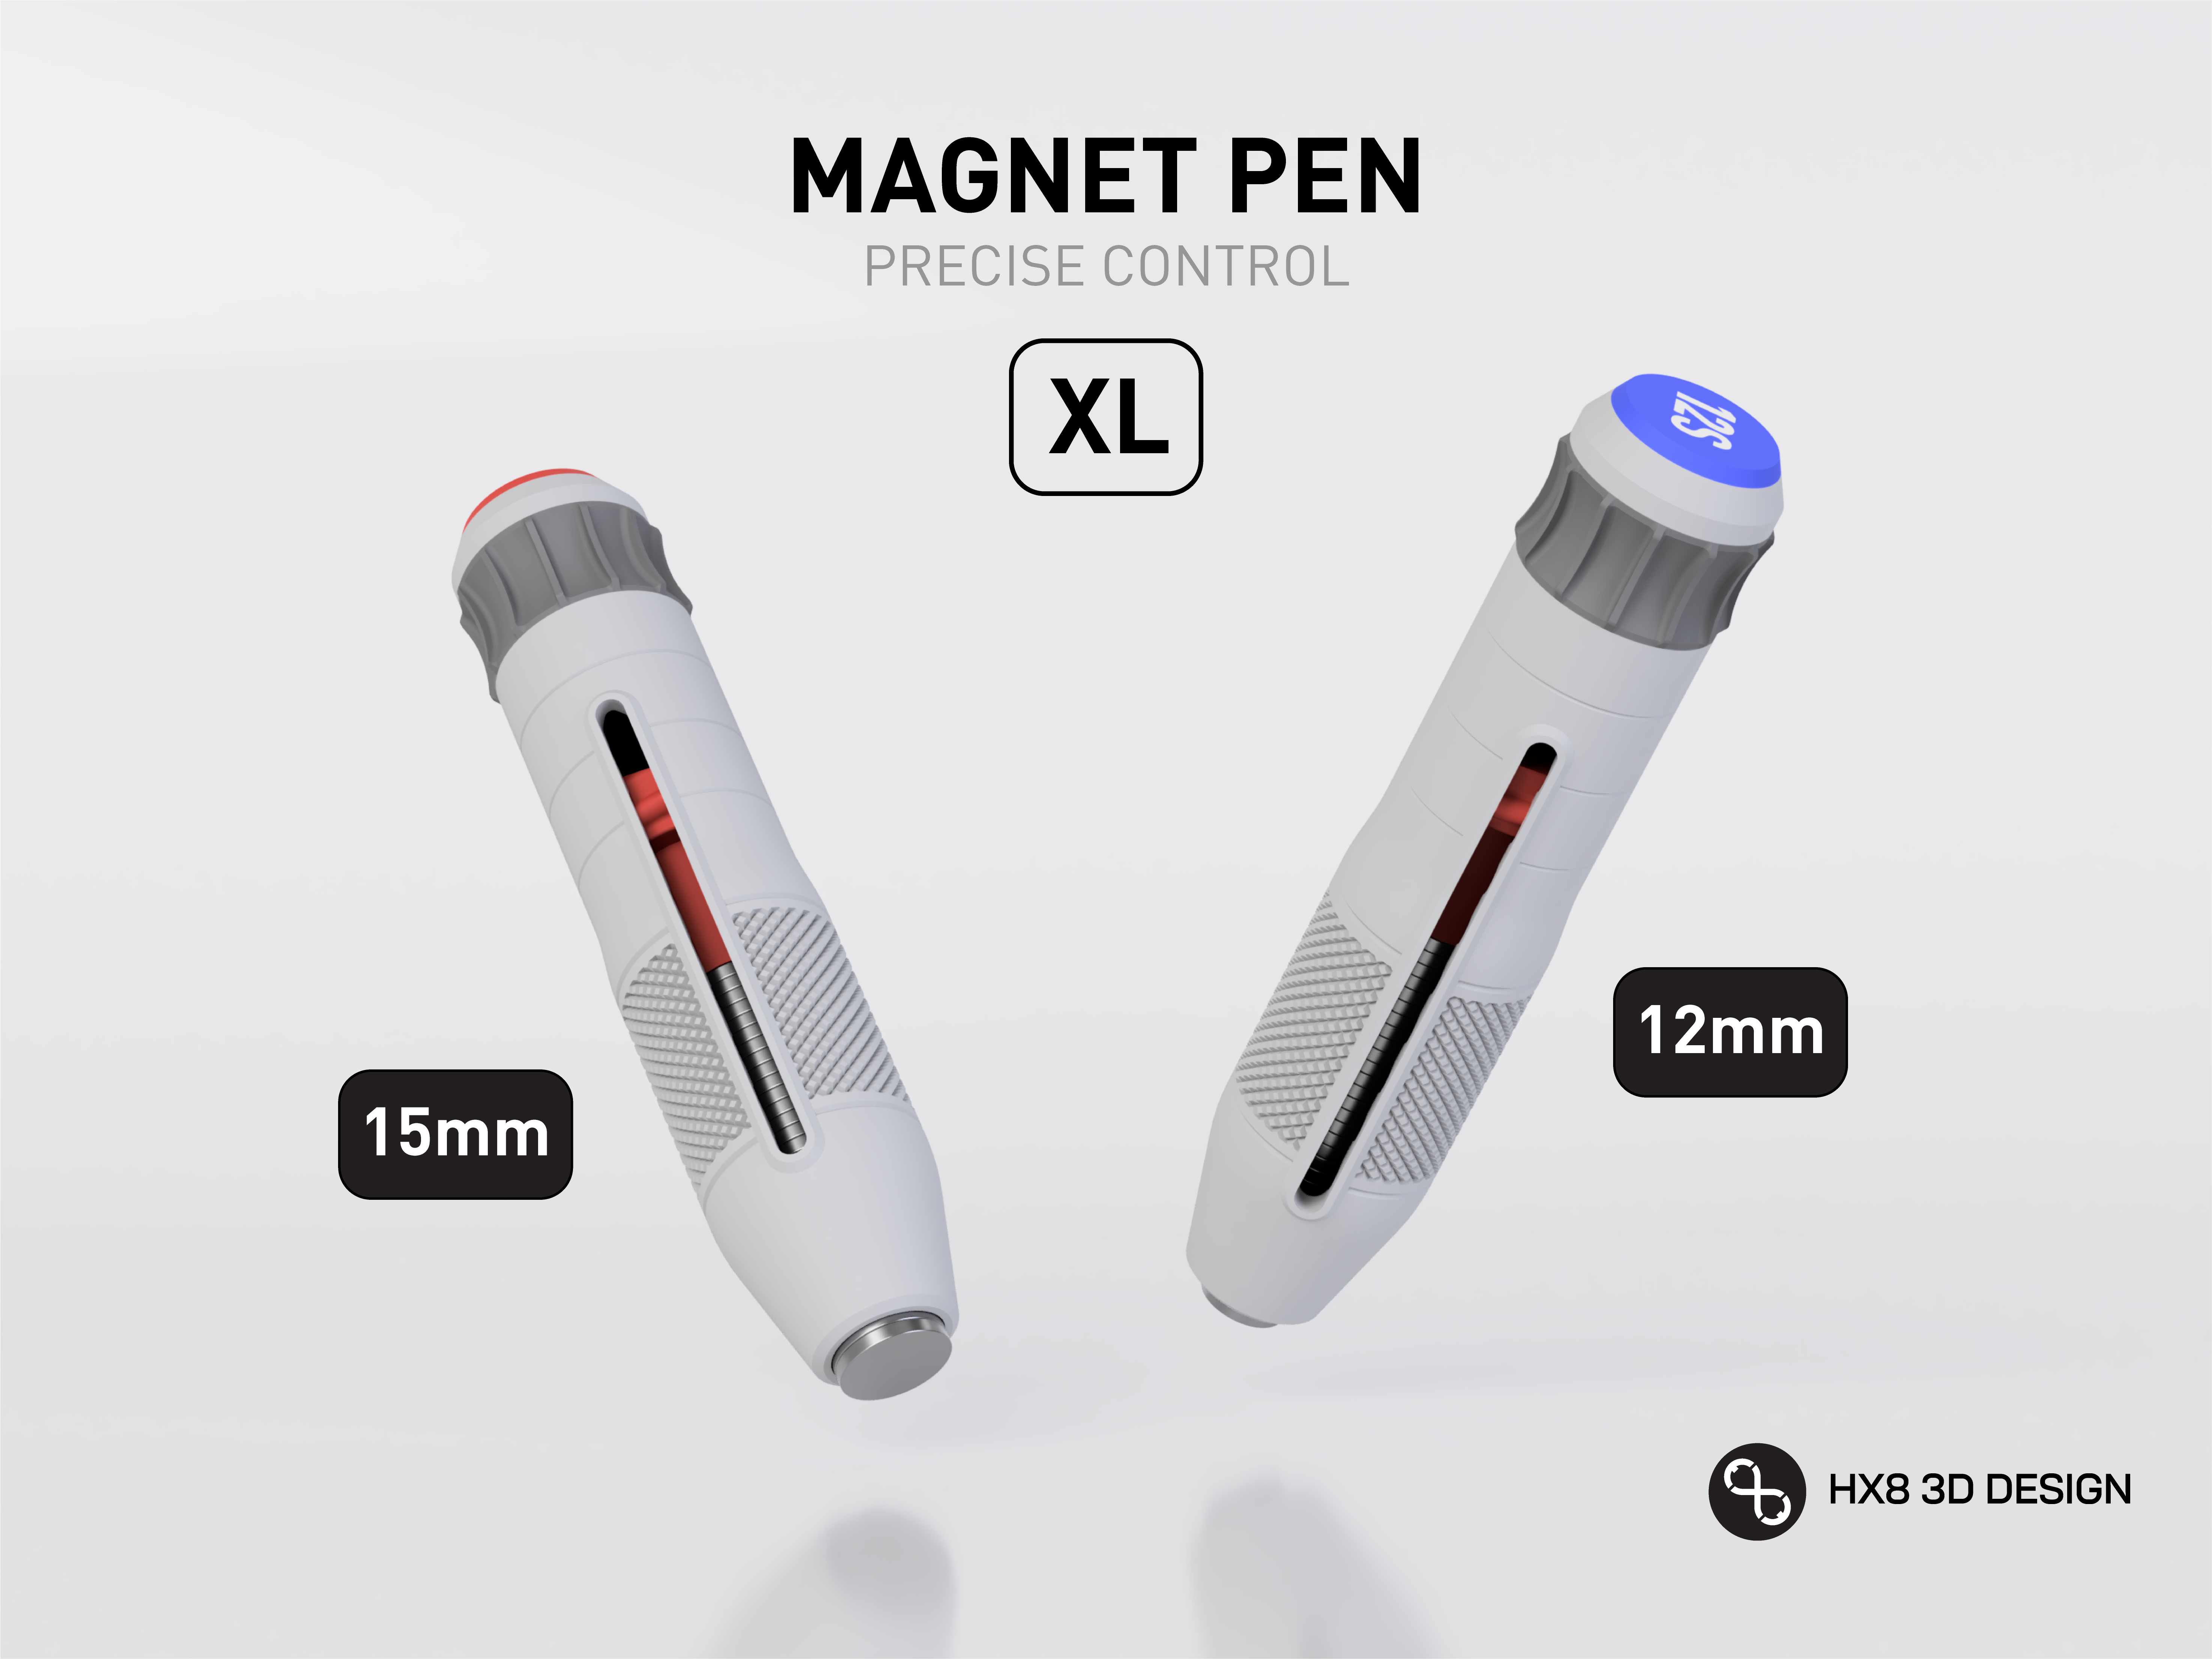
the all new designed Magnet Pen XL is added into the family, now with 12mm and 15mm magnets! (-LINK-)
UPDATE 15.SEP:
10mm Magazine updated with enhanced strength:
- Increased wall thickness 0.6mm
- Added 3mm filet on the bottom of inside
- Added 3 ribs around the magazine body to give extra support
- Raised 5mm on the bottom
- For exchange the loading capacity of 10mm magnets reduced 8mm.
UPDATE 01.SEP:
Supported magnet diameters: 2mm, 3mm, 4mm, 4.5mm, 5mm, 6mm, 7mm, 8mm, 10mm
Add polarity / diameter indicator on nozzle
I just created this model in the last 2 days, maybe an overkilled design, but when caffeine met CAD, I have to spend my weekend for this one.
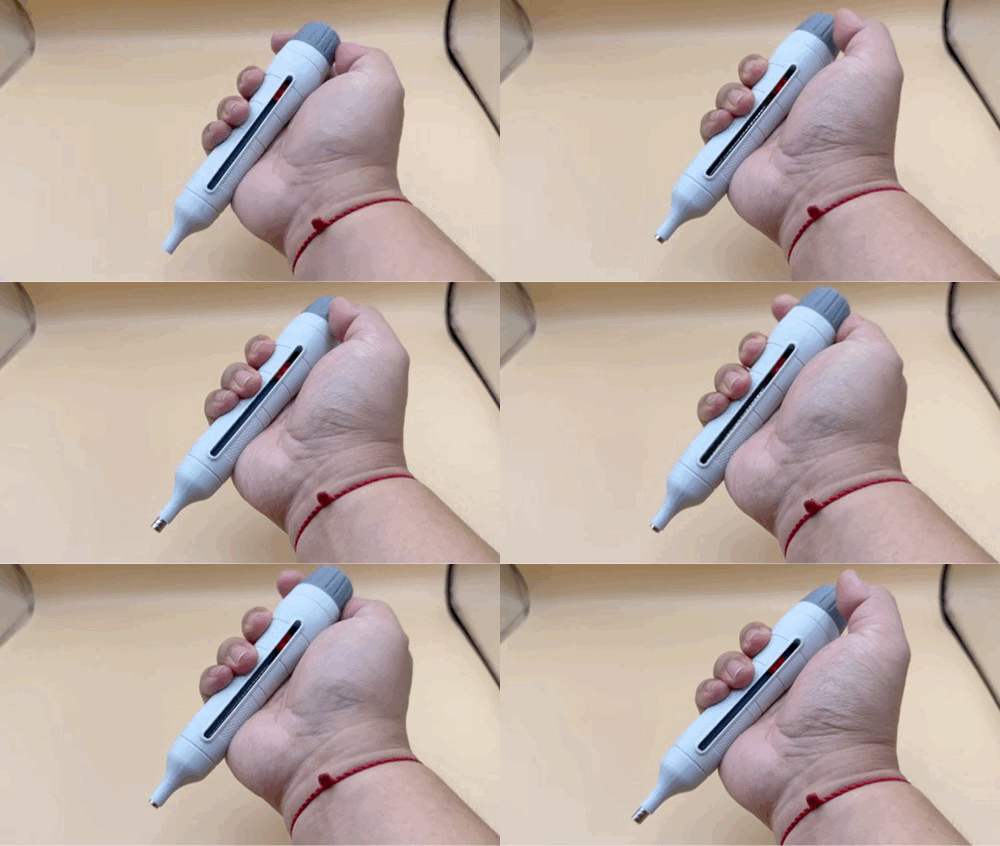
The key features of this design are its solid grip and precise push-and-retract mechanism. With only about a 45–60° twist, a magnet can be fully released. Thanks to the well-designed handle, inserting magnets into a model becomes effortless—twist, release, insert—all done smoothly with one hand.
In addition, the model follows a modular design, allowing internal components to be swapped at any time to accommodate magnets of different sizes.
Supported magnet sizes:
Diameters: 2mm, 3mm, 4mm, 4.5mm, 5mm, 6mm, 7mm, 8mm, 10mm
Thickness: technically all thicknesses, didn't find incompatible one yet
STORAGE SOLUTIONS:
Desktop
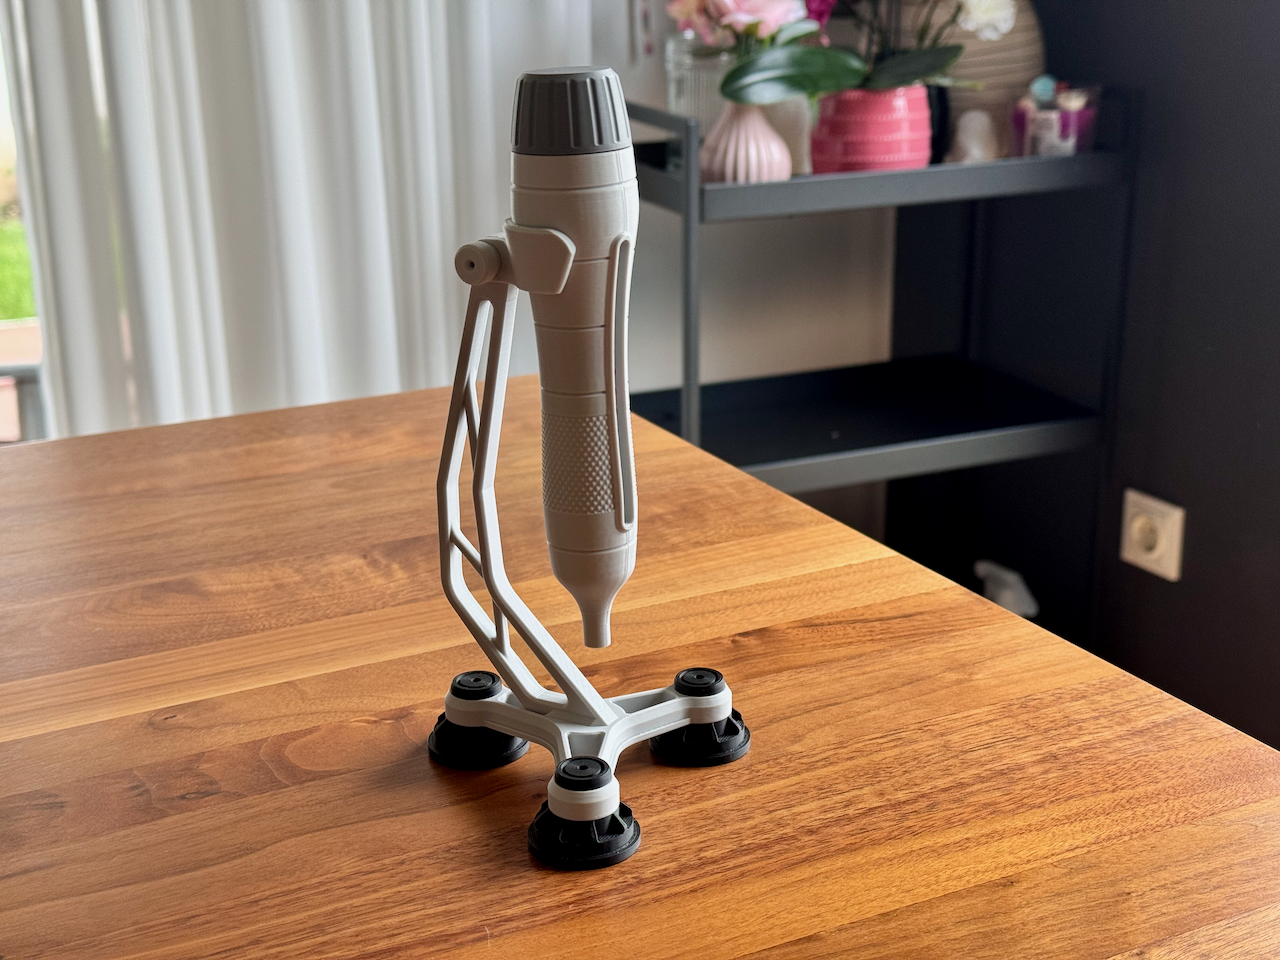
A desktop stand, at the moment only for Type A pen
IKEA Skadis
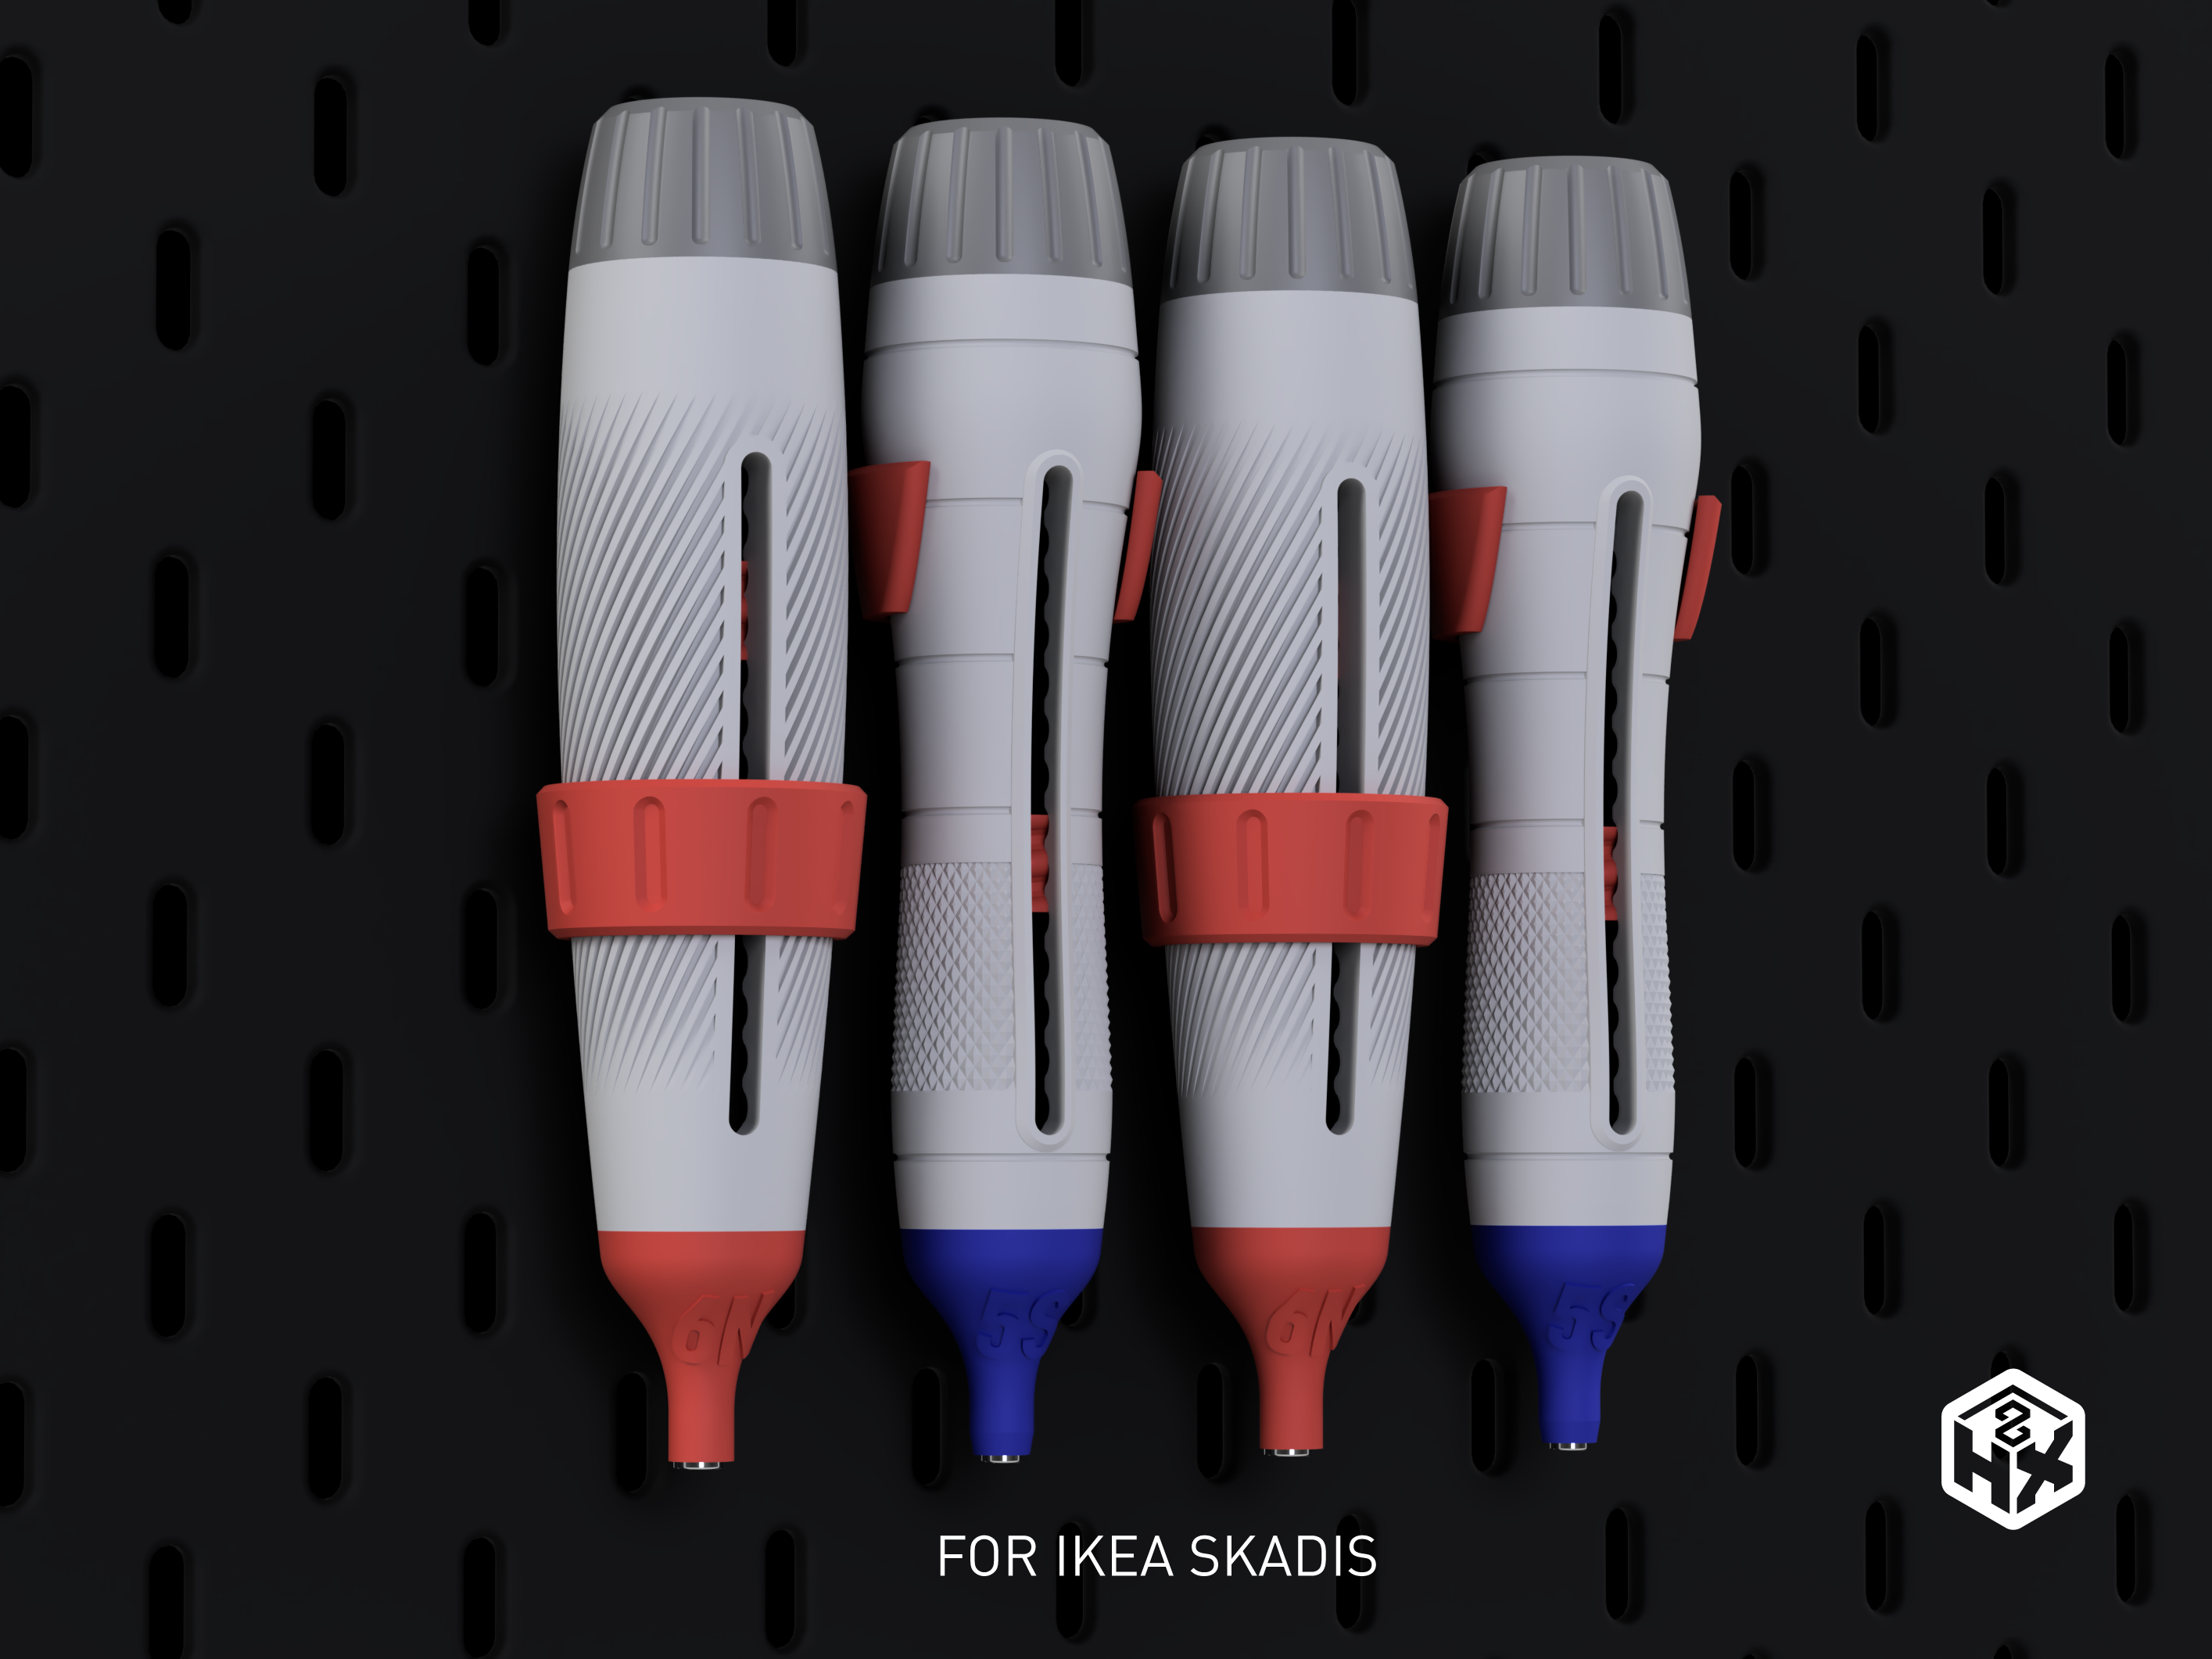
the 2 different types of holders installed with 40mm height difference on the board, and make all the pens aligned.
Gridfinity
2 boxes for Gridfinity system, each box can put 1 extra polarity nozzle in it. All pens and nozzles are compatible.
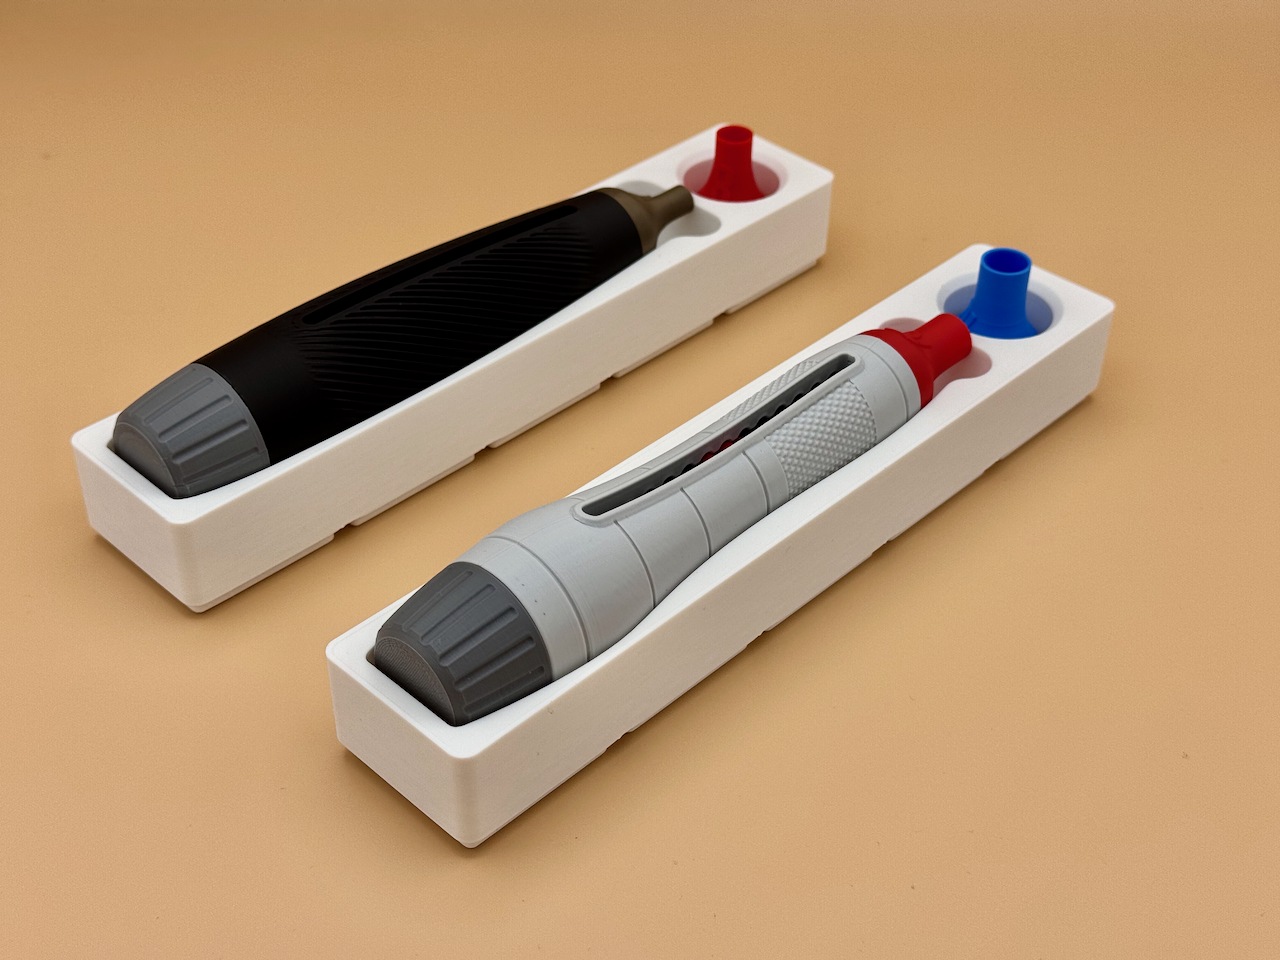
Assembly Instruction:
shown with 6mm pen as example, all other sizes have the same steps, but some parts will look different.
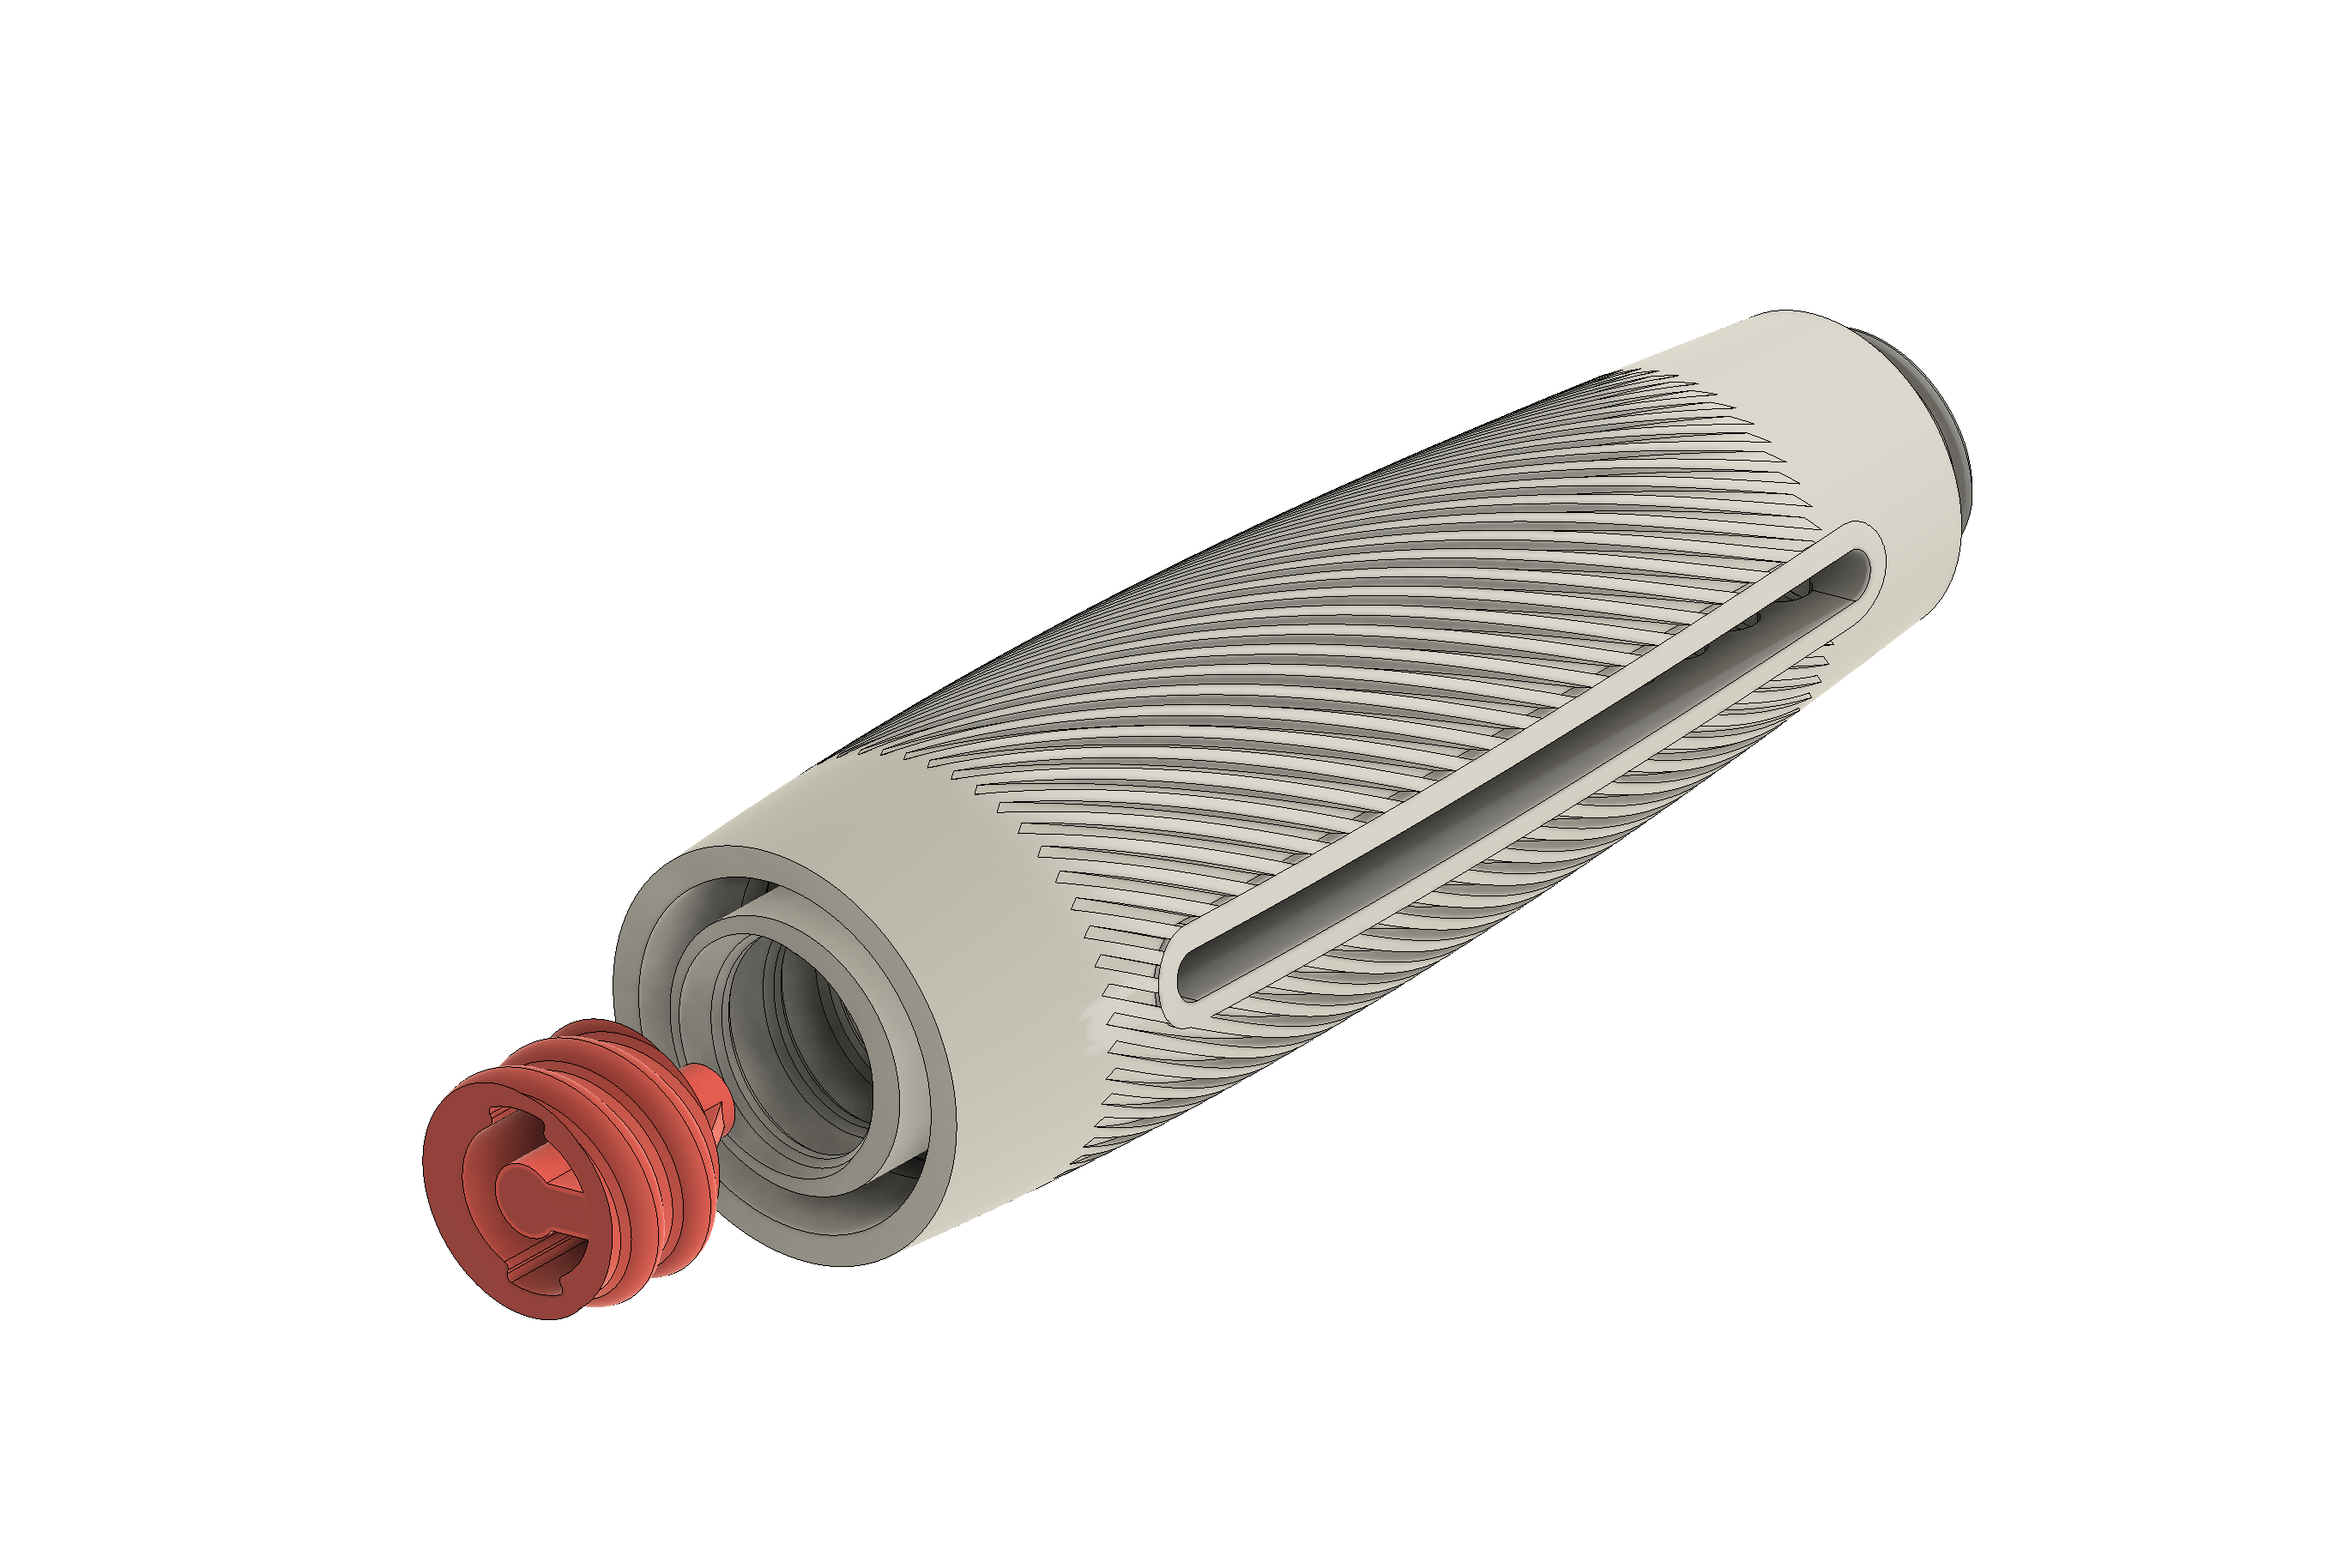
1, Spin the red Gear Pusher into the body
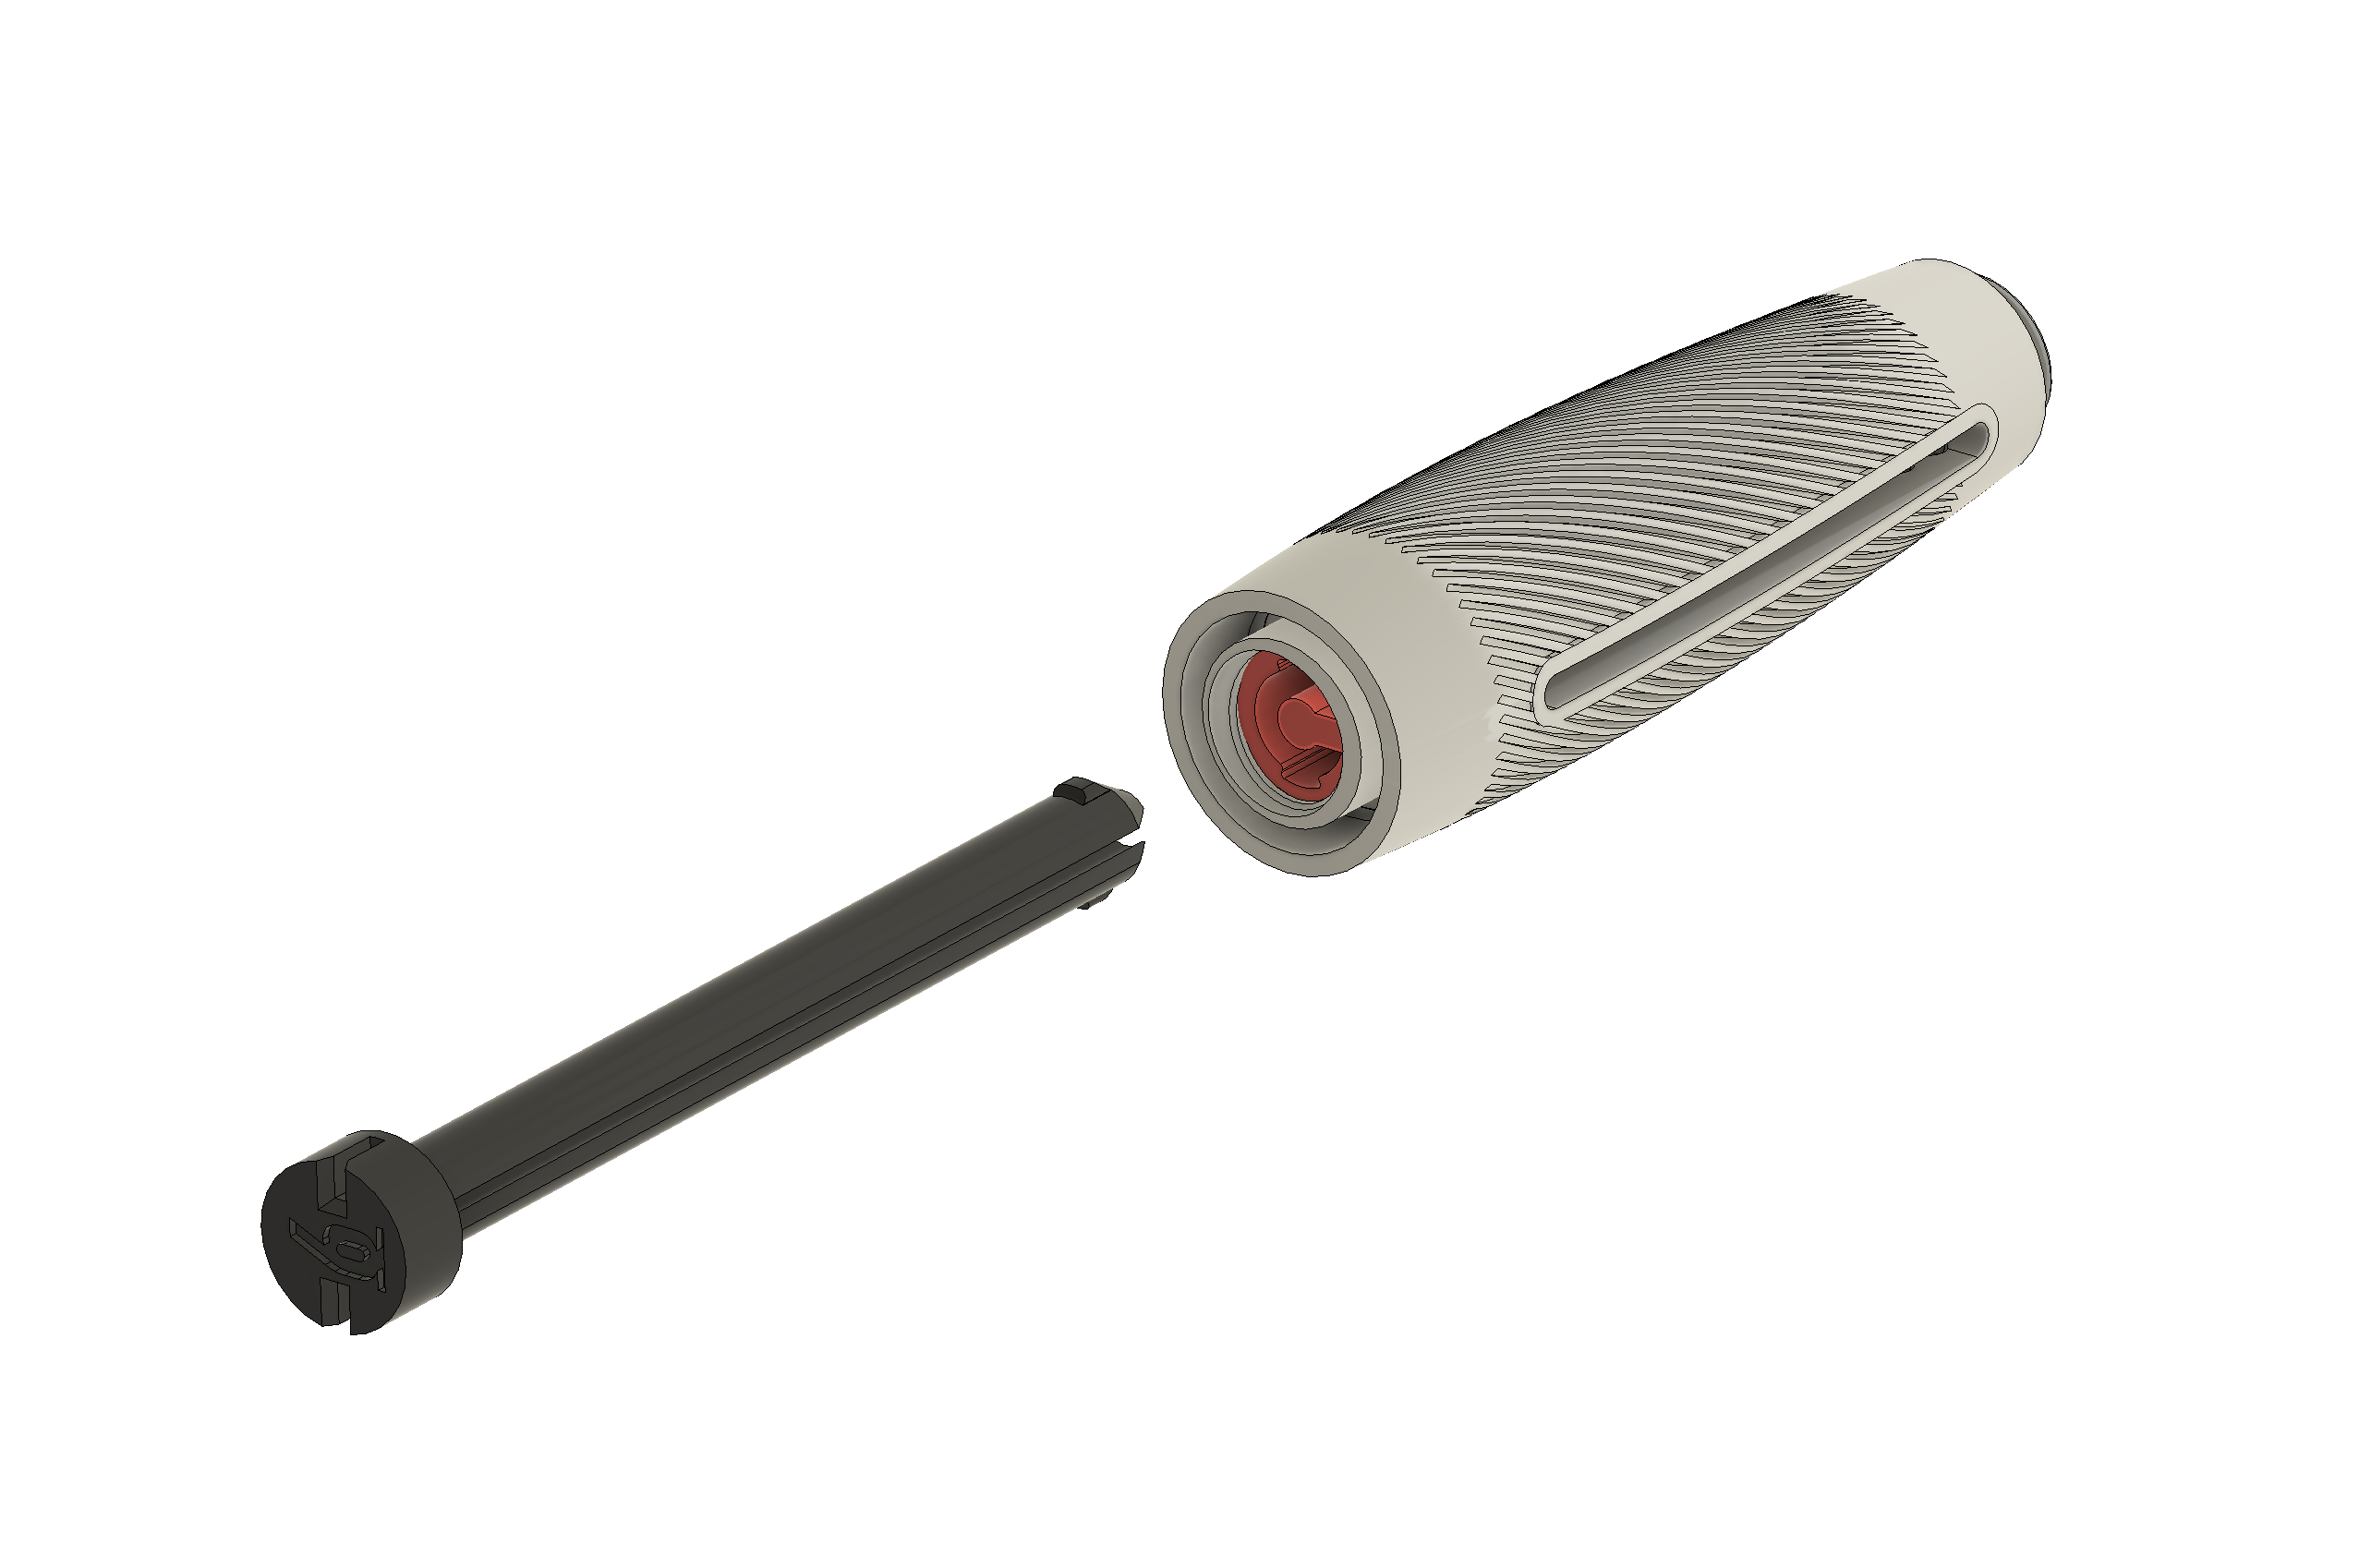
2, Insert the black Magazine into the Gear Pusher.
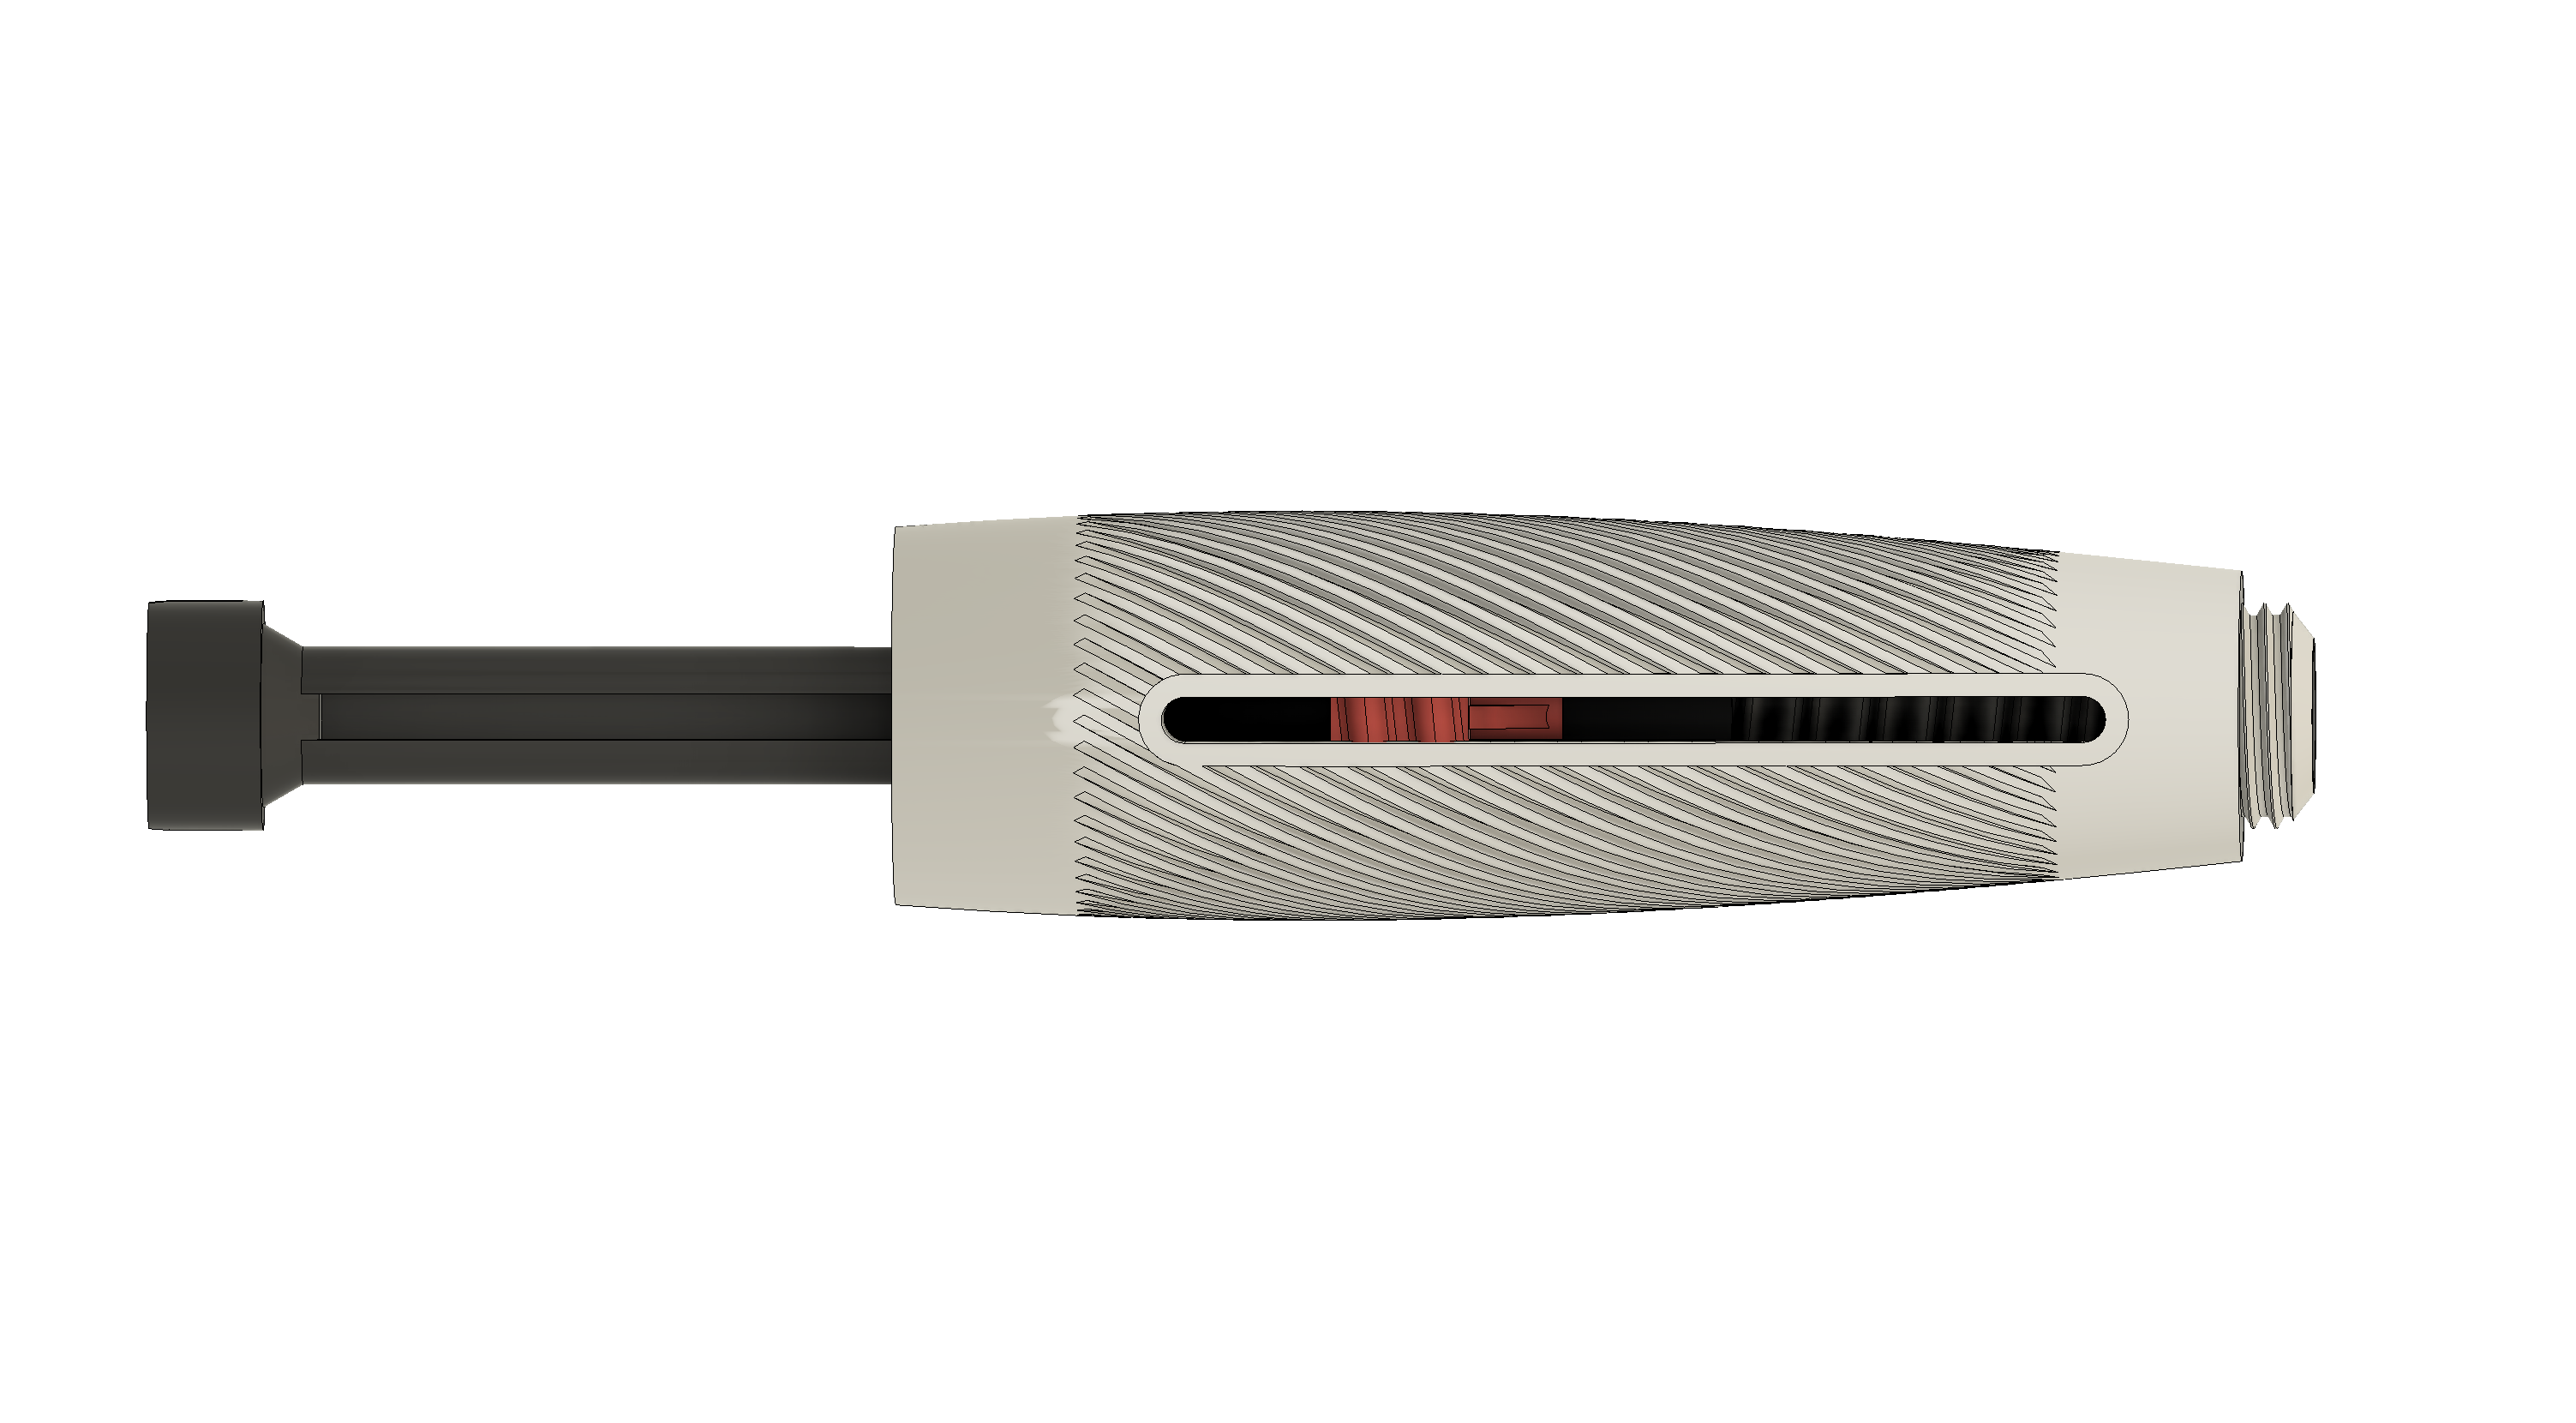
3, Do not push the Magazine all the way to the end, first push it about to half way, do some spins to make the Gear Pusher some where you can see from the window on the side, just like shown in the picture.
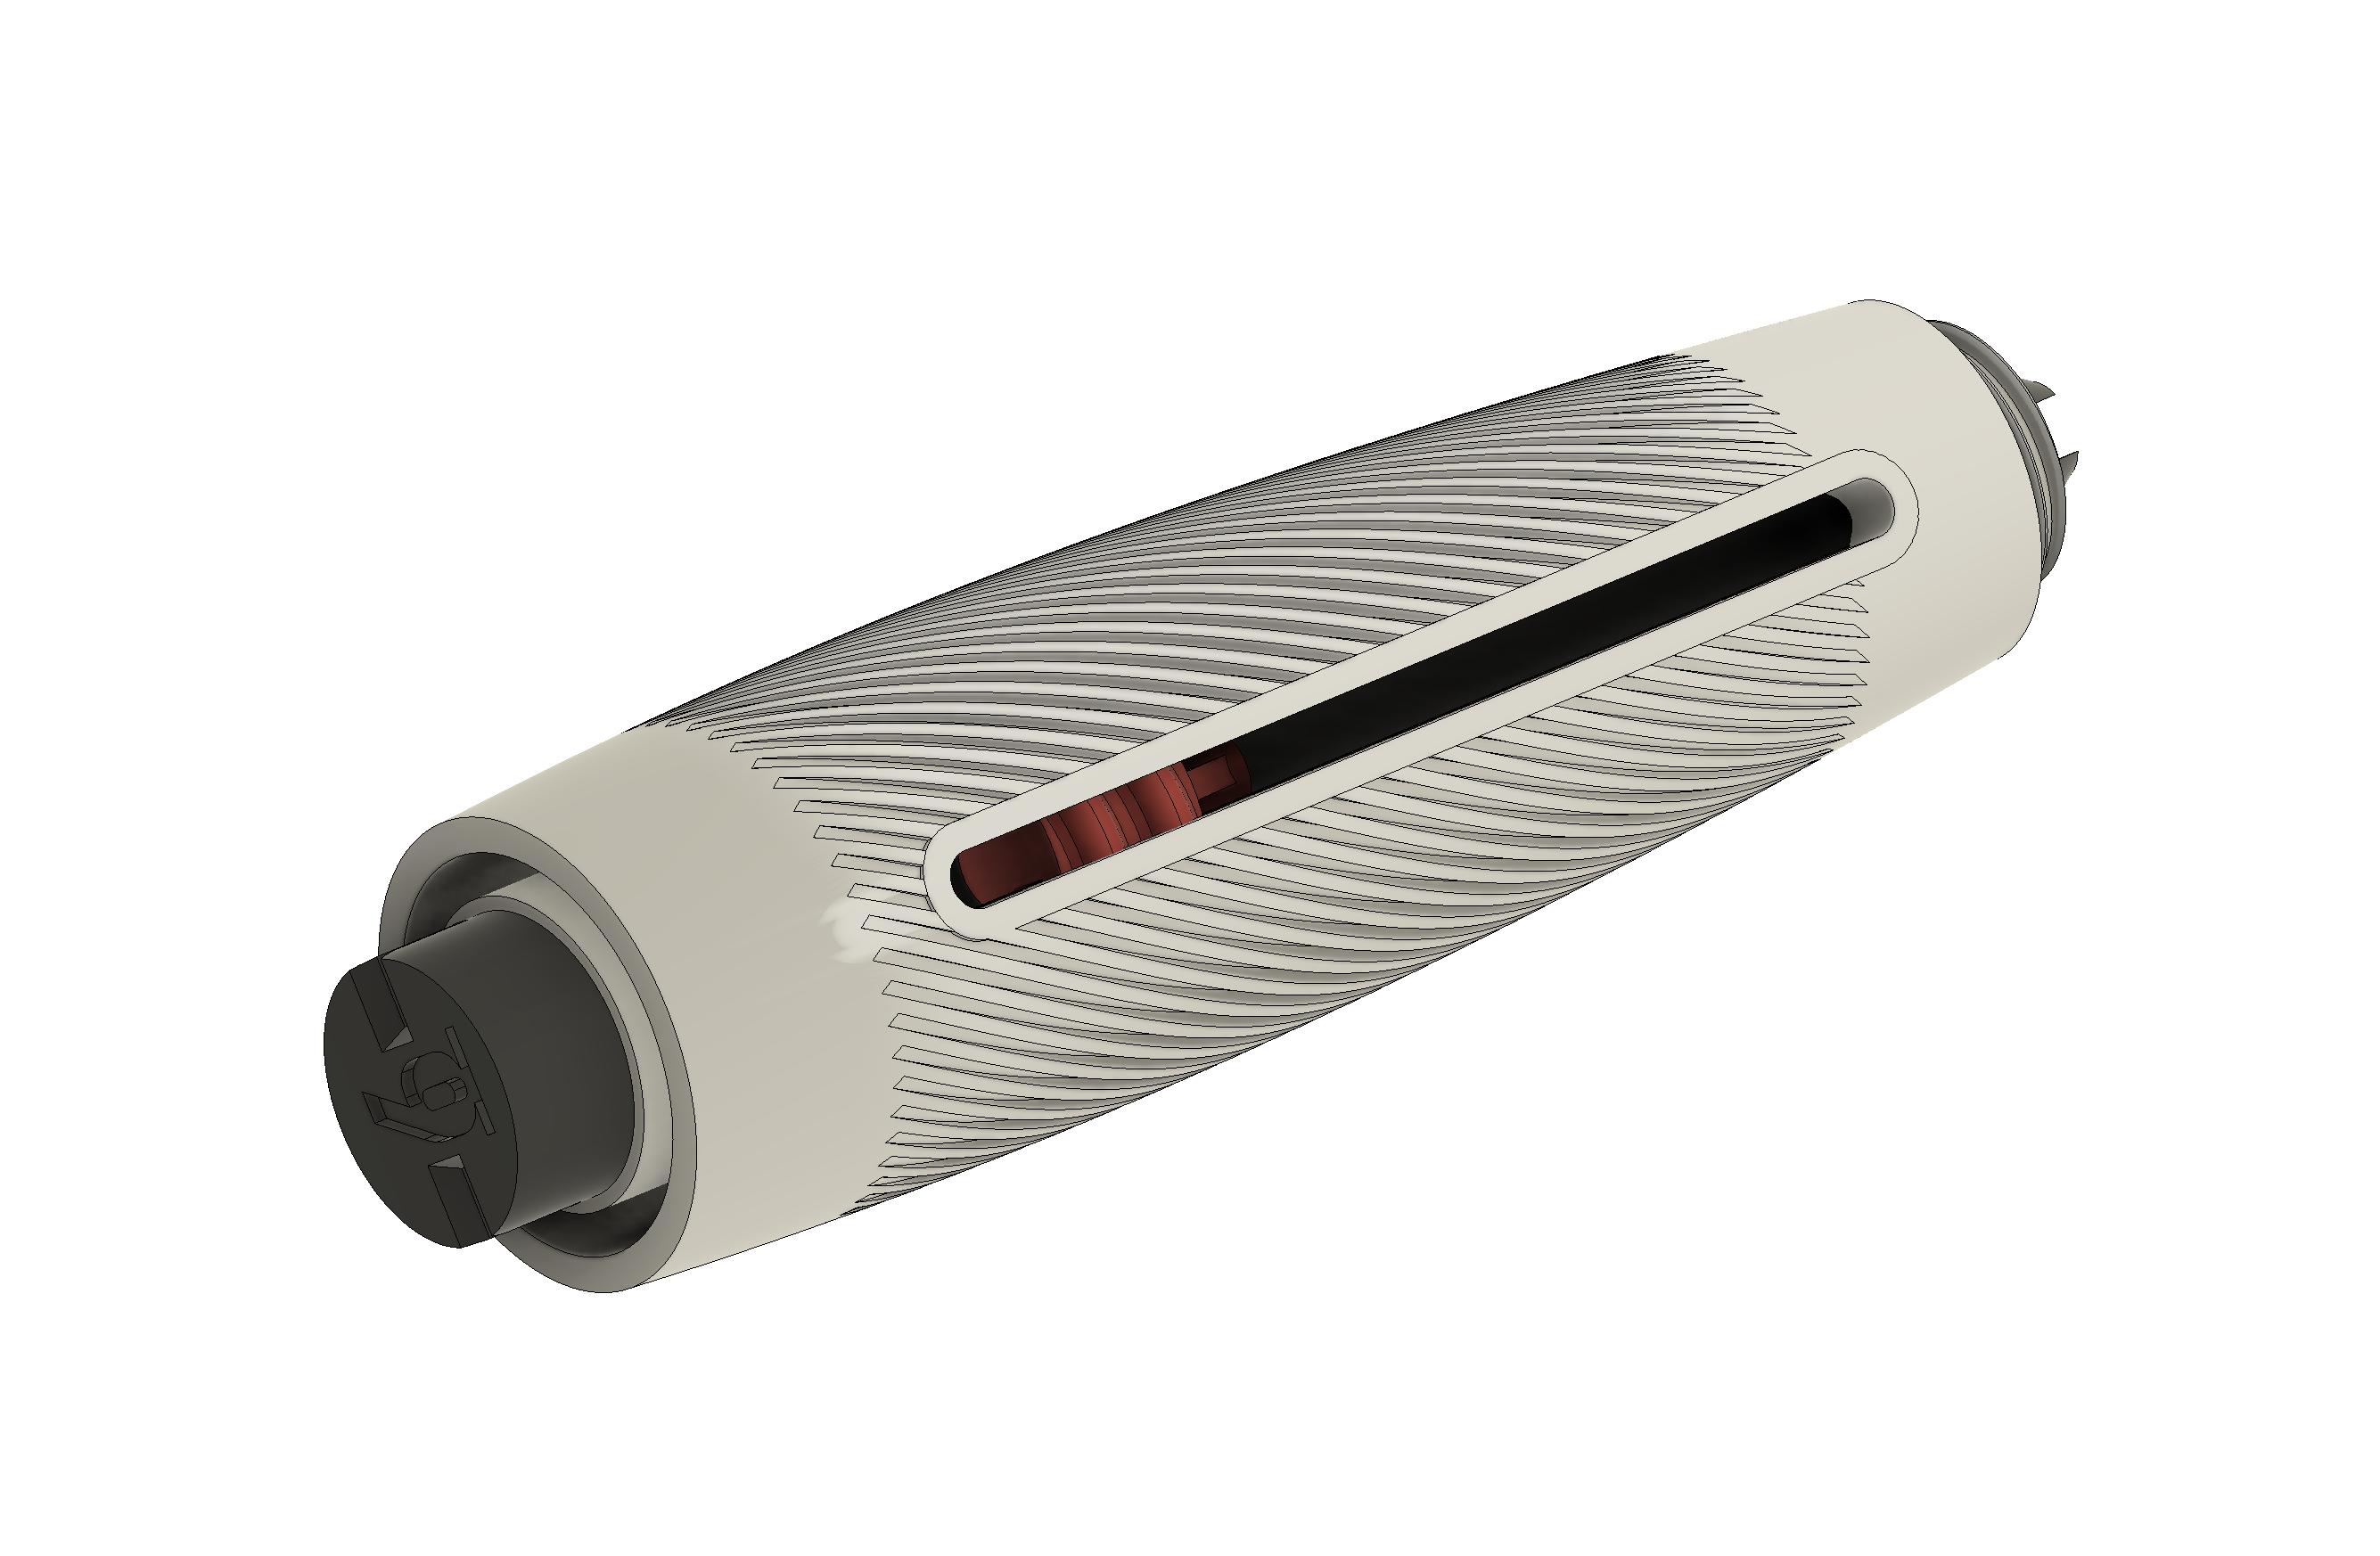
4, Now you can push the Magazine to the end, ATTENTION: twist the magazine to find the notch to insert to the end as shown in the picture.
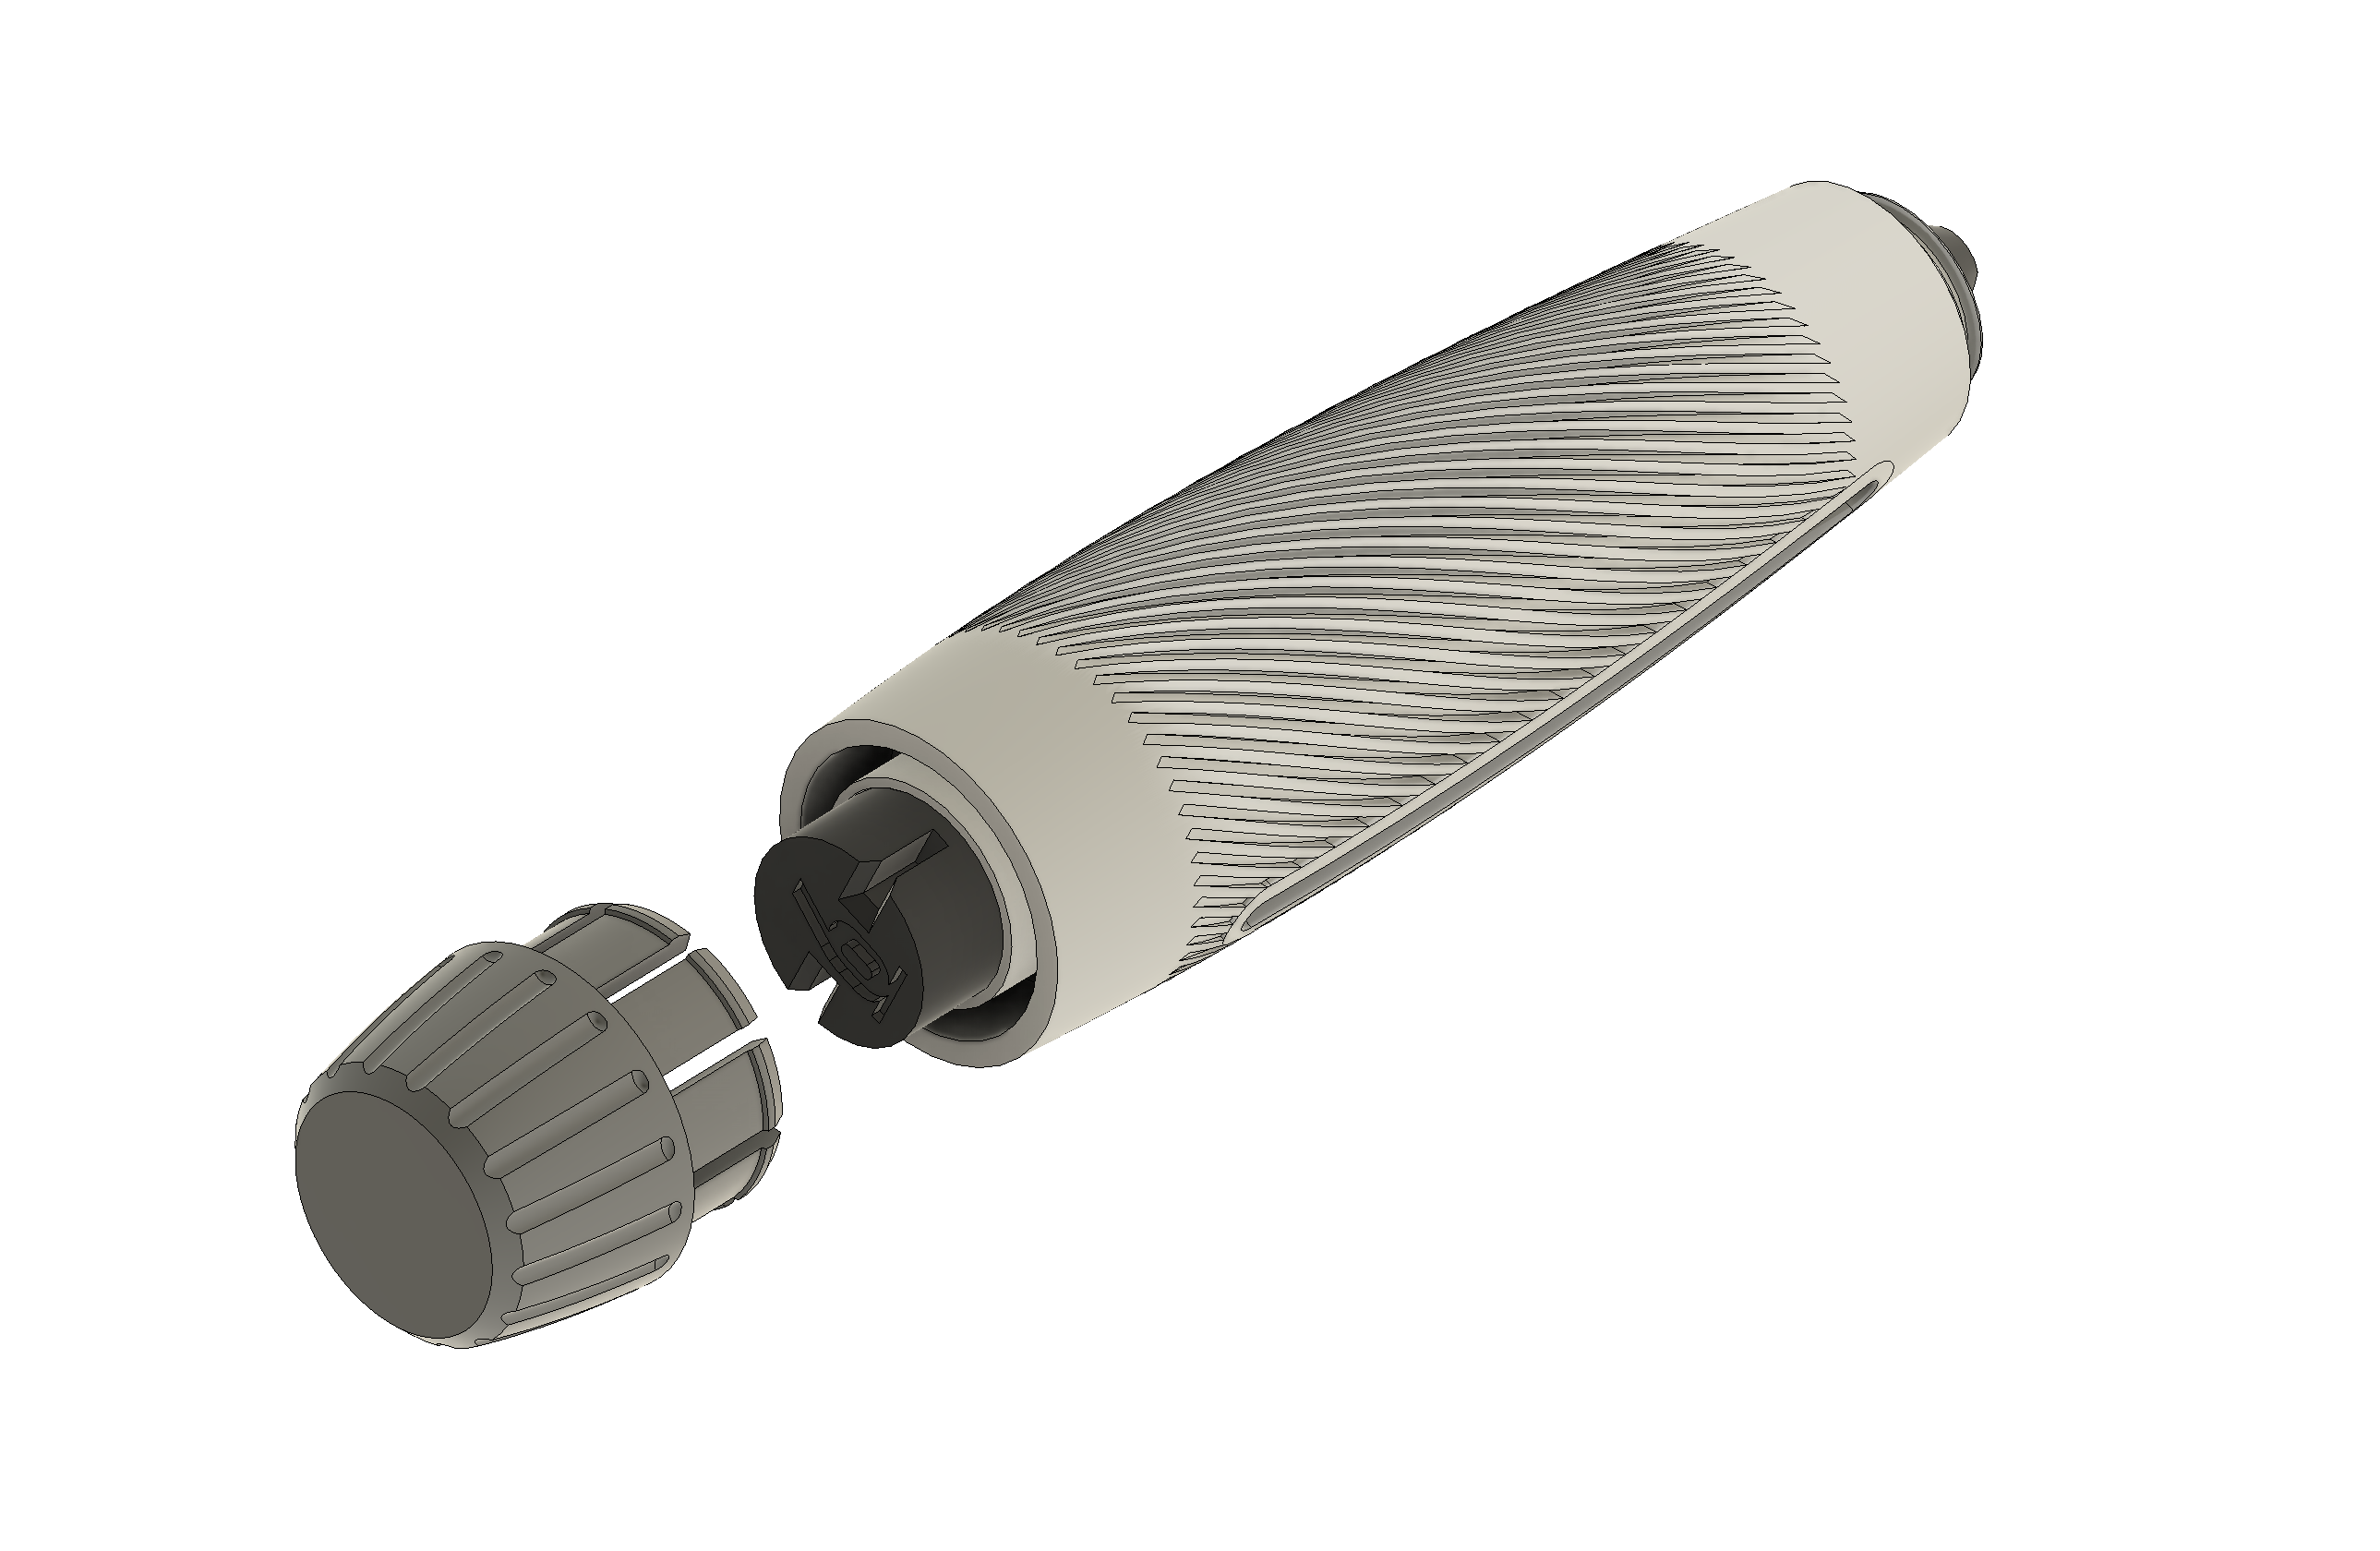
5, Insert the Drive Cap.
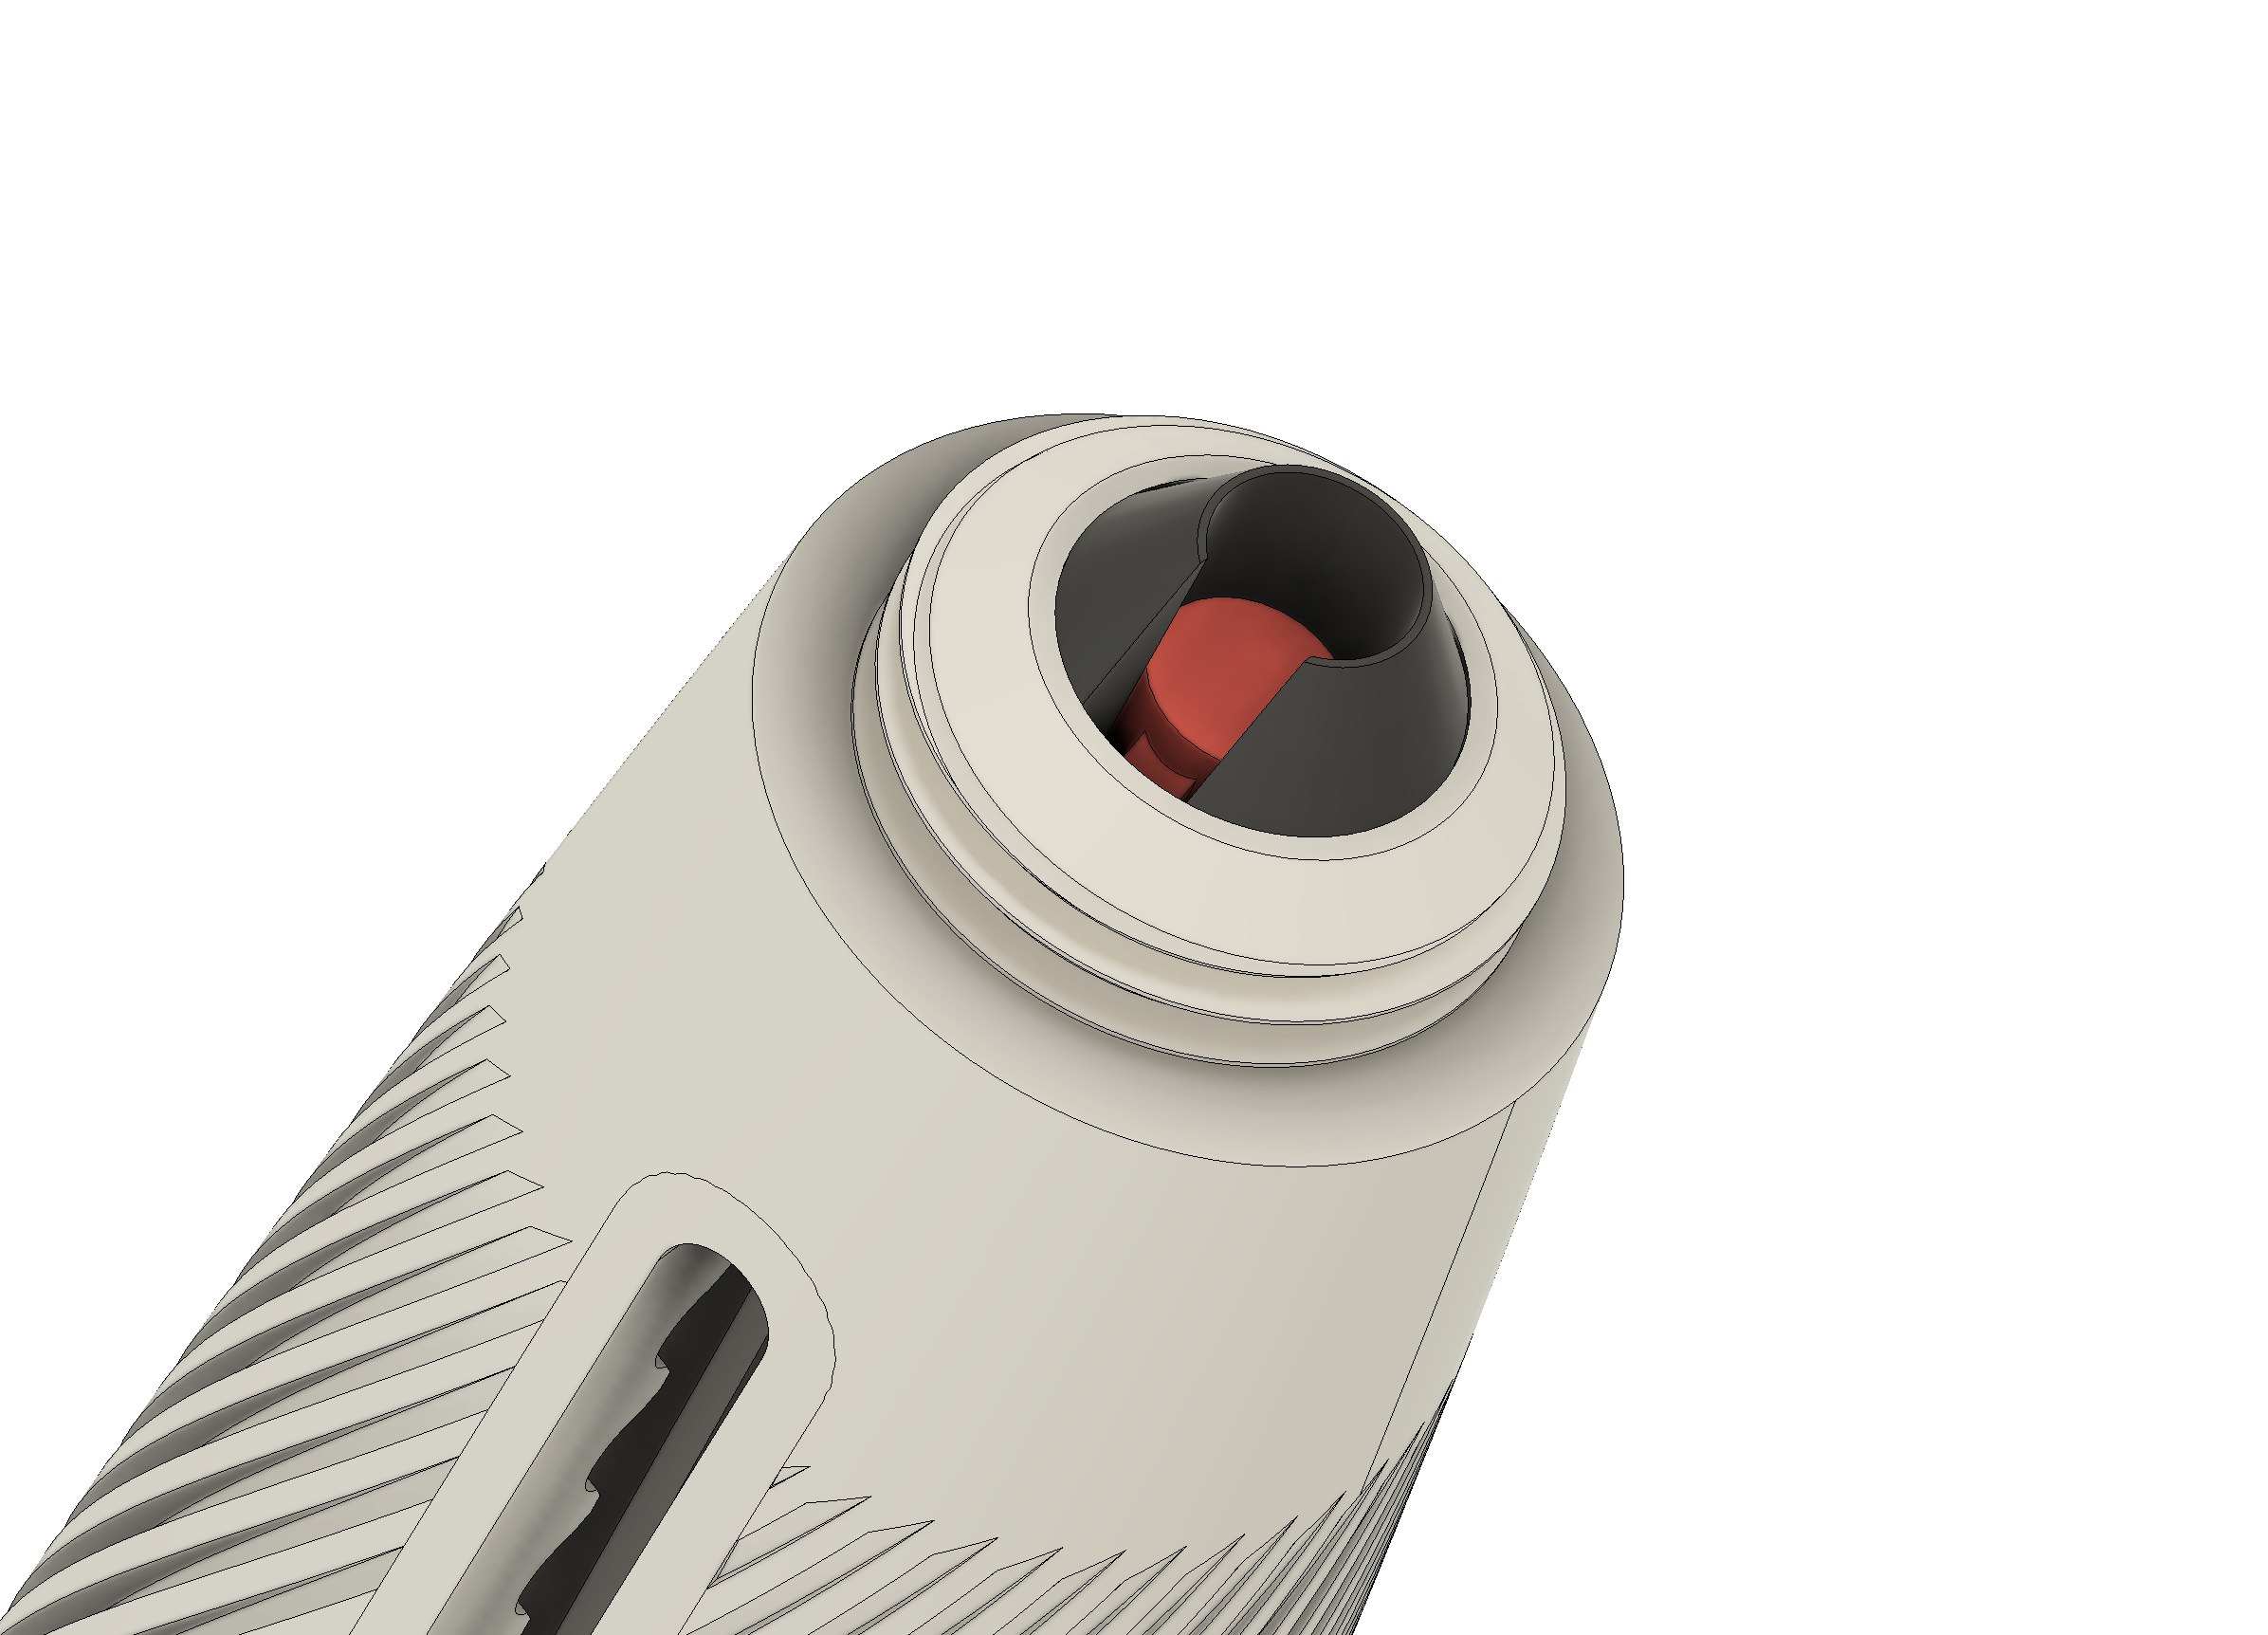
6, Spin the Drive Cap all the way down to move the Gear Pusher to the end as shown in the picture.
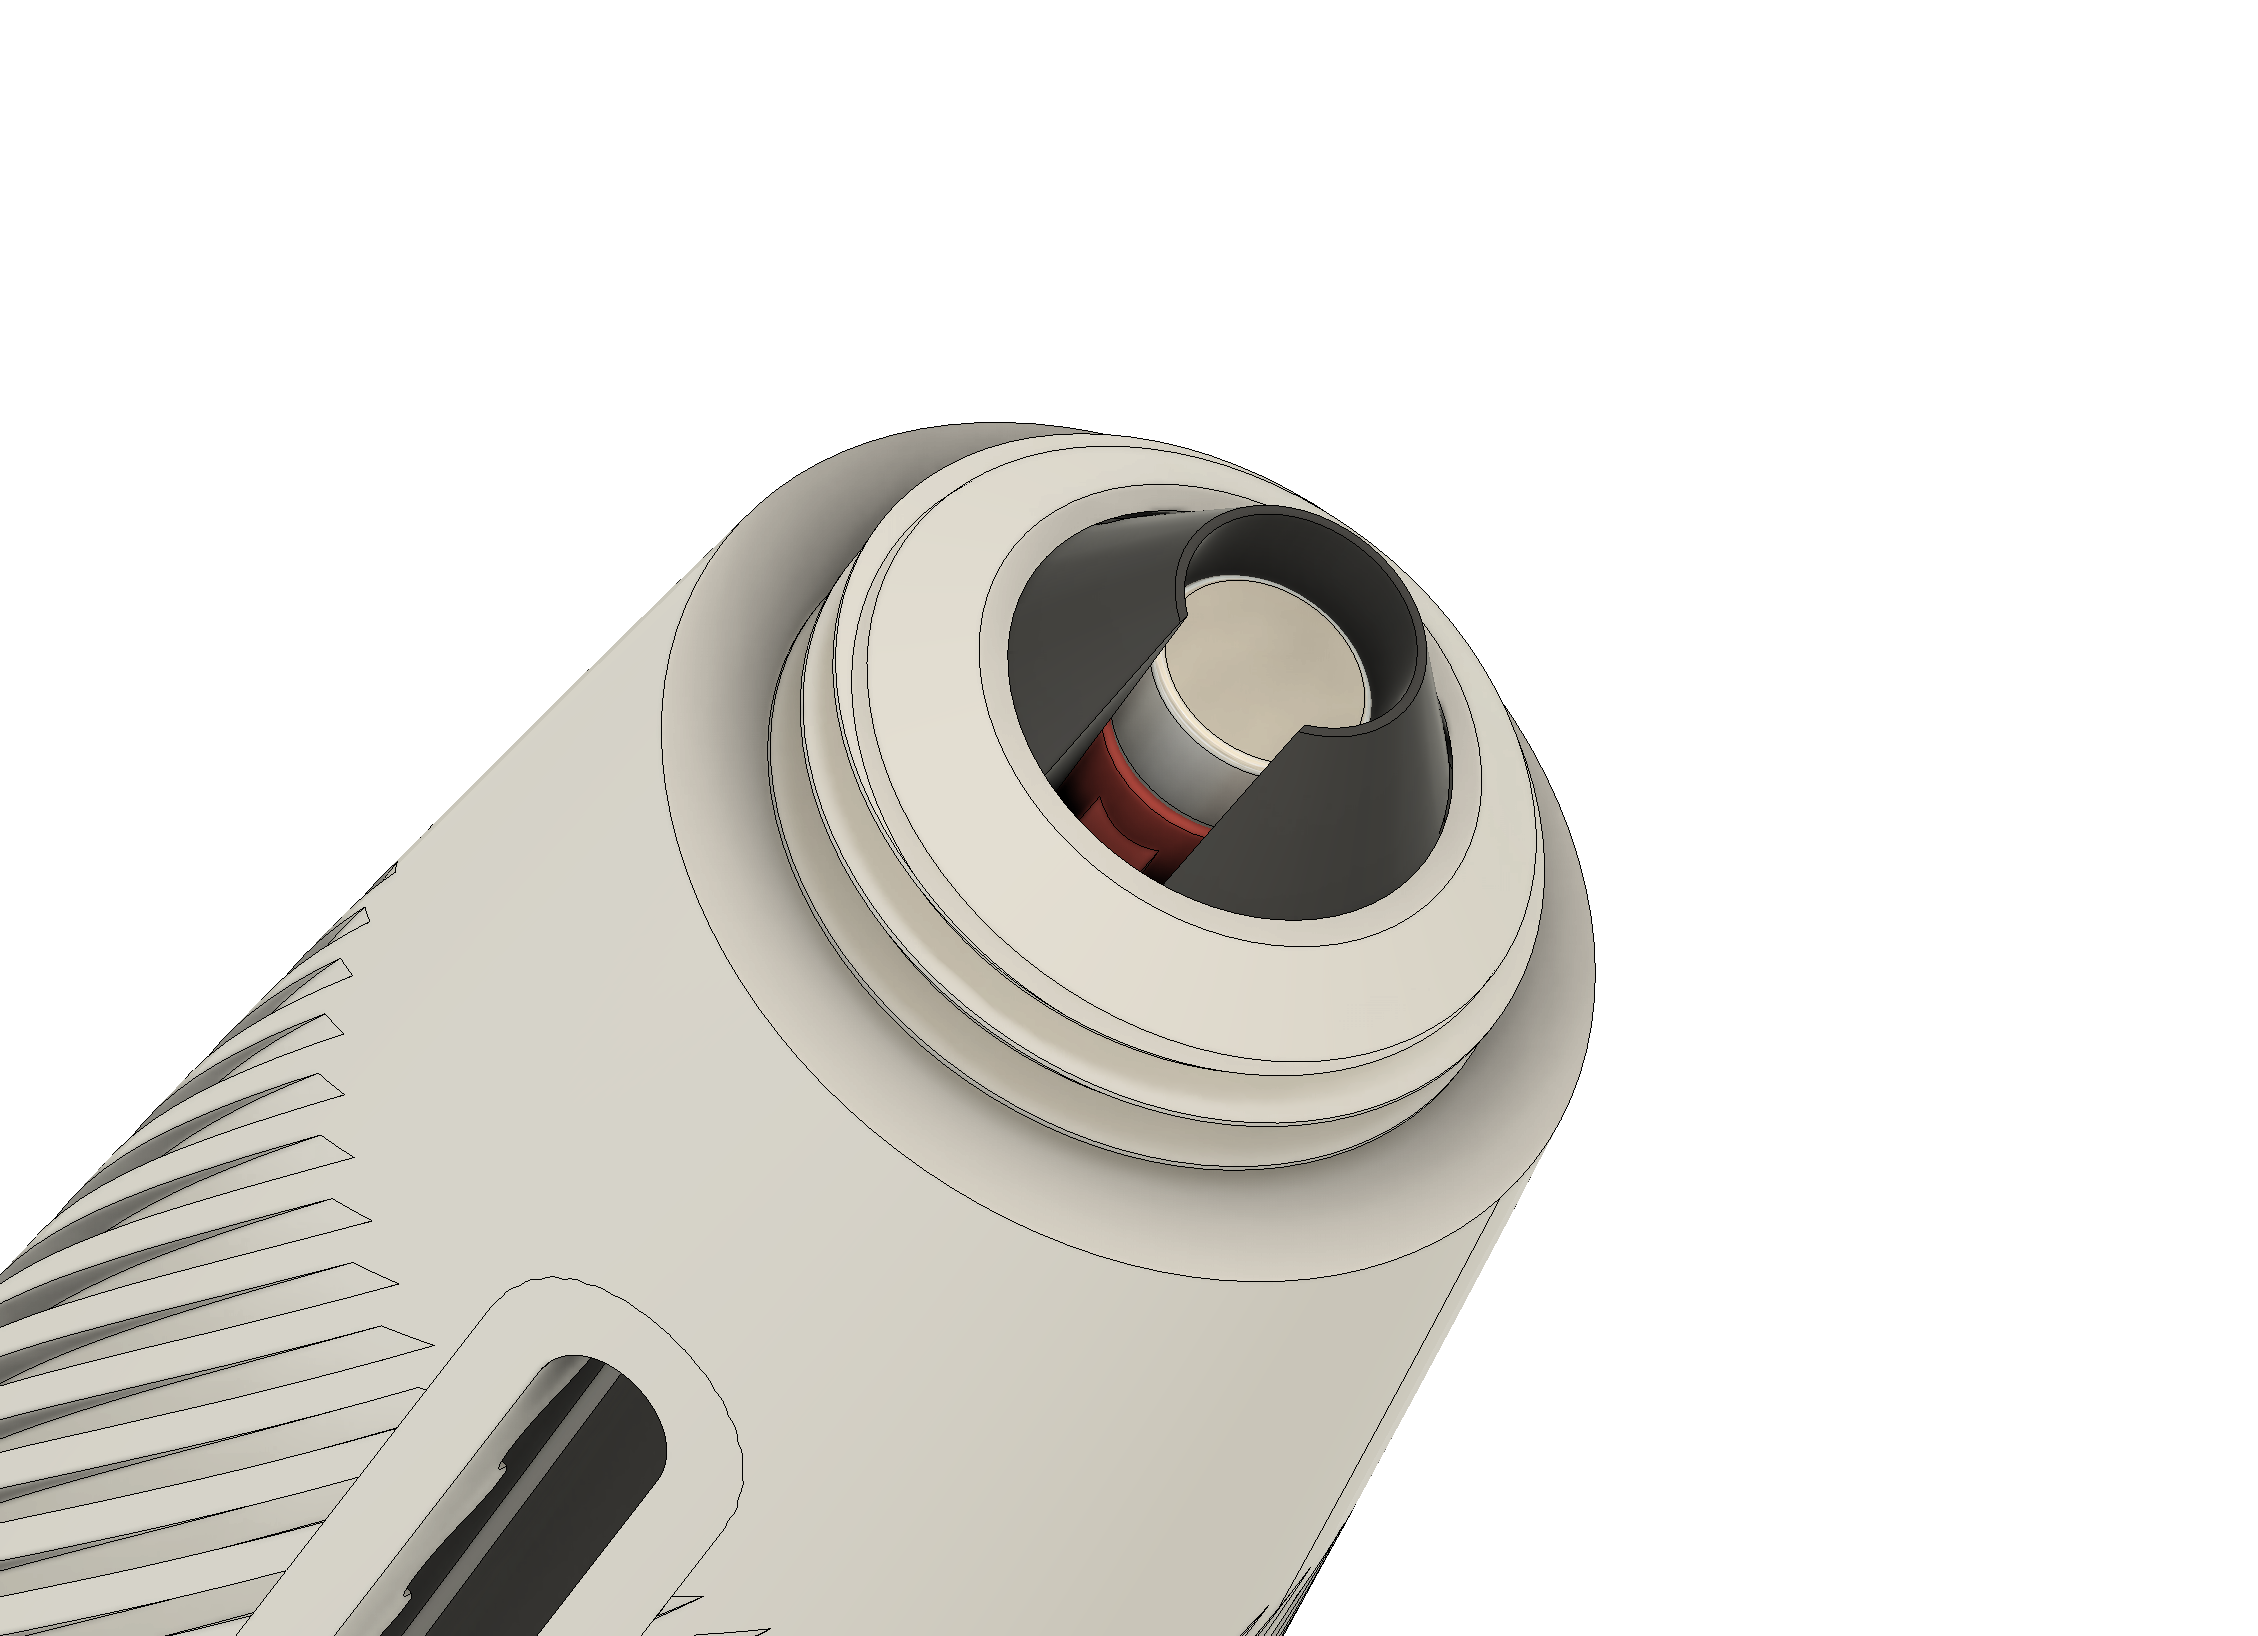
7, Glue one piece of magnet on the Gear Pusher. CAREFUL: do not put too much glue that could stick the Pusher with Magazine together.
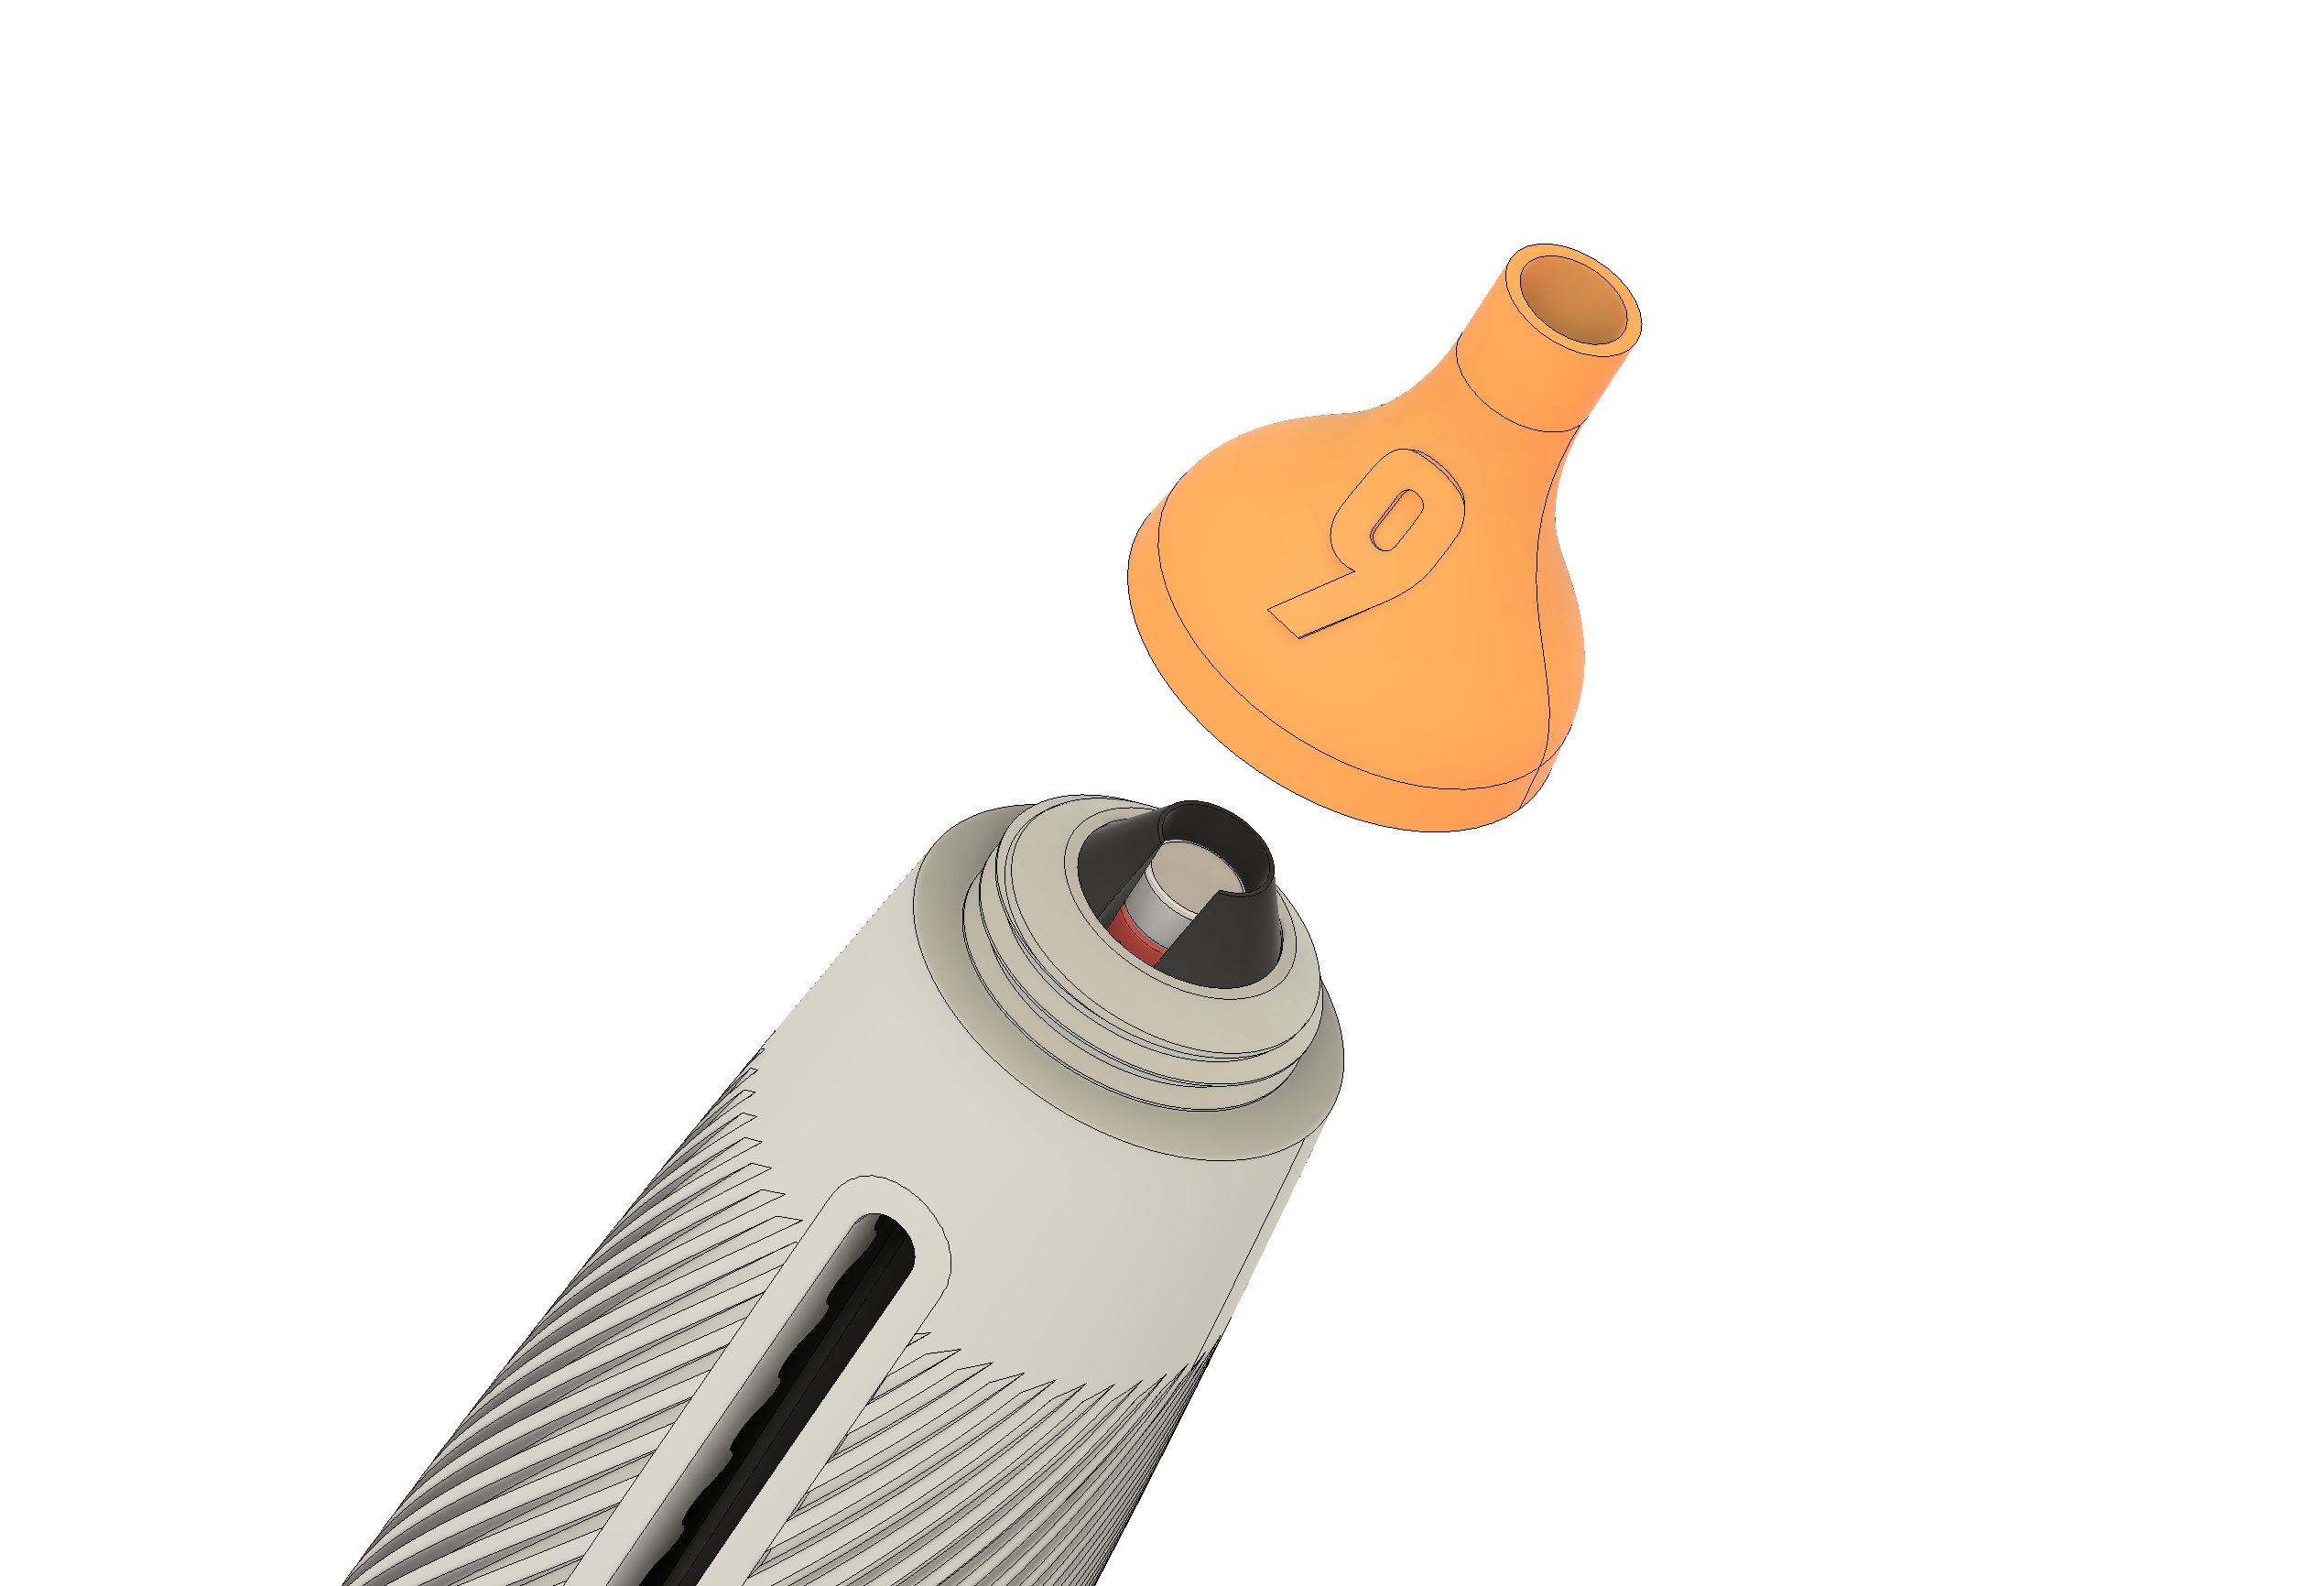
8, Install the Nozzle, and it's done.
ENJOY YOUR PRINT!
HX8 Magnet Pen Precise Control

Publicado em 31 de ago de 2025
Gostou deste modelo? Crie uma conta grátis para salvar seus favoritos e voltar a eles depois.
Criar conta