Você está no 3DFinder
Buscamos em Thingiverse, MakerWorld e Printables ao mesmo tempo para te dar o melhor de cada uma.
Descrição
moodj is a ritual of light
In a world where algorithms autoplay and touchscreens flatten our senses, moodj brings back the poetry of gesture. Inspired by vinyl culture, each “record” is in fact a light filter: you select it, place it, and let the atmosphere change.
It’s about slowing down, making choice tangible again, and transforming ambience into an act of design.
Moodj is where mood meets DJ, an object that lets you play light the way we once played music.
essentials
This device hosts a standard LED lamp 001. Its original diffuser is removed and replaced with a PETG translucent membrane, able to let more light pass through as well as handling the generated heat and hold the records.
It is heavily recommended to print on a smooth PEI plate.
recommended to
I went with light gray and gray PLA basic Bambu Lab offers, but any neutral tone makes the best of this lamp (just avoid printing in colors as it will not mix well with the filtered light). Opaque, dark filament was used for the LED holder to block light from going through other parts than the membrane.
No superglue is mandatory since everything holds by friction, gravity or included 3D printed screws, but you can glue parts together if you feel the need. Be sure to assemble everything together before applying any glue. Gluing some parts may reduce the reparability of the device depending on what is glued.
Records are printed in translucent materials. Translucent filaments aren’t the only ones letting light pass through as the records were printed on colored PLA basic filament. The level of transparency is different for every color, material and brand. It is up to you to choose the thickness of the membrane and 3 different thicknesses are offered, from 0.40mm down to 0.20mm.
how to
1
2
3
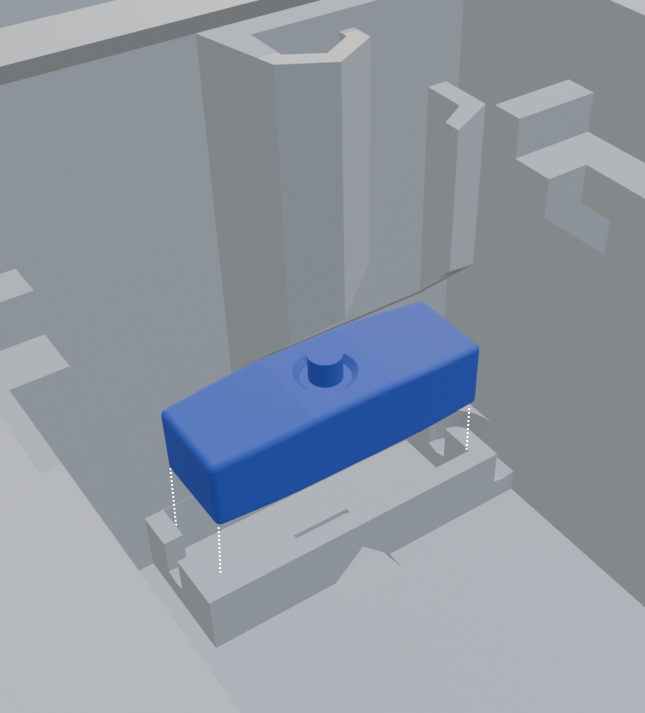
Be sure to place the switch so the USB side cable goes directly through its exit hole (see fig. 5). The switch holder works best with the official LED lamp 001, otherwise you will need to apply a lot of force to put it down, but it is possible.
4
5

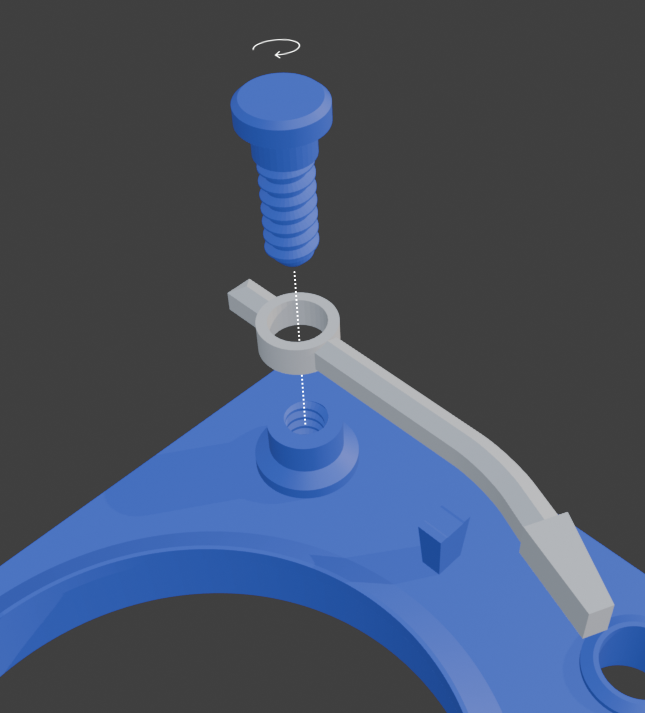
The cable must go through the hole before screwing these parts together. Mind the orientation, the cable hole is at the bottom.
6
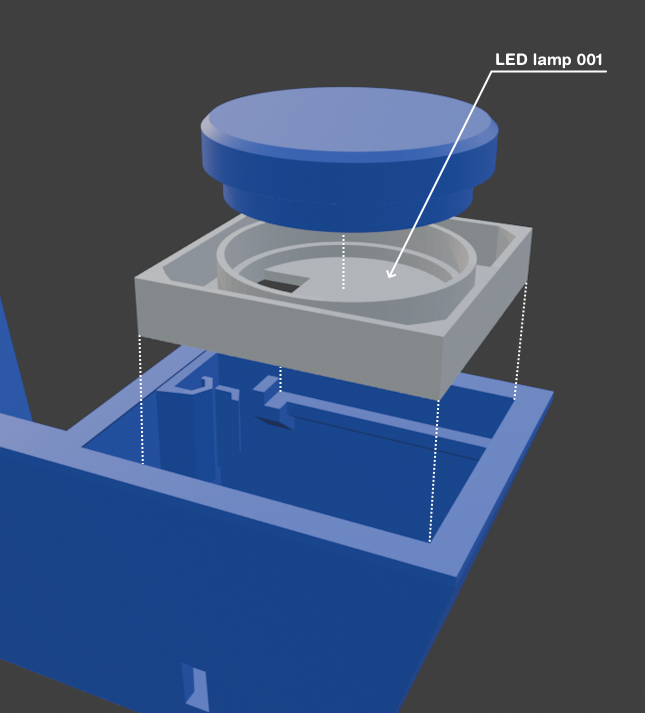
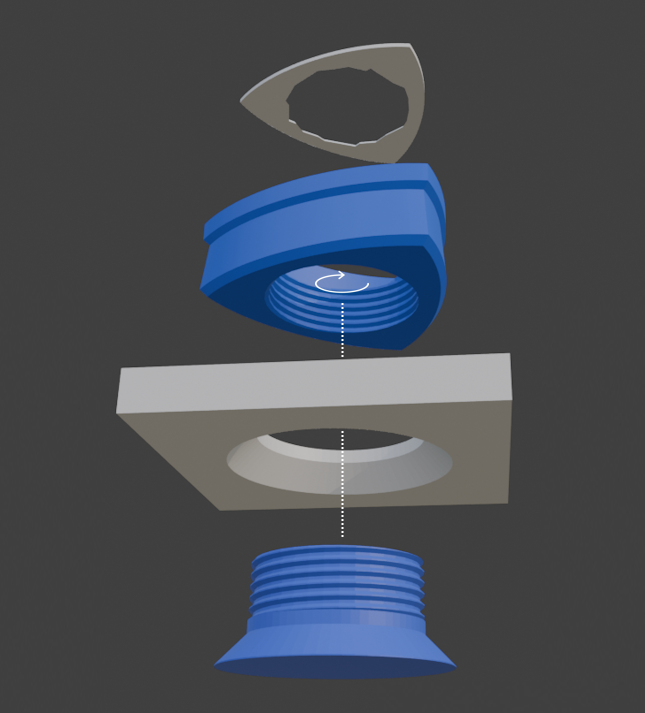
The LED lamp 001 goes between the LED holder (middle part) and light membrane (top part). It is recommended to place LED holder’s hole as presented here.
7
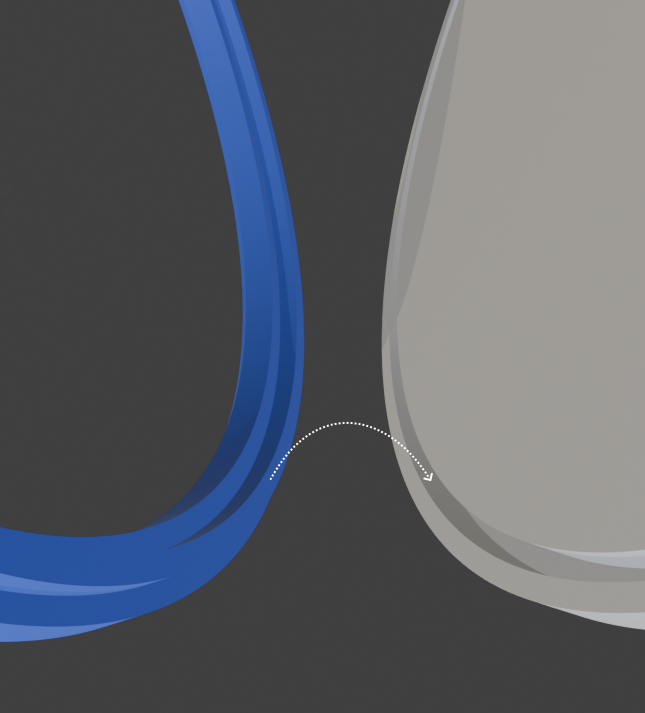
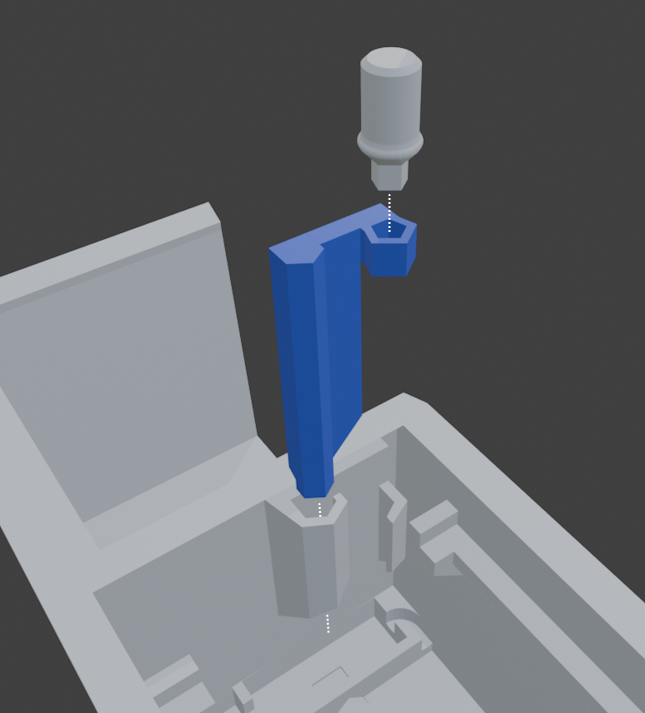
Start with a small part and progressively snap everything together. Sometimes it needs to be vigorously pressed down with a flat object.
8
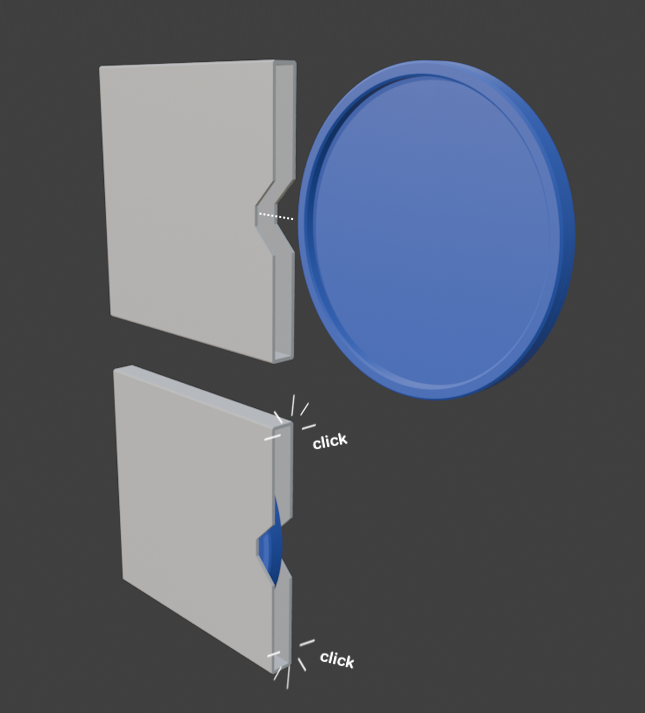
There will be some resistance the first times, until the catch wears down a little. This is to ensure the record doesn’t fall off its cover by itself and should offer a satisfying click once it’s worn down a little. Don’t be afraid to apply more force the first time.
9
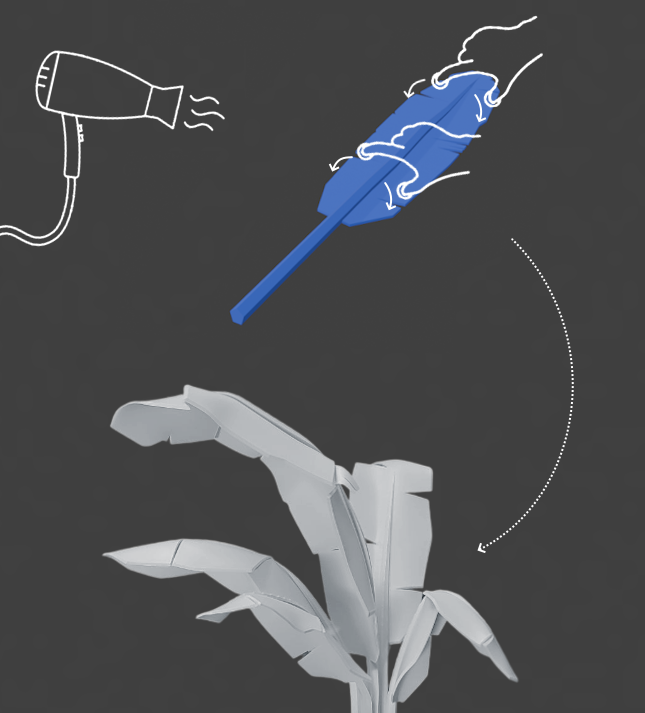
Your printed PLA leaves are designed to come alive with a touch of heat. Gently apply heat with a hair dryer until the material softens (Some makers use a lighter or other sources, but it is recommended a steady, controlled heat). Once flexible, mold the leaf by hand into organic, leaf-like curves. Allow the piece to cool naturally. It will hold its new form. Every gesture is unique. Shape until the leaf, and the mood, feels right.
Happy printing :)
@LocalOutlier