Estás en 3DFinder
Buscamos en Thingiverse, MakerWorld y Printables al mismo tiempo para darte lo mejor de cada una.
Descripción
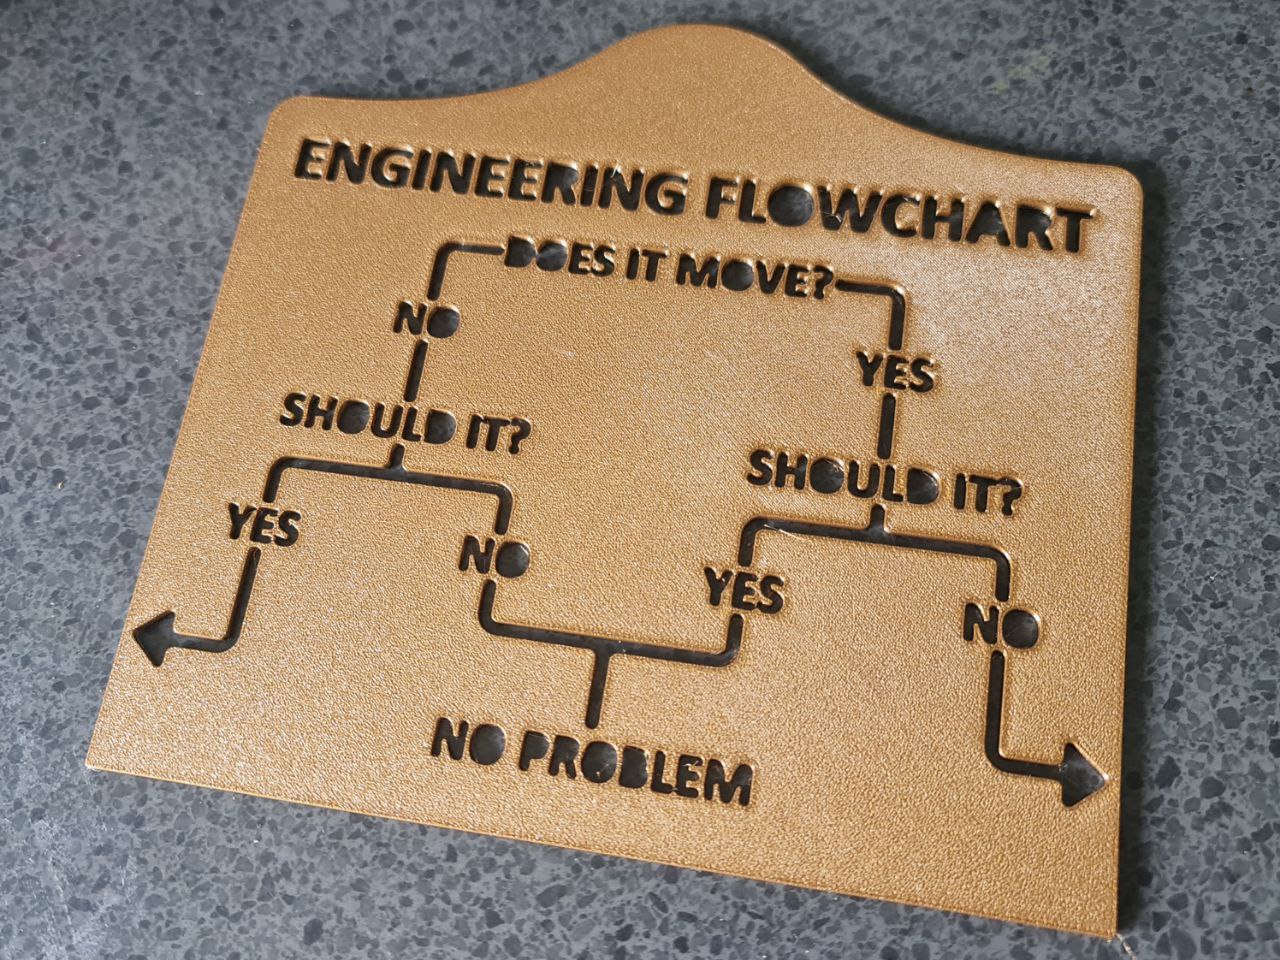
Classic Engineering Flowchart
YOU MUST USE PLA AND PETG FOR THIS PRINT
Please read carefully, including the end of page notes :)
Based on an age-old adage, I thought I'd give this classic bit of workshop humour a quality vintage look, making it more suitable as a gift.
(Or as a treat for yourself)
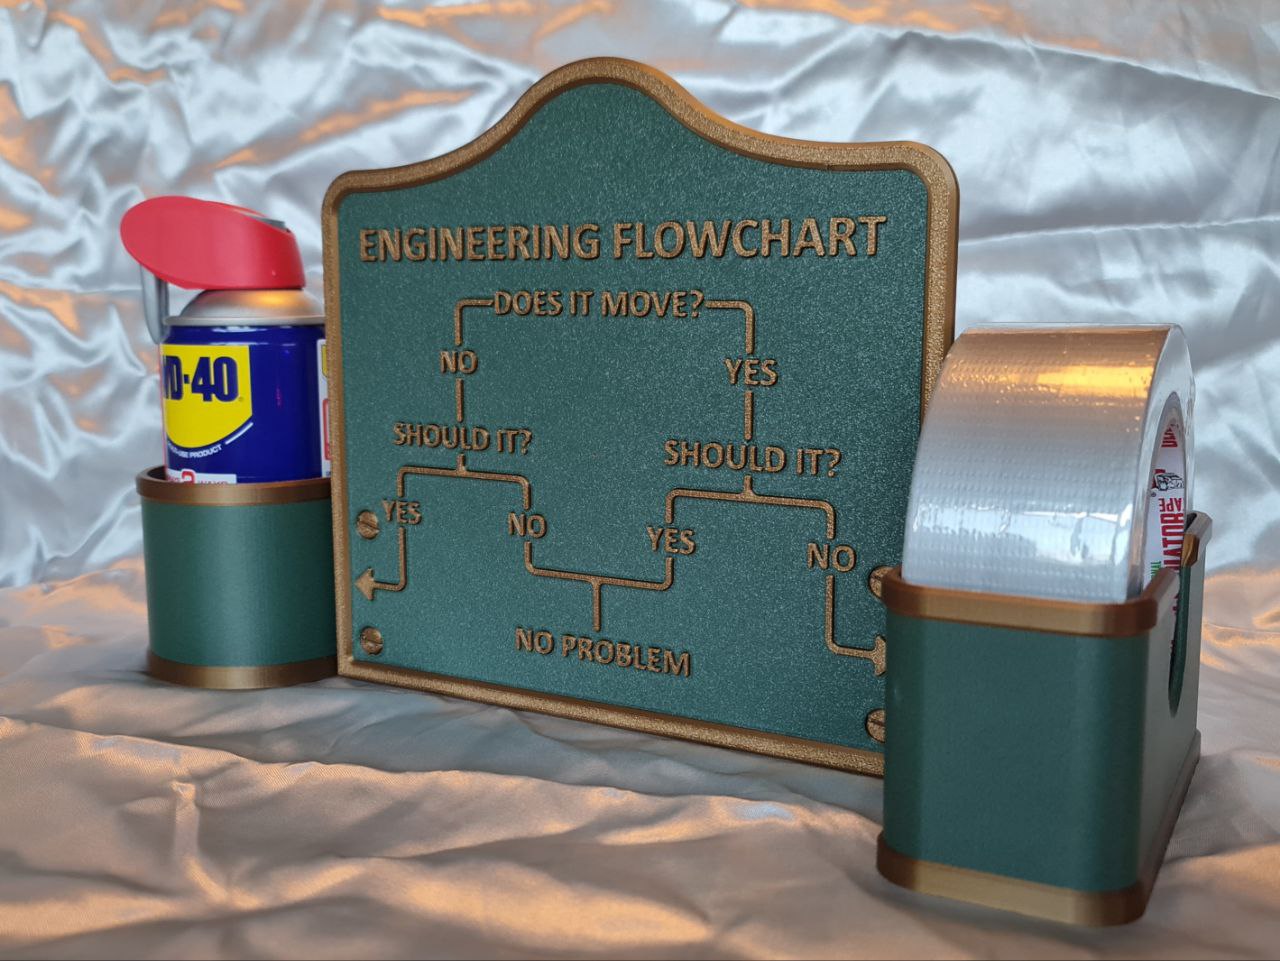
A tribute to the "keep it simple" philosophy and sure to get a few chuckles
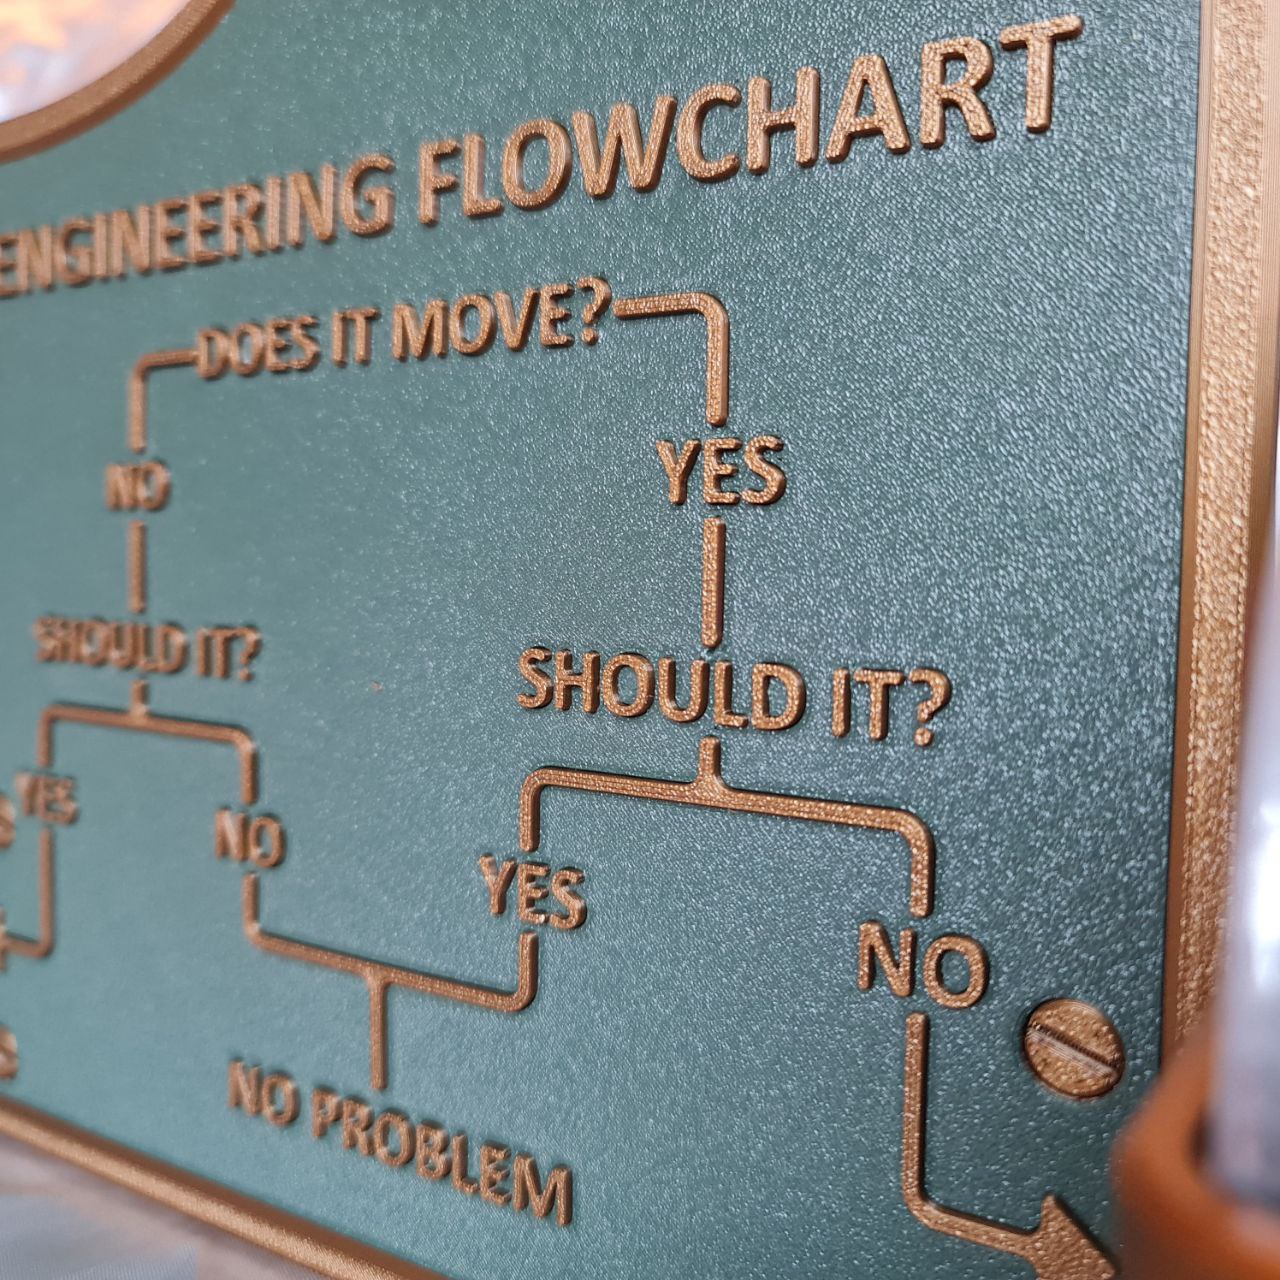
Prints in multiple parts for a clean, professional finish.
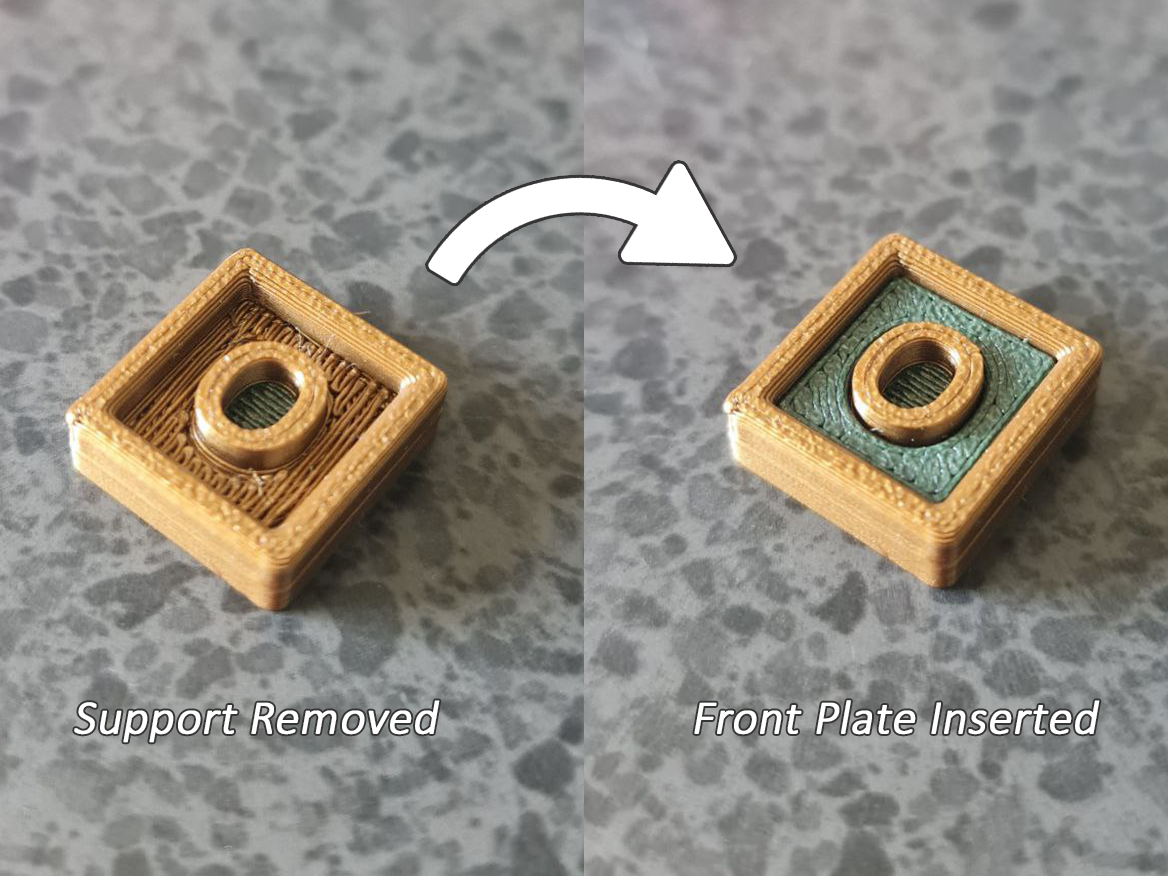
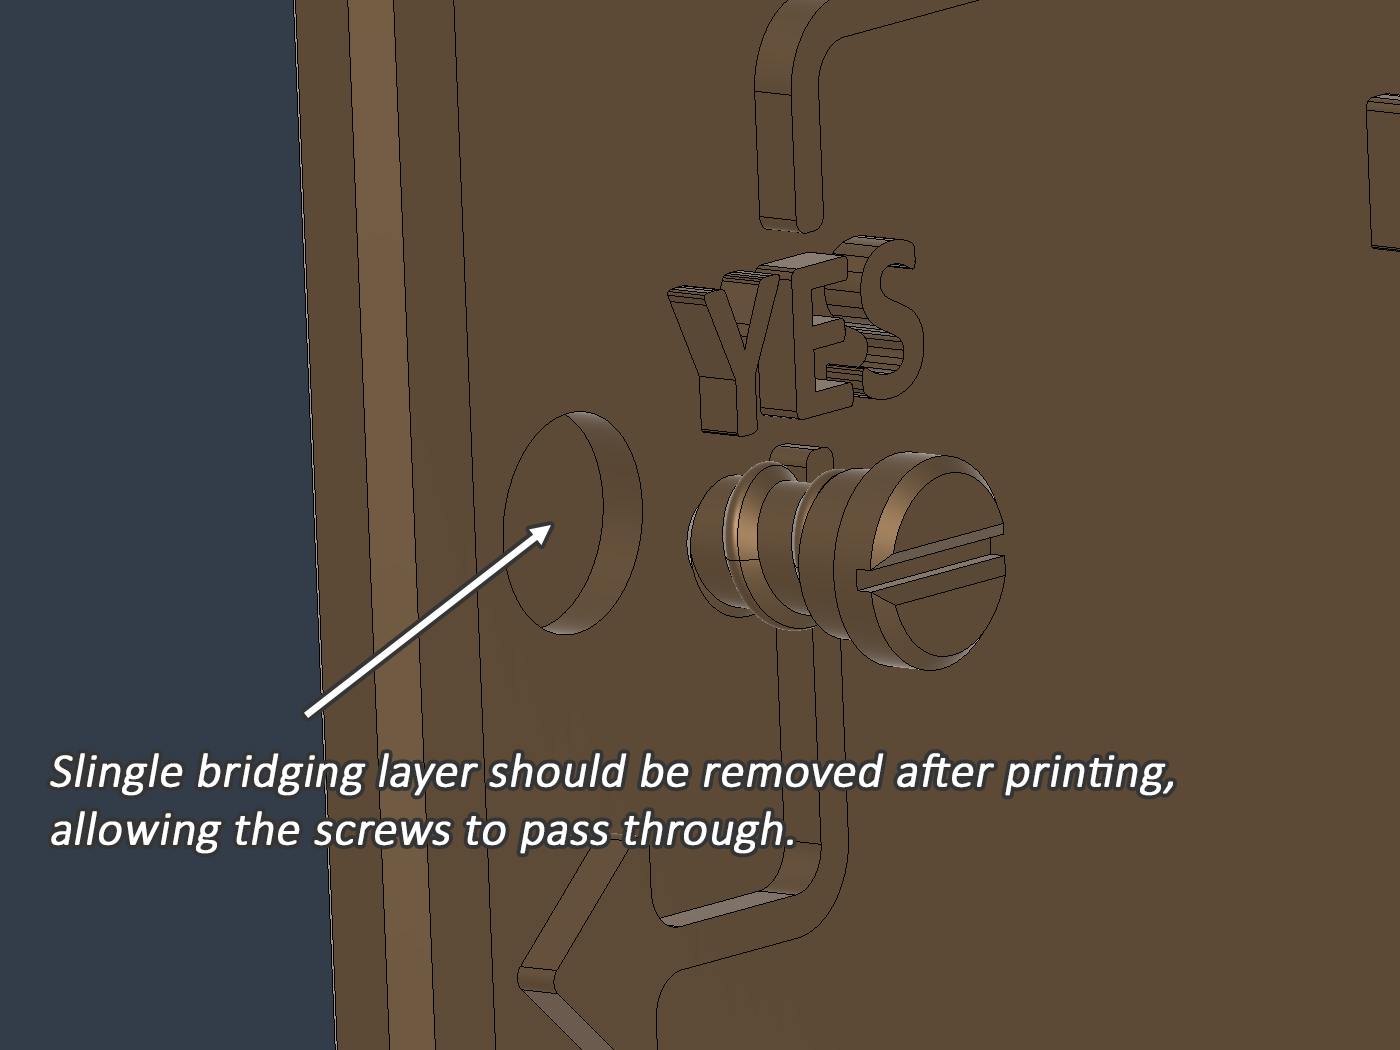
Designed for easy assembly (No glue required)
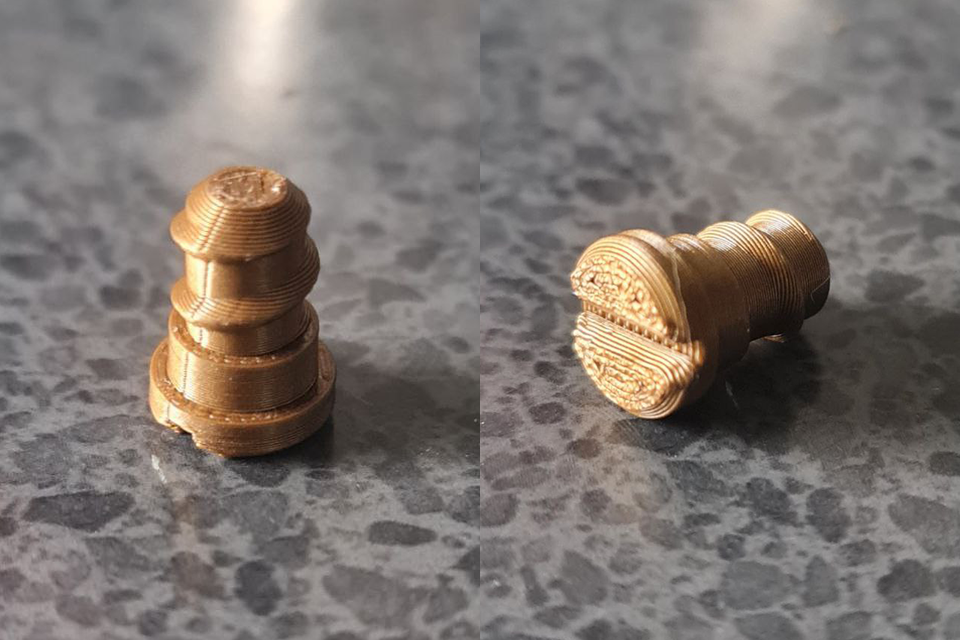
Holder Dimensions
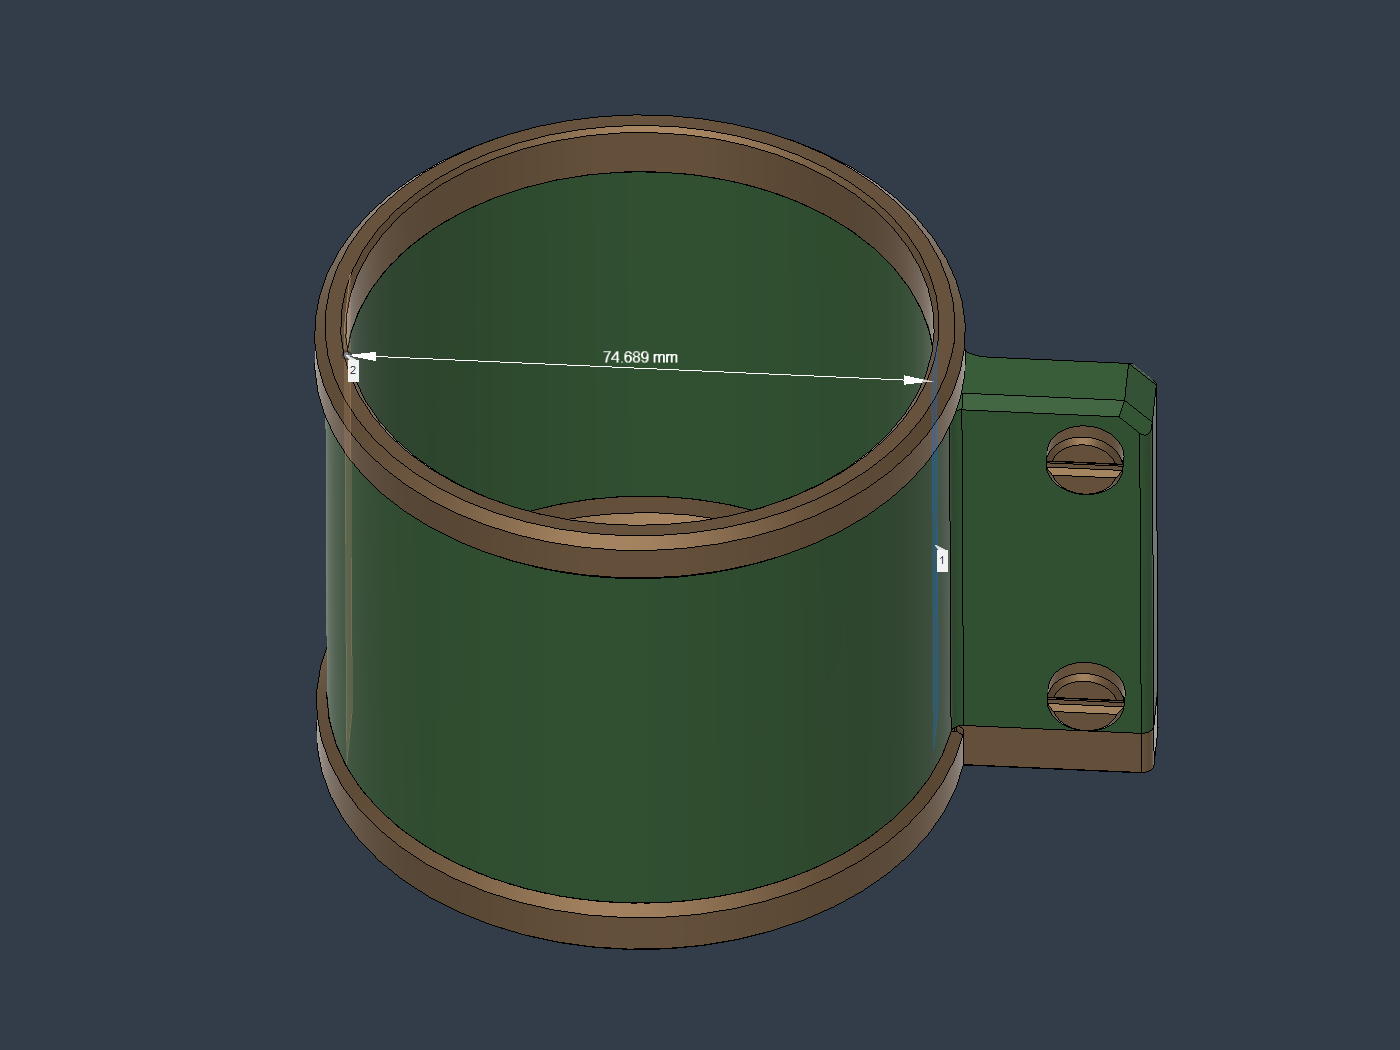
Can Holder: ~74.7mm
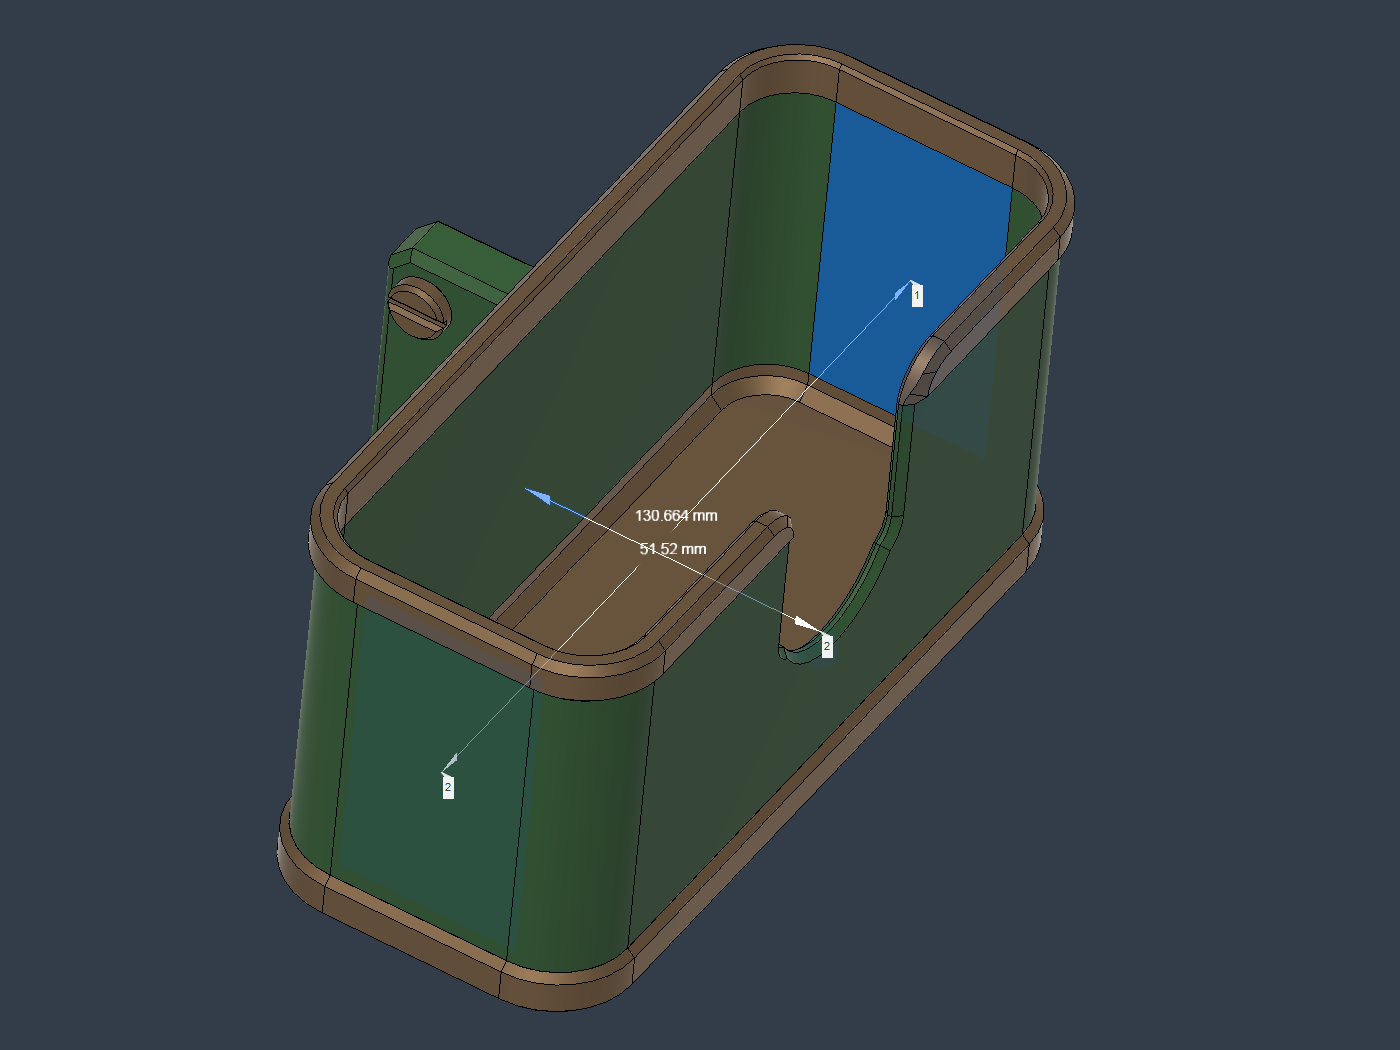
Tape Holder: ~130.7mm x 51.5mm
Build Plate Layouts
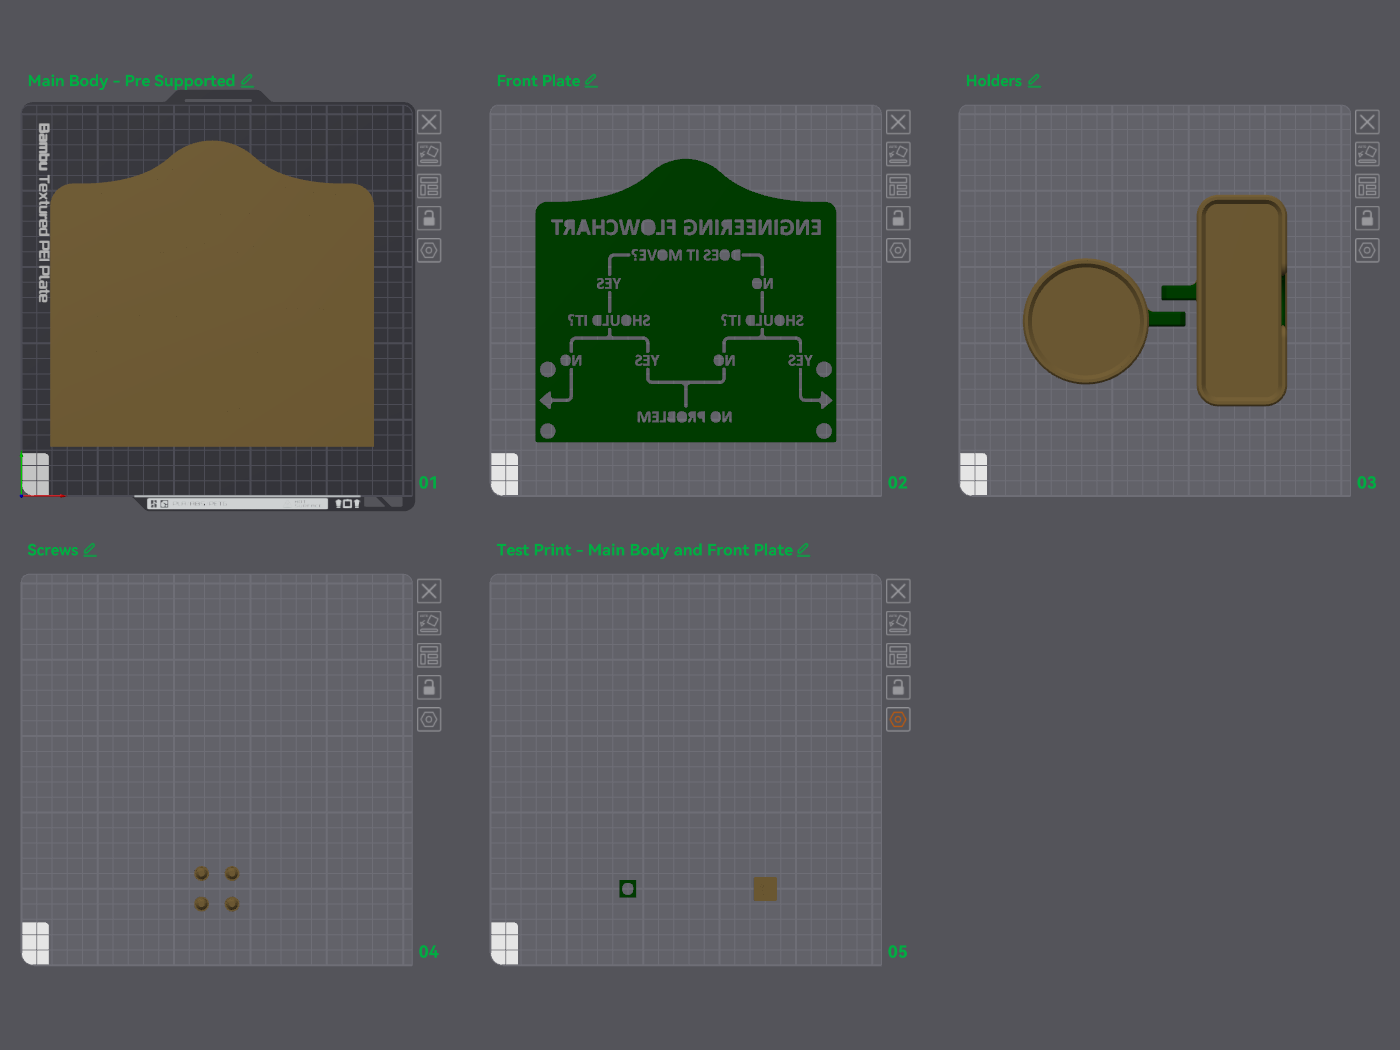
Test Print Included
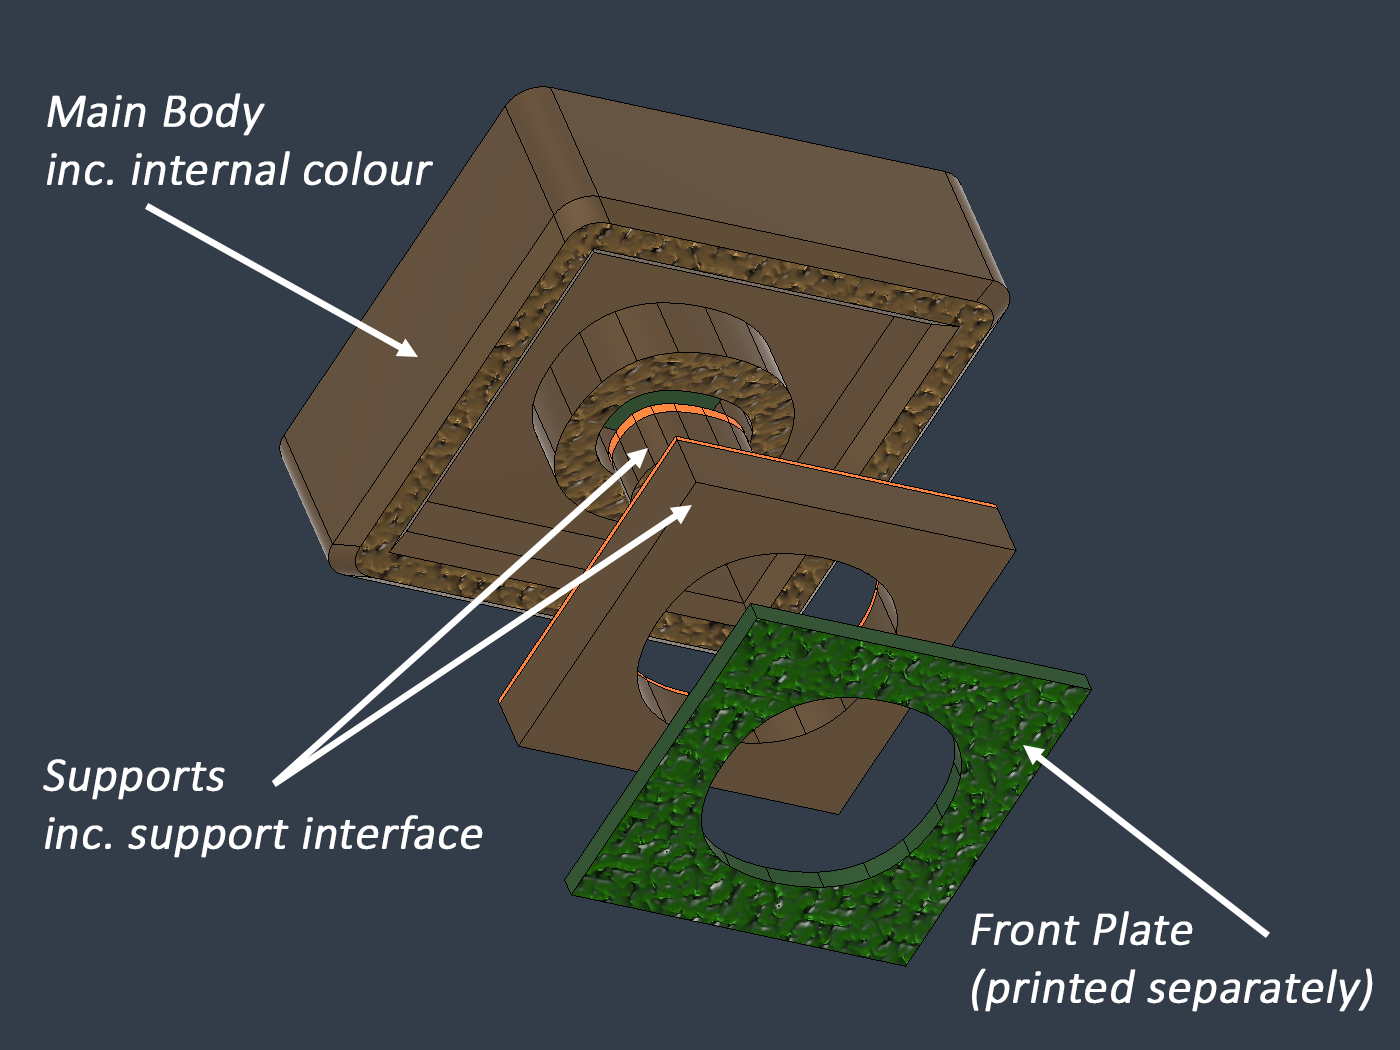
As you can see in the image above, the centre of this letter O is already coloured green.
It will be printed like this without the need for another tiny Front Plate piece to insert.
---
Main Support Plate
This support plate is to be removed after printing the main body.
Use this support plate as a tool to help fully insert the Front Plate.
Place the main body (gold) on a flat surface, align the front plate (green) and begin to insert it evenly.
(just a little bit at a time, in a few places all over)
Then place the support plate (also gold) on top. Align it and press firmly above each letter until the front plate (green) is evenly seated.
At this point, I stood on mine to speed things up and it was fine :)
Some of the smaller areas my need a little extra persuasion to fall in line.
Just take your time, and know that you can be surprisingly forceful without causing any damage.
A small blunt tool, like tweezers or a “needle file” can help with fully seating some of the finer details in the corners.
It's an intentionally tight fit.
*Side note: Before I figured out the print-in-place colour backgrounds (green) for inside the letters (like O and P), there were 20 more (very tiny and very tricky) front plate parts to insert. I figured this was way more effort than people would be happy to deal with.
It took ages to get the print-in-place colour backgrounds printing correctly, but I think it was worth it in the end :)
IMPORTANT - This print uses both PLA and PETG.
Whichever type of material you use for the main body (PLA or PETG), use the other one for the support interface.
This ensures easy separation and a cleaner surface finish, as these two plastics do not stick together very well.
Filament used:
TINMORRY Metallic PETG (Bronze)
ERYONE PETG-CF (Olive Green)
Generic PLA (for support interface, any colour)
.STEP Files included. Feel free to use any parts of this model to help with original designs of your own.
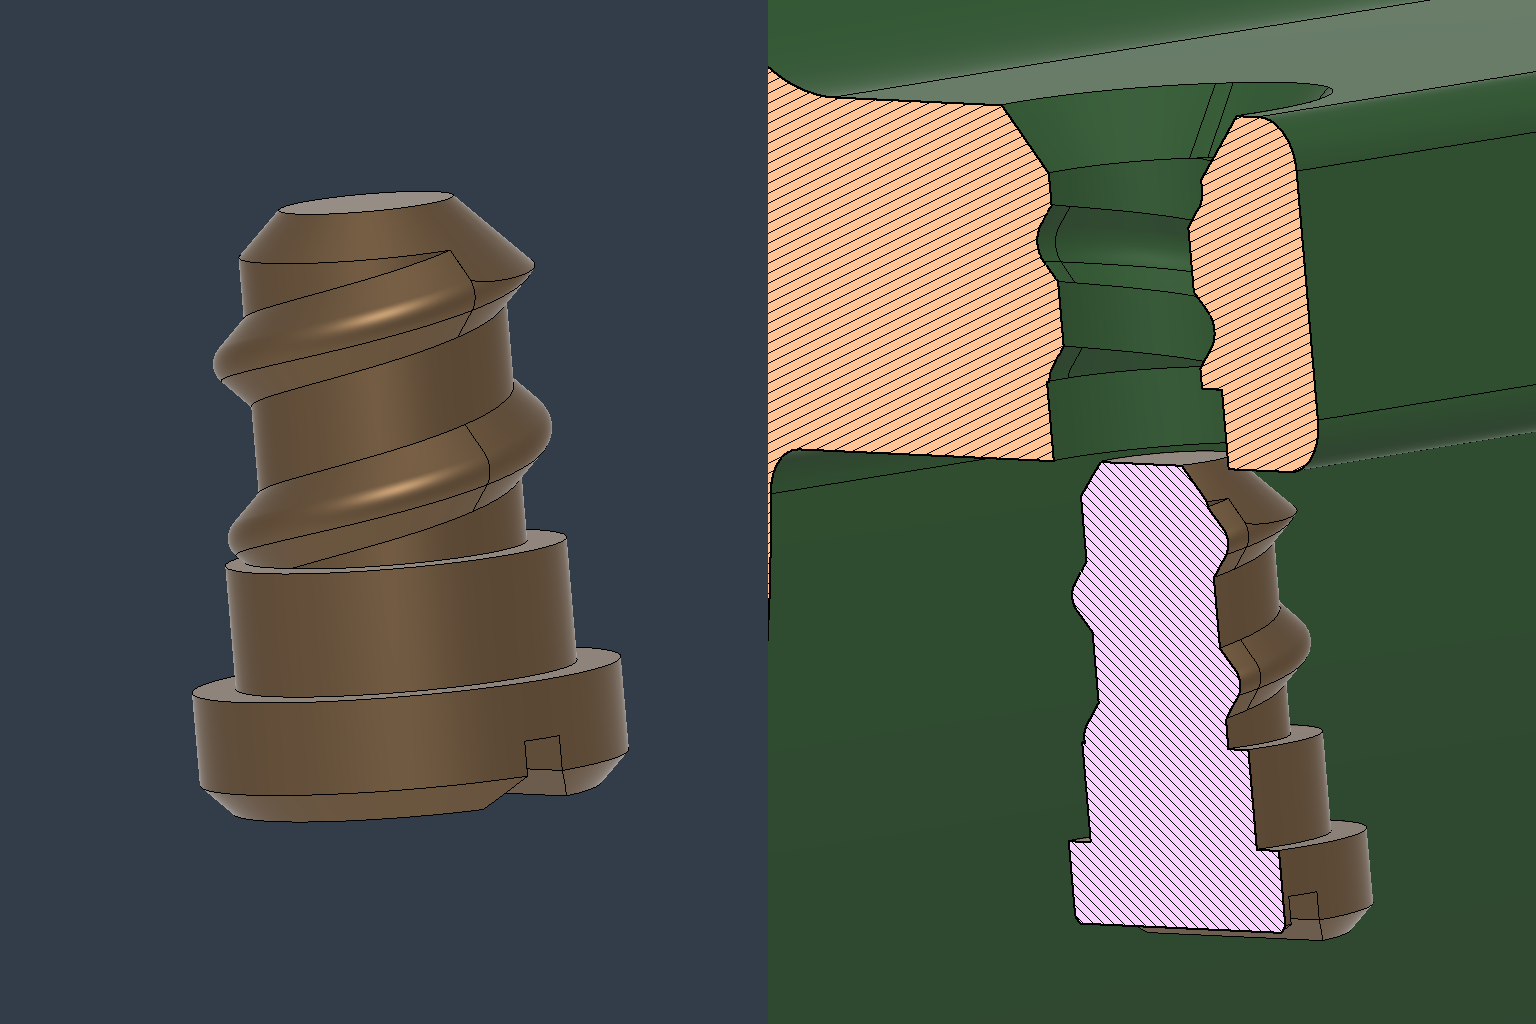
*Notes at end of page :)
---------------
Note 1:
My current print profile is specifically designed to provide a textured surface for the Text, Frame and Front Plate, resulting in a far a more attractive print.
I am currently in the process of creating print profiles that focus on reducing print time and filament usage, while also trying to provide an acceptable level of quality.
Note 2:
Please consider messaging me before uploading a print profile of your own.
Print profiles uploaded by other users are very welcome, and very much appreciated,
But…
I cannot verify print profiles uploaded by others, and I am unable to remove them, even if I know they contain errors, so please proceed with caution.
Example:
The print profile (A1 printing profile) kindly provided by lunarmankind has some issues.
I have contacted them to discuss this, but have received no response.
Therefore I would not recommend printing that profile in its current state.
---------------
If you have any questions, suggestions or requests, please feel free to leave a comment or send me a privet message. I am happy to help if I can.
If you have already made some changes and want to share your print profile, that's great, really. But maybe let me have a quick look first, so I can help to spot any potential issues.
The last thing I want is for anybody to waste hours of their time and a bunch of filament.
If you are confident that you don't need baby sitting and have nailed that print profile, then please also include a full and detailed explanation of the changes made and the overall purpose of your efforts.
This makes things far less confusing for me and anyone trying to figure out which profile is the best one to print, and why it exists in the first place.
Thanks :)
Classic Engineering Flowchart

Publicado el 26 de ago. de 2025
¿Te gusta este modelo? Crea una cuenta gratis para guardar tus favoritos y volver a ellos más tarde.
Crear cuenta