Você está no 3DFinder
Buscamos em Thingiverse, MakerWorld e Printables ao mesmo tempo para te dar o melhor de cada uma.
Descrição
Updated September 17, 2025: tweaked the internal pegs for better durability. Mine broke off when I dropped my node!
I forgot to order my Elecrow ThinkNode M1 with a case, so I had to make my own! The goal was to make a case that's sturdy, feels good to hold, and is easy to assemble.
Bill Of Materials:
- 1 Elecrow ThinkNode M1 kit
- 4x M3 threaded inserts. Mine were M3x6x5. Feel free to go shorter (M3x4x5), but I would not go any longer.
- 4x M3x6 bolts. You can probably get away with M3x10, but that's probably the max.
Assembly:
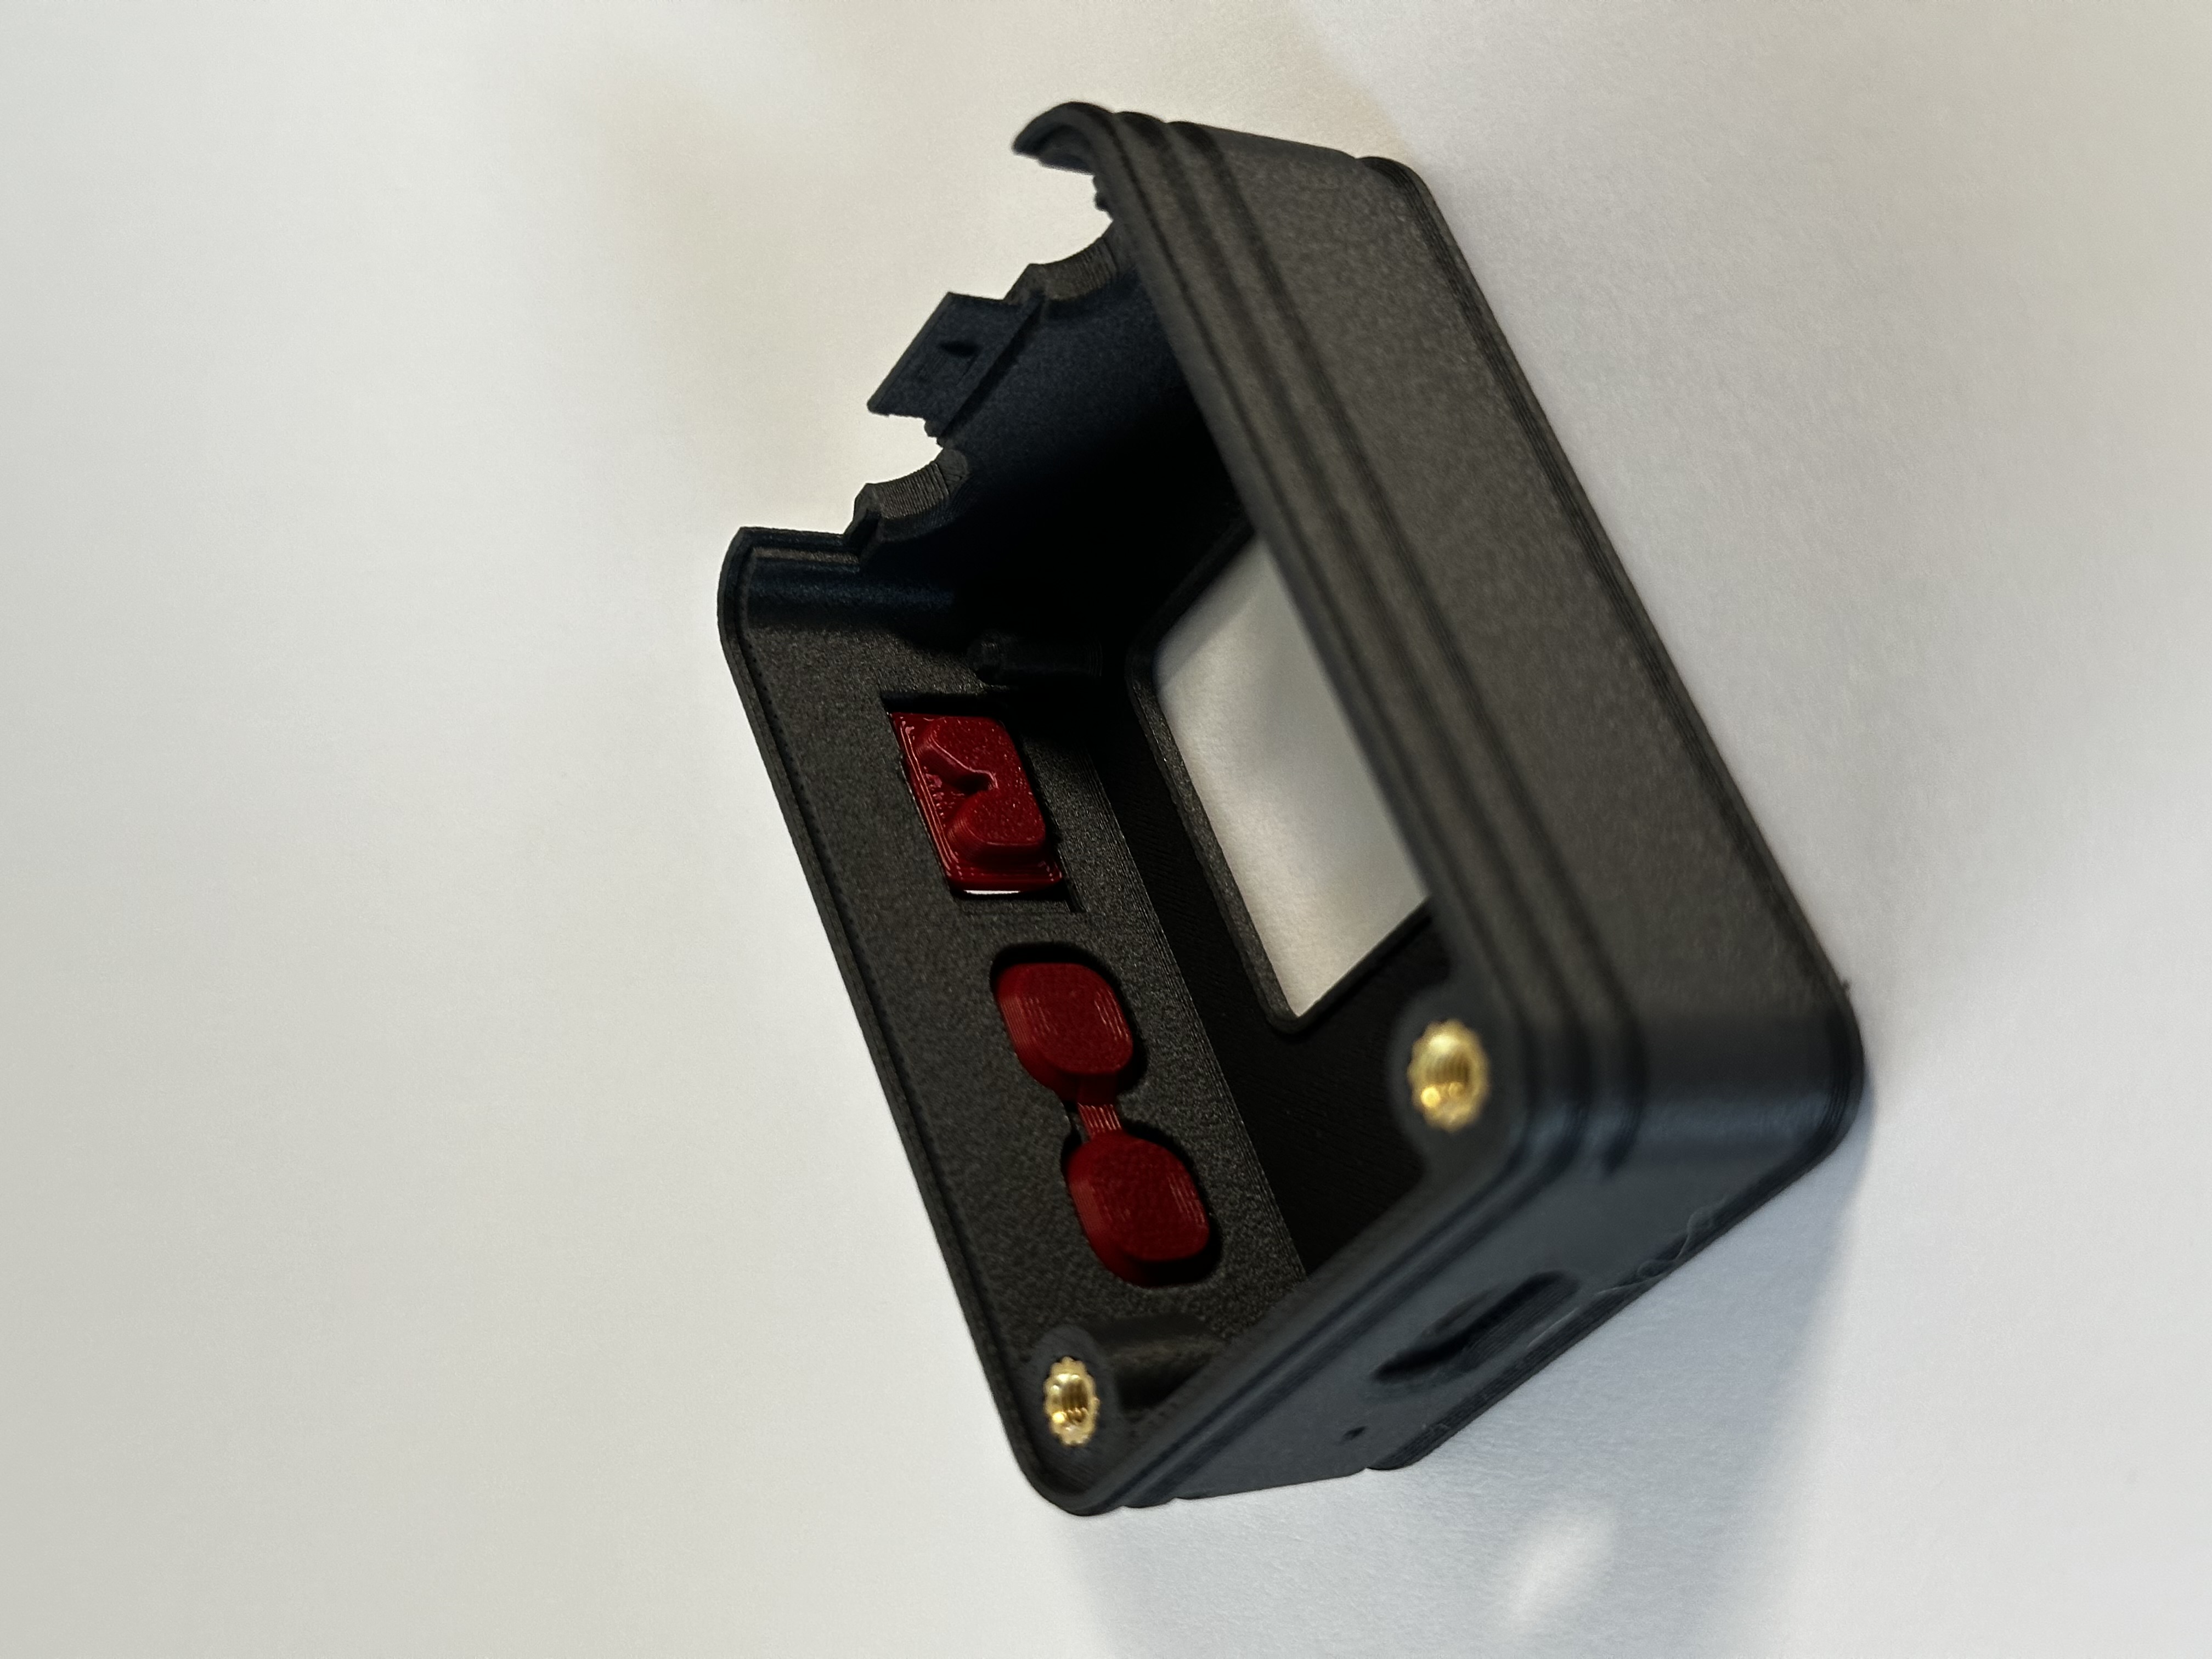
- Install 2 threaded inserts in the top case.
- Punch through the skin of the bolt holes. Use a drill, knife, or even the bolt itself.
- Place the buttons into their holes – the button that sticks out goes towards the USB-C cutout.
Place the switch into its cutout. The U-shape goes inside the case and should face away from the screen cutout.
- With the dial and antenna removed (turn off the device first), lay the two posts down on their cutouts. The screen should line up nicely with the cutout.
You may need to give it a little wiggle to have the PCB mounting holes snap onto the posts in the case. If the battery is in the way, just peel it off (careful not to tug the wires) and move it slightly so that it doesn't interfere with the threaded inserts.
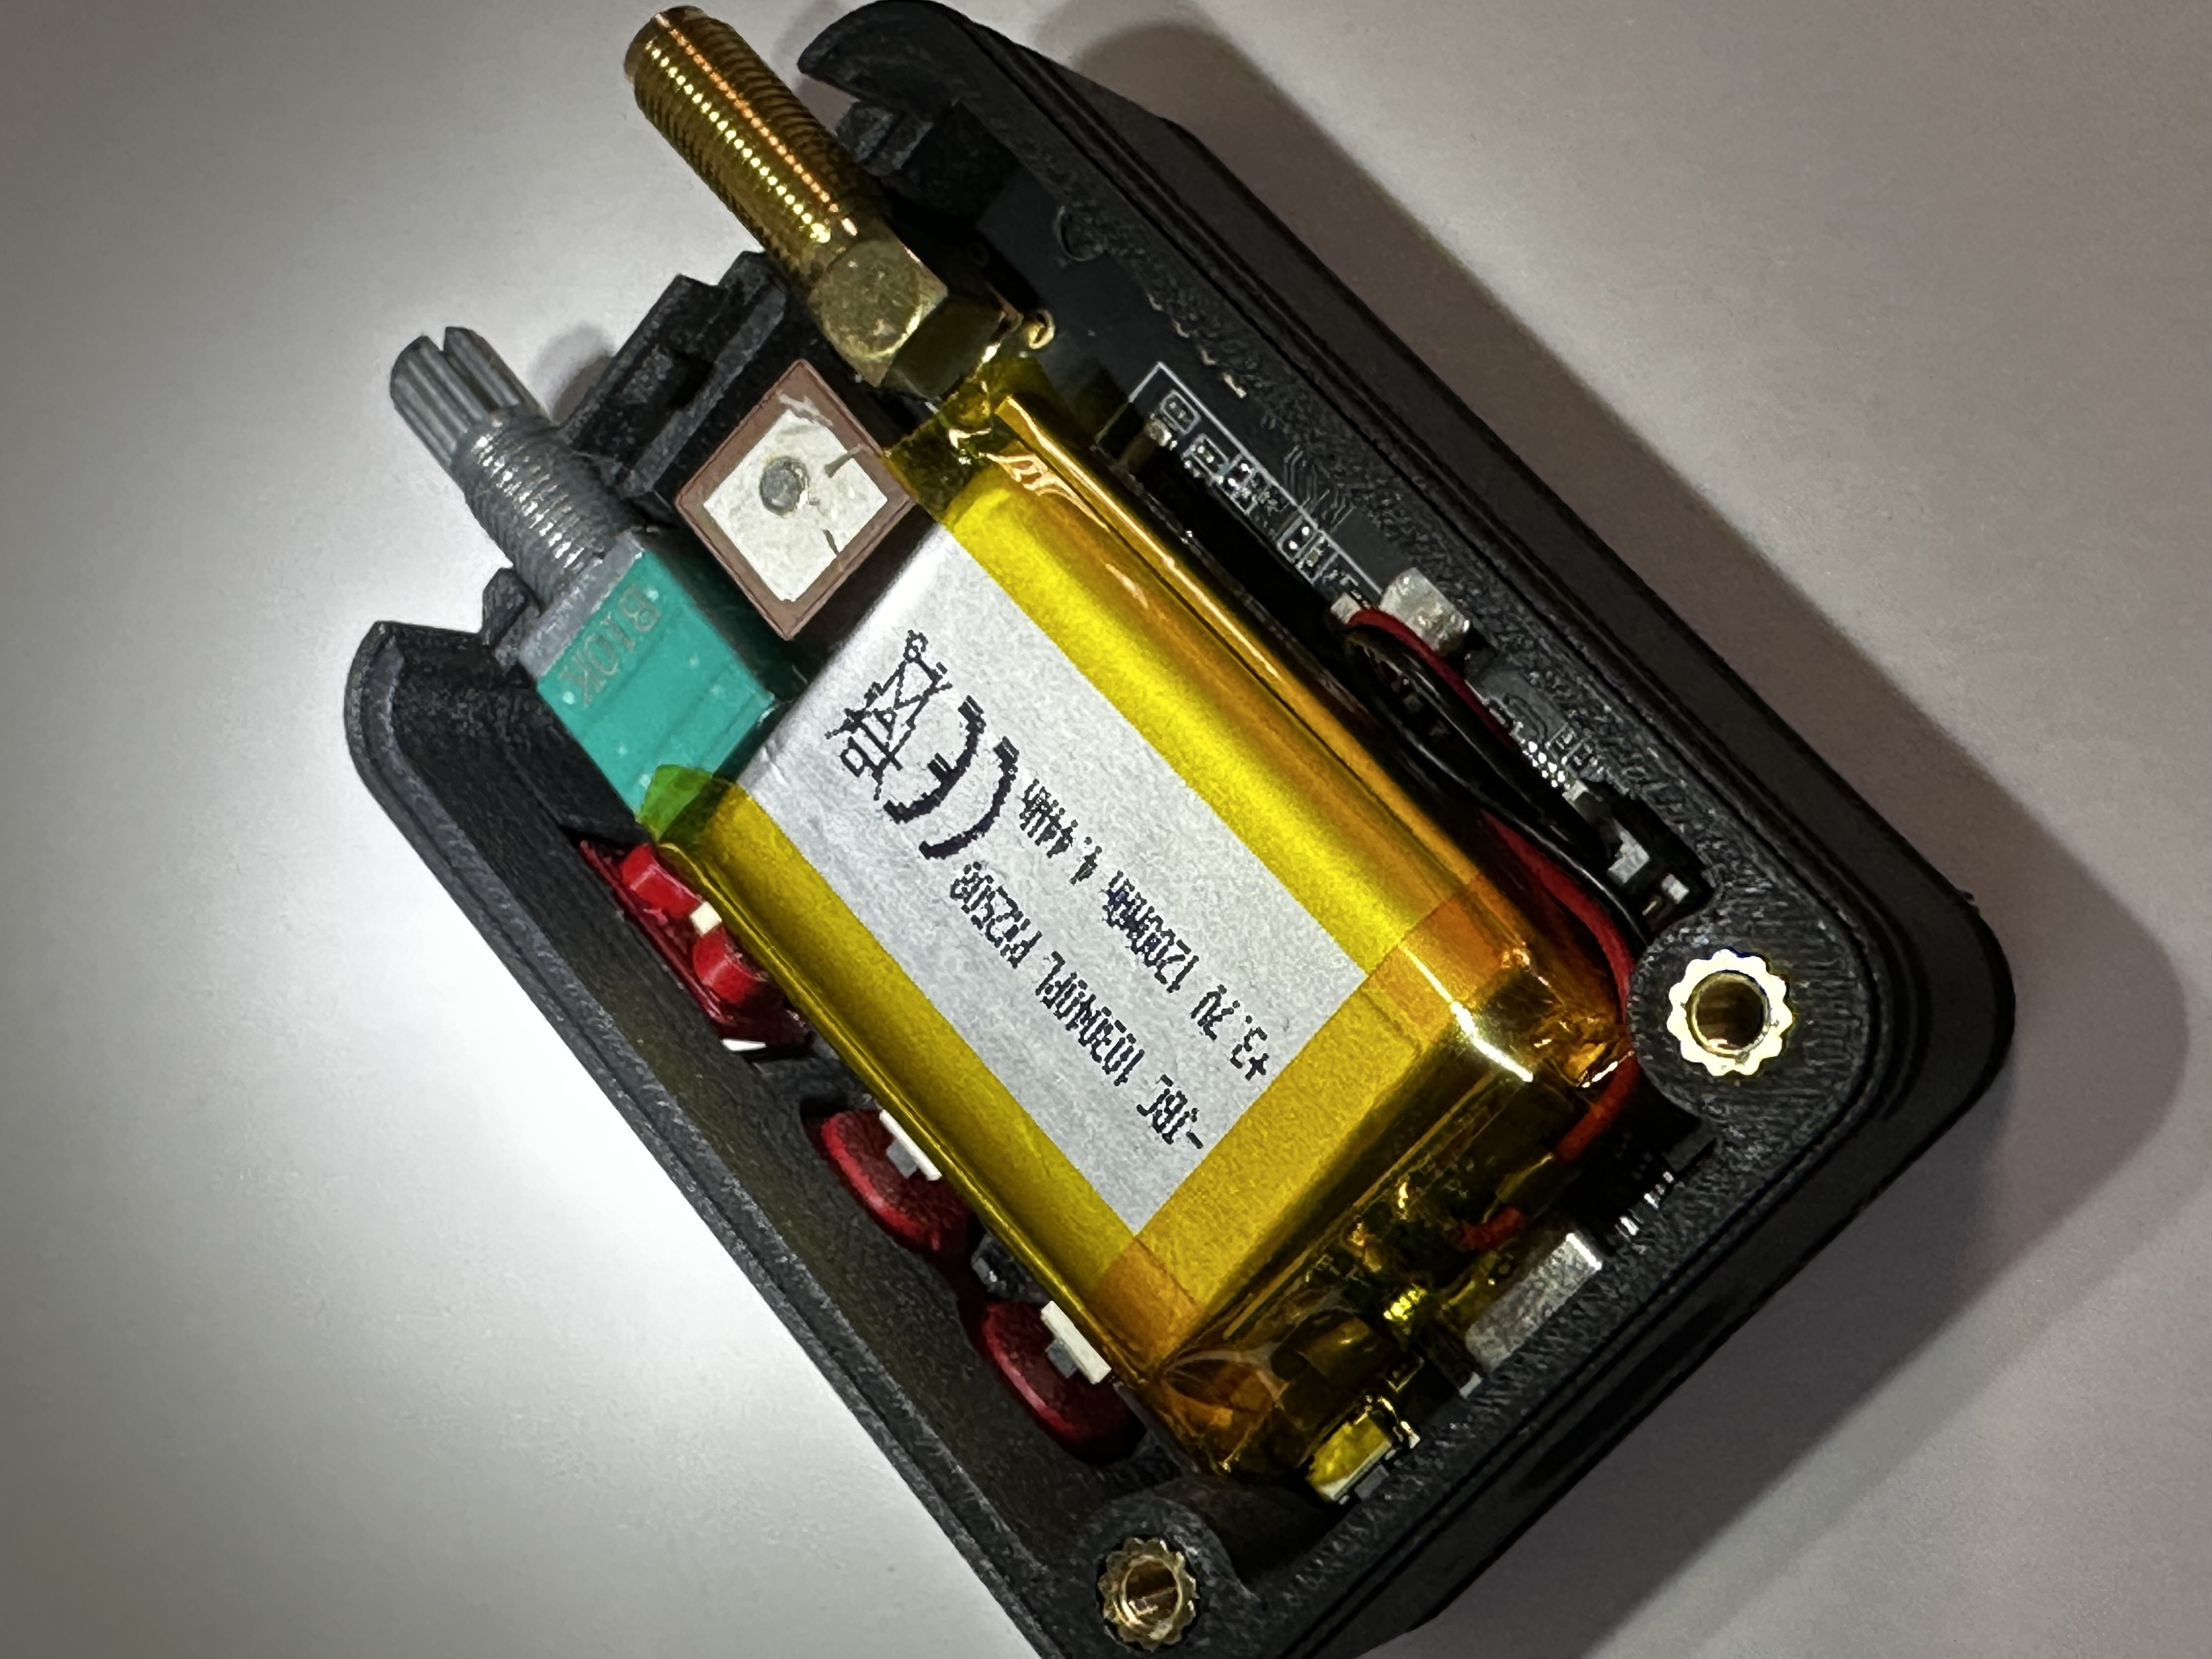
- Snap the top case into place. There is a mechanism between the antenna and dial stems that may require a little force.
- Screw in your two M3 bolts, then attach the dial and antenna!
Meshtastic Elecrow ThinkNode M1 Case

Publicado em 26 de ago de 2025
Gostou deste modelo? Crie uma conta grátis para salvar seus favoritos e voltar a eles depois.
Criar conta