Você está no 3DFinder
Buscamos em Thingiverse, MakerWorld e Printables ao mesmo tempo para te dar o melhor de cada uma.
Descrição
Introduction
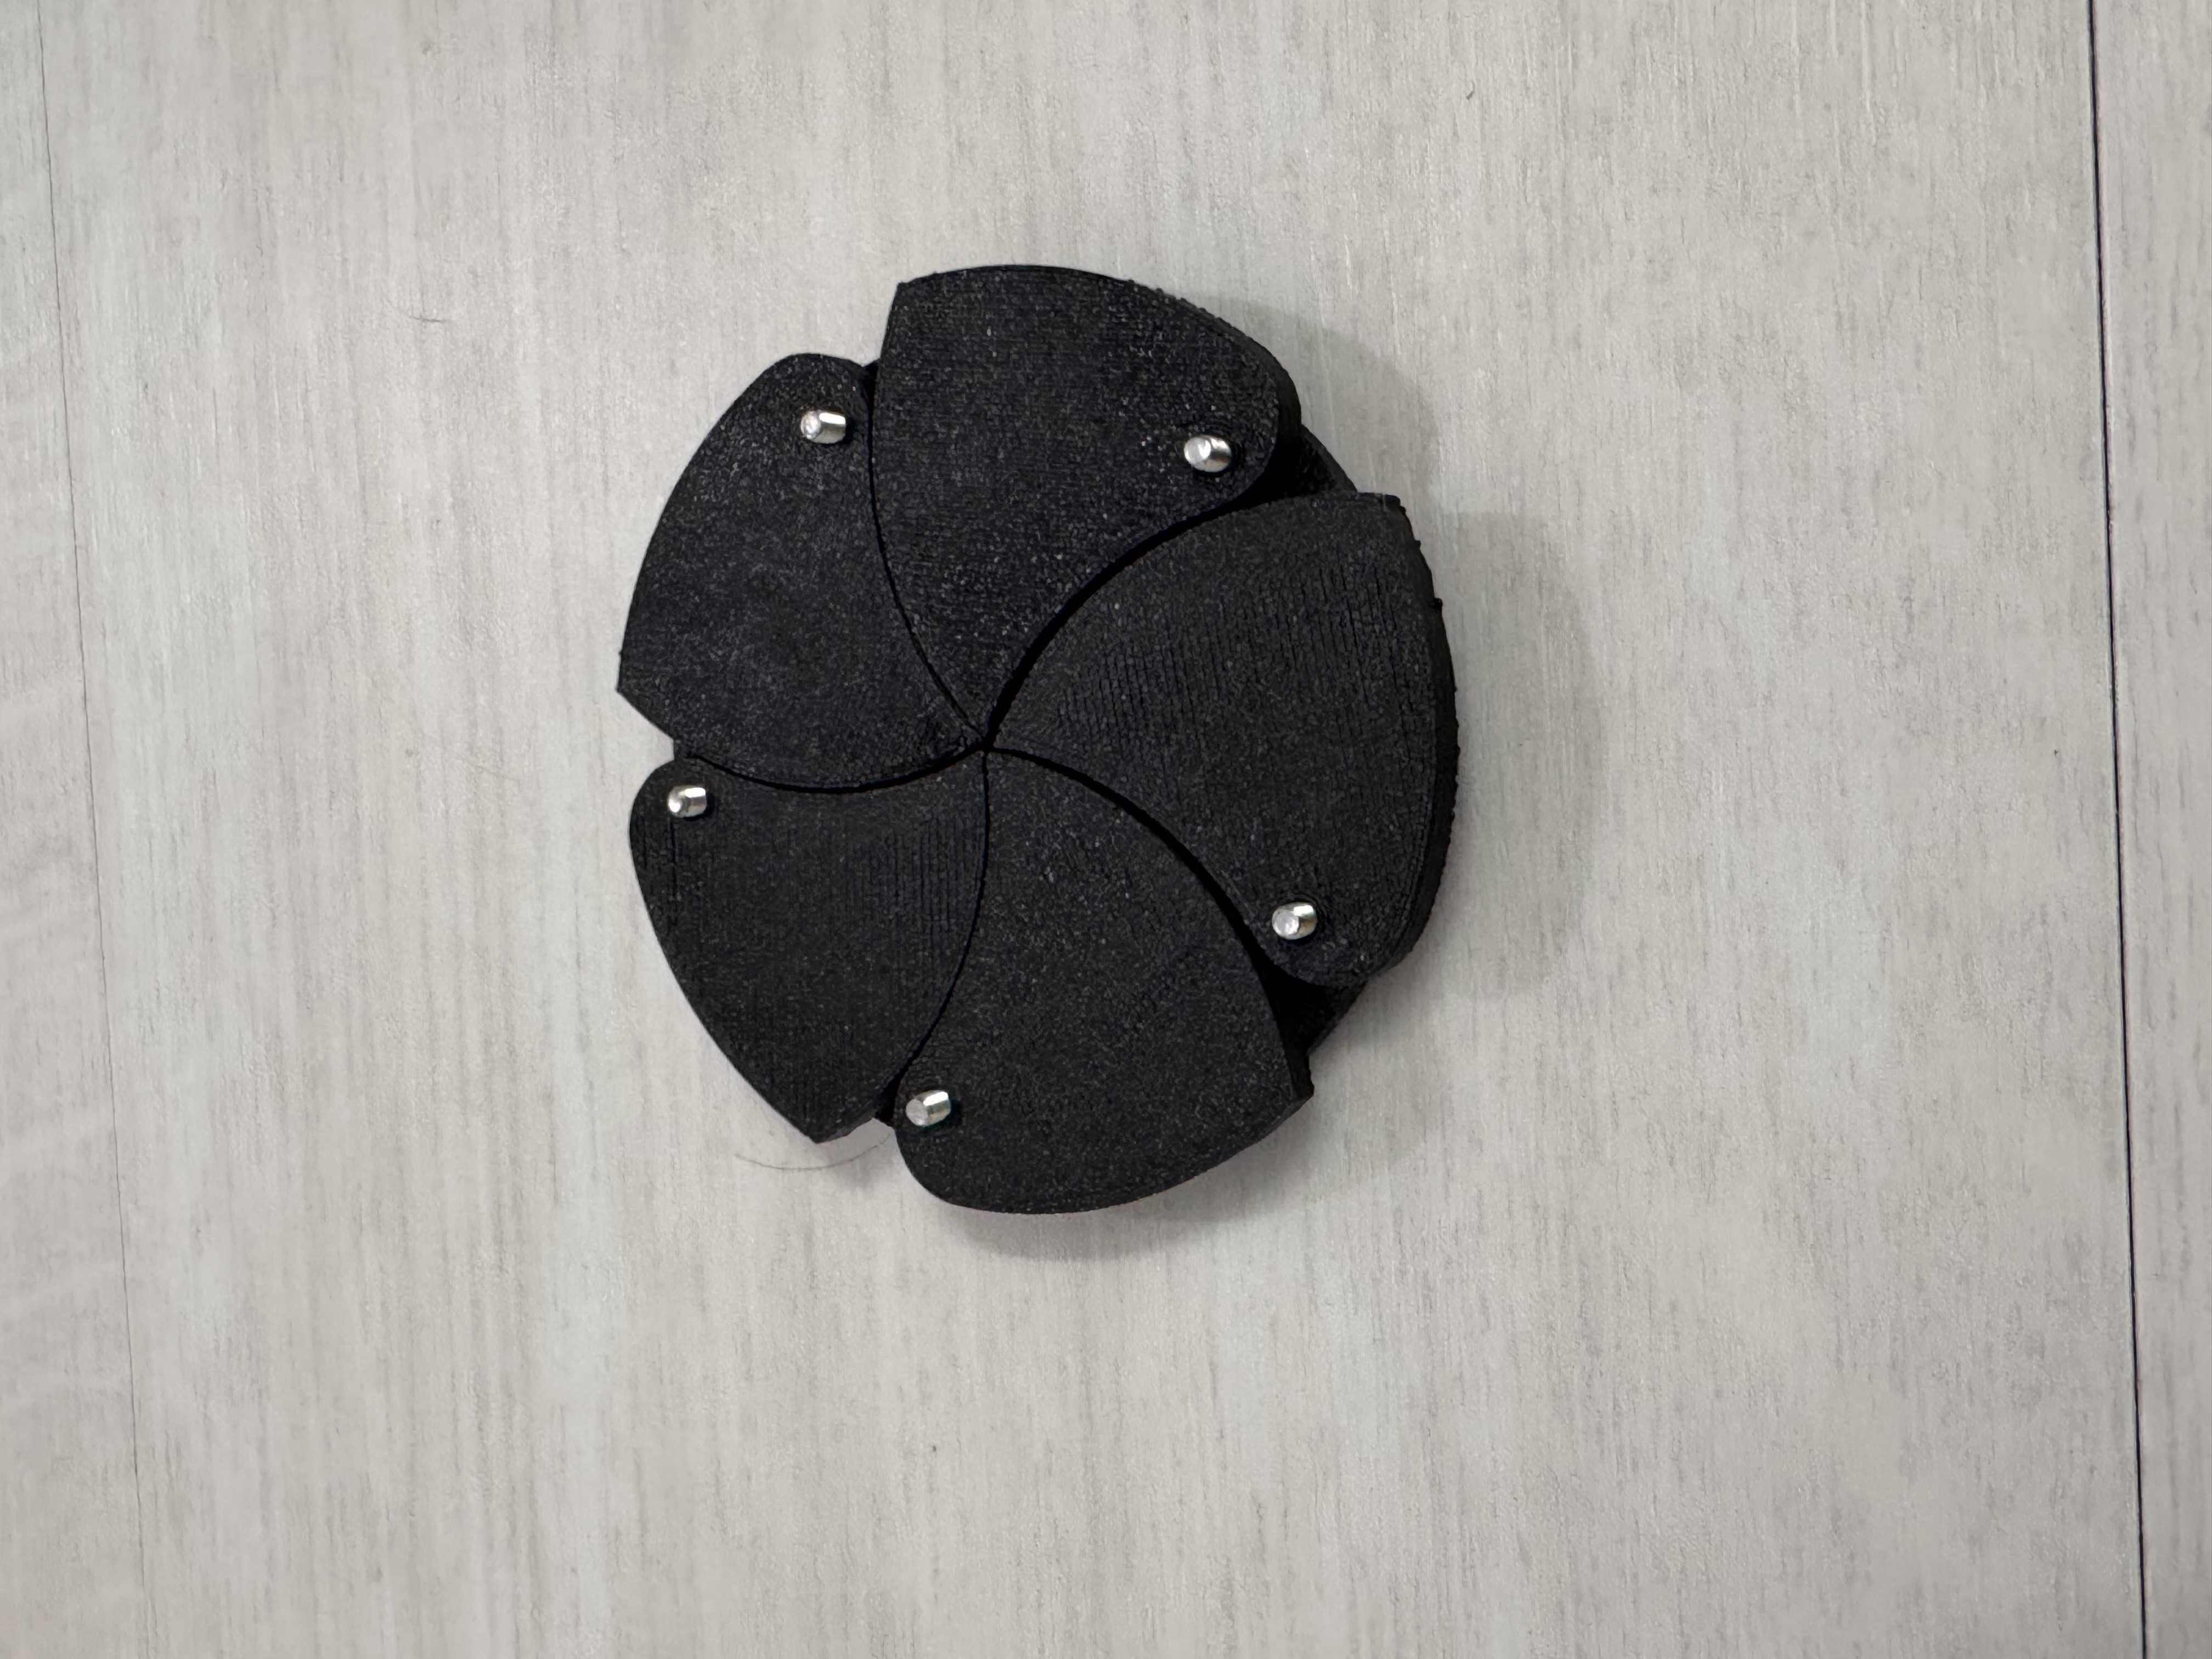
Discover the iris box: a twist-open container built entirely by you. After adjusting the inner diameter and height in the included parametric file, export the parts and upload them to your slicer. Print the components, secure the iris with five M3 screws, and enjoy a smooth, self-locking lid.
What It Does
- The iris box is a clean design that does it all.
- It allows full customization to fit any style or purpose.
- You can change the size and adda design on the top!
- Parametric modeling eliminates manual resizing.
- Perfect for gift-ready storage of rings, bracelets, coins, or desk odds and ends.
- Displays a fun, mechanical print that showcases iris motion.
Key Features
- Parametric Control
- Inner diameter adjustable from 50mm
- Height adjustable from 7mm
- Super Easy to Print
- No supports or advanced slicer settings required
- Optionally enable fuzzy skin on the handle for a textured grip
- Custom Logo Integration
- Easily emboss or engrave your own designs—dragons, roses, initials, and more
- Download the included instructions PDF for logo placement and file preparation
- Multiple Uses
- Jewelry presentation and storage
- Desk organizers for paper clips, SD cards, and cables
- Keepsakes, coins, craft bits—large or small
Printing & Scaling Tips
When adjusting the inner diameter, make changes in 20 mm increments if problems occur. (this is due to the complexity of this model. Larger jumps (for example from 50 mm to 200 mm) can overload the parametric engine, resulting in errors or misaligned parts.
Use basic print settings—0.2 mm layer height, 20% infill, supports disabled—for reliable results. If you want extra flair, enable fuzzy skin on the handle for a subtle, tactile finish.
Ready to make your own? Download the parametric iris box now, adjust the dimensions to your project, follow the logo instructions PDF, hit print, and enjoy a slick twist-lid container that’s truly yours.
check out some of my other models! (you can click the image to go to the model)
Assembly
Assembly is straightforward with super easy steps
Step 1
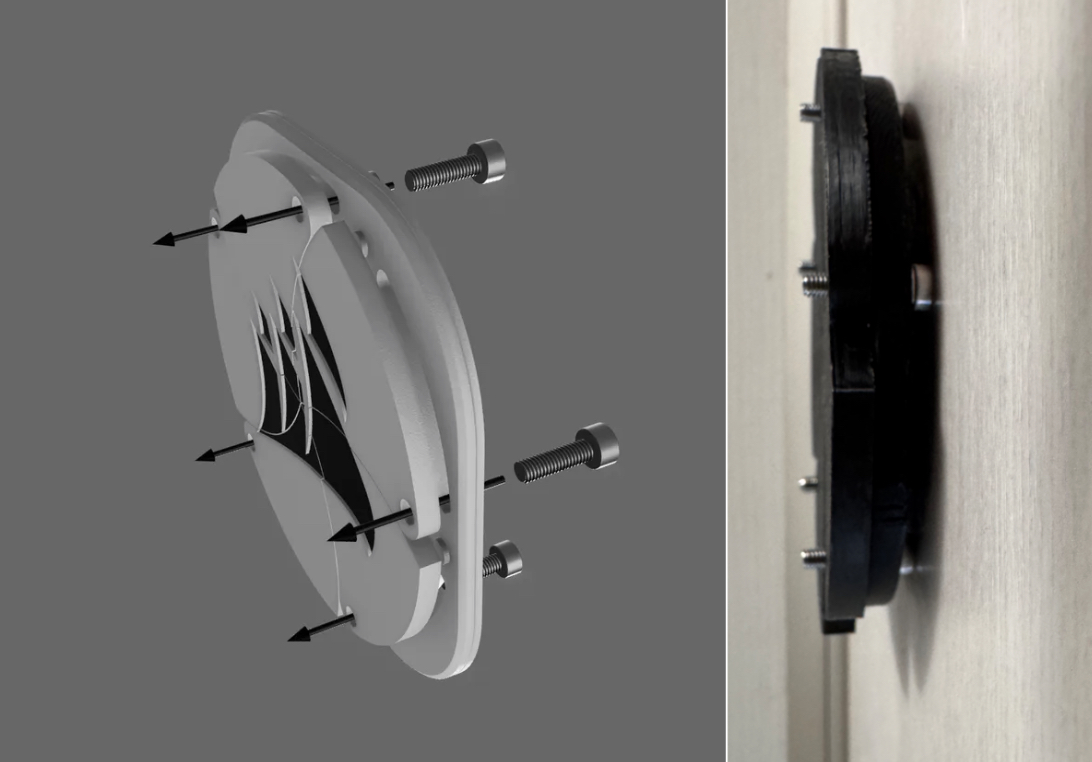
Start off by aligning your leaves and inserting screws through the slider
They should all be aligned in the shut position
Step 2
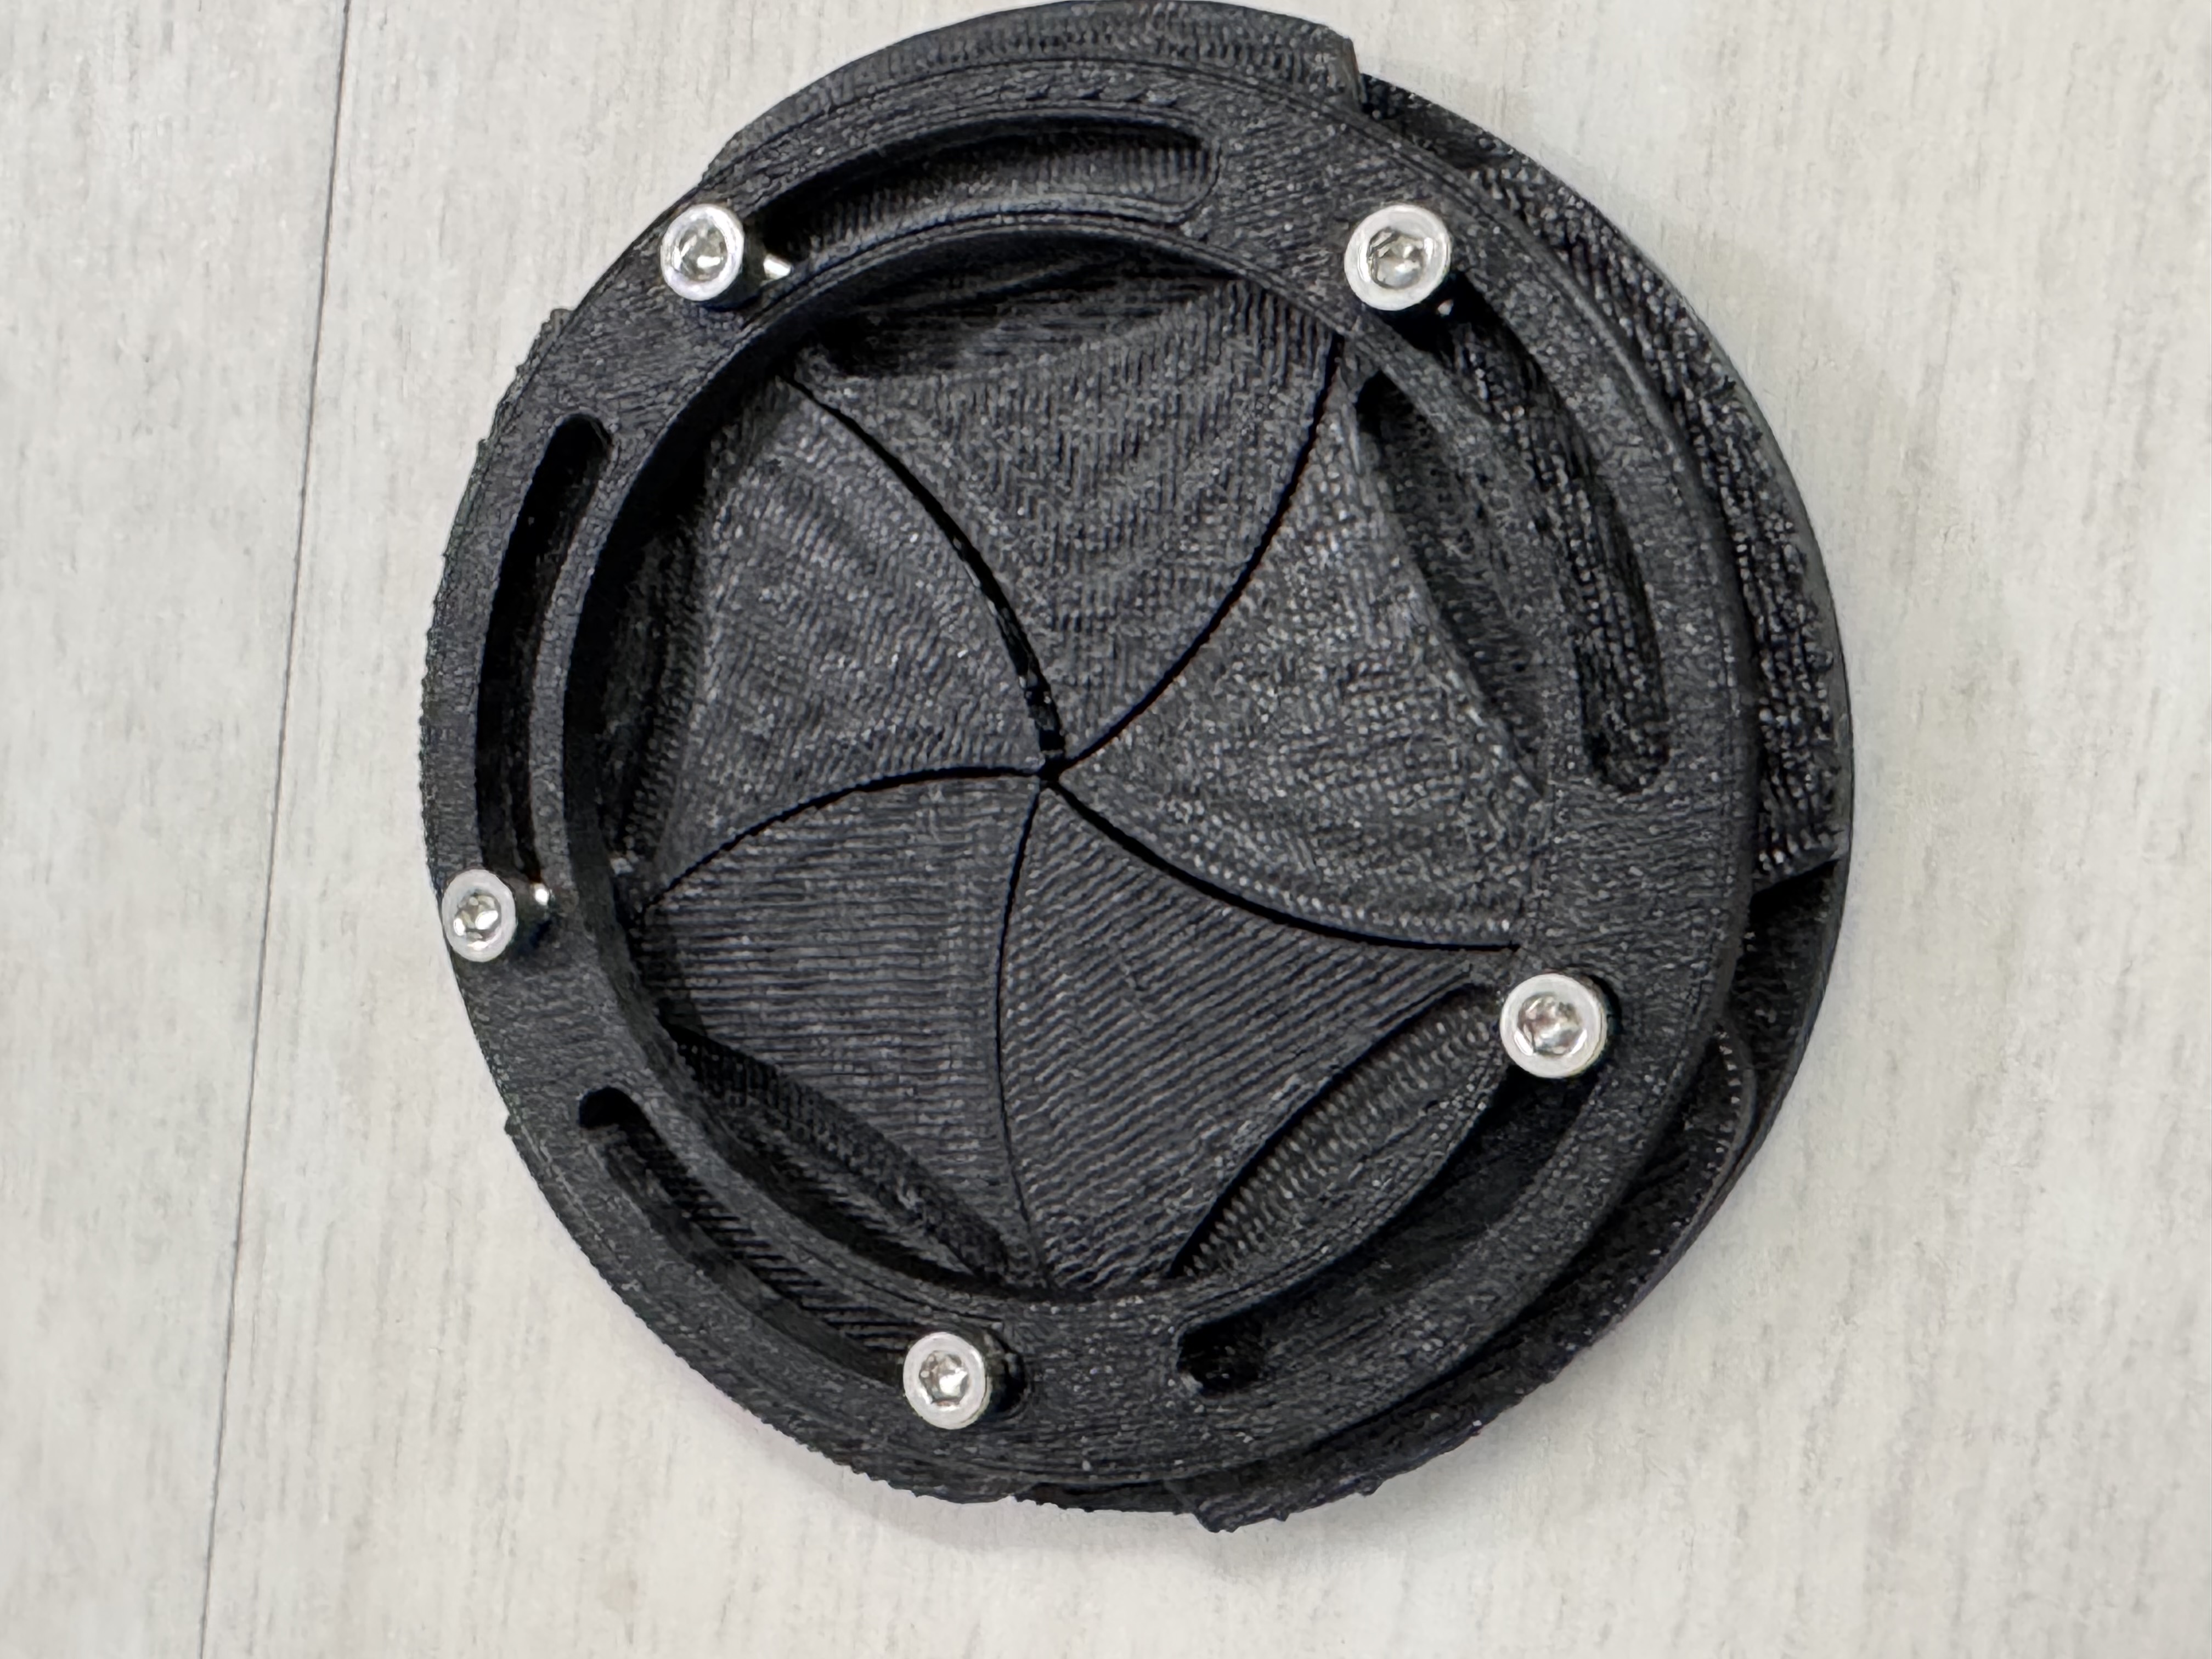
Align the handle with the 5 screws holes.
Then screw the 5 screws in.
Now the iris mechanism should work
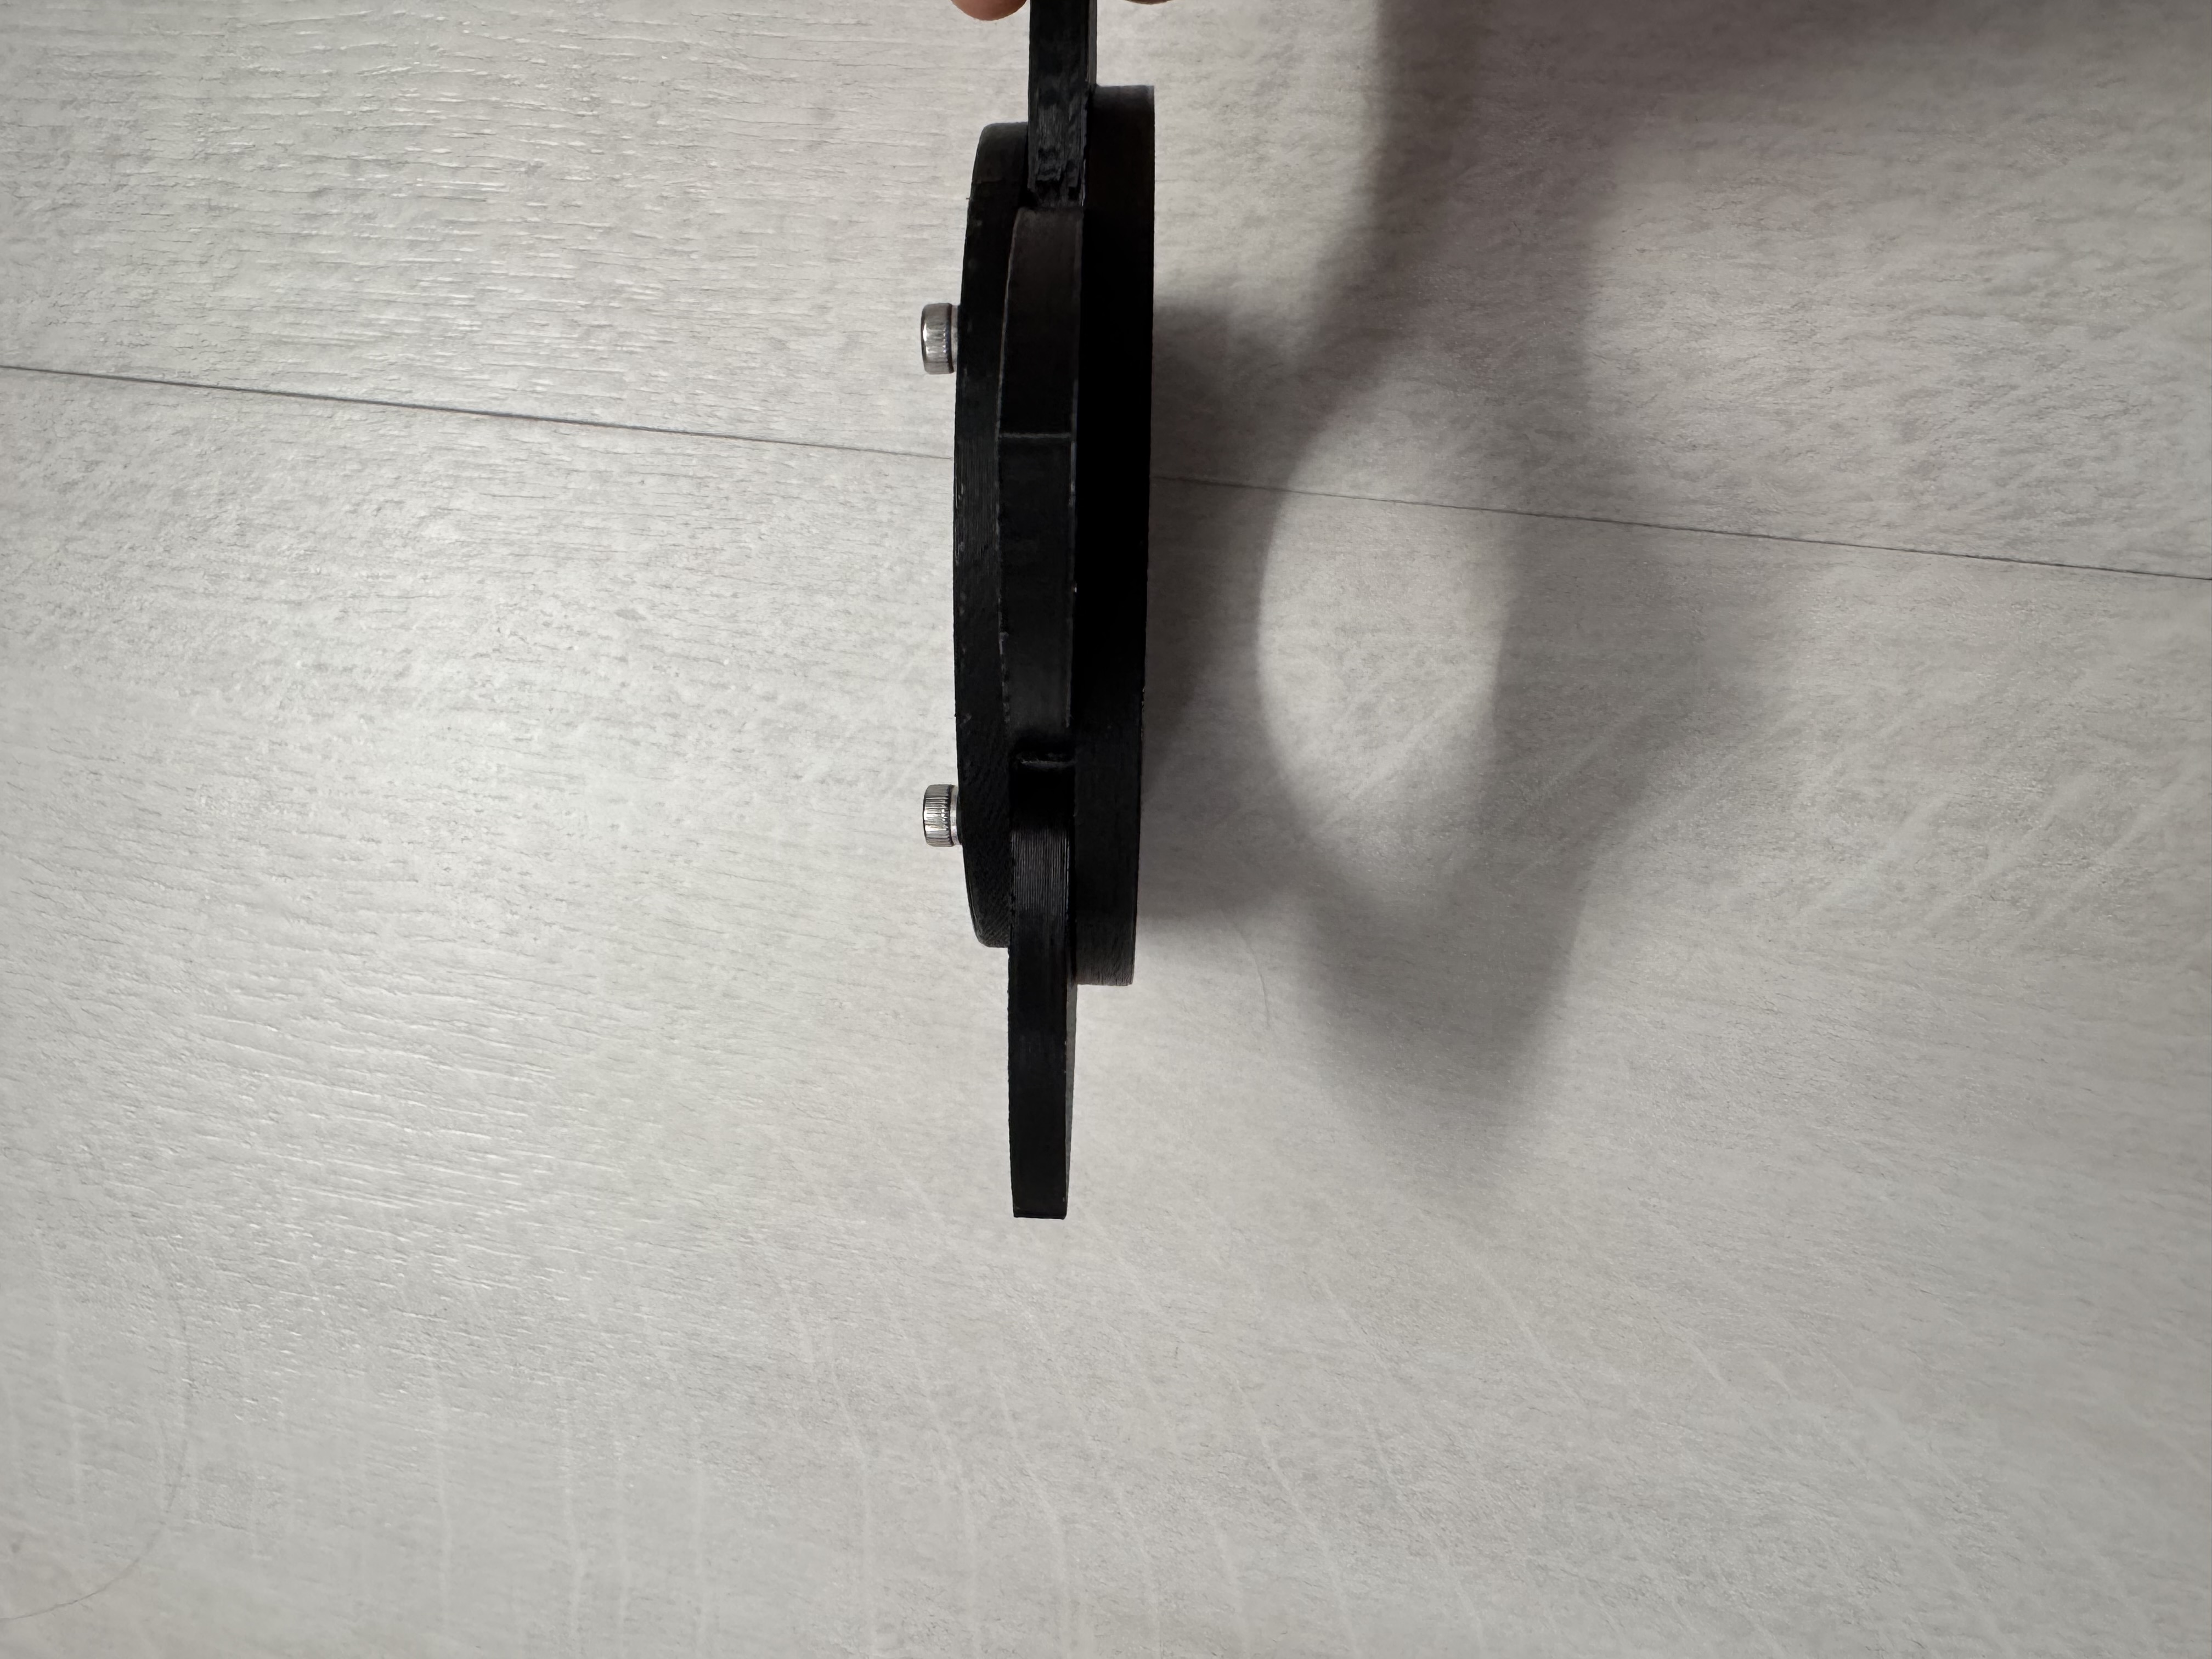
Step 3
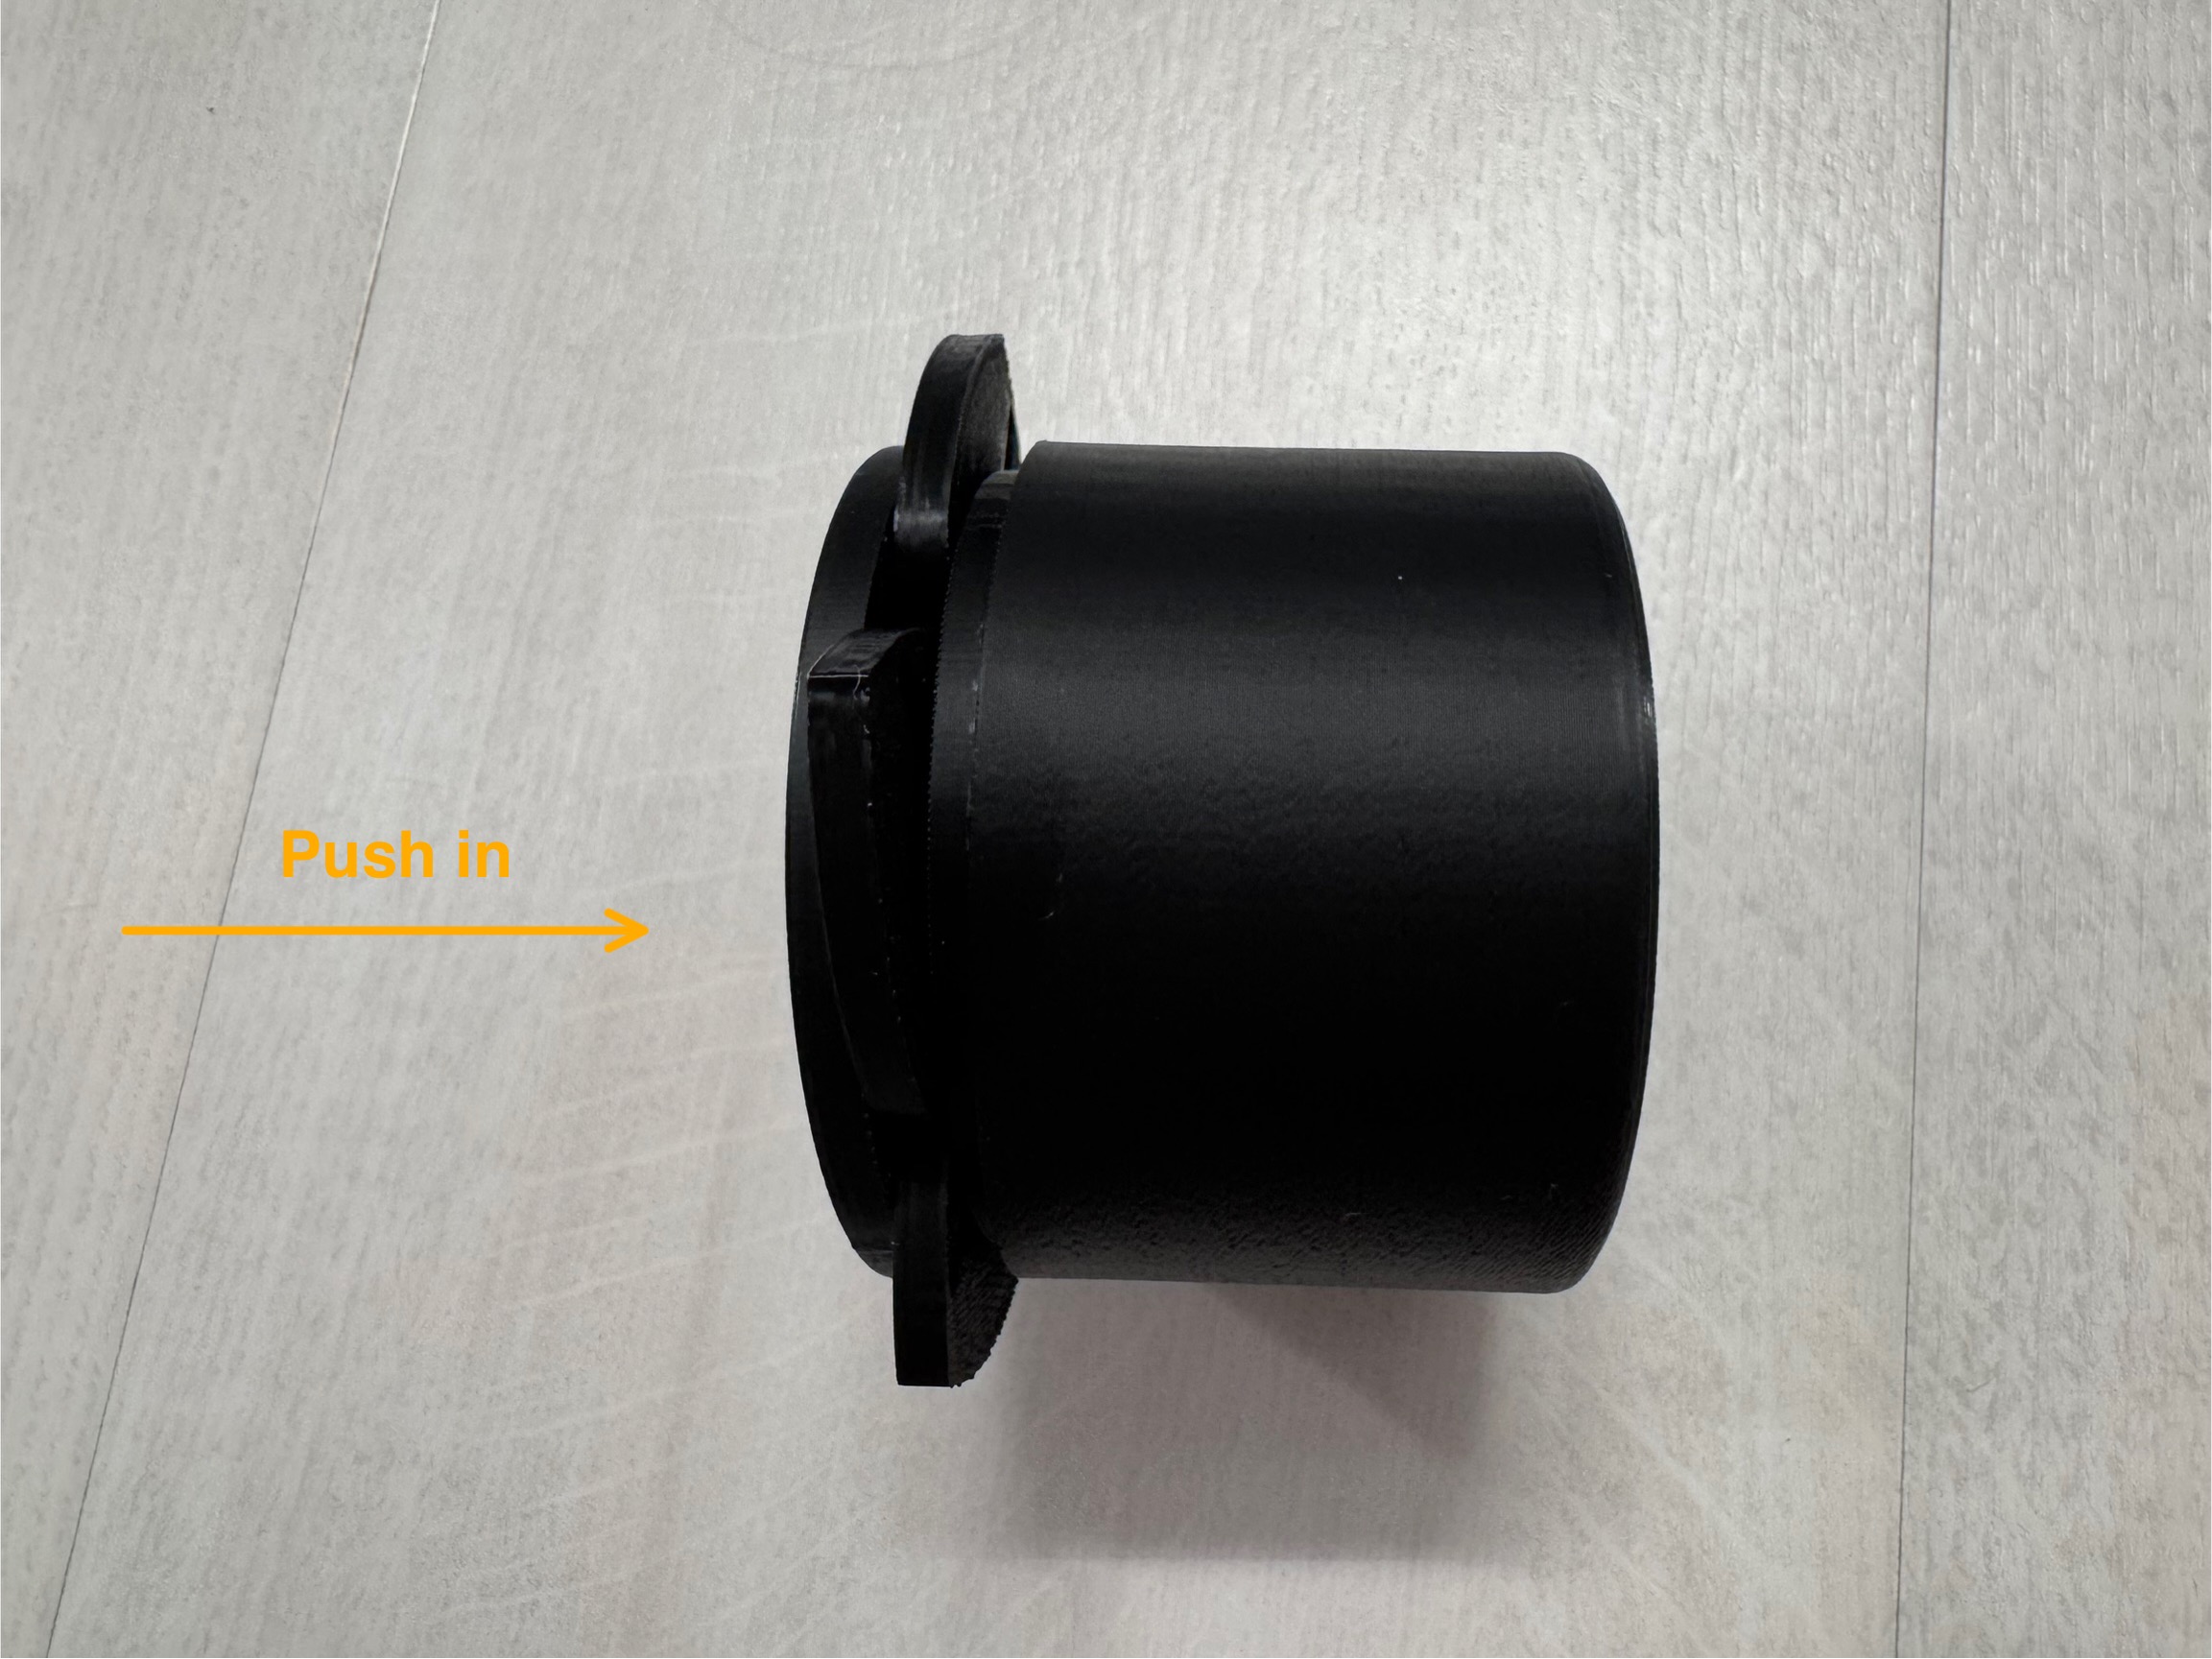
Finally glue/press fit the iris mechanism into the box. (Warning: you will not be able to change it if you glue that’s why I recommend the press fit)