Você está no 3DFinder
Buscamos em Thingiverse, MakerWorld e Printables ao mesmo tempo para te dar o melhor de cada uma.
Descrição
Book Nook Light
Description
This compact diorama slides between your books and glows warmly through frosted panels side panels. You can provide your own litopham front panels to make the book light your own style!
Materials & Tools
- 5 V LED strip (60 LEDS/m so you end up with 11 for each of the three strips)
- Inline limit switch
- Power source: USB charger or power bank
- Zip ties(recommended but optional)
3D Printing
Print all parts as recommended in the main print profile as supports and brims are attached at custom locations.
I did use Polyterra Filaments for the grey and white parts and Clear PETG for the windows.
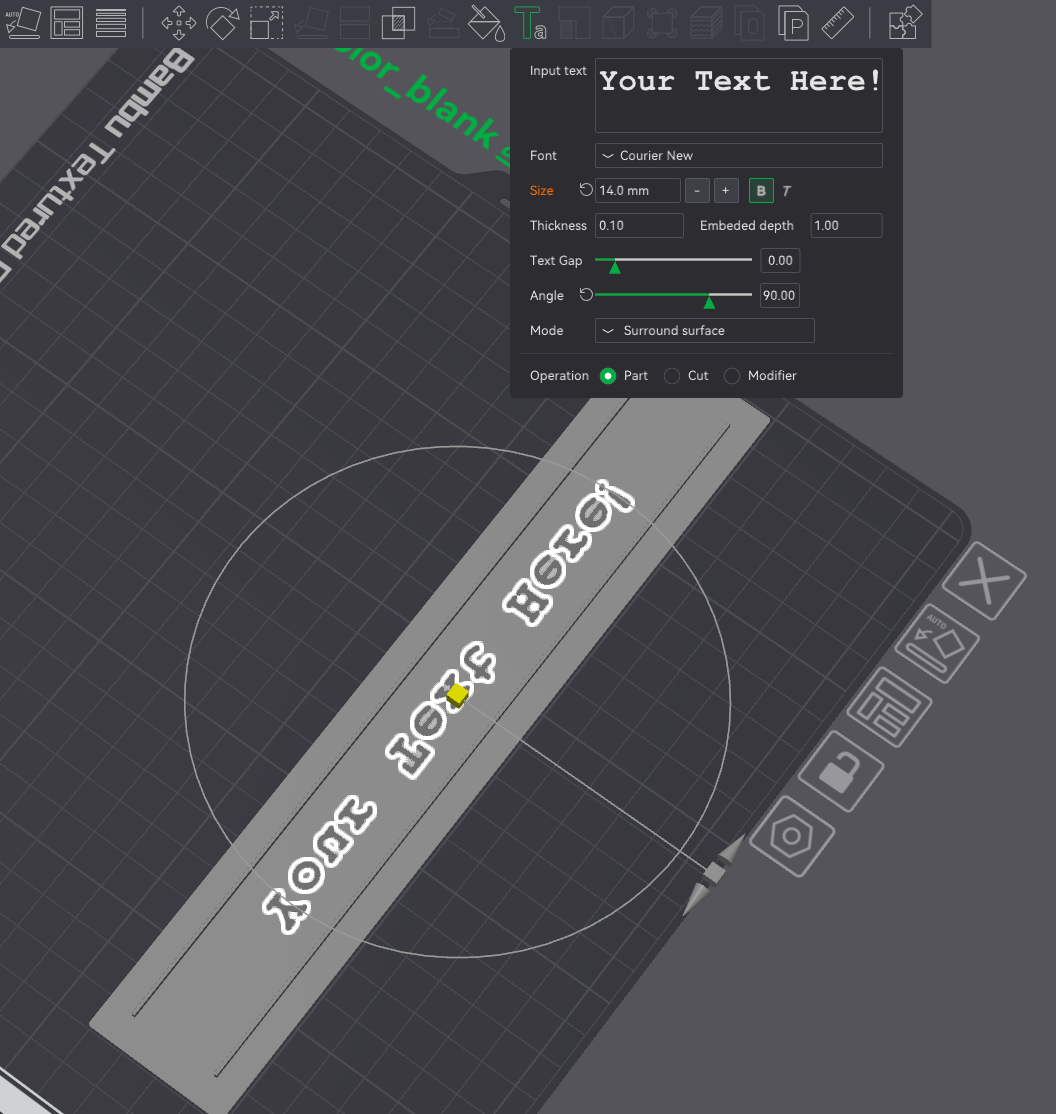
You can customize the front panel with text or litophanes! The litophanes have to be 228mm by 40mm and can be glued just like the provided front covers to the front bracing.
Assembly Steps
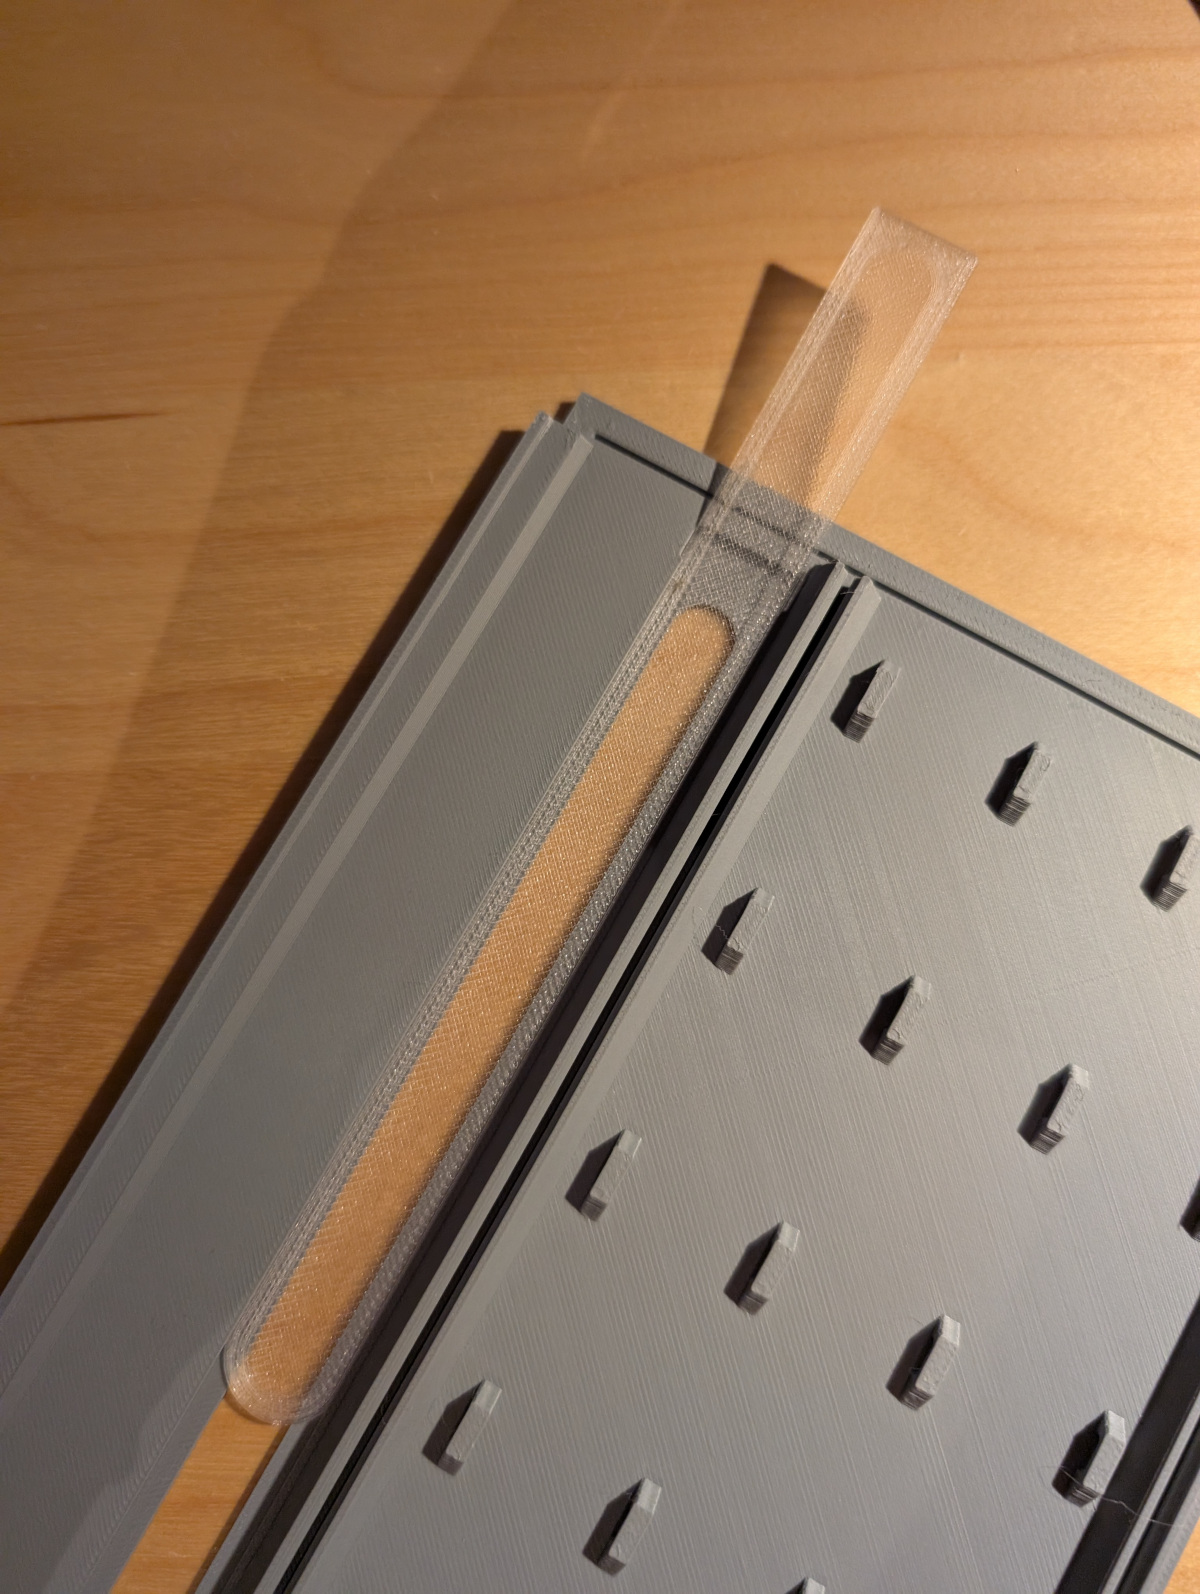
- Insert the windows into each side panel
- Push from the top the clear panes into their cutouts until they sit flush
Add a tiny bead of ca glue around the edges if needed.
- Install the electronics on the mid piece
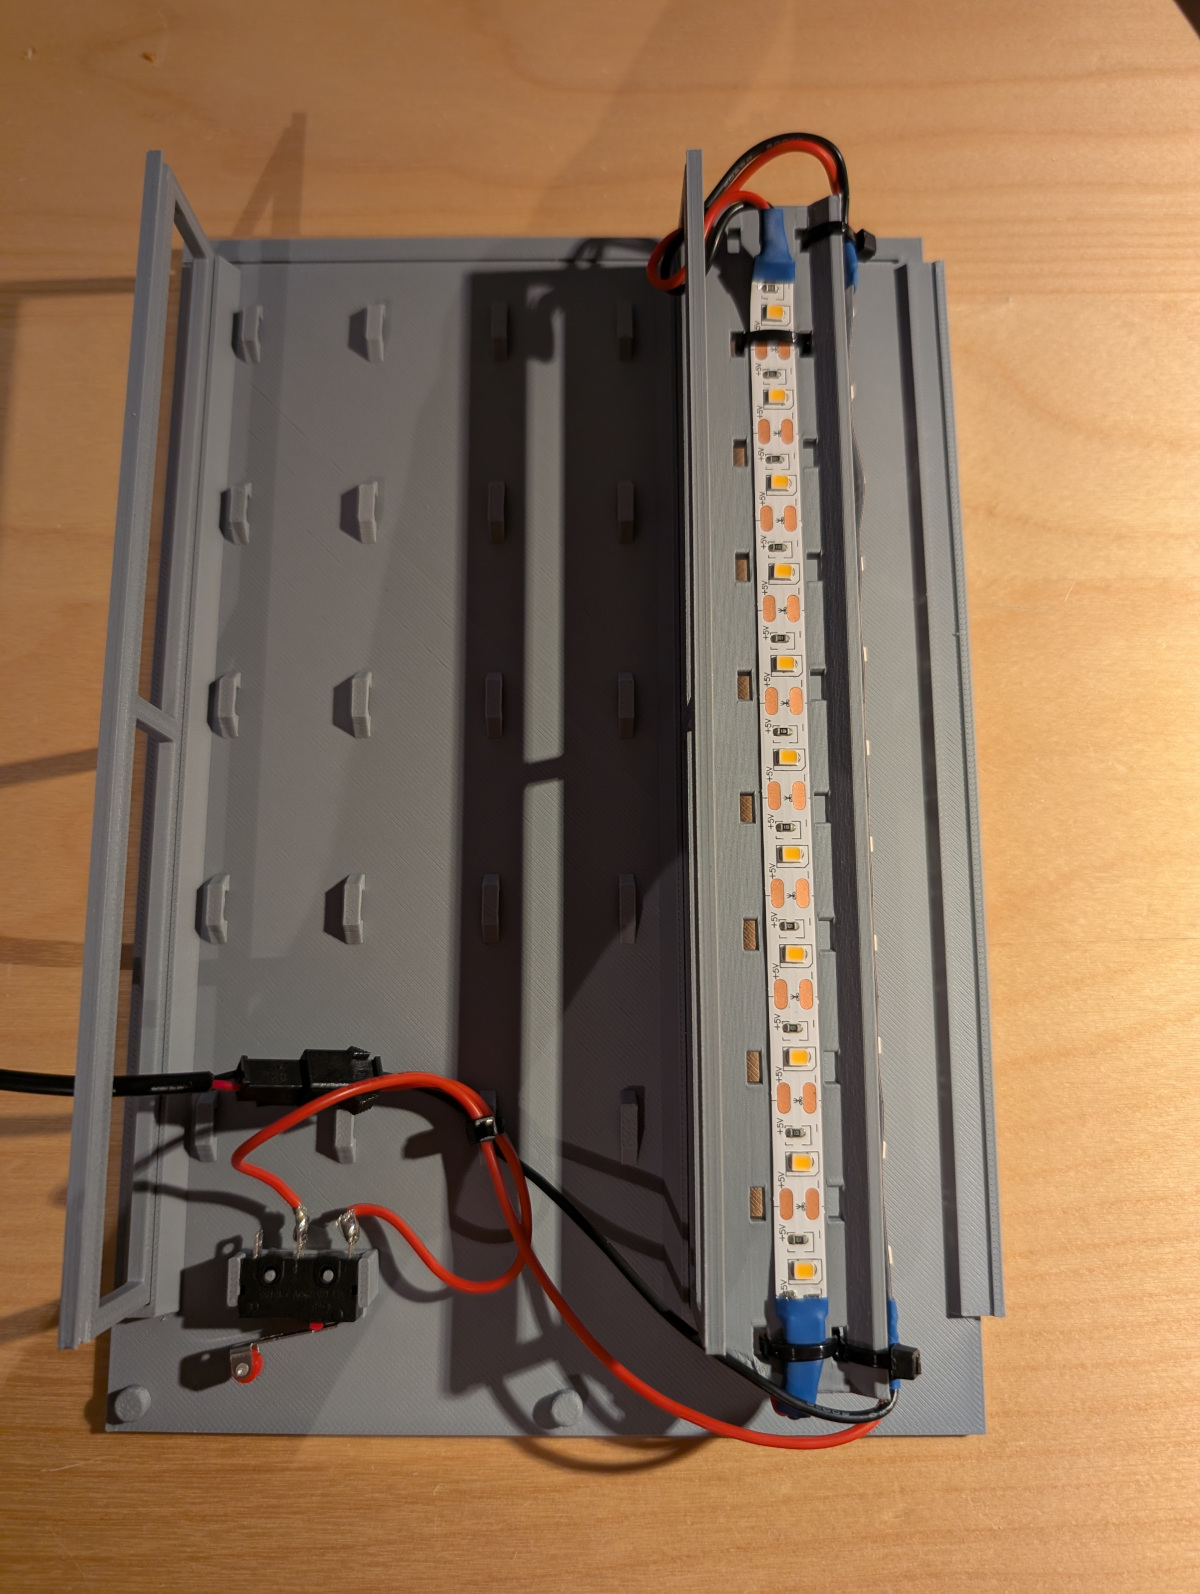
- Stick the LED strip (LEDs facing up) onto the sides of the mid piece.
- Wire the inline switch into the USB’s positive lead.
- Route the USB cable and switch assembly through the back panel.
Use the provided hooks for cable managment with zip ties
- Install the mid and rear braces on one of the side panels
- Attach the second side panel
- Repeat alignment on the opposite side; press into position.
- Insert the front diffuser and frame
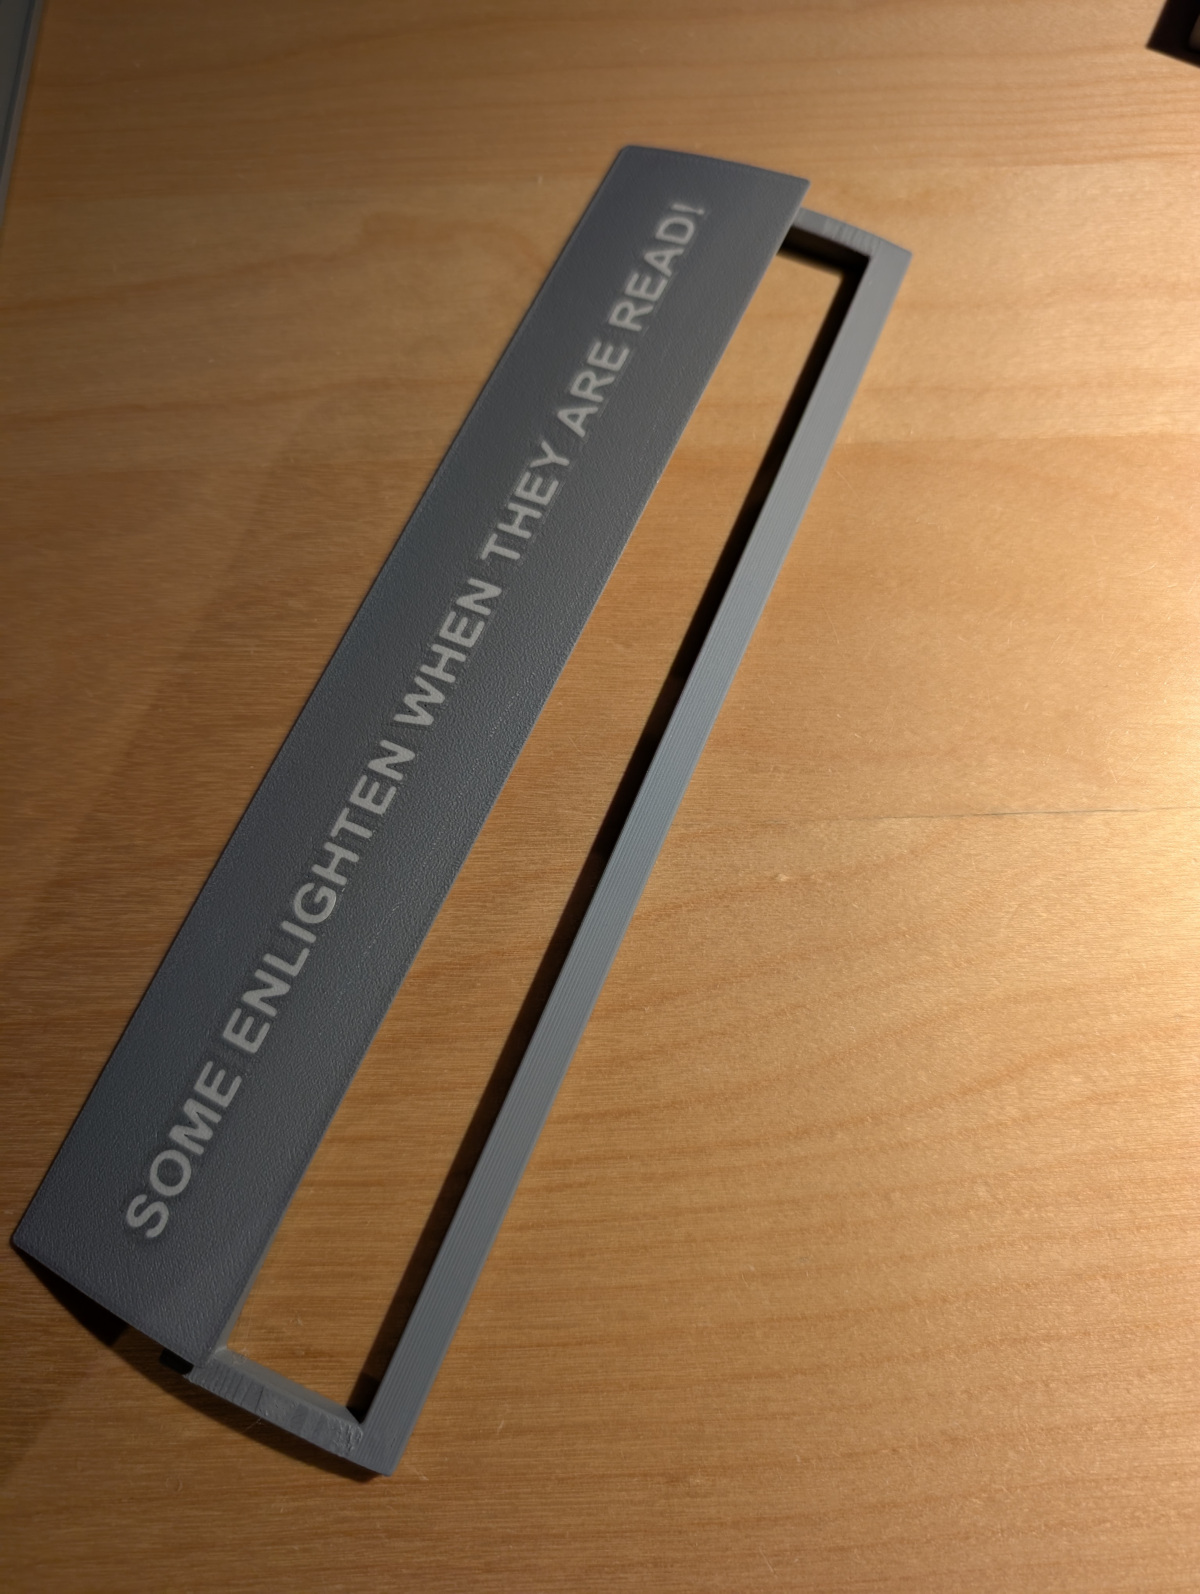
- Glue the front diffuser panel to the front frame with some CA glue or similar
Slide the assembled front cover on the rest of the assembly
- Slide in the top panel from the back
Push forward until it reaches the front
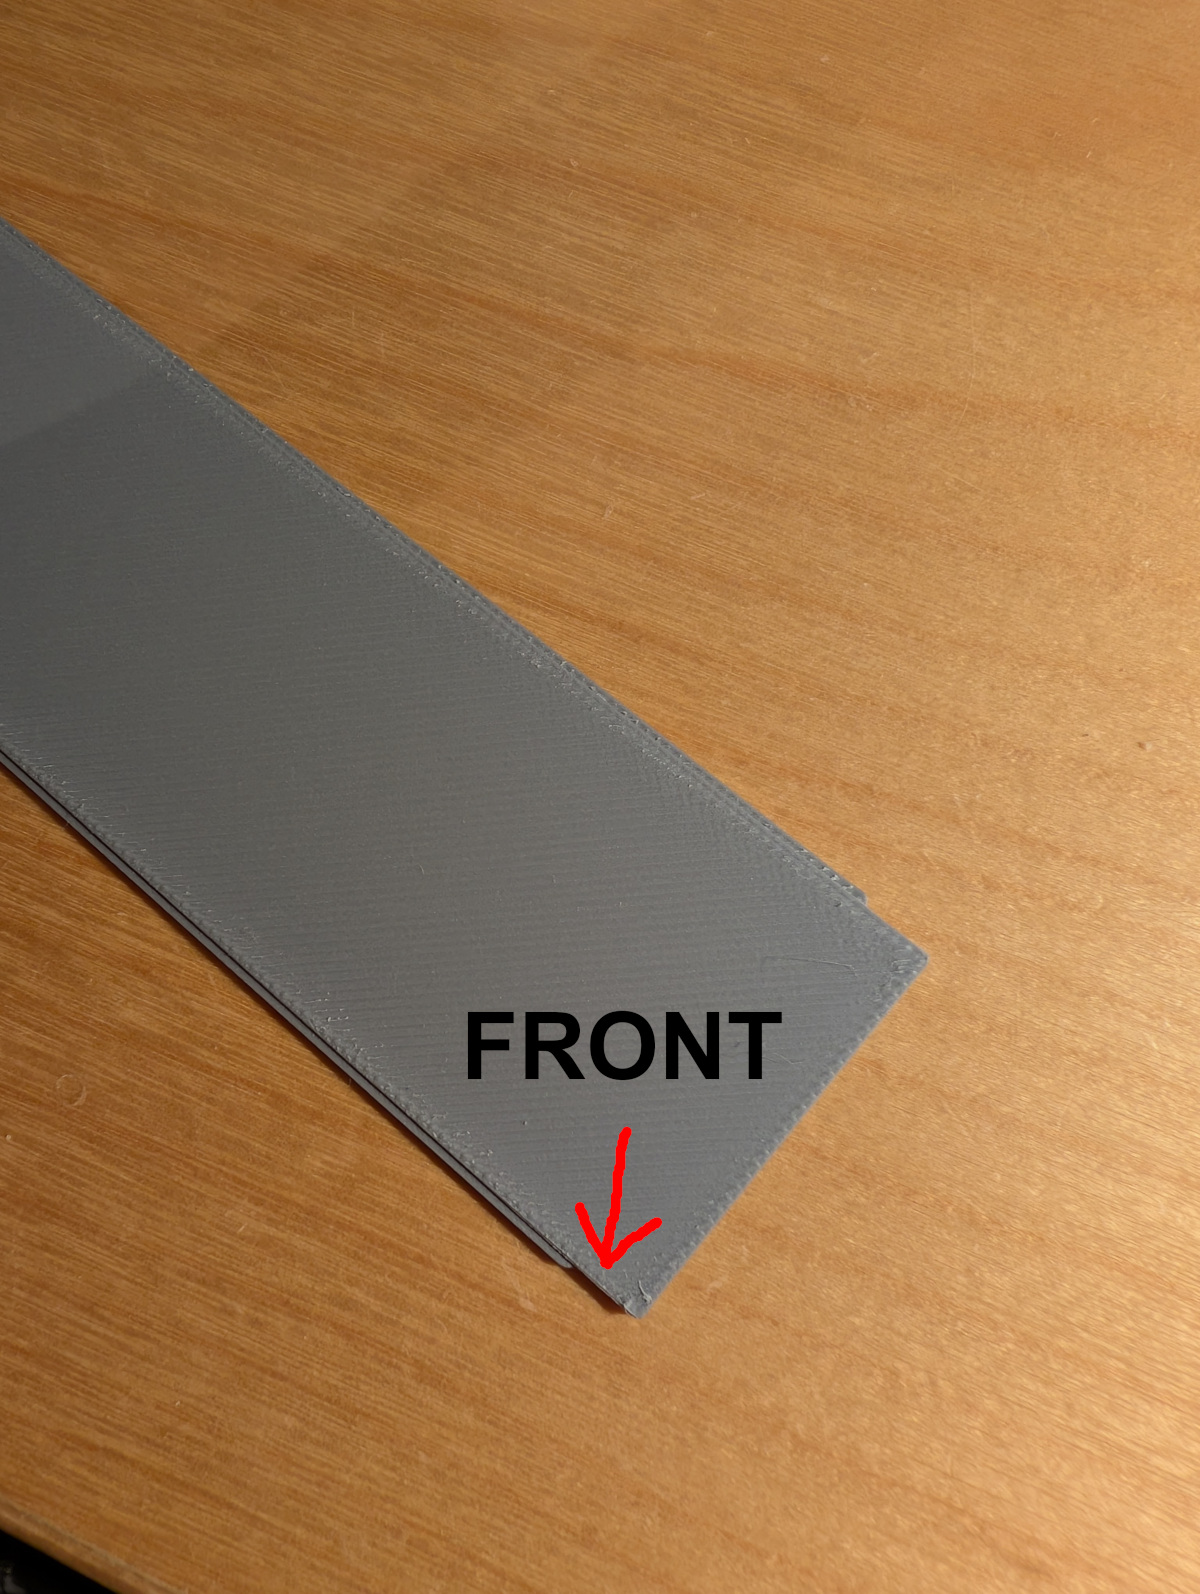
- Final seating of the top assembly
- The raised part of the base is oriented to the front
- Tilt the top slightly backward and insert its rear pins into the bottom part slots.
Push back the top part until the second pair of pins can slide into the slot
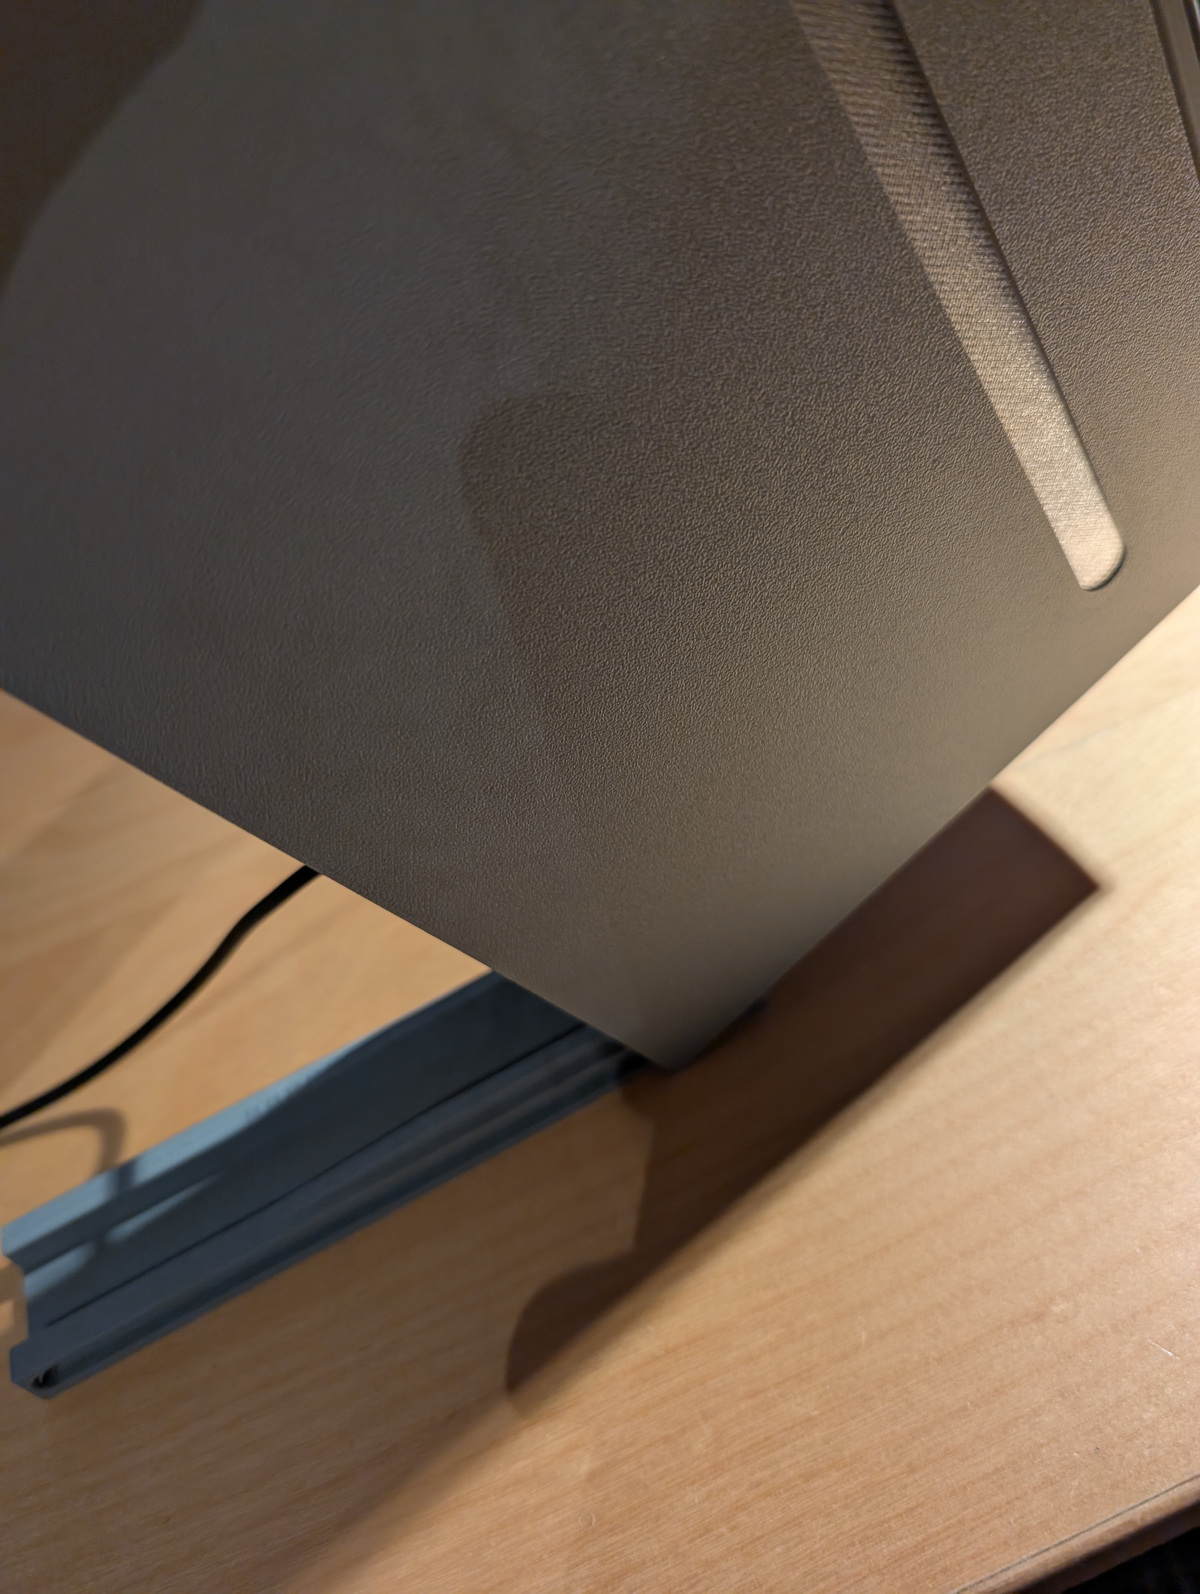
- Power on and test
- Plug into a USB power source or power bank.
- Use the inline switch to turn the LEDs on and off
- When installing you might consider weighting down the base or adding some adhesive(double sided tape) to the bottom to make it a little more grippy
Tips & Customizations
- You can either power this via USB Power from the wall directly or store a power bank inside and fix it on the zip-tie hooks
- You can use something like WS2812b LEDs with WLED for some RGB rainbow effects.

Gostou deste modelo? Crie uma conta grátis para salvar seus favoritos e voltar a eles depois.
Criar conta