Você está no 3DFinder
Buscamos em Thingiverse, MakerWorld e Printables ao mesmo tempo para te dar o melhor de cada uma.
Descrição
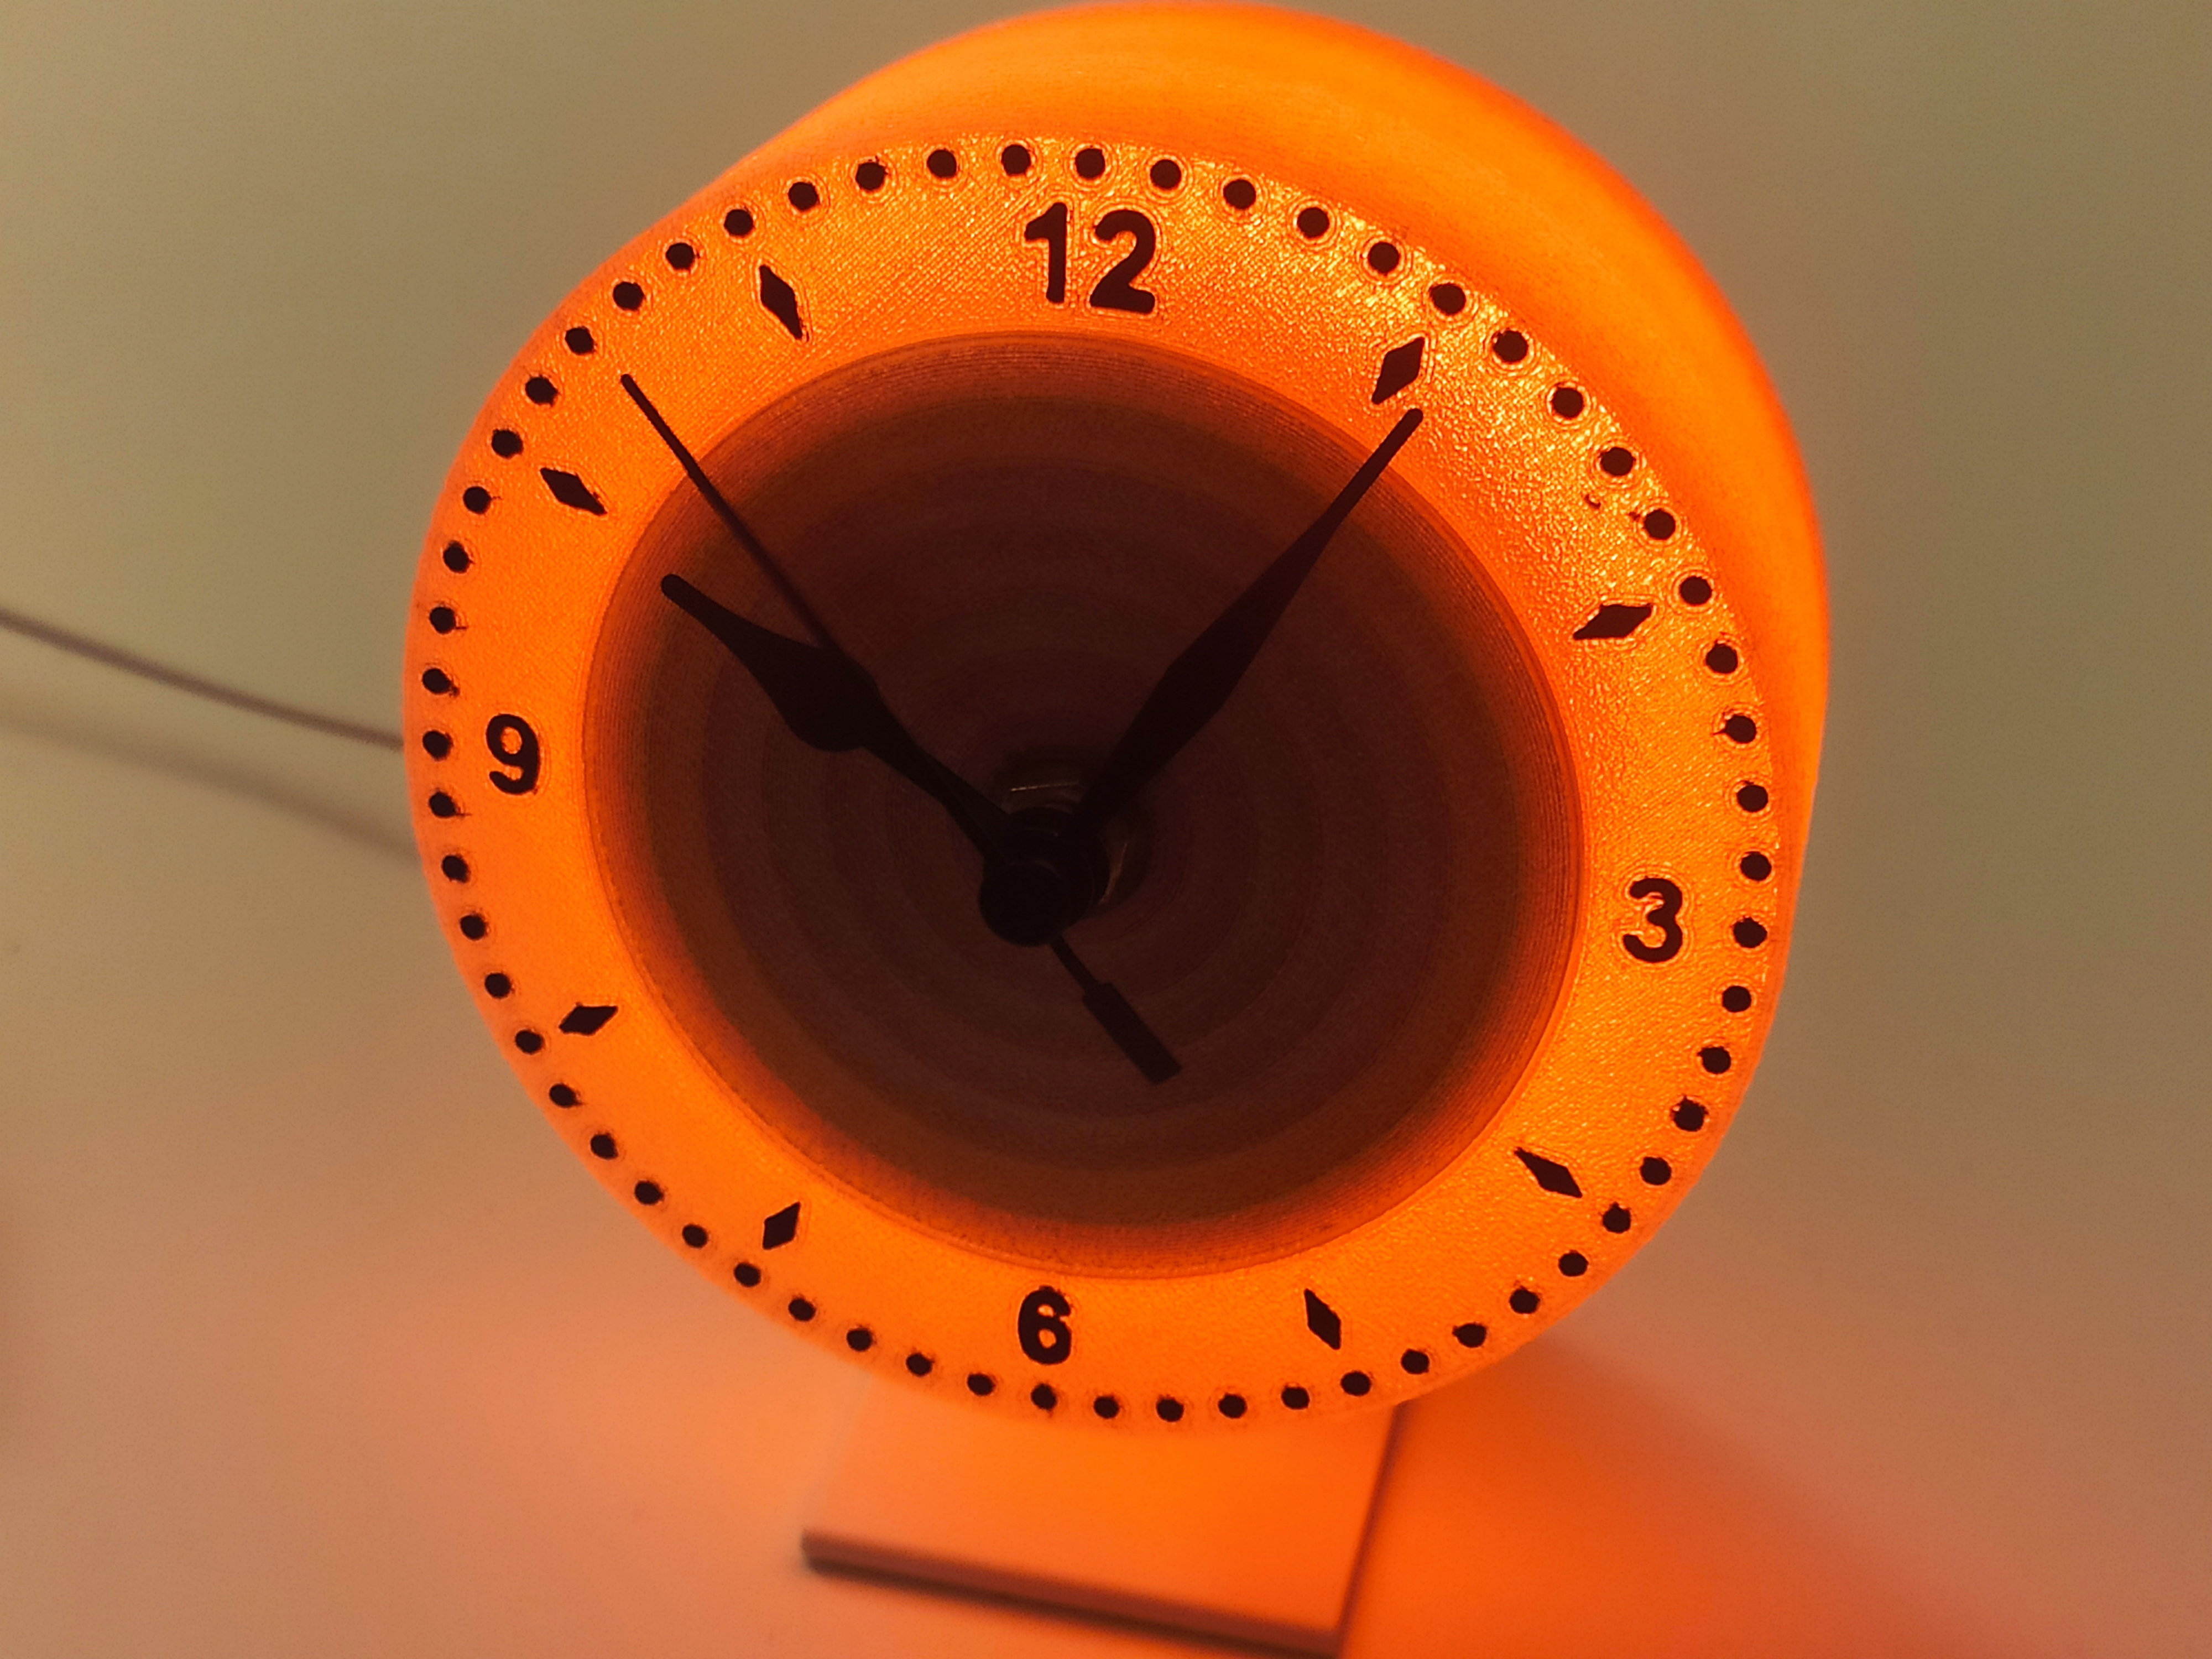
The Glow Clock is a glowing clock printed from Translucent Purple PETG. The case has internal geometry that diffuses light evenly, creating a soft and pleasant glow. The backlight comes from an LED lamp kit, giving the clock a cozy and stylish appearance.
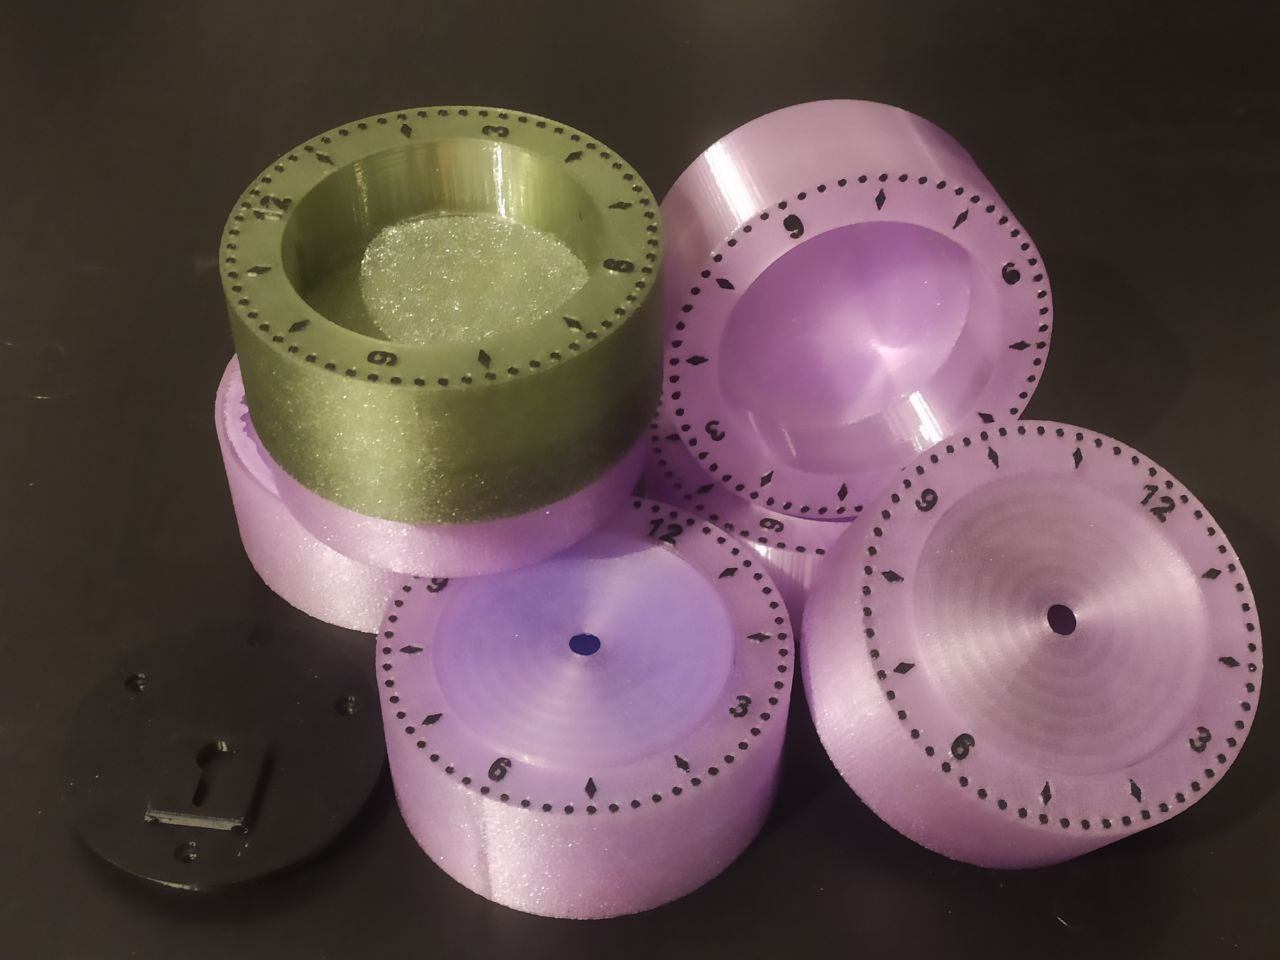
The clock module is first placed into a round insert with grooves for time adjustment. After setting the time and inserting the battery, this insert slides into the main body and is held by friction. To adjust the time or replace the battery later, simply turn the clock face down, tap the edge gently against your fingers until the insert starts to slide out, and then pull it out by hand.
Mounting options include:
- Desk stand – for a desk or bedside table
- Wall mount – hangs easily on a nail
- Monitor mount – attaches on top of a monitor
- Skadis mount – fits on an IKEA Skådis board
This makes the Glow Clock versatile: it can be used as stylish home decor, a functional desk clock, or a cozy night lamp by your bedside.
🛠️ Before you start printing and assembling Glow Clock:
- Use BambuLab PETG Translucent Purple or Pink(or similar translucent PETG). I tested BambuLab PETG Translucent Olive, and it turned out too dark — the lamp did not glow properly.
- Always dry your filament before printing to avoid stringing and ensure clean walls.
- Thoroughly clean the build plate before printing for the best adhesion.
- Watch the assembly video guide I prepared to make the process easier.
- Read the FAQ — it contains useful details about filament choice, assembly, and design decisions.
📦 Required components:
- Clock Components Kit 011 (MH011)
- LED Lamp Kit 001 (MH001)
- BT3×14 SHCS Self Tapping Screws (AA201)
- Aluminum foil (regular kitchen foil)
- 1× AA battery
🔧Assembly steps:
- Remove all supports.
- Insert the LED lamp into the back cover, connect it to the main body, and fix it with screws.
- Cut a circle from aluminum foil and place it inside the main body.
- Insert the clock mechanism from the Clock Components Kit into the clock case and secure it with the nut.
- Install the clock hands — they should point to the deepest notch (this marks 12 o’clock).
- Using the notches, set the correct time.
- Insert the AA battery into the clock mechanism.
- Place the clock case into the main body.
- If you plan to use it on a desk, monitor, or Skådis — attach the corresponding mount.
- Install it on the wall, monitor, Skådis board, or simply place it on a desk.
❓FAQ
Q: Can I use a different filament?
A: On your own risk. The best effect is achieved with BambuLab PETG Translucent Purple. You can also use BambuLab PETG Translucent Pink (Thanks to @avashkevich for detailed feedback and the picture).
I tested BambuLab PETG Translucent Olive, and it was too dark — the lamp did not glow properly.
Q: PETG-HF is not available — what filament can I use instead?
A: I tested SUNLU High Speed Matte PETG Black with the standard Bambu Lab PETG-HF profile, and it printed fine. The only difference was that clearances became slightly larger, but overall, the fit was still good.
Q: How do I replace the battery or adjust the time later?
A: Turn the clock face down, gently tap the case against your fingers until the inner clock case slides out, then pull it out by hand. After replacing the battery or adjusting the time, simply insert it back. This process is also shown in the video guide.
Q: Do the clock and insert hold securely inside the main body if they rely only on friction?
A: Yes. The clock is not designed for frequent carrying or rough handling, and for normal use the friction fit is fully sufficient.
Q: Doesn’t the power cable spoil the look?
A: On the wall-mounted version, the cable is visible.
On the monitor mount, the cable is hidden.
On the desk stand, the cable can be tucked behind the clock.
On the Skådis mount, the cable can be routed behind the board — but you’ll need to cut the cable once and pass it through the holes.
Q: Can it work without the LED lamp kit, or with the lamp turned off, as just a clock?
A: Yes, the clock still looks good even with the lamp turned off.
Q: How long did the design take?
A: It took me about one week of my free time, during which I printed seven different versions of the case with variations in the internal geometry to find the best light diffusion.
Q: Why did you design a complex internal geometry for light diffusion instead of simply using an LED strip?
A: I designed the clock to work with widely available kits — Clock Components Kit 011 (MH011) and LED Lamp Kit 001 (MH001). These kits are common because they were often shipped as gifts with 3D printers, so many makers already have them on hand.
