Você está no 3DFinder
Buscamos em Thingiverse, MakerWorld e Printables ao mesmo tempo para te dar o melhor de cada uma.
Descrição
E27 Softbox + Lamp
This project is a lamp and softbox designed for a standard E27 bulb. It’s a DIY build that might take a bit of time, but the process is relaxing, enjoyable, and most importantly—it works! The main parts are 3D-printed, and the rest can be made from basic materials you probably already have at home. I’ll be honest—it’s not the most professional piece in the world, and there’s always room for improvement—but it fully delivers on the design goals I set for it.
Important Note:
I, myself used ASA for most of the parts, due to its heat resistance and enchanced durability, so I can safely recomend it. If you decide to print everything out of PLA or PETG, it will propably still be fine, but please remember that you are doing it at your own risk. Nevertheless if you do, please comment how it went.
Assembly instructions:
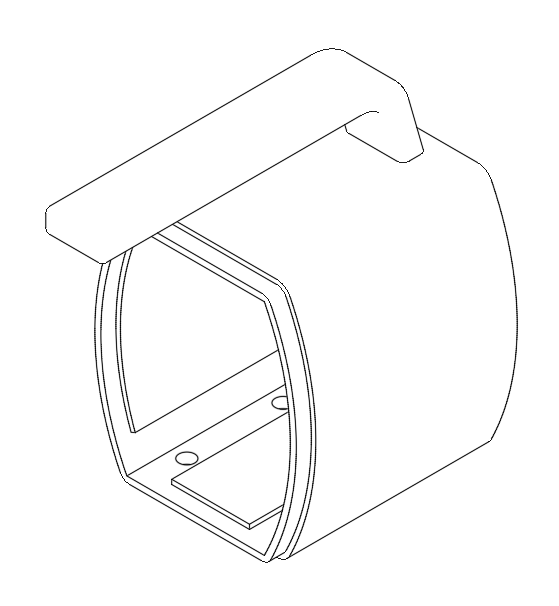
Step 1: Take the Lamp_middle part and insert a standard E27 light bulb holder into it.
If you plan to mount the lamp somewhere, secure it from the bottom using 5×20 screws.
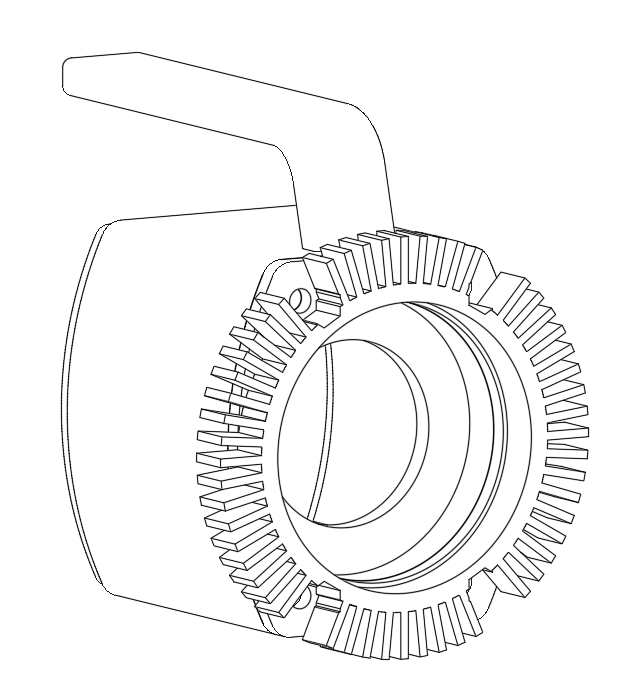
Step 2: Here we simply screw in the Lamp_front part in using 4 5x20 hexagonal screws.
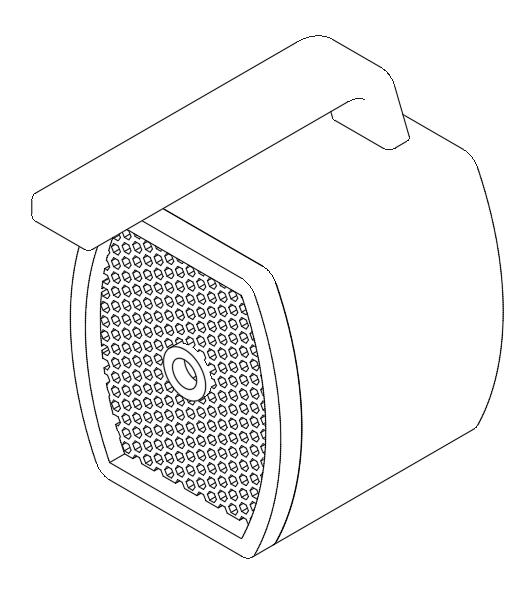
Step 3: Attach the Lamp_back part, just as the name suggests, to the back of the assembly.
The center hole is designed to hold and route your power cable.
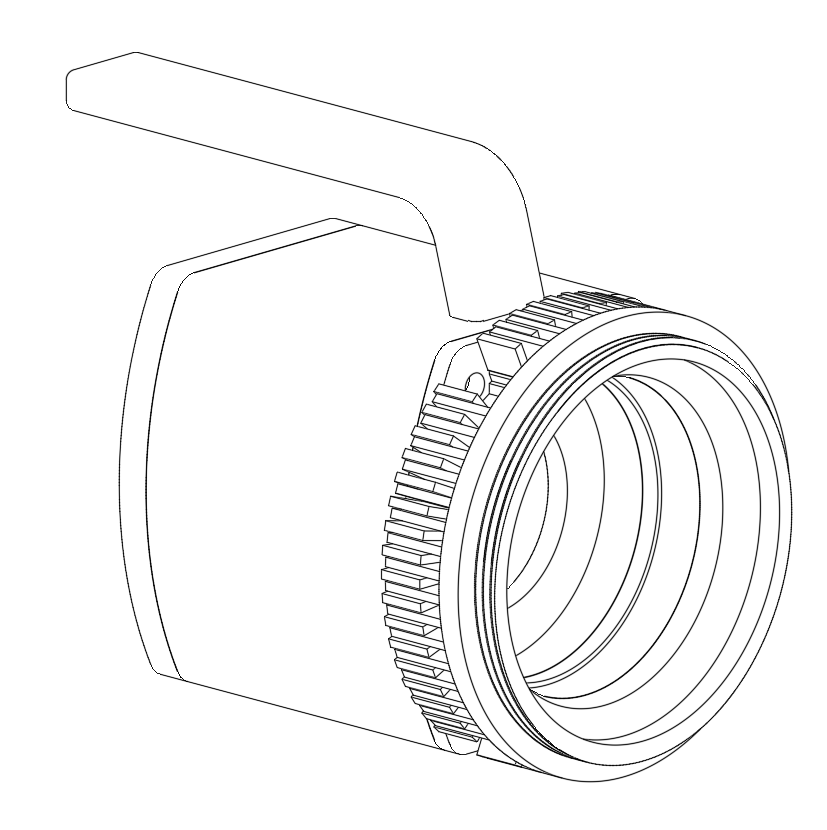
Step 4: Here we attach the Lamp_front2 part by simply pushing it in place.
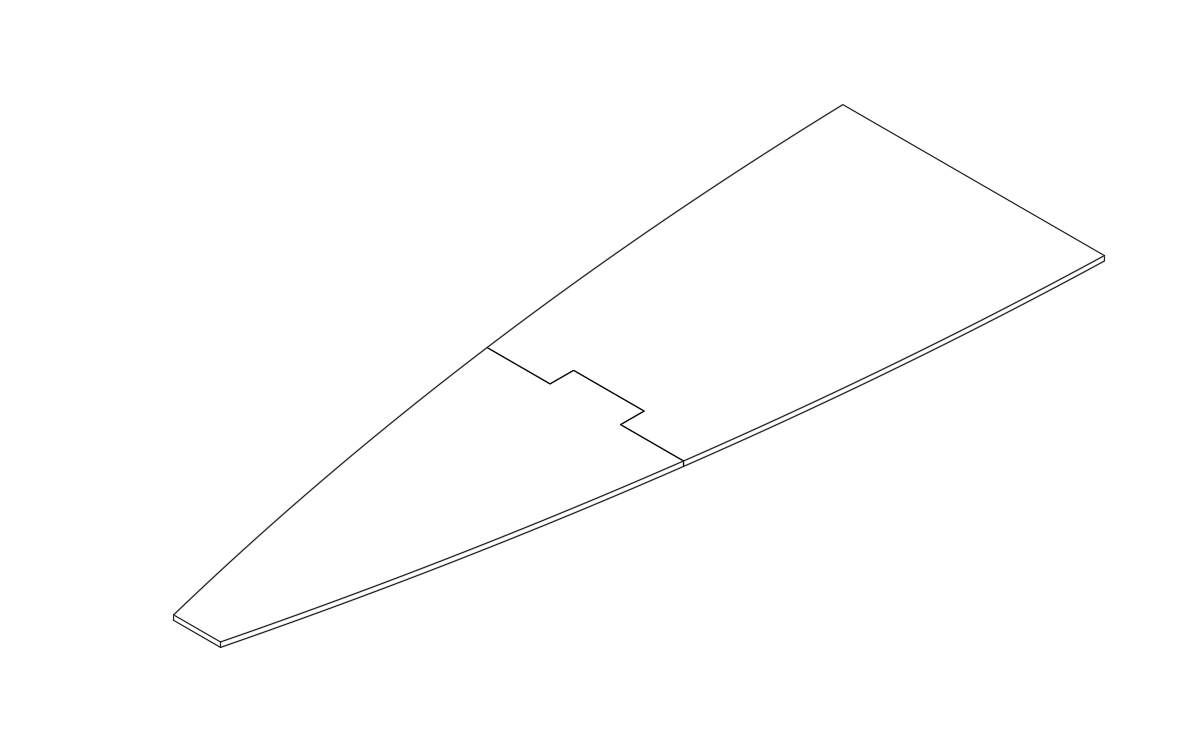
Step 5: Connect to parts of the template using tape and cut 14 pieces of black paper in a shape of the template. After cutting cover paper in kitchen aluminium foil for better light deflection.
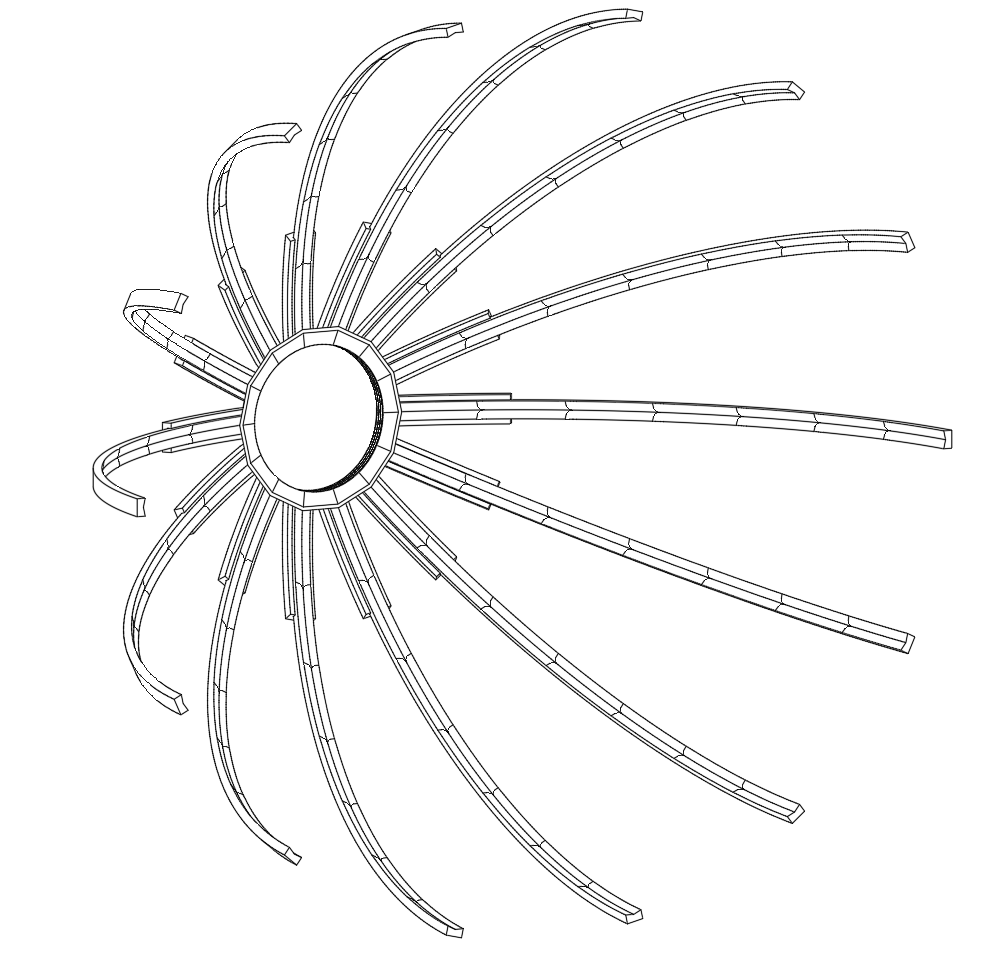
Step 6: Now we take the Softbox_sun and glue in 14 Softbox_beam. Make sure you put them in the right direction with the flat ending heading out of the softbox_sun. (Same as on the drawing)
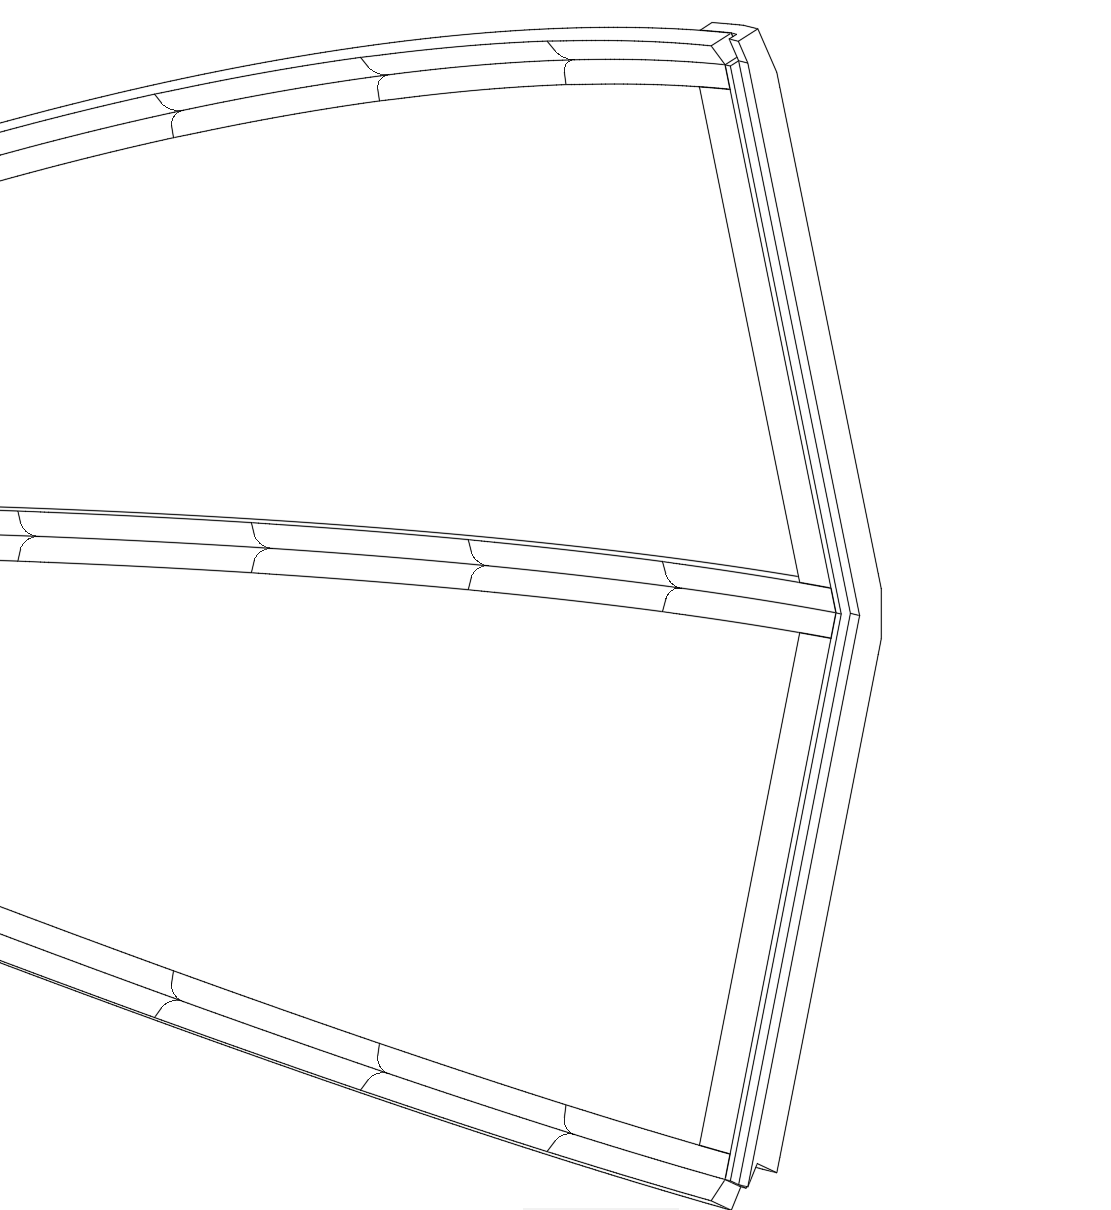
Step 7: Now we glue in the Softbox_top part in 7 times to crate a countour and connect all softbox_beam parts. After that you can glue in previously cut black paper.
Step 8: The last step is glueing the light_diffuser part in the same way to create a contour and attaching your diffusing material (I used a tablecloth) and than attaching it to the softbox with paper/office clips.

Gostou deste modelo? Crie uma conta grátis para salvar seus favoritos e voltar a eles depois.
Criar conta