Você está no 3DFinder
Buscamos em Thingiverse, MakerWorld e Printables ao mesmo tempo para te dar o melhor de cada uma.
Descrição
What It Is and Why?
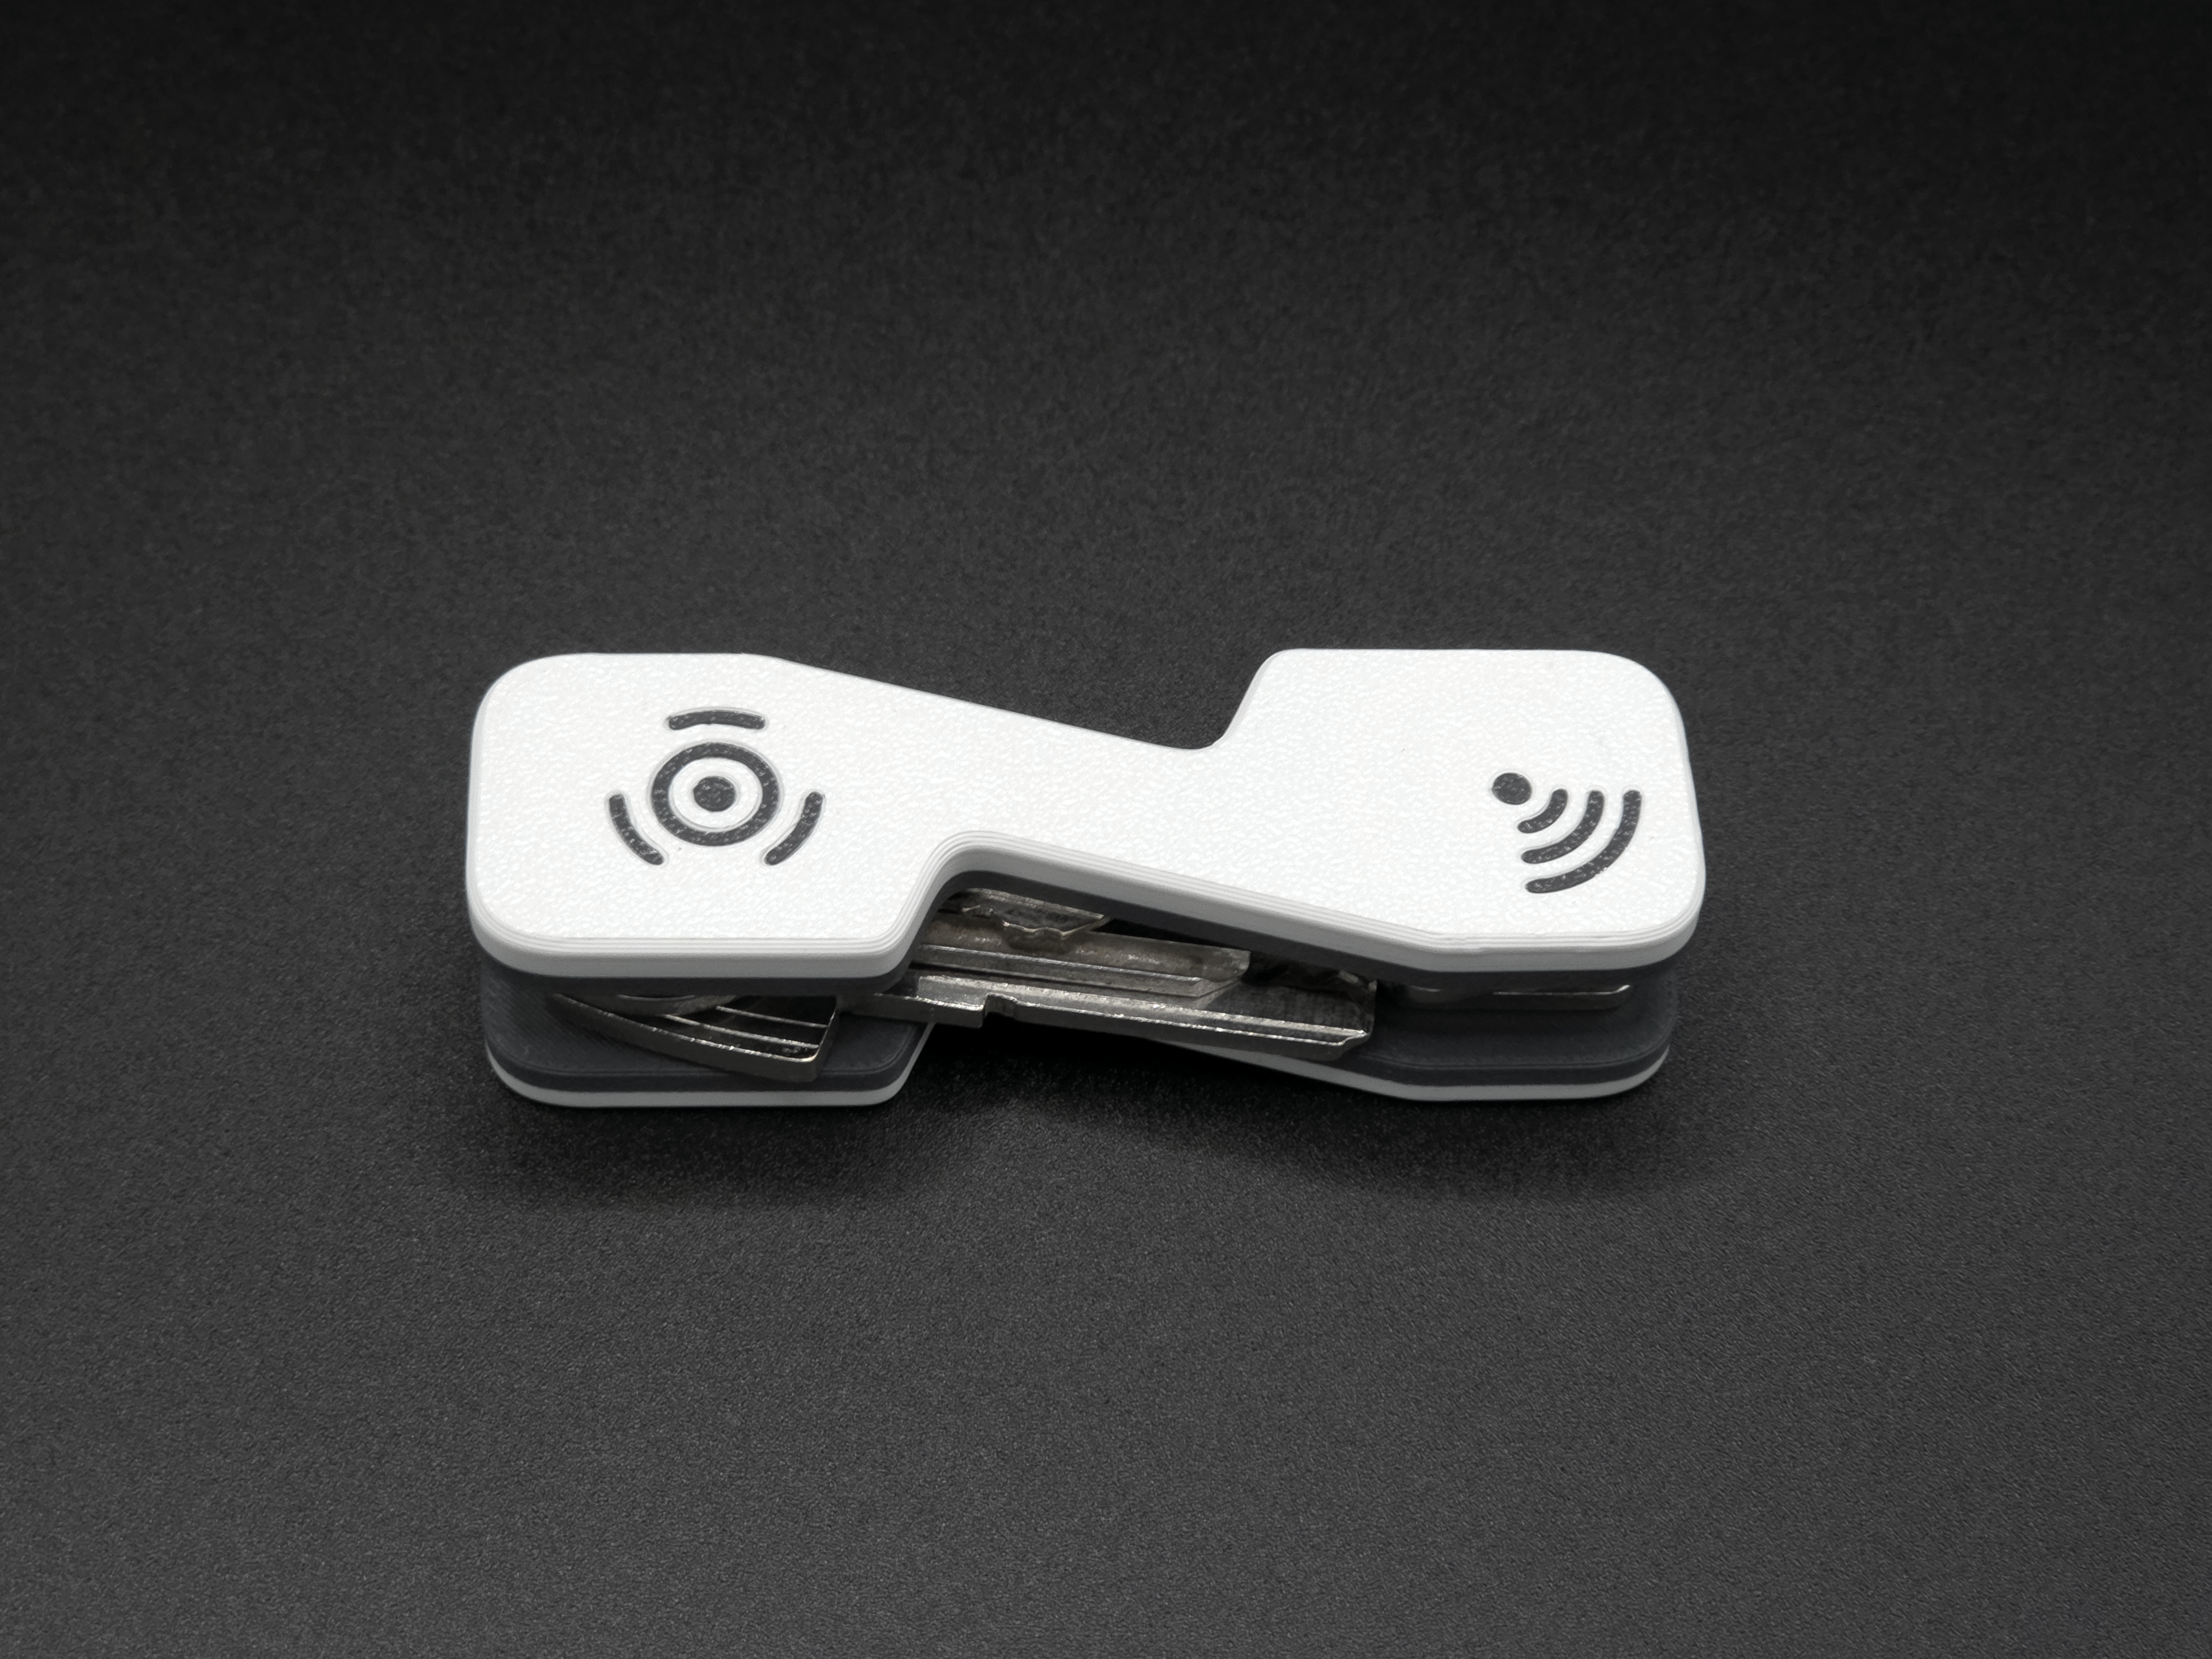
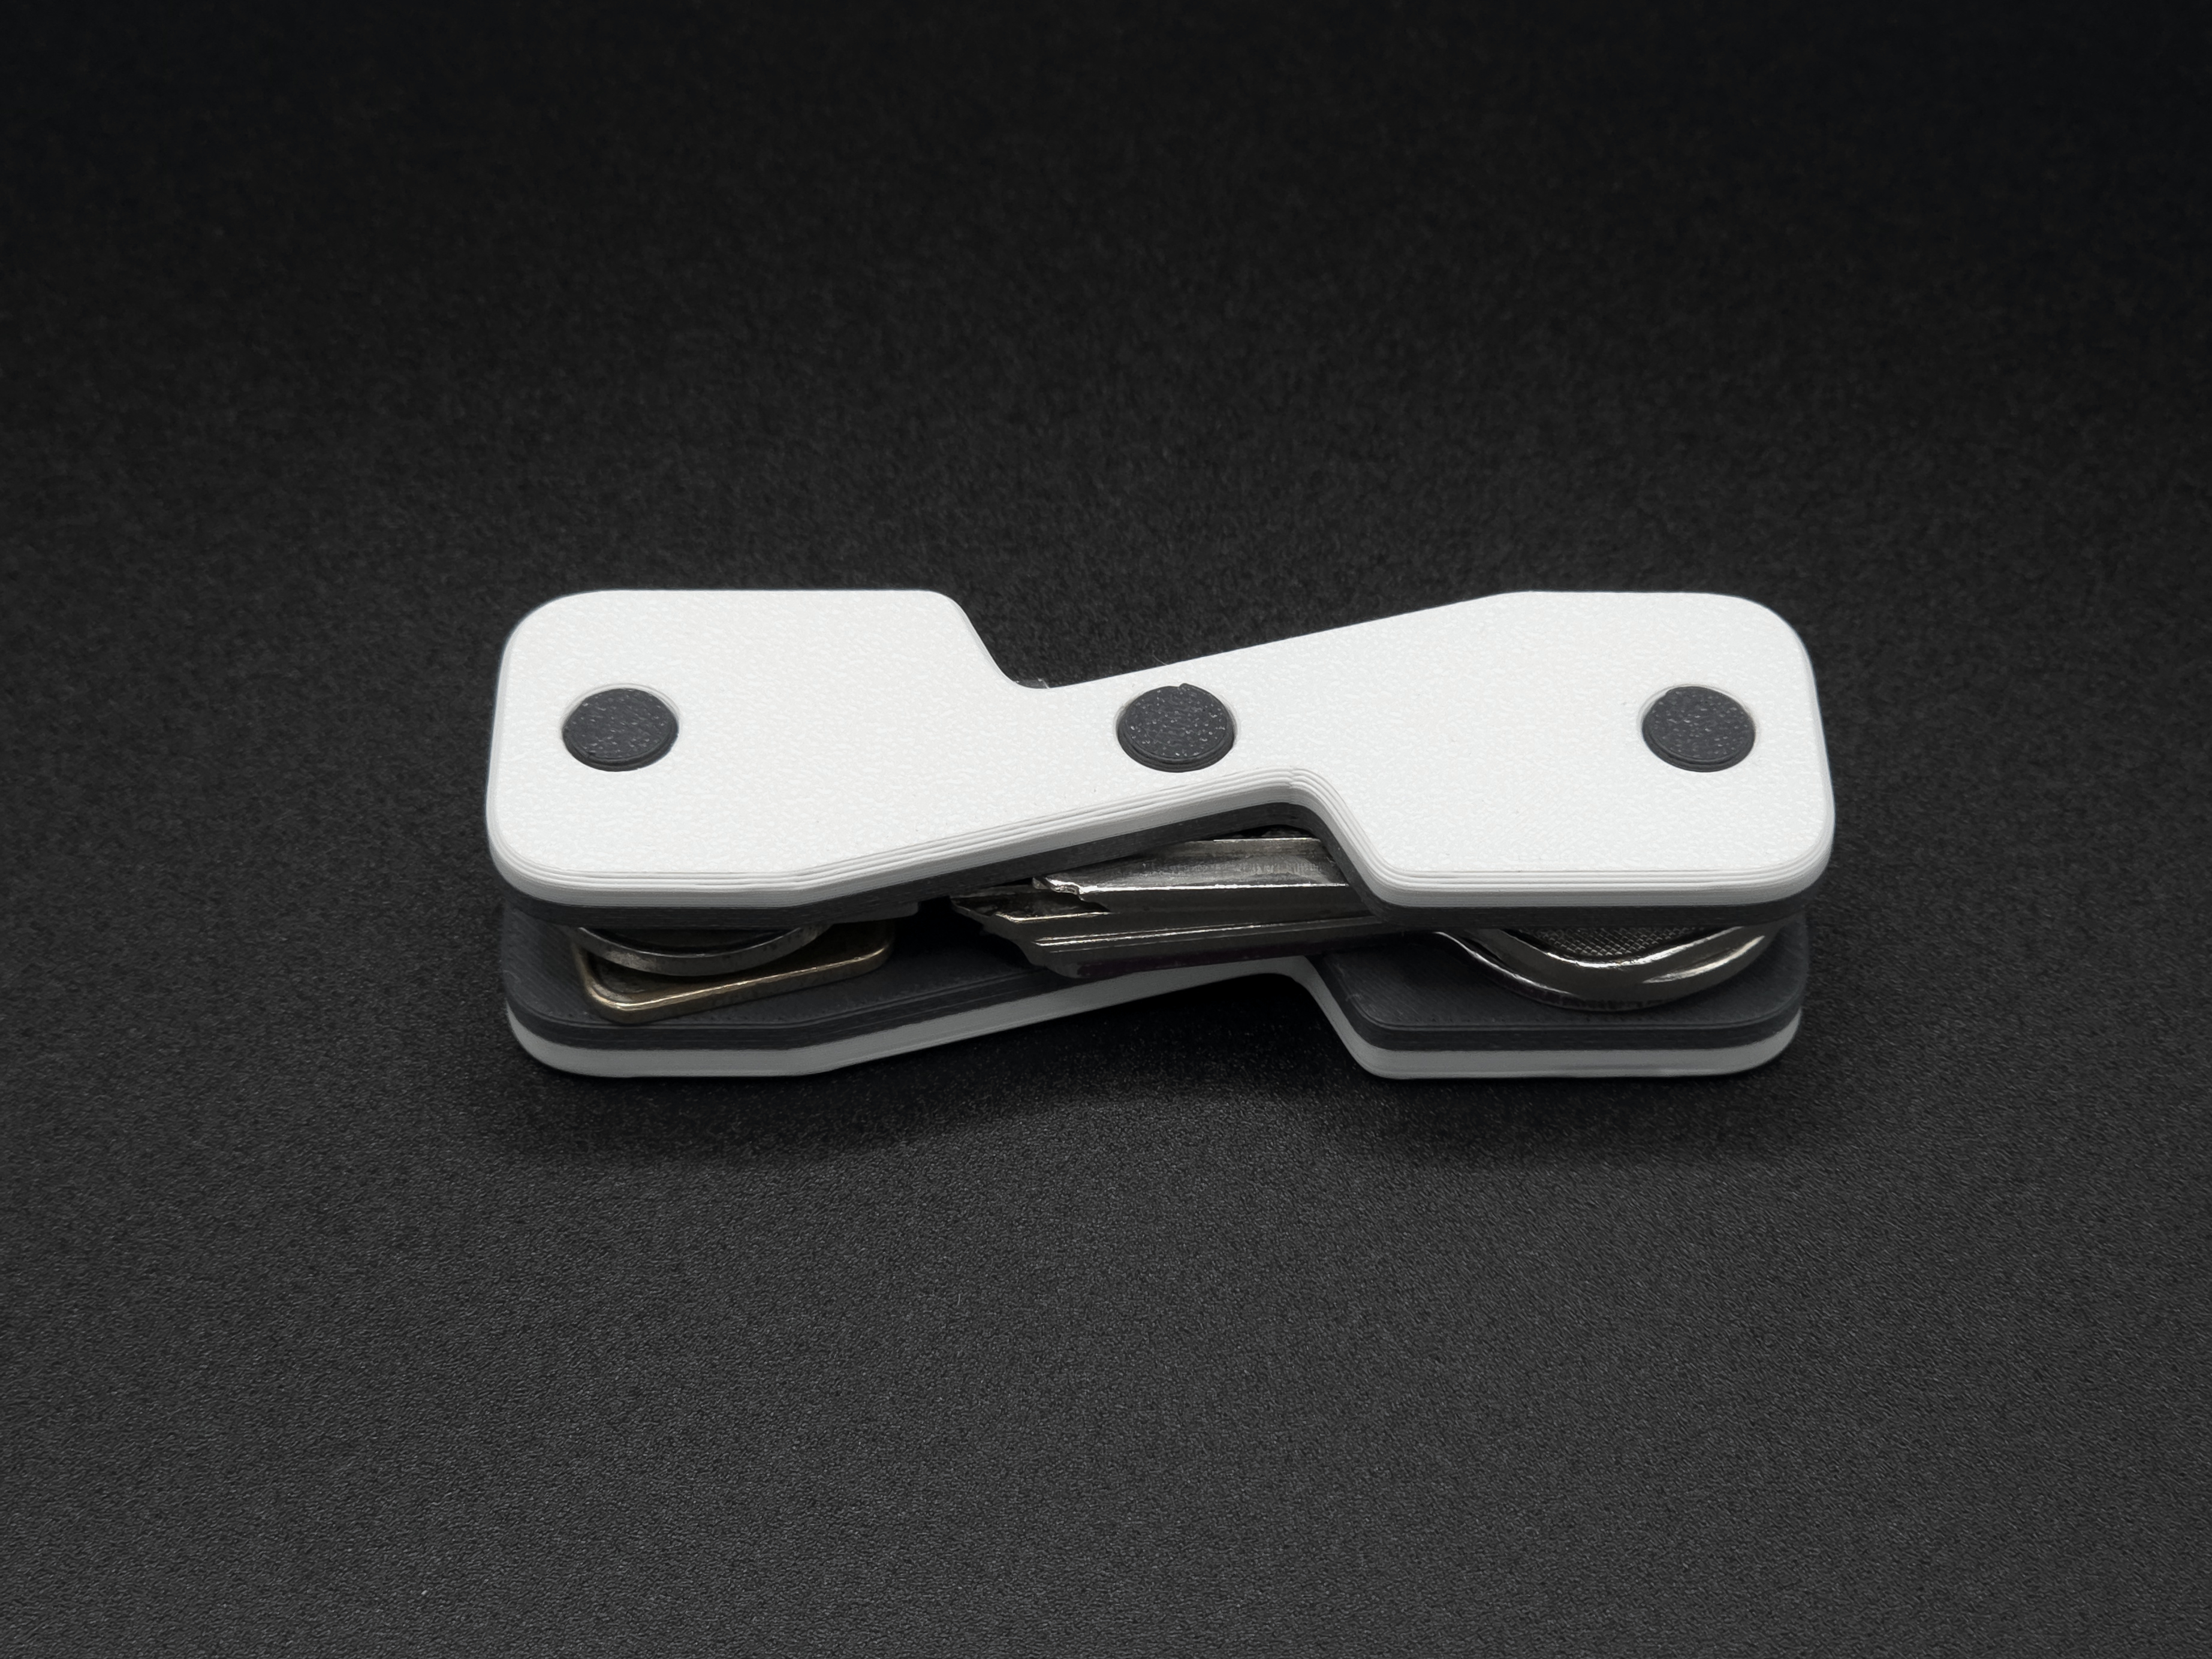
This keyholder is designed for convenience and practicality, fitting comfortably in your pocket while securely holding your keys. It can carry a minimum of two keys, with the maximum number determined by the length of the M3 hex socket screws you choose to use.
 |  |
 |  |
The keyholder also features a dedicated space for an RFID tag and a magnet, both conveniently located on the same side. The RFID tag adds a layer of functionality, allowing you to store useful information like your mobile number. This makes it easy for someone who finds your keys to contact you without compromising your home address for security reasons.
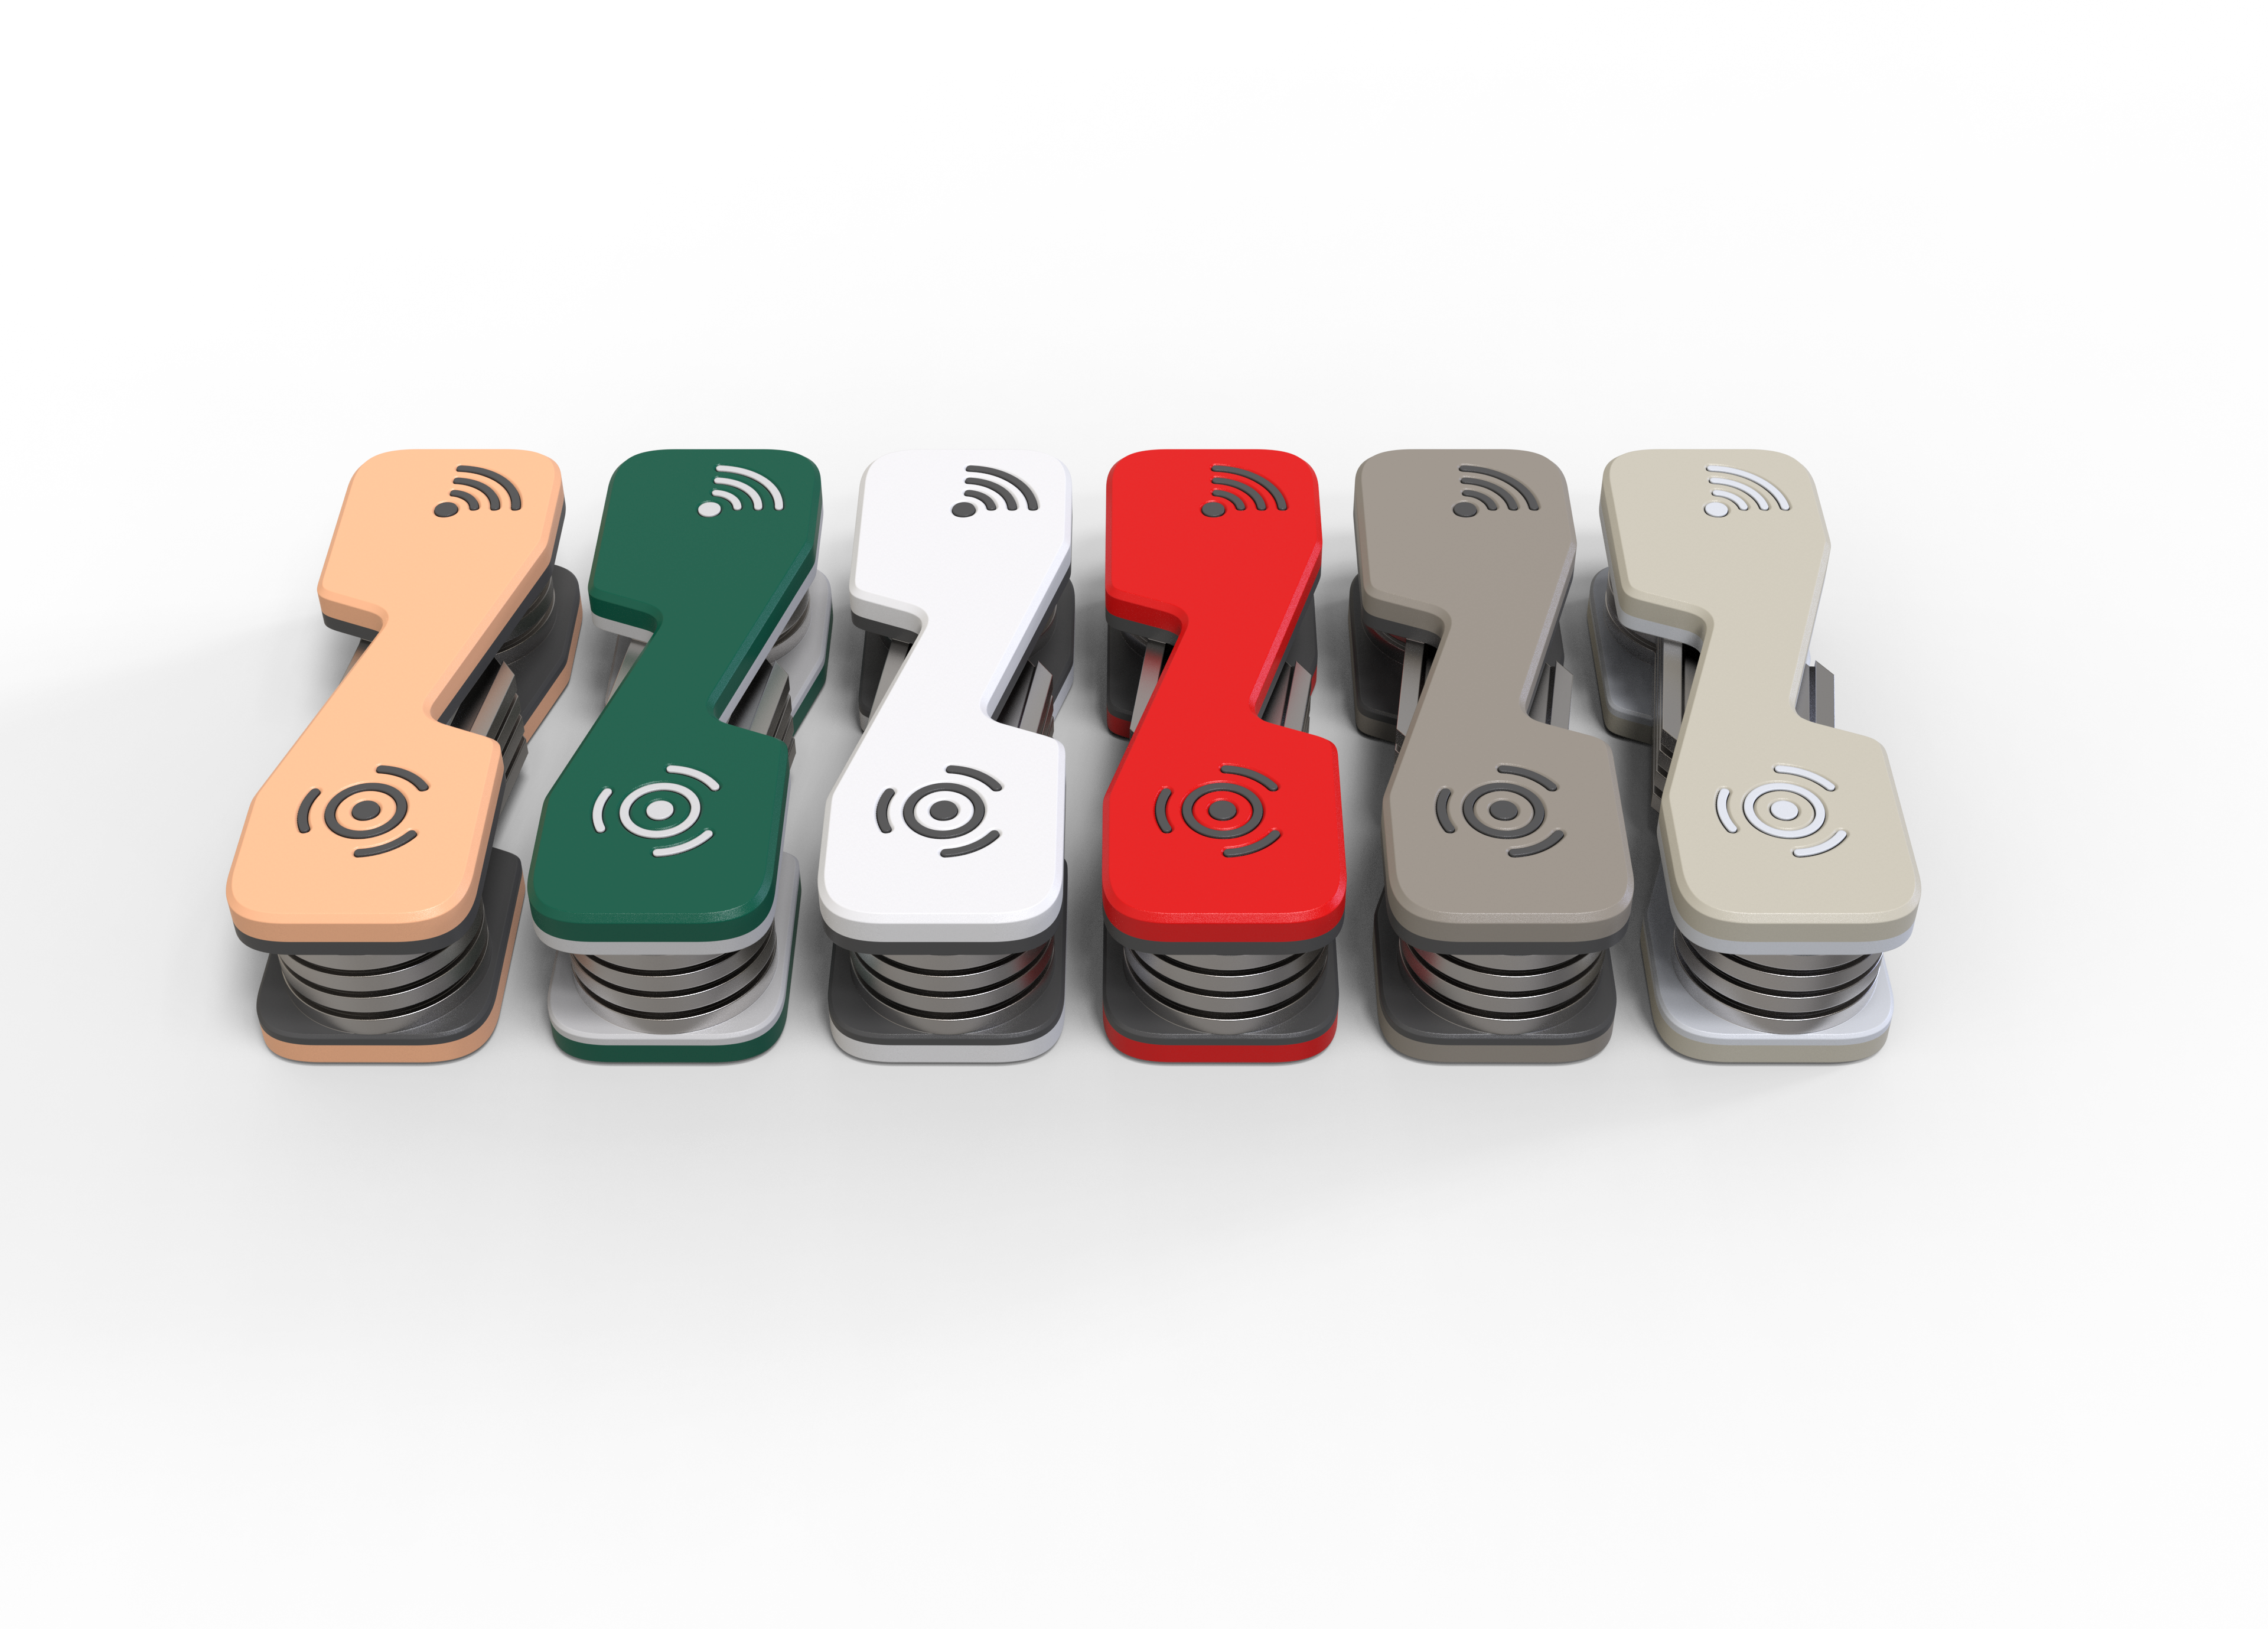
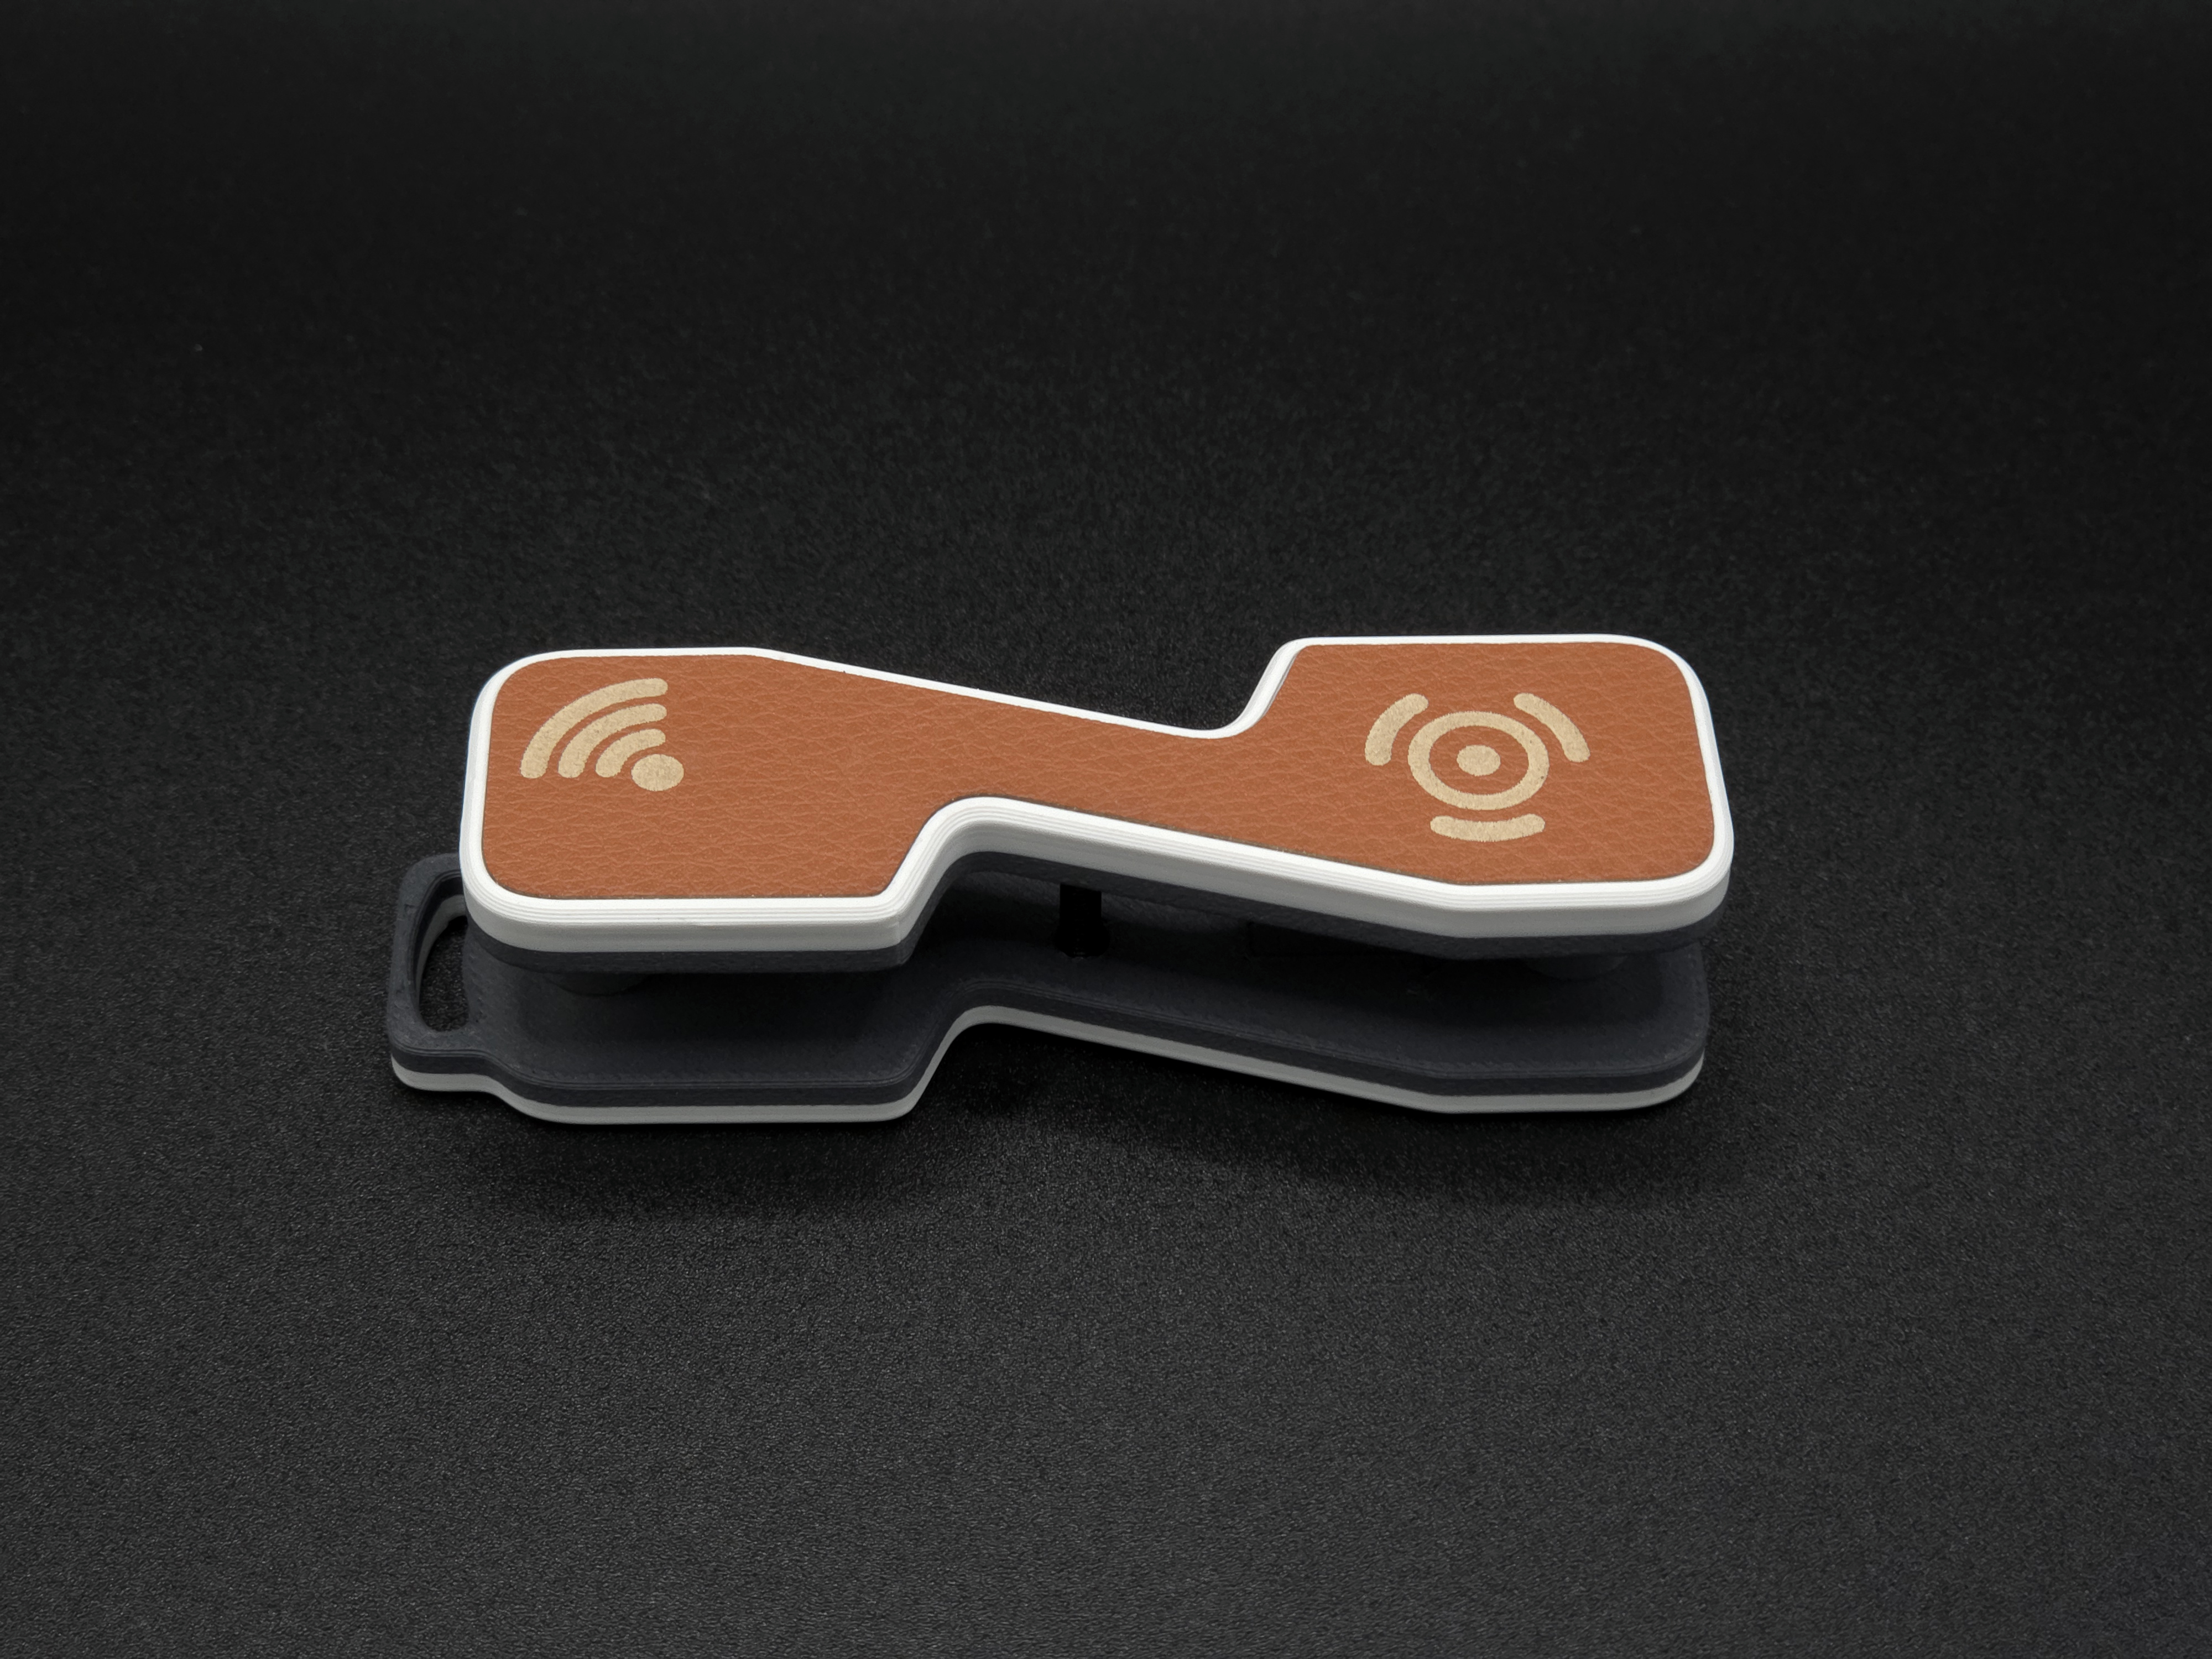
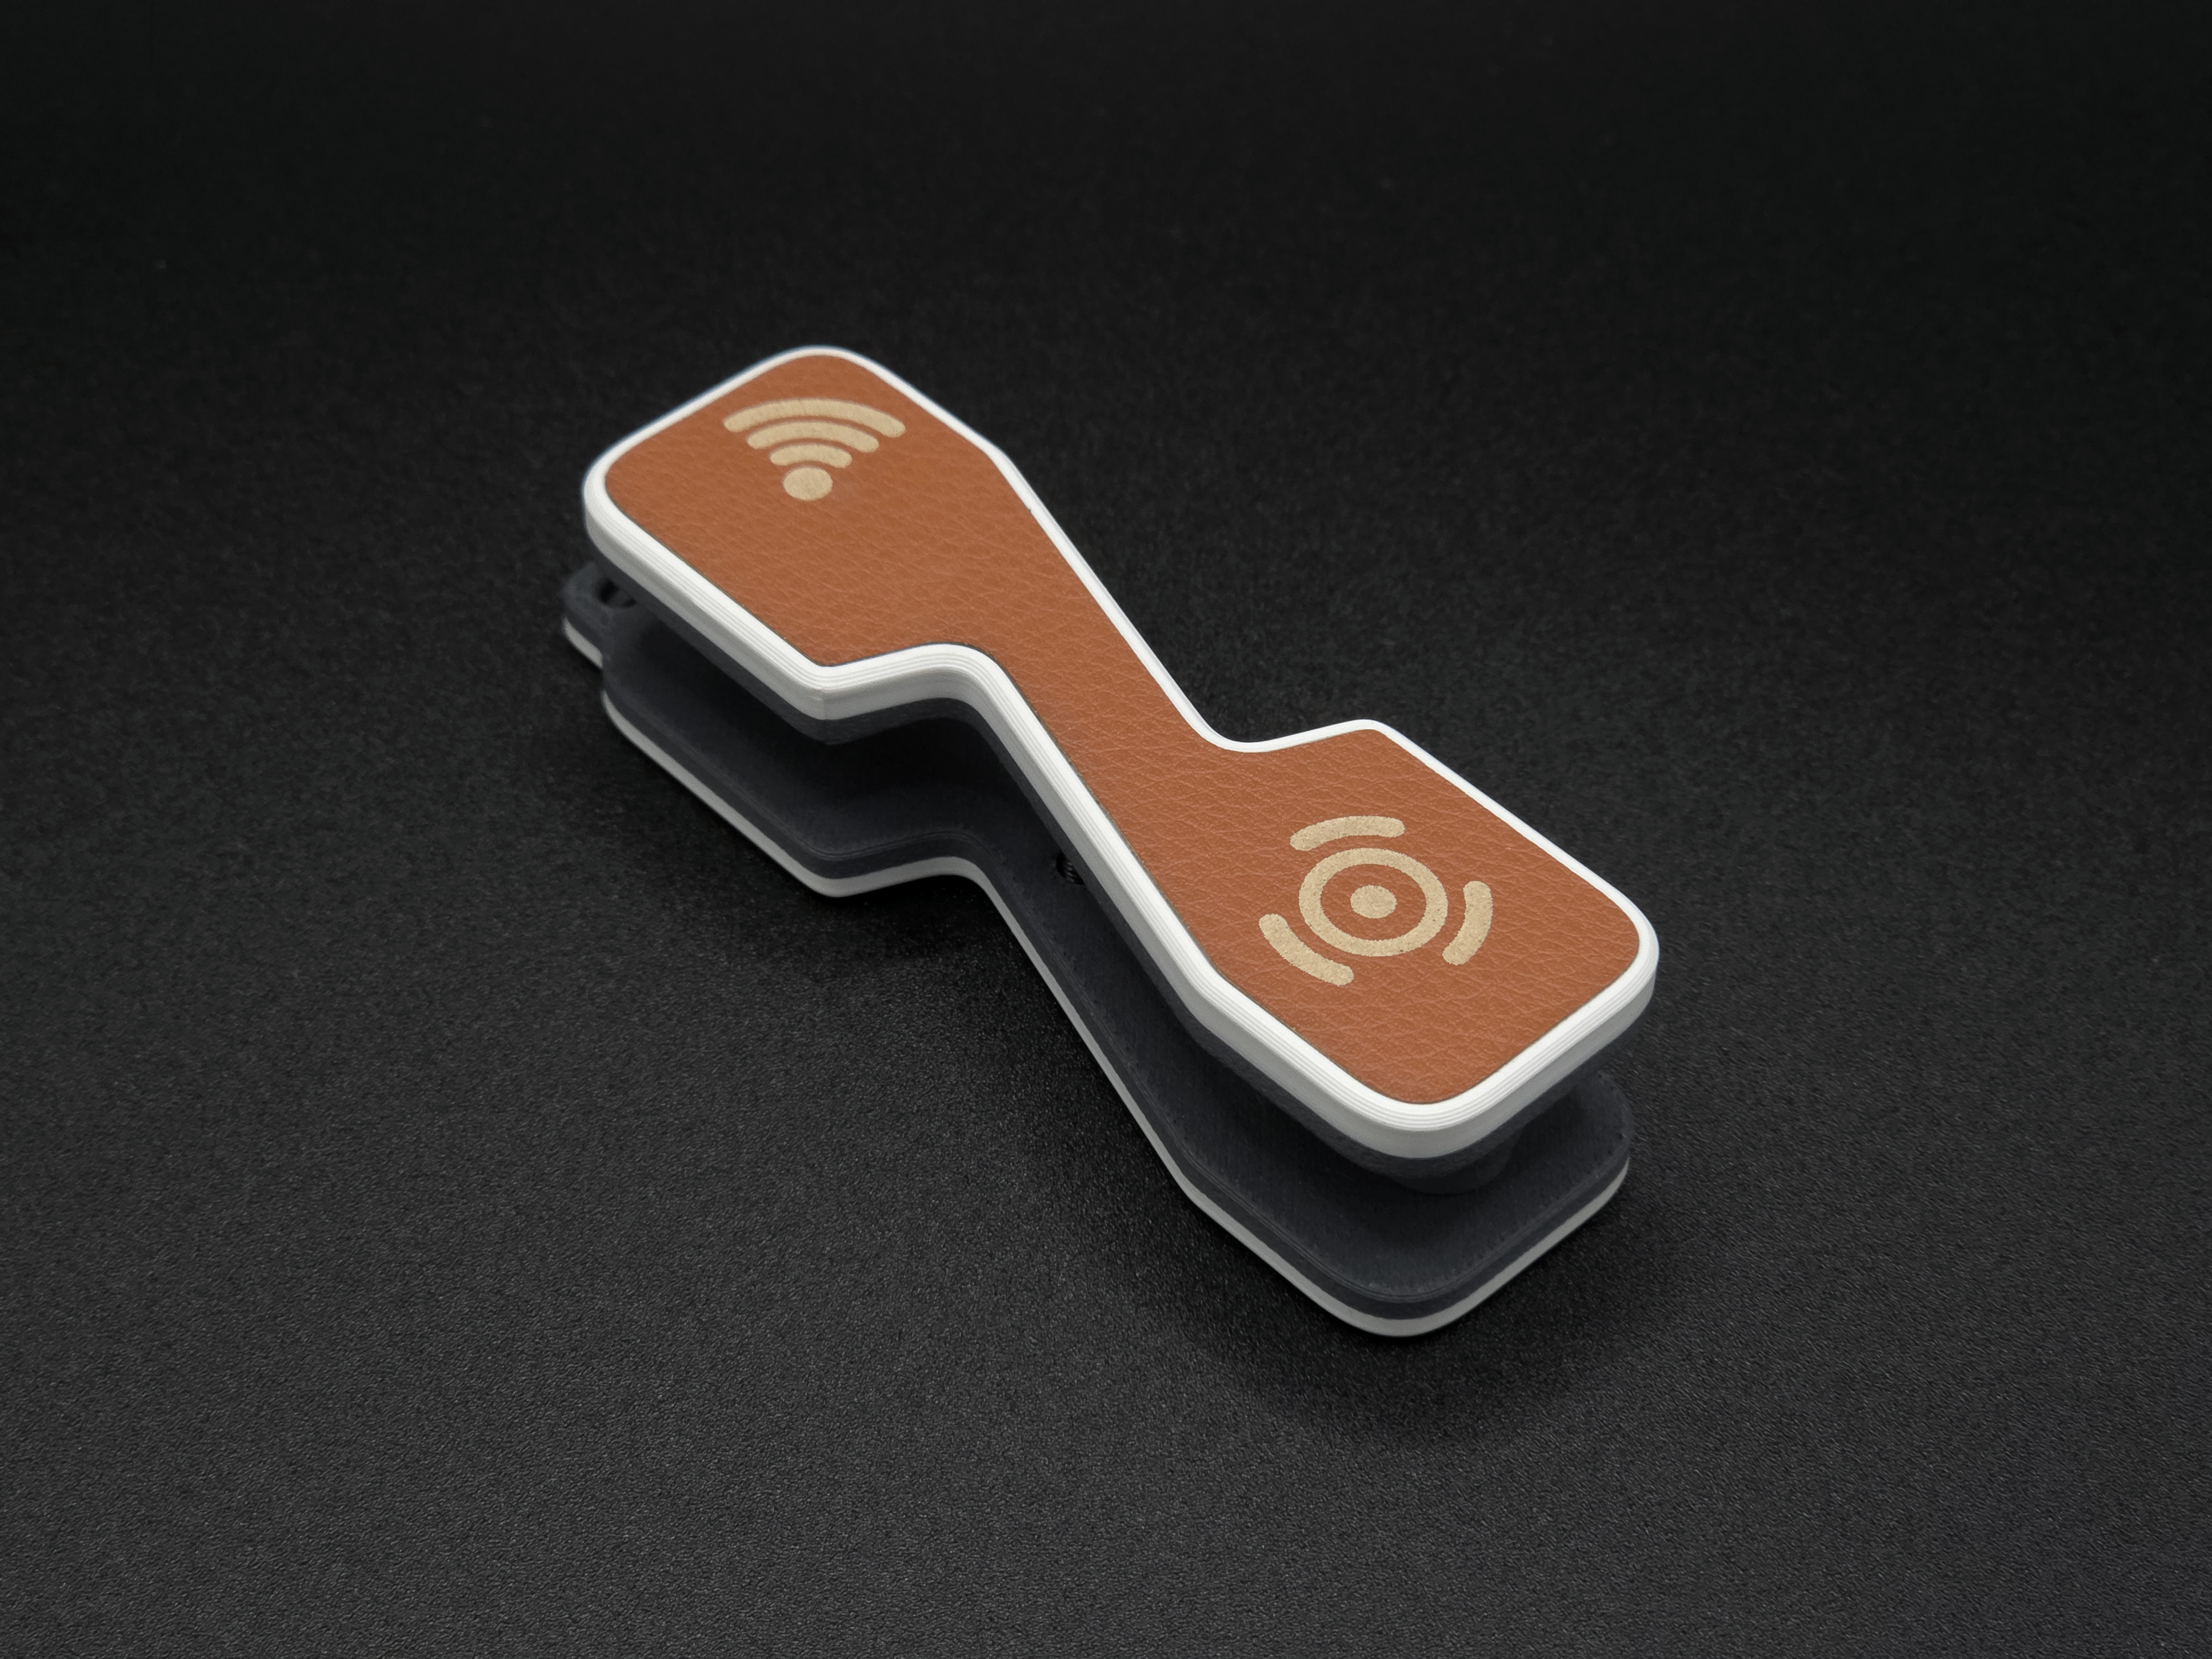
And there is a version with an extension loop where you can attach a GPS tracker or your car fob.
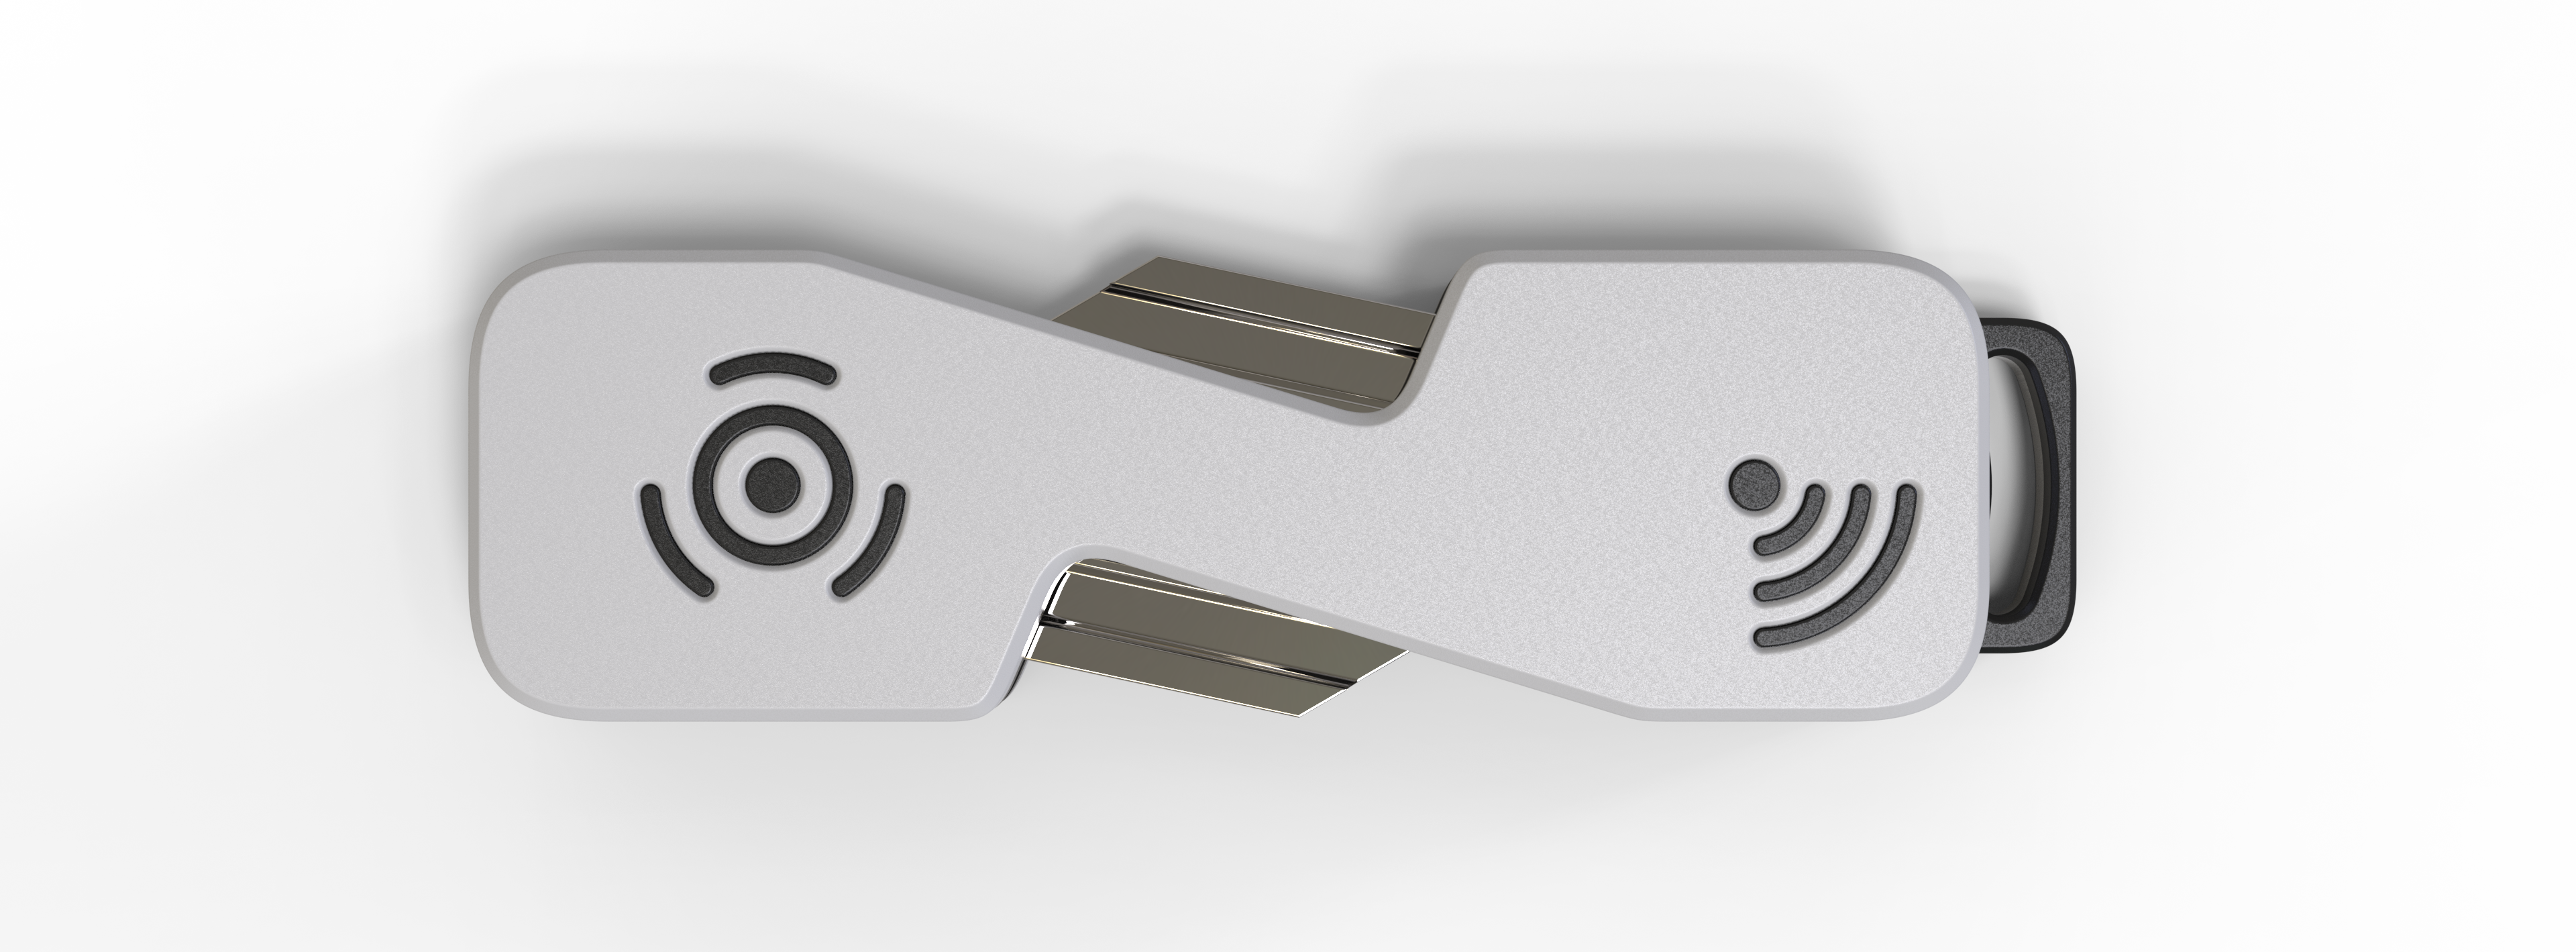
For those with a smart home system like Home Assistant, the possibilities are even greater. You can program the RFID tag to trigger a series of automated actions simply by tapping your keyholder against an RFID scanner (like your phone or a wall-mounted sensor). Imagine this:
- As you leave the house, a single tap can open the garage door and turn on the entryway lights.
- As you arrive home, a tap can close the garage door and activate the entryway lights.
How to program the NFC Tag
Featured application (free version) - NFC Tools:
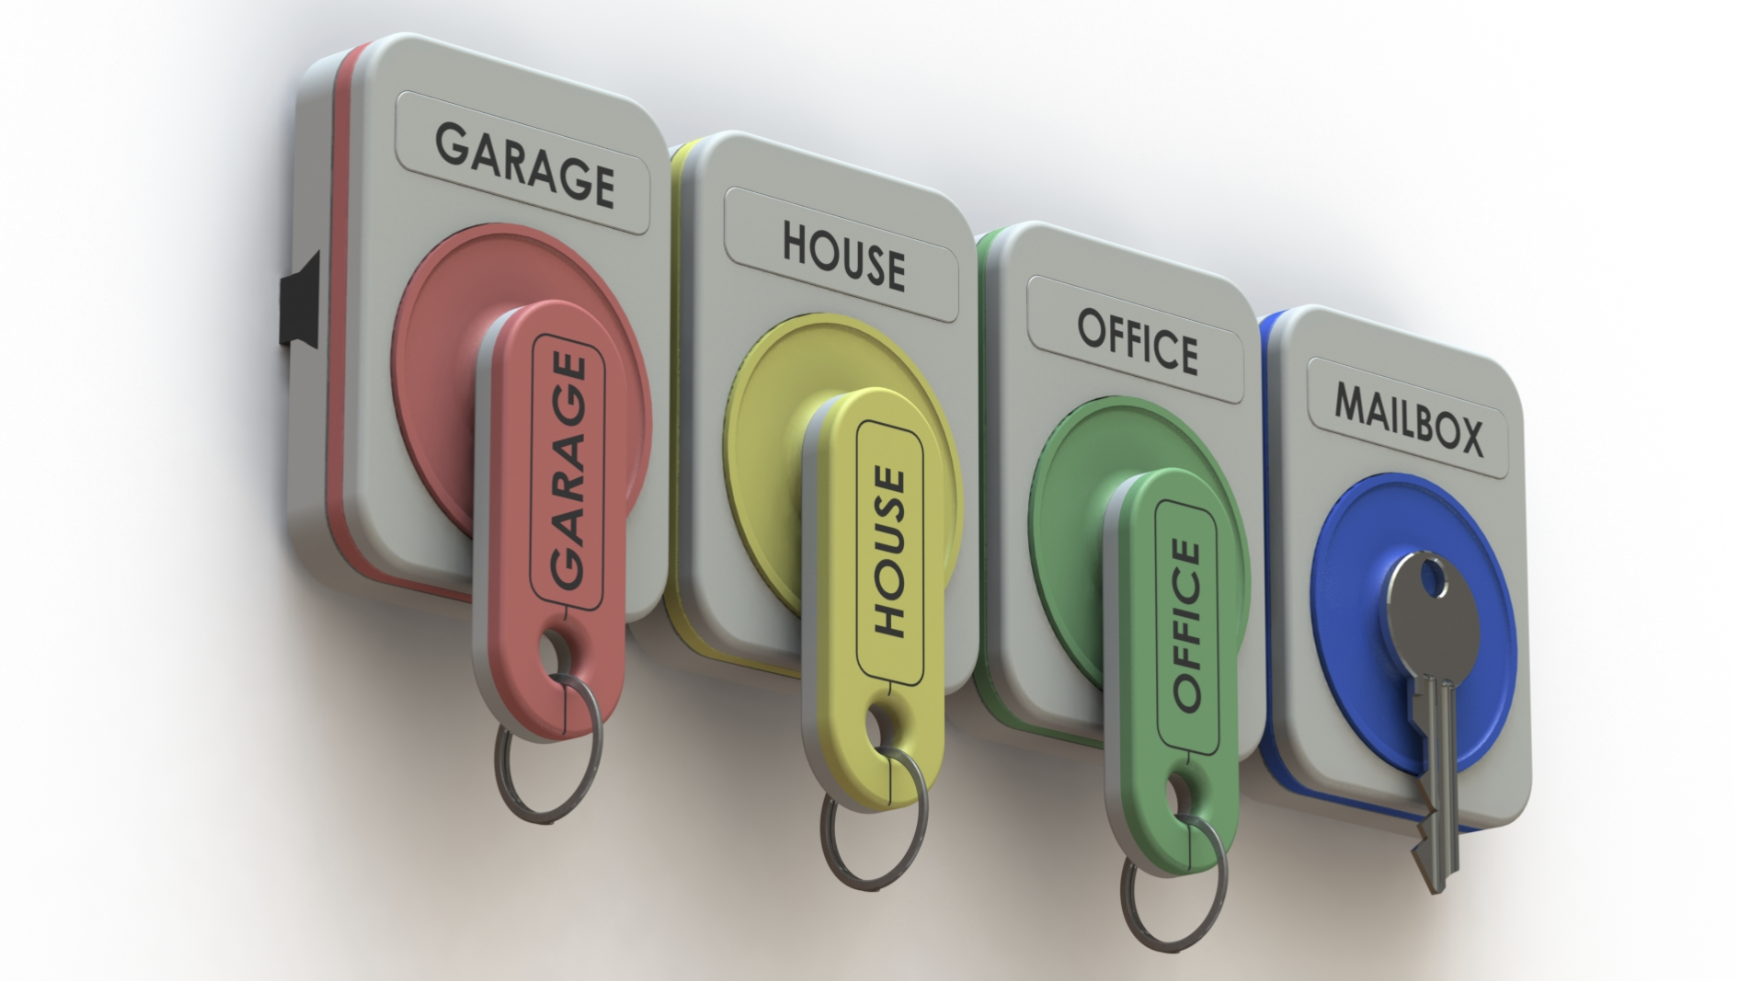
The integrated magnet provides another layer of convenience. It allows you to hang your keyholder on a compatible key holder, such as the one I designed that won first place in a Printables contest.
You can check that project here on Makerworkd
Materials and Tools Needed
- M3 hex socket screws (length will depend on the number of keys, so, choose the best that fits you on the bill of materials)
- RFID tag (with a maximum diameter of 25 mm)—optional
- Magnet (10 mm in diameter and 3 mm thick)—optional
- Spacer rings (included in the print profile)
- A couple of blade keys.
The RFID and magnet functions are optional. If you do not wish to use these extra features, simply resume the print after each pause.
The Construction Process (Step-by-Step)
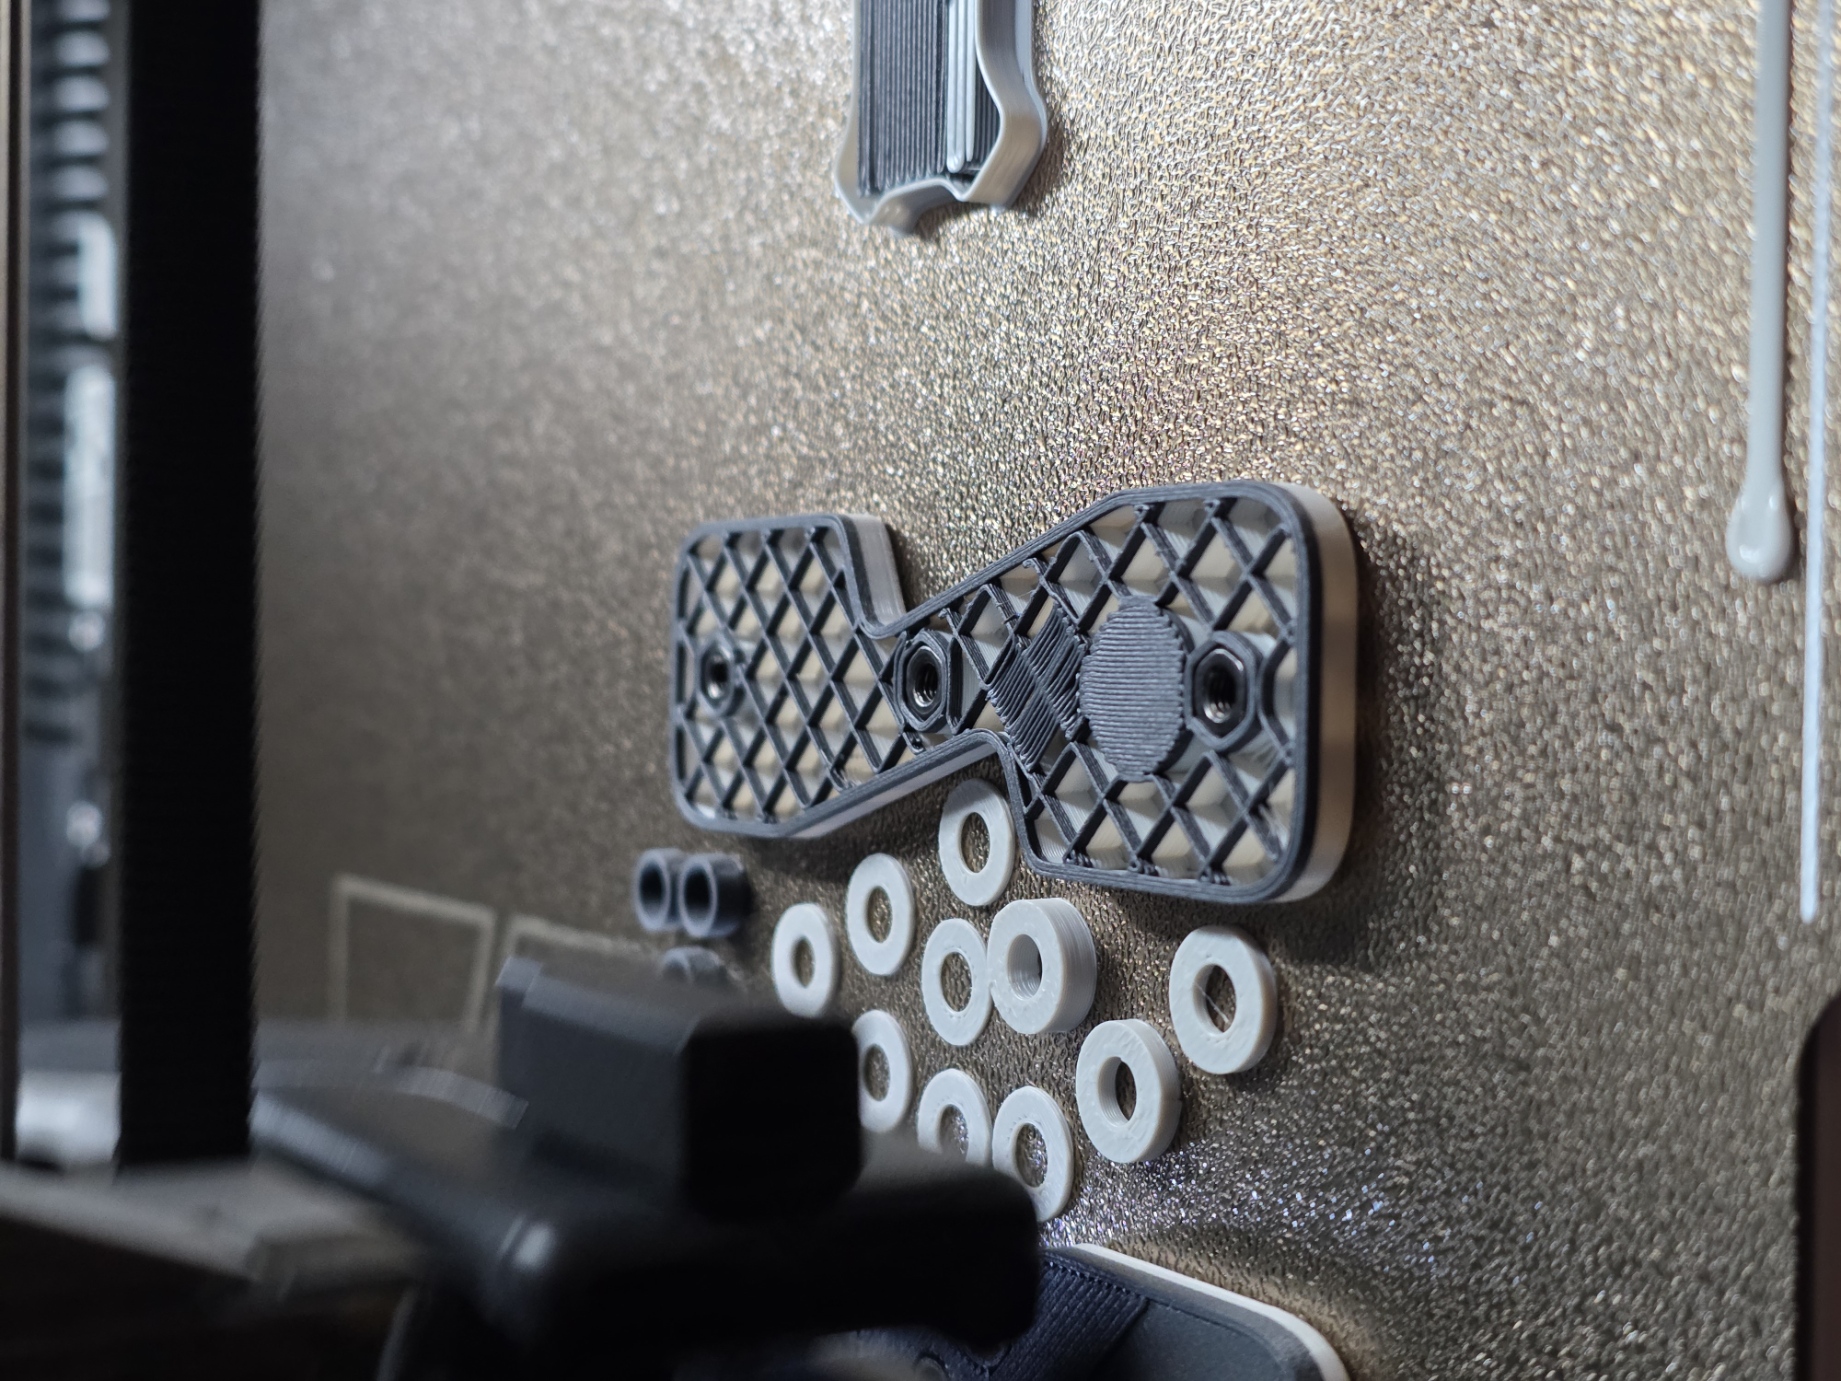
The keyholder is the result of a detailed design. For a cohesive and clean look, features like the screw head plugs and hexagonal nuts are embedded during the printing process.
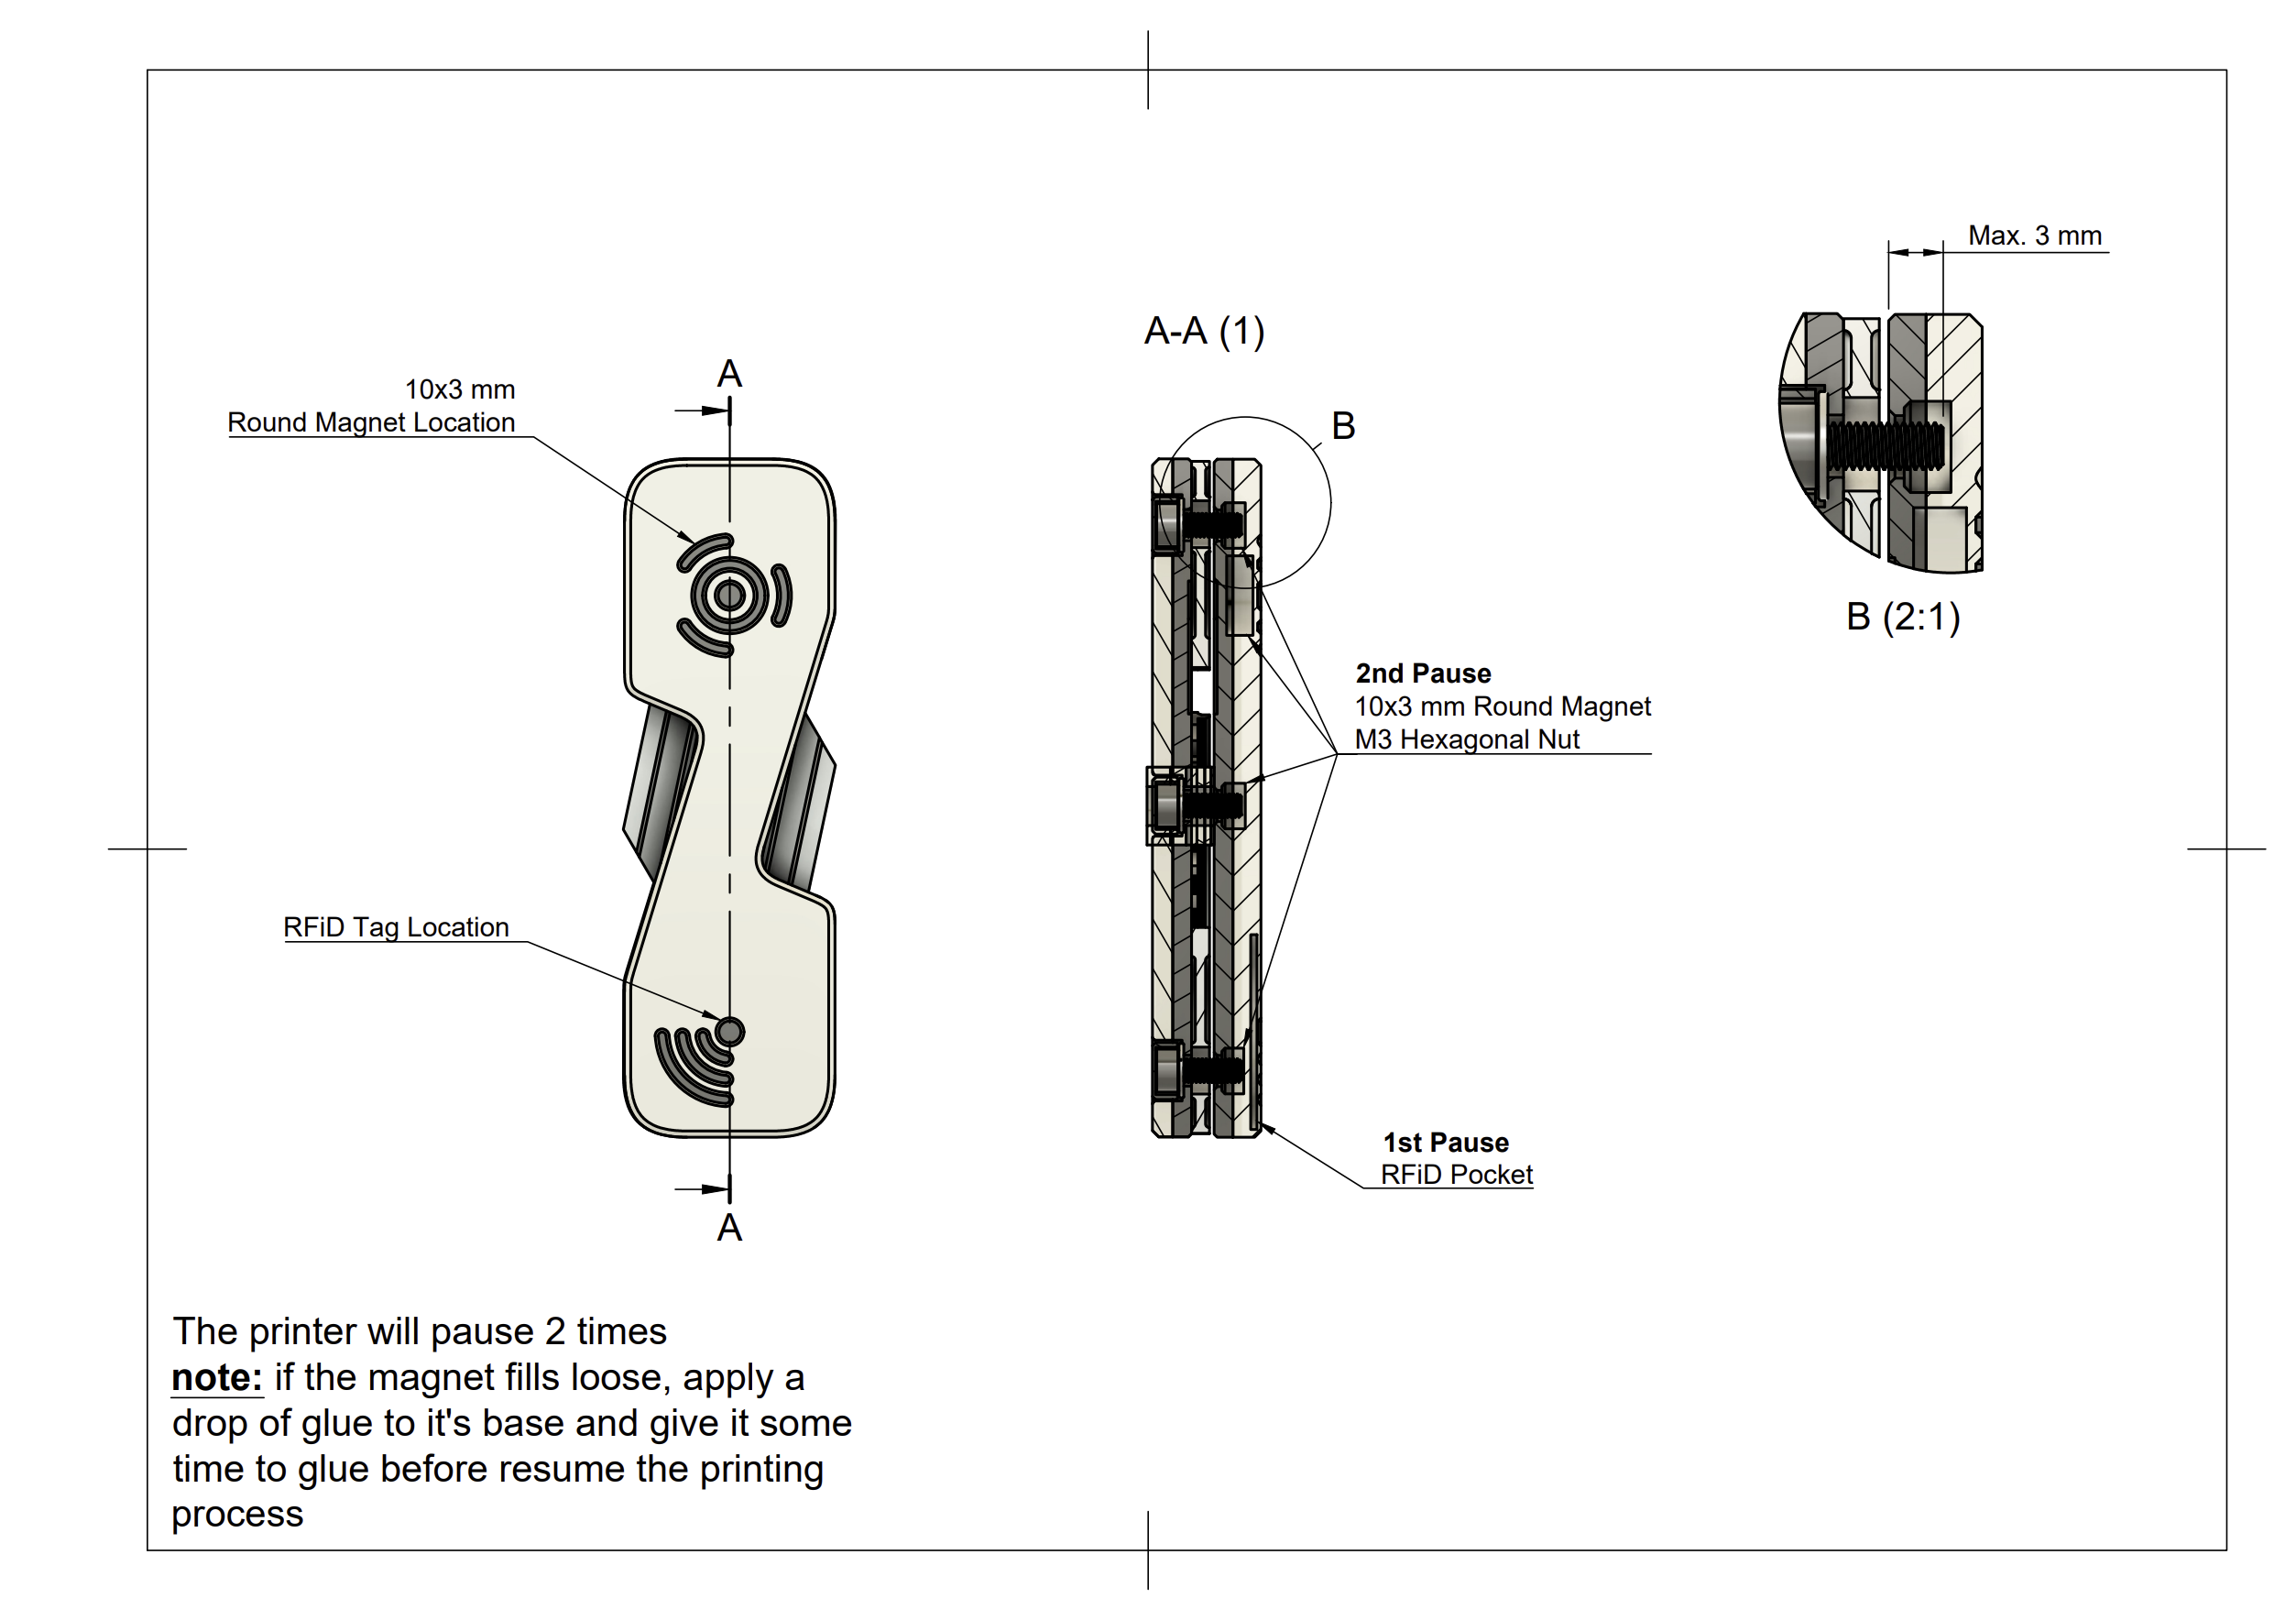
- Measure and Prepare: Measure the thickness of your stack of keys to determine the ideal screw length and the number of spacer rings to use. The screw pin should be between 2.5 to 3 mm above the top key, as shown in the image in the print profile.
- The spacer rings will help create stacks of the same height on both sides. You will find rings with thicknesses from 0.4 mm to 3 mm, allowing you to use three keys on one side and four on the other.
- Pause for the RFID Tag: During the print, the machine will pause for you to insert the 25 mm tag. If the tag is slightly too large, you can trim the excess with scissors or use a pointer to gently force it into the space.
- Pause for the Magnet: The printer will pause again for the placement of the 10 mm magnet. The fit is snug. If you find the magnet to be a little loose, you can apply a small amount of glue to the base to secure it. Give the glue time to set, as the printer will wait for you.
- Finish the Print: Continue the process until the part is complete.
Troubleshooting
- RFID Tag: If the tag is larger than 25 mm, you can trim the excess or use a tool to gently push it into the pocket.
- Loose Magnet: If the magnet does not fit snugly, apply a small amount of cyanoacrylate glue to secure it.
Assembling the keyholder
When assembling, you should start by aligning the two halves with the arrows on the inside pointing in the same direction. After that:
- Insert one of the screws and its corresponding washer into the hole.
- Place the keys one by one, inserting them onto the screw stud. Do not try to put both sets of keys on at the same time...
- Next, place the top part of the keyholder, the one with the nuts, aligning the two halves according to the arrows. Hand-tighten the first screw and nut.
- Now, do the same for the other side.
- Check if the height of the stack of keys is roughly the same.
- Check if the screw has the appropriate length, as mentioned in one of the previous points. It should be somewhere between 2.5 mm and 3 mm above the last key.
- Now it is the turn of the middle screw, which acts as a brake. None of the screws need to be tightly fastened; the tightening torque should be such that when the keys are turned, they should offer some resistance; what cannot happen is for the keys to fall out of their resting place just under the action of gravity. Finally, place the plugs on the screw heads to finish the assembly.
Final Considerations and Call to Action
To expand its functionality, the RFID tag can be programmed to automate actions in your smart home, such as opening and closing the garage door or turning on lights, simply by tapping it against your phone or a dedicated scanner.
I encourage you to try the design and share your creations or questions with the community.
Change log
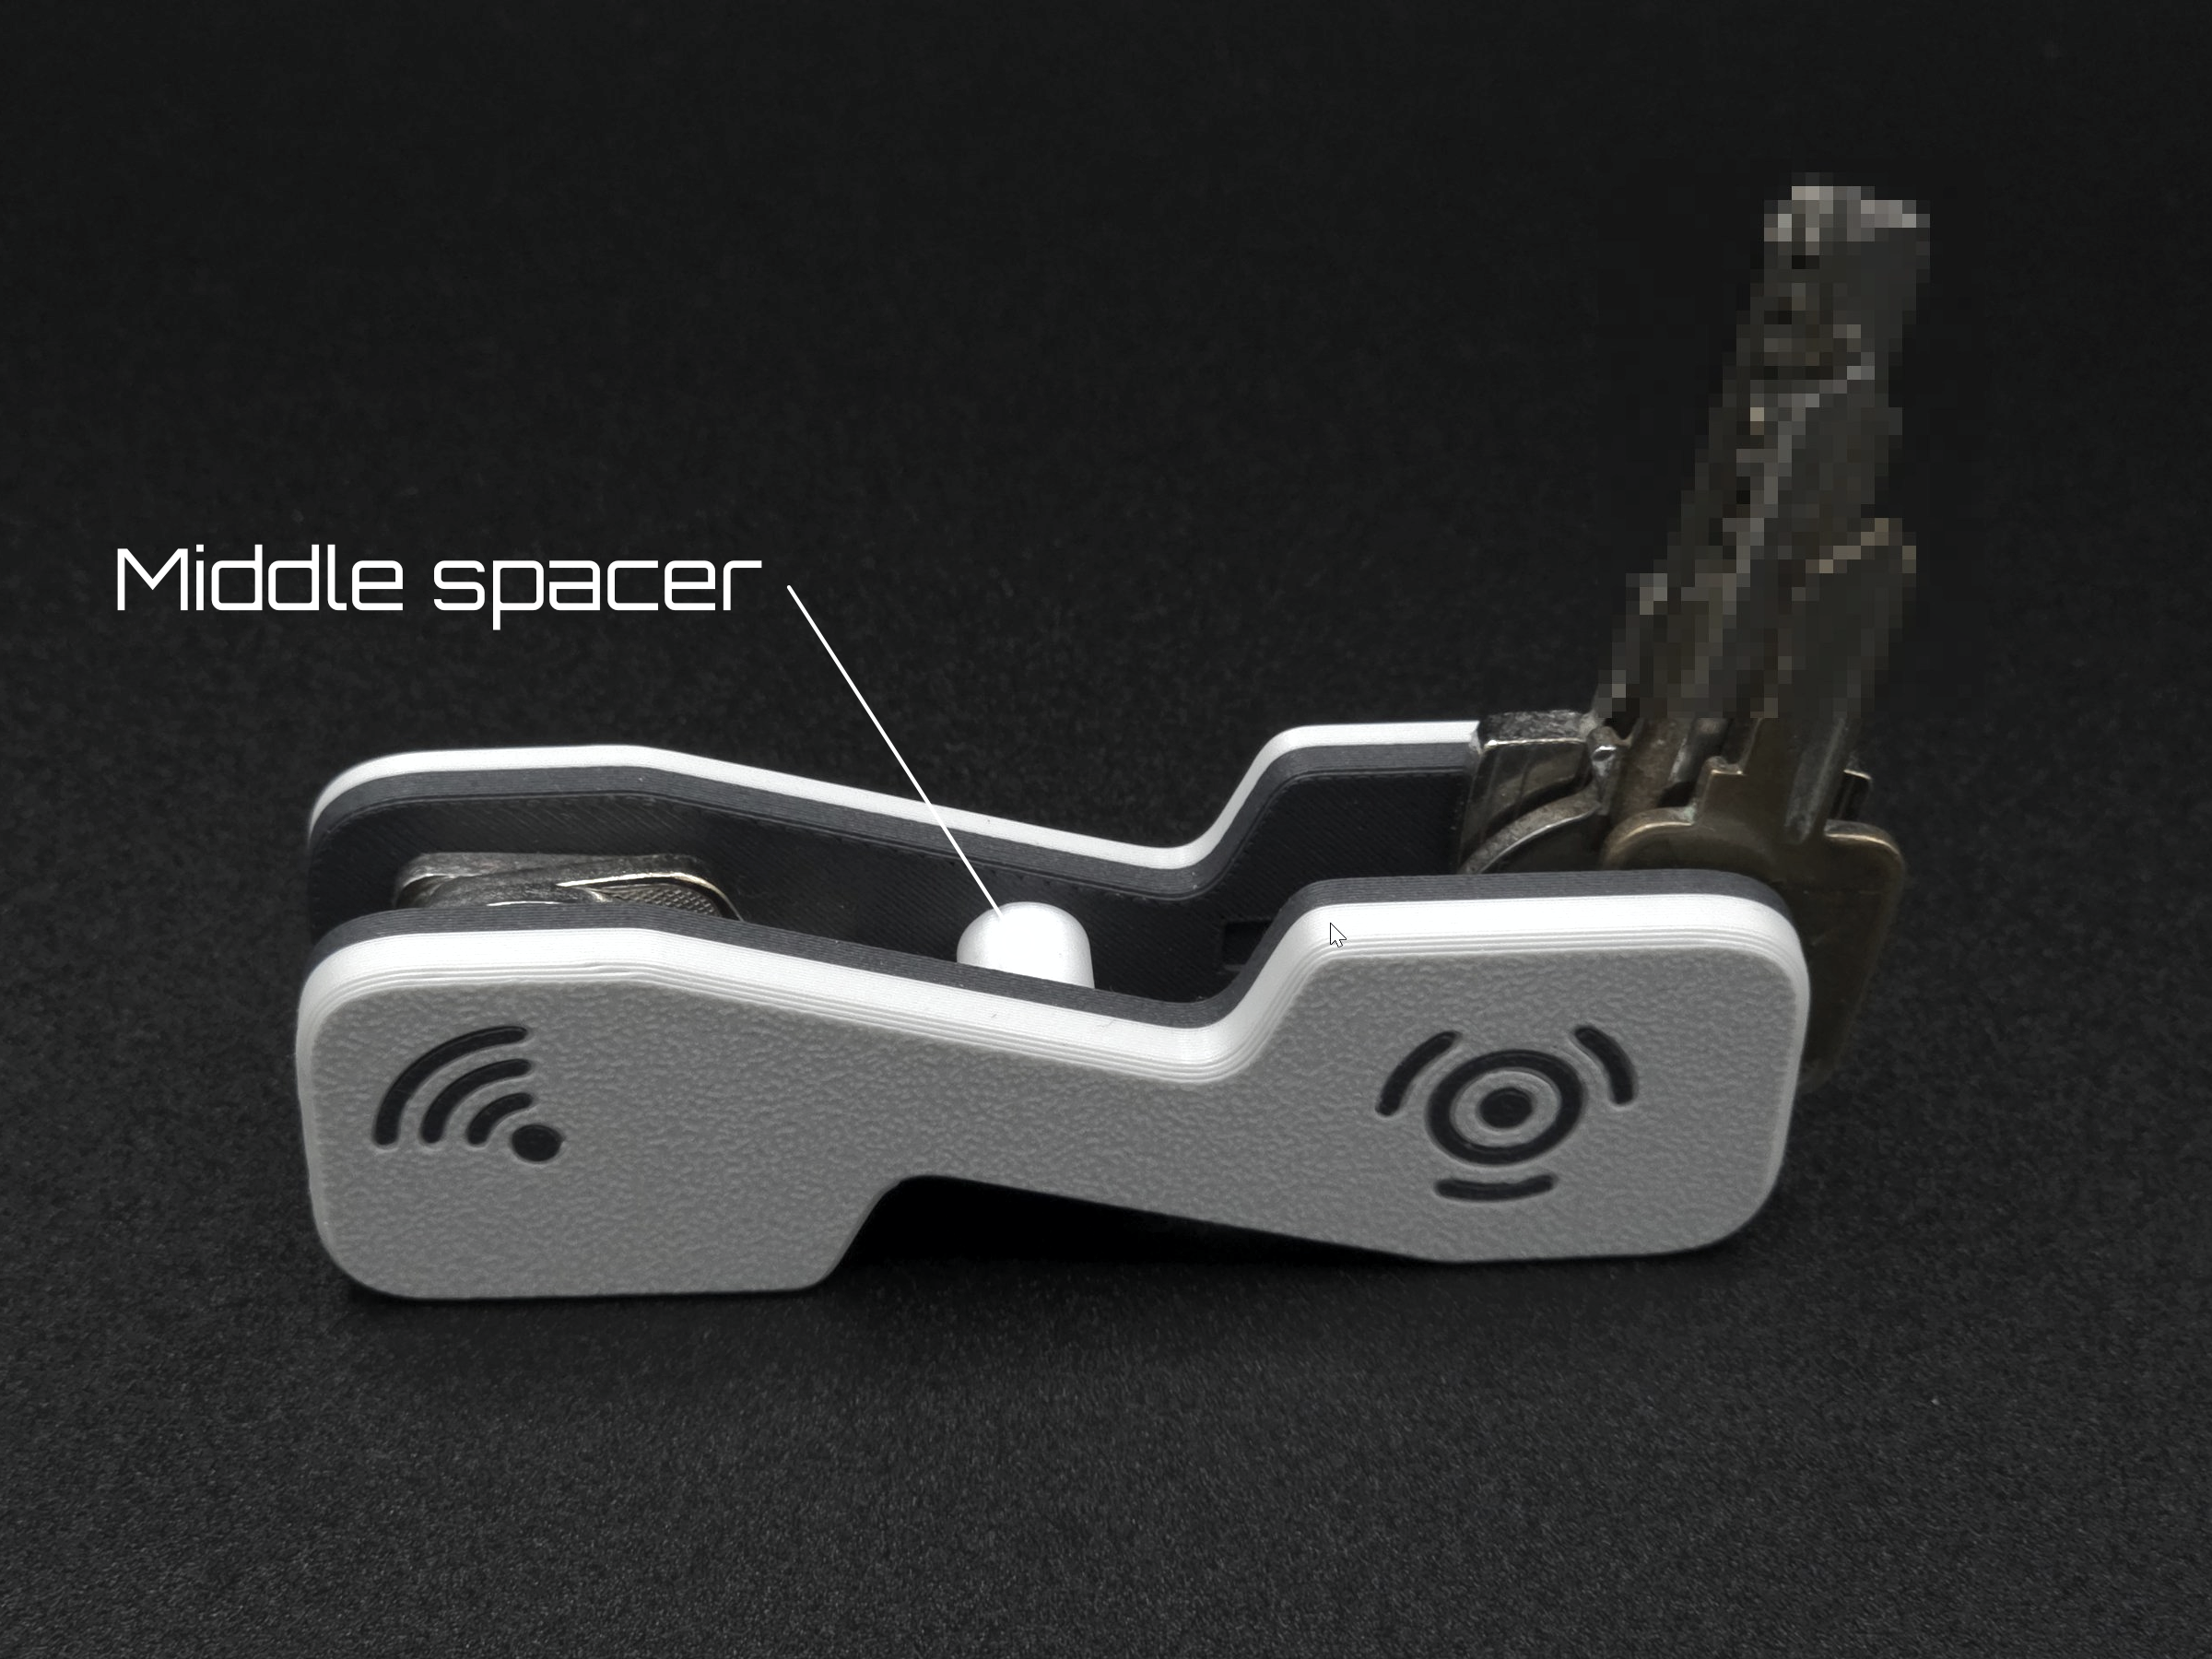
- 12/08/2025 - An extra piece, a spacer, has been added. It can be placed on the central support screw to move the blade of the key slightly further away, allowing them to be removed more easily.
- To change the size of the central spacer, you should use the "scale" command available in the slicer. The scaling should not be uniform; you should only change the dimension along the Z-axis. This will make the height of the piece increase or decrease according to the set of keys.
Change Log
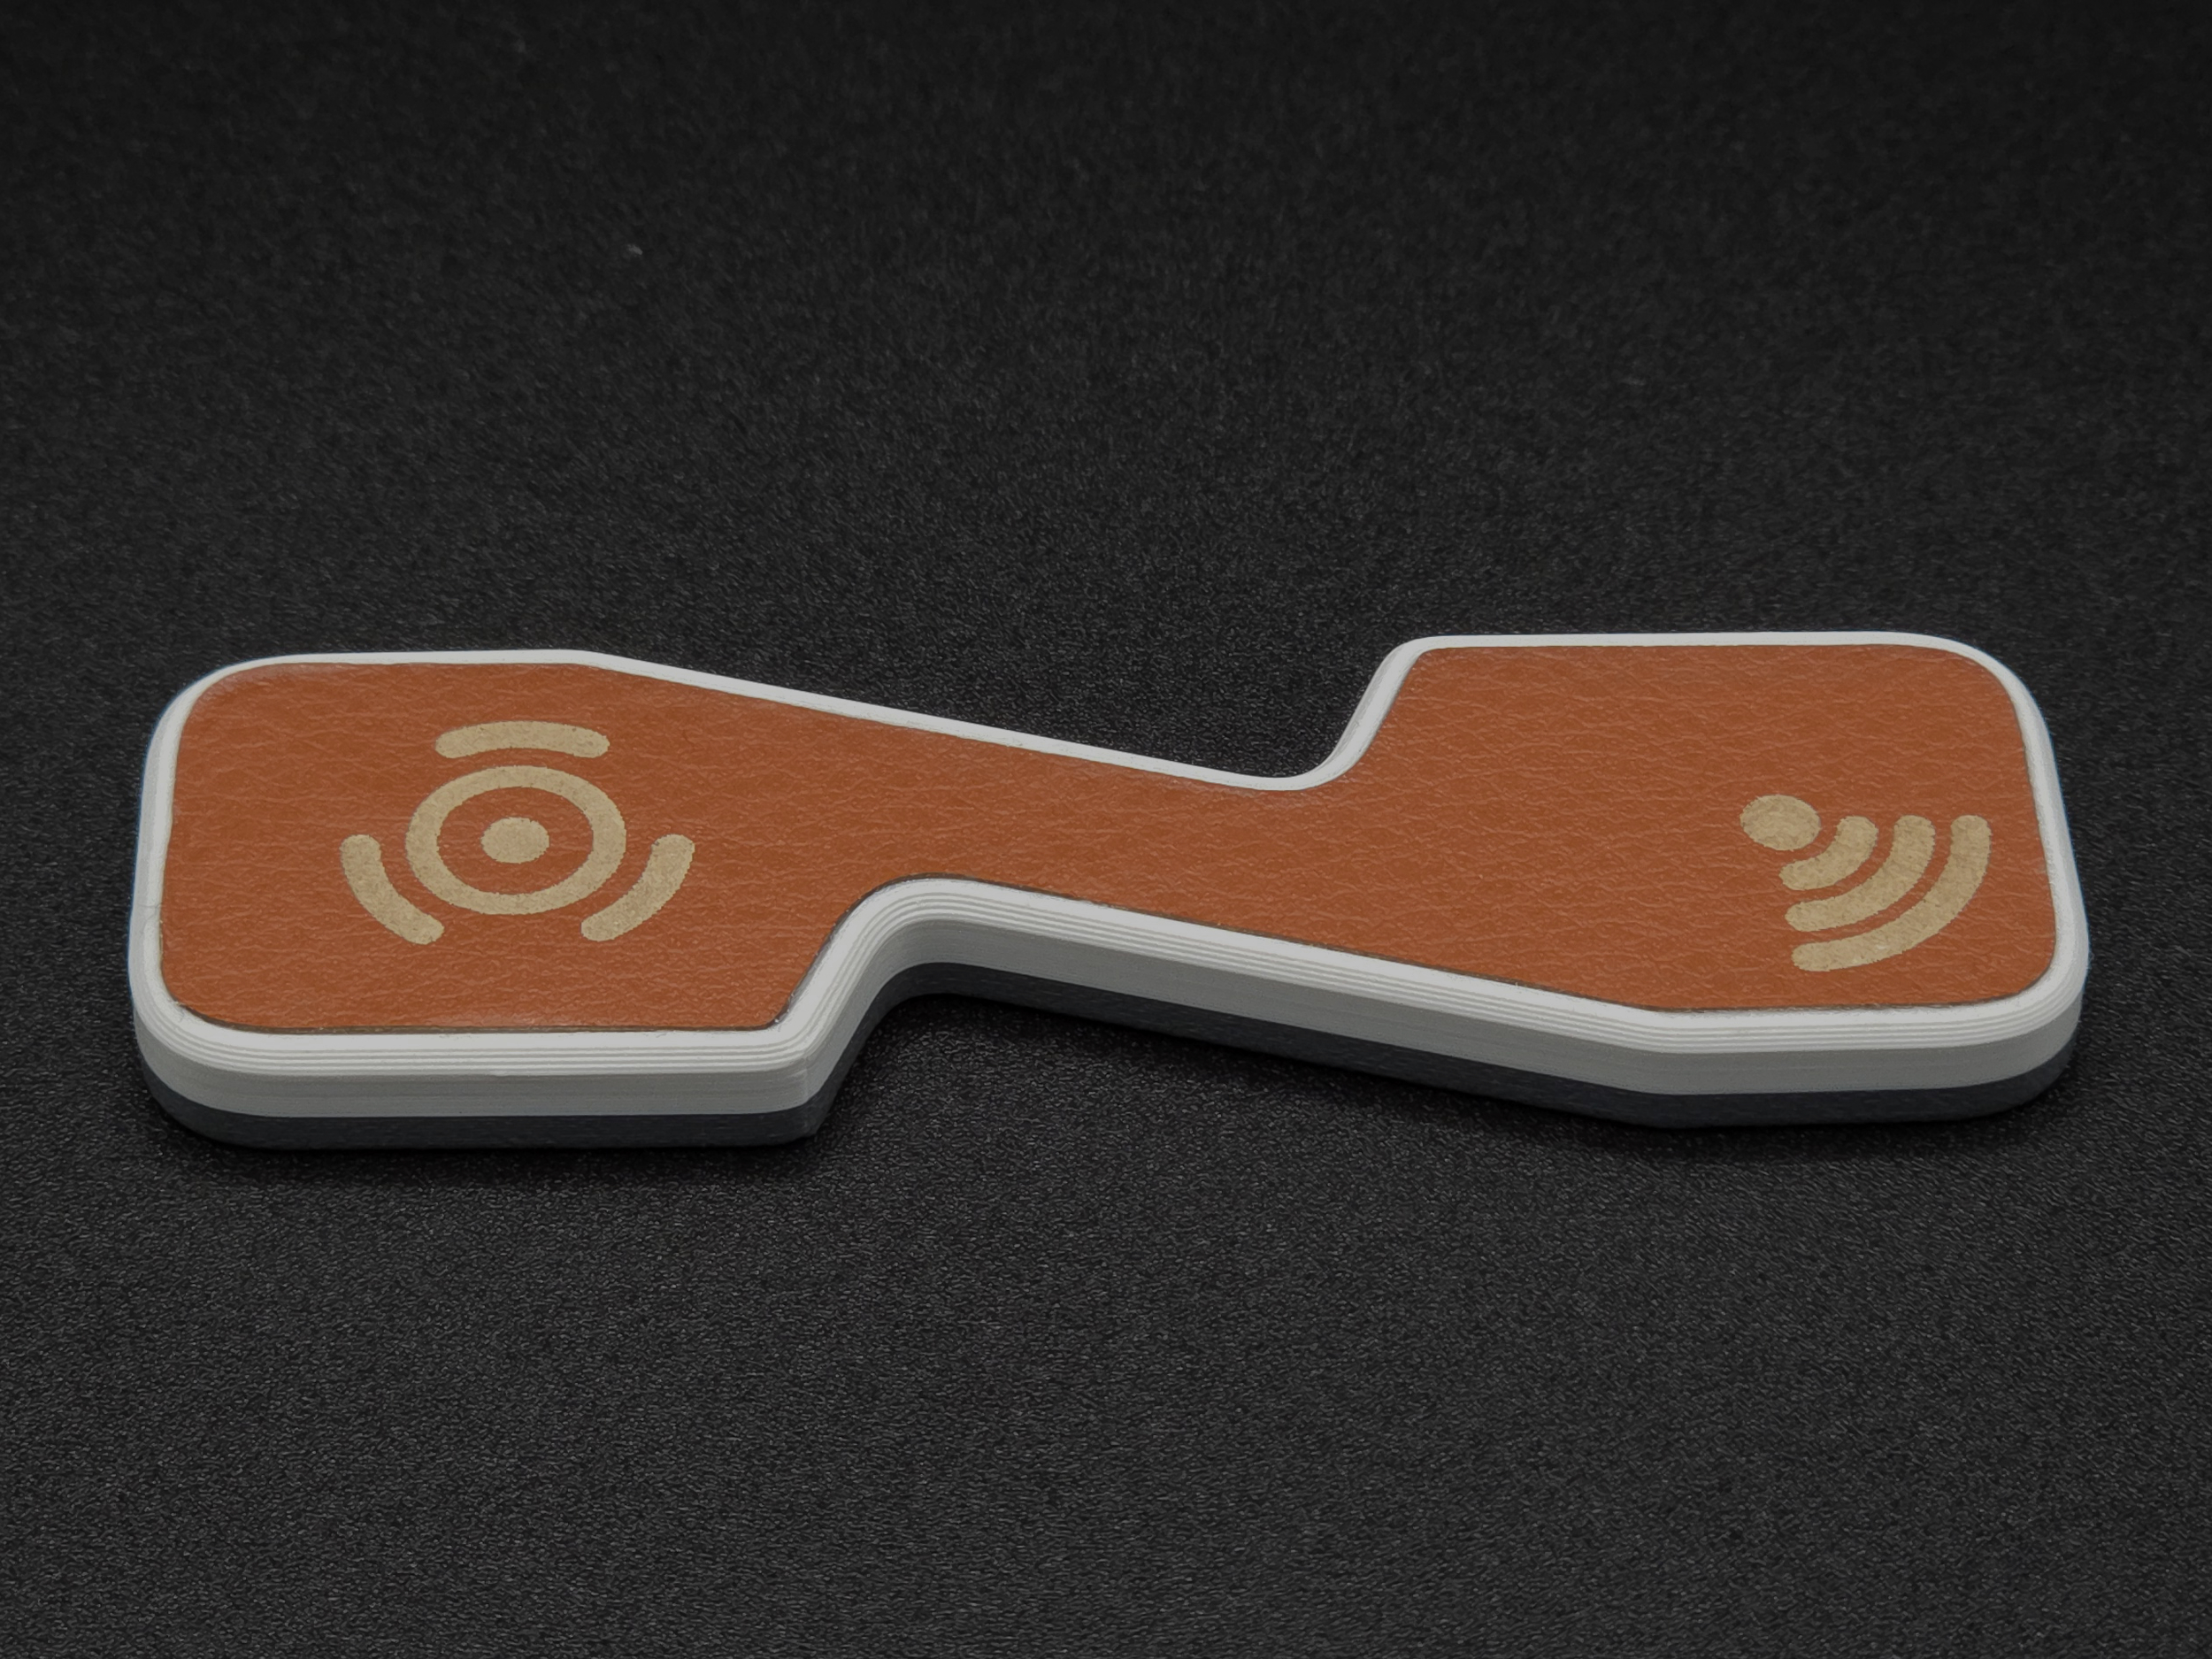
16/08/2025—A leather profile with laser-cut PU leather is also available. This is made on the Bambu Lab H2D Laser Combo

Gostou deste modelo? Crie uma conta grátis para salvar seus favoritos e voltar a eles depois.
Criar conta