Você está no 3DFinder
Buscamos em Thingiverse, MakerWorld e Printables ao mesmo tempo para te dar o melhor de cada uma.
Descrição
🧢 Flexes like a Baseball Cap 🧢 Even more stylish and durable 🧢
Inspired by the makers and youtubers featuring @3dxav's Future Cap - I had to wonder, could we print a truely breathable wearable cap. This fabric like design is super light and most importantly built to flex like a baseball cap.
The visor and panels are all printed in TPU, only the inner seam was printed in PETG to hold the shape. Both filaments are suitably heat resistant for wearing outside in the sun. Transparent Blue TPU was used to highlight the design and also cast a sparkling blue glow onto the face of the wearer.
The .3mf model does not include a logo design for the front panel - if you want to add one then import a SVG or STL into Bambu Studio and use it as a modifier object to change filament. The photos for this design used the Maker World Logo model by @Ben_Alger.
Because this is printed in TPU it is very strong and durable, it's waterproof and always returns back to it's original cap shape. You can throw it in your sports bag, scrunch it up into a ball, and it will bounce back and look just as stylish as if it were brand new.
ℹ️ Assembly Instructions 📋:
Note: this initial prototype required plastic welding of the panels together using a soldering iron. I have some ideas for the next version to make assembly much simpler.
Print the seam in PETG - it includes small pins to orient and attach each of the side and back panels.
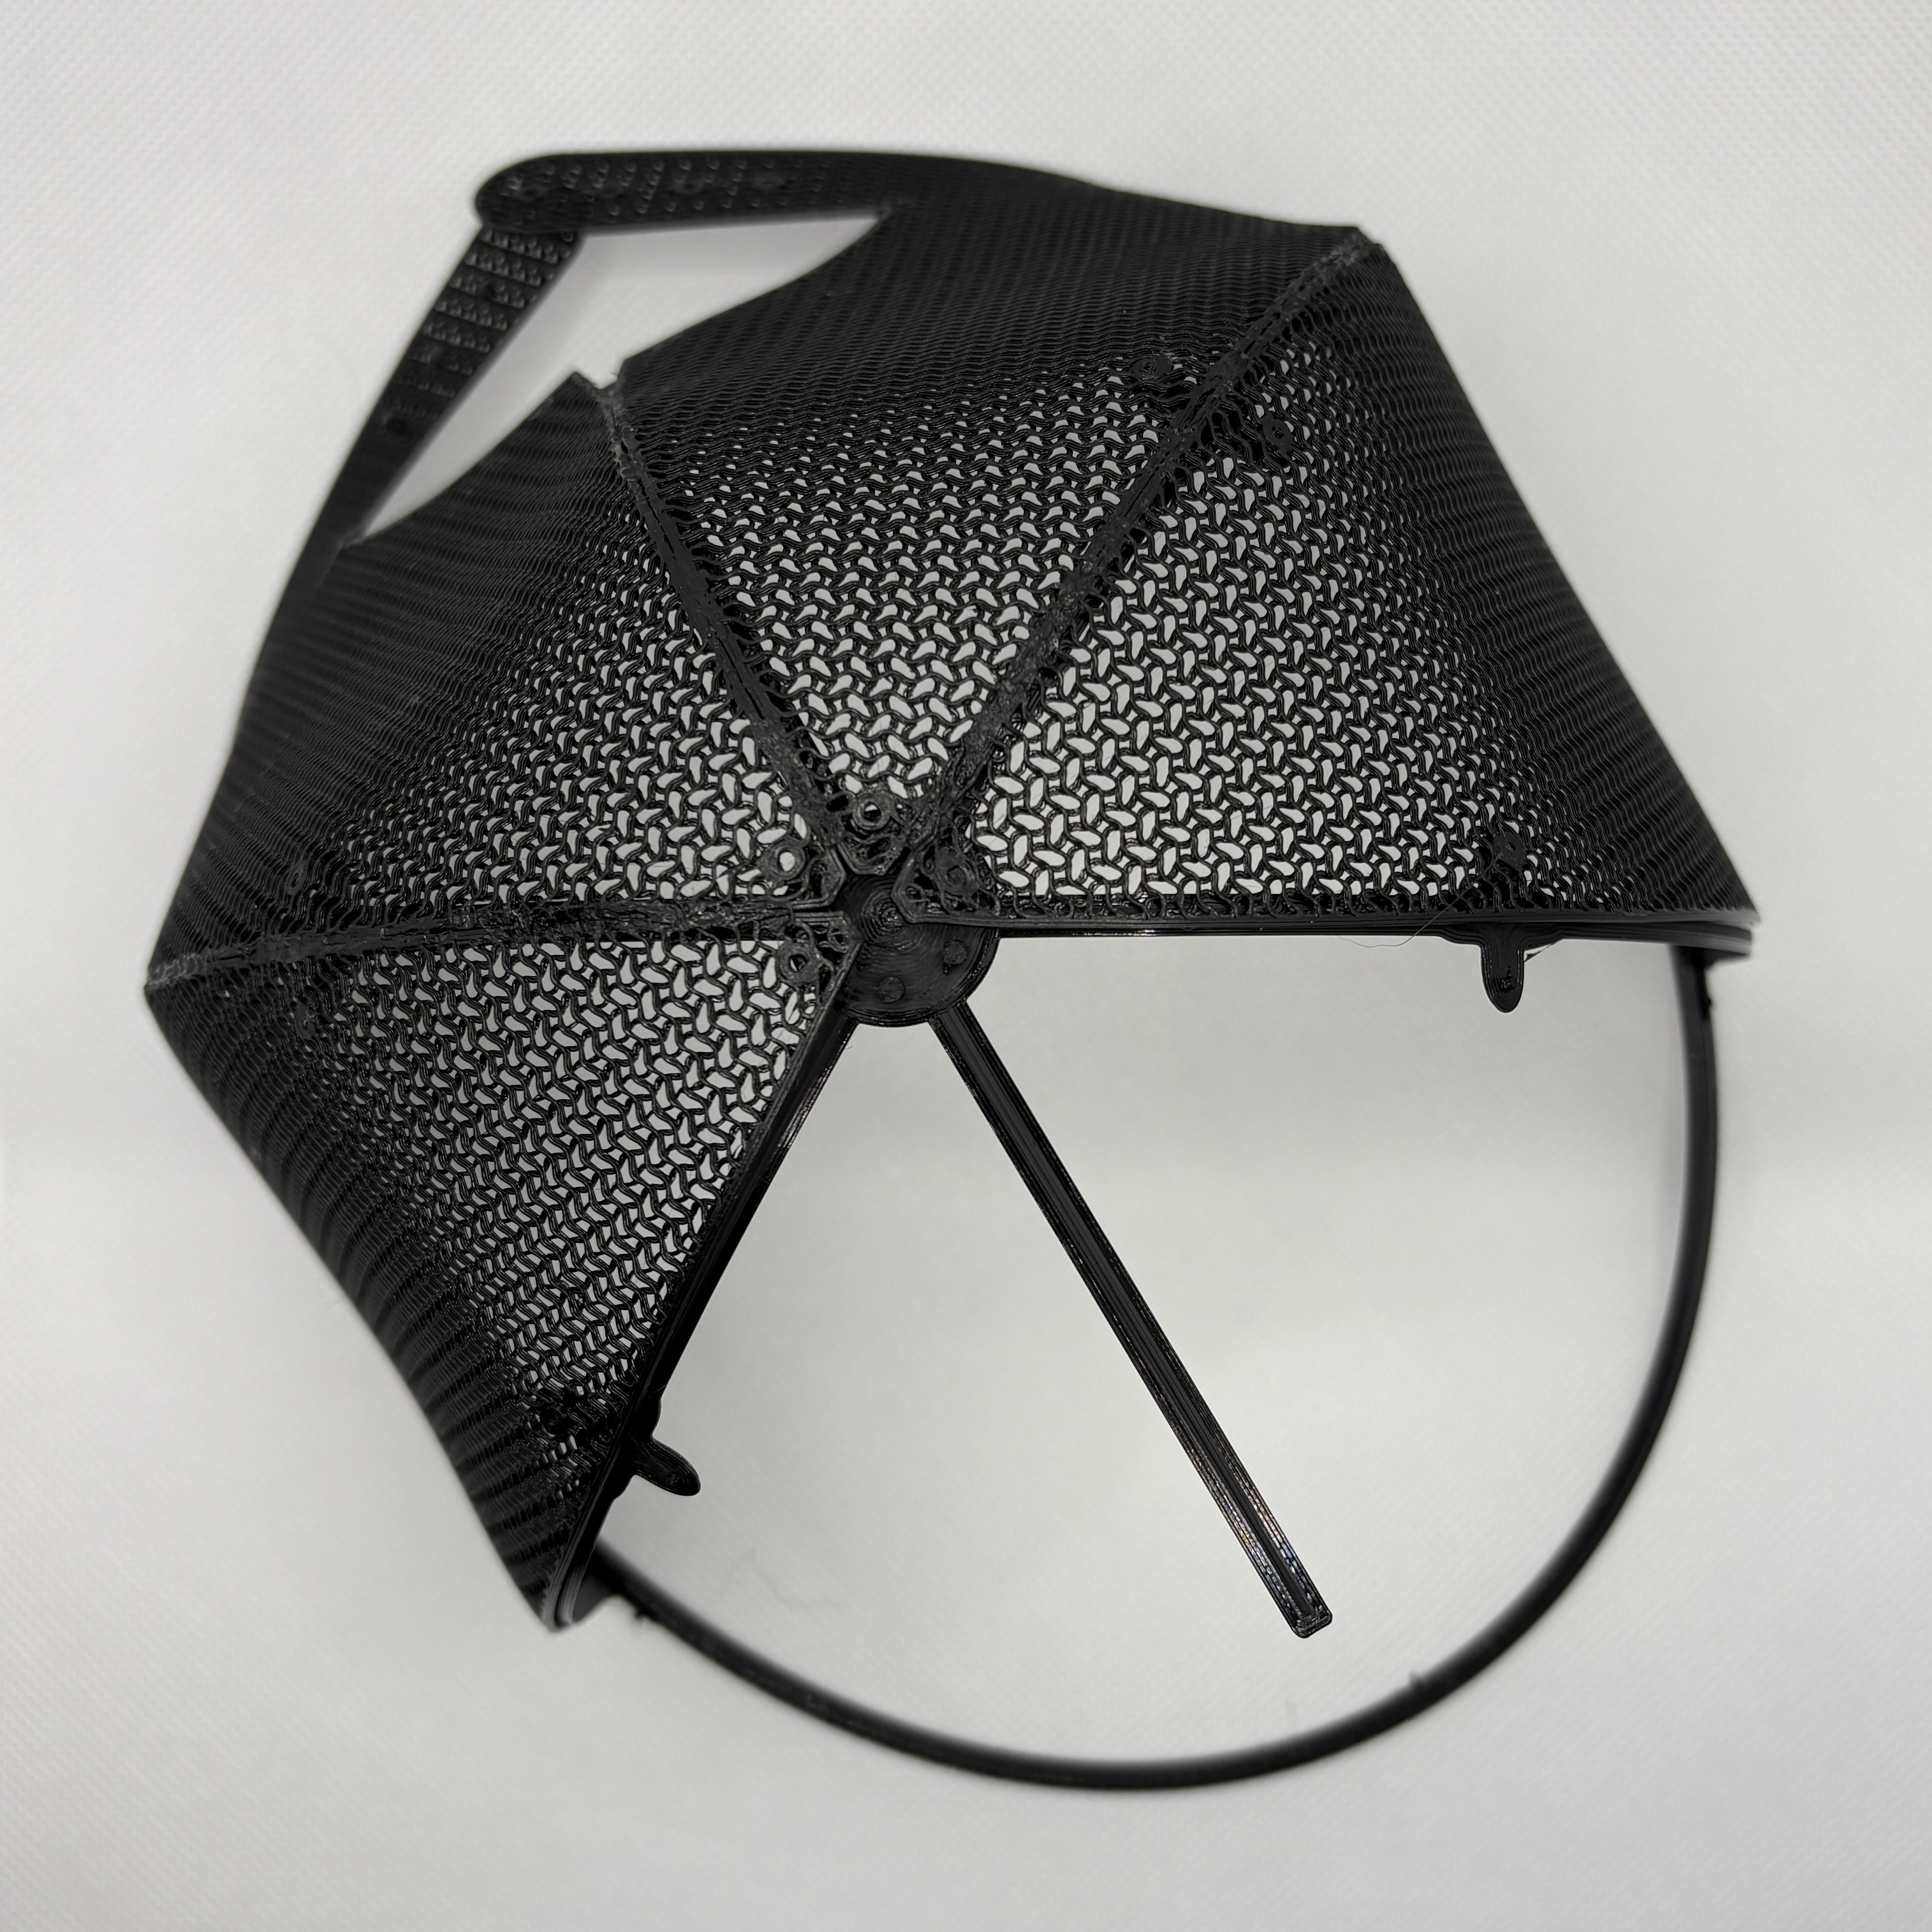
Print the panels in TPU (or TPU for AMS) - attach the side and back panels to the seam, as seen in this picture 👀
- Check the fit - at this stage the width of the cap should fit comfortably on your head, and the front seam should flex down to just above your forehead where the top of the cap will be.
- Carefully weld the panels together using a soldering iron and a slow circular motion along the outer seam to form a strong bond between the TPU panels.
- The front panel can be welded in the same way - I used some strong sticky tape on the inside to hold the shape while welding.
- Lastly, reorient the cap so you can weld the visor to the underneath of the front panel - start in the middle and work out towards the edges where you will need to flex the visor more to bring it into the final shape.
Lessons from the prototype (things I want to improve):
- Altering the size of panels isn't linear - a parametric design will change specific dimensions which is better than % scaling.
- Plastic welding is not ideal for assembling the cap - interlocking connectors should hold the panels without welding.
- A snapback strap isn't necessary if we are able to print the exact size to fit your head.
Please suggest any improvements in the comments below.

Gostou deste modelo? Crie uma conta grátis para salvar seus favoritos e voltar a eles depois.
Criar conta