Você está no 3DFinder
Buscamos em Thingiverse, MakerWorld e Printables ao mesmo tempo para te dar o melhor de cada uma.
Descrição
Precision Scraper with Magnetic Handle for 3D Printer Build Plates
When my first Bambu Lab printer arrived about six months ago, I noticed that a blade was included in the kit—it was meant to be used for printing a scraper and using it afterward. But I didn’t even look at it, just tossed it into the box and forgot about it.
Then, when my second printer recently arrived—and again, the blade was included among the accessories—I thought it was finally time to print a scraper. At first, I assumed it was just some cheap stamped blade. But as it turned out, it’s actually a very well-designed blade. Properly sharpened. So I started designing my own scraper, since the other versions I’d seen from different creators didn’t quite satisfy me. Plus, I didn’t want to waste time on a poorly made scraper.
And yes, there’s something very important I want to share—something you really should know. Logically, many scrapers are assembled with the bevel facing down—like on a hand plane. But in this case, that’s absolutely wrong. The bevel must face up. Here’s why: if you mount the blade with the bevel down, you’ll end up shaving off material from your build plate. You’ll be damaging it every time you use the scraper. That’s why I approached this part with extra care—used feeler gauges, and triple-checked the gap after printing my third prototype. I made sure the blade sat perfectly parallel and had just enough surface contact to be effective—without damaging the coating on the build plate.
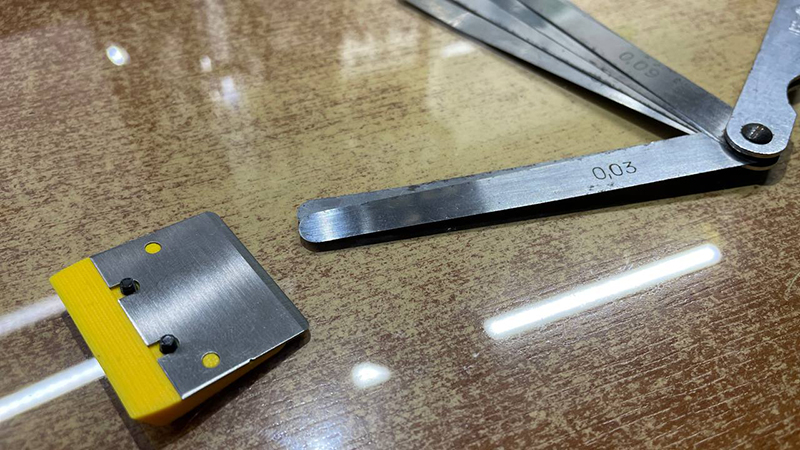
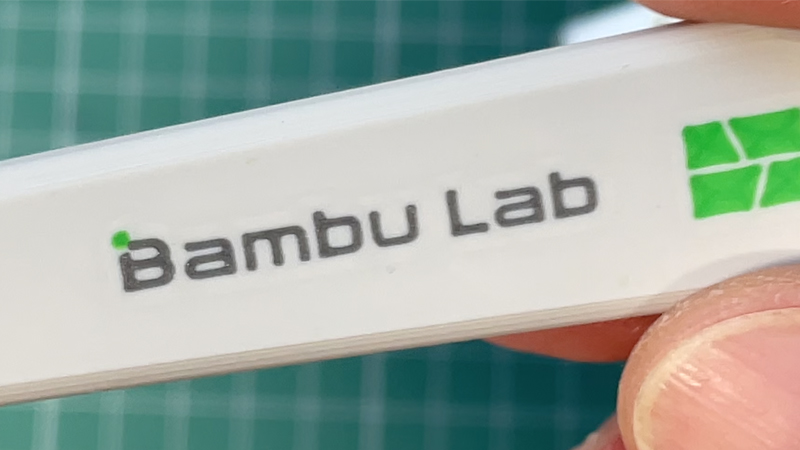
Now about the printing process. As you may have noticed, I used the Bambu Lab logo. But if you’re printing with a standard 0.4 mm nozzle—don’t even try. Just recolor the handle as a single color in the slicer. I printed mine using a 0.2 mm nozzle with minimum layer height to get this level of detail in the lettering, logo, and other small features. You won’t get the same result with a 0.4 mm nozzle.
Also, the print includes a pause at layer 55. That’s where you insert a 10 mm diameter, 4 mm thick magnet. After that, printing resumes. The pause happens about 1 hour and 12 minutes before the print finishes. But if you don’t need the magnet, you can simply close off the cavity with supports and remove the pause in your slicer.
The blade is mounted from the bottom using M2.5 screws, along with heat-set inserts—also M2.5. The insert diameter is 3 mm at entry, 4 mm outer diameter, and 2.5 mm thick. I used very low-profile screws, total length 6 mm including the head—but 5 mm also works.
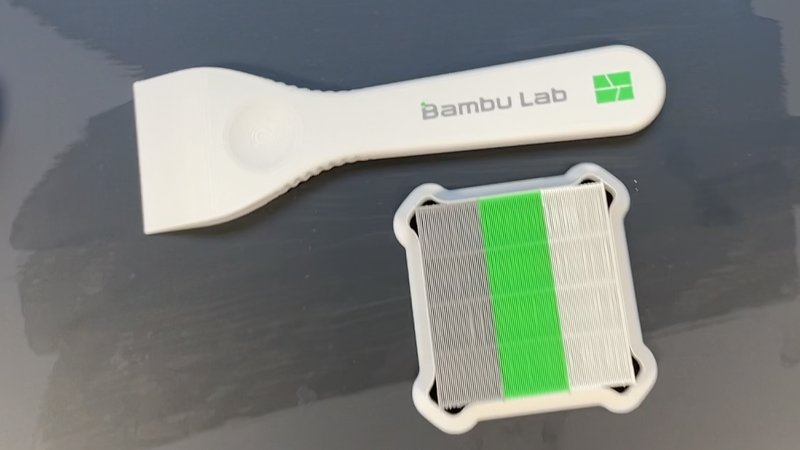
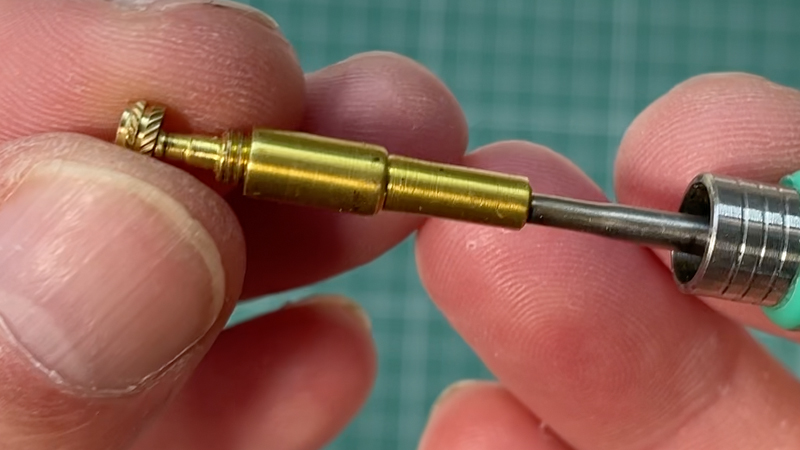
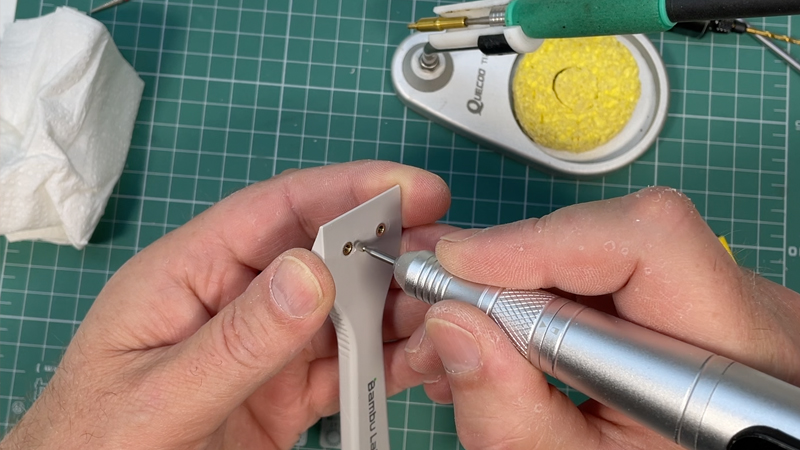
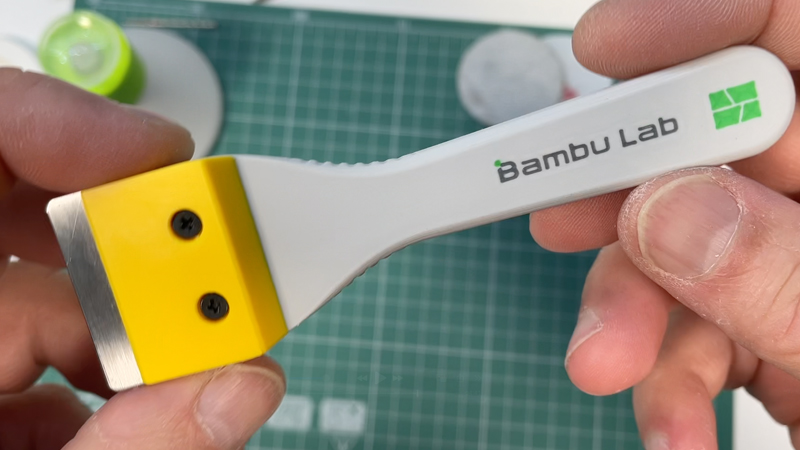
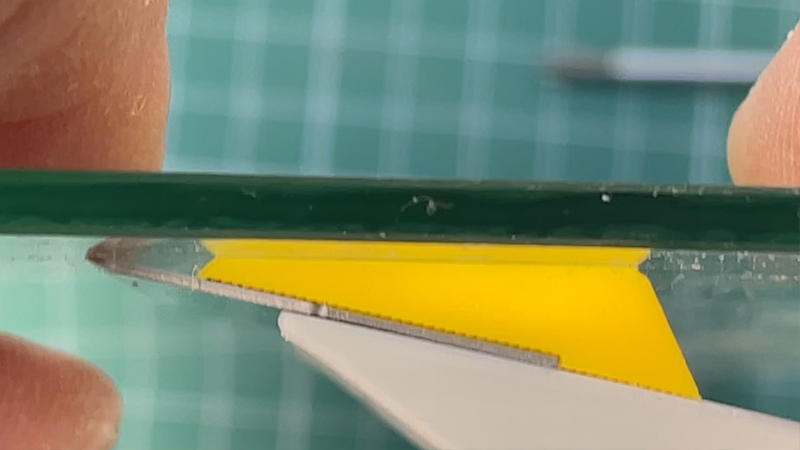
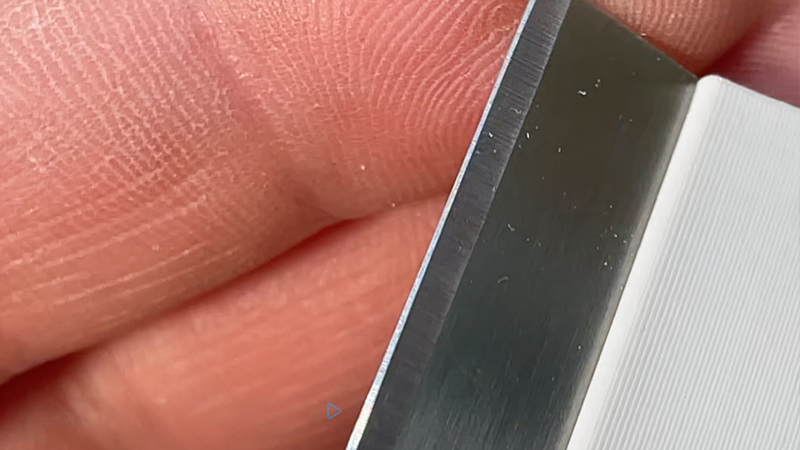
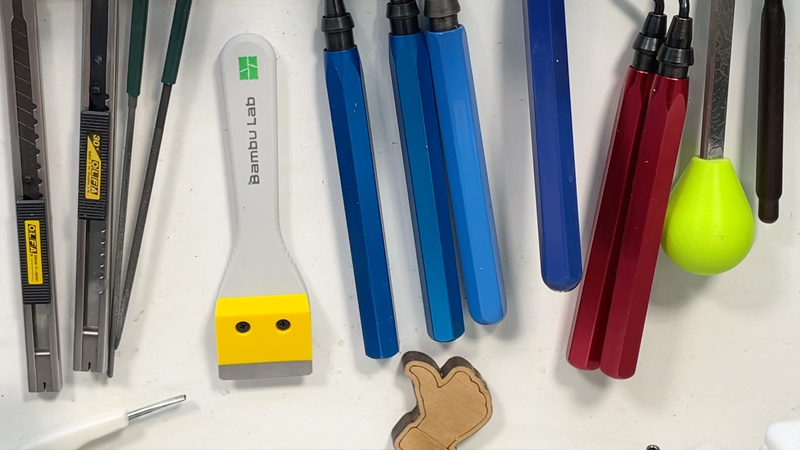
The scraper turned out to be excellent quality, and I really liked using it. I’ve shown all assembly steps in the video—you can check it out.
See Also

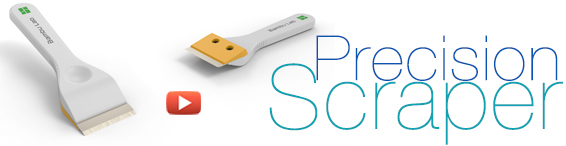
See the video for details:
If you liked this thing - let me know by putting like!
Parts links below:
Links to used tools:
- NOGA deburring tool and Blades
- Heat Insert Nut Iron Tip
- Heat Insert Nut Iron Tip T12
- Mini Electric Drill
- Polishing Cordless Drill
My new machine:

My favorites:
Thank you for every tip or donation,
it means great recognition for me and helps a lot to keep going!

[https://ko-fi.com/perinski](https://ko-fi.com/perinski)
BTC: bc1qplpzq36ghw84hty4nn2zzu4ps4sdh4th0v93j8
ETH: 0xc766ebbeAa76aaf629788c8F99C33A8d80d48977
My some other things:


Precision Scraper with Magnetic Handle

Publicado em 2 de ago de 2025
Gostou deste modelo? Crie uma conta grátis para salvar seus favoritos e voltar a eles depois.
Criar conta