Você está no 3DFinder
Buscamos em Thingiverse, MakerWorld e Printables ao mesmo tempo para te dar o melhor de cada uma.
Descrição
DEPRECATED MODEL
Check out V3 (Check it out) for a fully 3D printed version and V2 (check it out) for the best overall design and feel.
This is a mechanical Iris Ring Box inspired by something I saw on instagram and researched and saw on Etsy by Kelo Designs. Check him out. Based on outer pics of his product I recreated it from scratch and from this Iris Mechanism on MakerWorld.
Update PLEASE READ:
1/12/26: I have a V3 of this up, it is FULLY 3D PRINTED. Check it out. It has a full YT tutorial which may help with the leaves
9/15/25: I have a V2 of this up if you want to check it out. It is far superior in smoothness because of the ball bearing. It also has a bit clearer instructions that could help if you're stuck on certain parts.
You'll need 3 M3x6mm, 3 M3x10mm, and 3 M3 nuts. Also some foam/fabric and superglue
I printed things individually one at a time and then assembled.
Start with putting the piece with putting the 12 leaves in the slotted iris leaf holder and add the thin circular pin holder on top to hold the leaves in place.
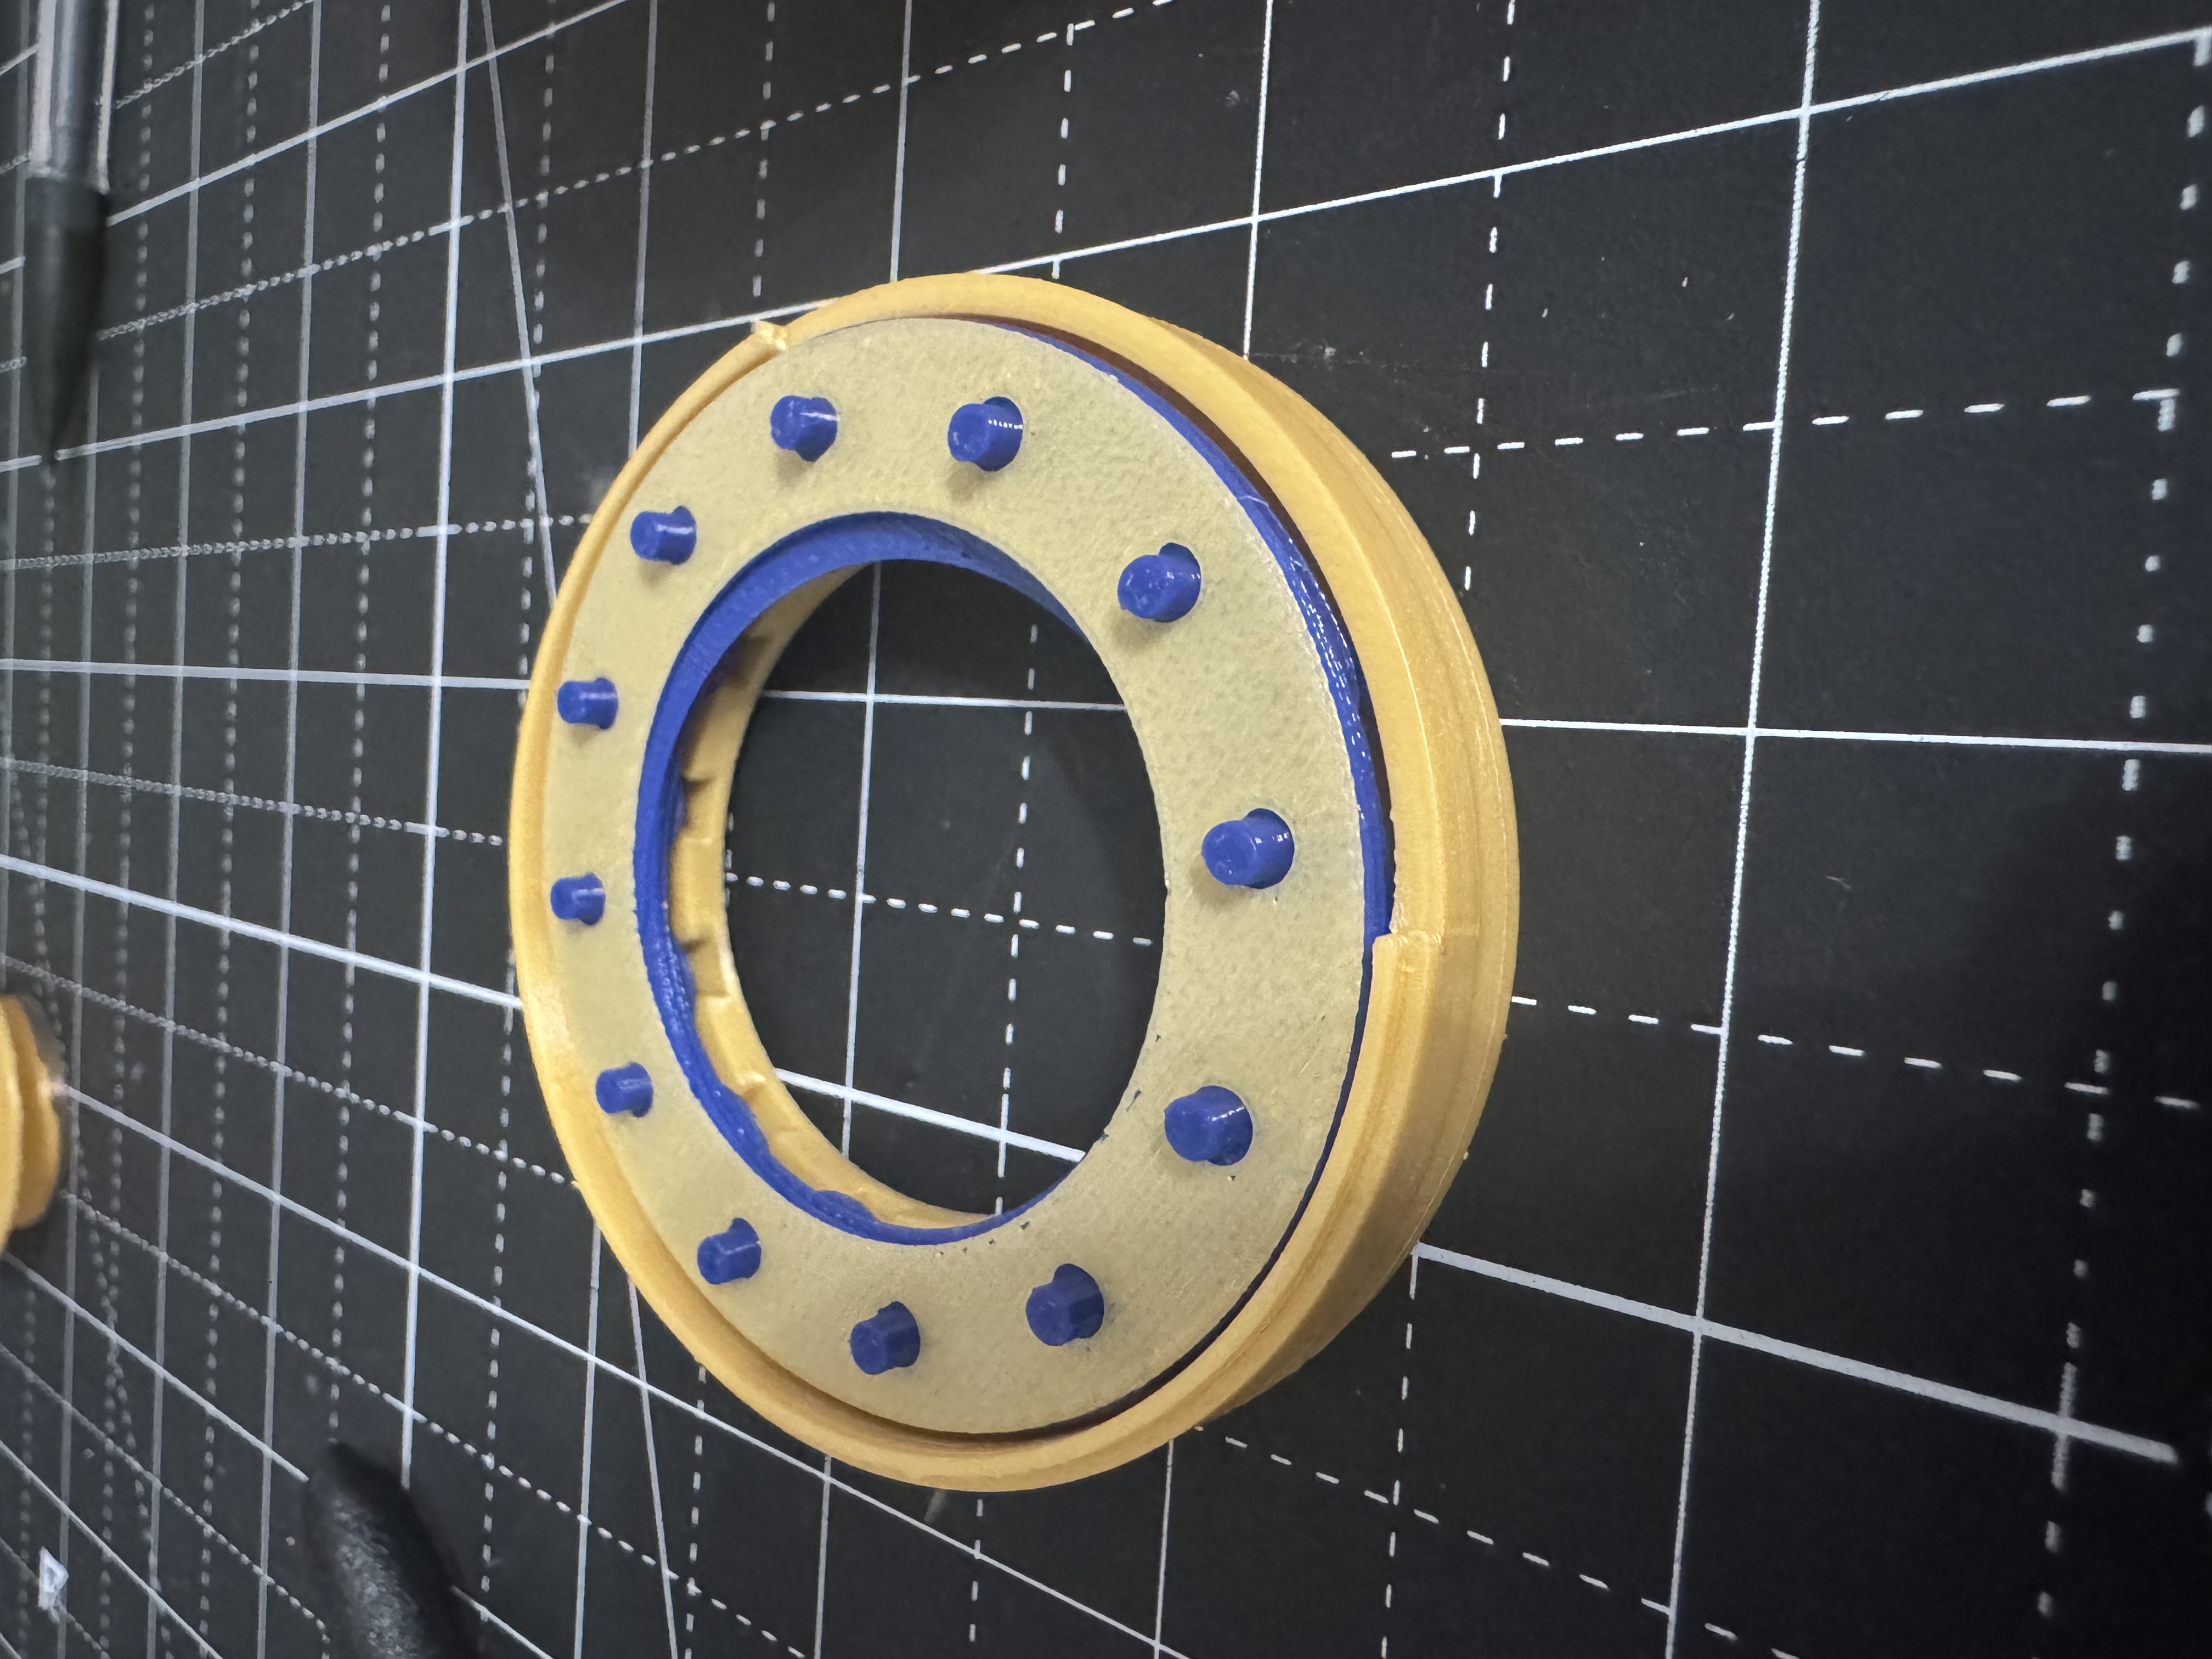
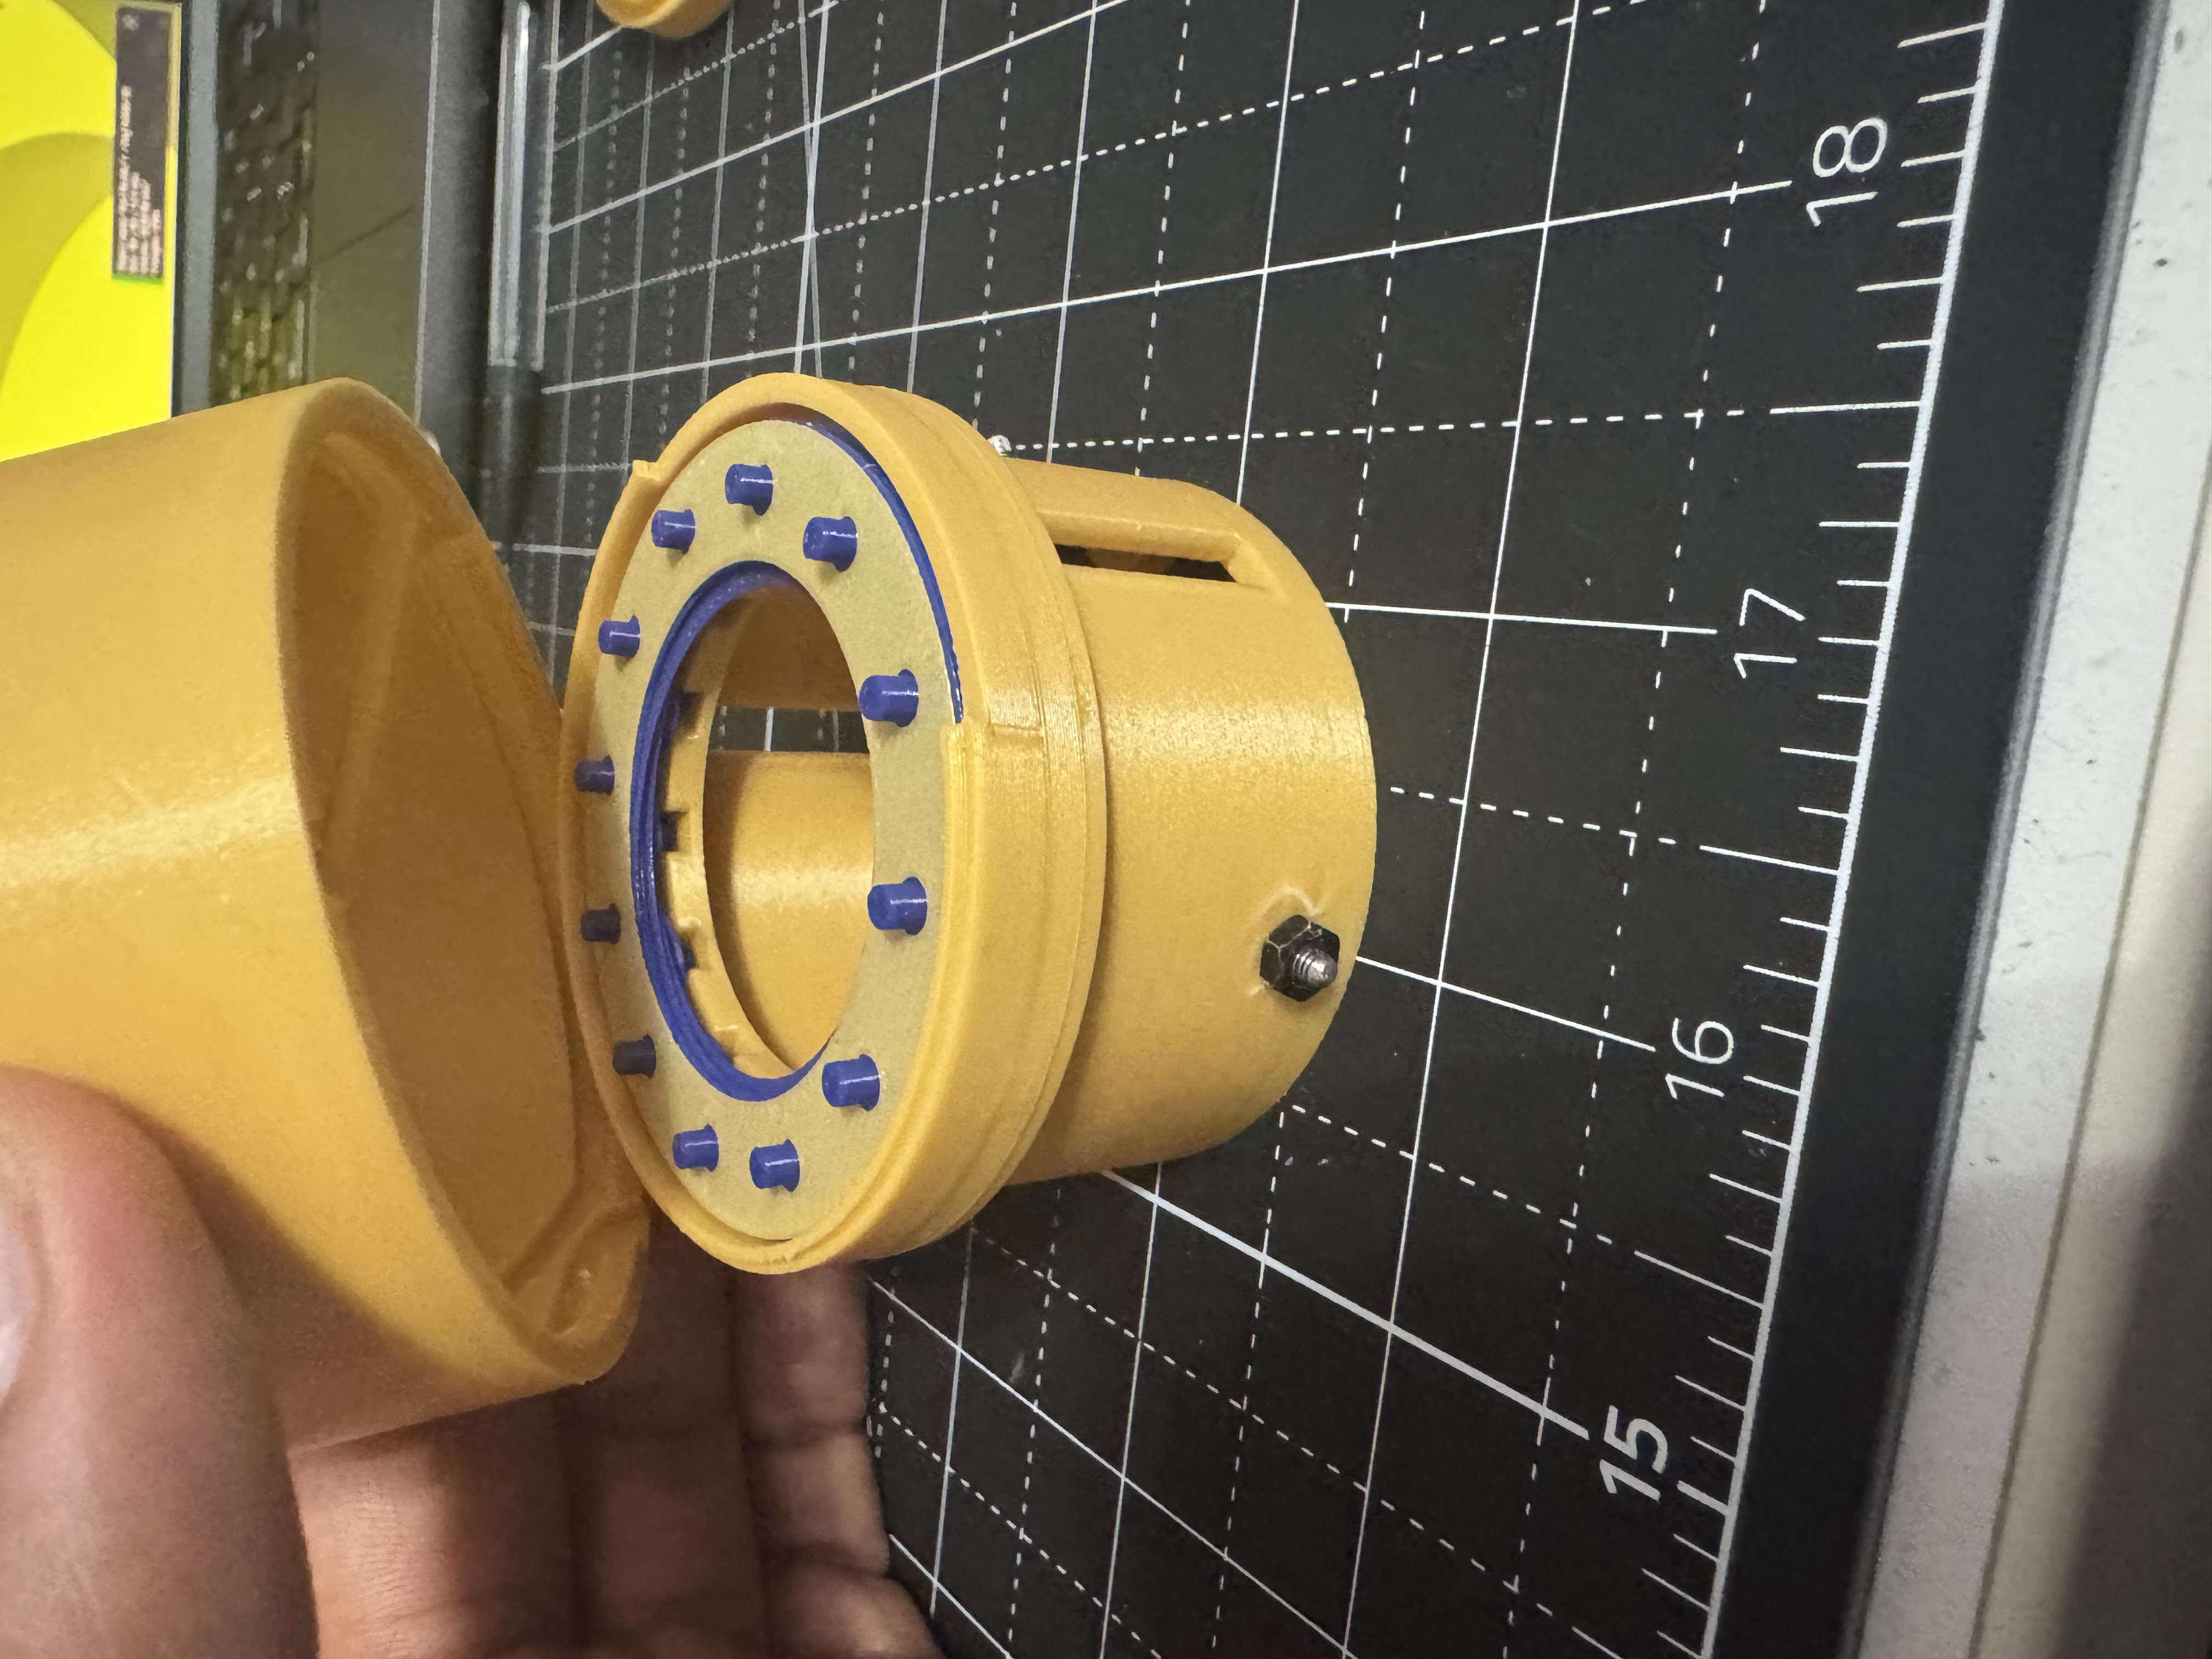
Then carefully rest that assembly on top of the slotted piece and lower the top piece with the twelve holes down on to it. You want to line up the pins with the holes, and the edge of the iris holder with the notch in the top piece.
You'll know you did it right if you carefully flip the assembly over and twist the iris holder with your fingers and the iris opens and closes. If it limited open/closure, you need to align the pins and holes over a few places until the notch lines up correctly.
You next want to put the thin brace on top of the iris holder inside, and then slot in the twisty thing that'll hold the ring like so.
You want the ridges on the ring to line up with the rods on the twisty thing, make some markings with a pencil so you don't forget the placement. And then remove the twisty thing and super glue the brace on to the iris holder.
Once you've done that. Place the twisty thing back in. And put the slotted piece on top, lining up the notches and rods.
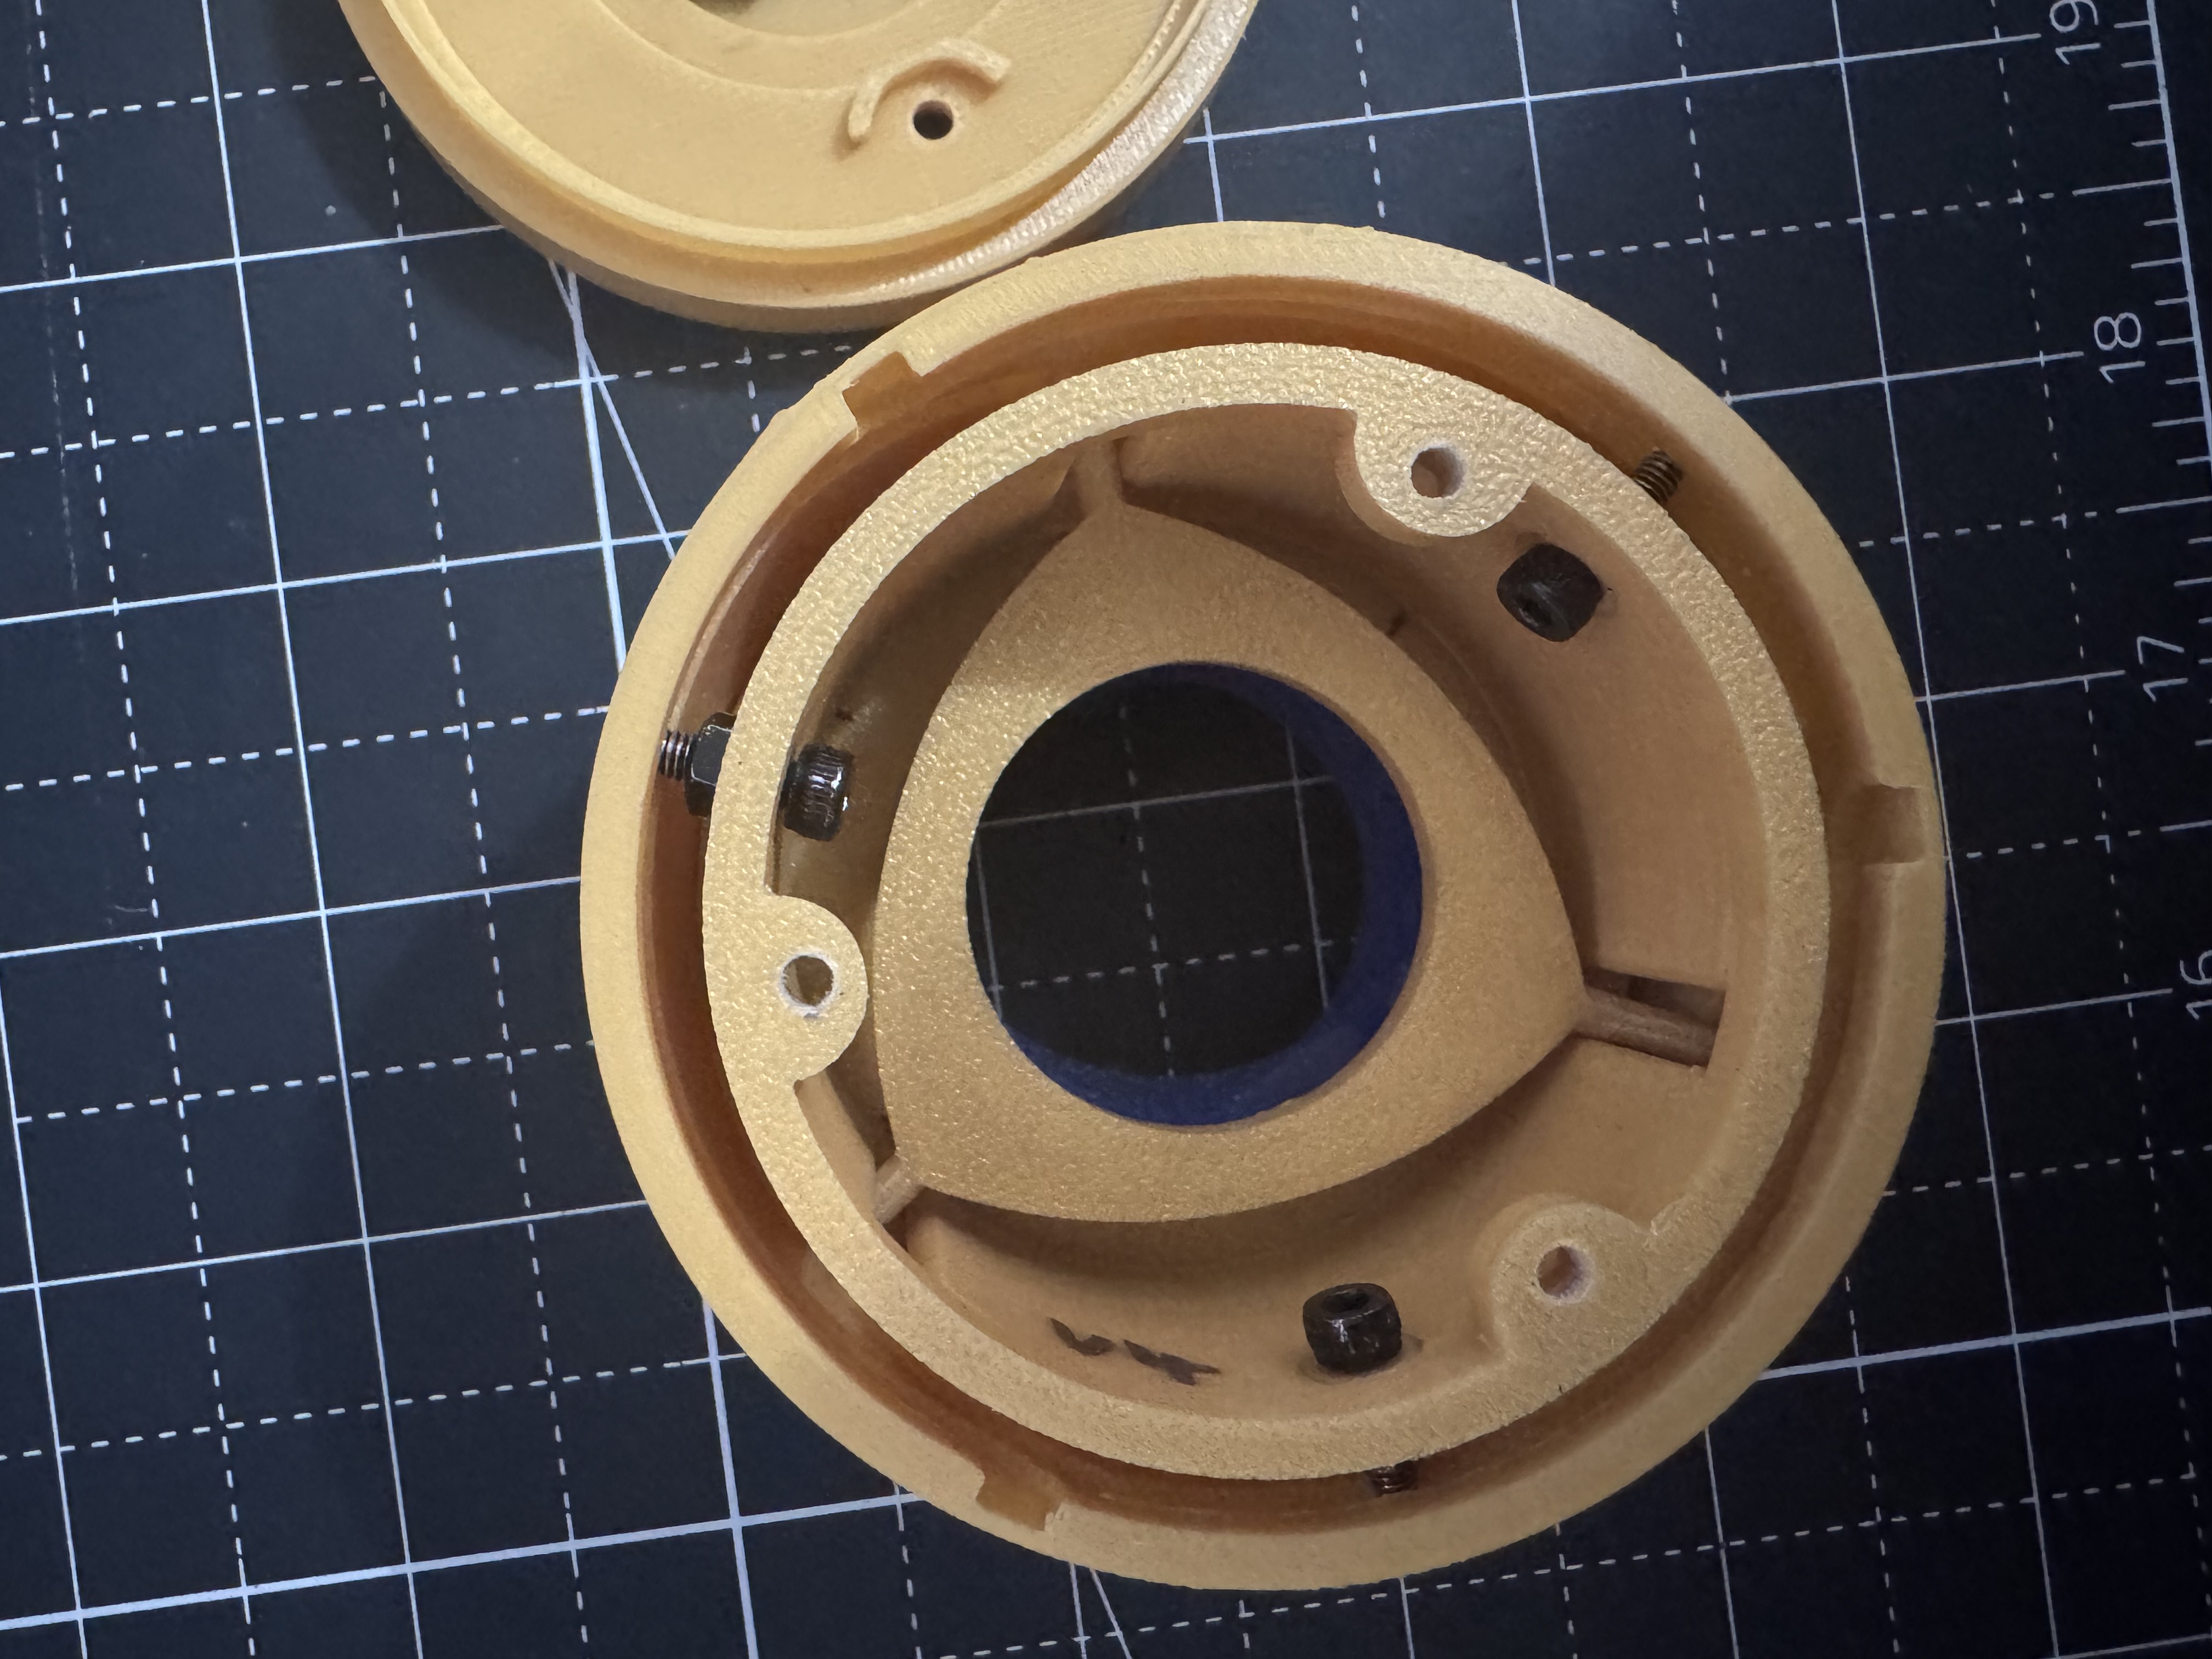
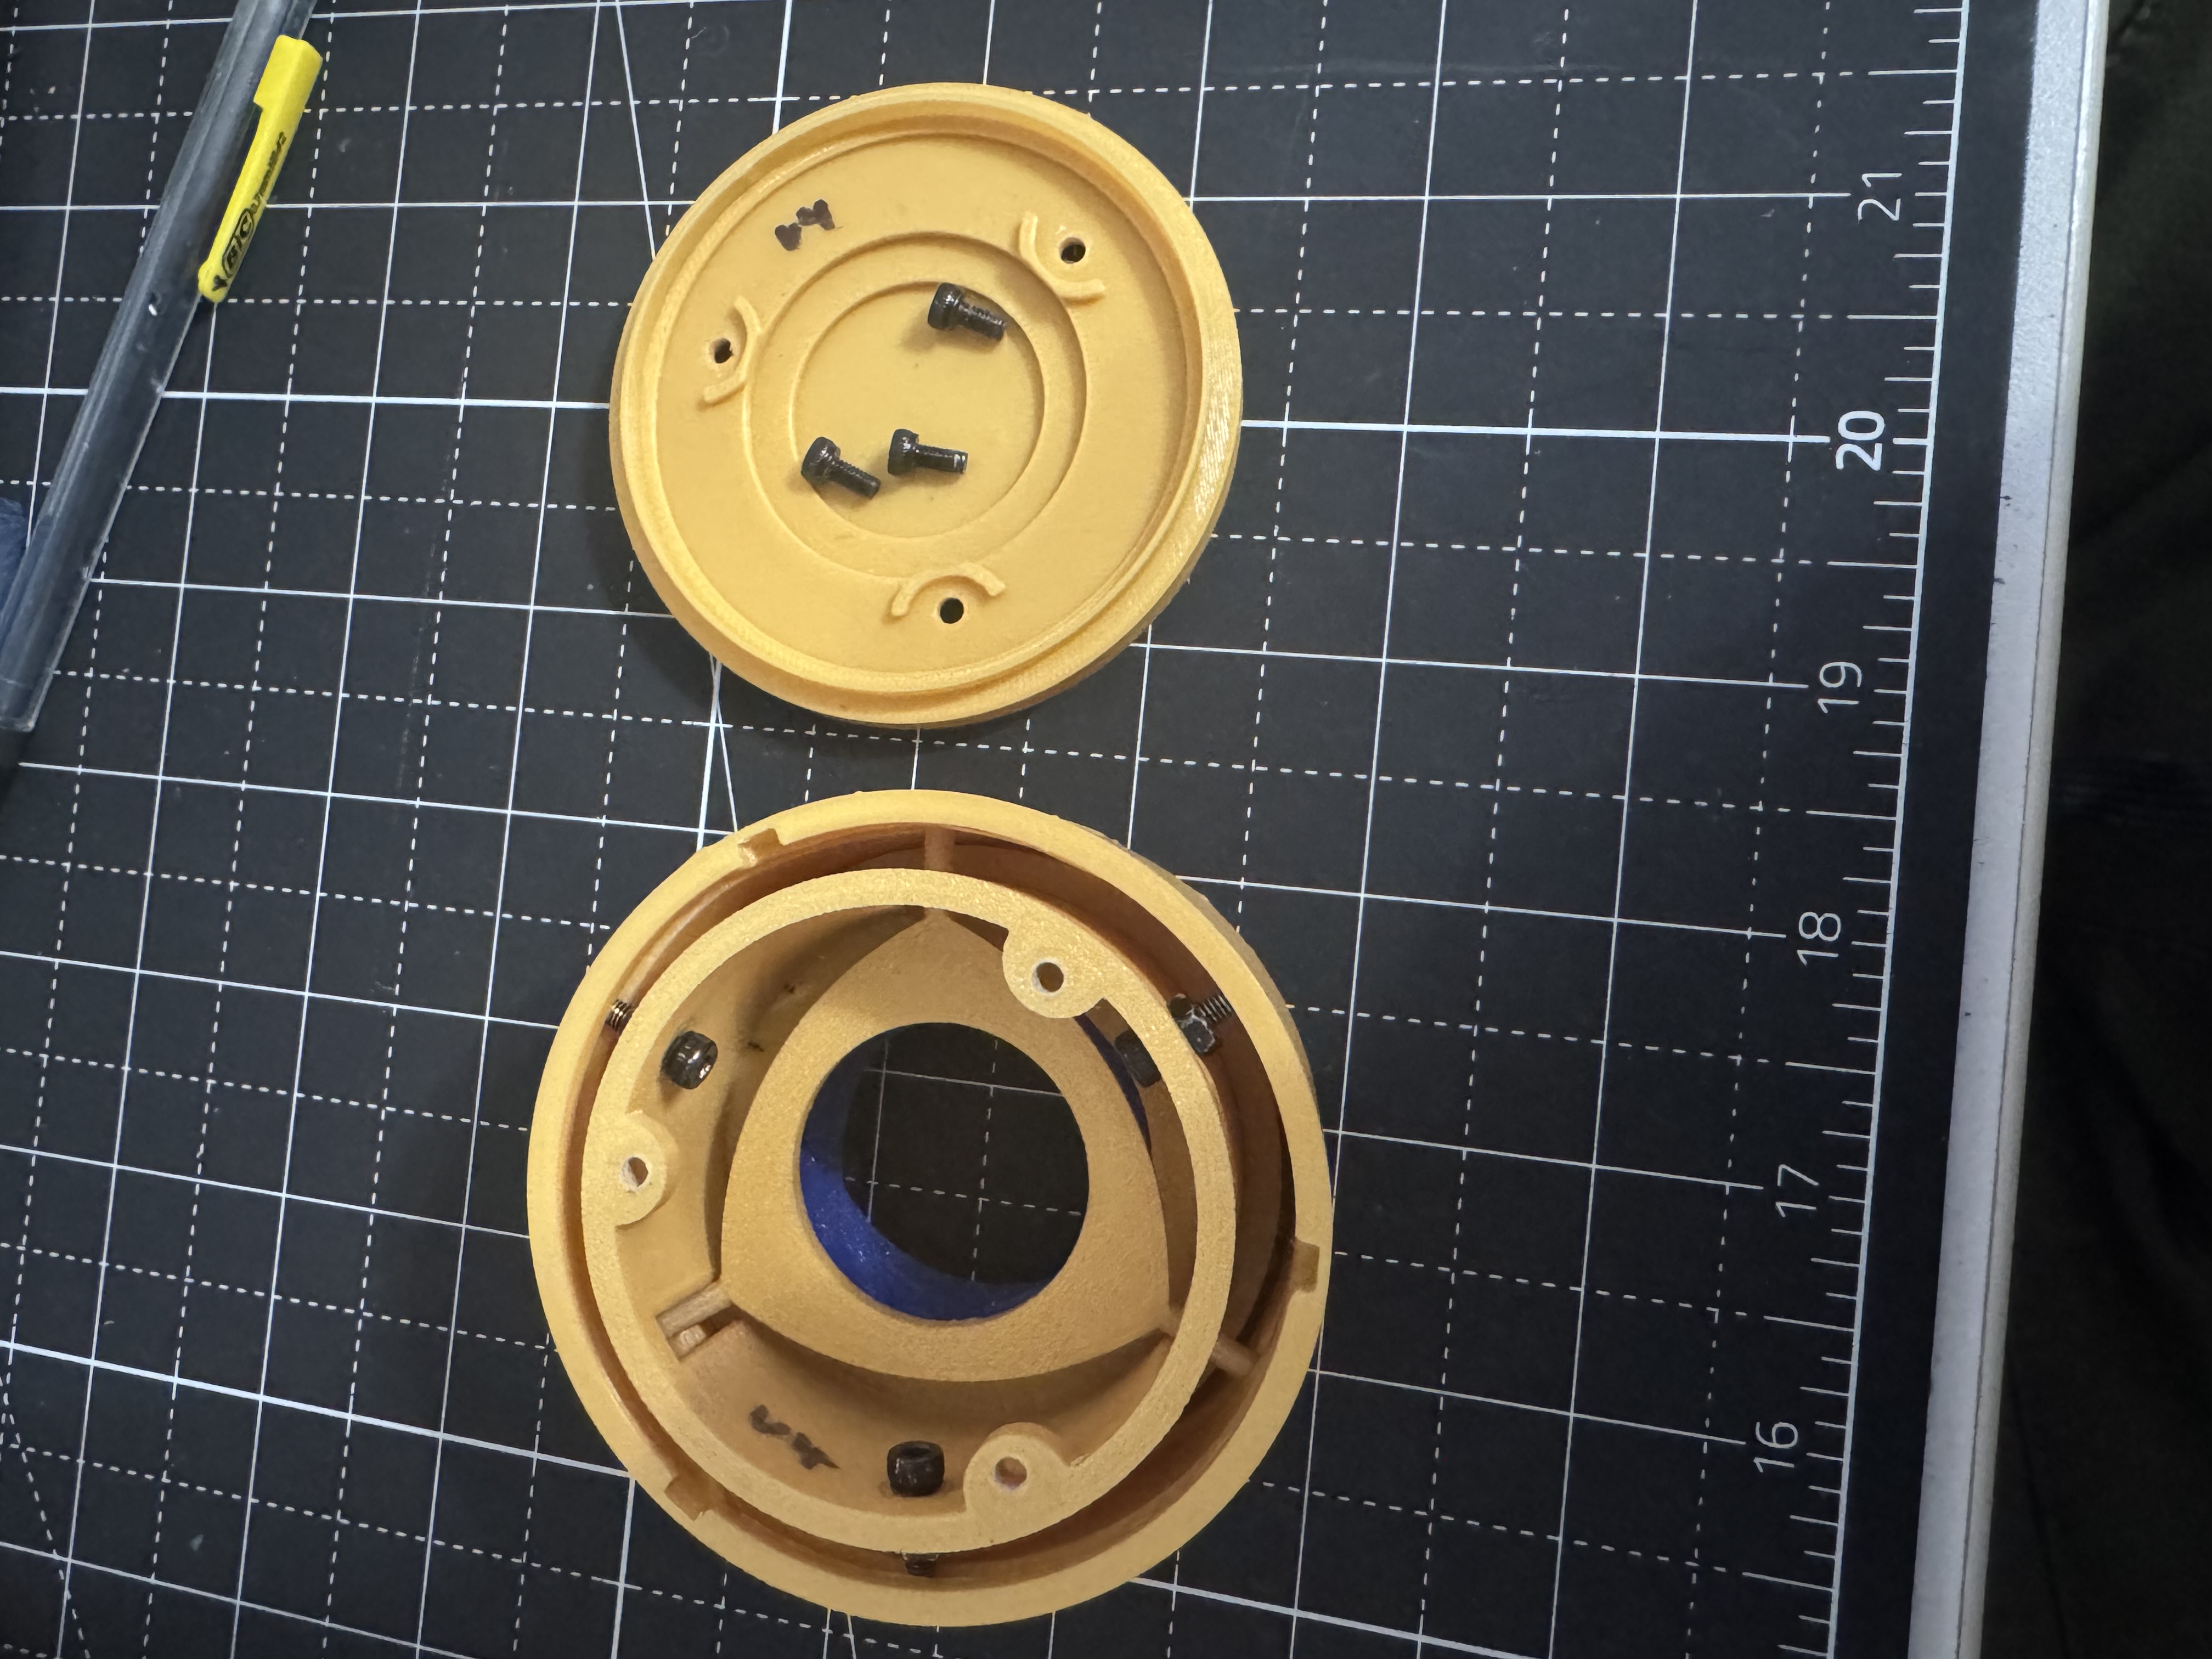
You now want to add the M3x10mm screws to the slotted piece with the M3 nut on the outside. I used a pair of small pliers to hold it in place. Adjust the depth of the screw so the mechanism can twist with minimal play.
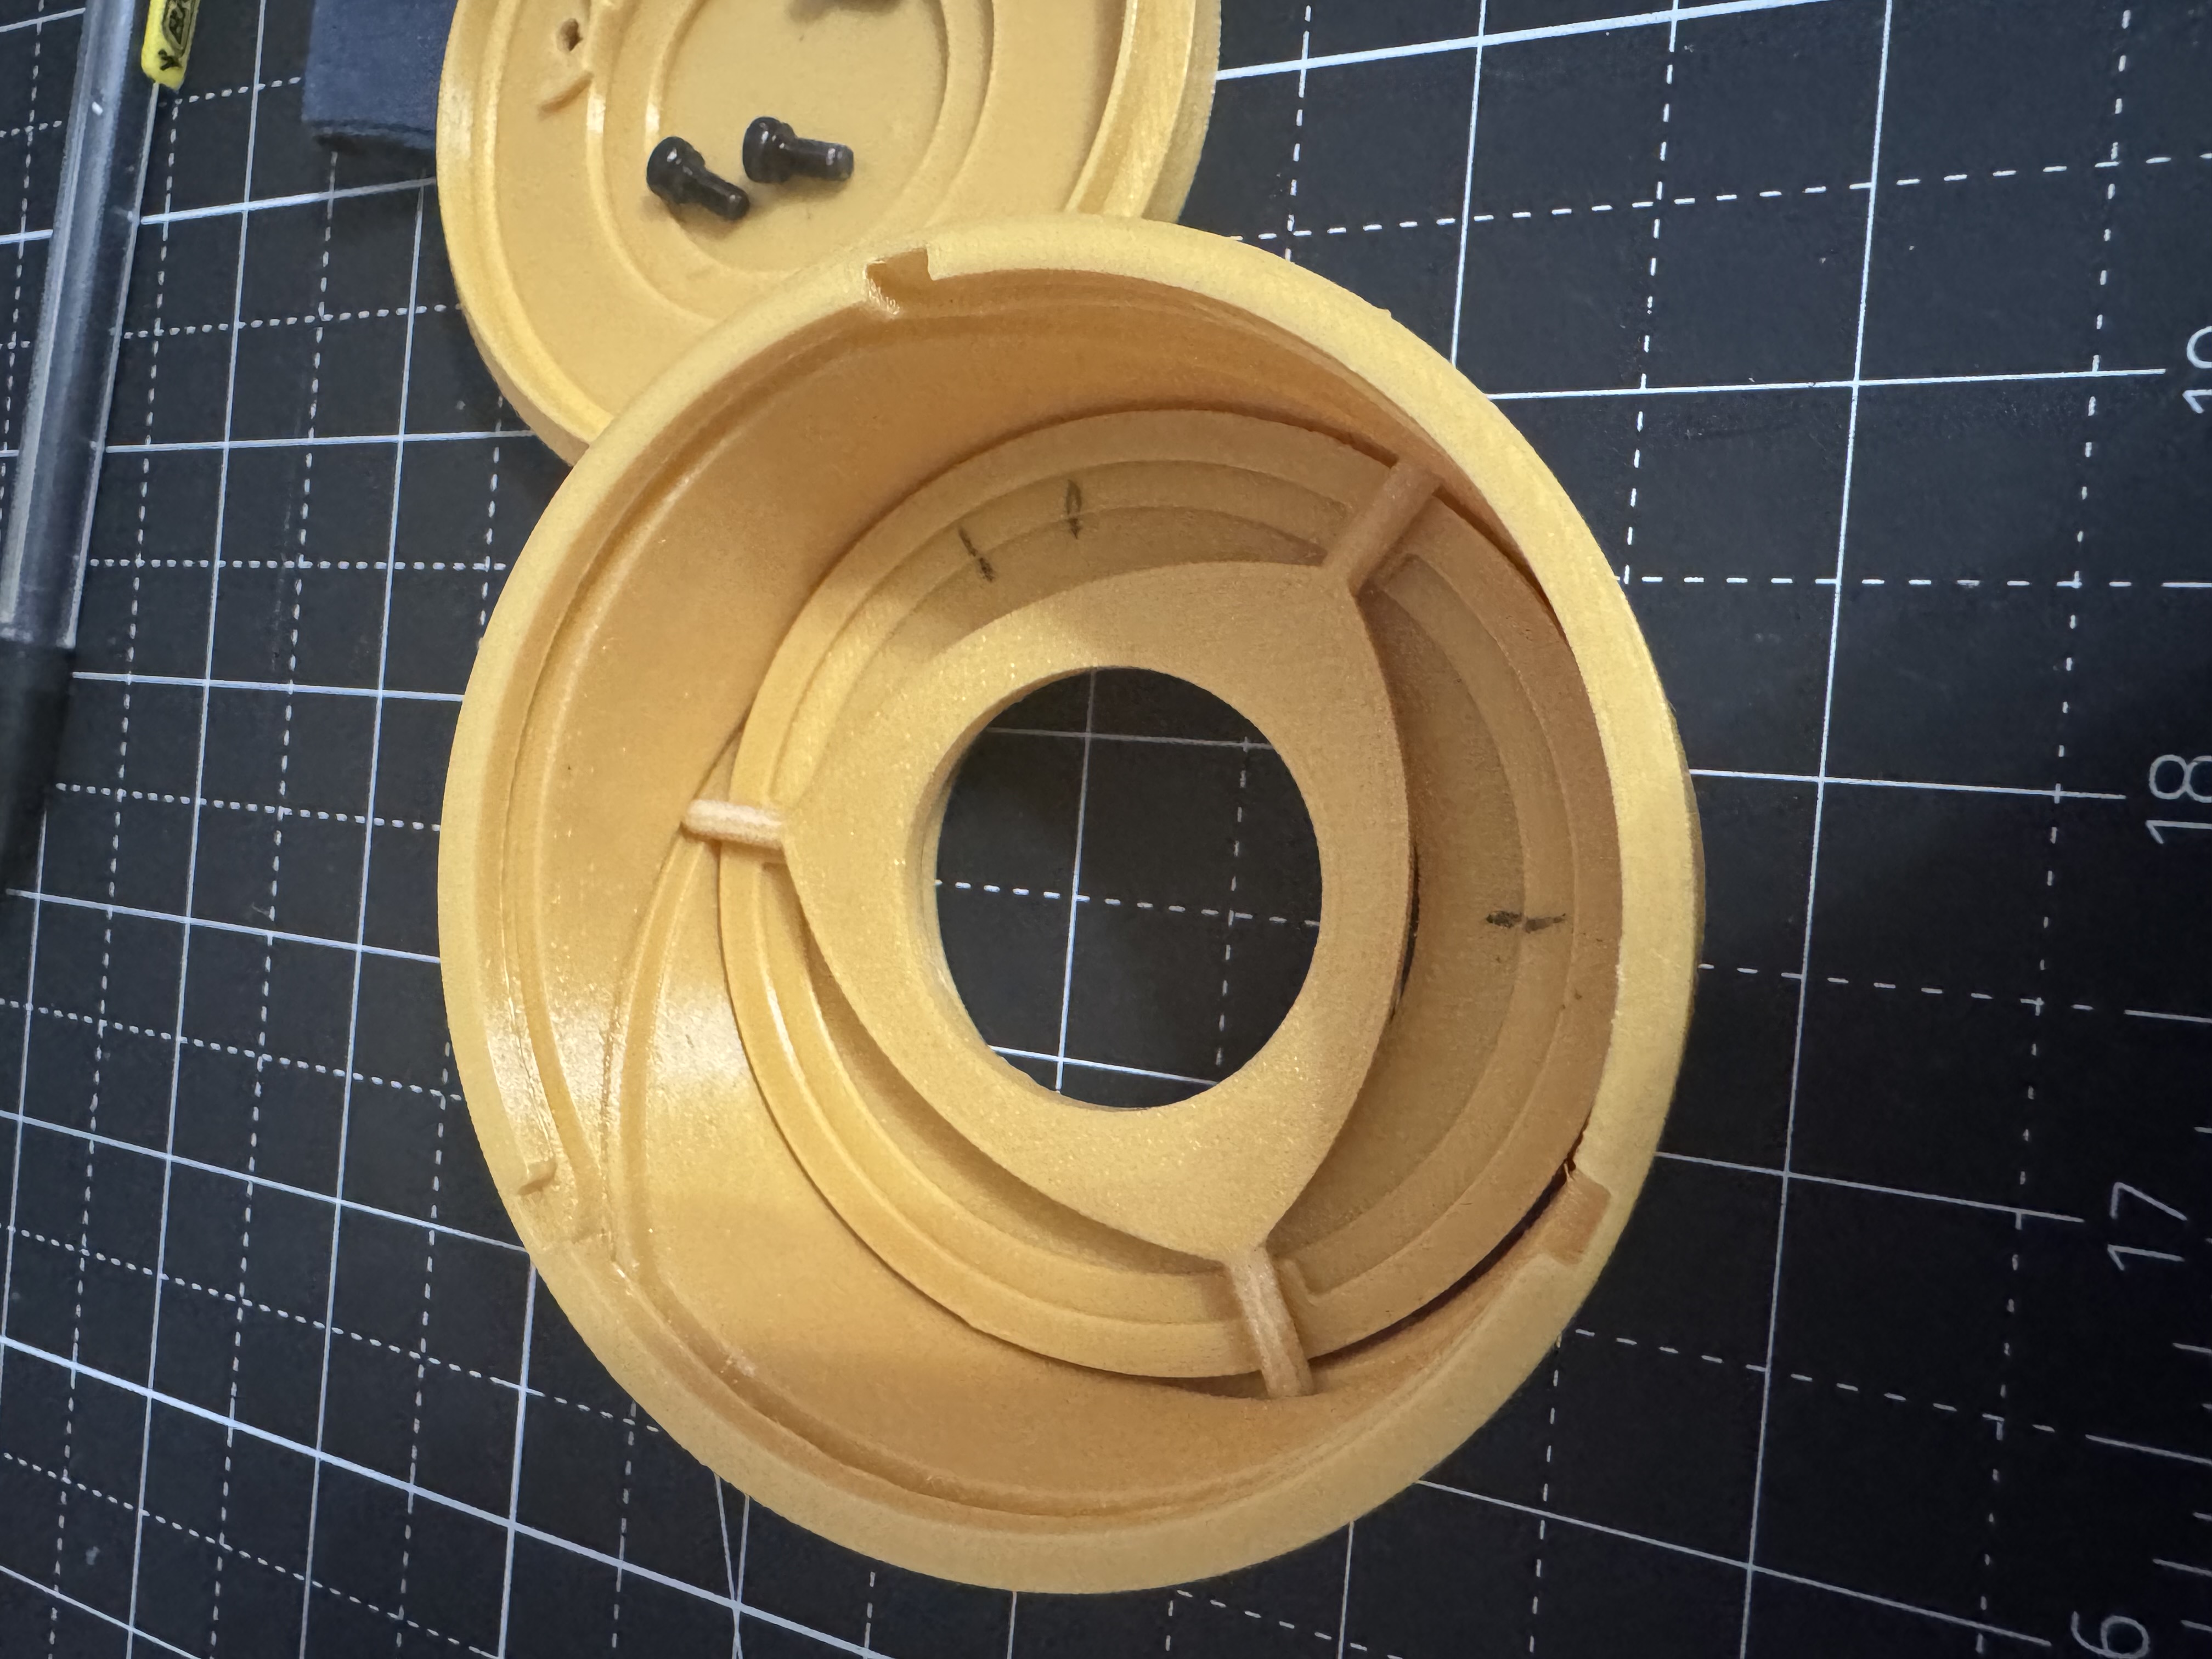
Then place the bottom on top and screw it in place.

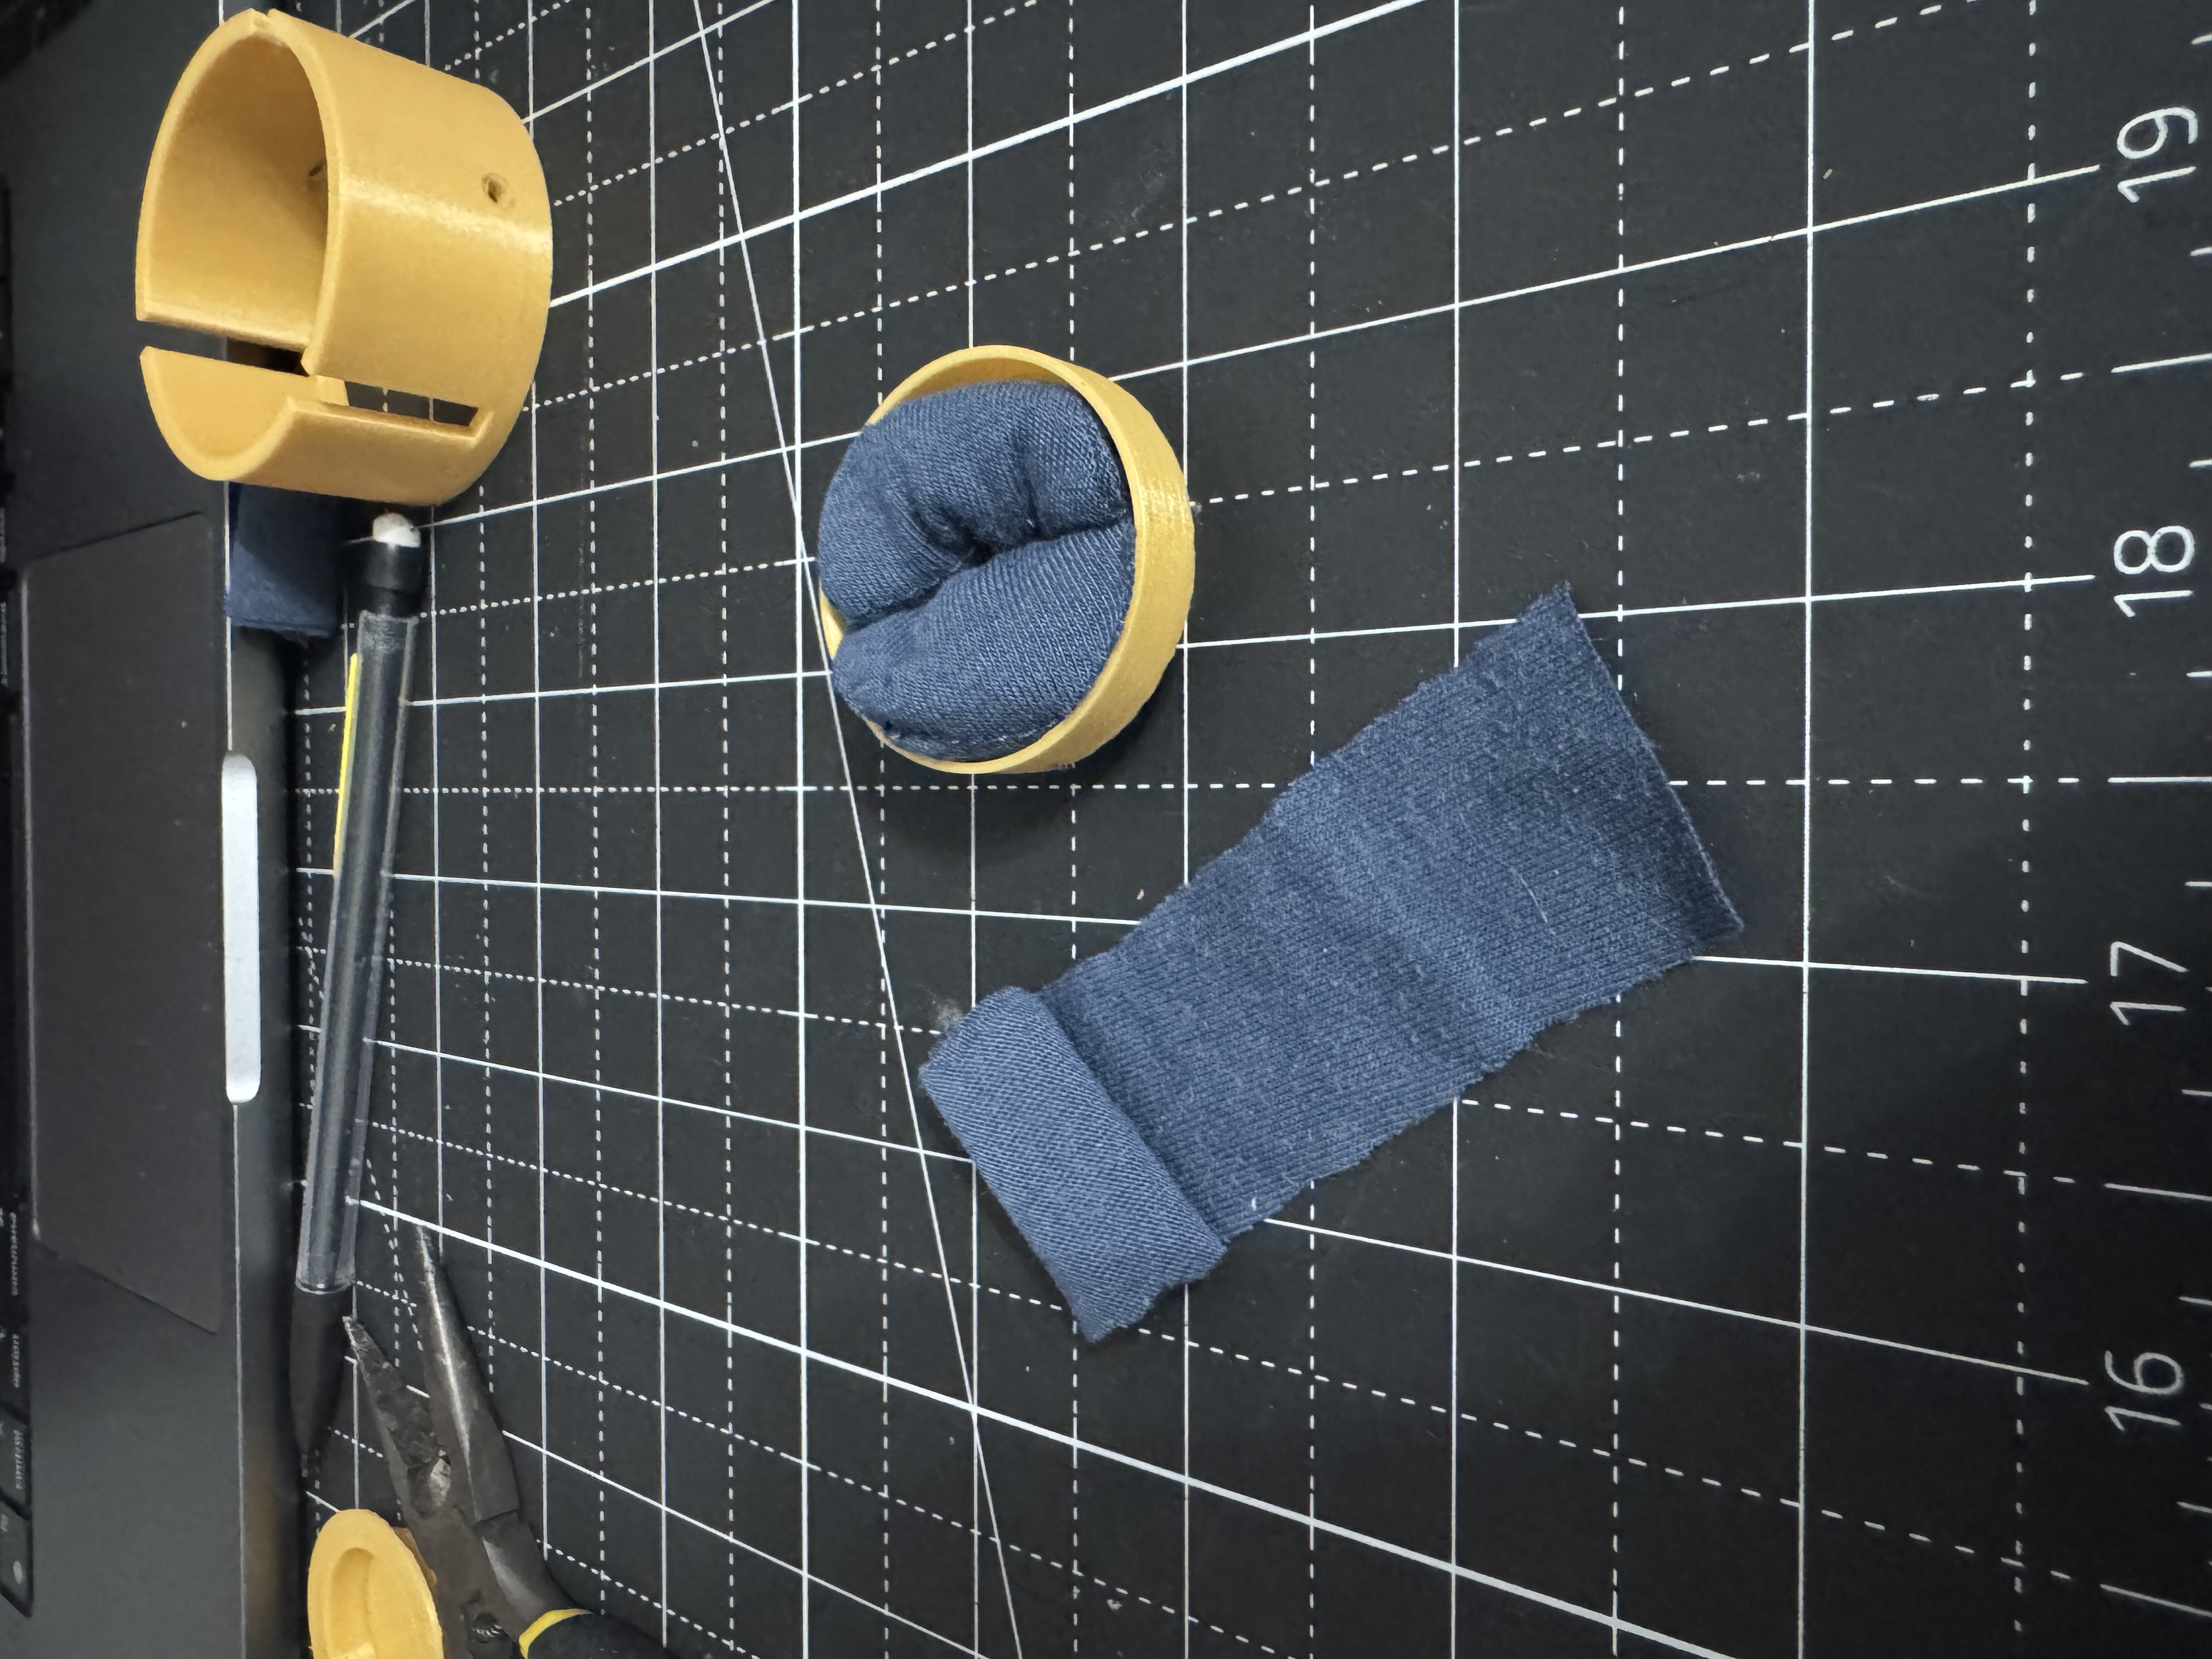
Fill in the ring holder with some foam and fabric, glue it down. And then apply super glue to the bottom of the lip and stick down on to the twisty thing.