Você está no 3DFinder
Buscamos em Thingiverse, MakerWorld e Printables ao mesmo tempo para te dar o melhor de cada uma.
Descrição
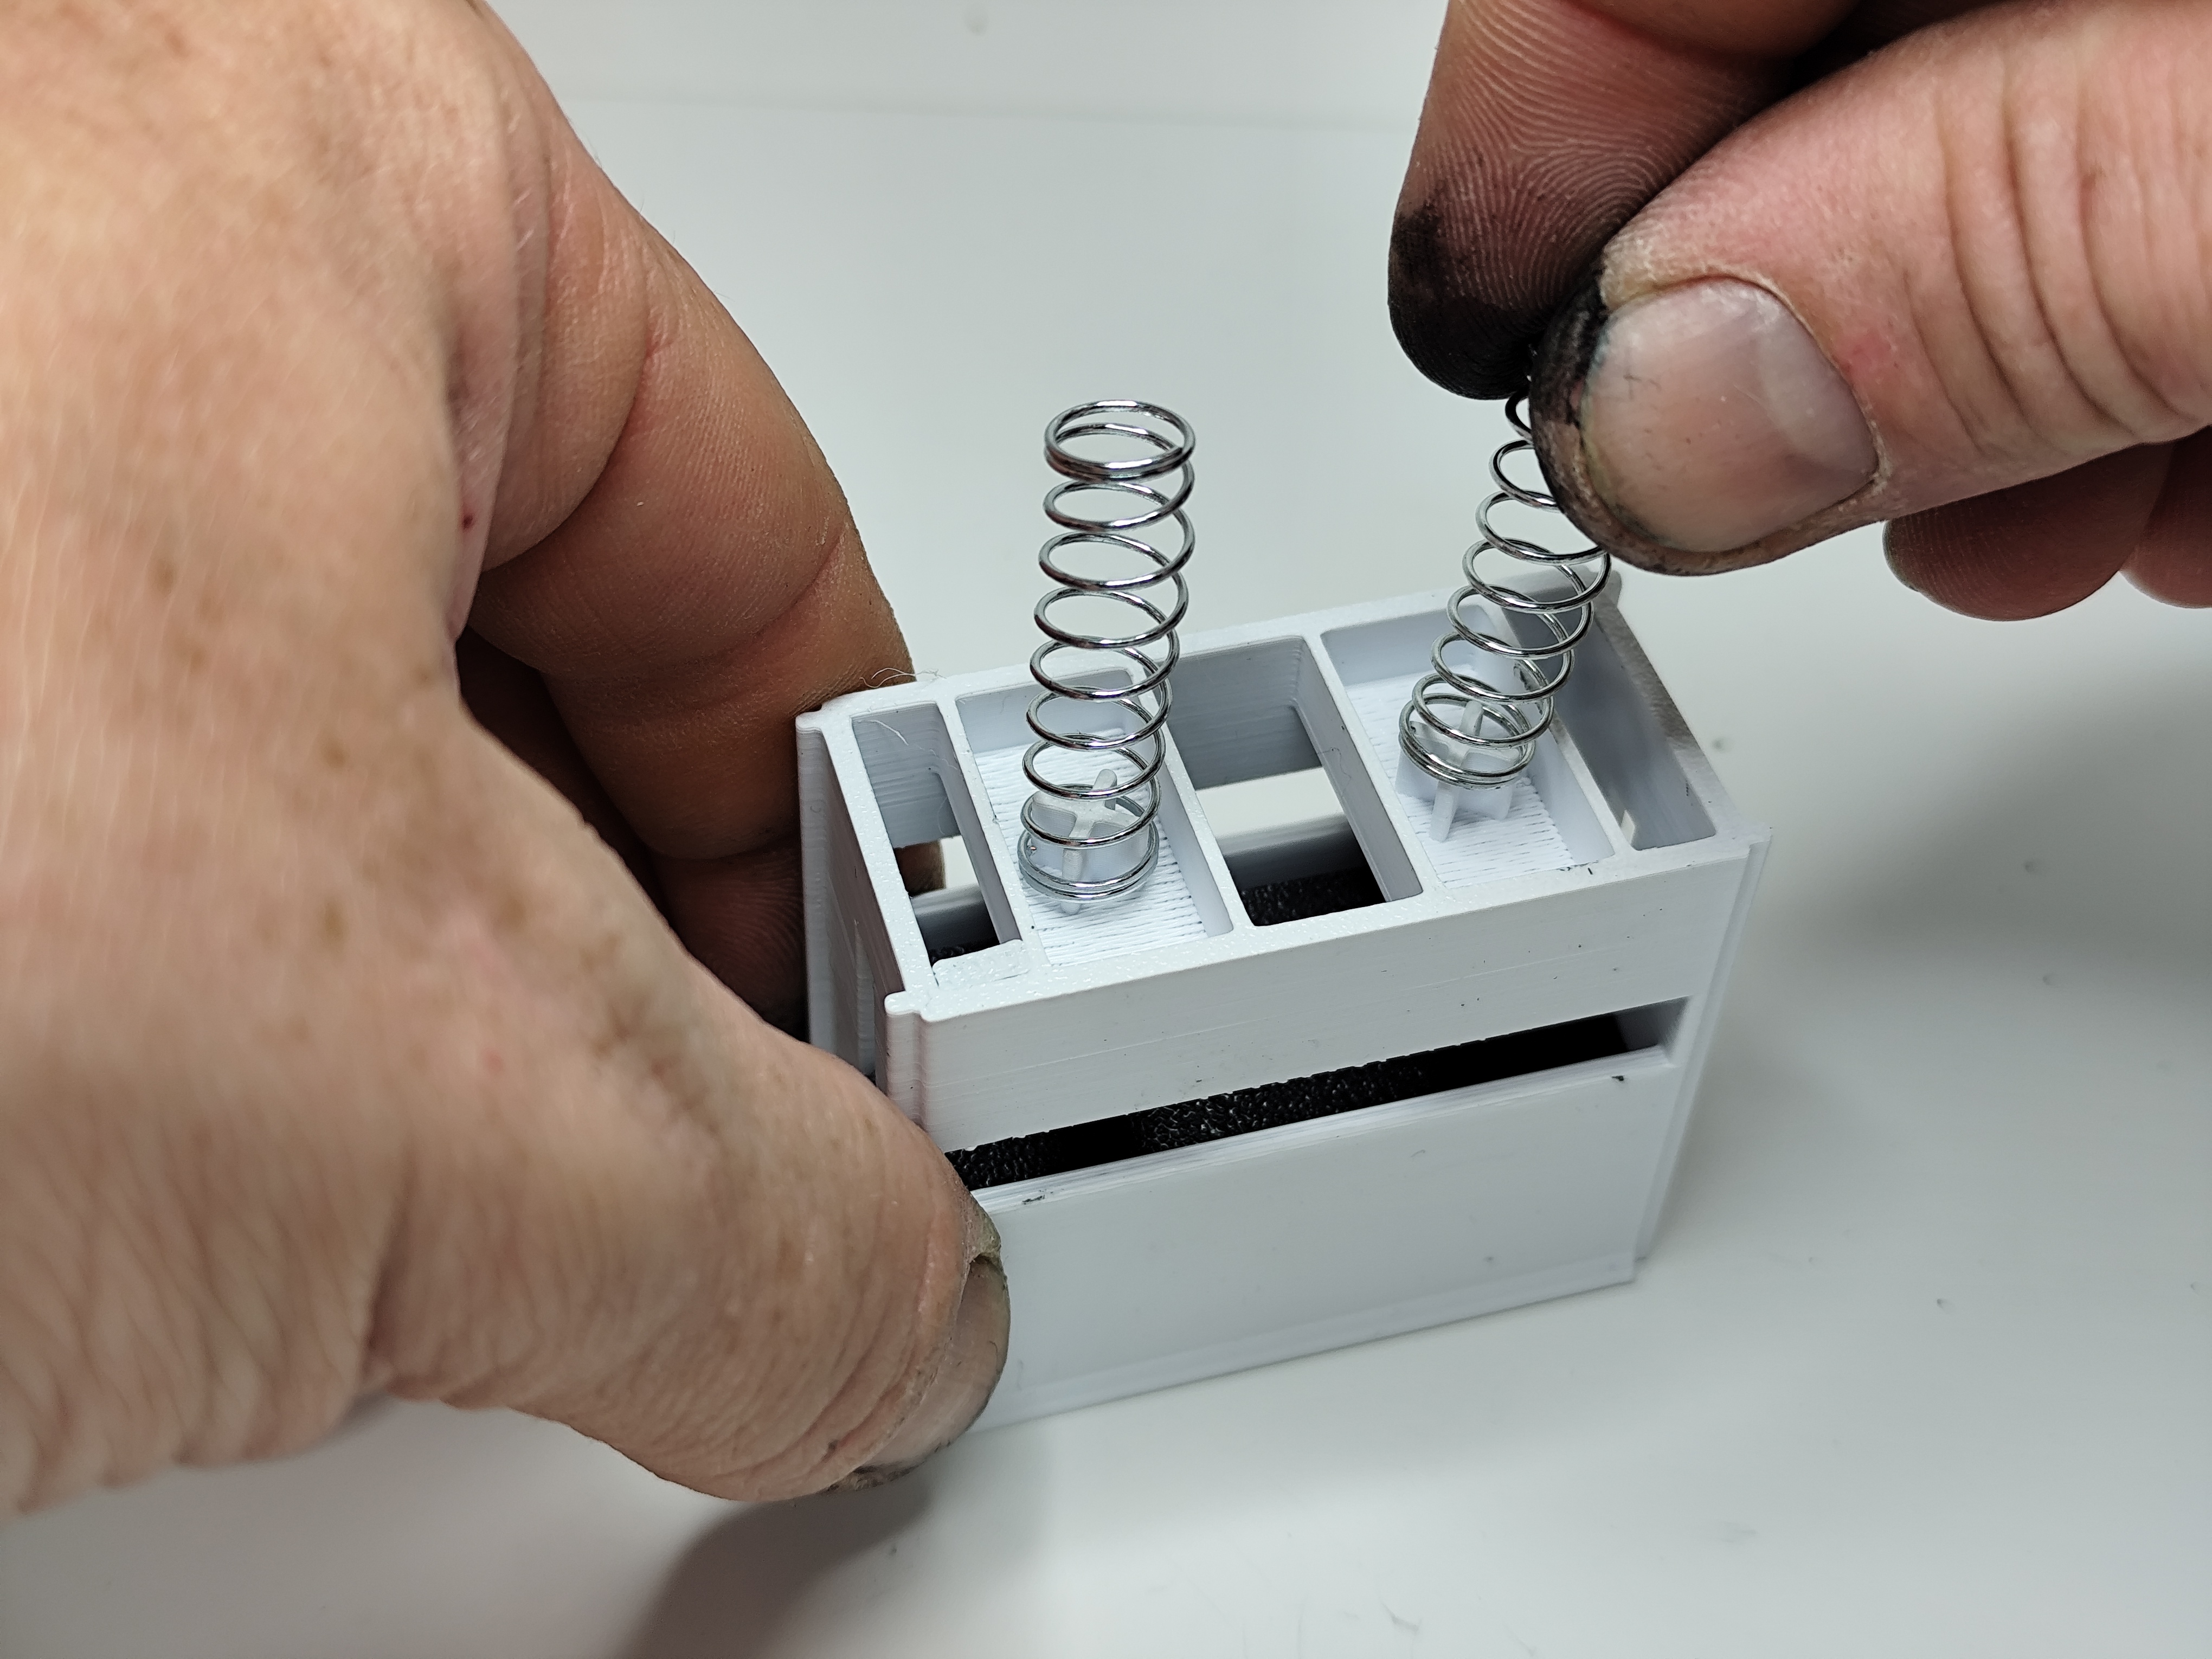
I present my automatic spring stamp, very useful for creating your own personalized stamps.
For the text stamp, I used TPU because it's softer and produces better results, but you can also use PLA.
Assembly:
Assembly is not complicated, but it does require a bit of patience.
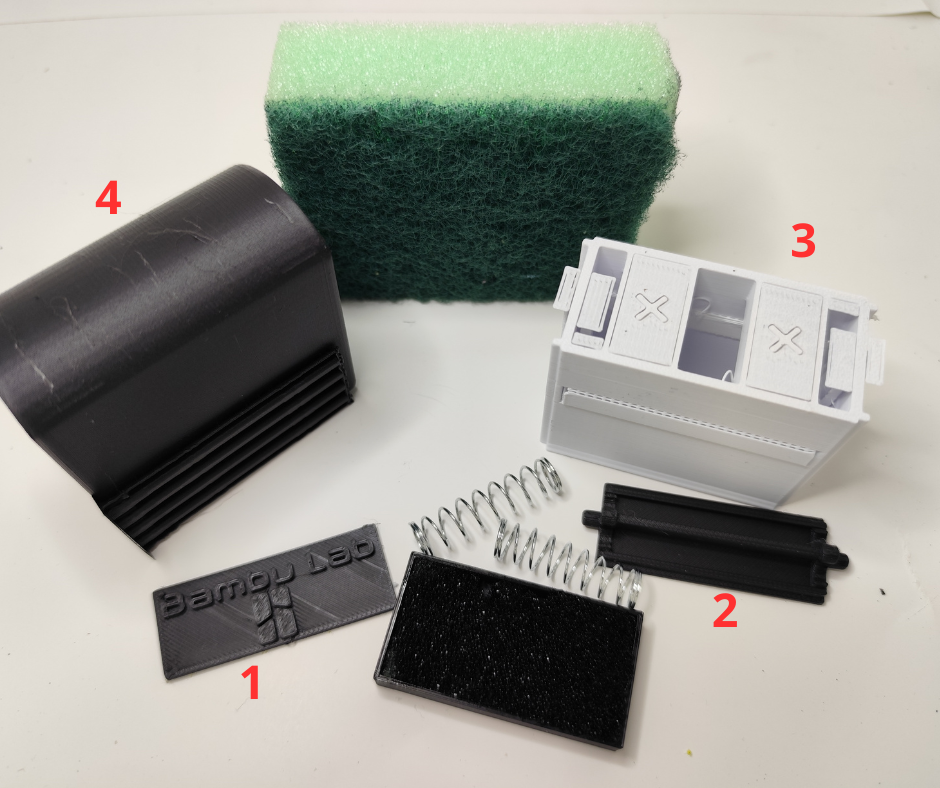
1) First, remove all supports from the various parts; supports are necessary for good printing.
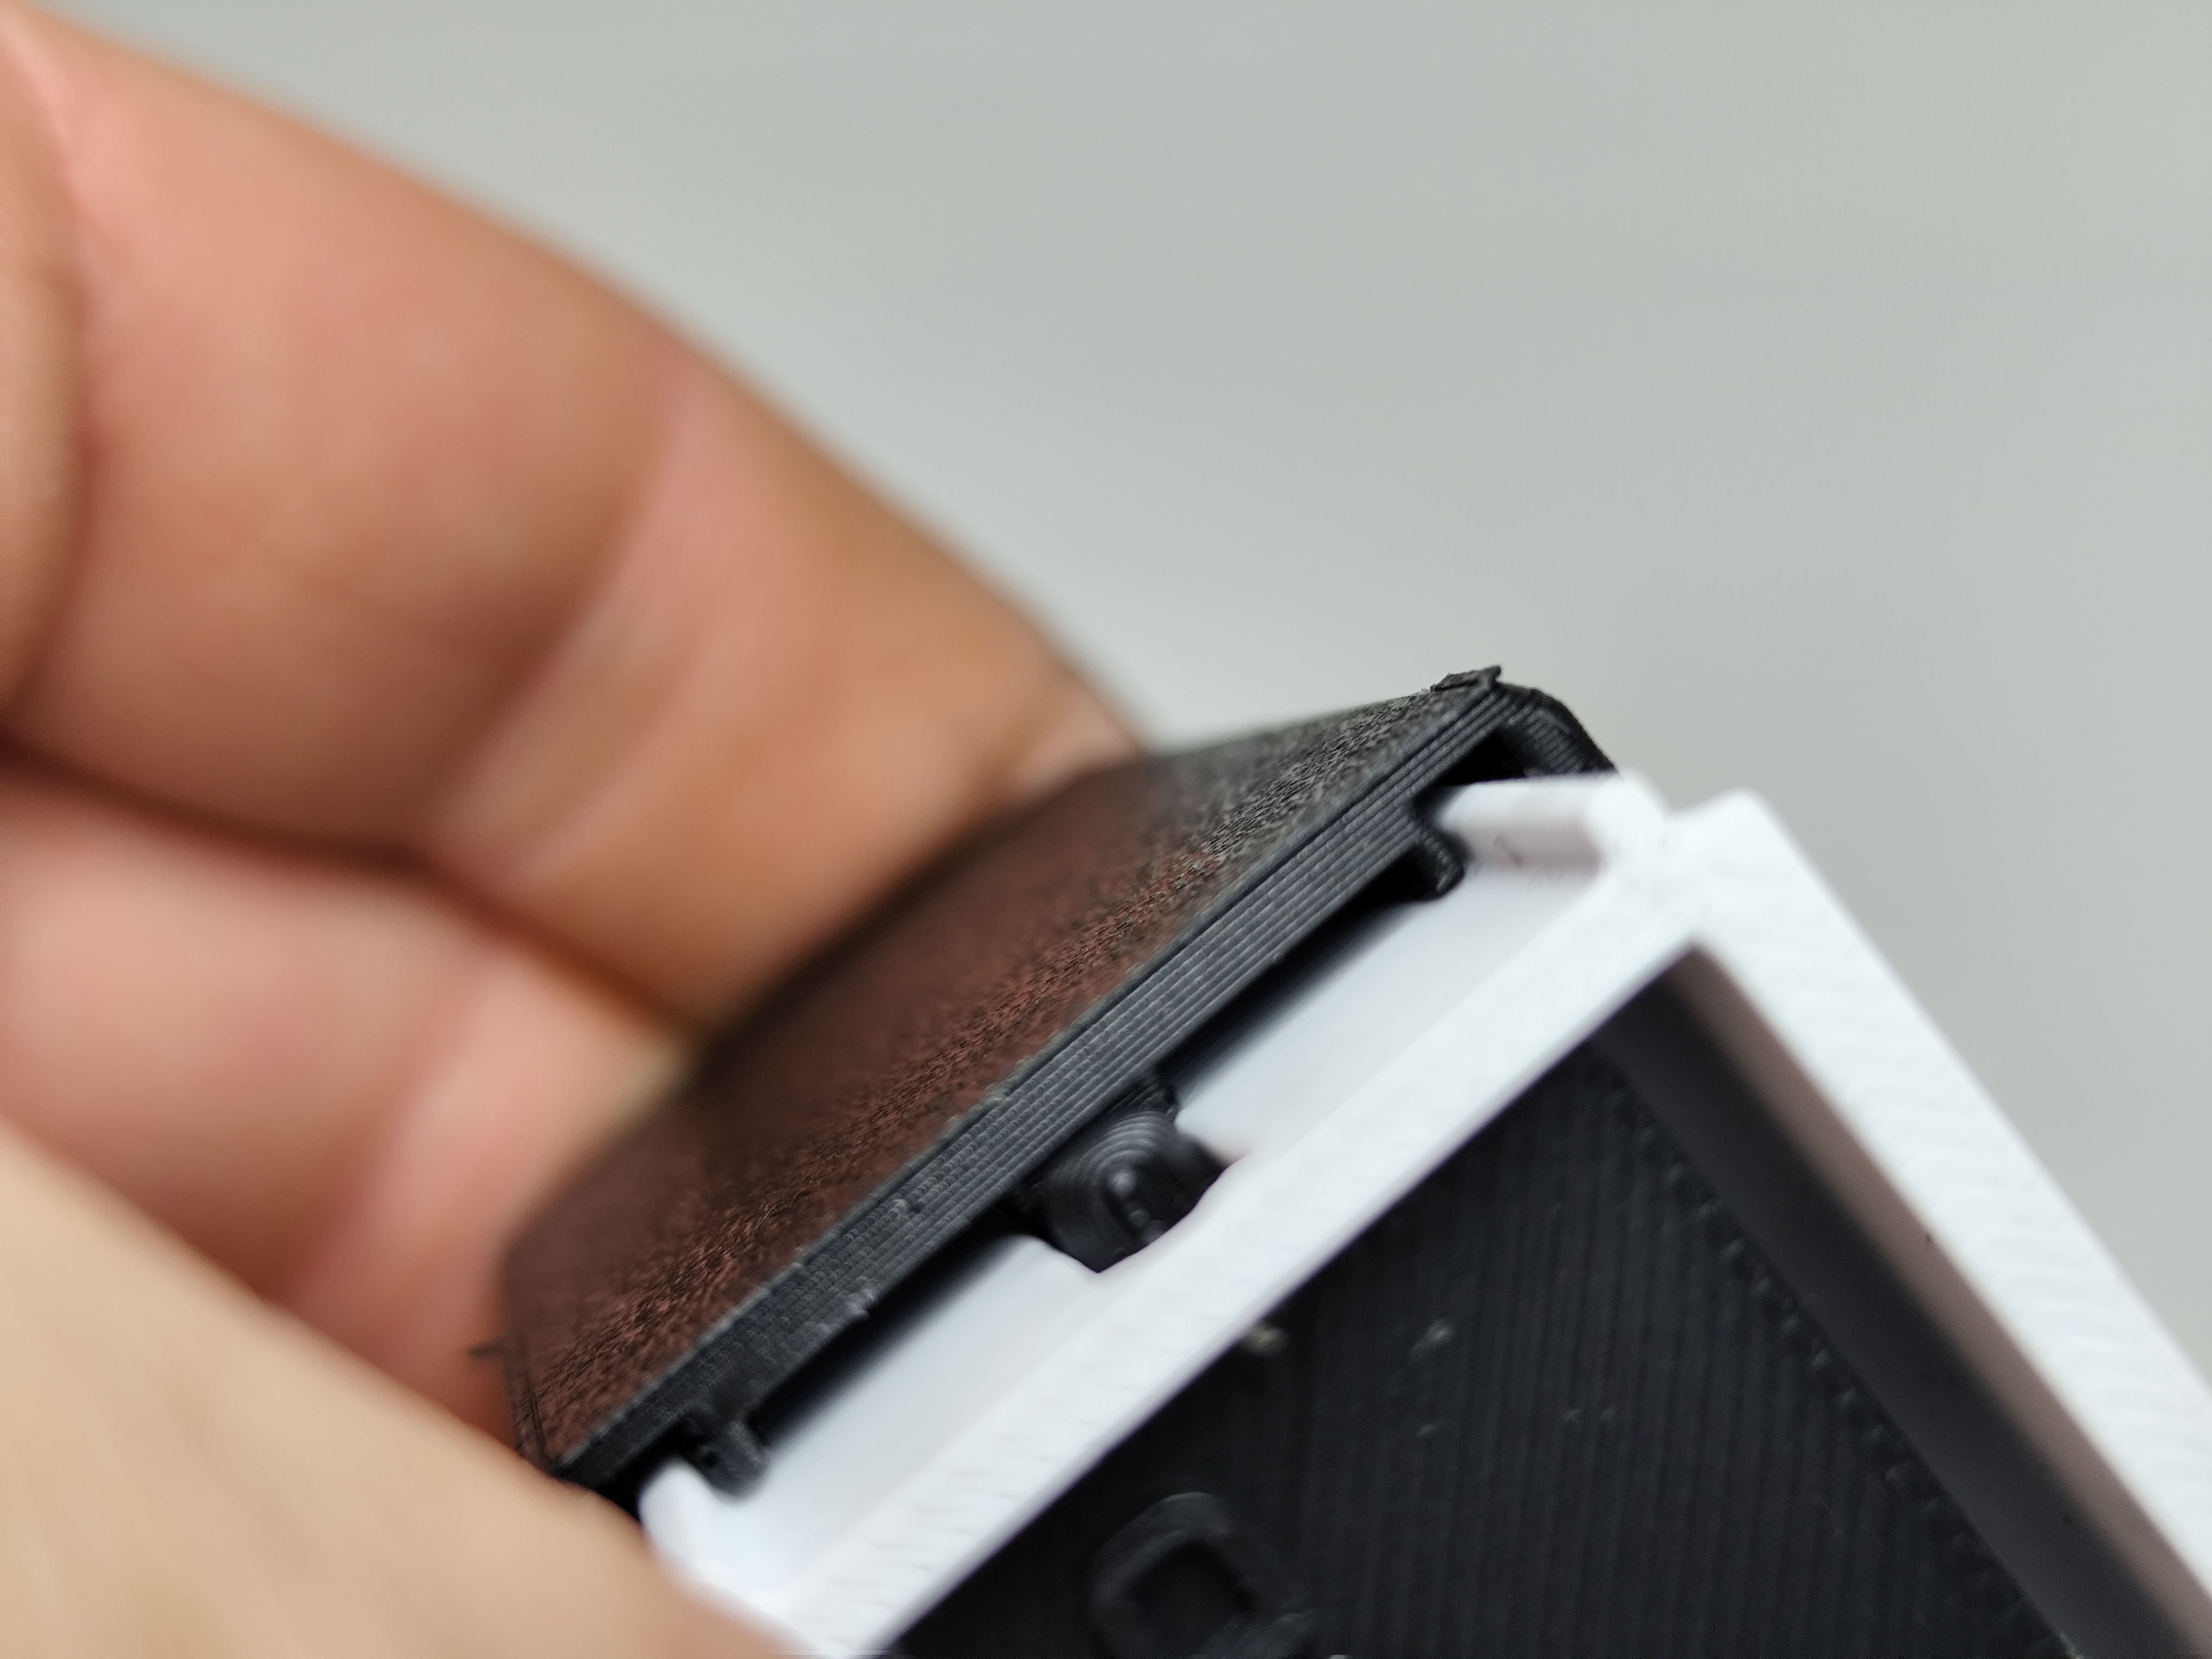
2) Remove any protrusions created by the supports from piece (No. 2);

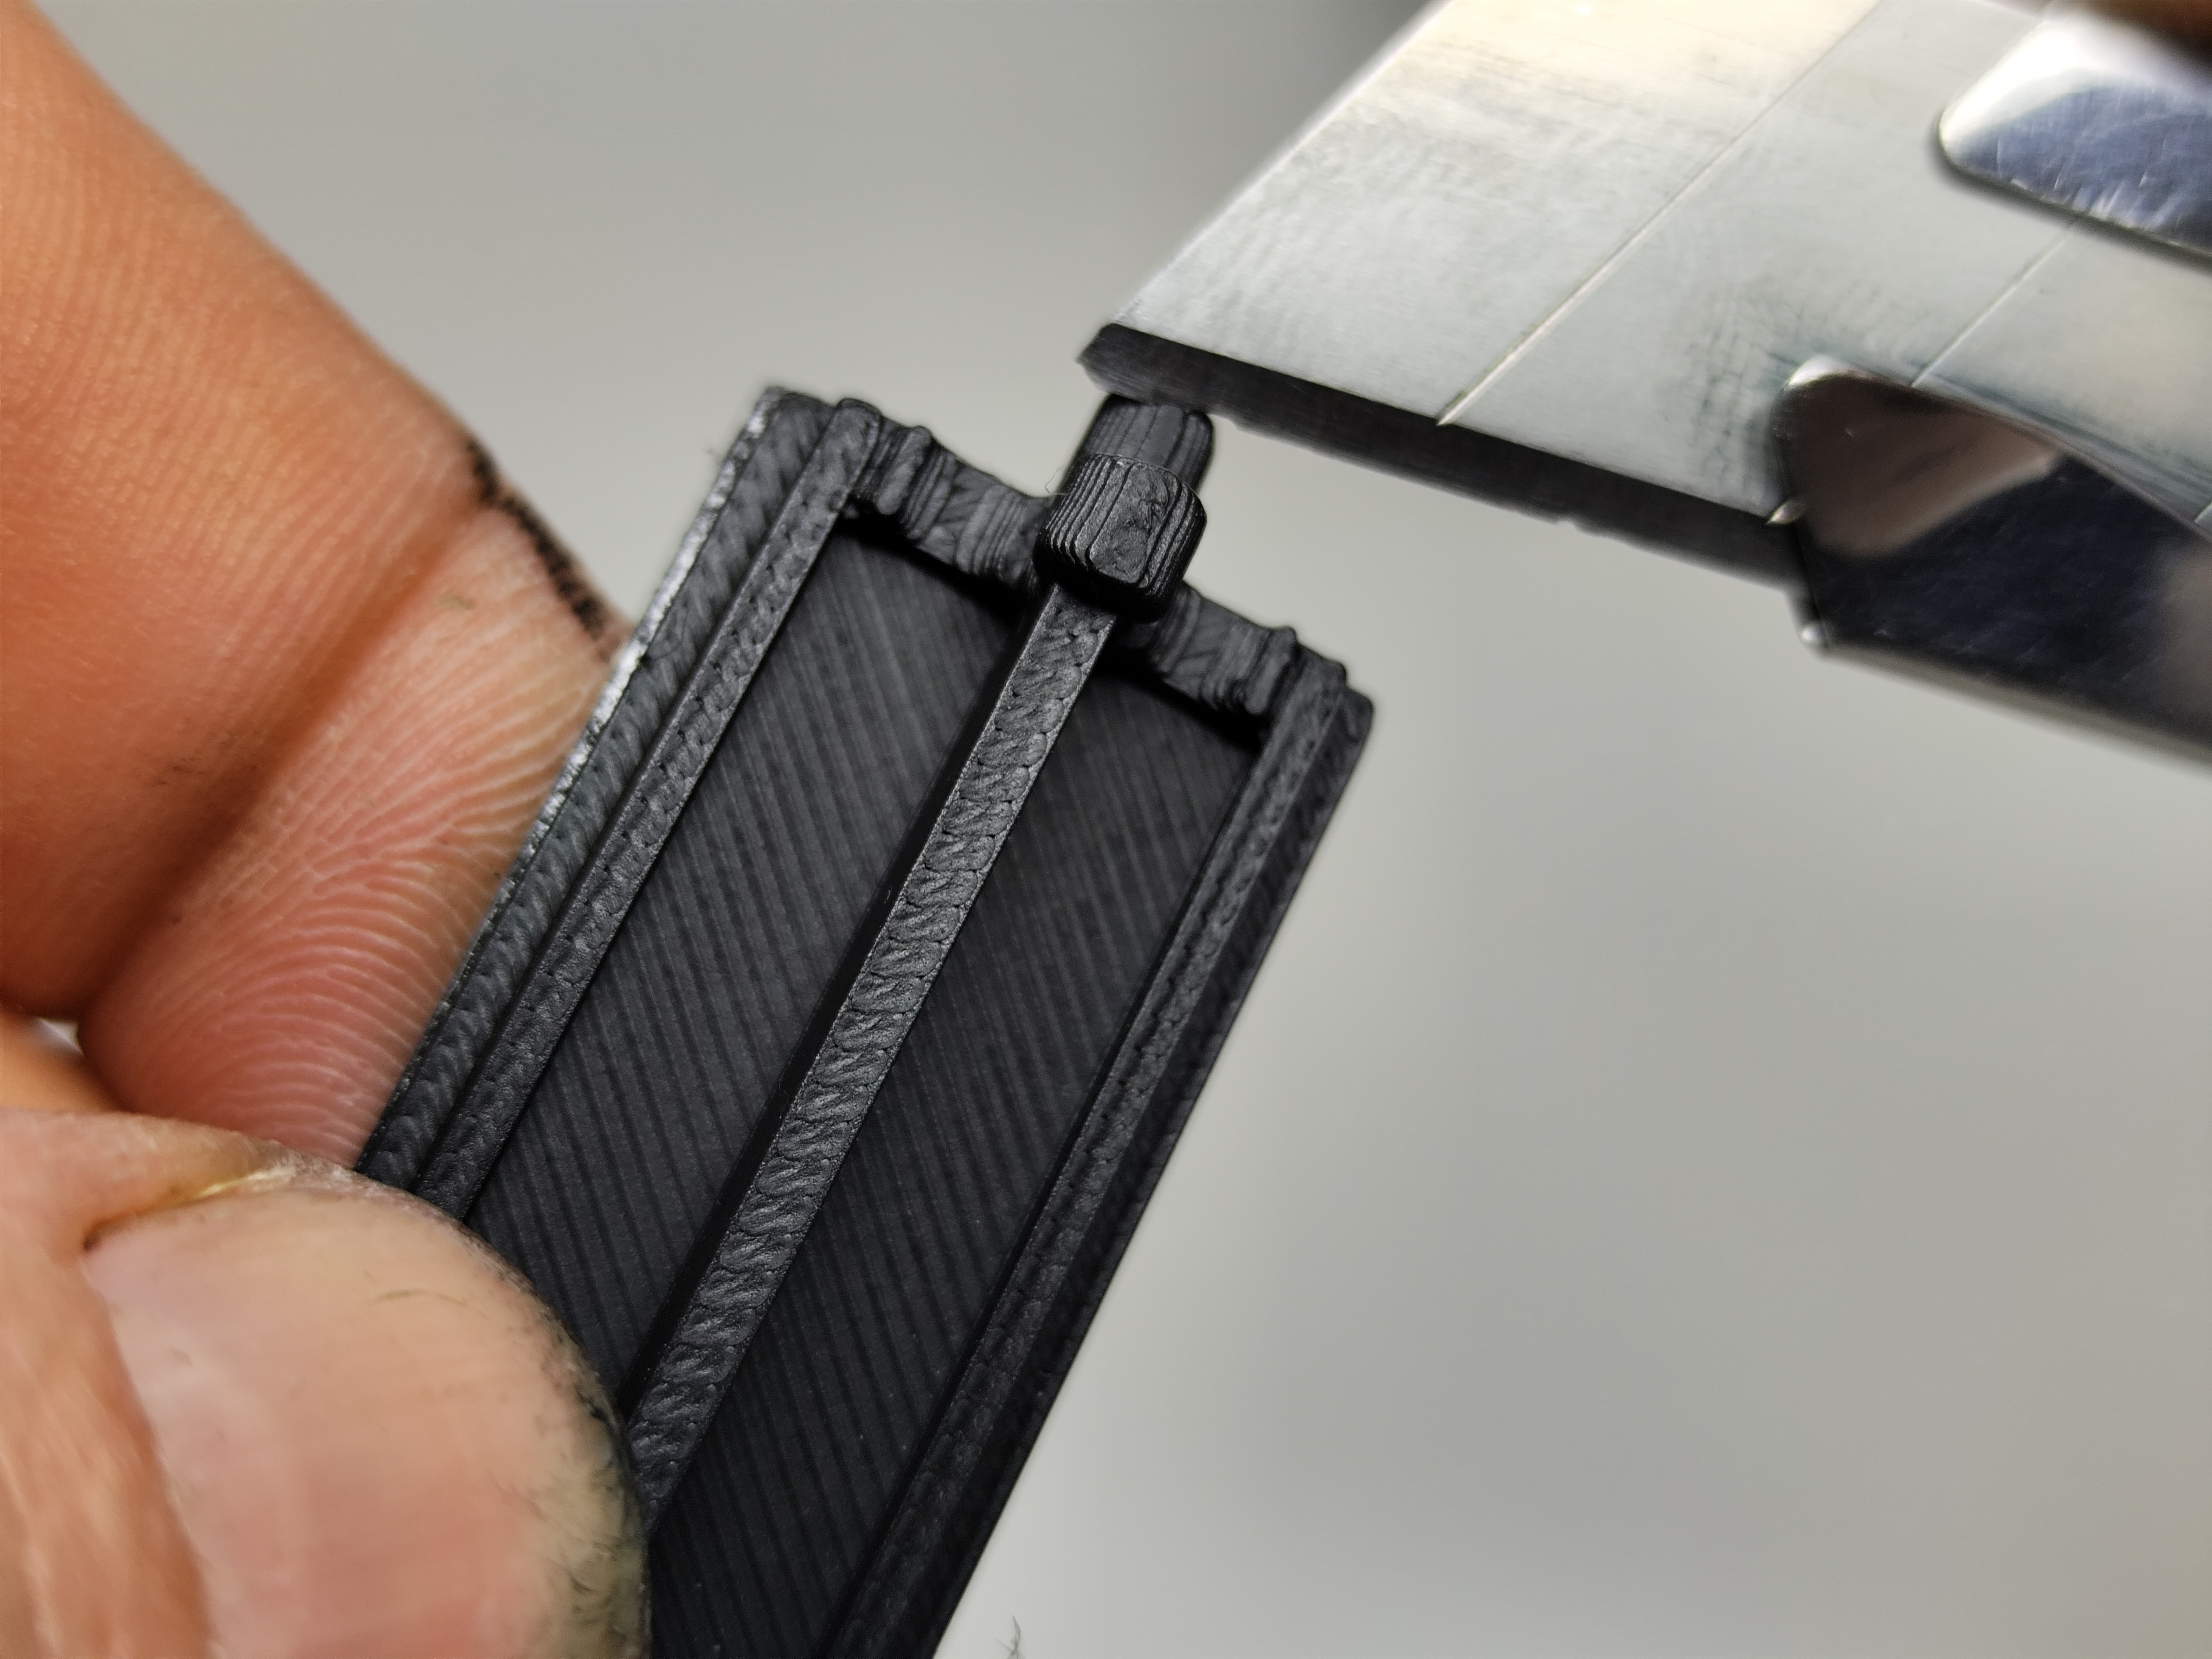
3) Using double-sided tape, glue your printed text (No. 1) to piece (No. 2);
4) Insert piece (No. 2) into the white casing, as shown in the photo.
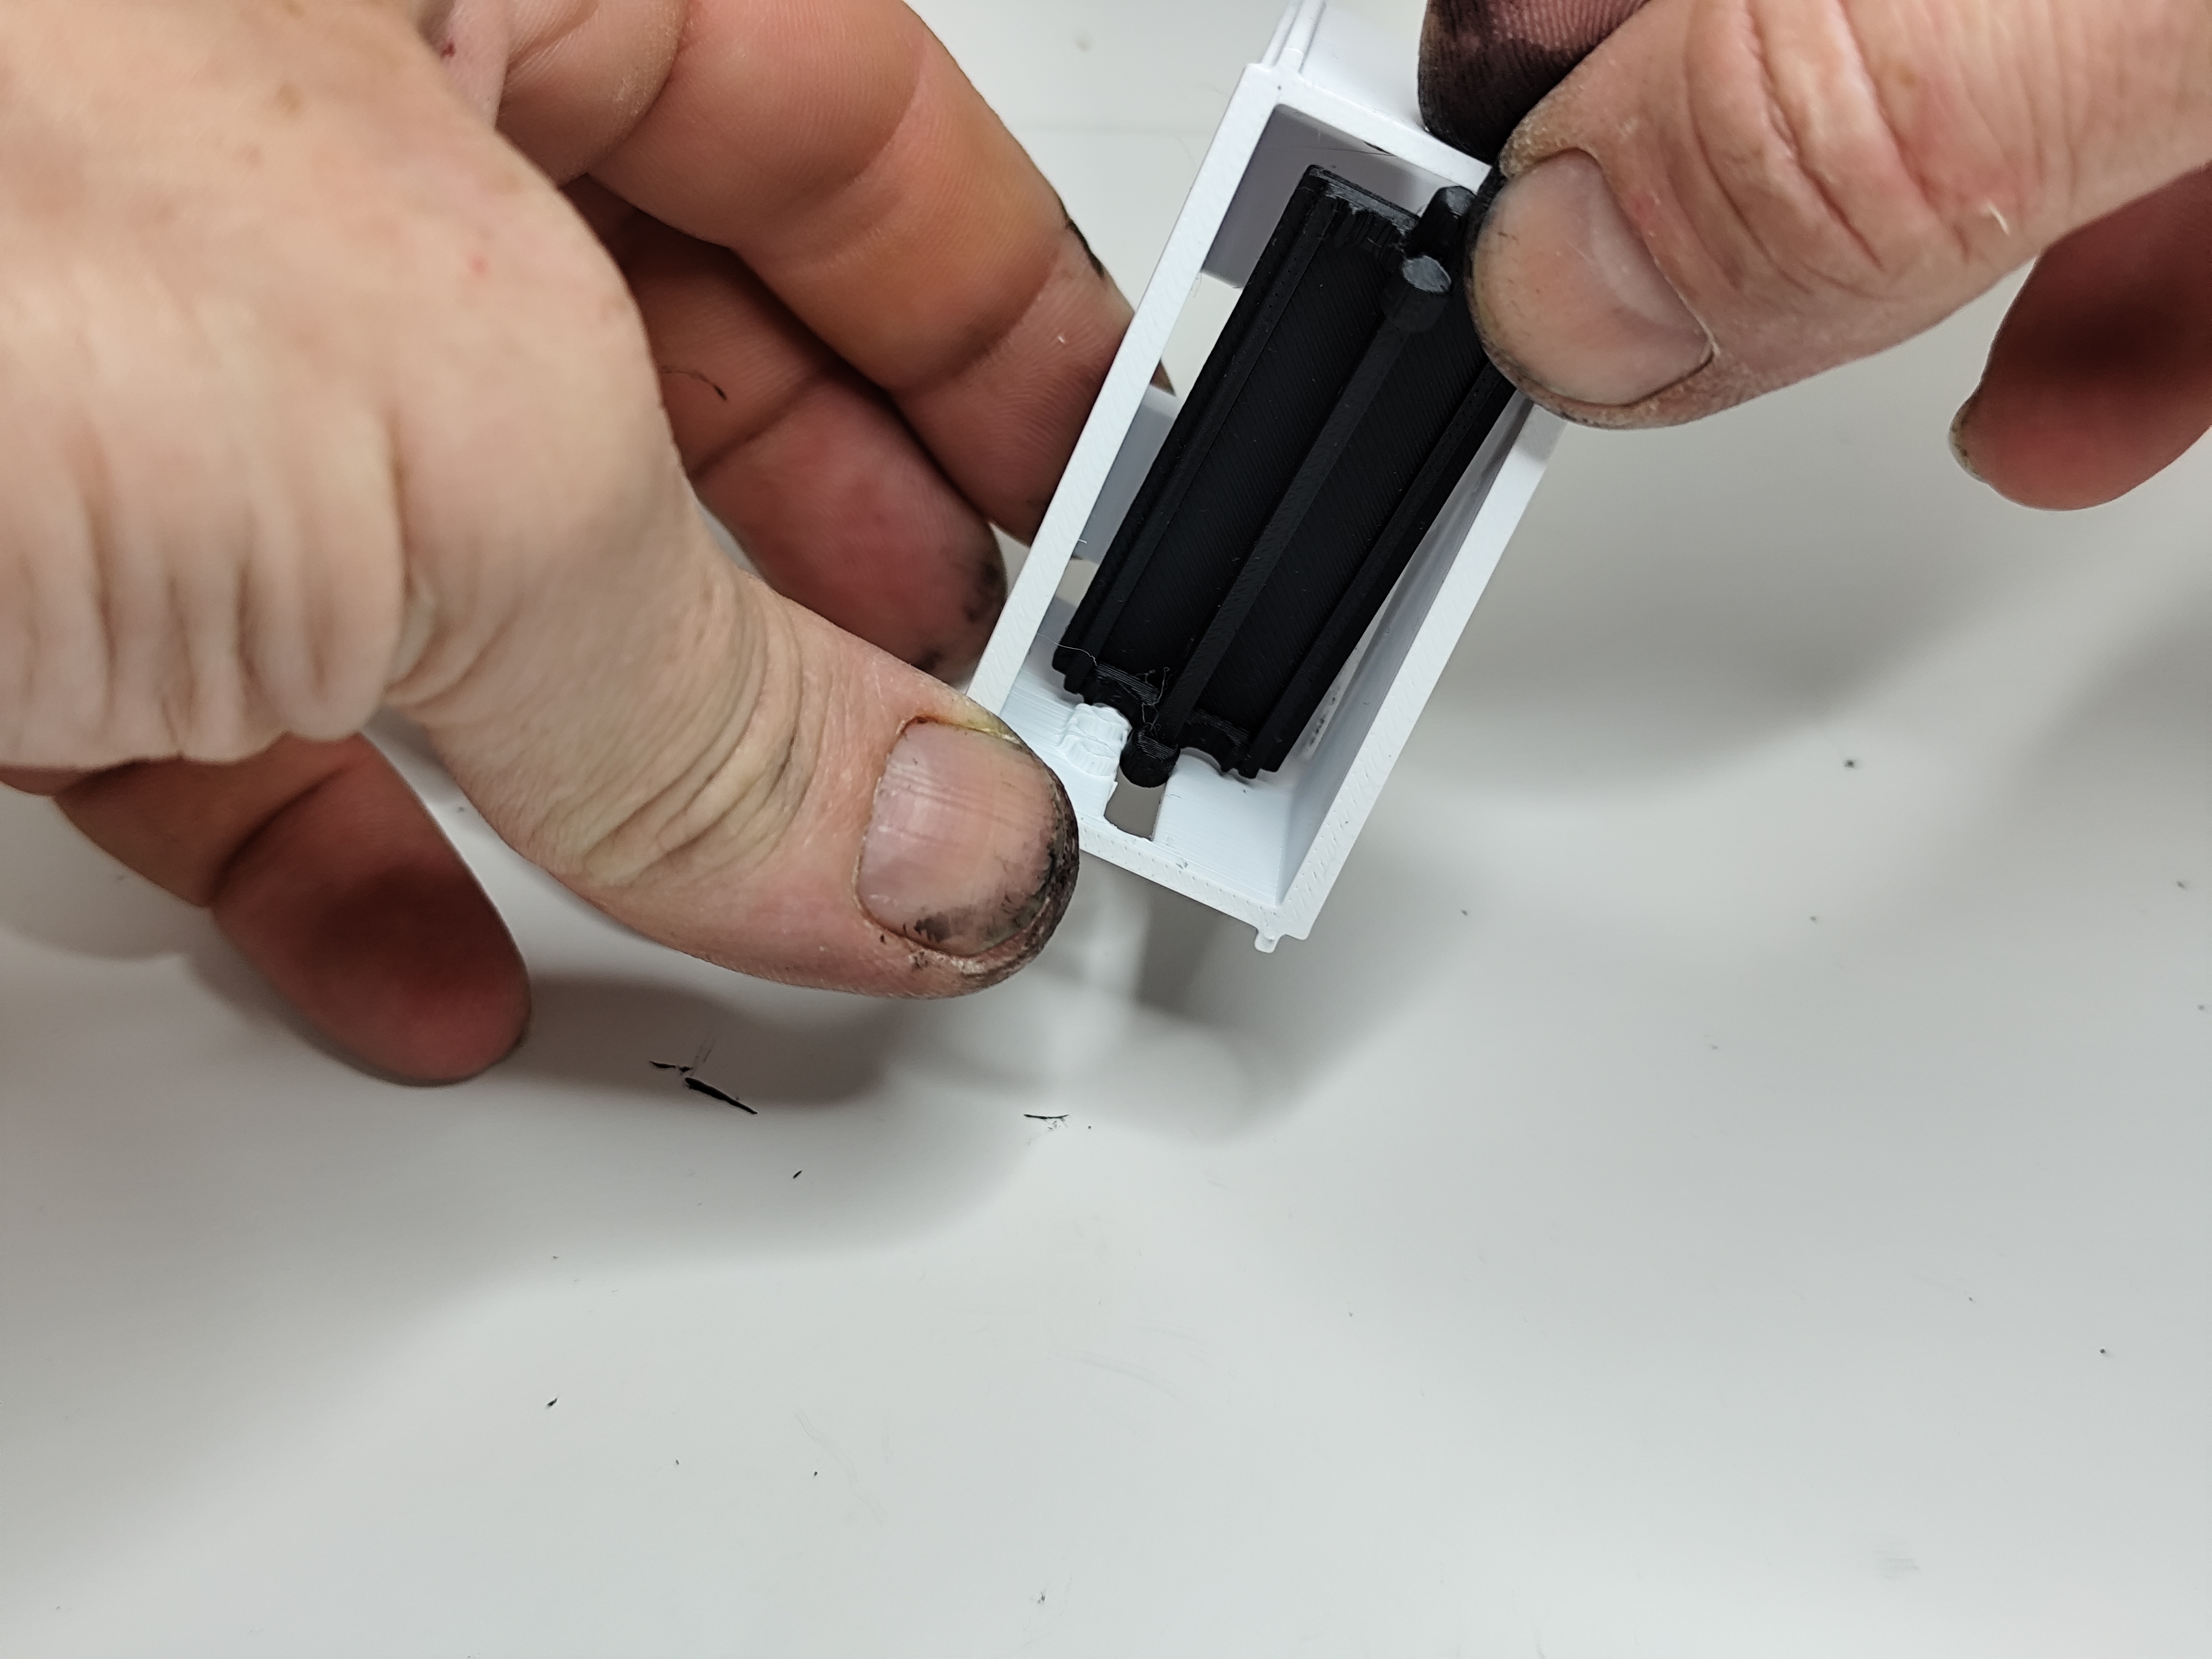
5) Insert the two springs into the white casing, corresponding to the crosses.
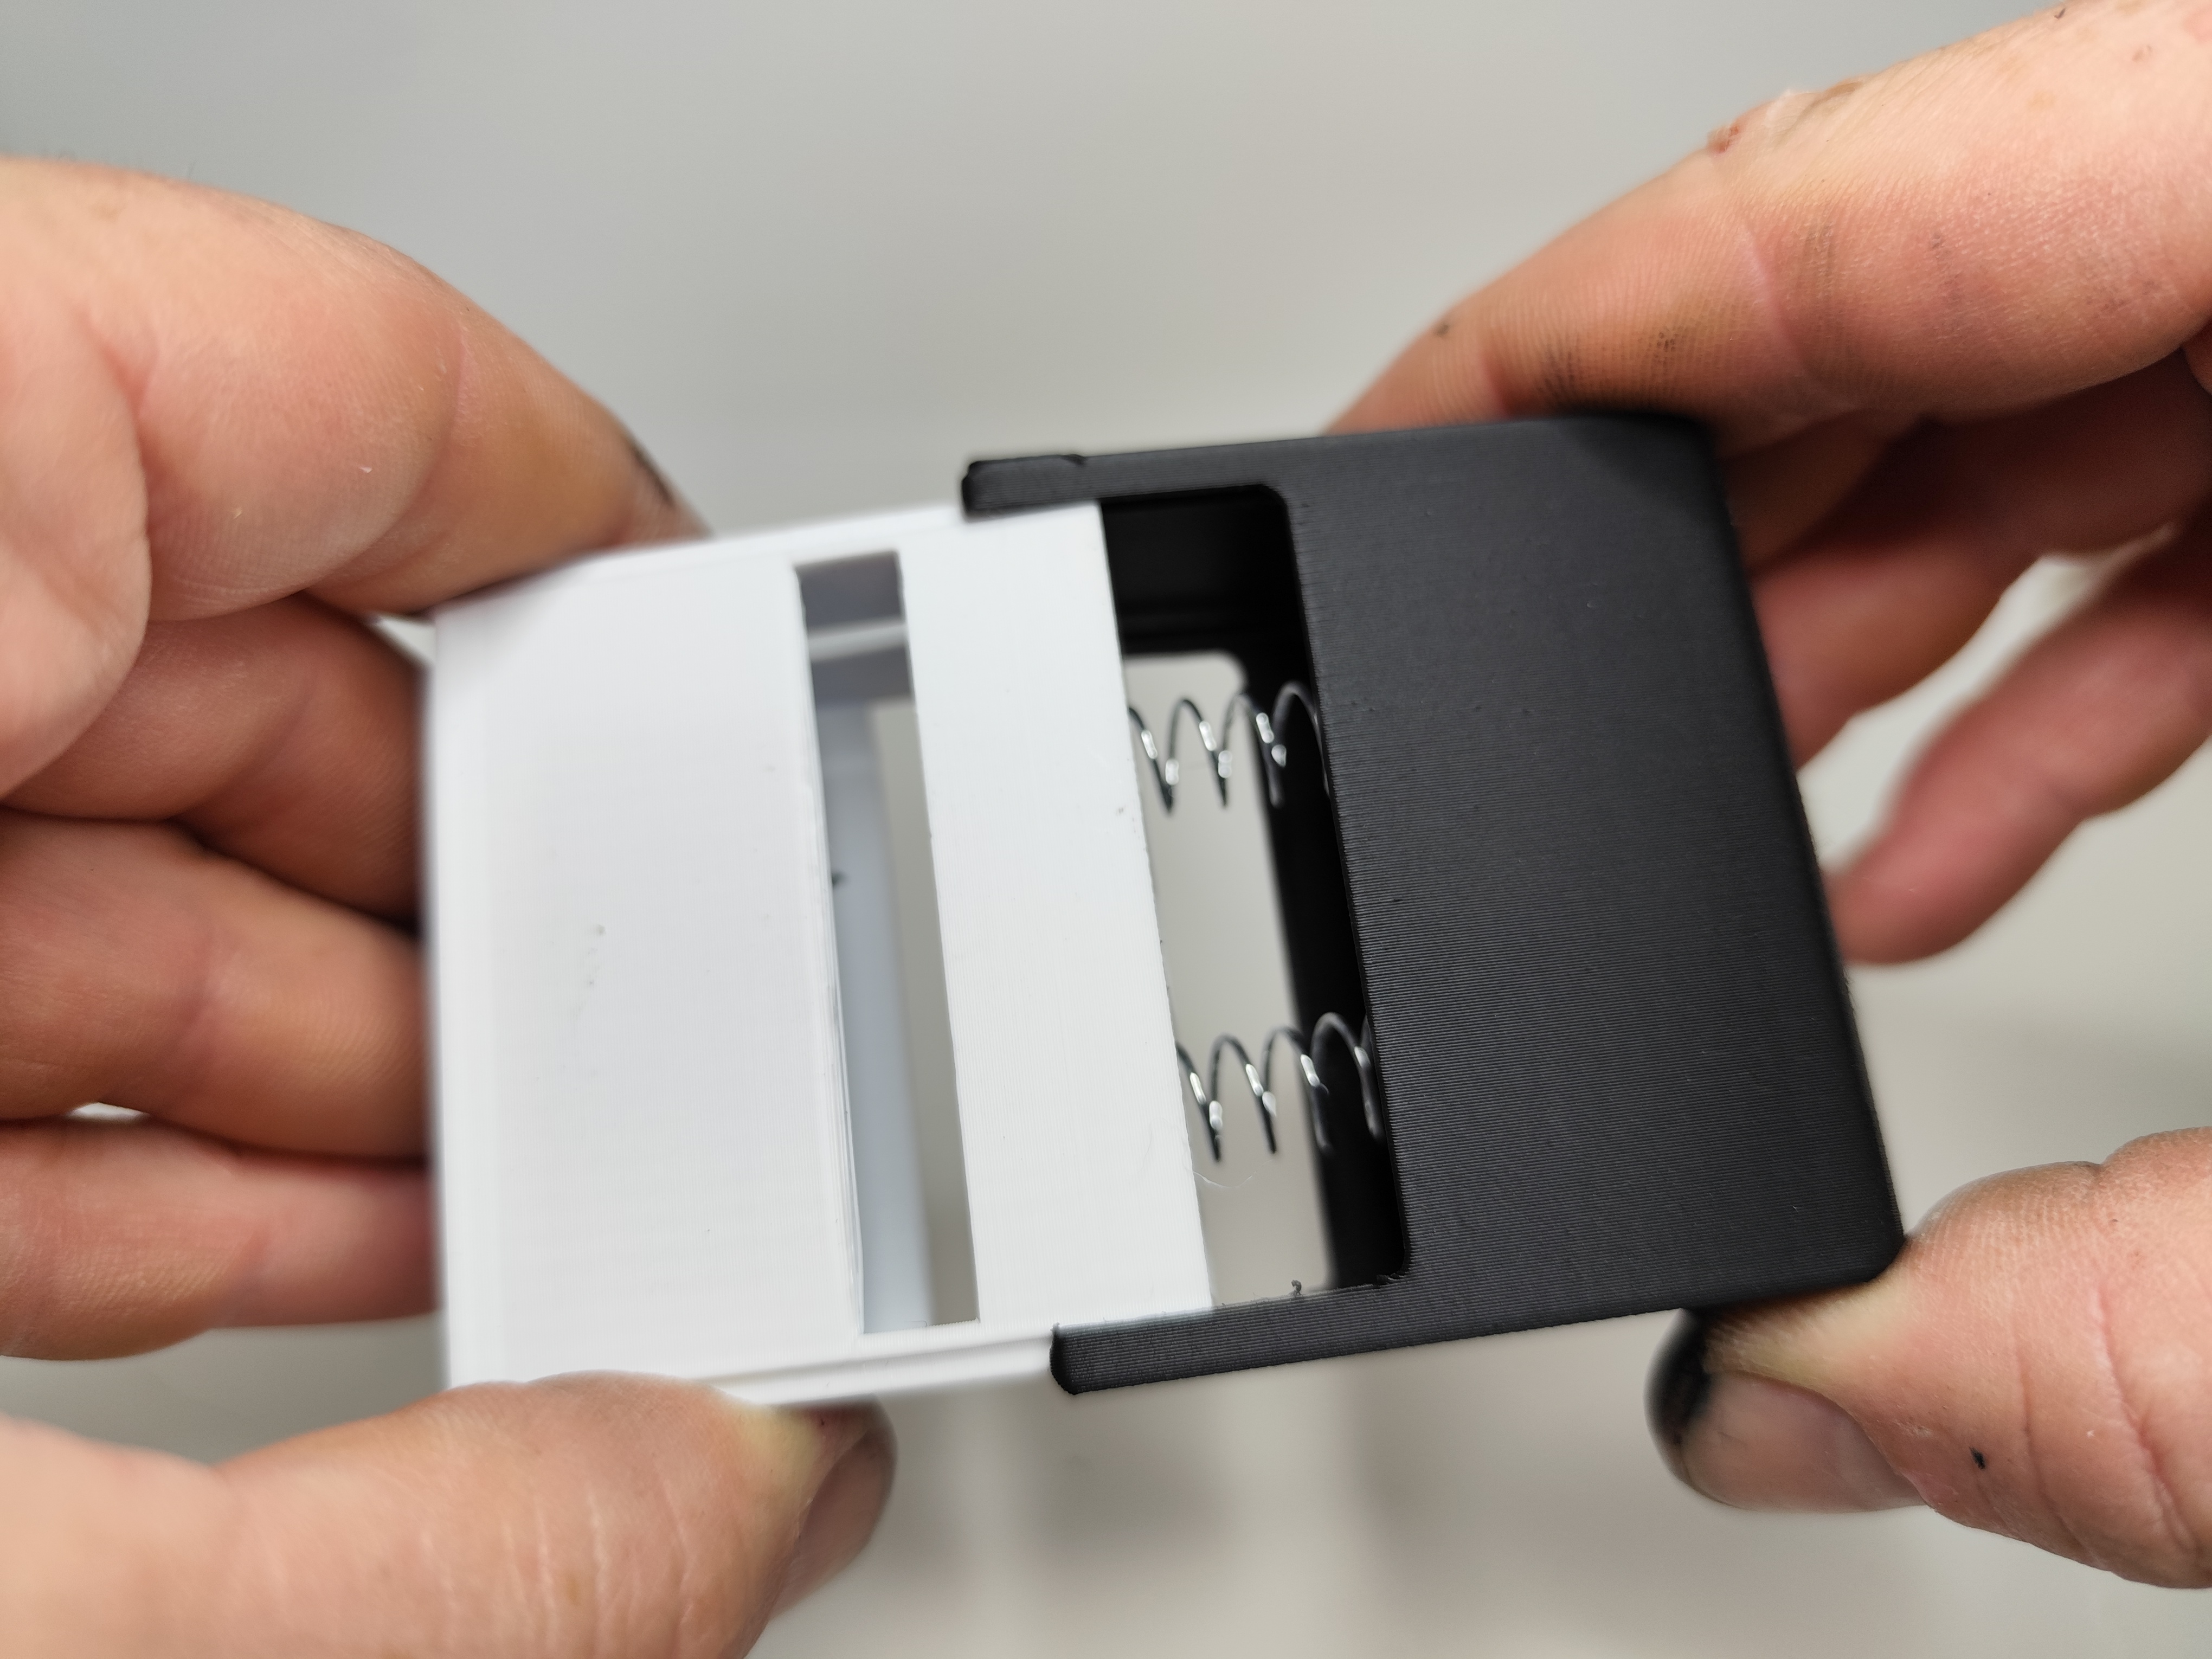
6) Insert the black cap into the white casing until it snaps into place.
7) Finally, place the tray with the ink-soaked sponge into the slot.
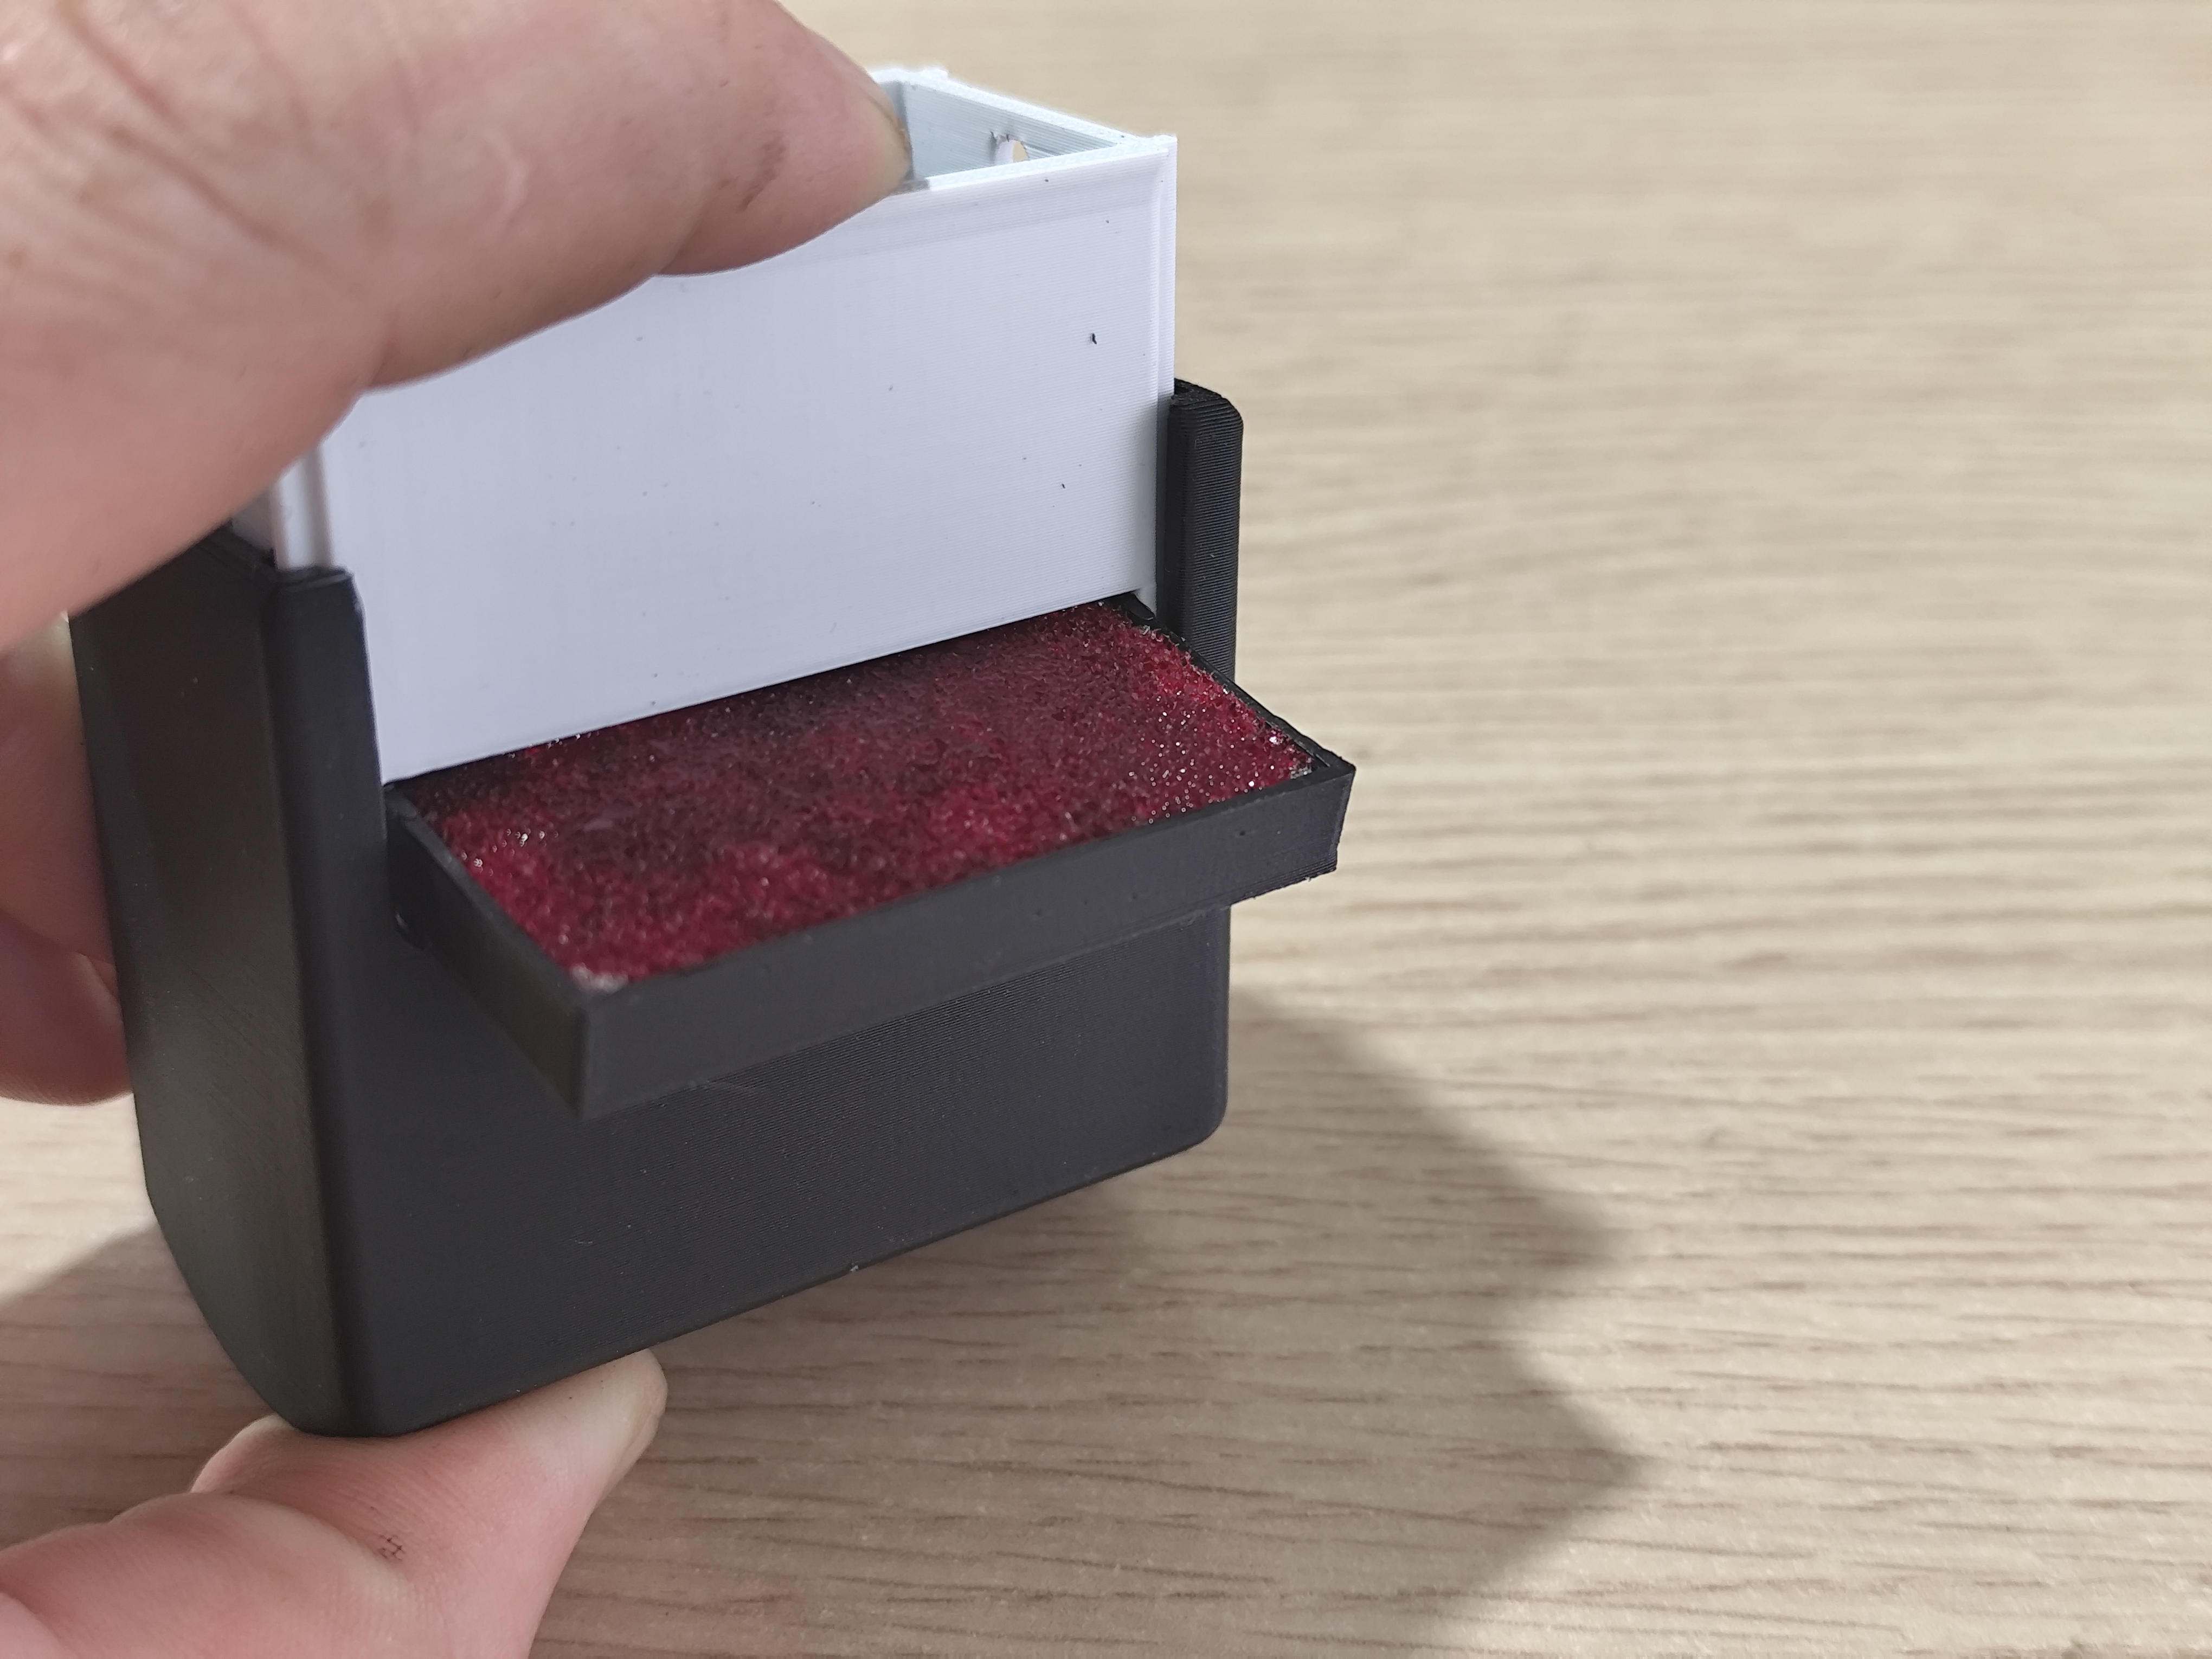
For the drawer I cut up a dish sponge and soaked it in ink.

796
Curtidas
783
Downloads
2,105
Coleções
250
Impressões
Categoria
Office
Tags
stamp
stamp and cookie cutter
timbro
ink
office
office accesories
stamp base
Licença
Standard Digital File License