Você está no 3DFinder
Buscamos em Thingiverse, MakerWorld e Printables ao mesmo tempo para te dar o melhor de cada uma.
Descrição
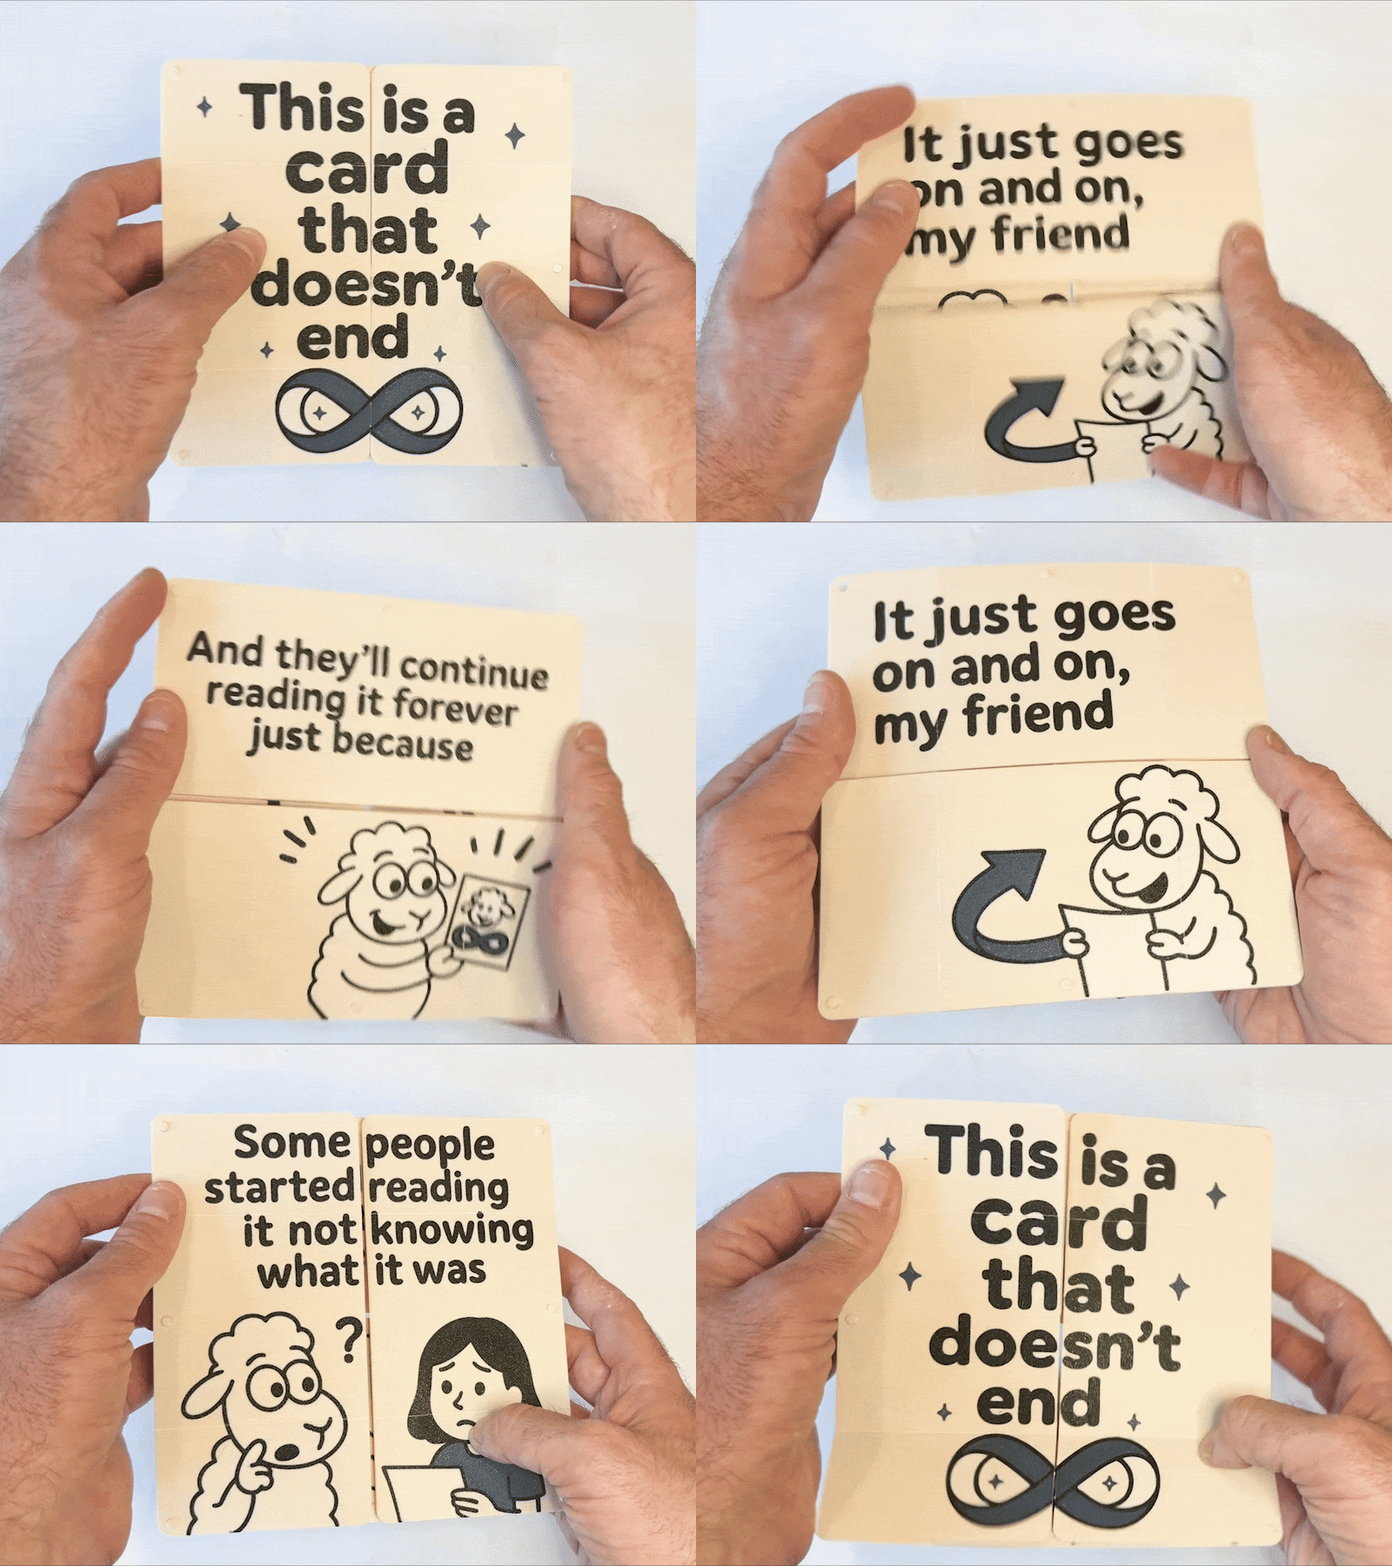
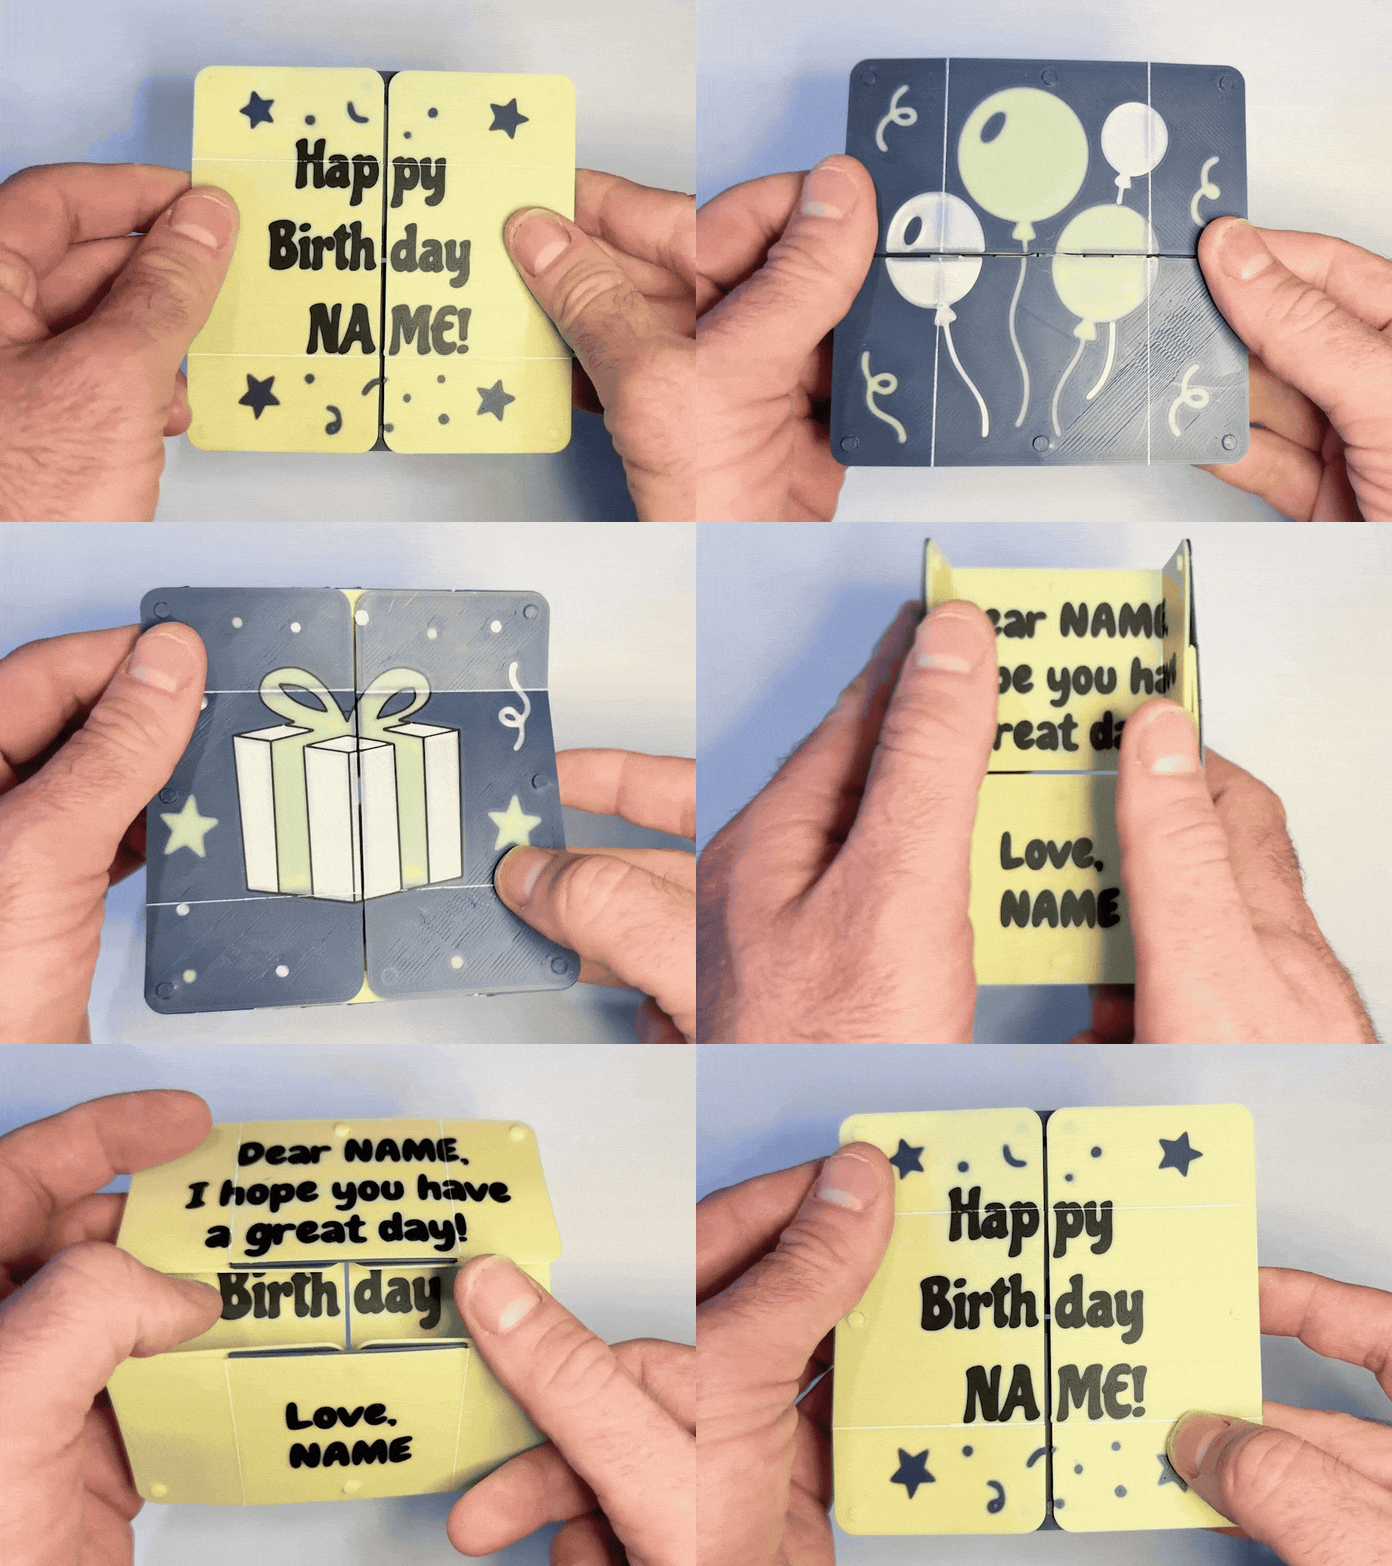
Infinity Card: A Customizable, Fidget-able Greeting Card
My older daughter and I initially designed this as a birthday card for someone in her class, but it was such a hit (it has edged out dragons as the model I've had to print the most copies of…) that I decided to develop it into a polished form and make it more broadly available. Almost 600 lines of OpenSCAD and numerous test prints later (plus more time than I ever thought I'd spend learning the intricacies of the SVG standard), here we are. You can either print one of the finished designs that I've posted or use the “Customize” option to make a fully customized card. (You can also use the “Customize” button to download a blank card if you would rather customize it in the slicer or an external program.)
Update (12/9/25): Made Christmas/Hanukkah/Holiday versions. I've made Christmas/Hanukkah/Holiday infinity cards. You can find them at [https://makerworld.com/en/models/2097408](https://makerworld.com/en/models/2097408).
Update (10/8/25): Added profiles with text you can customize in Bambu Studio. Some people requested a quick way to make a card with custom text without dealing with Bambu's “Customize” interface. To facilitate this, I've some added a few print profiles containing premade cards with text that you can edit in Bambu Studio. (See below for details.) For more extensive customization, you can still use the “Customize” option.
Assembly is quick and easy--you basically just flip through the four “pages” of the card and snap each one to the back of the one before it. Please see the written assembly instructions in the “Assembly Guide” section of this page and/or the assembly video below.
I hope you enjoy the model, and please don't hesitate to let me know if you have any issues or suggestions.
Print Settings:
If you don't use the uploaded print profiles, here are some suggestions about the print settings:
- I have found that the .16mm High Quality preset in Bambu Studio works well.
- Either use the Arachne wall generator (in the “Quality” section of the settings) or turn on Detect thin wall (in the “Strength” section of the settings) to keep the slicer from dropping thin lines in images/text.
- The dimensions and tolerances were set based on a .16mm layer height with .2mm for the first layer. If you change the settings from the ones in the posted print profiles, I recommend you keep this layer height.
I tested the tolerances of the snaps across a variety of regular, matte and silk PLA filaments. The amount of force needed varied slightly depending on the filament and calibration, but they always fit together securely in my tests on my printer. Everything went really smoothly with Bambu PLA Basic. The only time I ran into slight issues was when I used a smooth build plate and cheap PLA silk from Amazon without calibrating it. (The snaps were a little hard to fasten.) Once I ran the Flow Dynamics calibration, it worked great.
If anything doesn’t work for you, please let me know so I can adjust the model accordingly. (You can also adjust the parameters yourself using the “Customize” button.)
Notes:
- MakerWorld currently only supports customization for parametric models through its Makerworld.com website, and the option won't appear if you access the model on the Handy app or through Bambu Studio. If you don't see the “Customize” button, make sure you are pulling up the model using a web browser.
- You can change the dimensions, text, and images on the card using the “Customize” option. The process should be mostly self-explanatory, but I've included a few notes below about the recommended dimensions and how to prepare and upload images.
- If you develop a customized card that you think other people would like, please feel free to post it as a print profile so that others can use it. If it has supporting SVG files that you'd like me to post, please let me know.
- If you are looking for inspiration, there are a variety of handmade designs and DIY videos on the web--just search for “Infinity Card” or “Never Ending Card.”
Posted Versions:
I've posted a few finished cards and the customizable model. I've also posted two versions of the customizable model that are prefilled with sizes, colors, fonts, and sample text/images to make it super-easy to see how to customize and print.
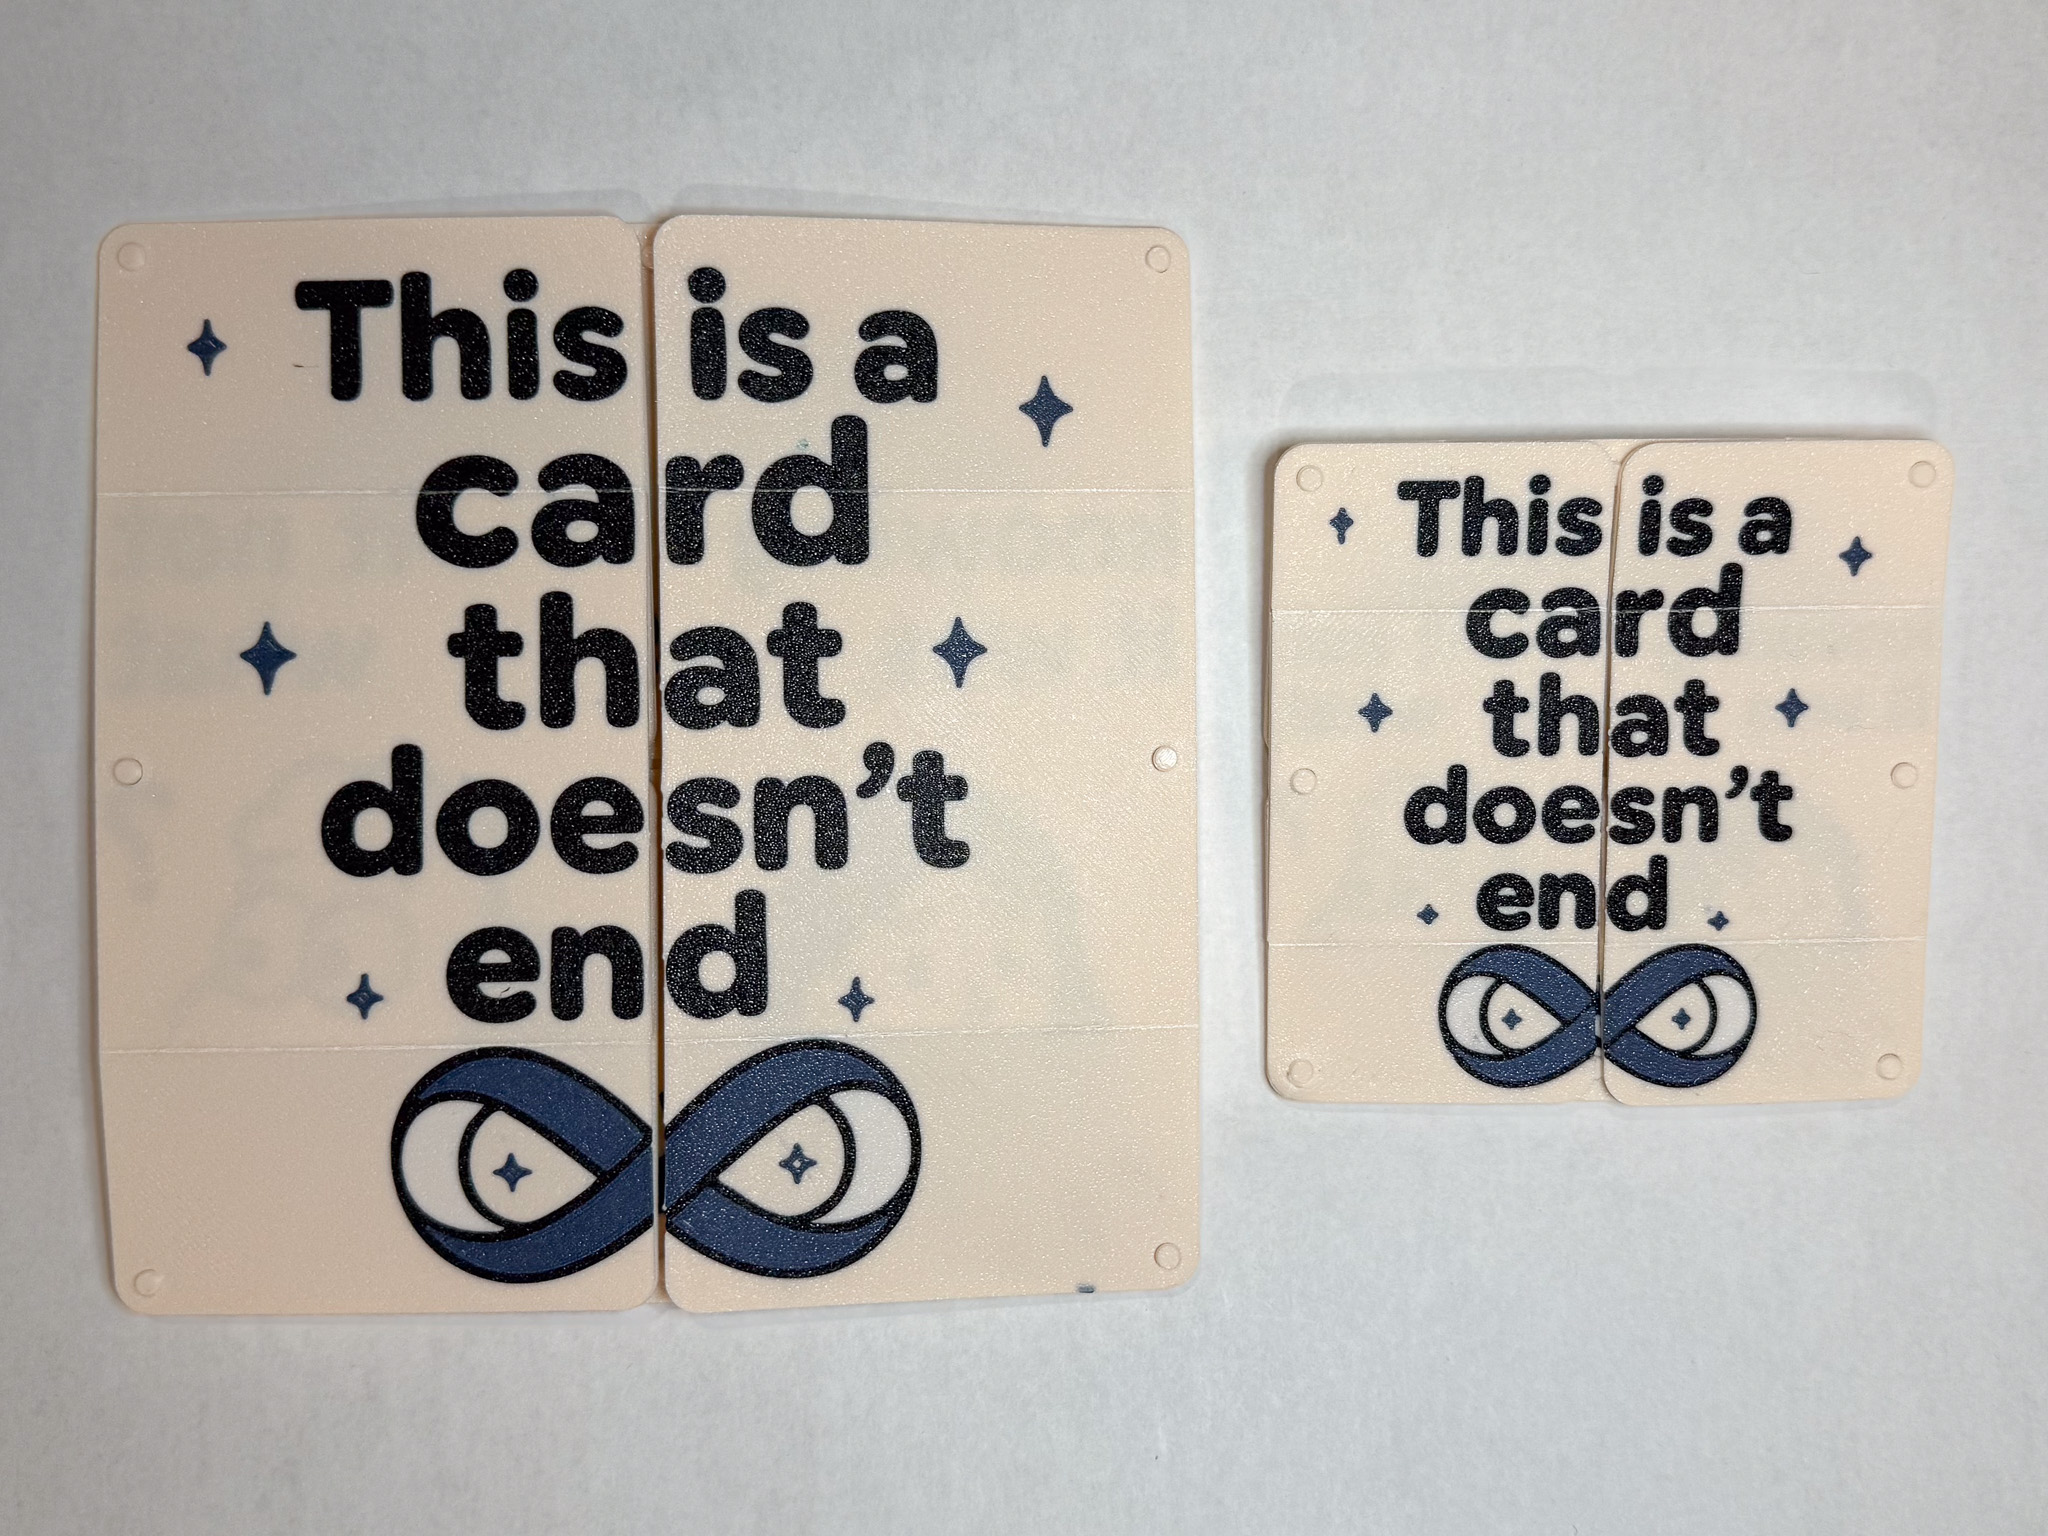
Card that never ends:
Two sizes: 160mm x 160mm (6.3"x6.3"), which prints on two plates, and 100mm x 100mm (3.94"x3.94"), which prints on one plate
Bunnies:
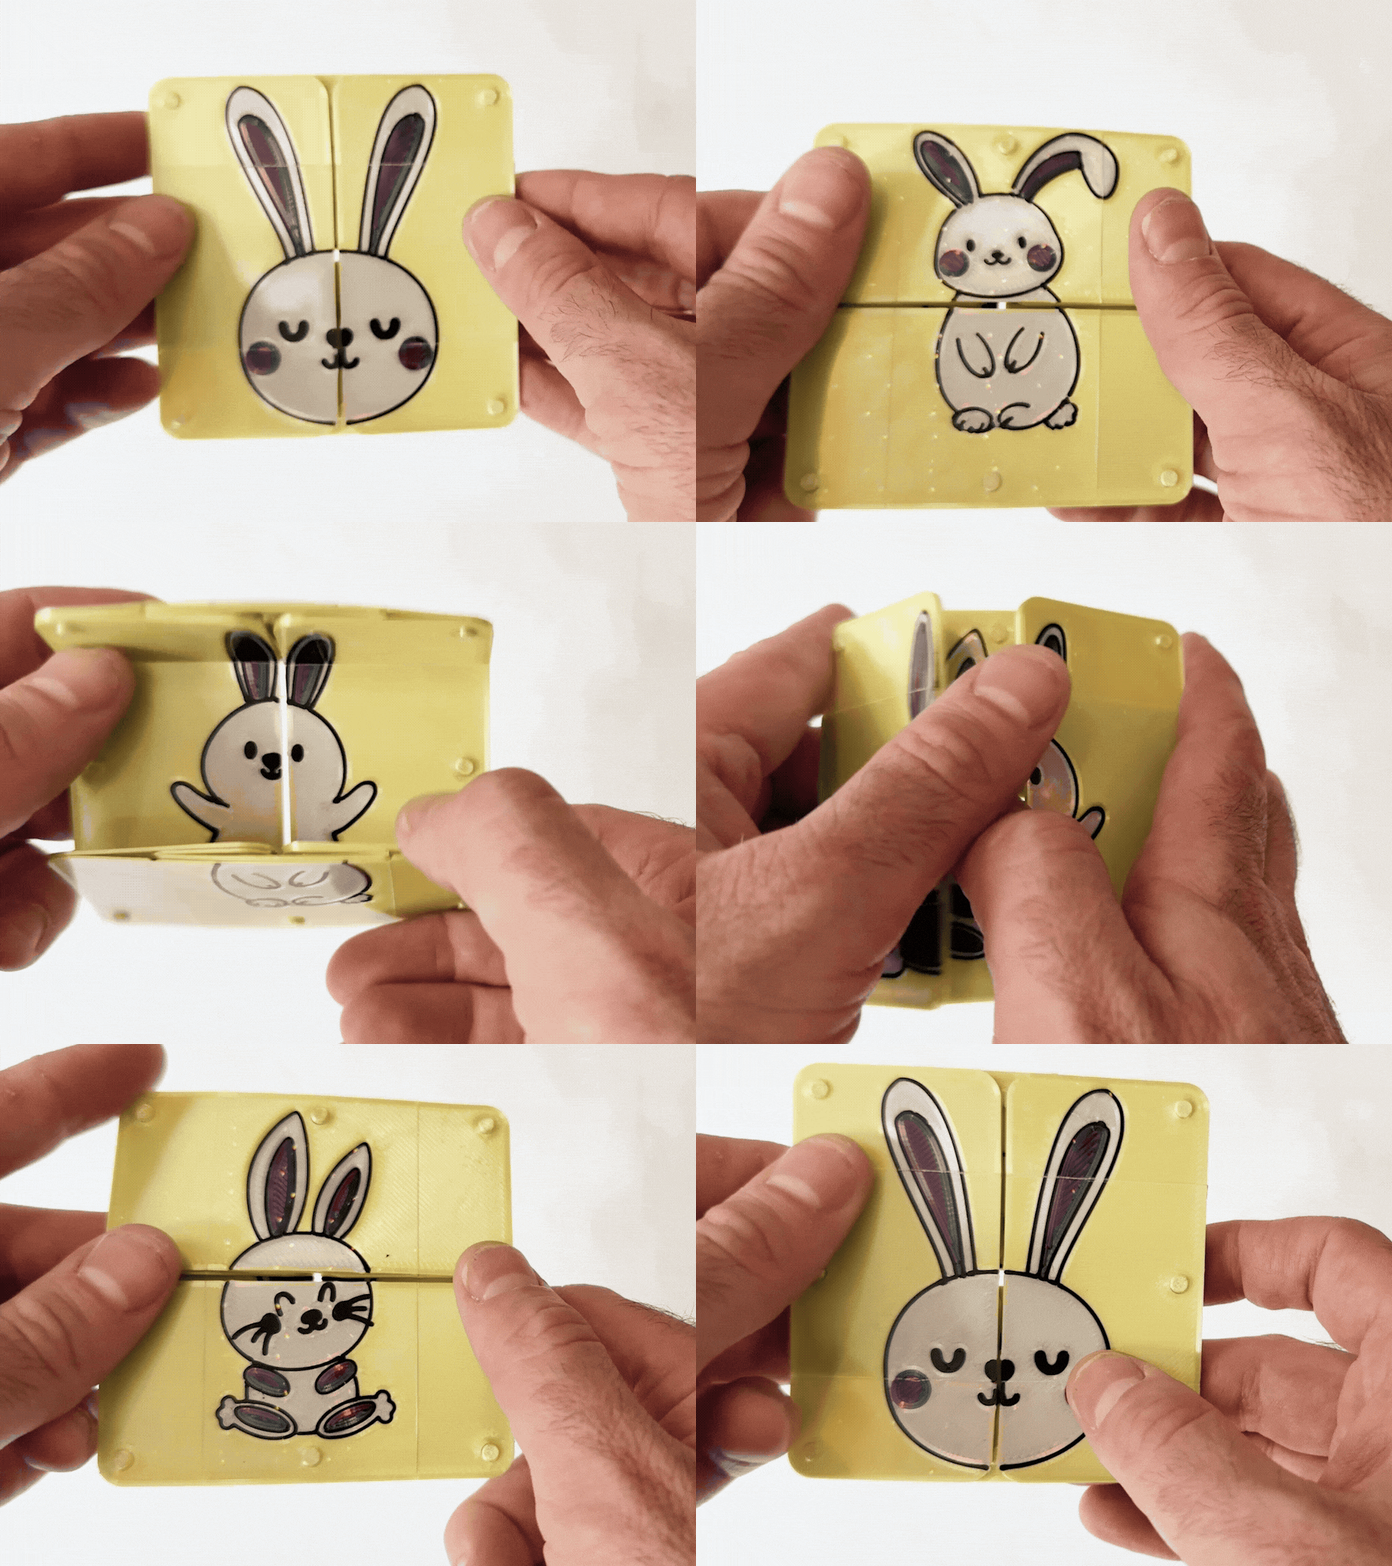
80mm x 80mm (3.15" x 3.15")
This was created in response to my younger daughter's request for “a tiny one with bunnies.” She helped design it, and it was made to her exacting specifications. (If you like it, I know she would appreciate any positive feedback!)
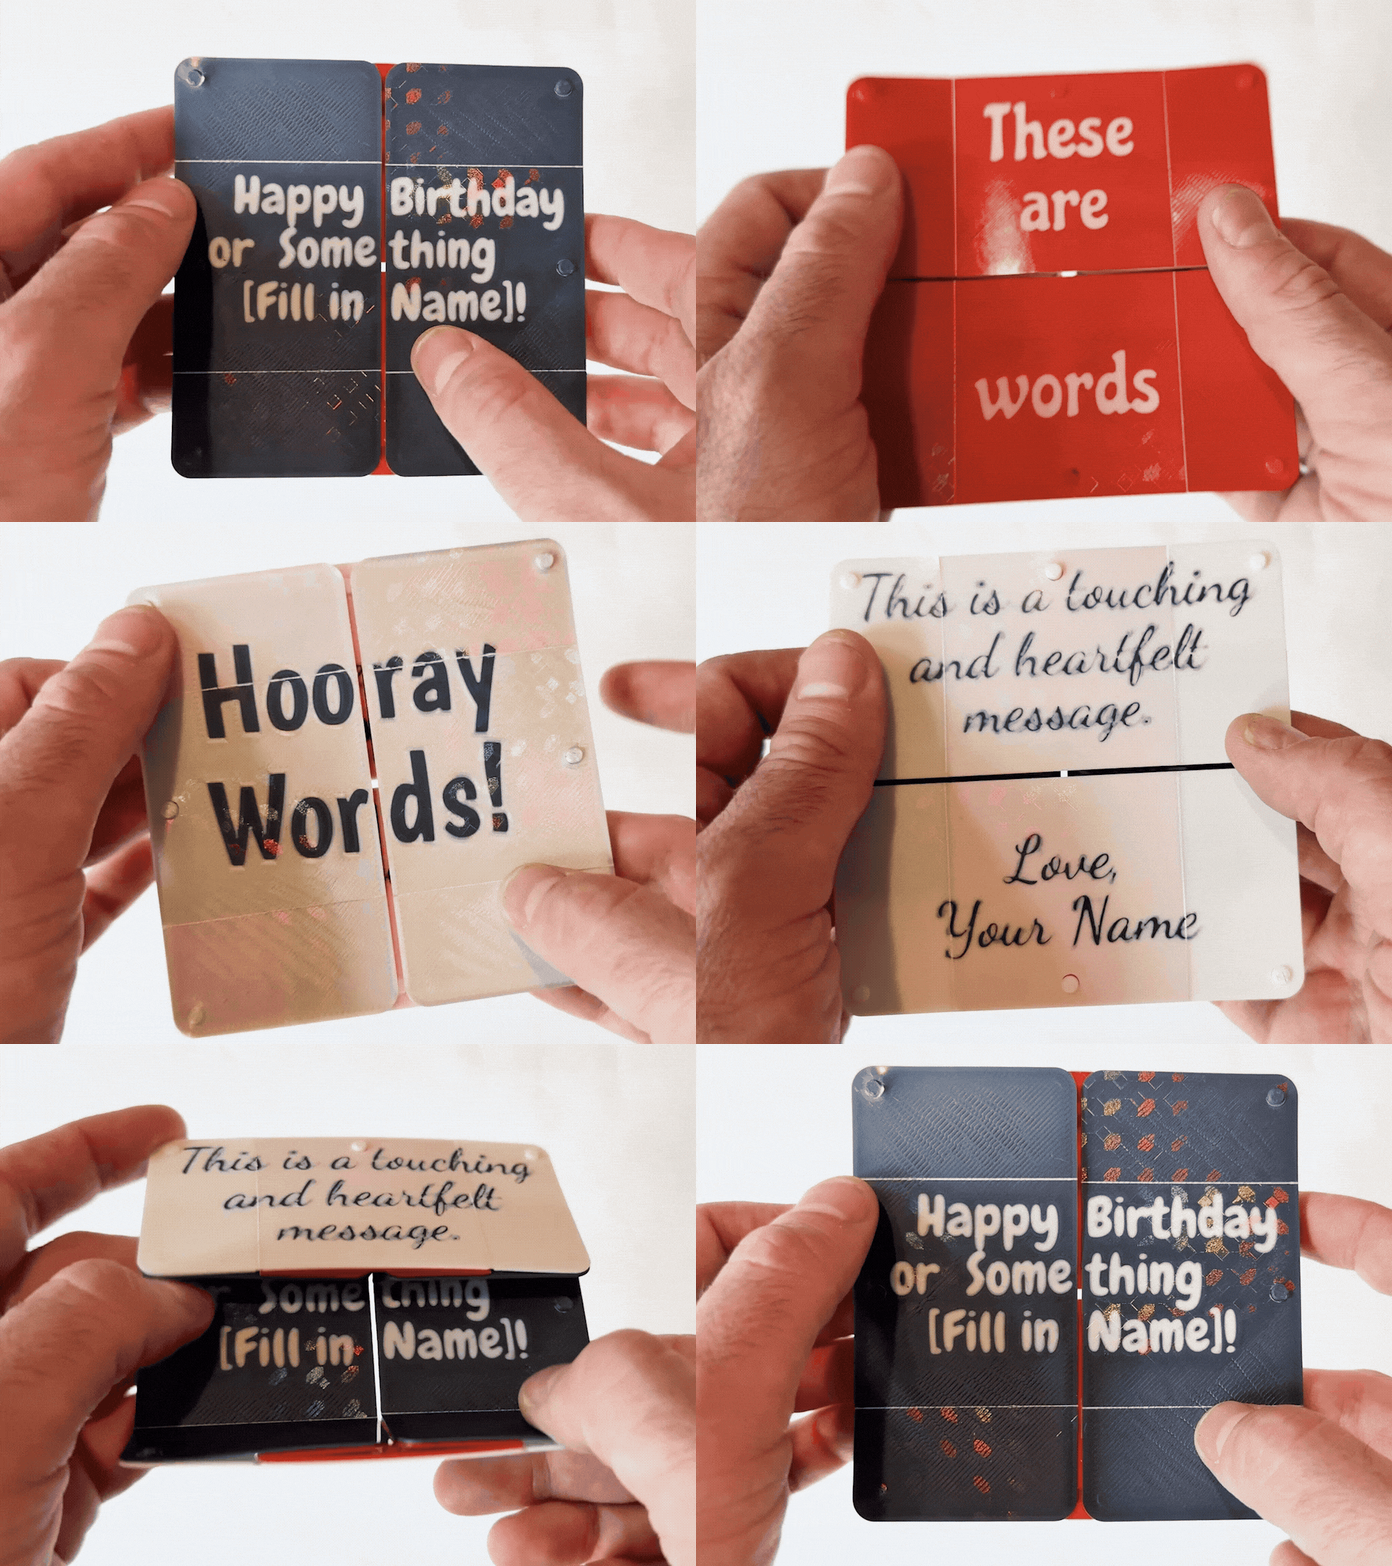
(New) Cards with text you can customize in Bambu Studio:
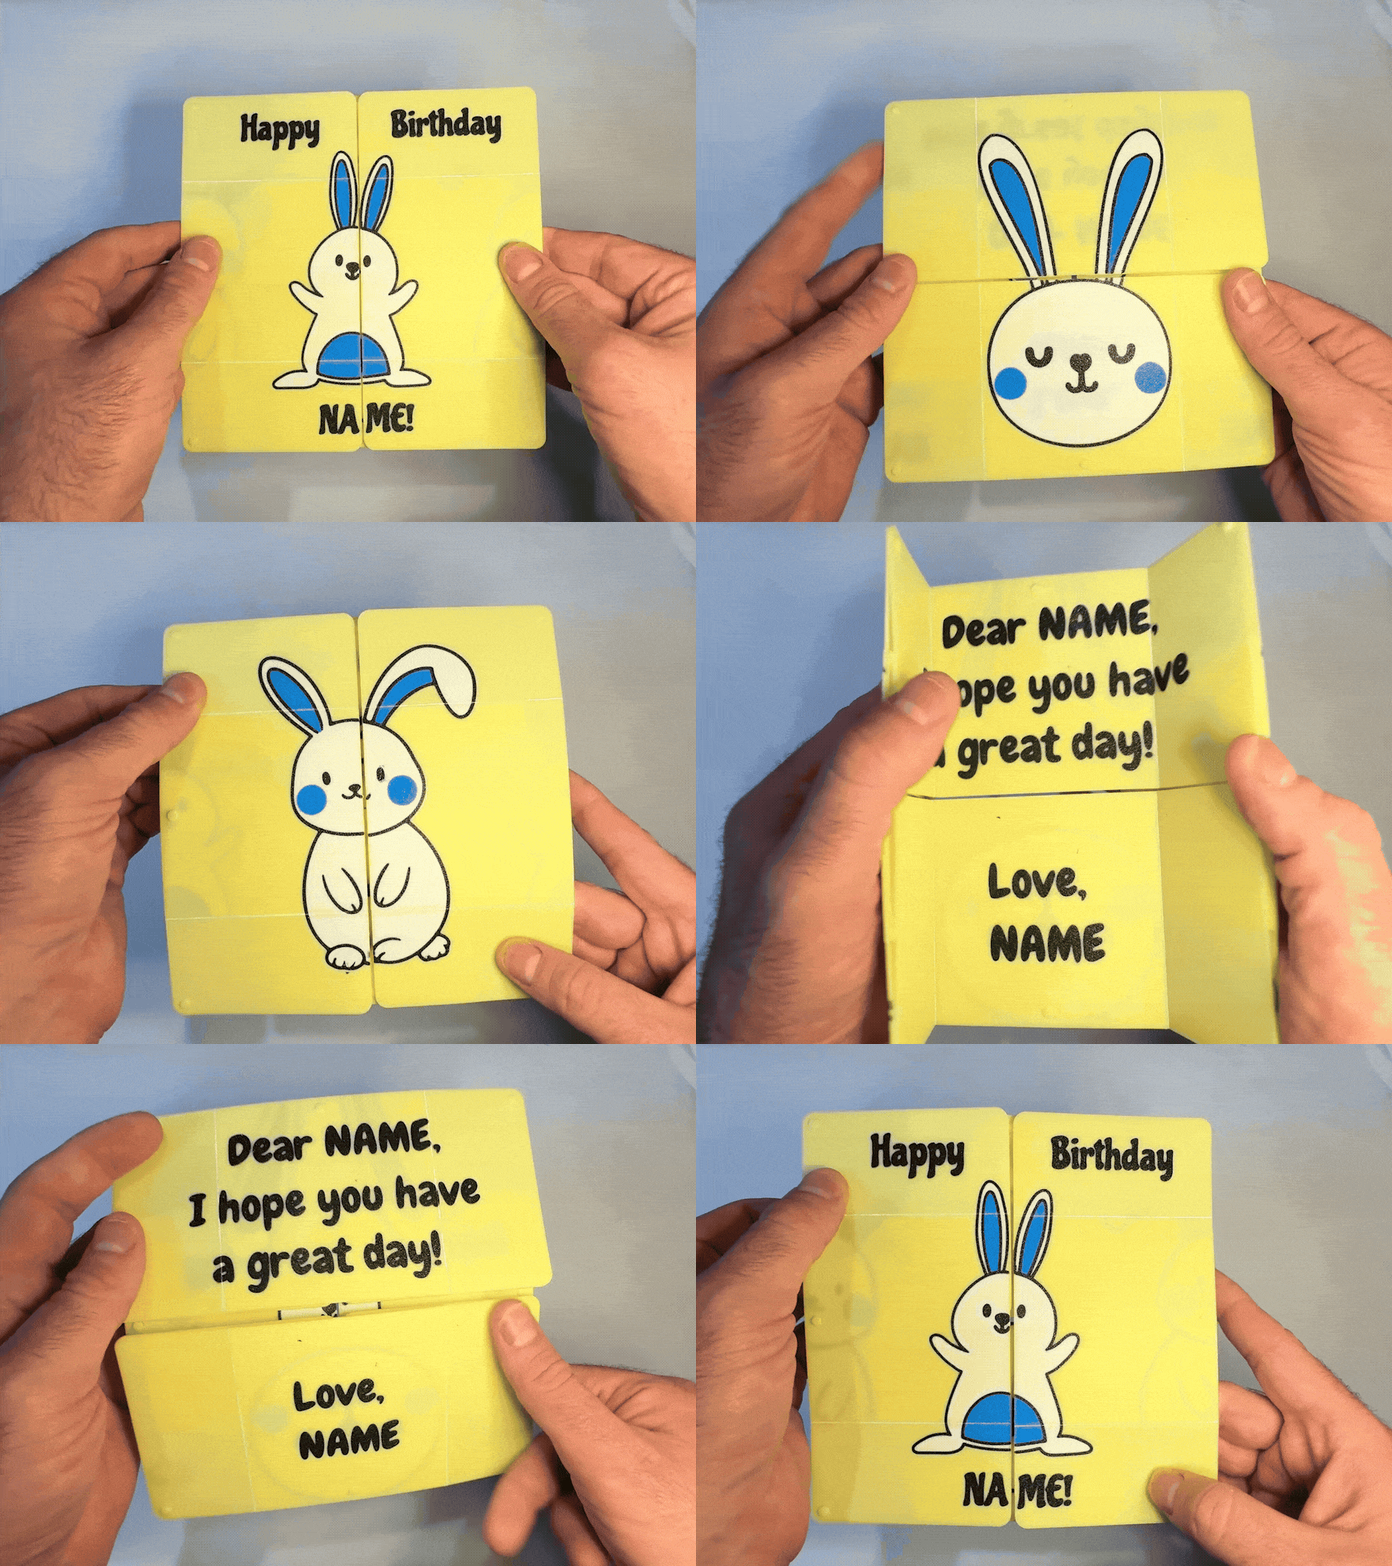
Two sizes: 160mm x 160mm (6.3"x6.3"), which prints on two plates, and 100mm x 100mm (3.94"x3.94"), which prints on one plate
I've posted two cards (each in two sizes) with text that you can customize in Bambu Studio: one based on the Bunnies card above, and one with generic birthday/celebration graphics. See the print profile descriptions for some notes about editing the text.
If you haven't worked with text in Bambu Studio, the following video provides a detailed walkthrough of the process:
infinitycard.scad: (listed as an option when you click “Customize”)
This is the base customizable version, which is empty except for some example text to show how to use the form.
infinitycard--prefilled-for-text: (listed as an option when you click “Customize”)
This is the same script as infinitycard.scad, but I filled in some placeholder text and changed some fonts and colors to make it easy to see how to customize things. You can just swap out my text/formatting for your own.
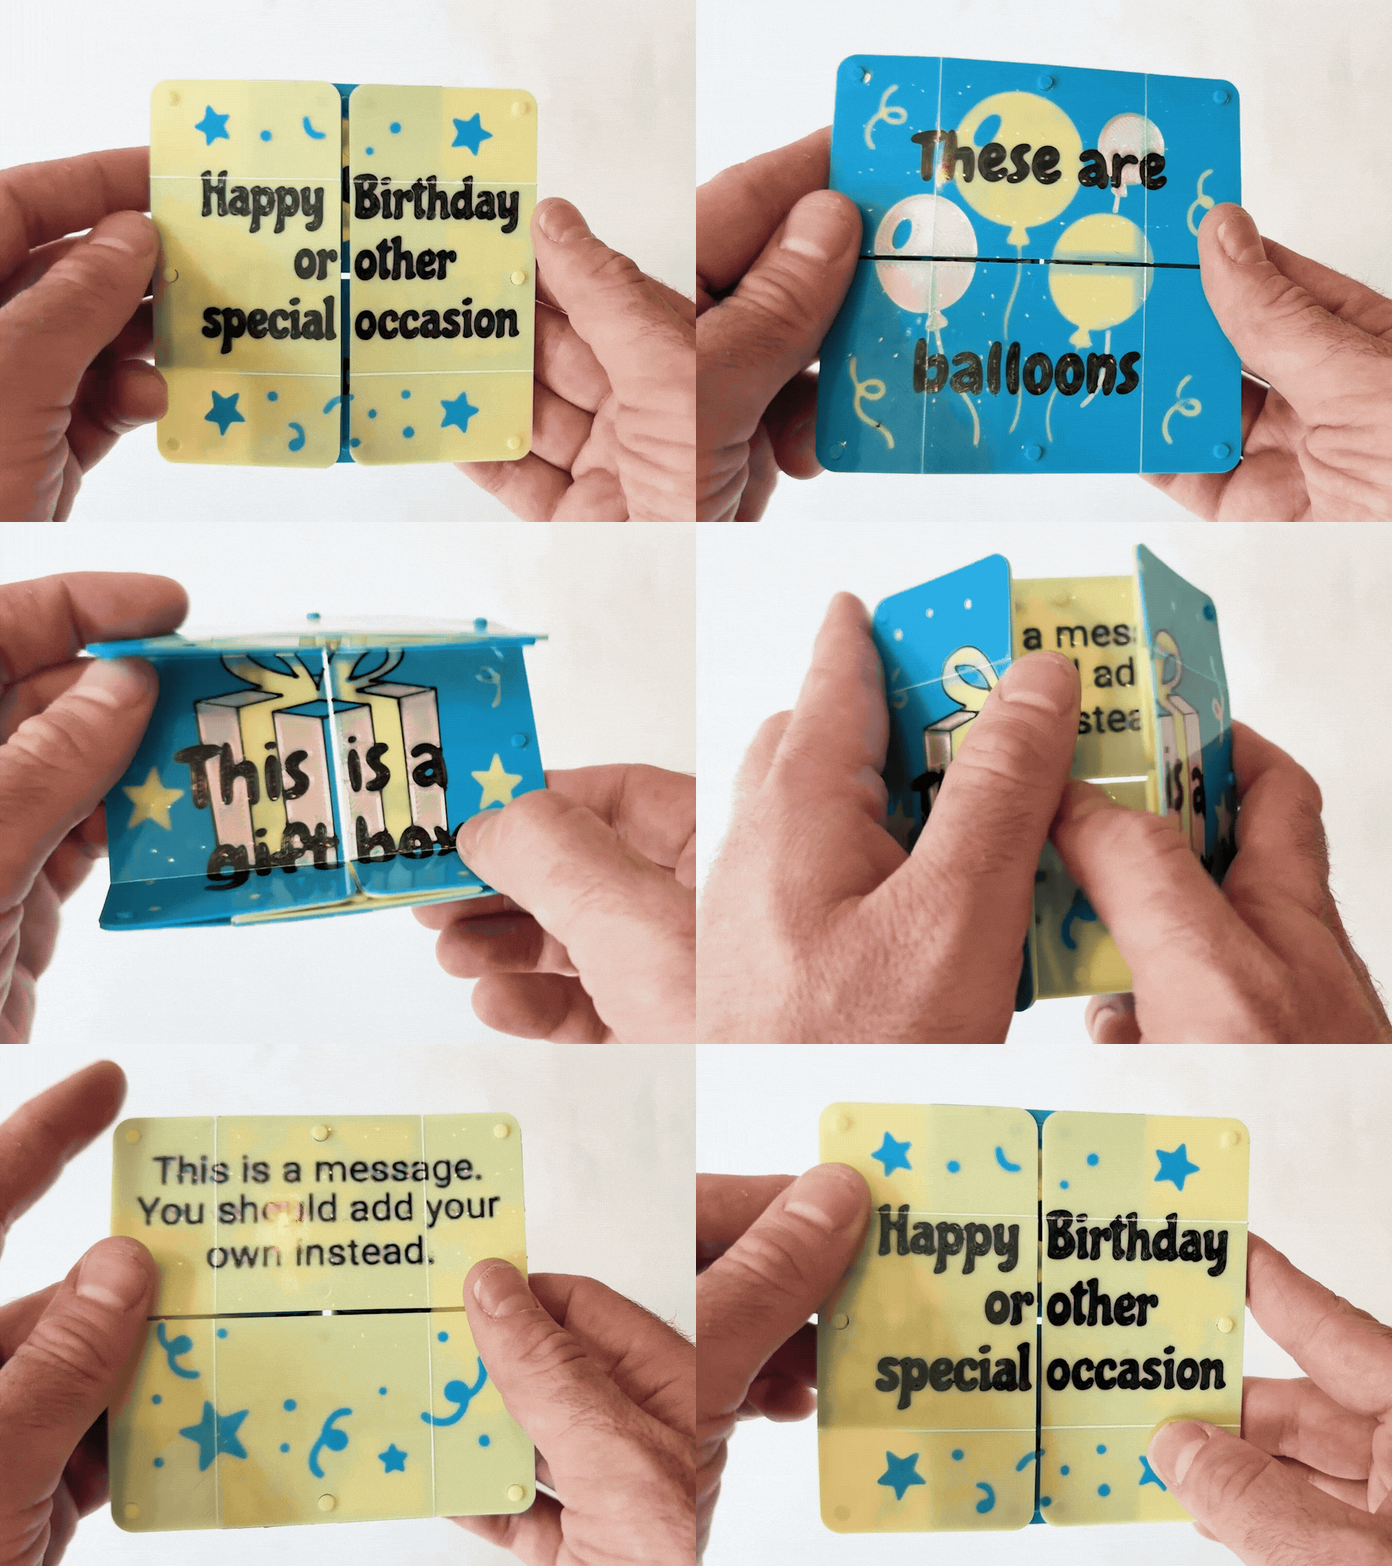
infinity card--prefilled-for-image-and-text.scad: (listed as an option when you click “Customize”)
This is the same script as infinitycard.scad, but I prefilled it with some images and placeholder text formatted to fit in the right places, so you can just swap your text in.
MakerWorld doesn't currently let you store the graphics as part of the model, so I've included them as the file svg--prefilled-customize.zip below. To use them, download and unzip the file, upload them in appropriate part of the customization form (they're numbered by the plate they should go on), and click the checkbox to enable them. After downloading, you can use the “paint” feature in the slicer if you want to fill things in with different colors.
I've also included .zip files with the SVGs I used in the premade cards in case you want to use them in your own designs.
Customizing the Model:
To customize the model, load this page through the MakerWorld, click the “Customize” button, and edit the size, colors, and content.
Entering custom text:
To simplify entering text, I wrote code that lets you put multiple lines in one text box. You use the “@” symbol to indicate line breaks, and you use the “|” symbol to split a line into left and right parts on plates that are split vertically (Plates 1 and 3). How this works should be clear from context and the example in the customization form.
You can use spaces and blank lines to change where the text appears. E.g., to move text up, you can add blank lines at the end. For multiple blank lines in a row or at the end of your text, you should include spaces after the “@” symbol: i.e., “@ @ “ rather than ”@@".
Custom SVGs:
You can choose your own SVG image for each plate. I've posted some examples you can use in a ZIP file below, or you can make your own. To use them, just turn on the appropriate checkbox and upload the file. Due to limitations in the current implementation of OpenSCAD used on MakerWorld, there are a few notes/workarounds to be aware of:
- OpenSCAD ignores the colors in SVGs, so anything filled in will be the same color (which you can choose for each plate in the customizer). If you want multiple colors, you can just make separate regions for the different colors and fill them in using “Color Painting” in the slicer.
- OpenSCAD does not support the full SVG standard. I've included instructions in the documentation section for how to use the two most common SVG editors, Inkscape and Illustrator, to make your SVGs compatible if you get weird results. (These instructions apply in general if you're trying to use SVGs to decorate another model.)
- TL;DR: ungroup everything, convert all objects and text to paths, flatten any layers your using, and save as a plain SVG without any embedded metadata/fonts/images.
- OpenSCAD ignores the canvas size and just crops the image to the elements of the image, which is not always what you want. To get around this, put a very thin (say, 0.1pt) box around your image (and make sure to have your editor outline the stroke). I've set the script to ignore a very thin border around image, so this box won't appear in the imported image.
Size:
The model lets you choose a size for the (square) folded card. For the A1, P1, and X1, if you split and arrange the model as described below, you can fit up to 100mm on a single plate and up to 160mm on two plates.
Other options:
I've included a bunch of customization options, such as the colors, fonts, and radius of the rounded corners,
I've also included an “Advanced Geometry” section that lets you modify the thickness, size/location/geometry of the holes and snaps, and how deeply the text is extruded into the card. You shouldn't have to touch any of these, but they're there if you want them.
For the thickness, I've found that the default of 0.7mm gives a thick, solid-feeling card and works well for most sizes. If you are printing a small card or want a thinner result, you can reduce this to 0.5mm. You can also try other options, but your mileage may vary.
Arranging pages before printing to fit more on a plate:
The model puts each of the four pages on a different plate, but you can consolidate them before printing using the “Arrange” feature in Bambu Studio. The current implementation does not allow parametric models on MakerWorld to create separate objects on a plate, so the two halves of each page are merged into a single object (i.e., there are 4 total objects, not 8). You can often fit more on a plate if you split each page into its two component objects.
To do this, right click on each of the four pages and choose “Split → To objects” from the menu that pops up. After this, select the “Arrange all objects” icon at the top of the screen (it looks like rectangle containing 4 smaller rectangles), make sure “Auto rotate for arrangement” and “Allow multiple materials on same plate” are checked, and click “Arrange." Here's a screencast of how to do this:
Infinity Card (FULLY CUSTOMIZABLE)

Publicado em 3 de jul de 2025