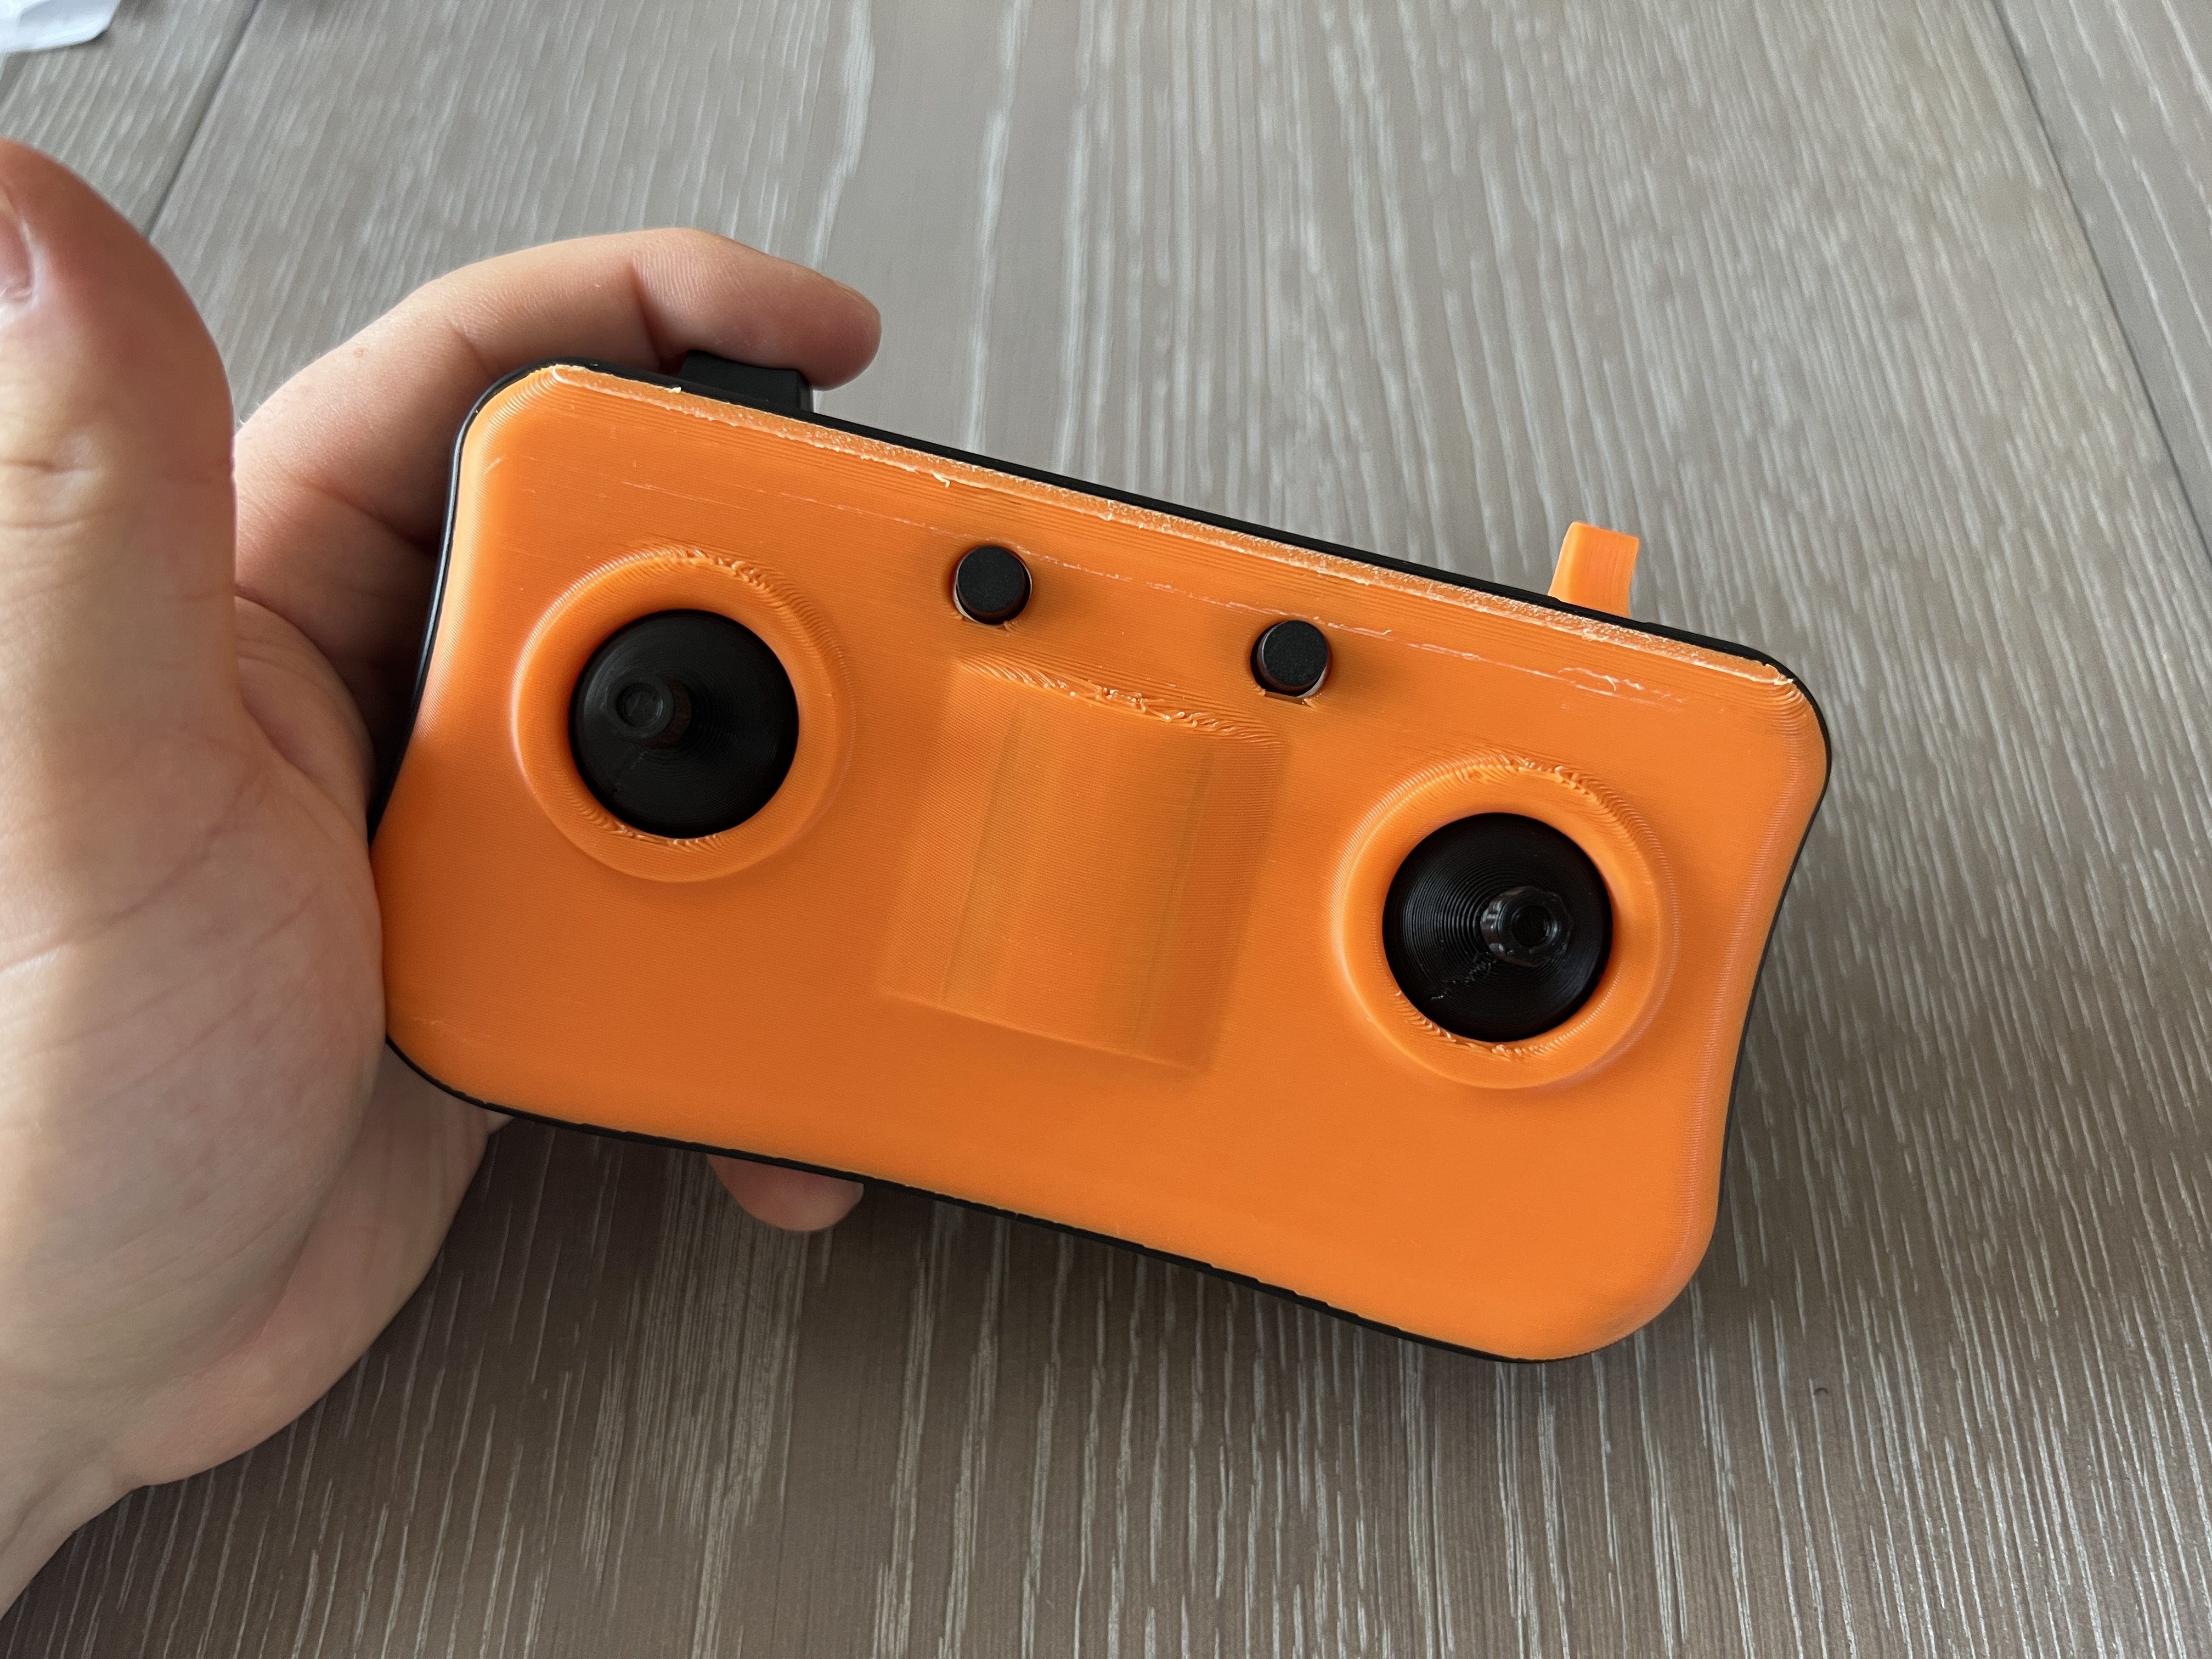
The Compact Plus is a small remote control for Cyberbrick that features an optional extra button.
The JSON file is a modified version of the Cyberbrick Lift n Load Combo, which means this remote will work for either the Cyberbrick official forklift or truck, or both! The main change made was adding indicator/blinker control to the truck, so now the left button is the left indicator, and the right button is for the right indicator.
Decide if you want the two-button or the one-button version before printing. I've supplied an alternative lid which only has one button hole instead of two.
Assembly:
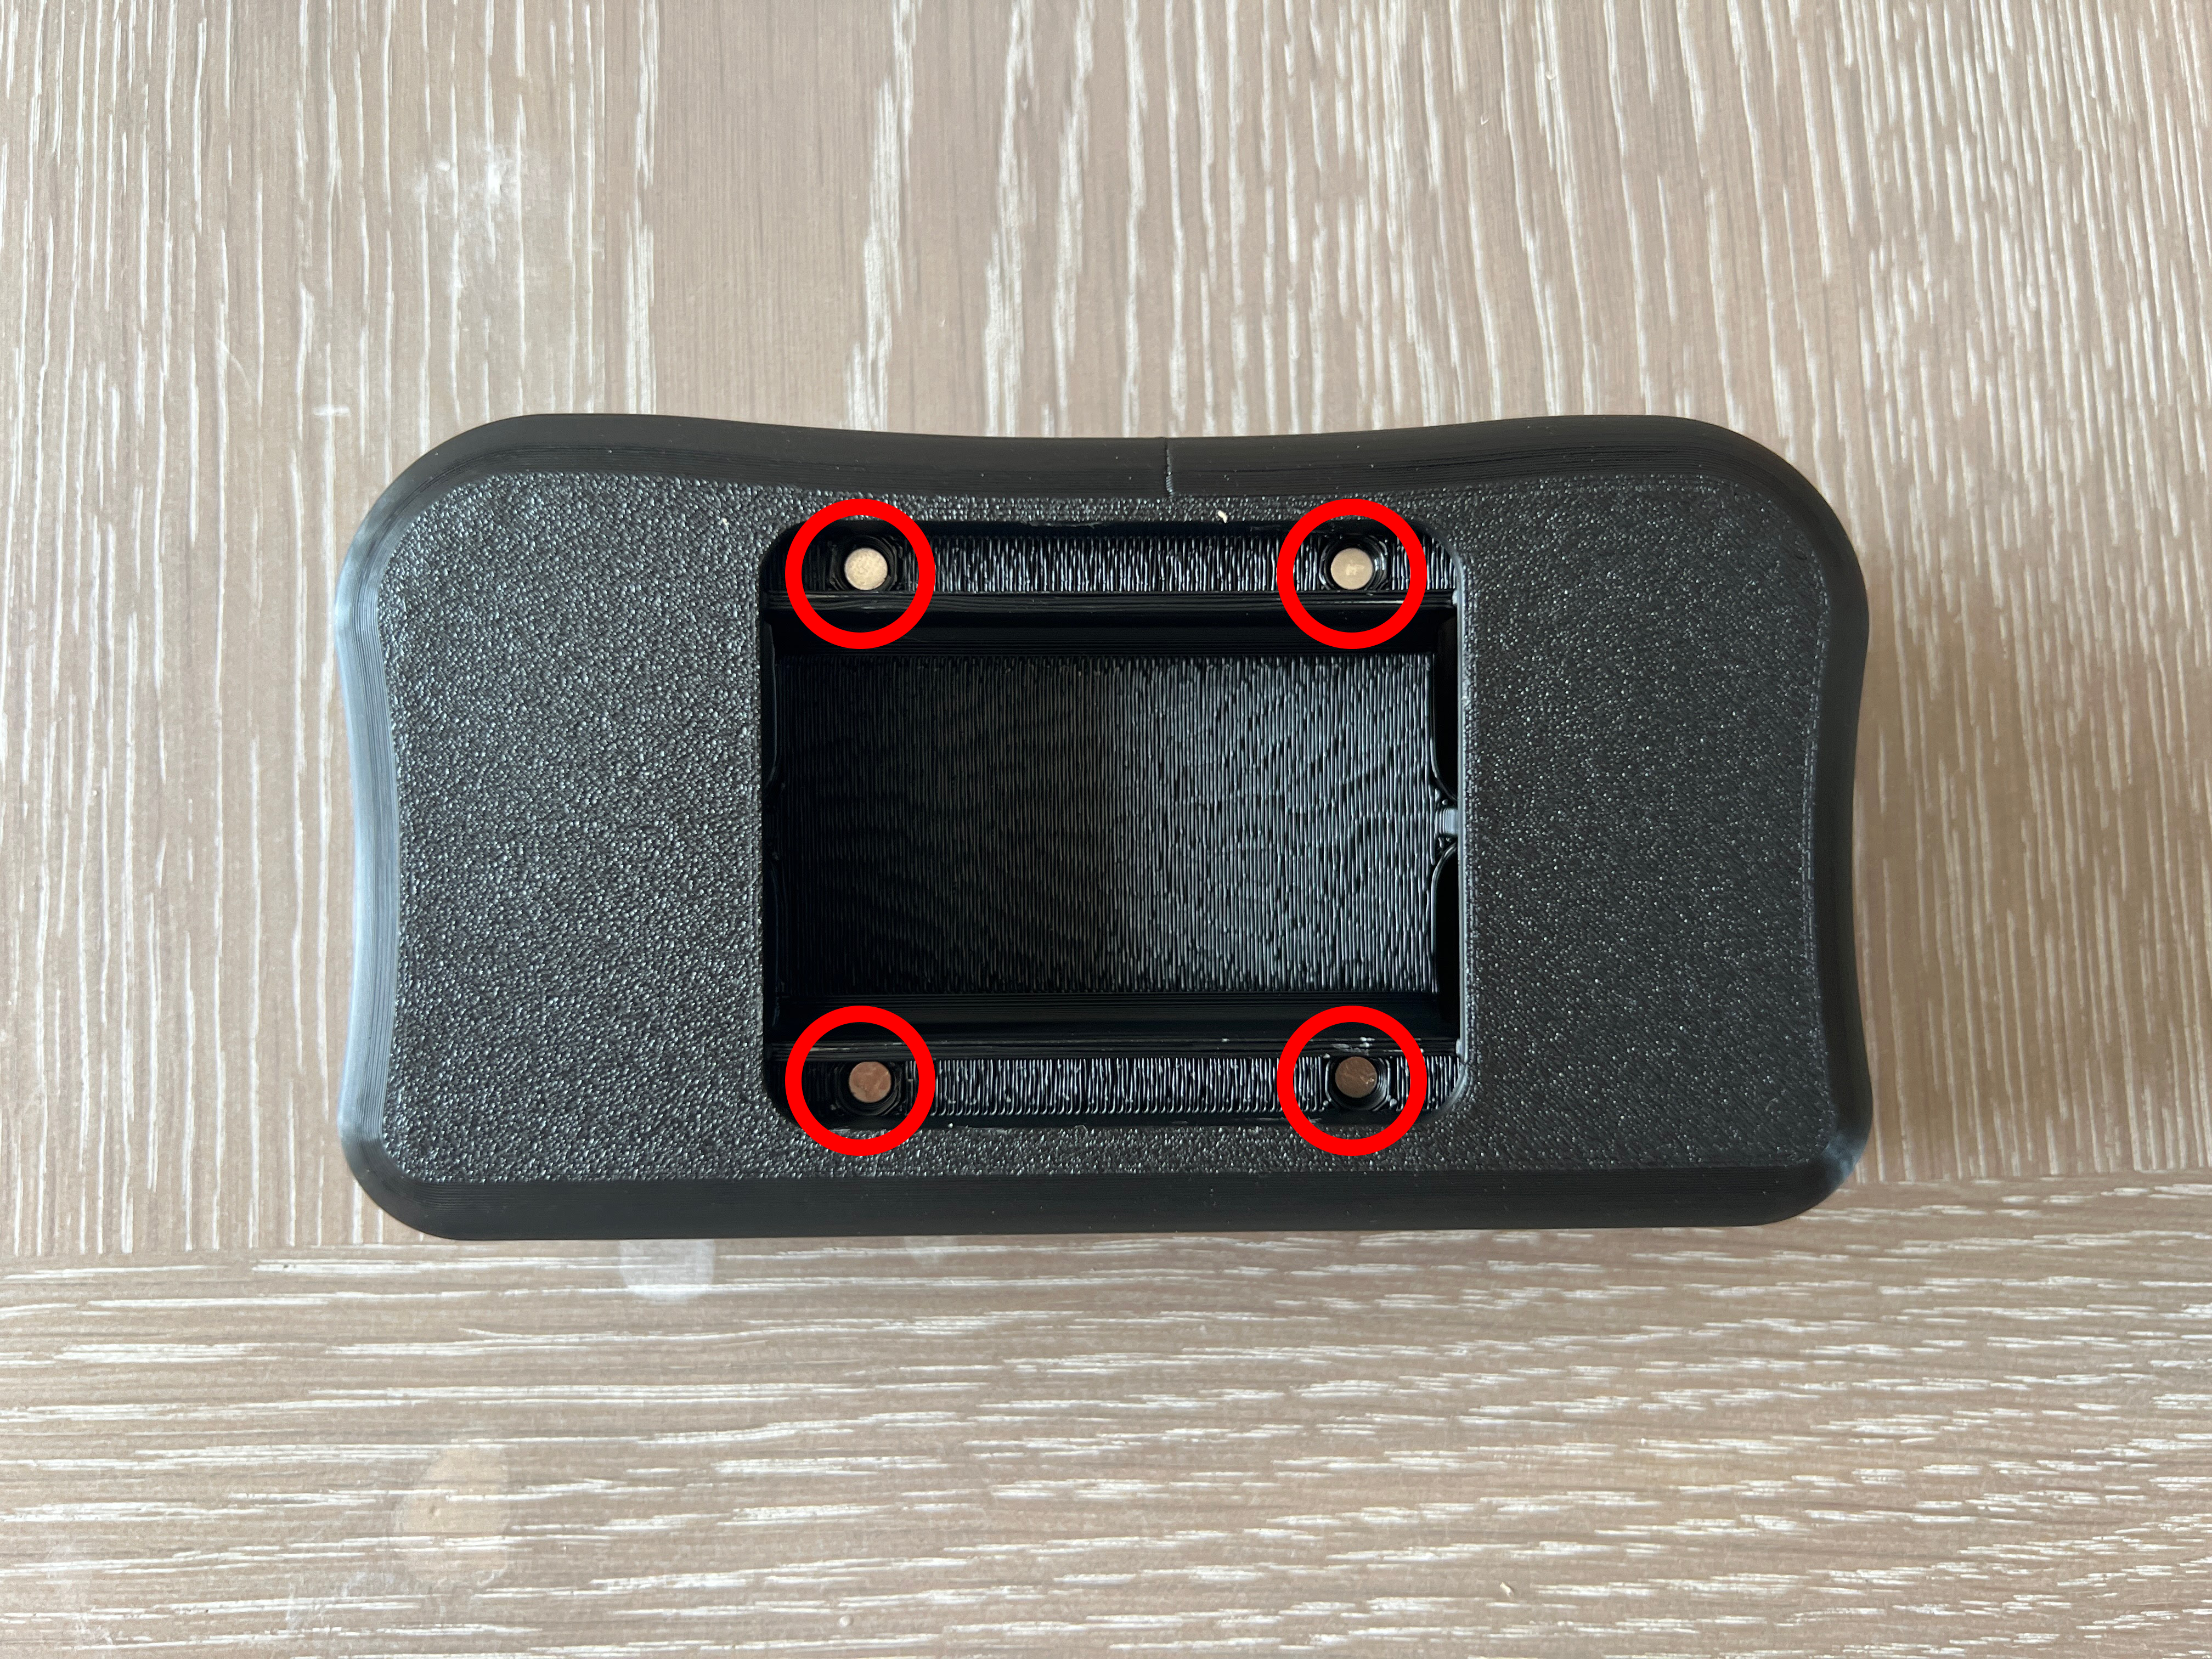
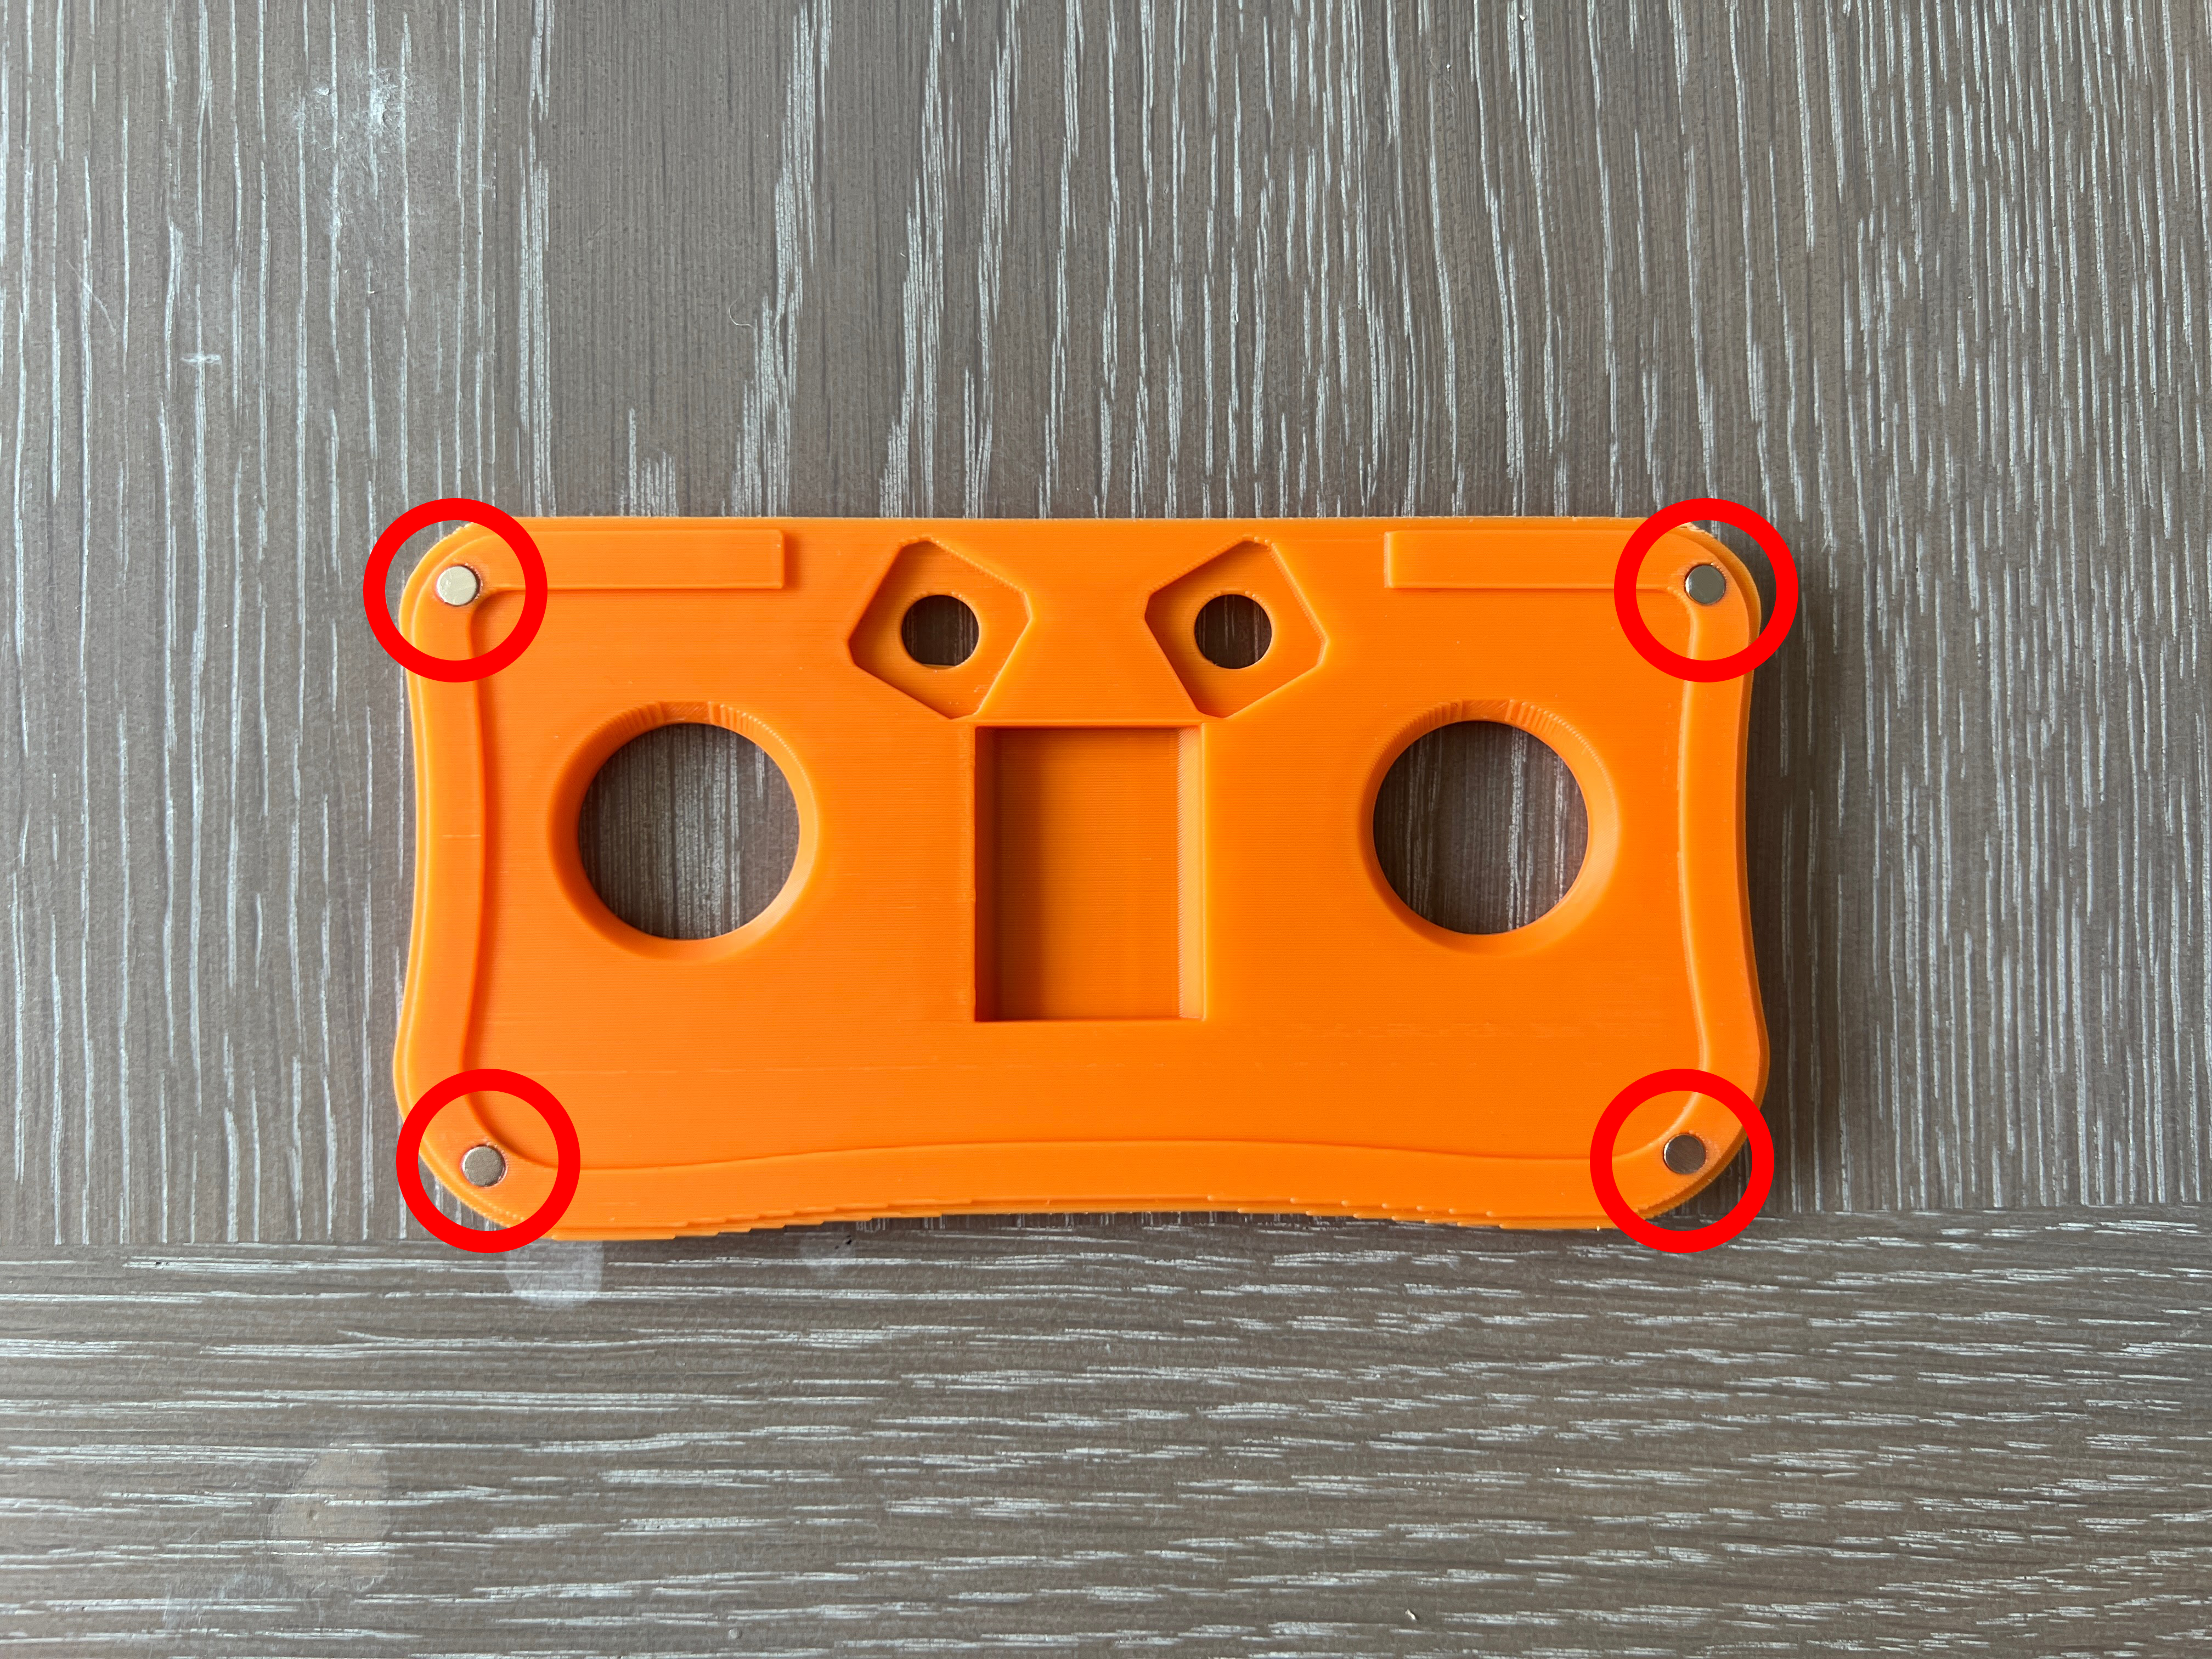
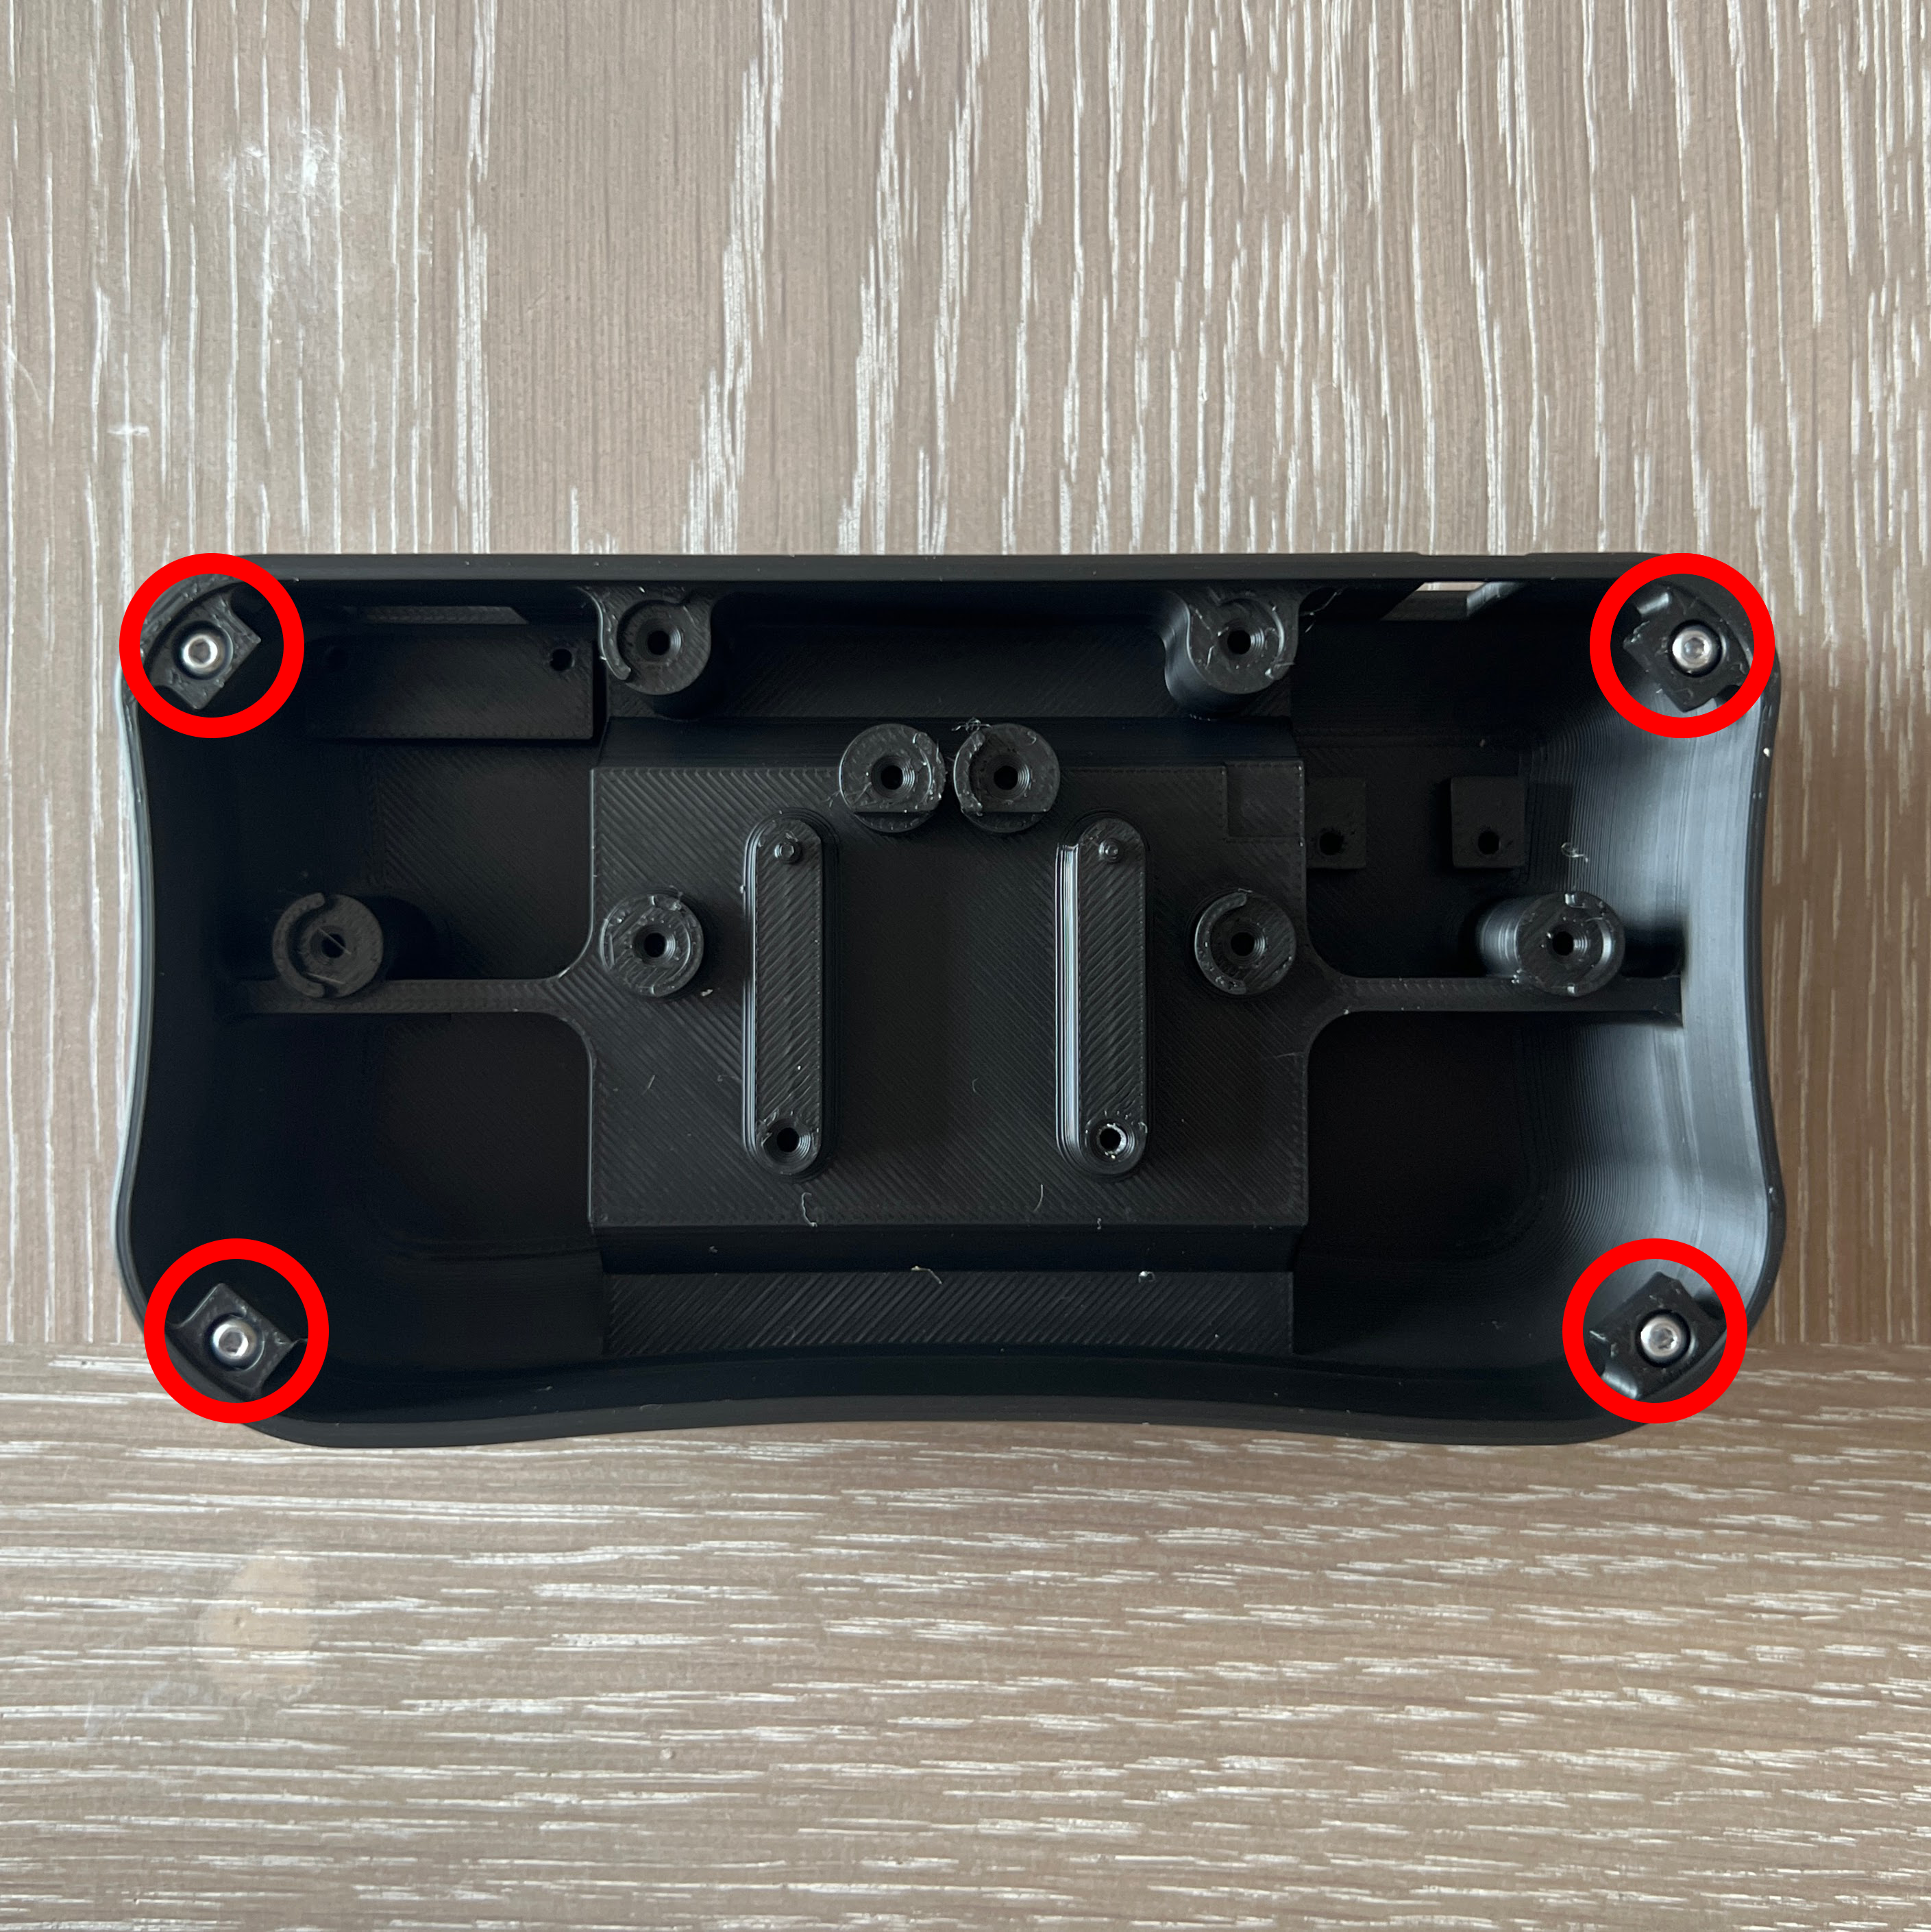
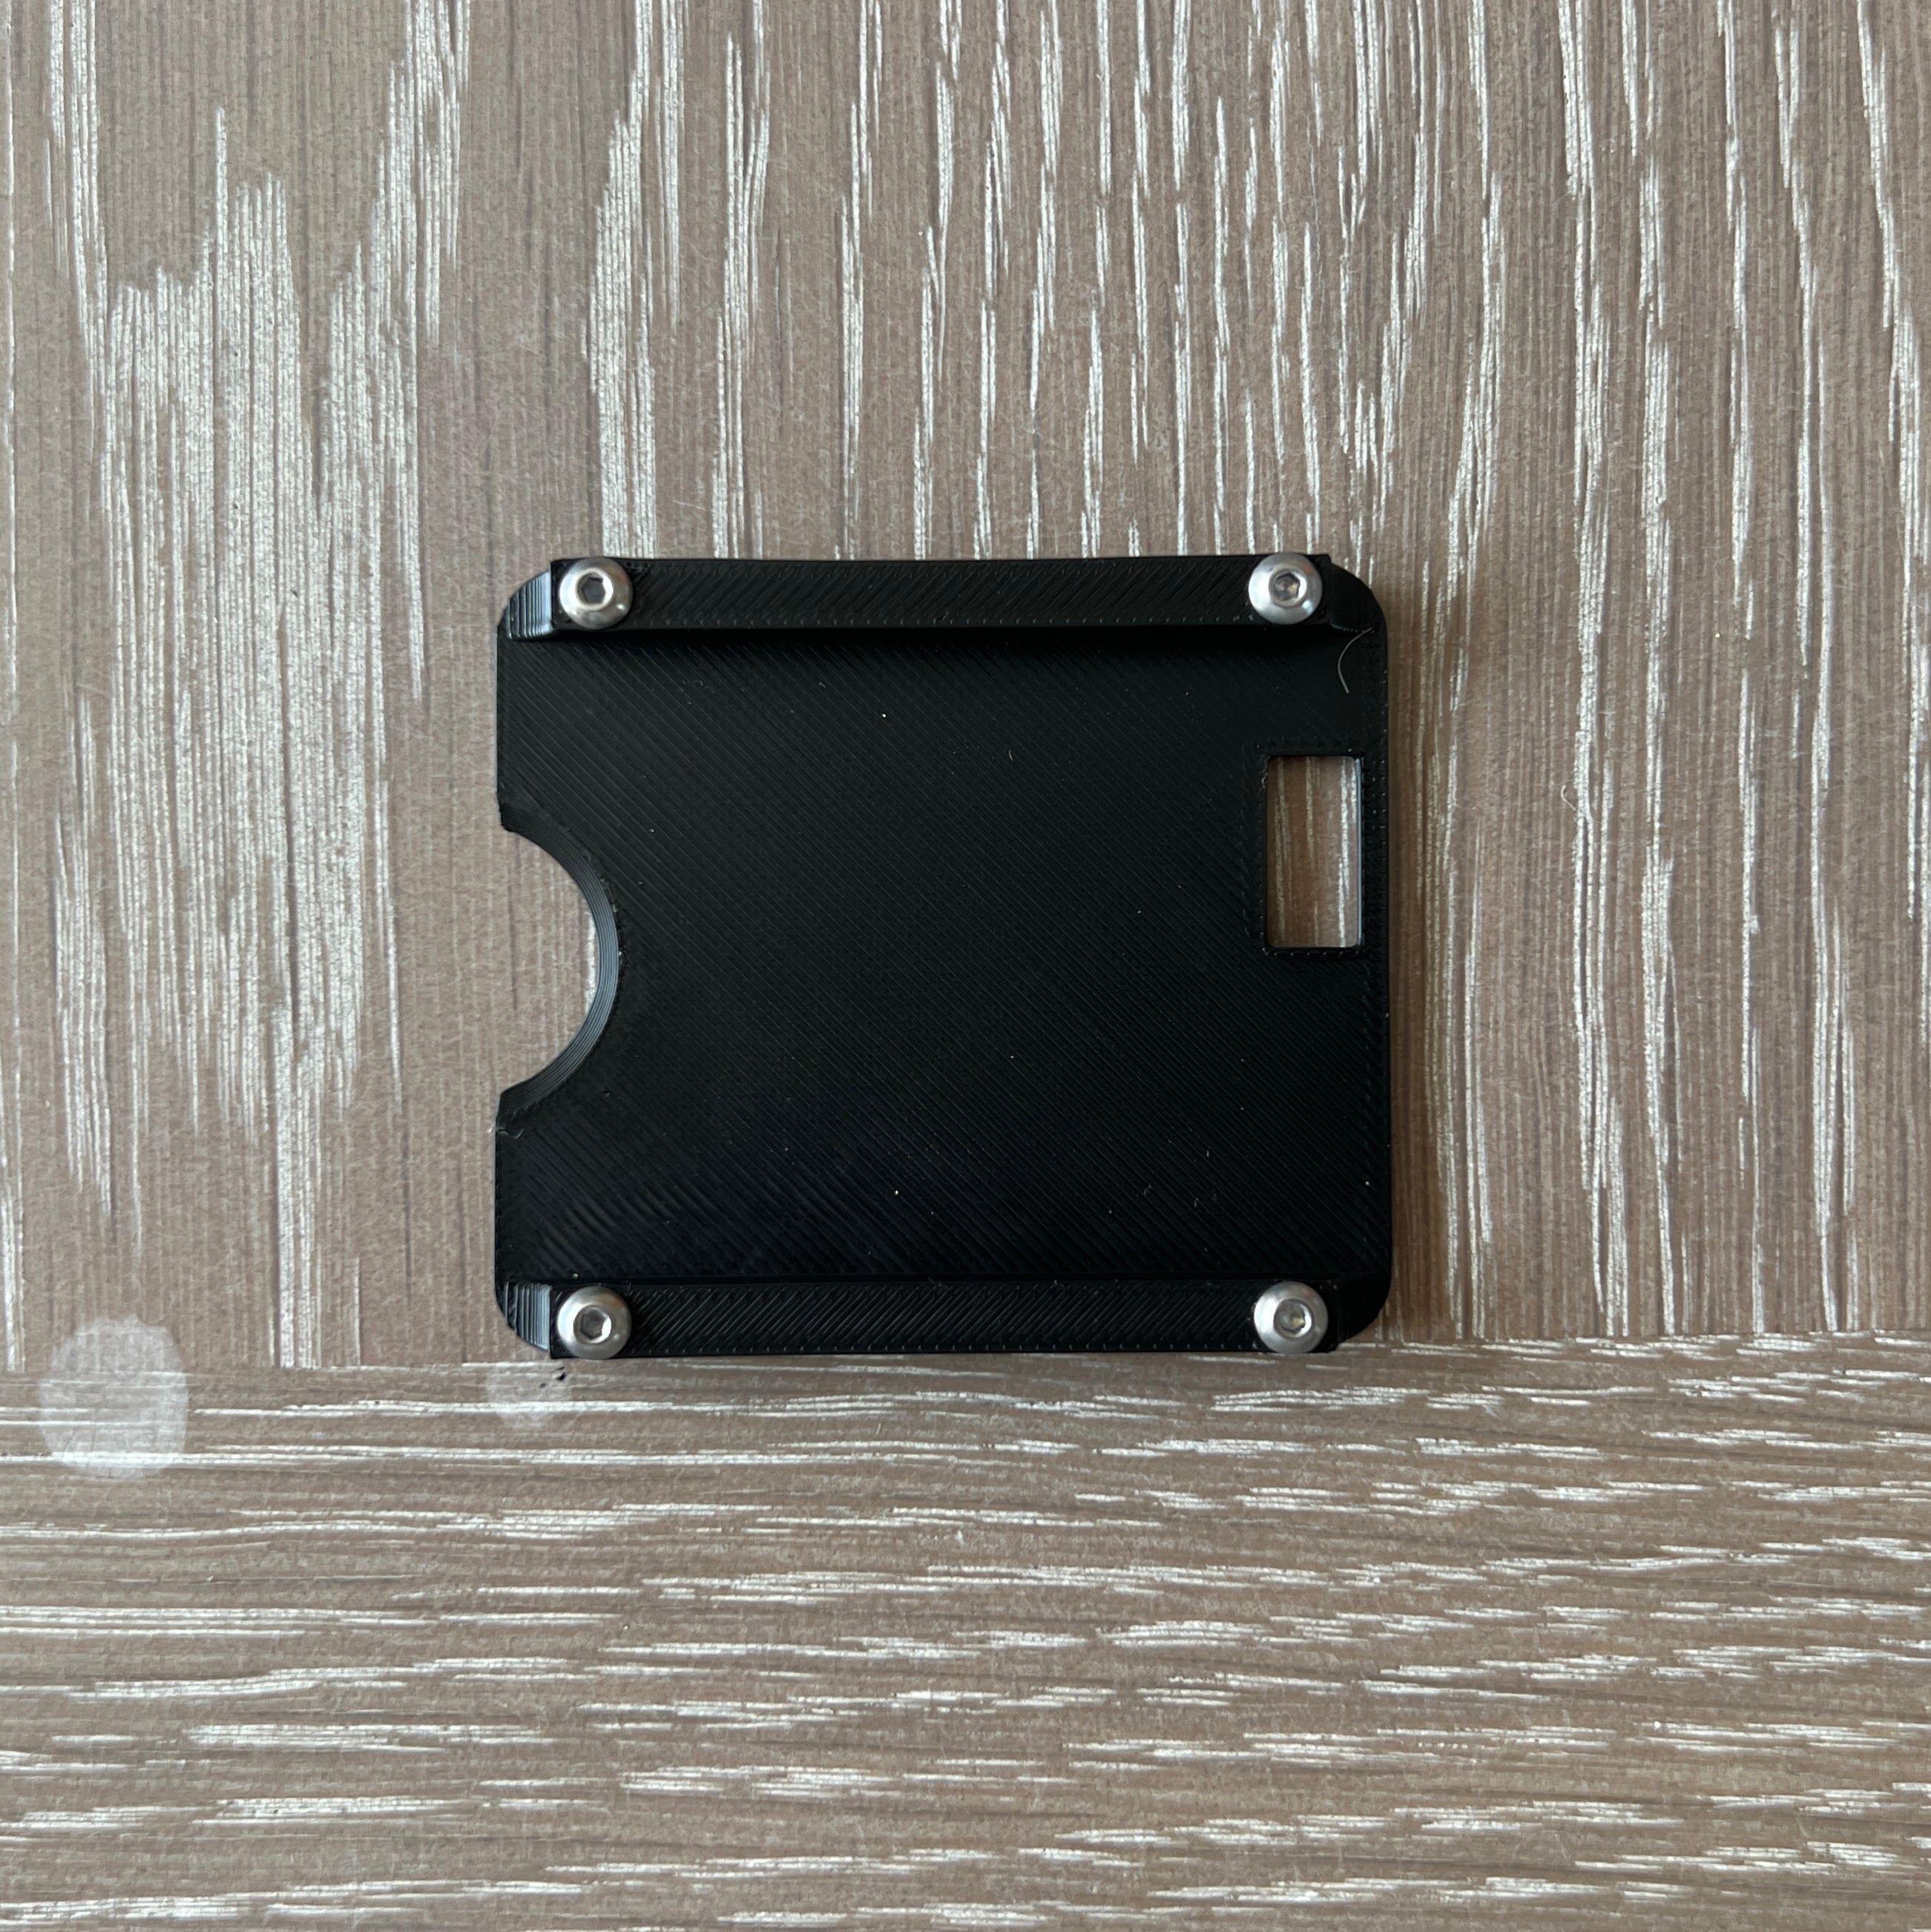
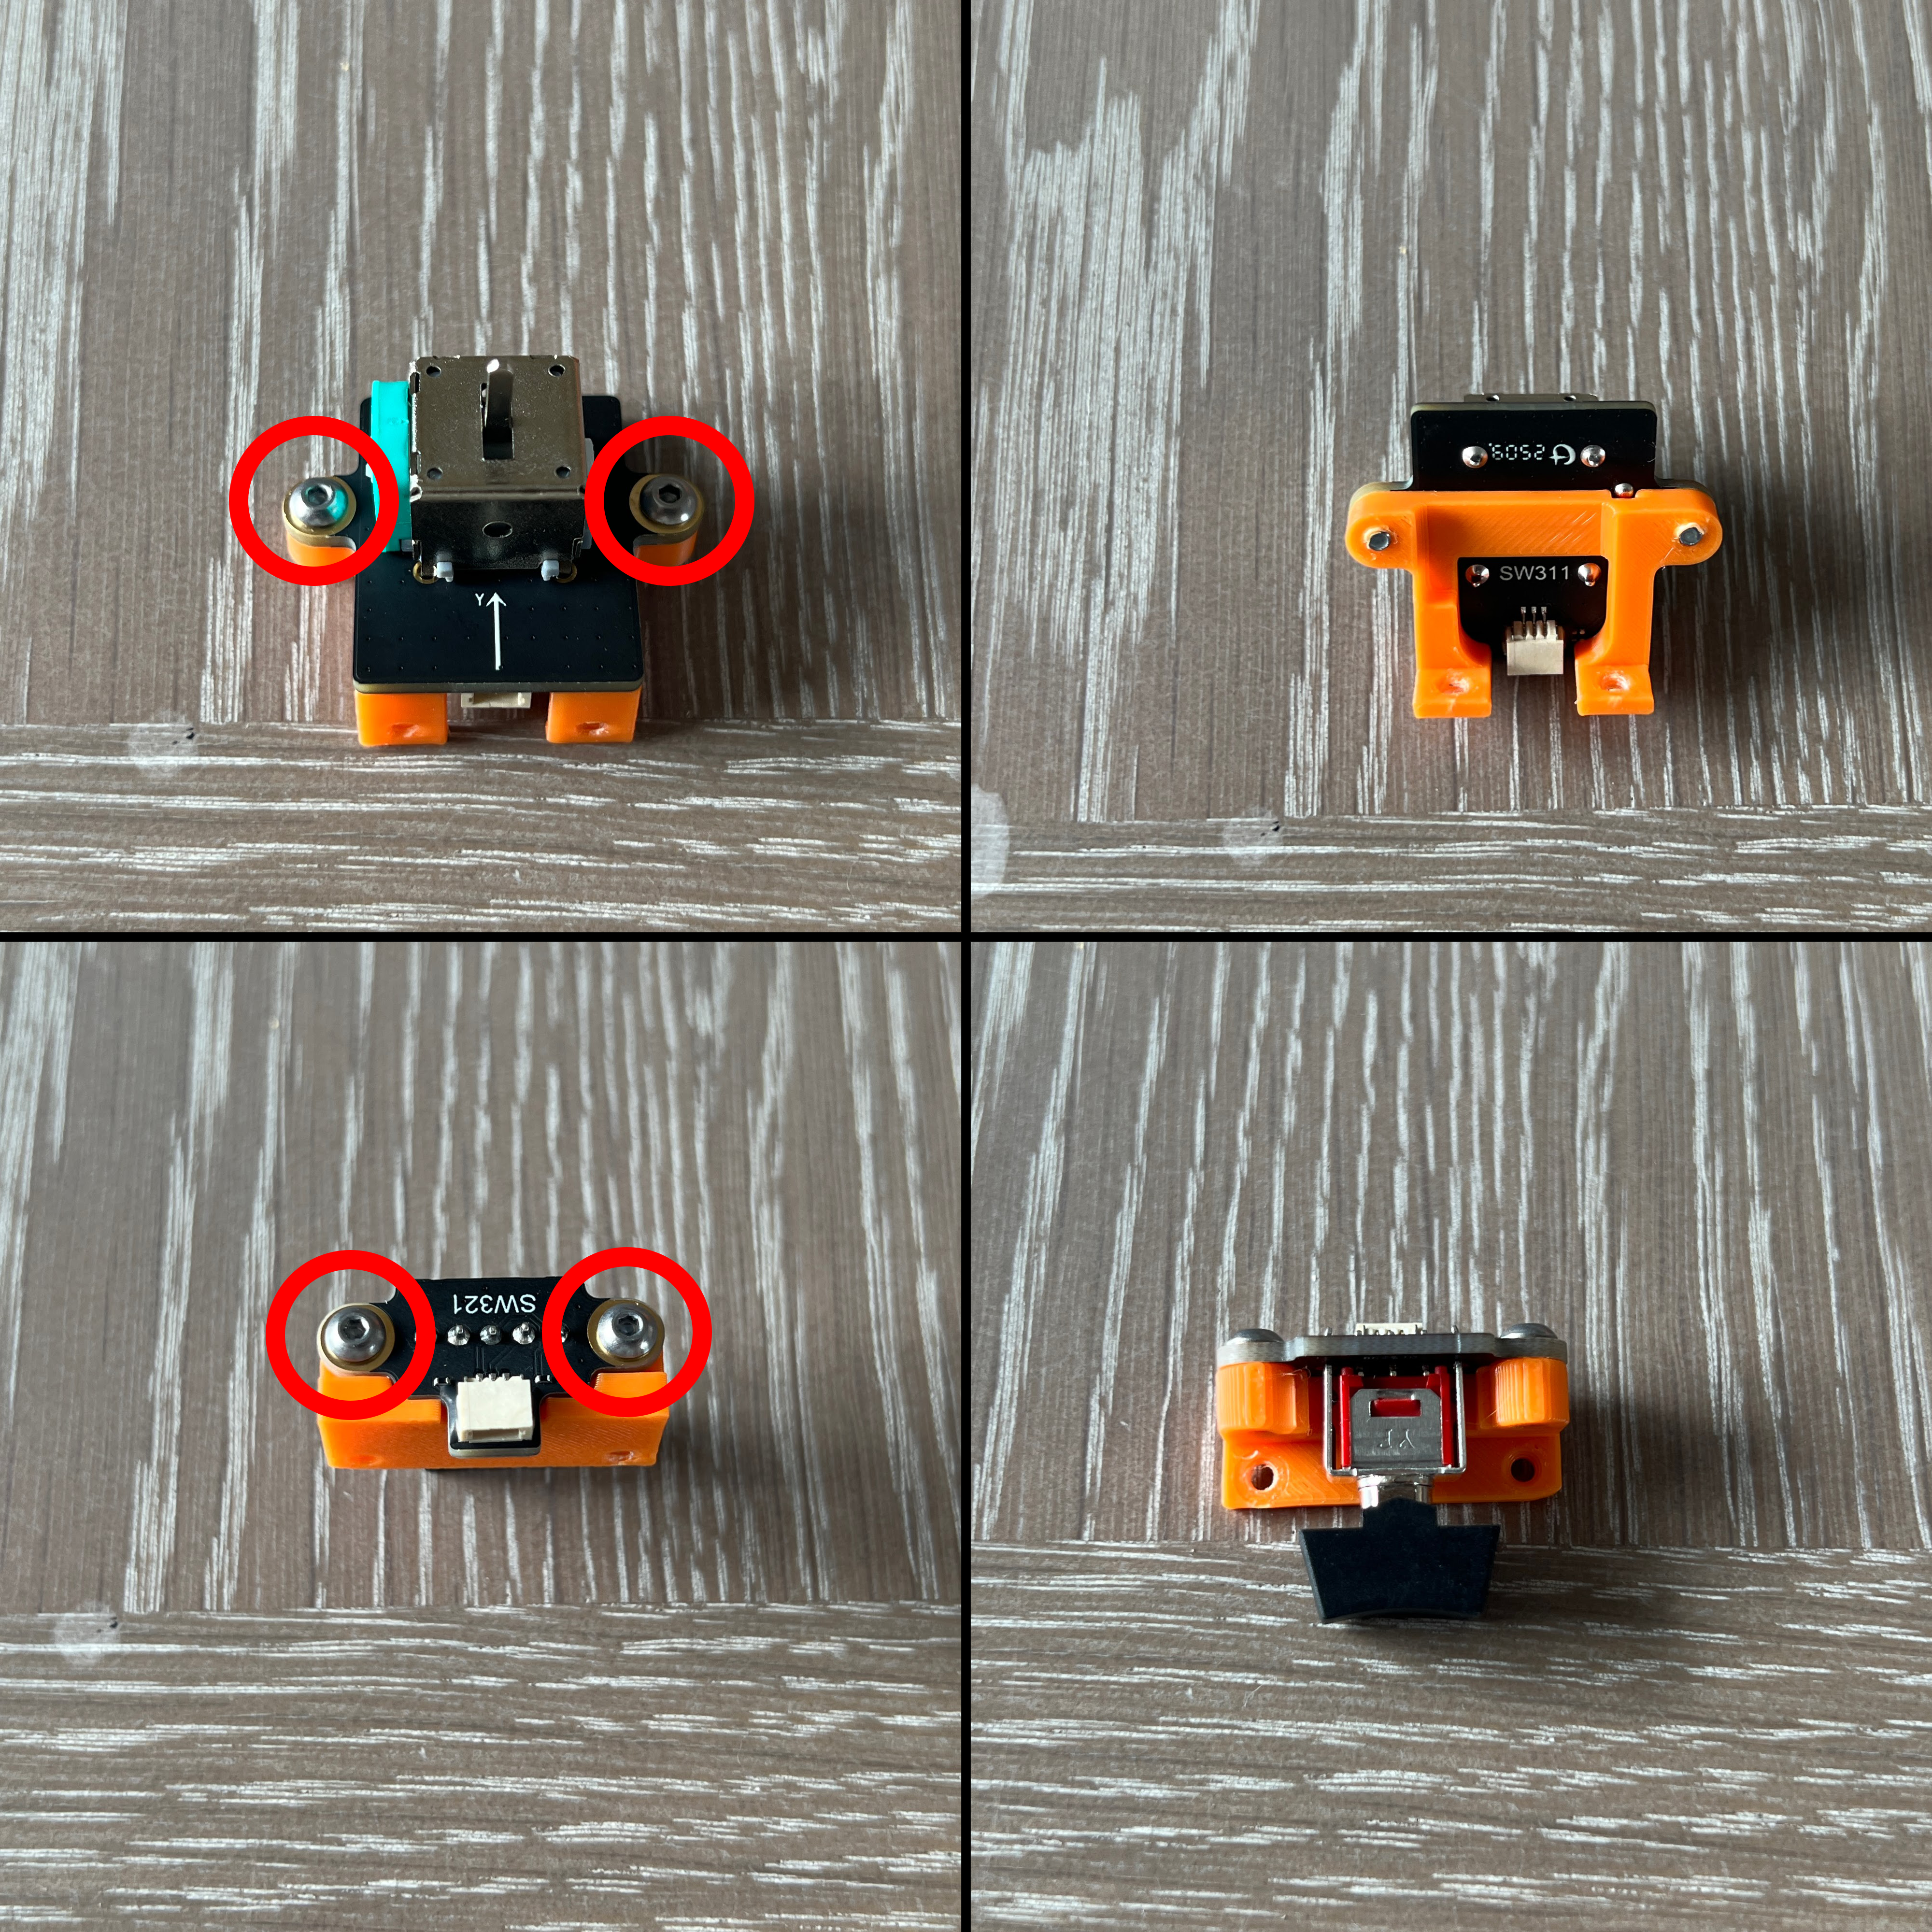
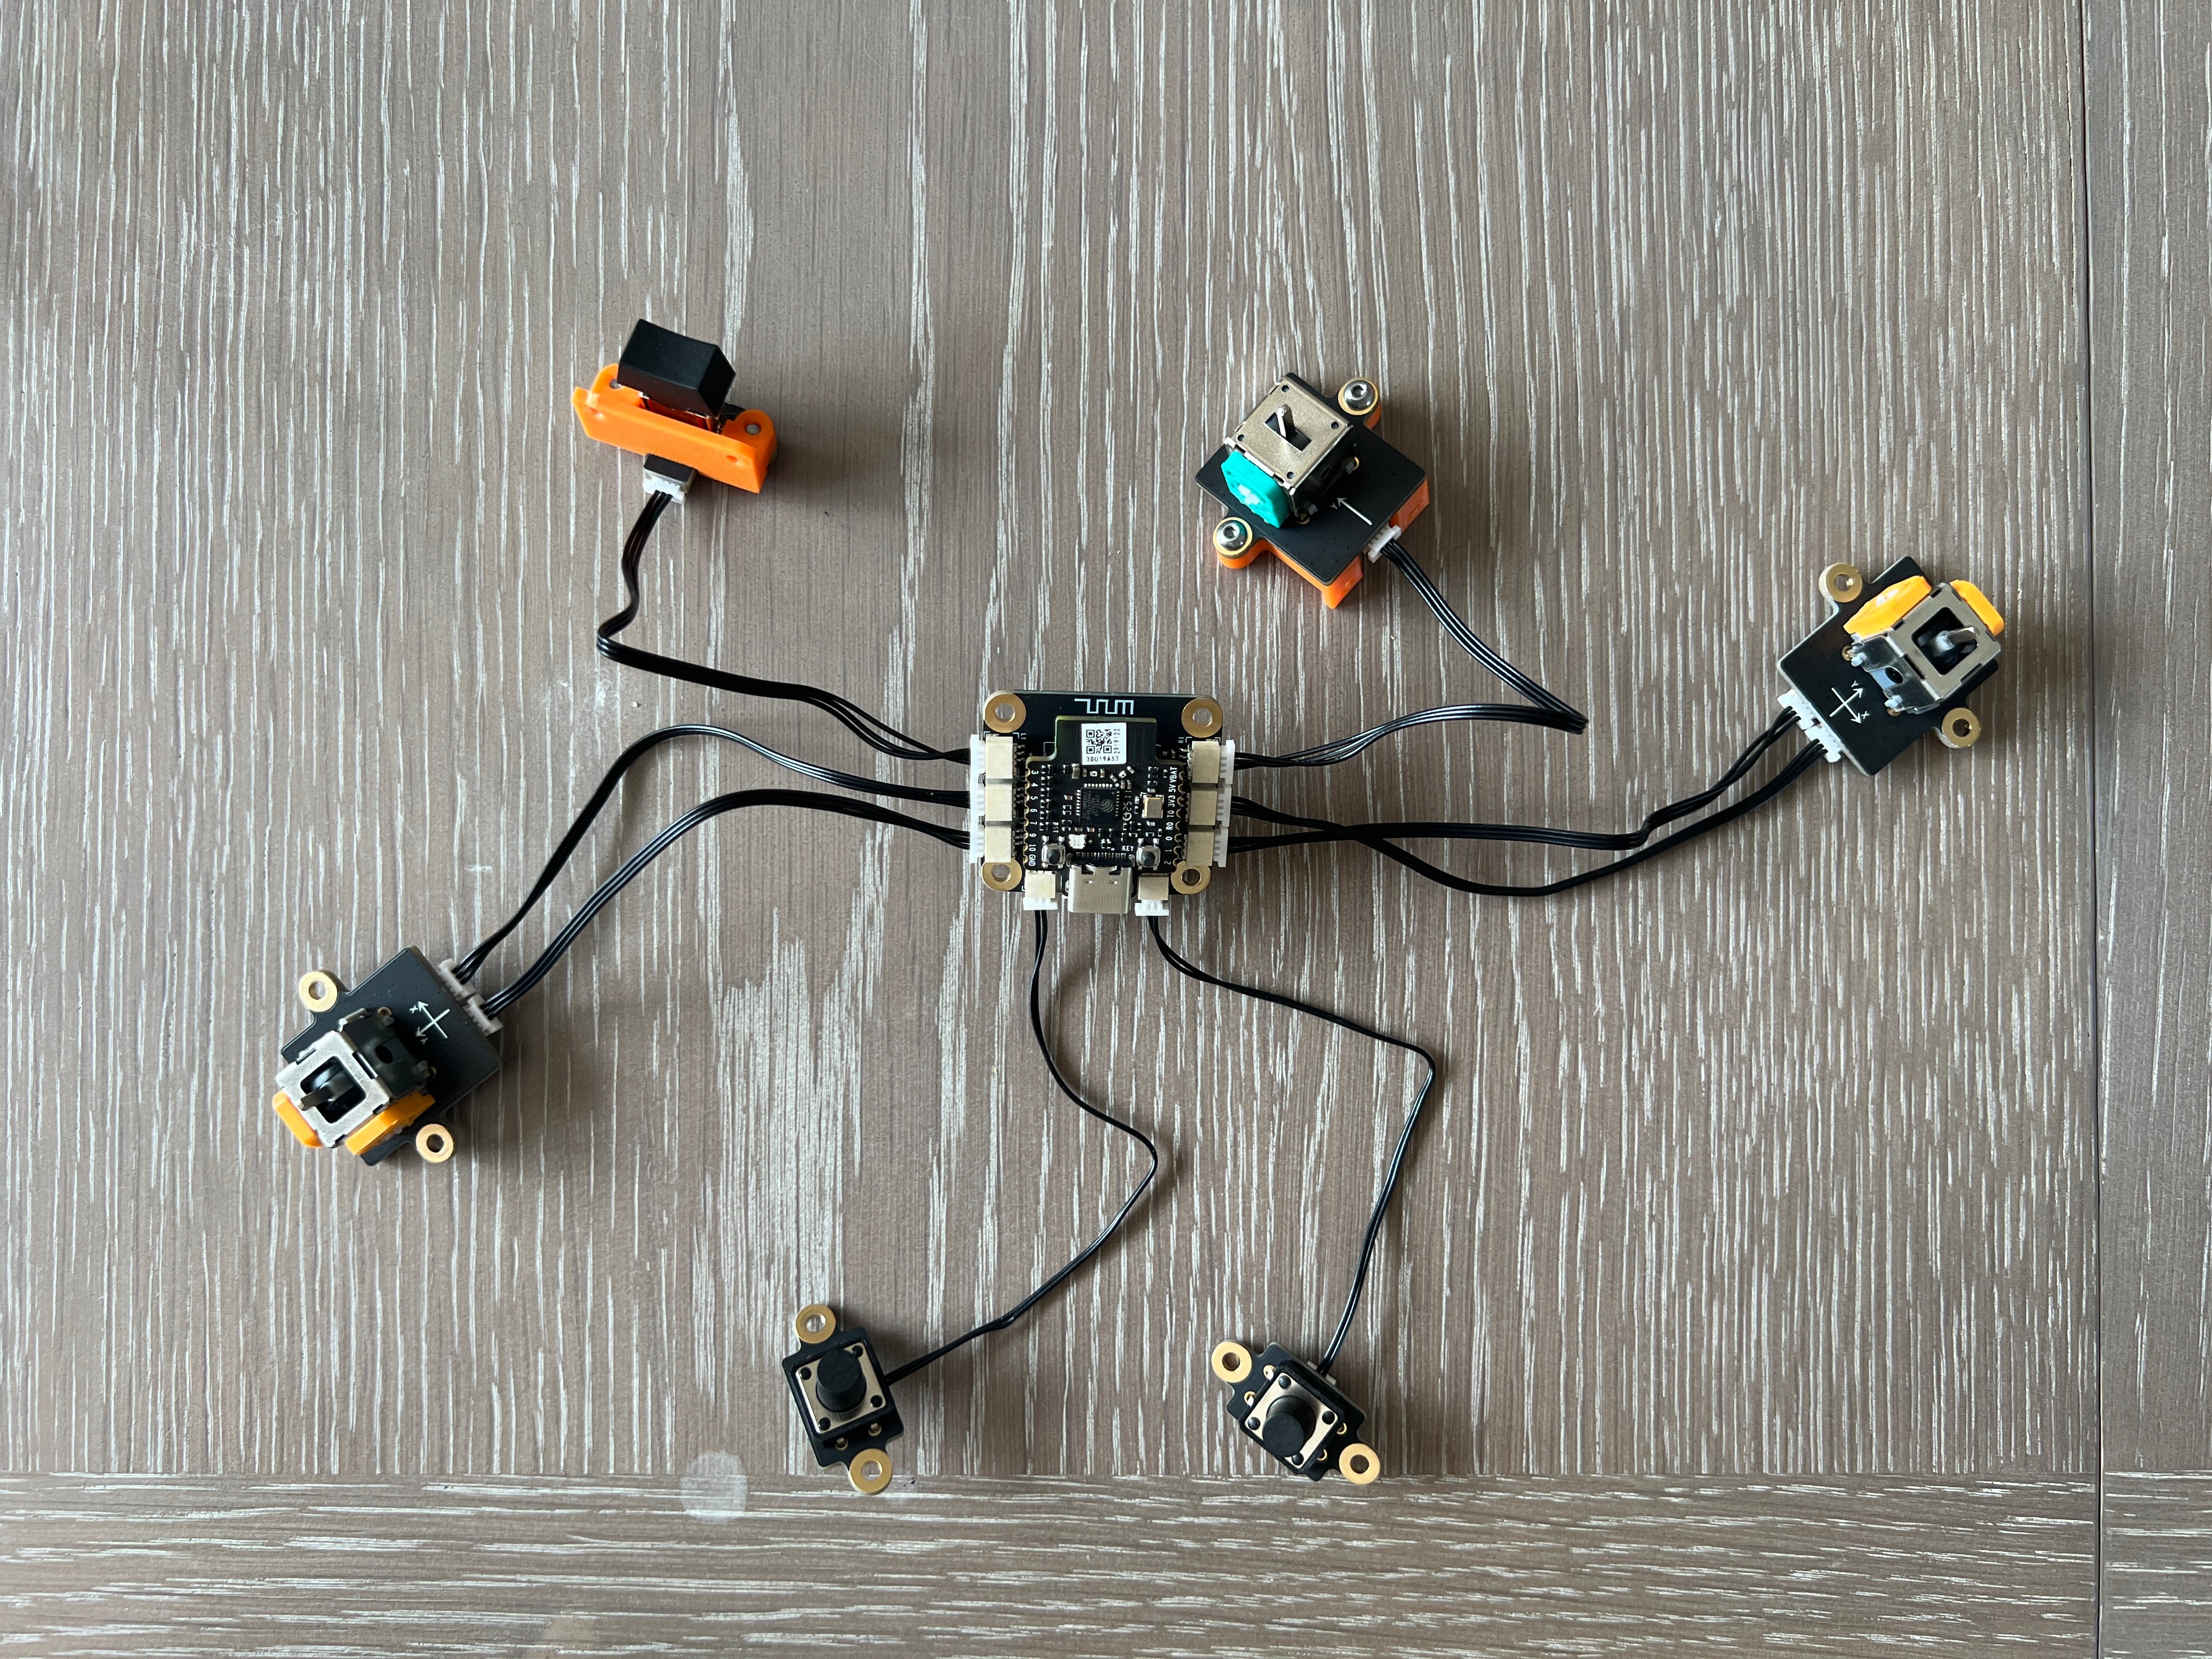
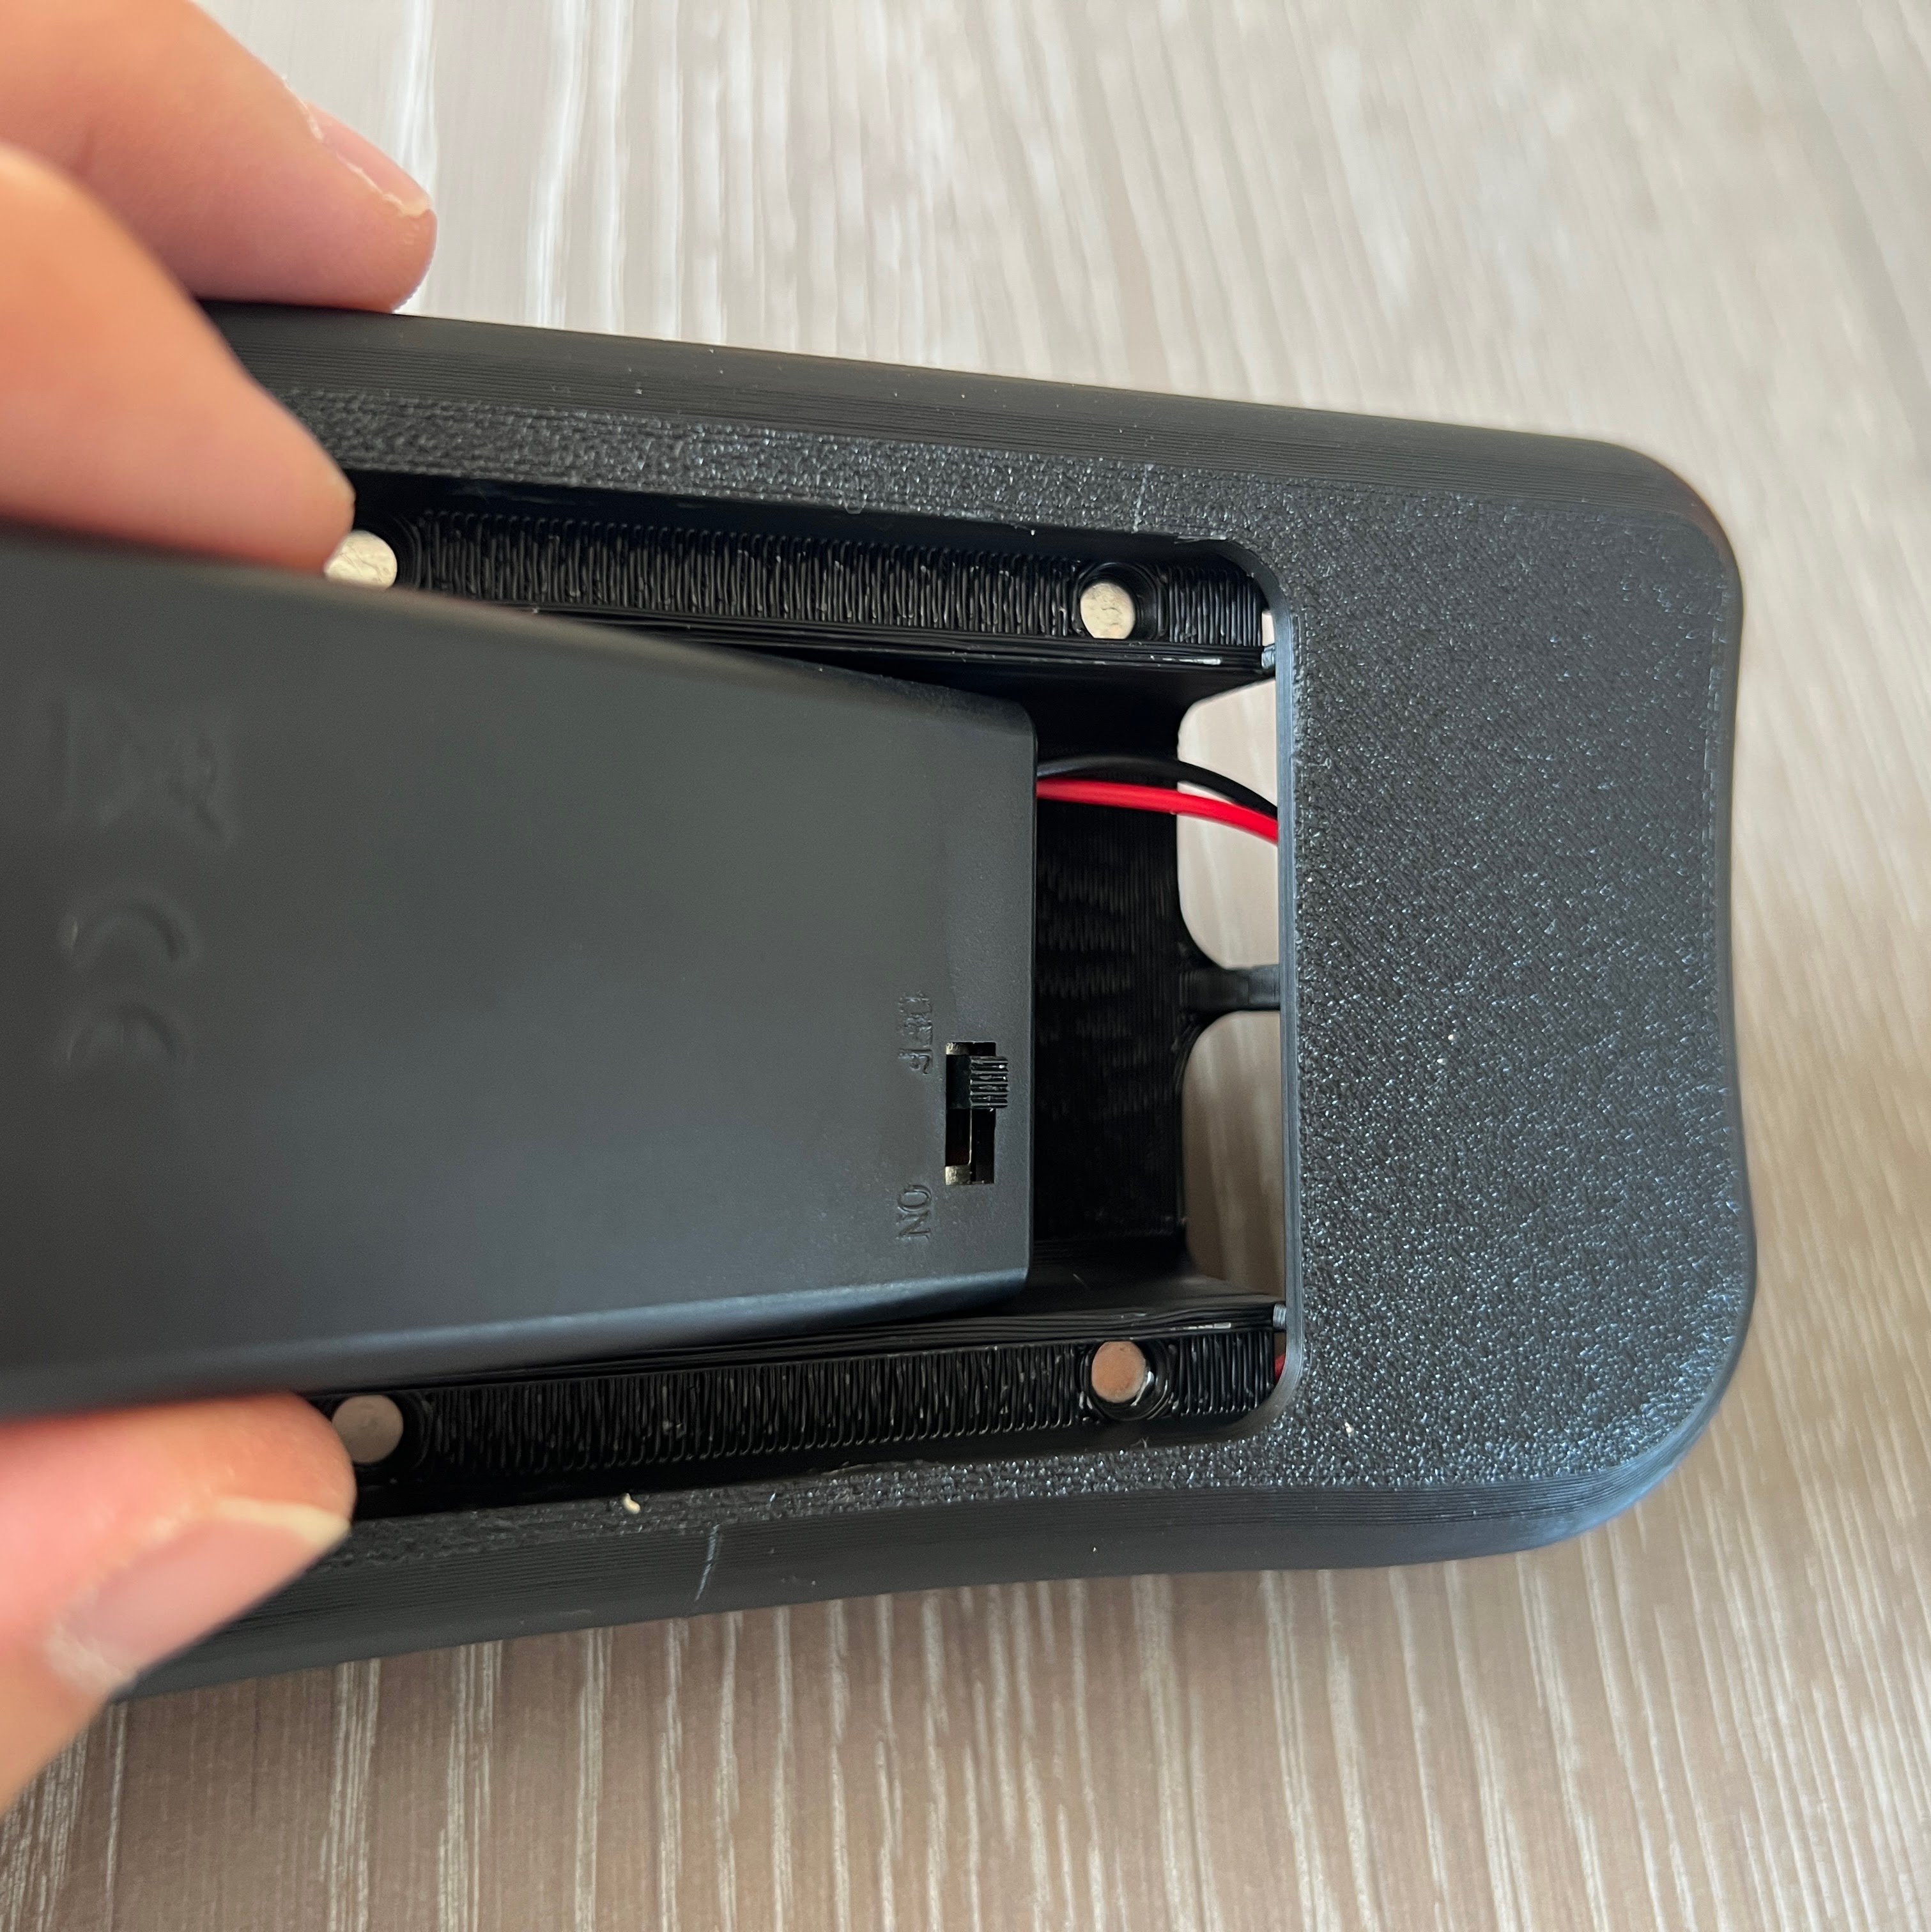
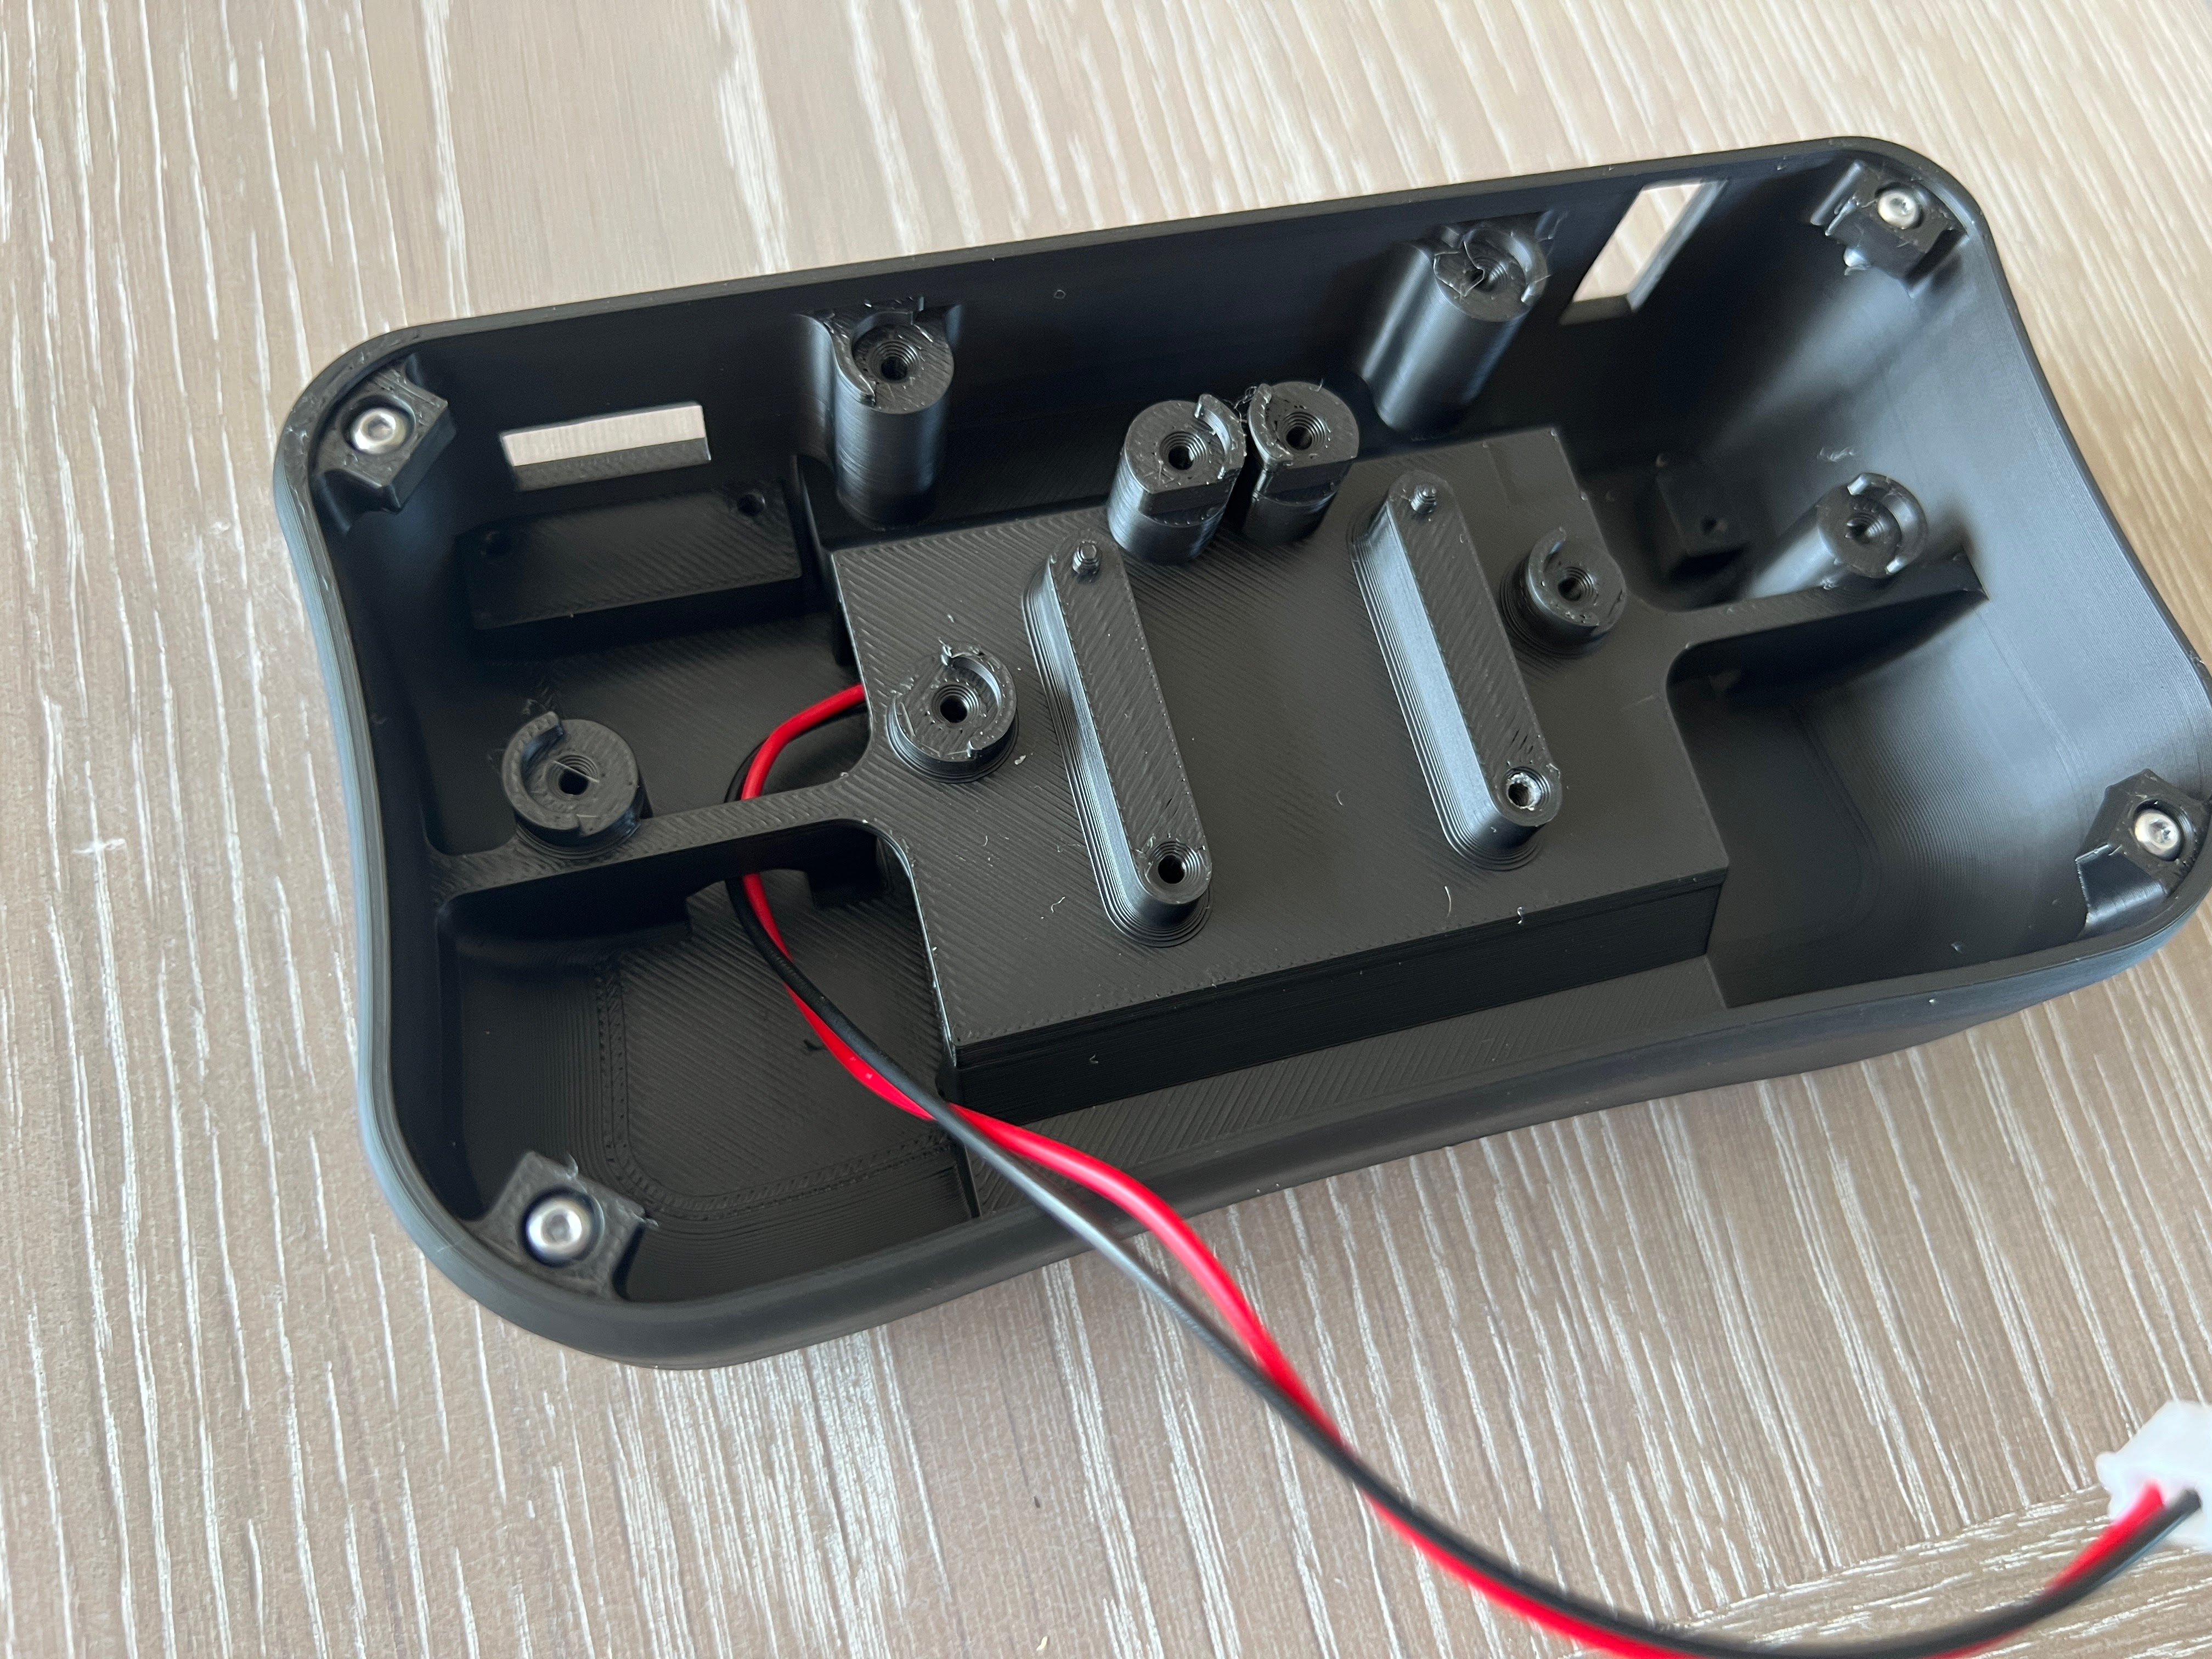
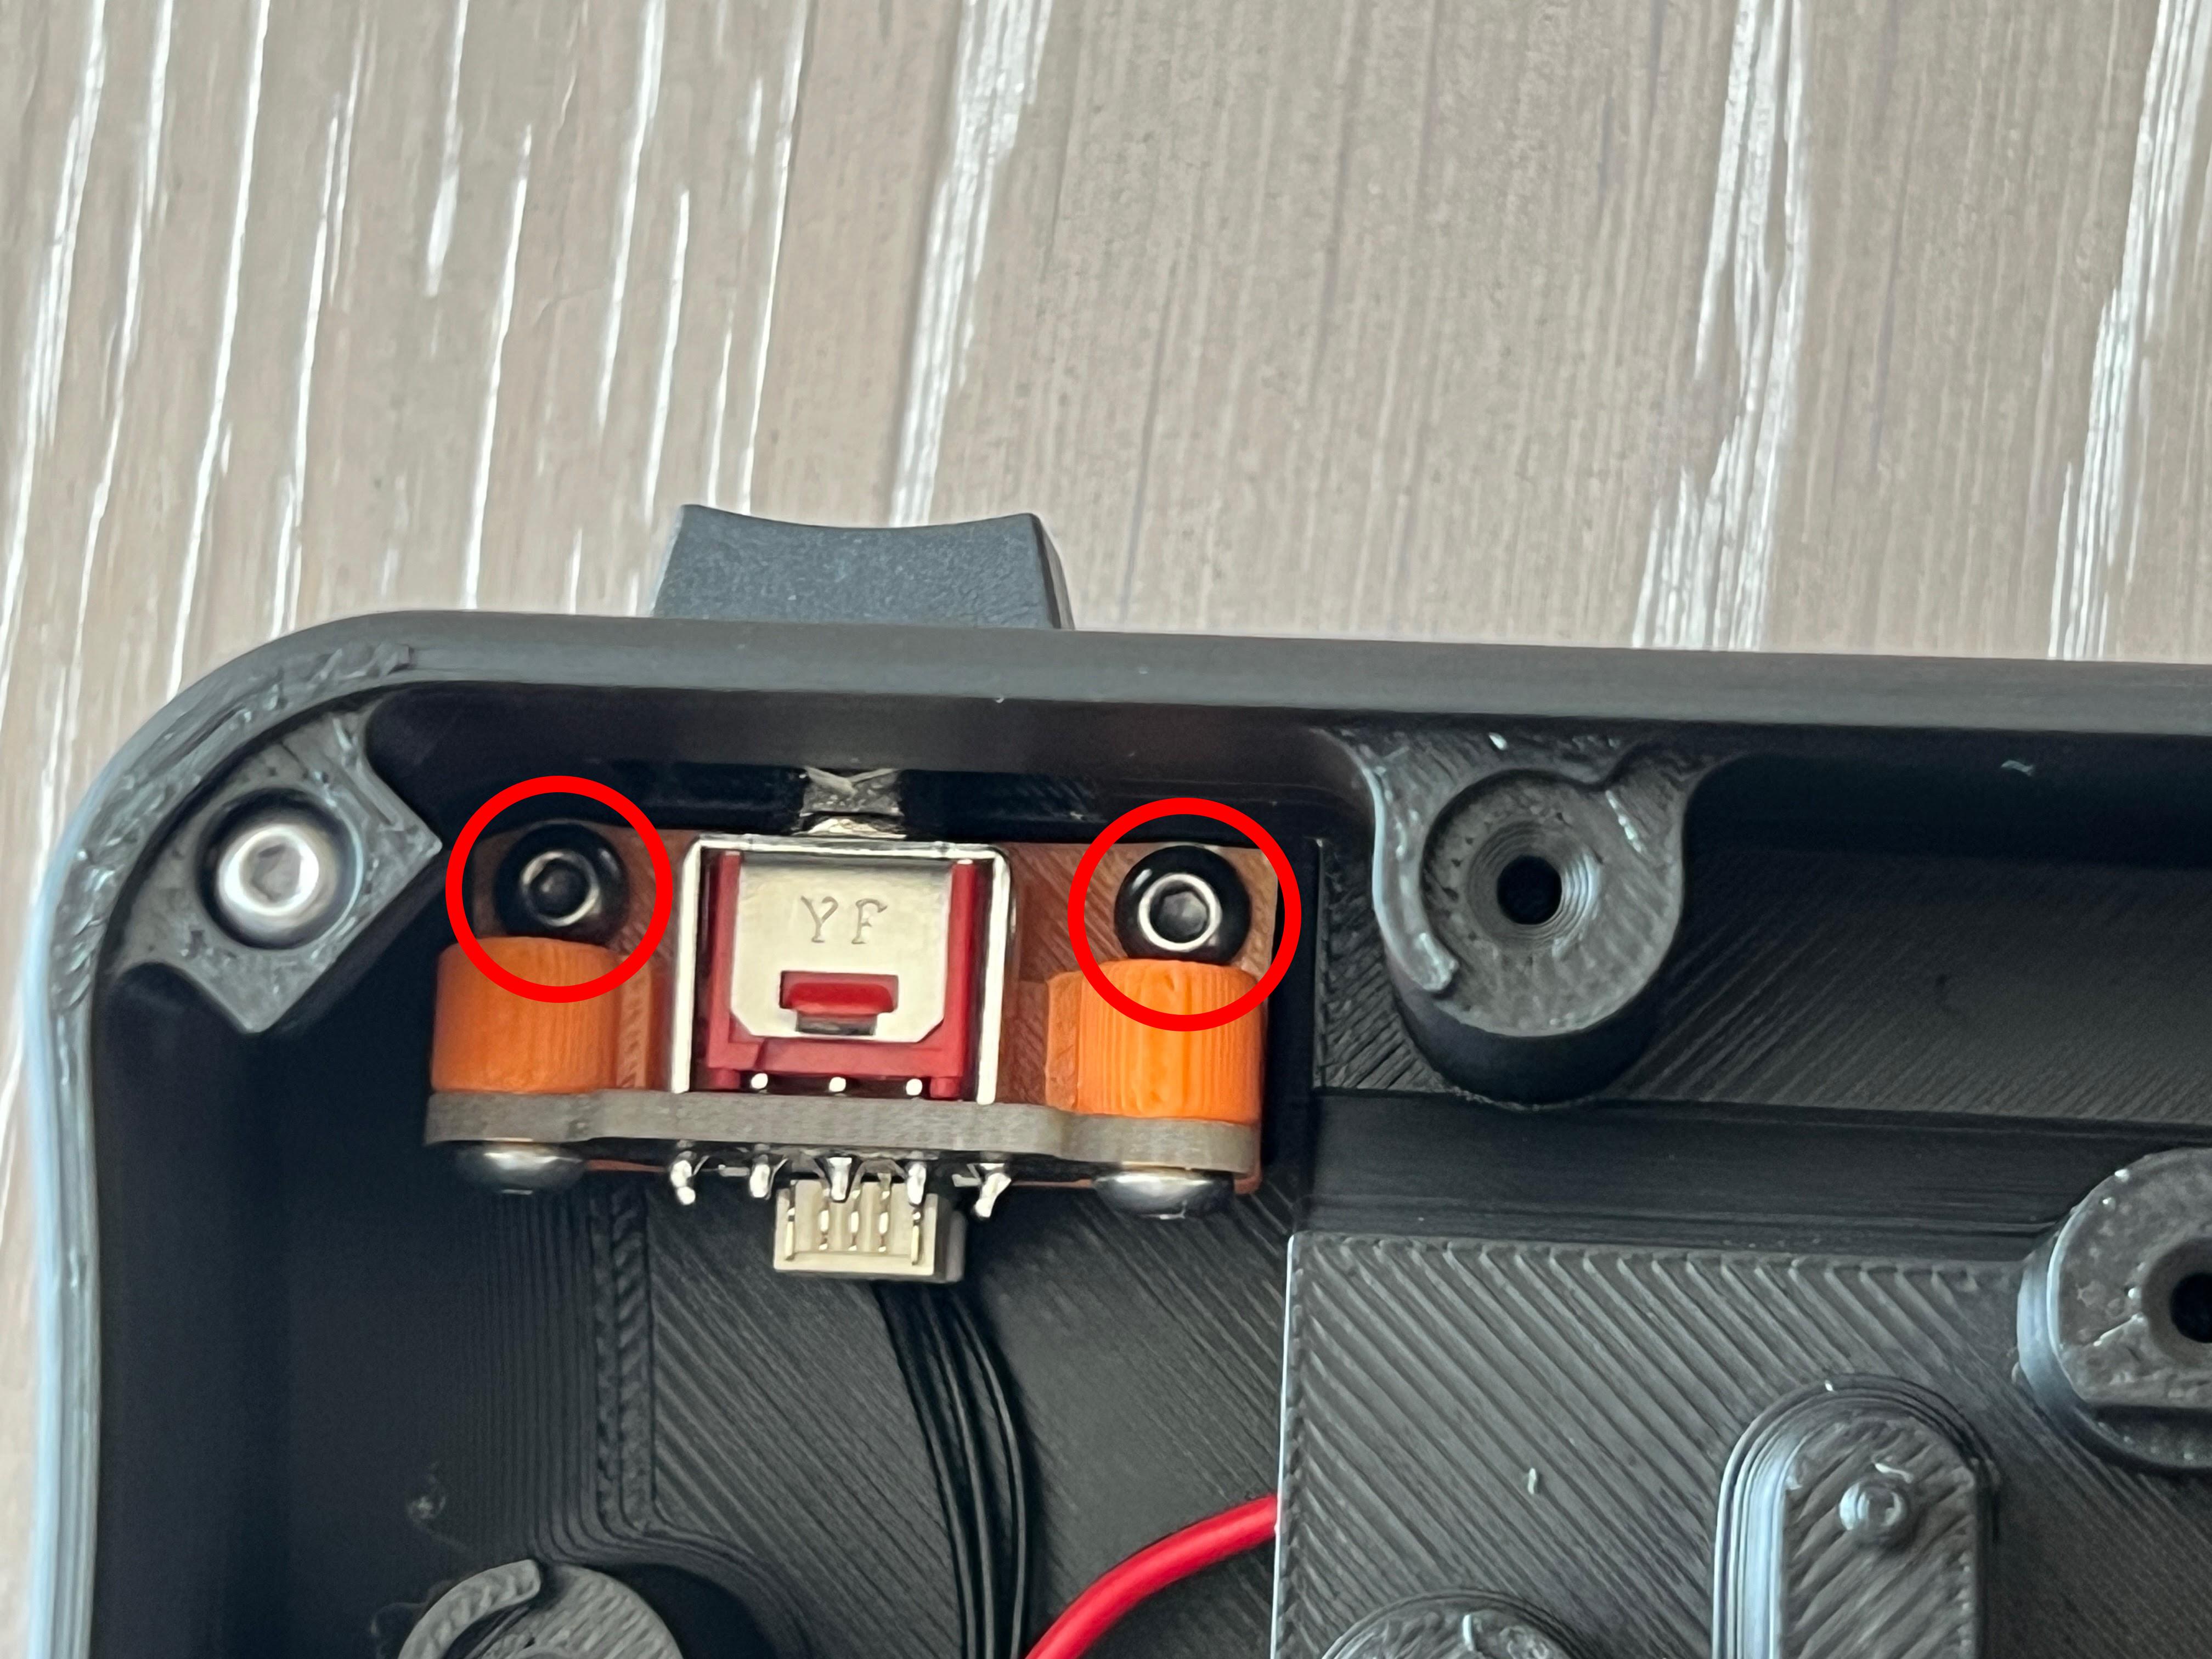
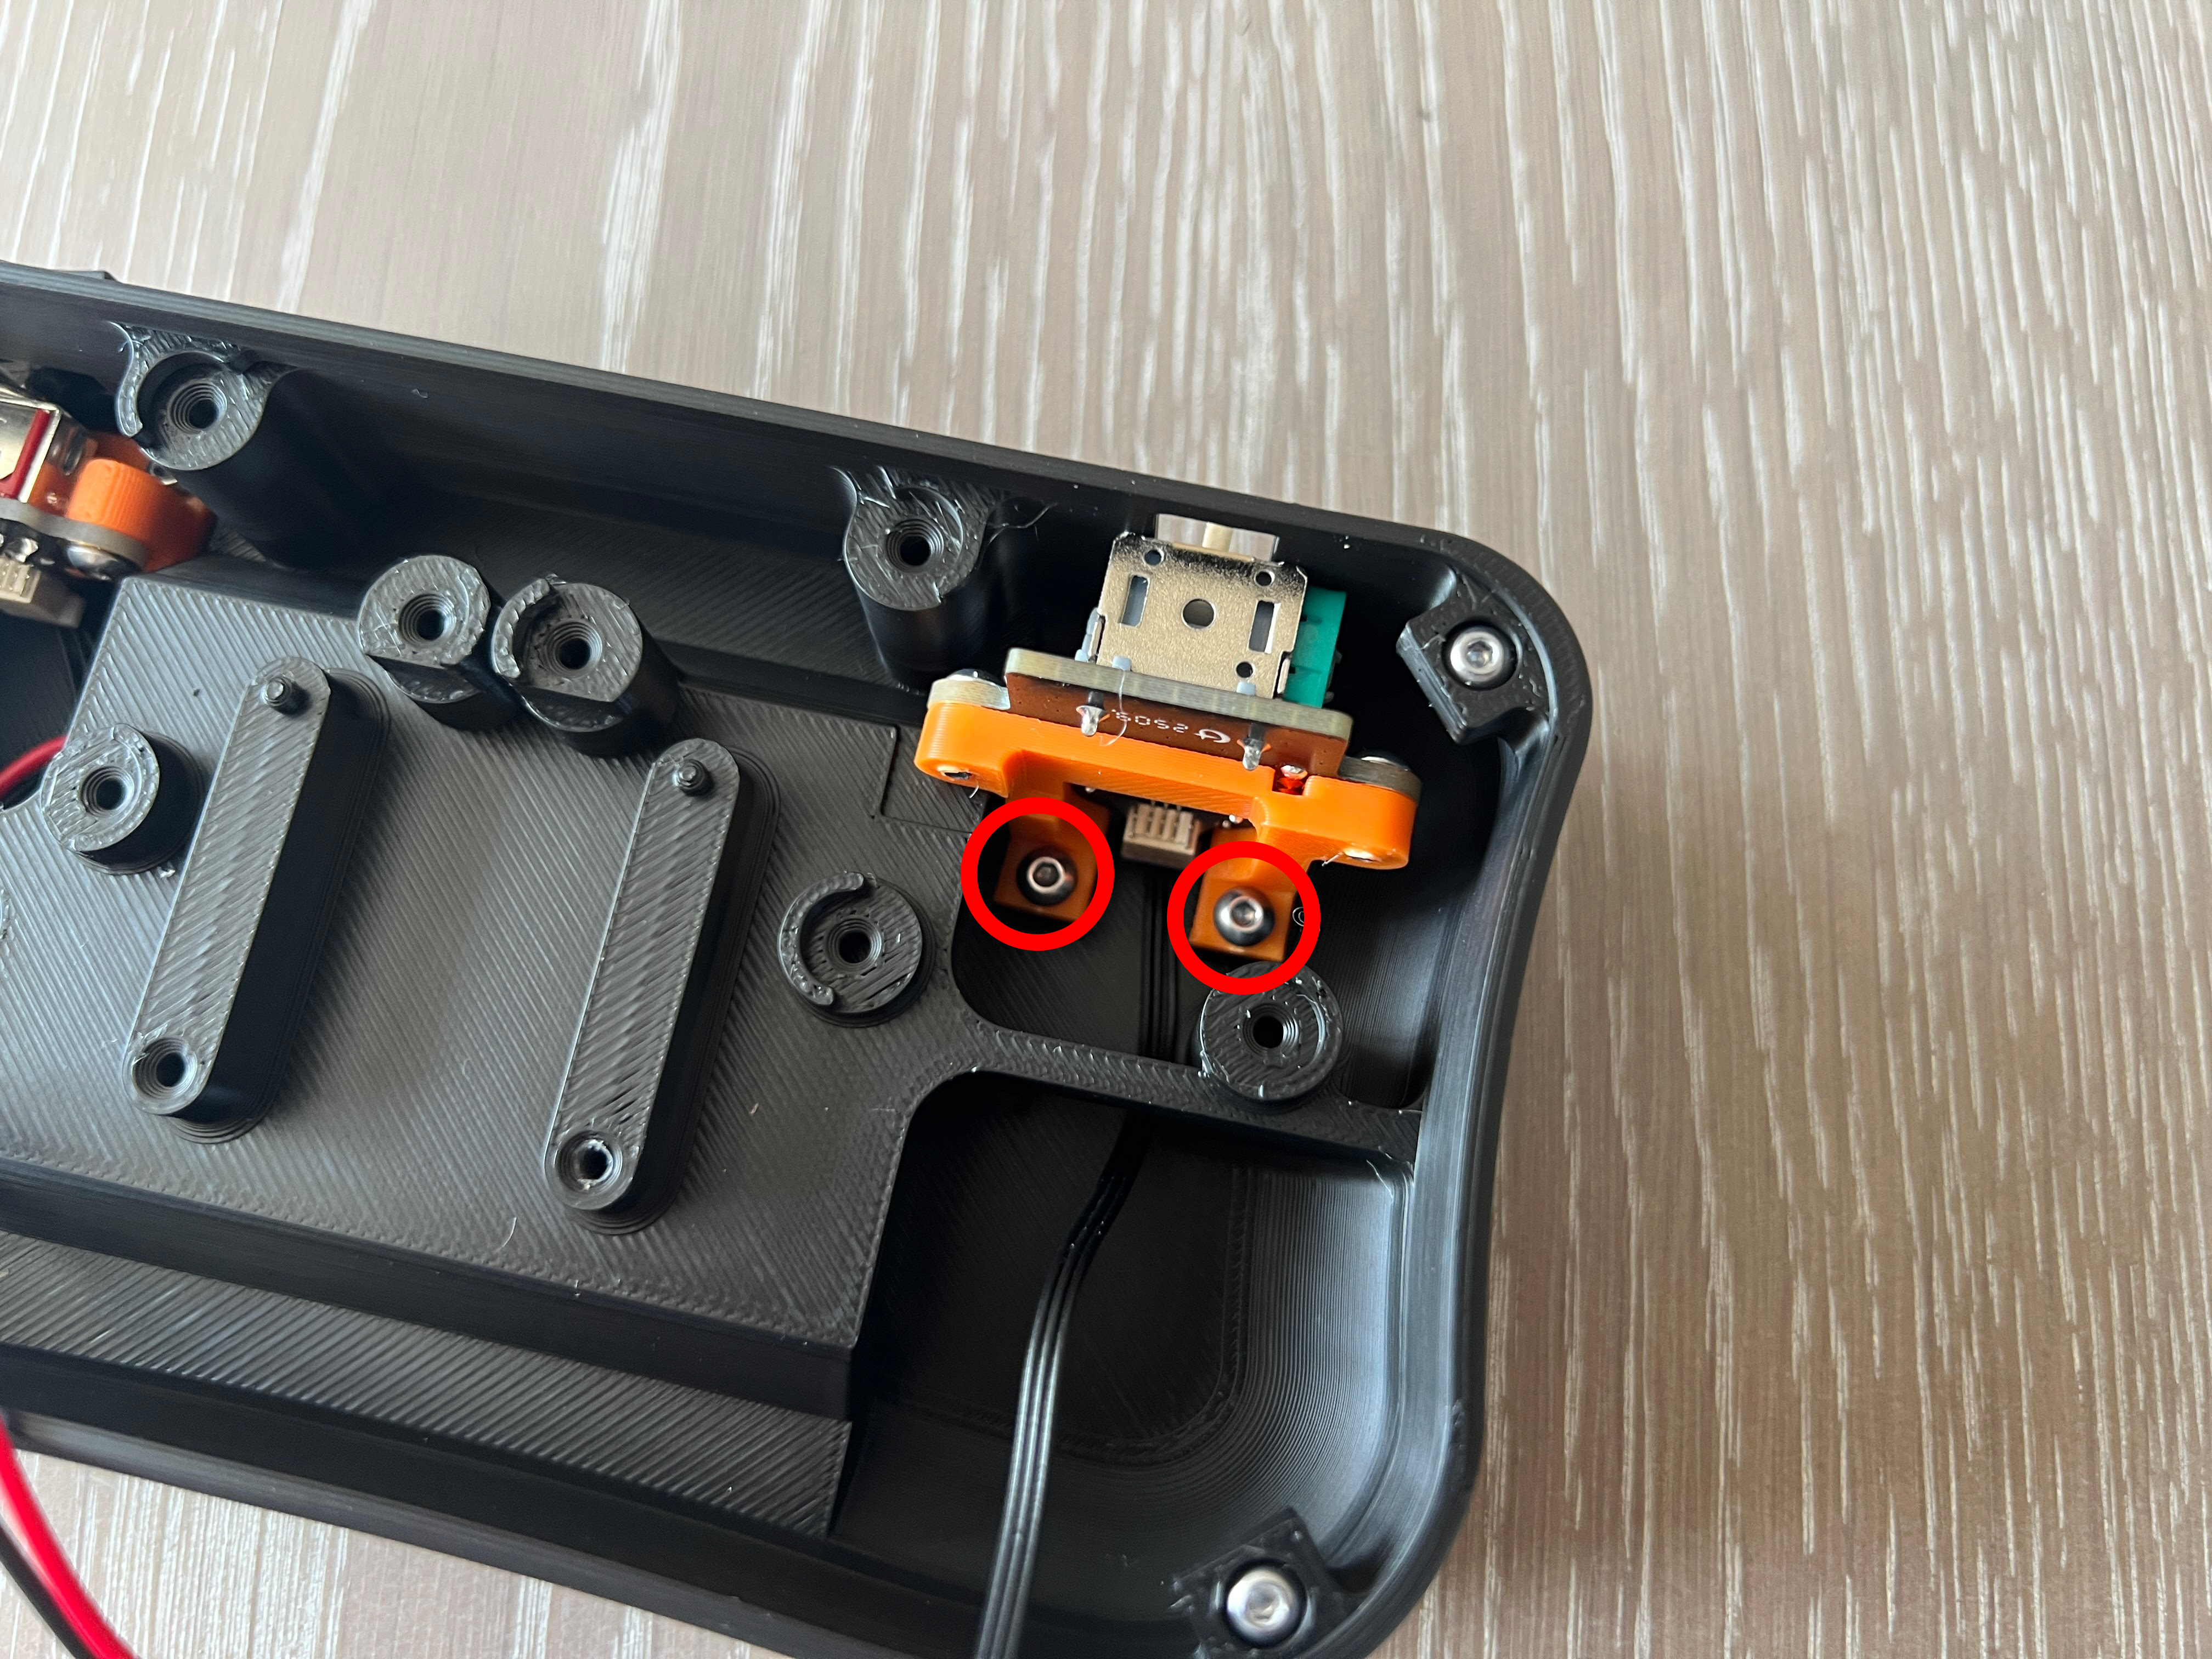
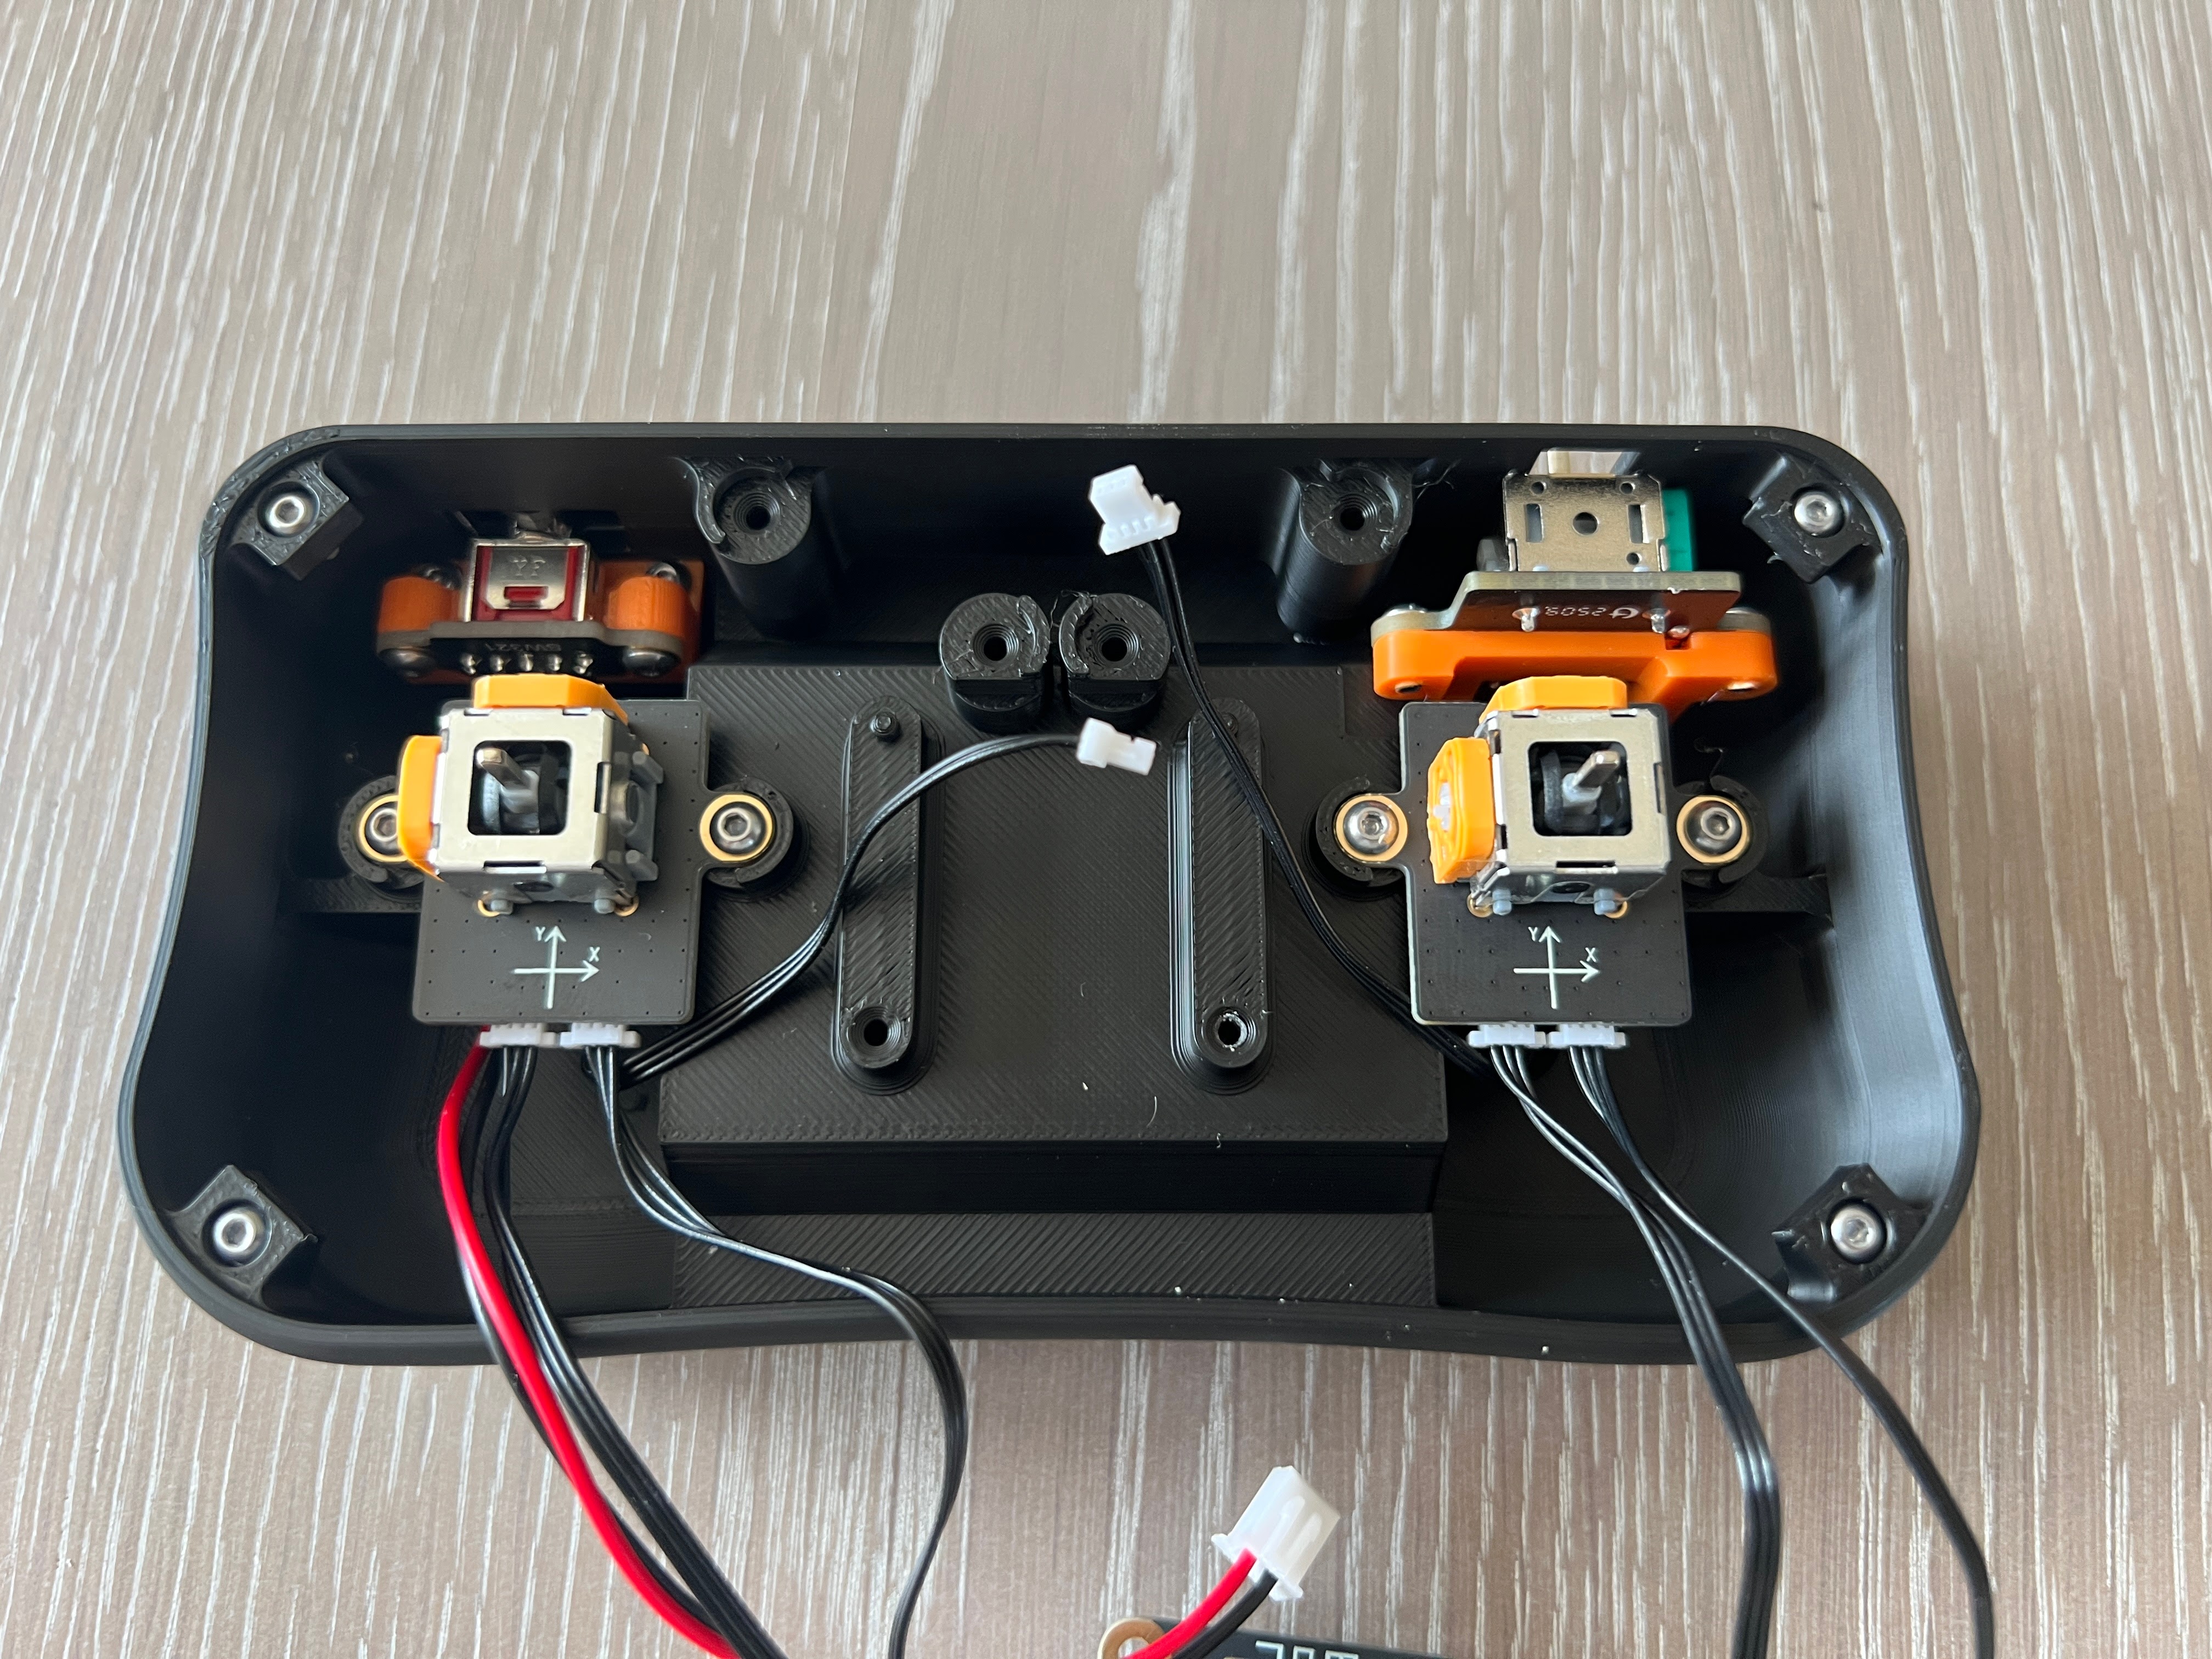
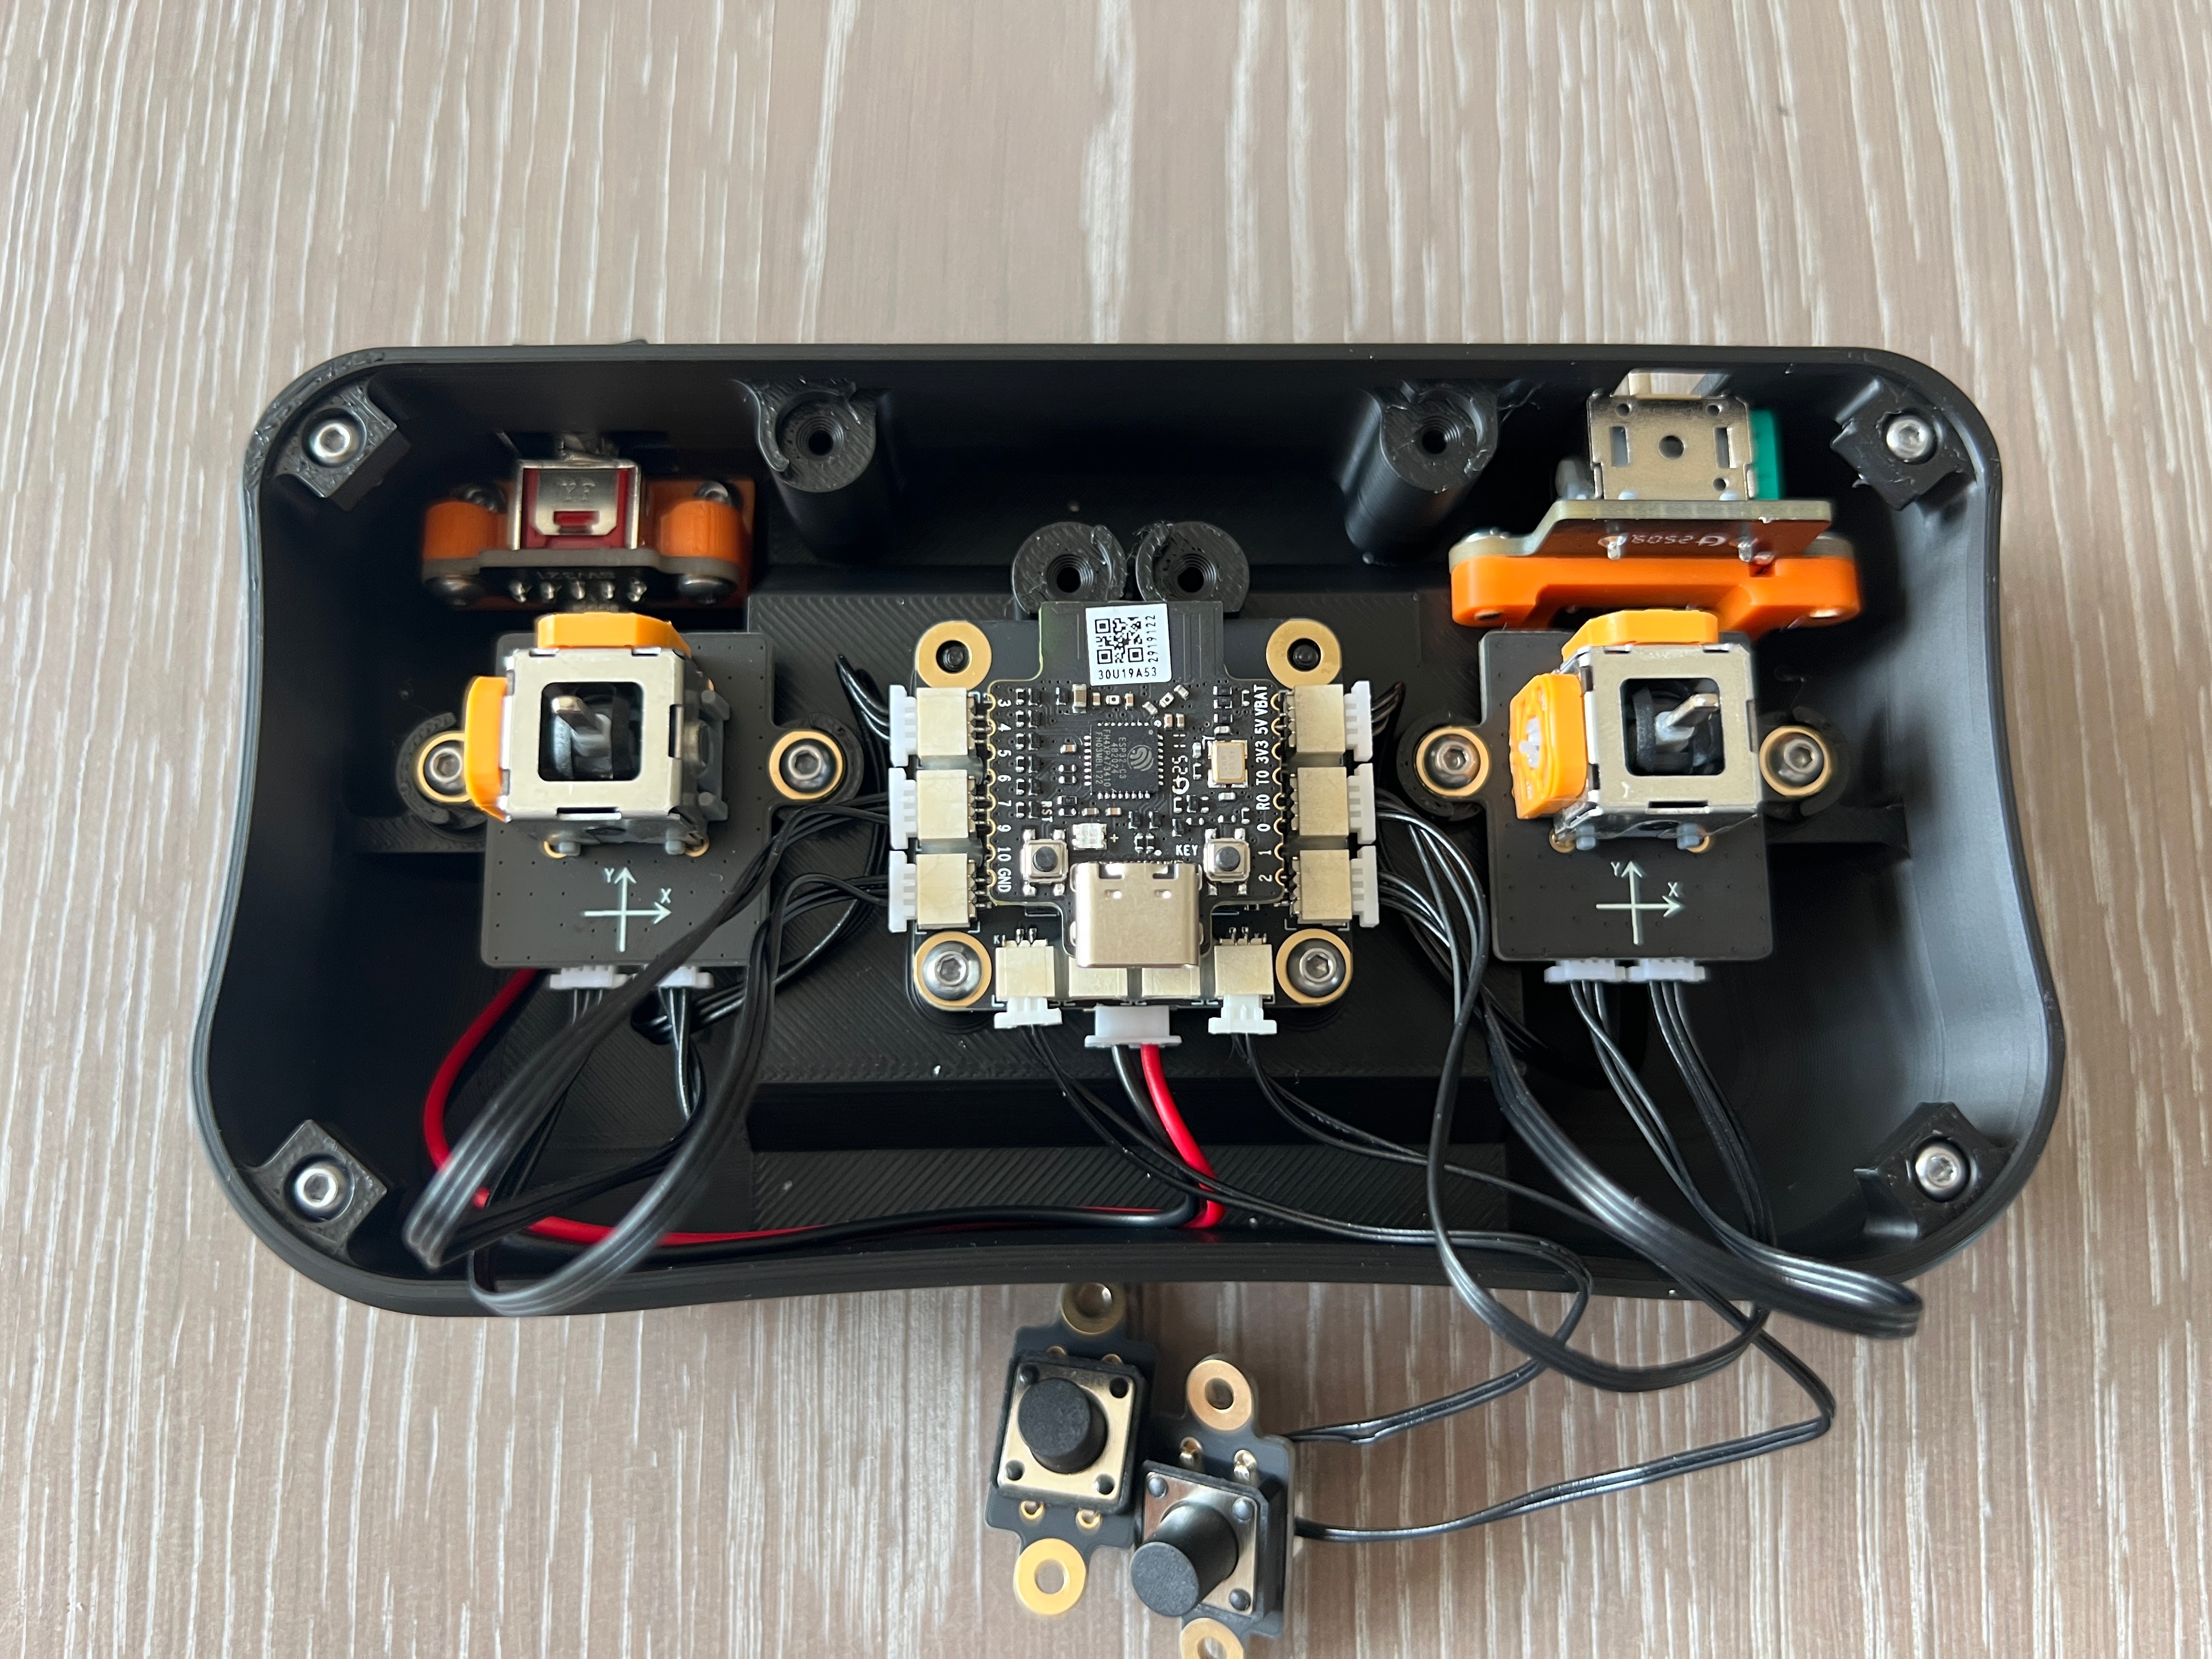
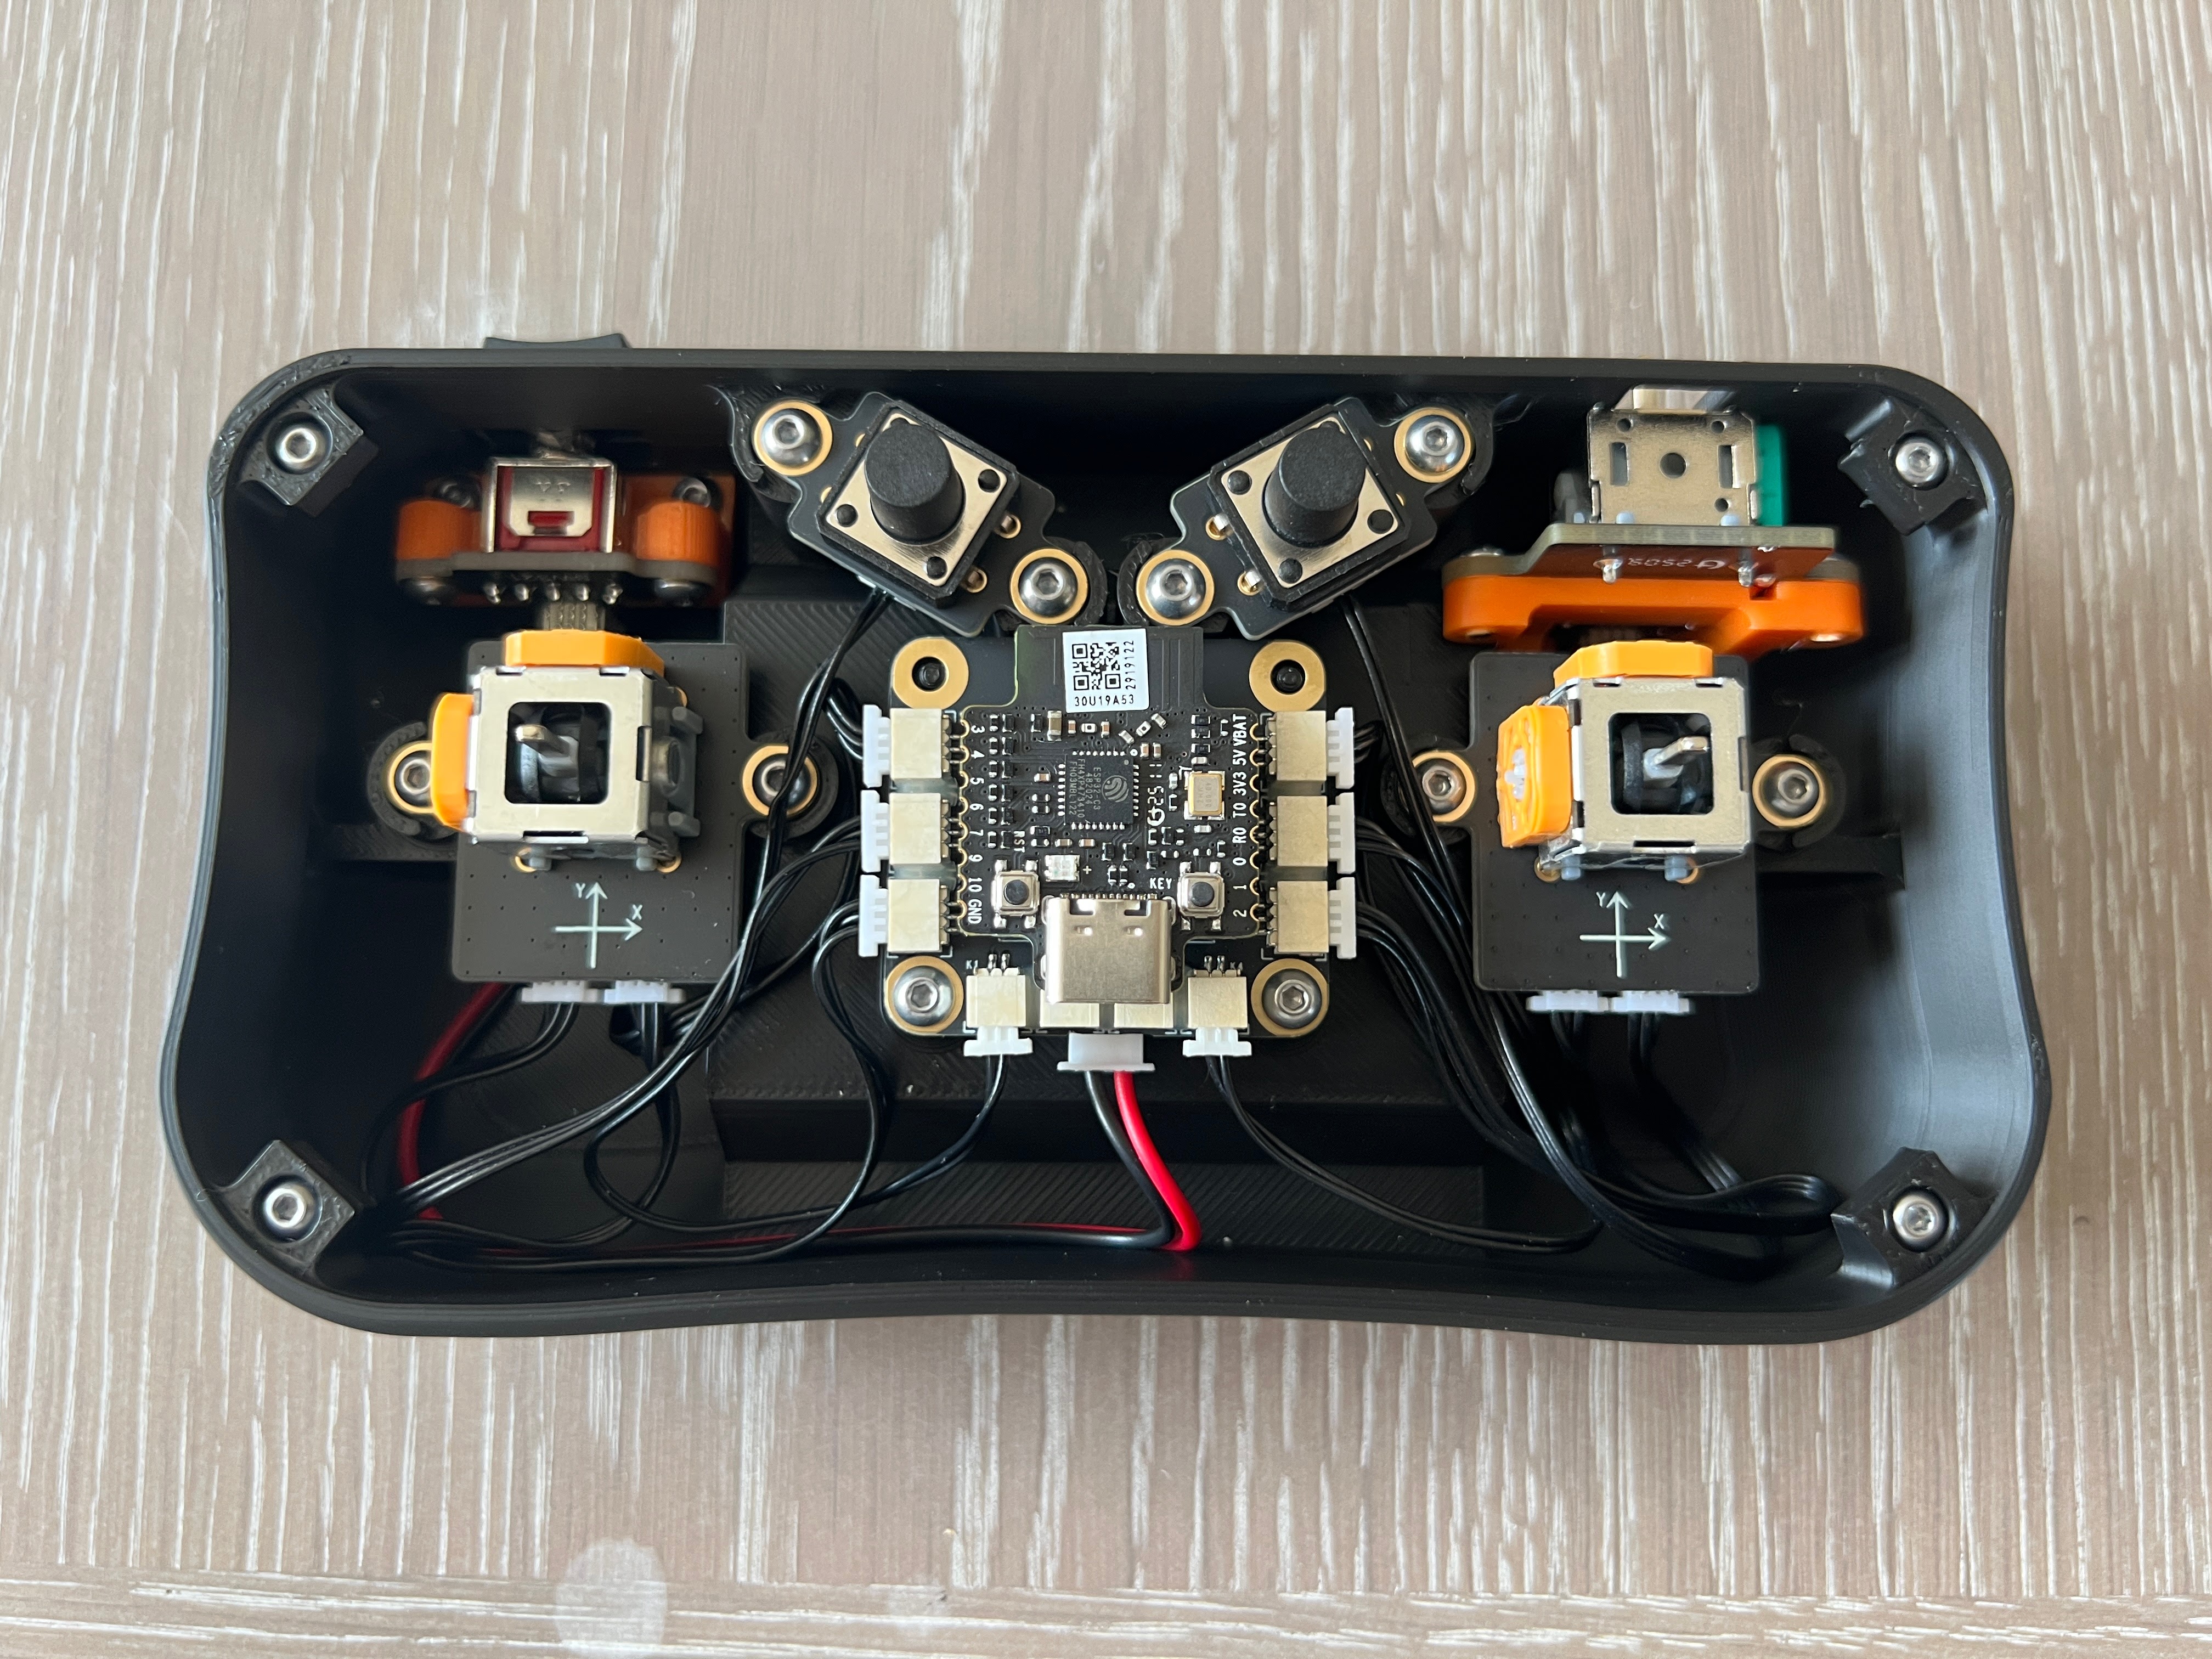
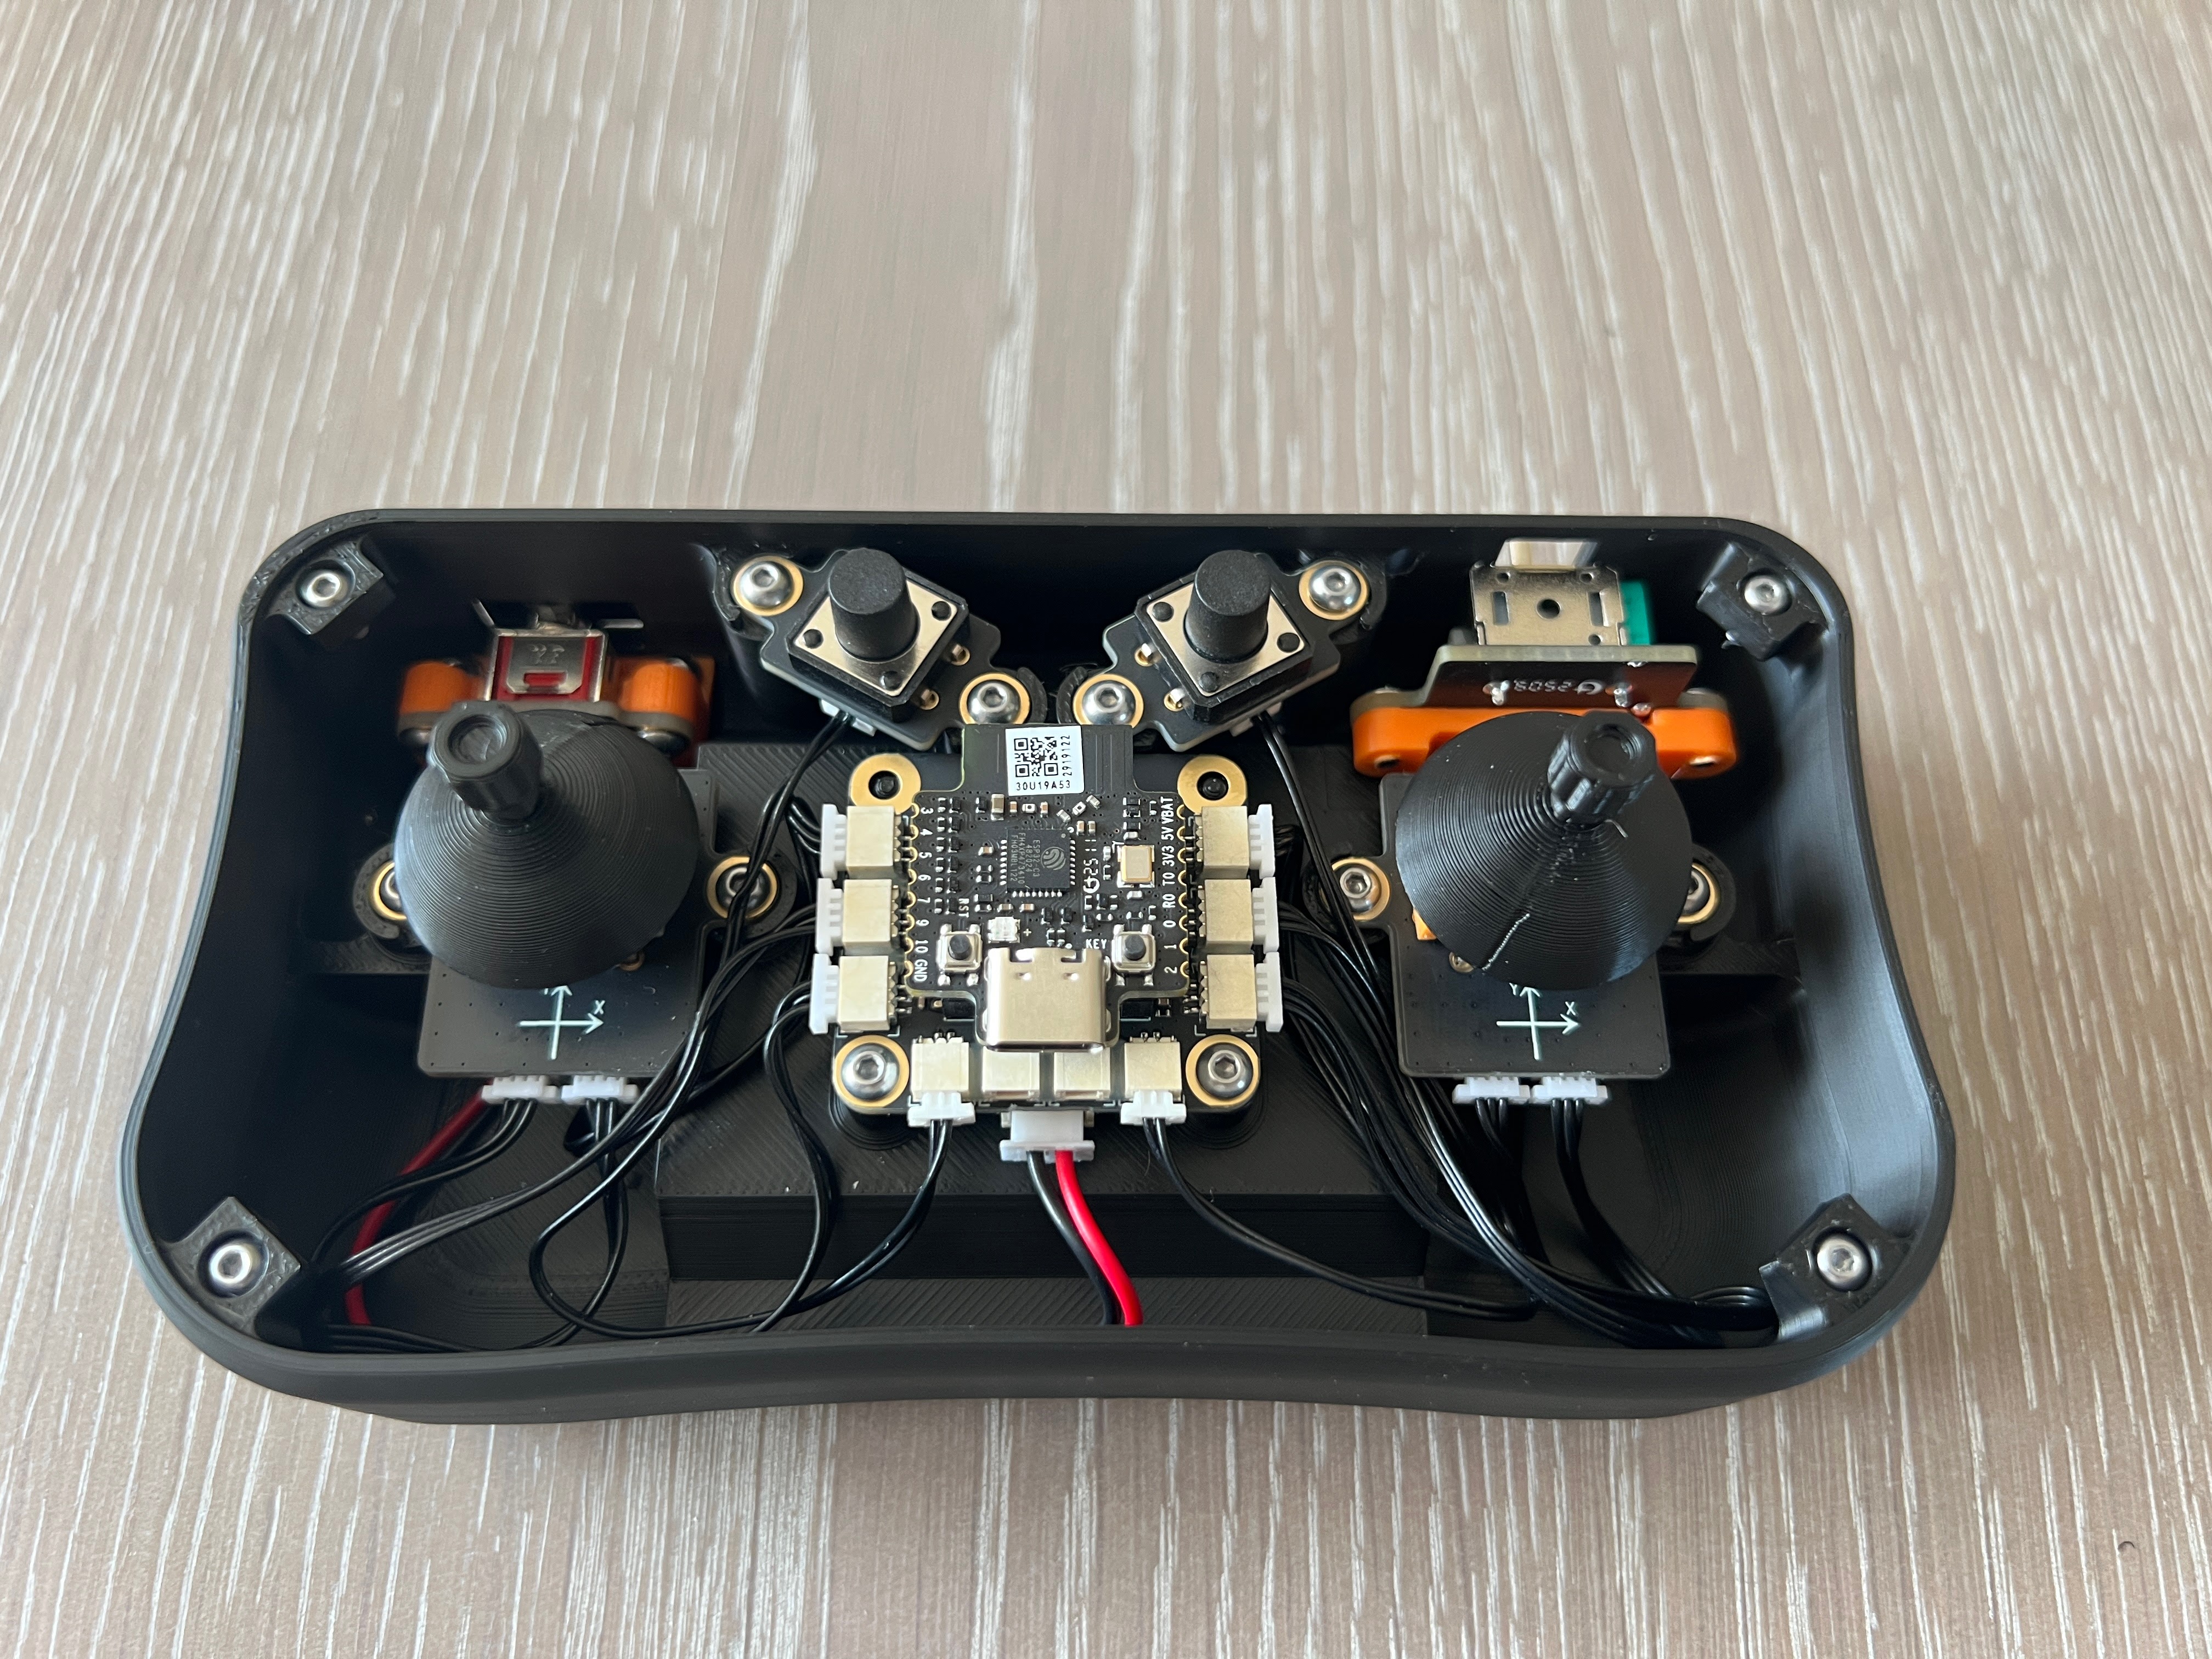
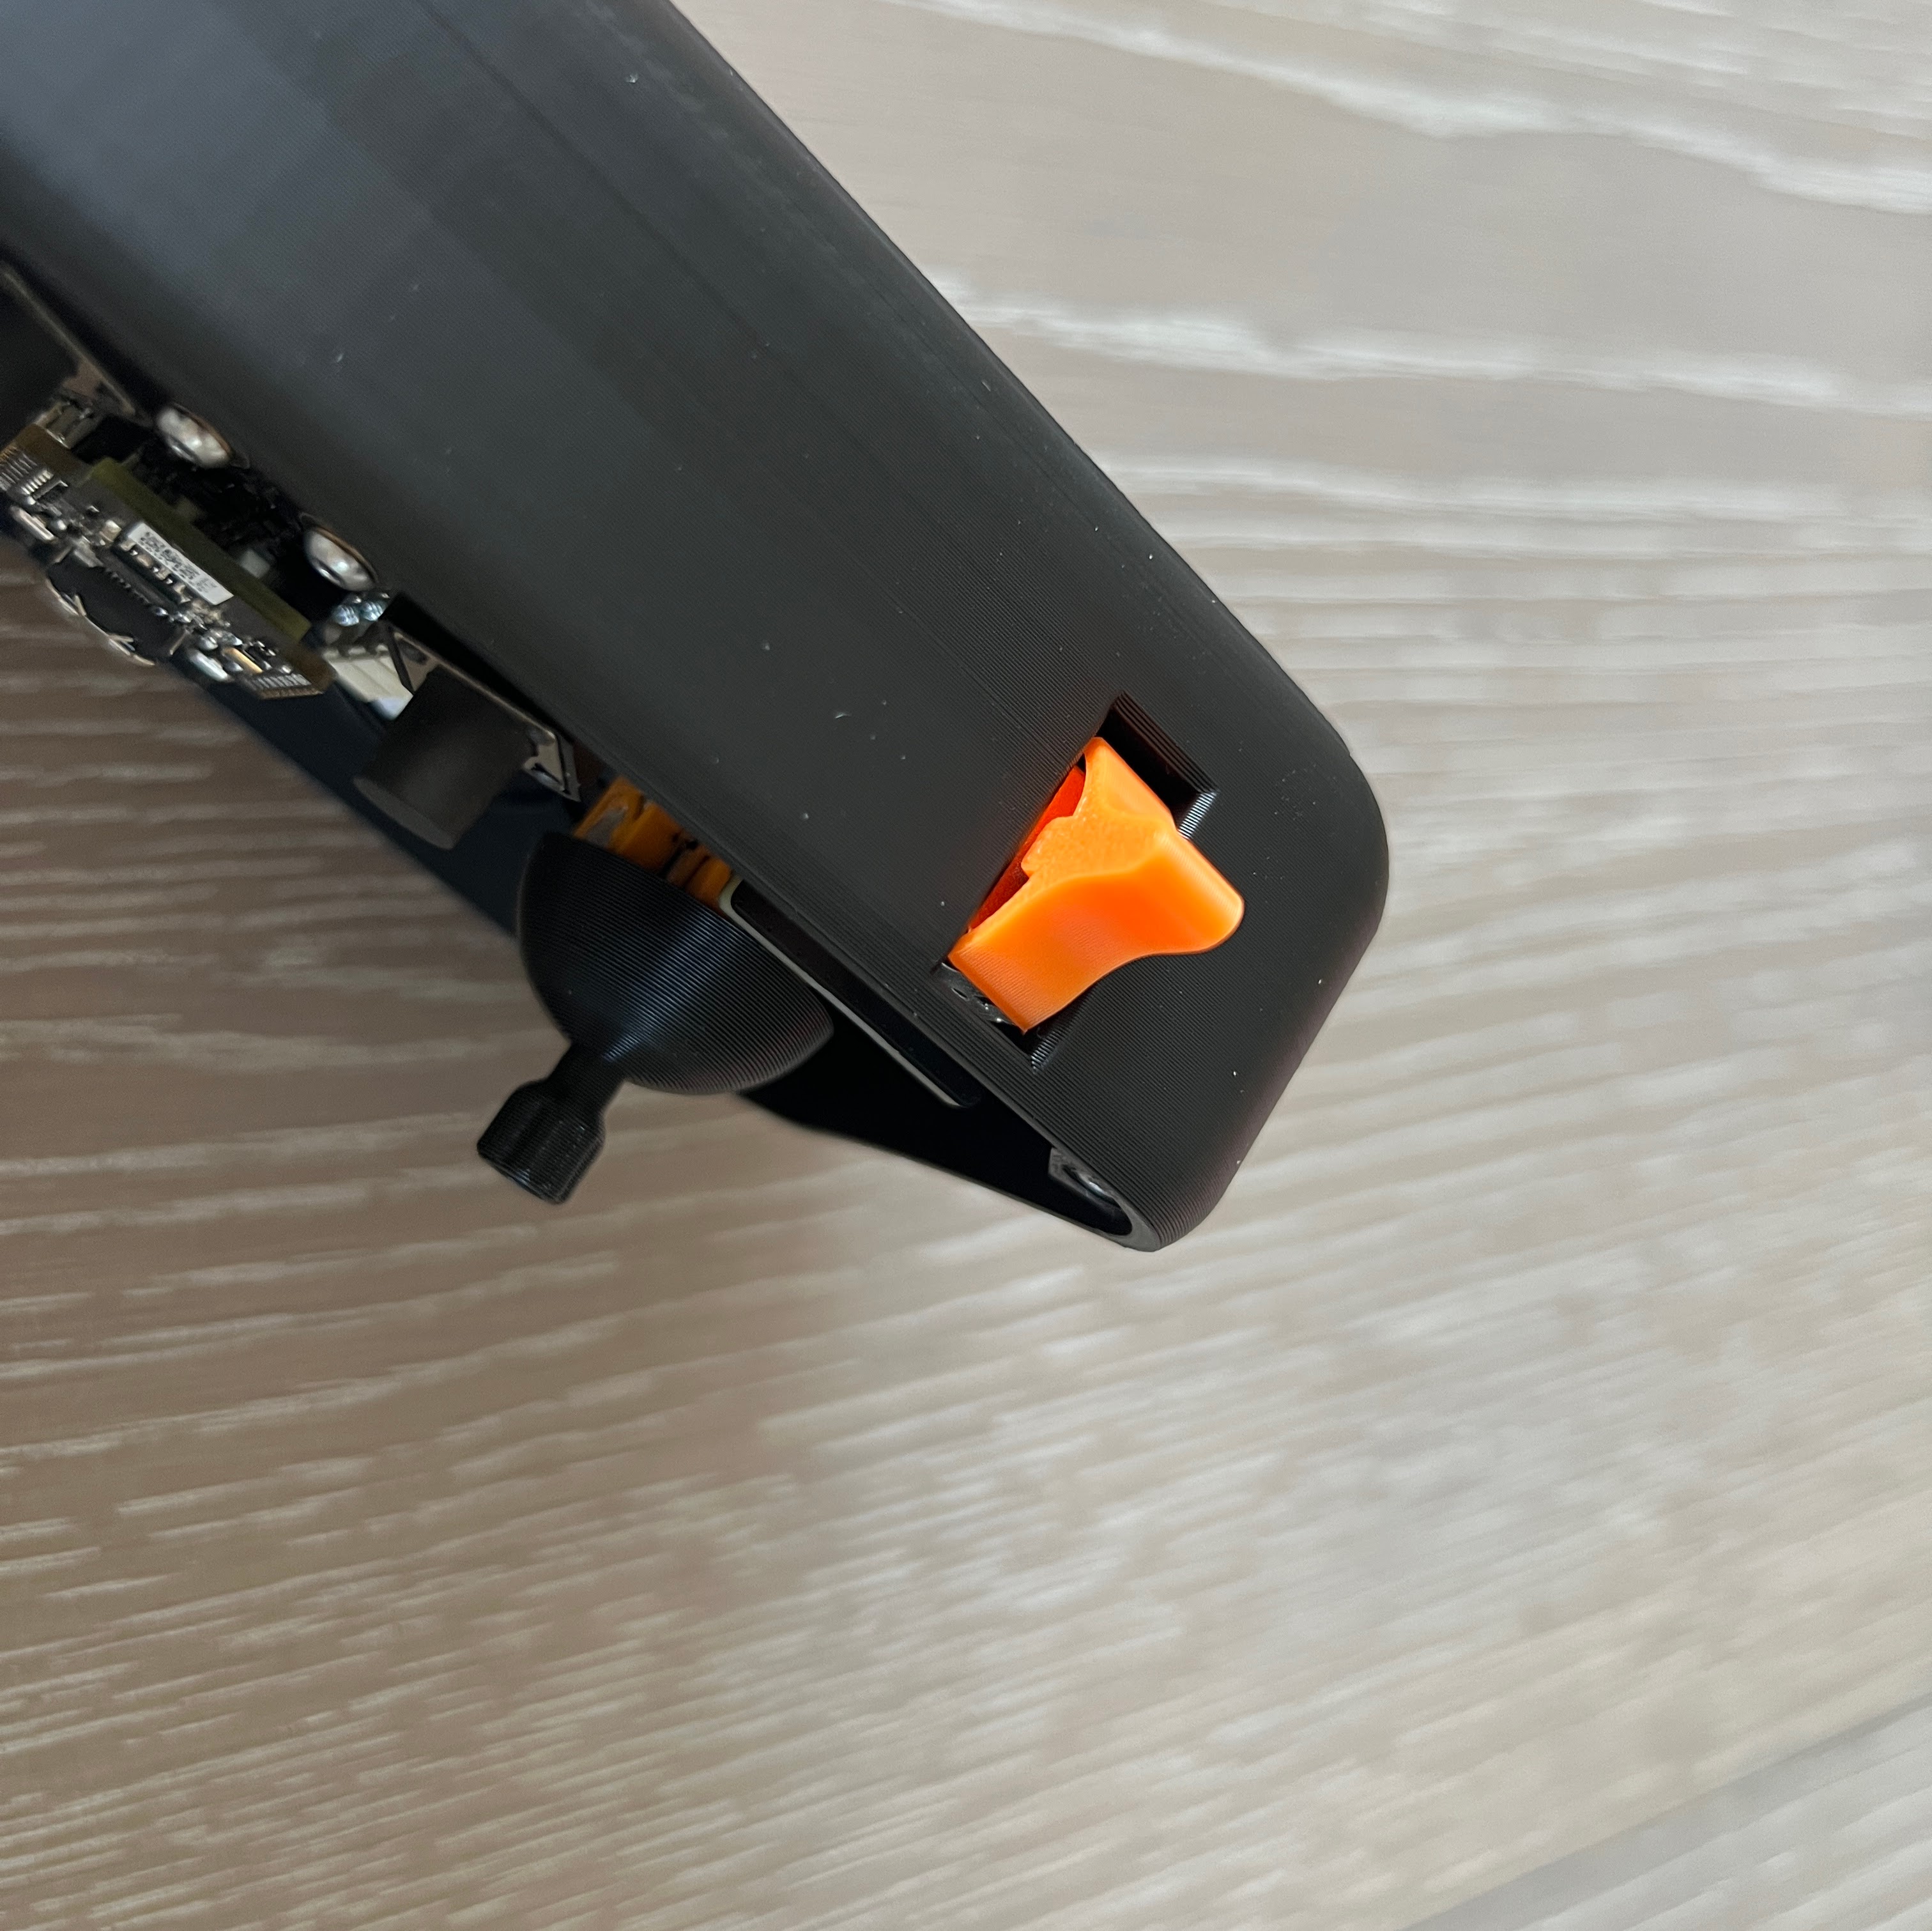
Using CA glue or similar, add magnets as indicated. Push them all the way down, they should be recessed.Using CA glue or similar, add magnets as indicated.Install screws in the four corners of the base controller.Install four screws in the batter cover.Fit the “mount” parts to the lever (top 2 images) and the switch (bottom 2 images) as indicated. Pay attention to part orientation and check it's correct before continuing.Prepare all components. This is the exact same as the offical cyberbrick controller, apart from the additional button plugged into the bottom right of the transmitter. The additional button is optional and there's an alternative controller lid you can print for a one button setup.Install the battery case, ensuring the wire favours the top side. When holding the controller, the wire should be poking out top left.Feed the wire through the cable management hole.Install the switch as indicated. Temporarily remove the cable from the transmitter and feed it through the same cable management hole as before.Install the lever as indicated. Temporarily remove the cable from the transmitter and feed it through the same cable management hole as shown.Install the left and right joysticks. Take care to route the switch cable and lever cable for easier cable managment.Install the receiver module, this needs two screws. Plug the battery cable in first!Install the button(s) as shown and tuck the all cables so they look similar to the photo.Fit the two joystick tops (no glue).Fit the lever top (no glue).Pop the lid on and you're done!