Você está no 3DFinder
Buscamos em Thingiverse, MakerWorld e Printables ao mesmo tempo para te dar o melhor de cada uma.
Descrição
PLEASE READ THROUGH THE ENTIRE DESCRIPTION BEFORE PRINTING FOR THE SMOOTHEST EXPERIENCE.
The Ring Toss Drinking Game is a fully 3D printed board game with an all-in-one design, making it completely portable. Slide the pegs and the stands underneath the base, and you’re cleared for easy travel. Bring this with you to any party, and you’ll go from zero to hero!
Please remember to drink responsibly!
Rules
Start with the youngest. Each person gets 3 chances to throw. There are 10 pegs for different outcomes:
- 2 safes - Nothing happens
- 2 2x's - Take a shot and throw again or just throw again
- 2 H20's - Take a shot of water
- 2 shots - Take a shot
- 1 pick - Pick someone to take a shot
- 1 all - Everyone drinks a shot
Be the last one still daring to play or standing to win.
Printing Notes
In the pictures above, my base will look slightly different from yours. This is because I printed the base, identified any issues, and then updated the Fusion model. I have made some updates in the file and will still work as expected. Just press print and let your printer do the work.
- Adhesion -
- Each time you print one of the game's components, please set your build plate's and nozzle temperature up 5 degrees. This will ensure that the print will not warp, sticks to the build plate, and stays smooth.
- This print should be compatible with all the different build plates, but I recommend to print the pegs and peg heads with the factory Textured PEI plate for the best adhesion. The Coolplate Supertack works and looks very well on the base.
- Removing Supports -
Remember to wear safety goggles! To easily remove the supports in the base, locate a weak spot in the supports. It's a dark little circle or area that is the first support layer and has no actual support branches.
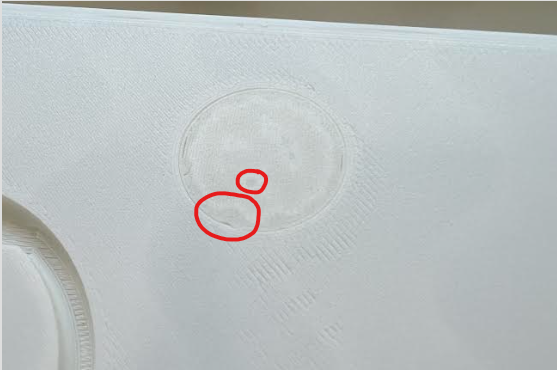
Then stab a screwdriver or some pliers into a weak spot.
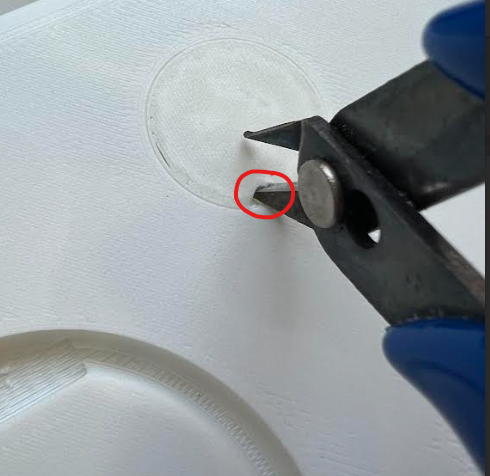
Lever your tool up while gently pushing forward, and the bunch of supports should snap off in one piece.
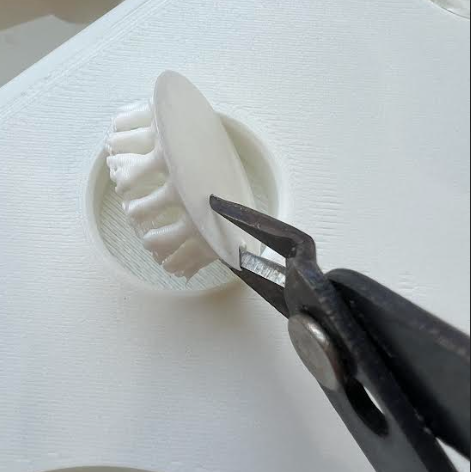
- To remove supports in the ring slots, there is a head-like shape at the top of each slot. Find the weak spot, stab, and remove.
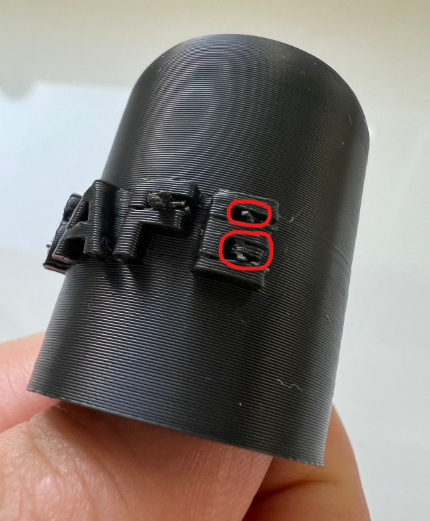
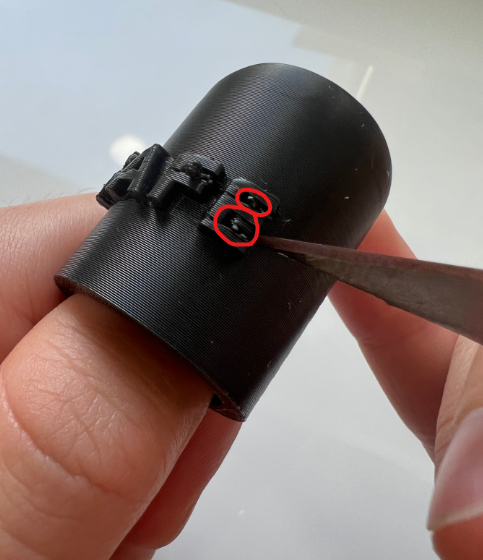
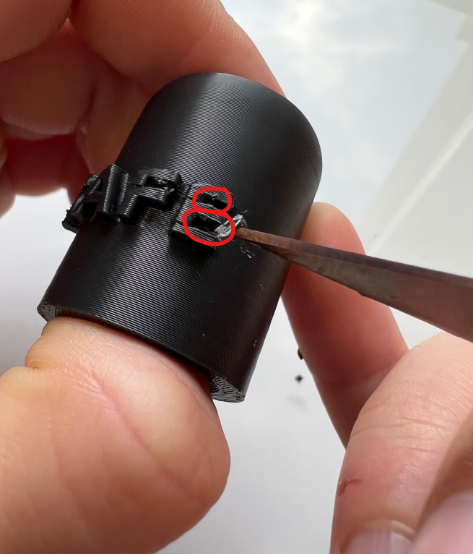
To remove supports in the heads, use pliers or your hands to break and snap off the supports. Gently sand or file down the words if needed.
To make things smoother when inserting the pegs into the base, lightly trim the top of the peg where the end of the head will make contact. Please refer to the picture for an example:
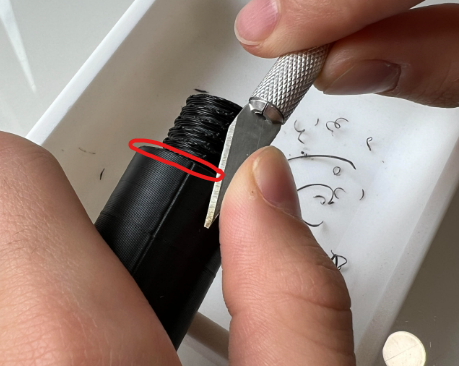
Some of the supports on the heads might still stick between the curves, so grab an X - ACTO knife and gently pry at the pieces of supports. Within a few tries, it should pop out.
- Threads -
- I have designed the threads so that when you screw them on, you do not need to be gentle. Twist it on as hard as you need for a more stable connection.
- Printing The Base -
- Once the printer reaches layer number 77, some of the bridging may fail and fall. Just trust the process and do not worry, as the finalizing shells will cover up the fallen bridges.
- Ring Holder In The Base -
- The slot for the ring may be a little tight after you print it. If it is, grab a file and carefully remove some of the edges. It’s ok if it’s still a bit tight; consistent removing and placing the ring will wear down the slot over time, making it smoother.
- Stands -
- To add some grip on the stands, squeeze a little bit of hot glue in the small hole underneath the stands. Rubber feet work as well. If you don’t have any of these, try using some double sided tape.
- Customization -
- If you don’t like the preset head combination, feel free to delete any heads and copy however many others to make your own combination of heads. Make sure that there are only 10 heads.
- Note -
I took quite a long time on designing this, but I am not a professional and am just using the knowledge I have about Fusion 360 and 3d printing. If there are any problems or helpful tips you could give, please comment them down below and I will read all of them. Have a great day!