Você está no 3DFinder
Buscamos em Thingiverse, MakerWorld e Printables ao mesmo tempo para te dar o melhor de cada uma.
Descrição
Overview
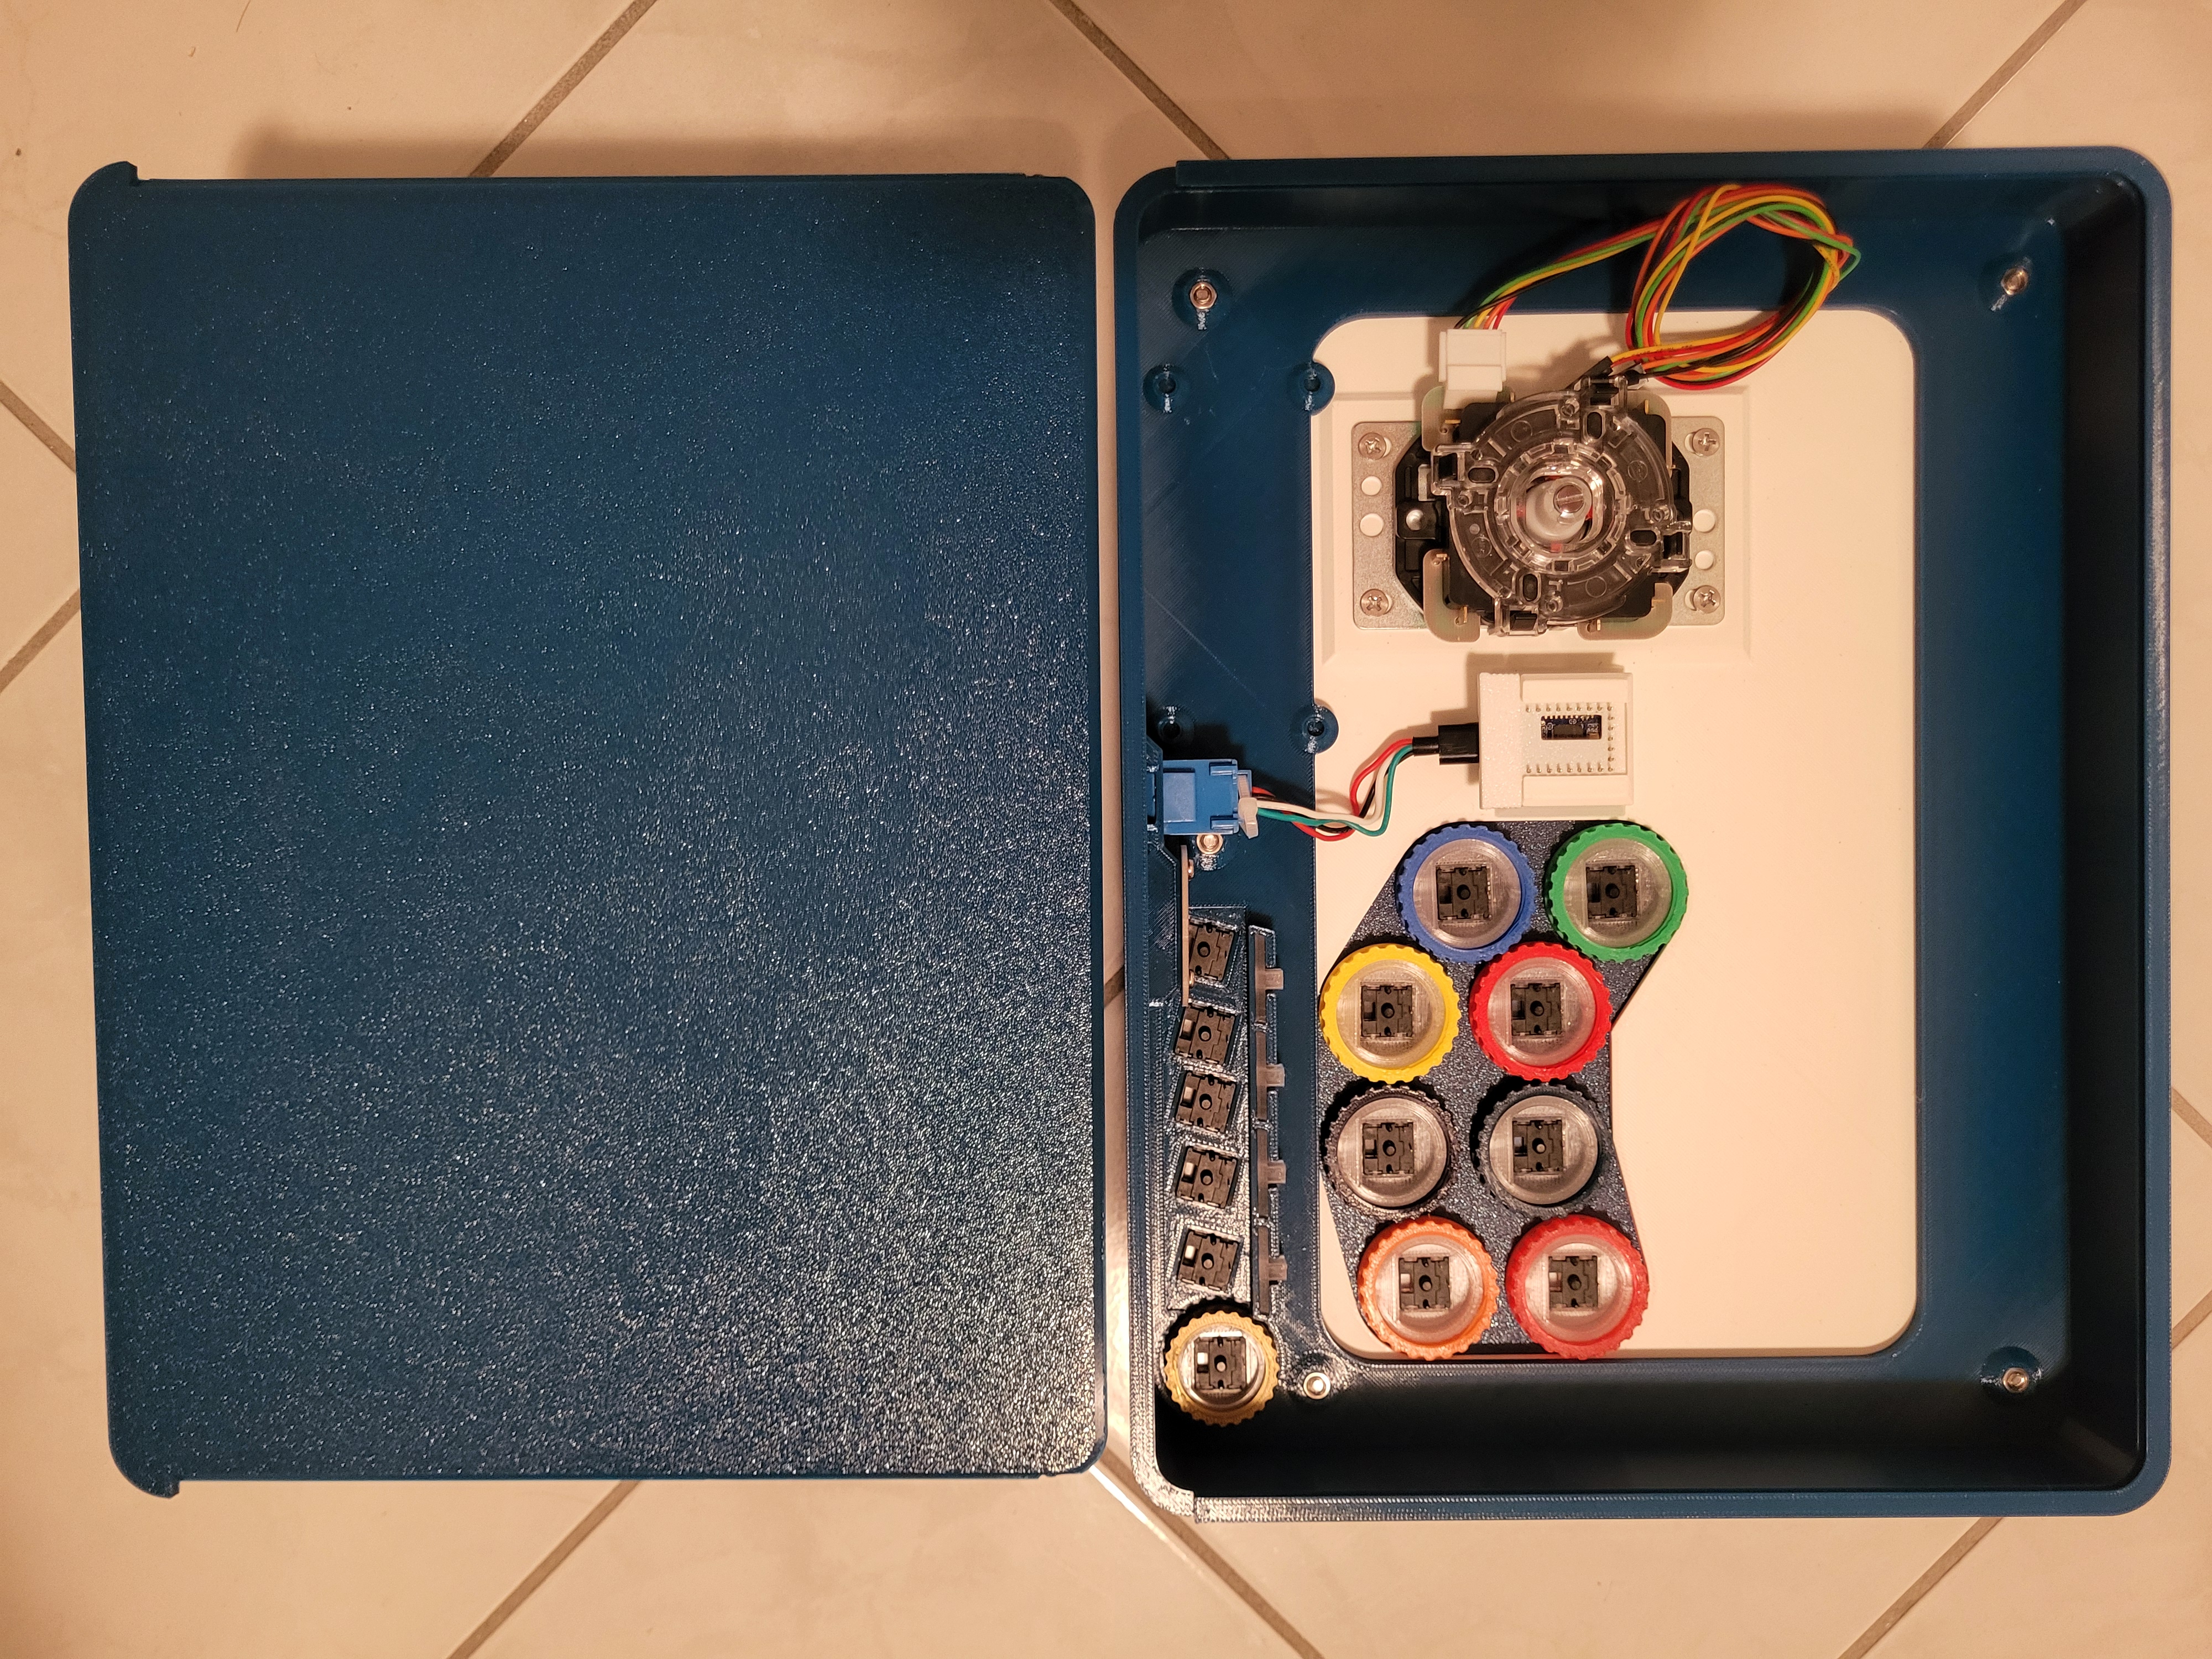
This customizable arcade stick, measuring approximately 320*245mm, was designed to be printed with an H2D or other mid-size/medium-format 3D printer. Between the included files and extras options in the Fusion 360 source files, there are a number of ways to customize this print to make it your own. While you'll see that I've opted for a Sega P2 layout, USB host port, RJ-45 connector, and RP2040 development board, the uploaded files are set up with mounting points for a standard arcade stick PCB (Brook, GP2040-CE, etc.) and mounting holes for a Neutrik connector.
Design
The top of the stick comes in two parts and can also easily be swapped out, making it easy to swap between a traditional and leverless form factor, or just try out another button layout. This two part design also makes it easy to use a piece of acrylic/polycarbonate as the top panel (allowing you to show off custom artwork) that the main buttons are mounted to, while a printed panel provides support and a place to mount the joystick (DFX files to laser cut a top panel can be found under the “Download STL/CAD Files” drop down menu).
Access to the inside is also tool-less, as the back panel is of a dovetail design, and held in place using detents. This keeps the back secure, but still allows it to be removed with sufficient force.
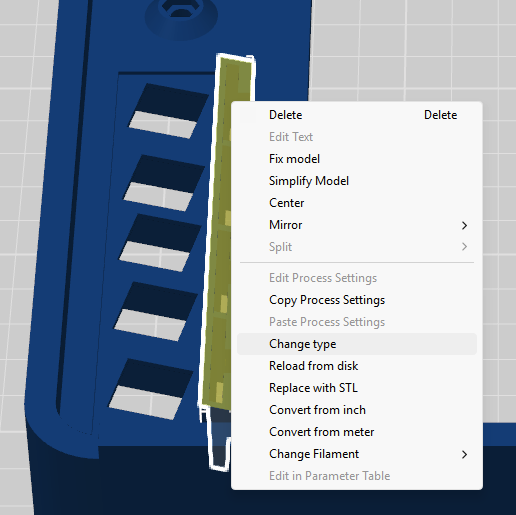
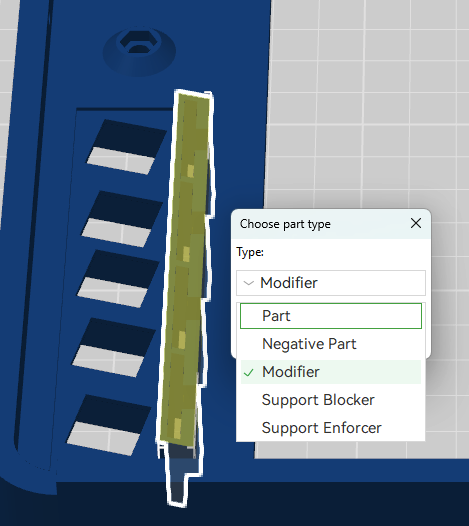
Cutouts and printed “light pipes” for player LED indicators are also included, though the “LED modifier” part can be changed from a “modifier” to a “part” if you'd prefer not to have them.
The optional configurations I mentioned in the overview can be found in the Fusion 360 file, included under the “Download STL/CAD Files” drop down menu. Customization options include a cutout for an RJ-45 (ethernet) jack, USB Host, and alternate boards/board mounting positions. Simply suppress the features you don't need, and un-suppress the ones that you do (or make your own design changes).
While this print can be printed from PLA, PETG is recommended as it's easy to print while being more robust. If you're using PLA support, it's also recommended to turn off the H2D's exhaust fan, as maintaining a higher chamber temperature can reduce the chances of warping. As the bottom surface area of the main body is not very large, this along with some sort of glue/adhesive can be very beneficial.
Aside from the main body and bottom panel, the parts in the provided print profile are the 5 buttons for home, L3, R3, Select, and touchpad (PlayStation)/caption (switch), light pipes, as well as top and printed panels for a Sega P2 layout and Hitbox layout (leverless).
Assembly
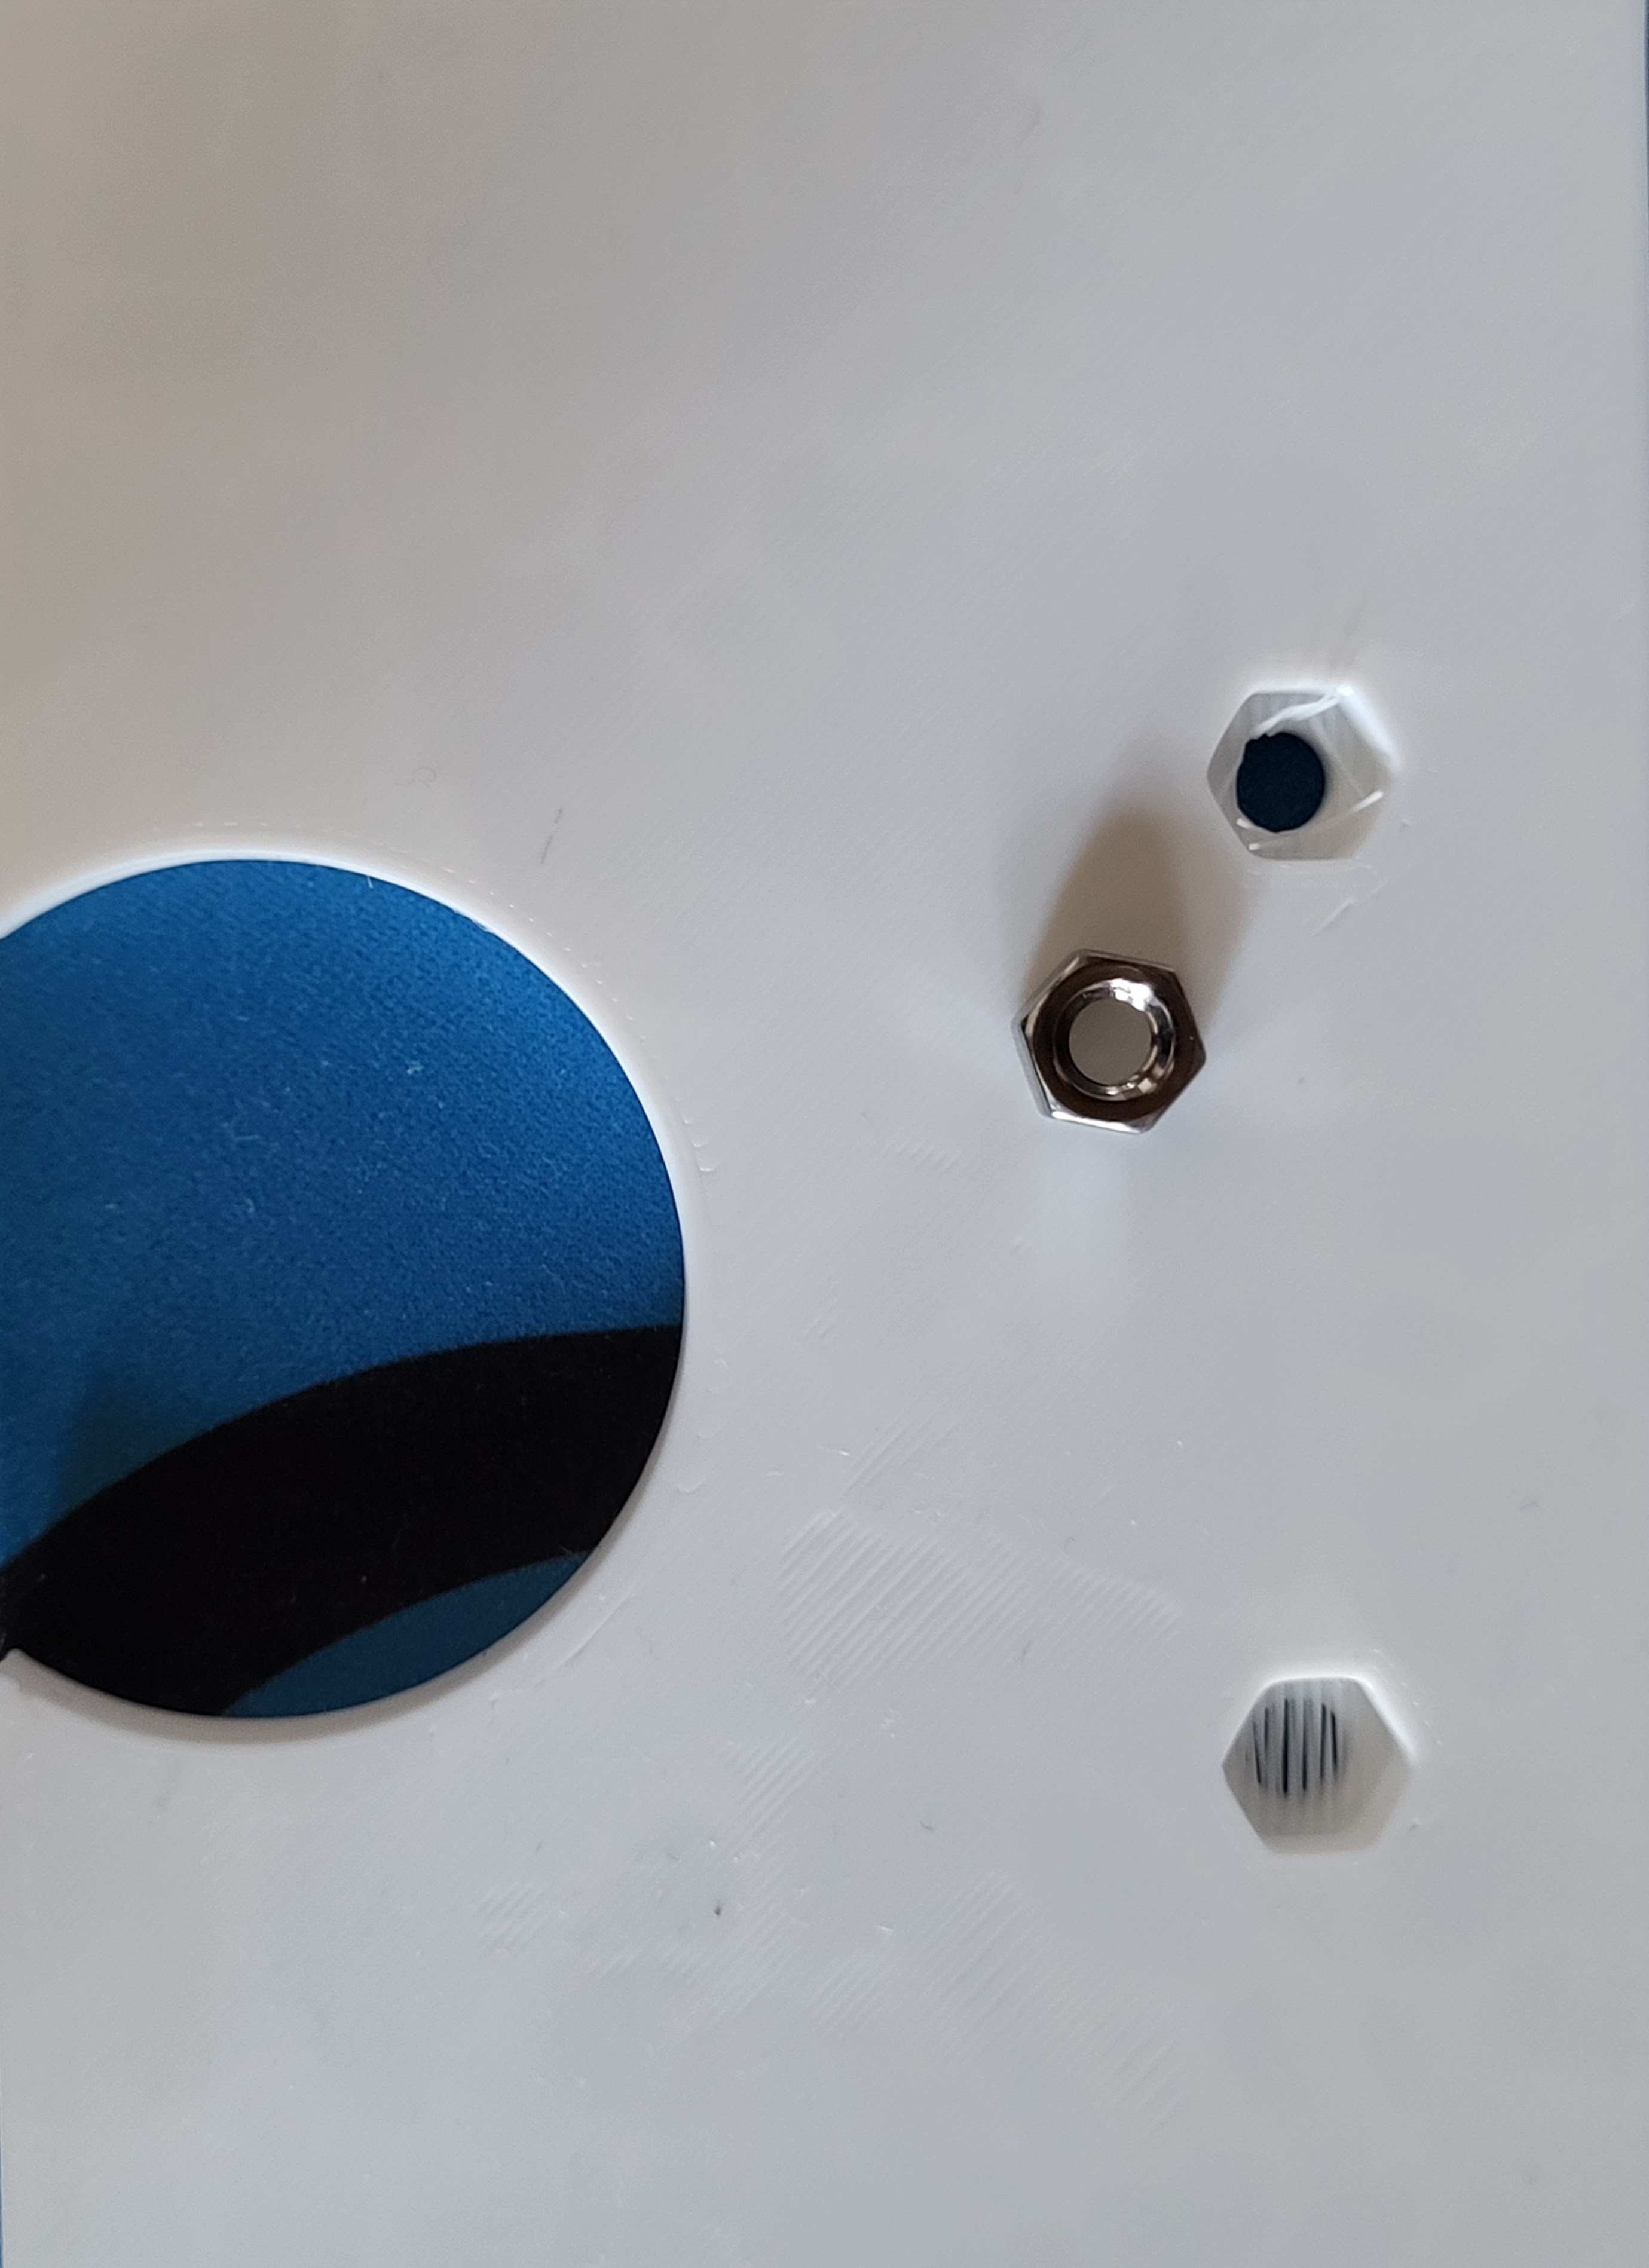
Assembly is fairly straight forward. You'll first want to insert five M4 nuts into the main body. Then, if you're not using the leverless design, remove the sacrificial layer from the printed panel before inserting four M4 nuts.
Next, use a soldering iron or similar to insert the M3 threaded inserts so that you can mount the PCB. Once finished, you can secure the printed and top panels to the main body using the M4 x 14mm screws.
Inserting the printed light pipes into the main body can sometimes be difficult due to the tight fit. You should be able to start inserting them by hand, though if you have trouble inserting them all of the way, I've found a small mallet will get the job done. 1.8mm LEDs can then be inserted into the light pipes. While fit here is also tight, you shouldn't need nearly as much force, though a flat head screwdriver may be useful in making sure that the LED has been inserted all the way down.
Once that's complete, mount your PCB using M3 screws, and your joystick using M4 x 8mm screws, to the printed panel. The Neutrik connector can be mounted to the back of the main body, and a 24mm arcade button to the top right. Next to the 24mm button, Kailh choc keyboard switches can inserted into their cutouts (oriented so that the LED cutout is closest to the back of the main body), and the printed “key caps” can be inserted into the switches. The eight 30mm arcade buttons can then be mounted to the top panel. Once everything is wired up, just slide the back panel in place (wiring is left as an exercise for the reader).
A full BOM is included below, though if you need some arcade buttons but have some more keyswitches laying around, you might want to check out my 30mm arcade buttons and 24mm arcade buttons.
