Você está no 3DFinder
Buscamos em Thingiverse, MakerWorld e Printables ao mesmo tempo para te dar o melhor de cada uma.
Descrição
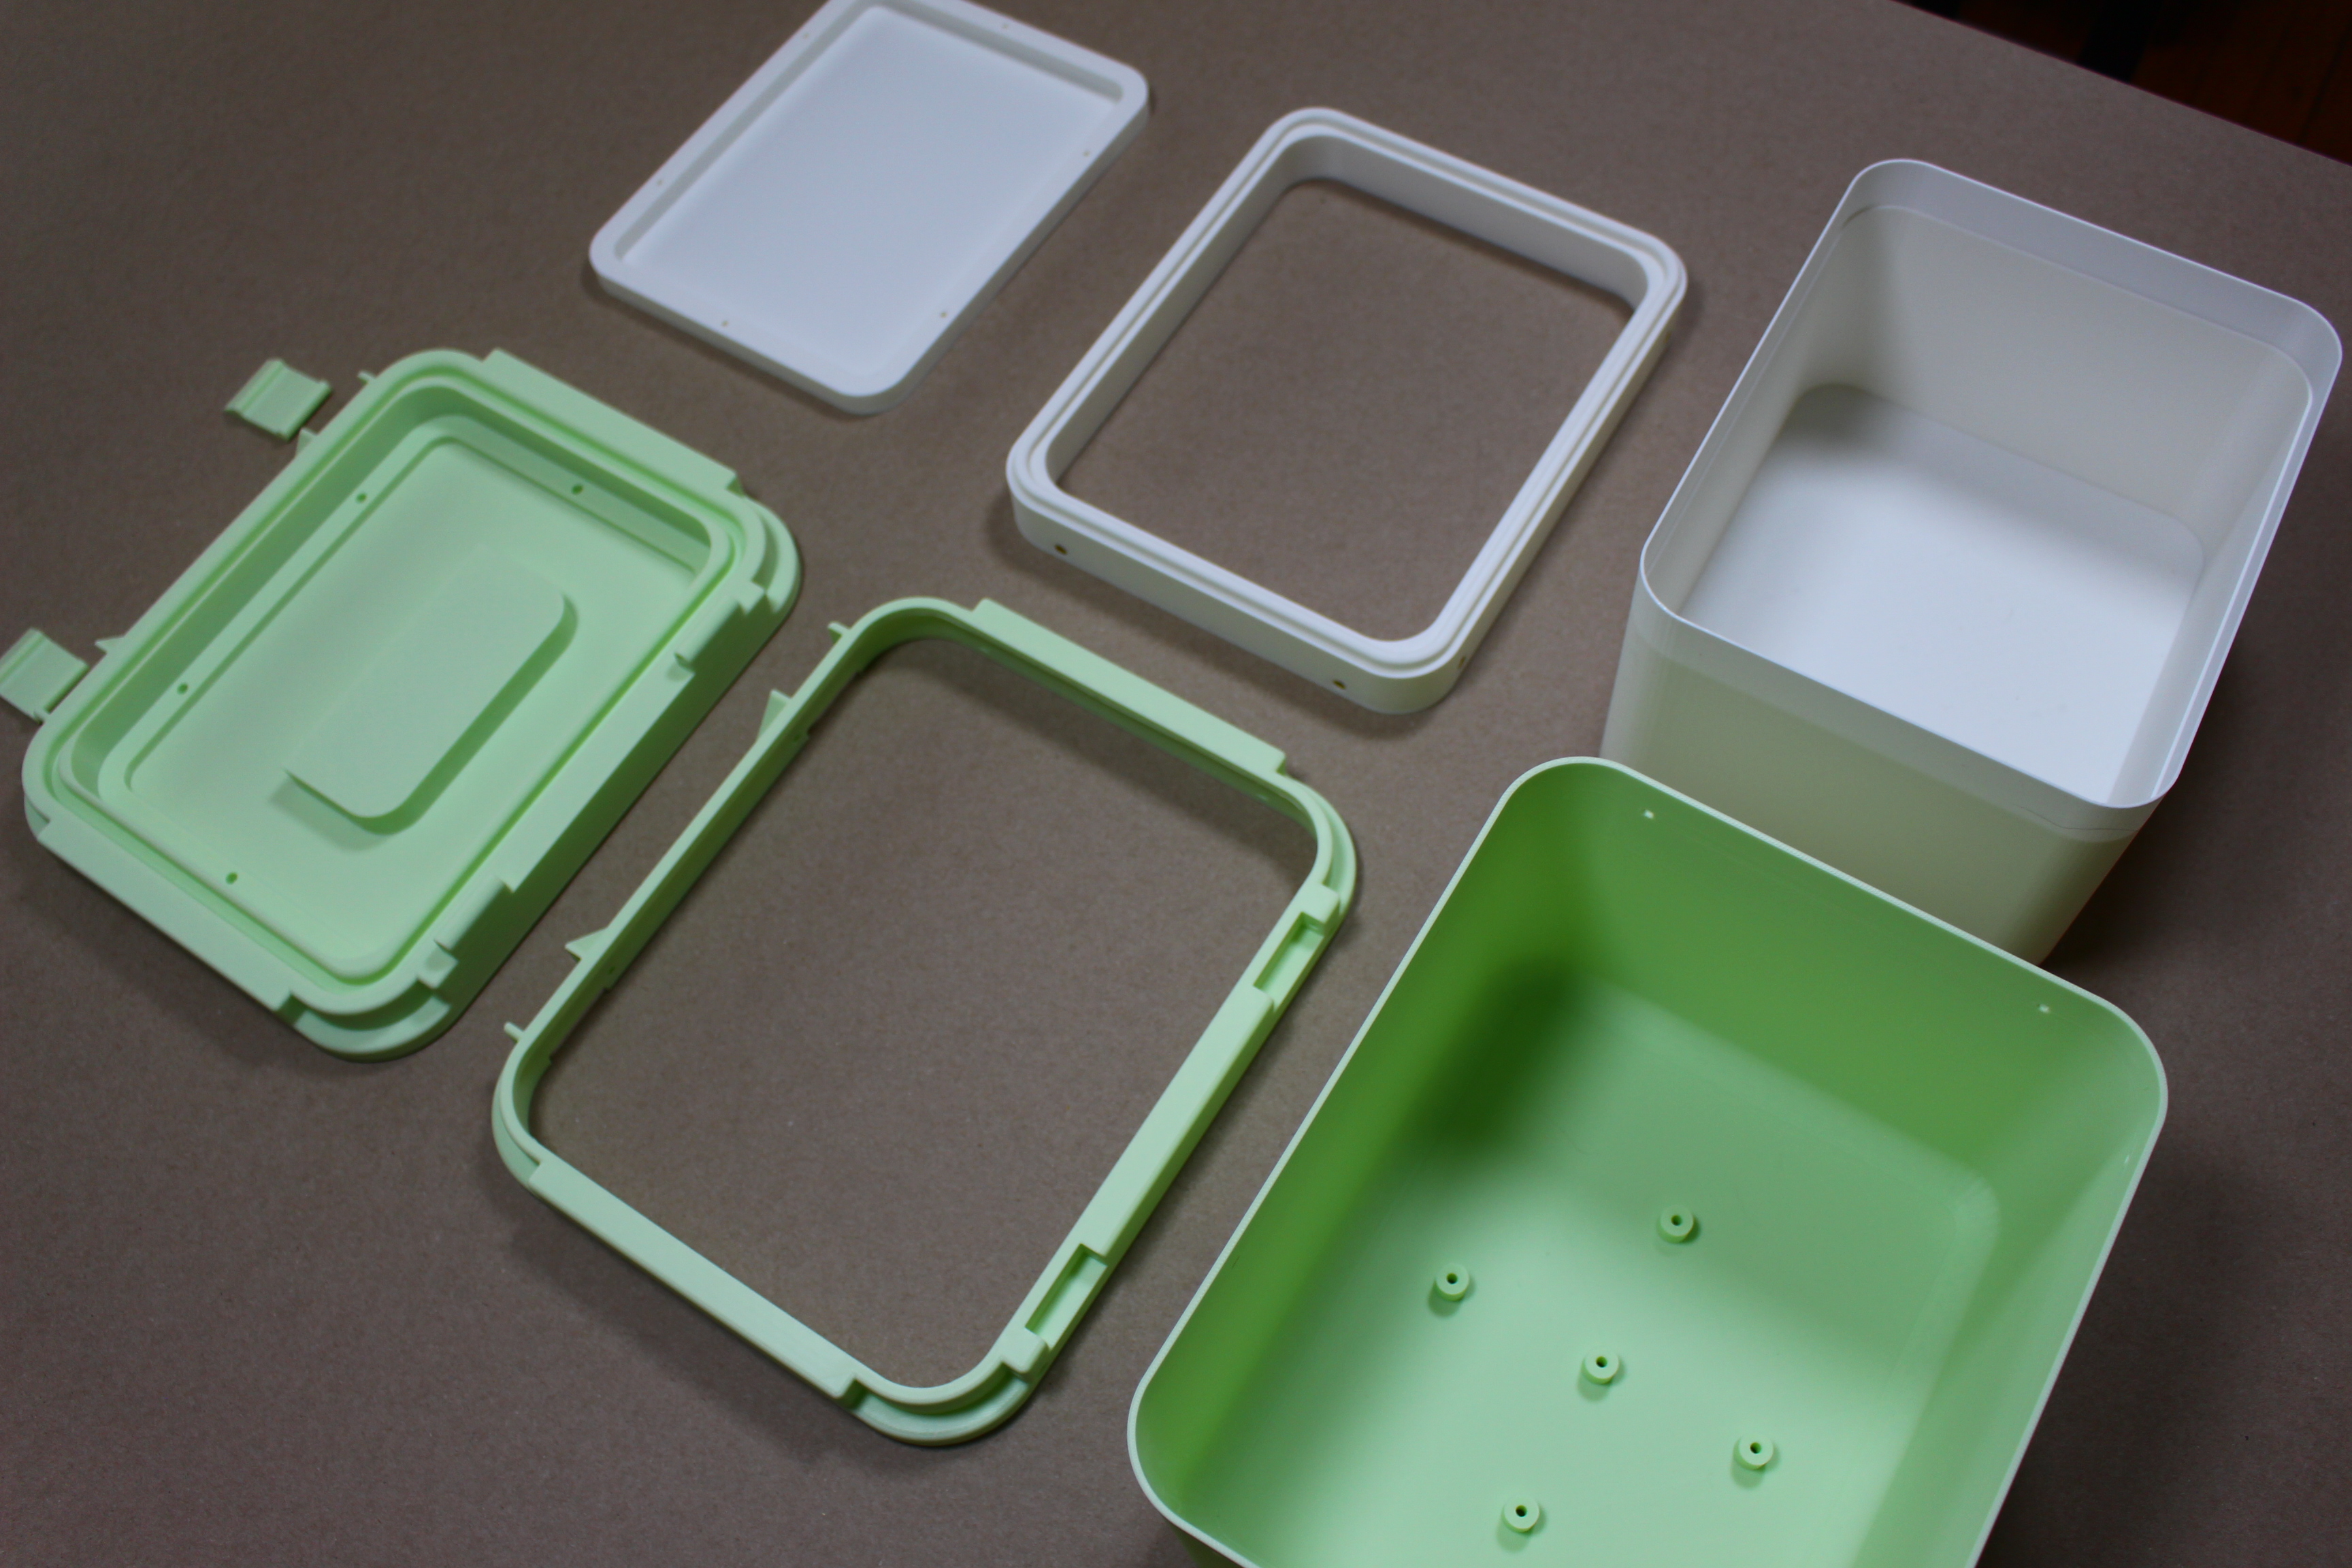
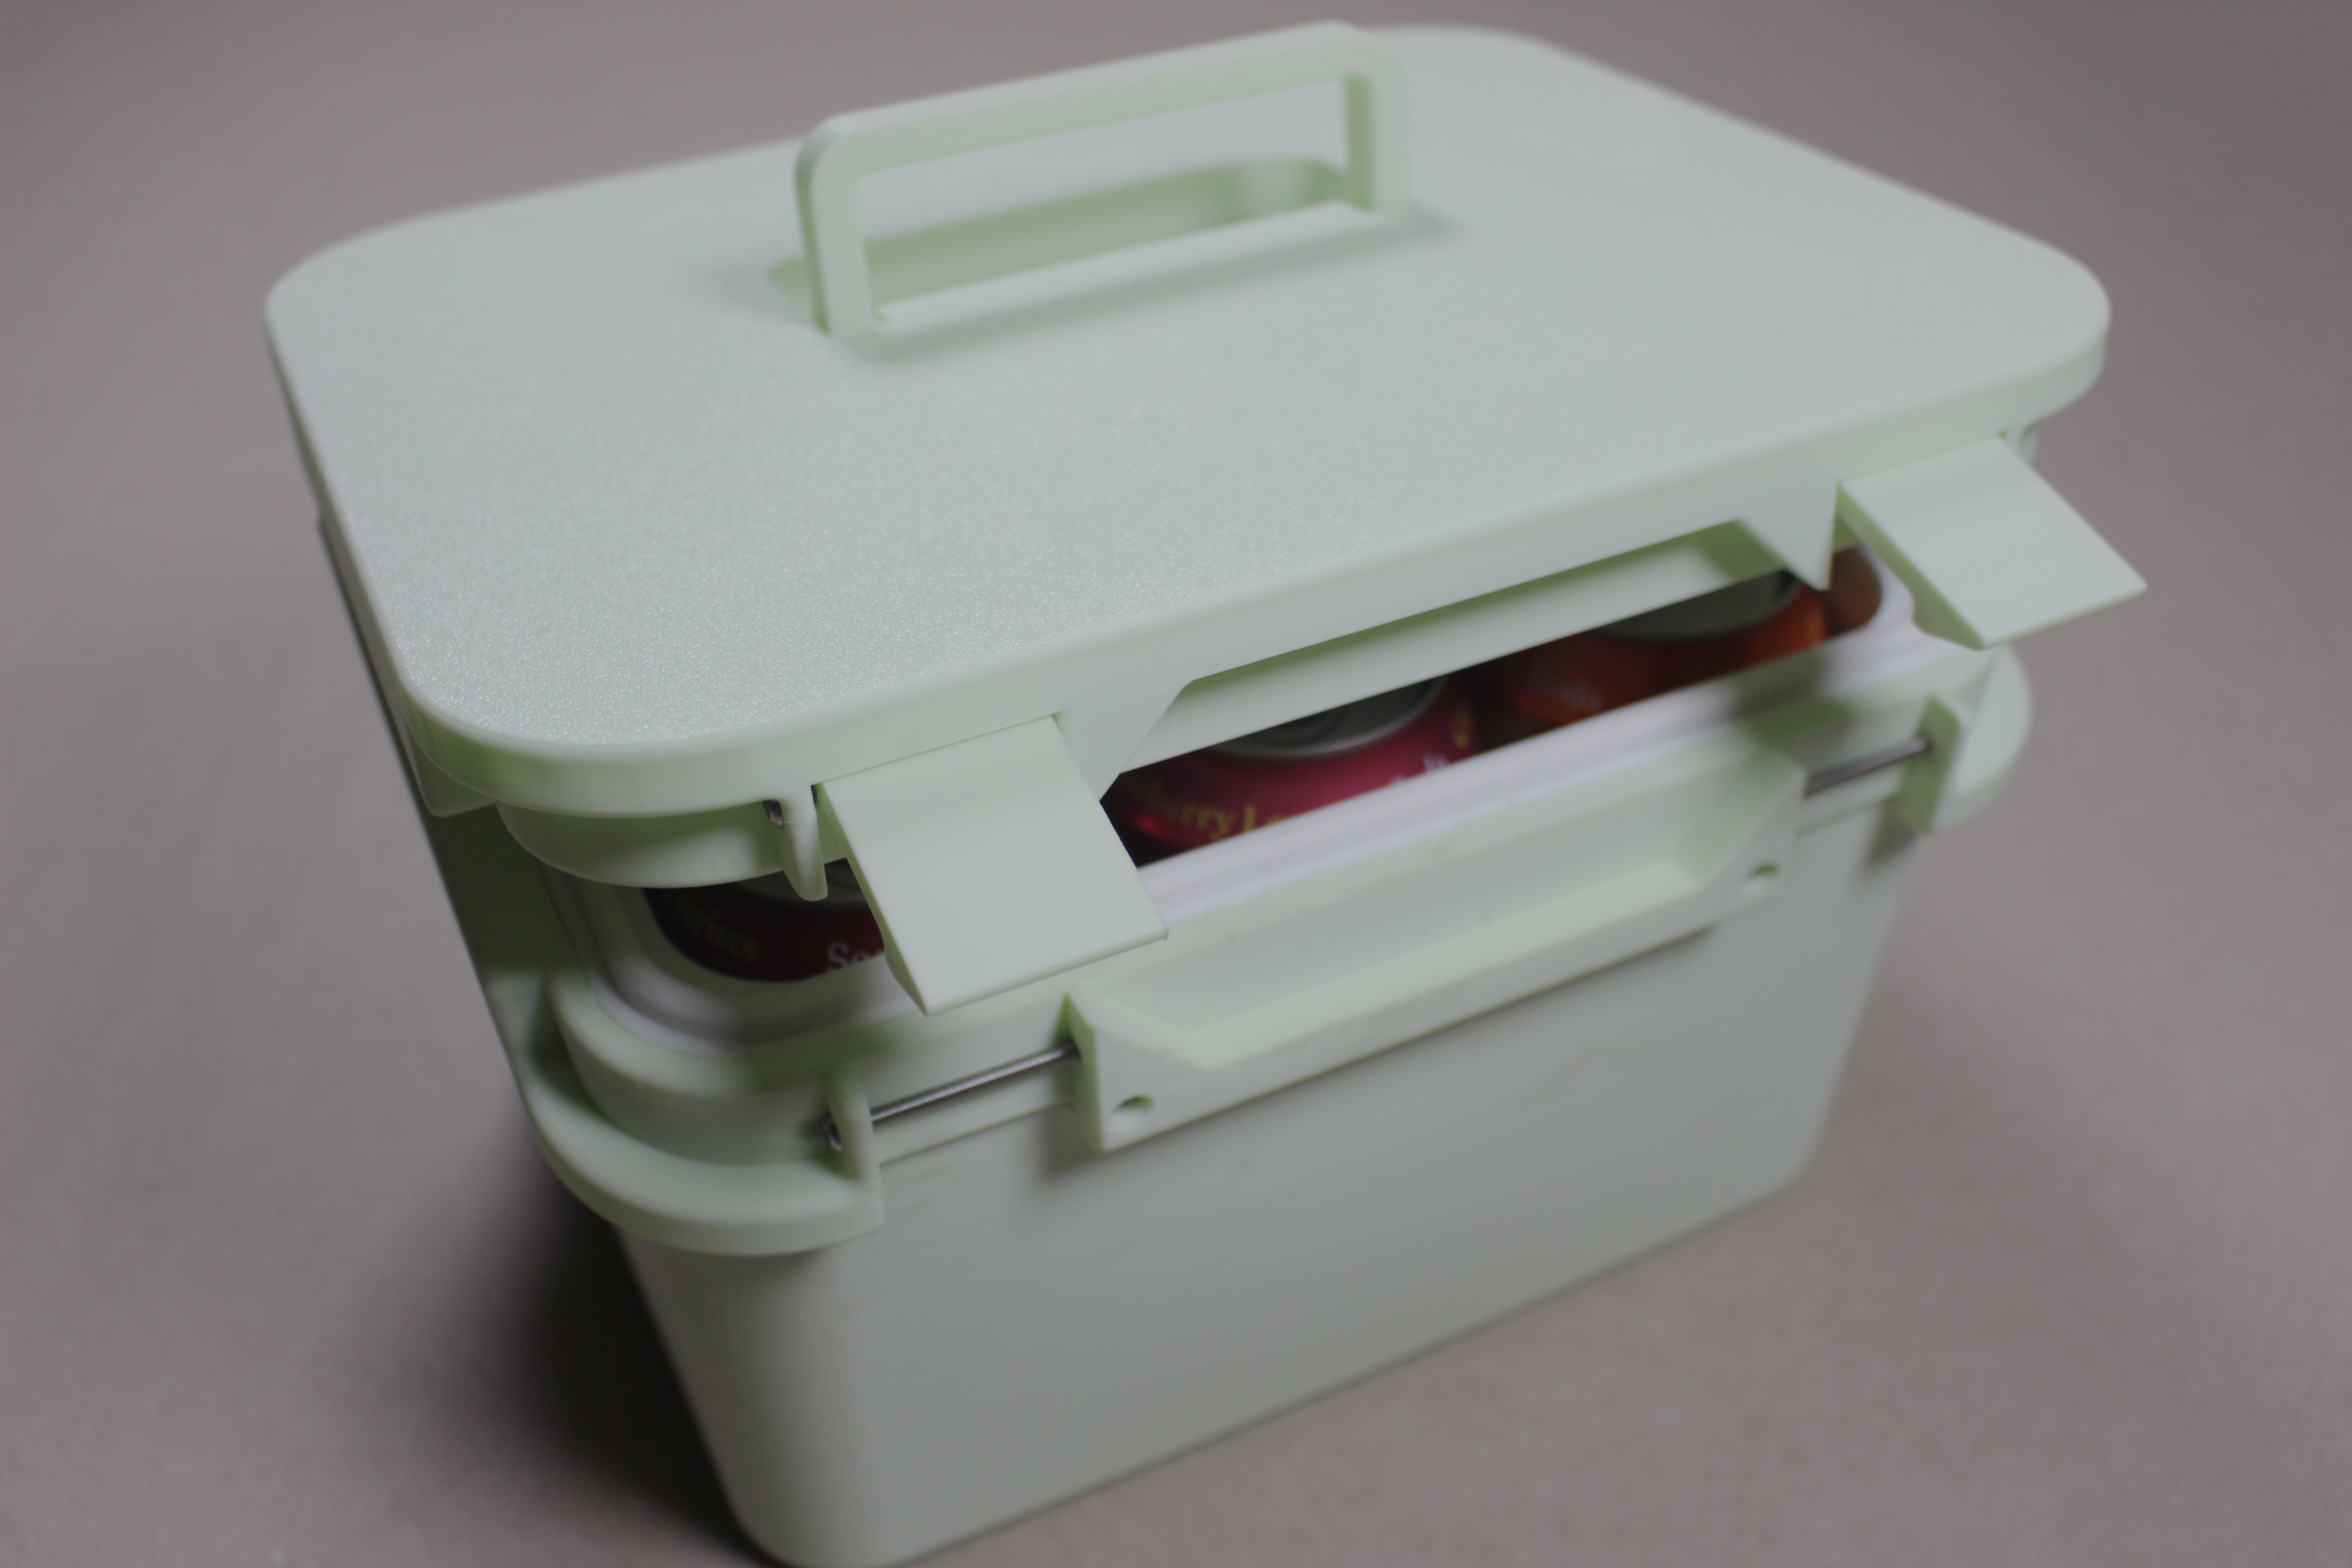
THIS,.. is the Kooler! This is not your every day 3D printed cooler as it has been designed in 7 different pieces that fit together leaving space for foam insulation. The models shown above contain approximately ½" of poly urethane foam on all walls and top/ bottom of the lid. This model is not for the faint of heart! It is several large prints and a rather tricky insulating proccess. Below, I will share examples of some of my insulation prototyping as it took me a handful of trys to get it just right. I understand not everyone is intrested in taking on such a big project but I put in alot of hard work and PLA so if you appriciate my write up below please throw me a like!
Im new to Maker World and this is my first uplaod, if you see I'm missing something please DM me and ill do my best to get it sorted out!
These are very large prints, PLEASE!! be sure to clean your bed and calibrate your printer to ensure that everything goes smoothly.
What you'll need:
19 - M3 x 10
19 - M3 Heat Inserts
4 - M3 x 35
2 - M3 x 40
1 - Sika big gap fill spray foam
OPTIONAL but recomended - painters tape, utility knife and super glue
Start by printing out all all 7 parts and removing all supports. The handle is print in place - so don't feel like your missing something, I promise it's there.
Outer shell, Inner shell, Outer rim, Inner rim, Lid, Lid insert and 2 latches
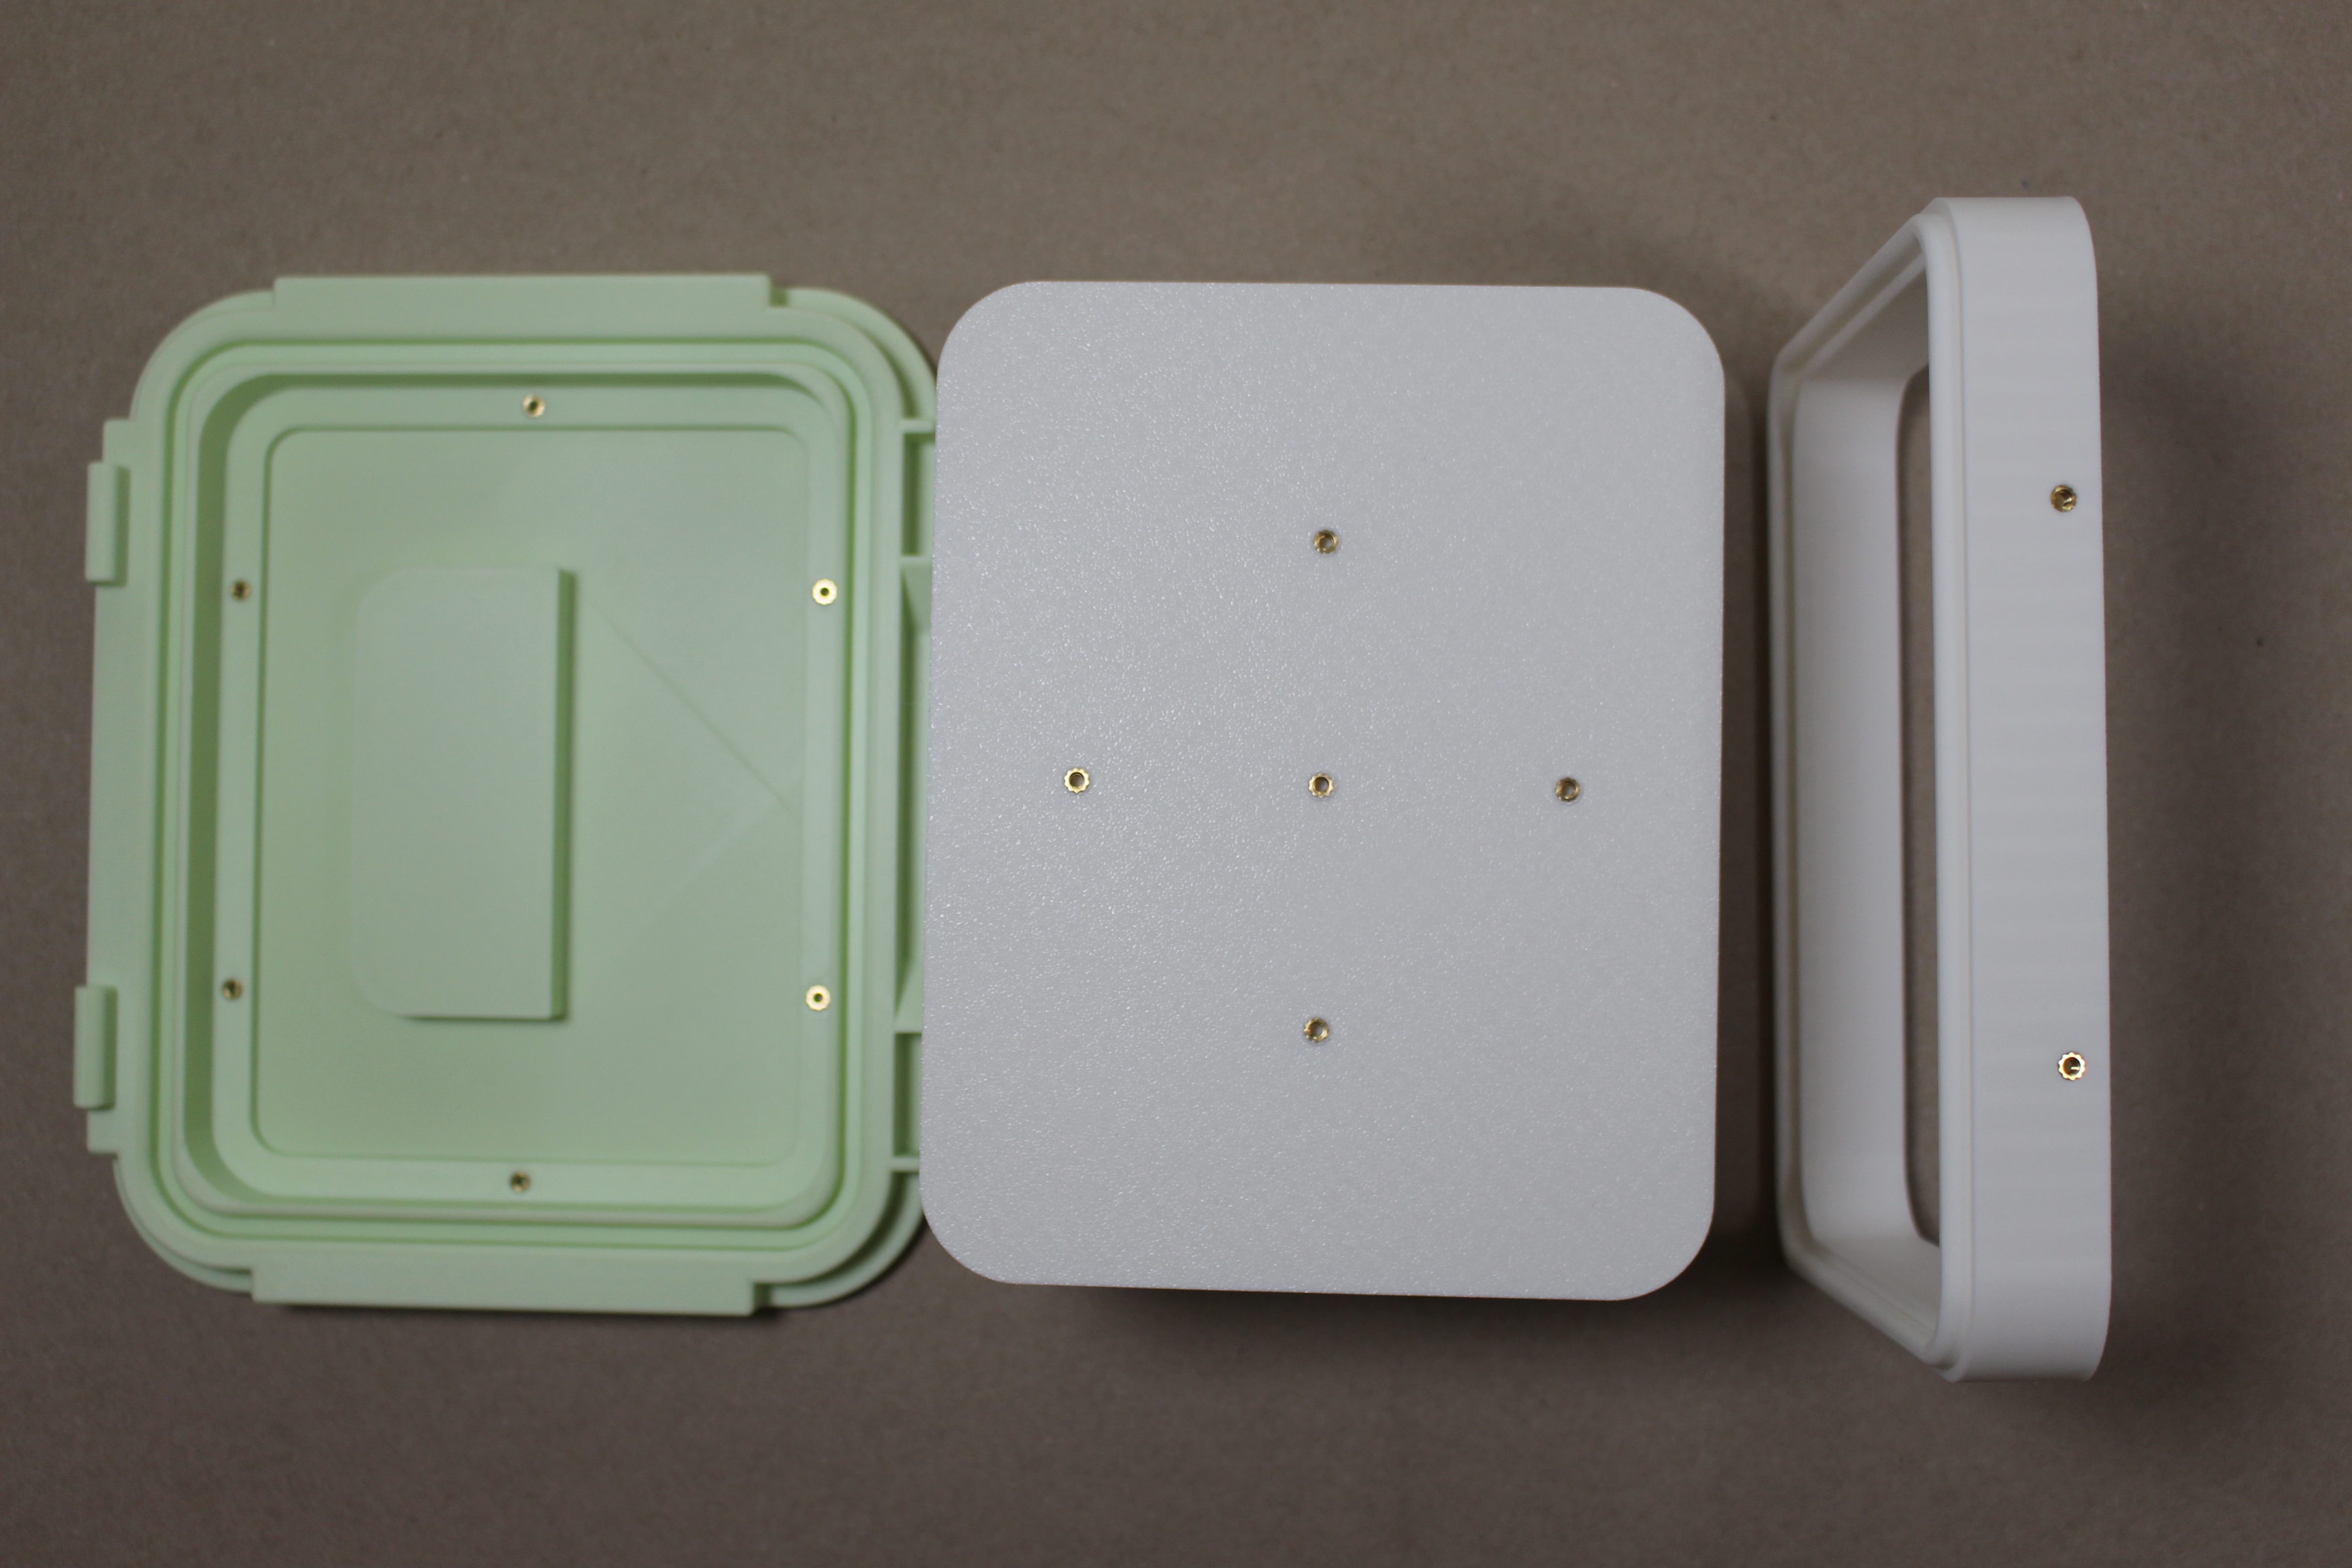
Once you have all your parts you will need to locate the Inner shell, Inner rim and Lid. These are all the parts that require the M3 heated inserts.
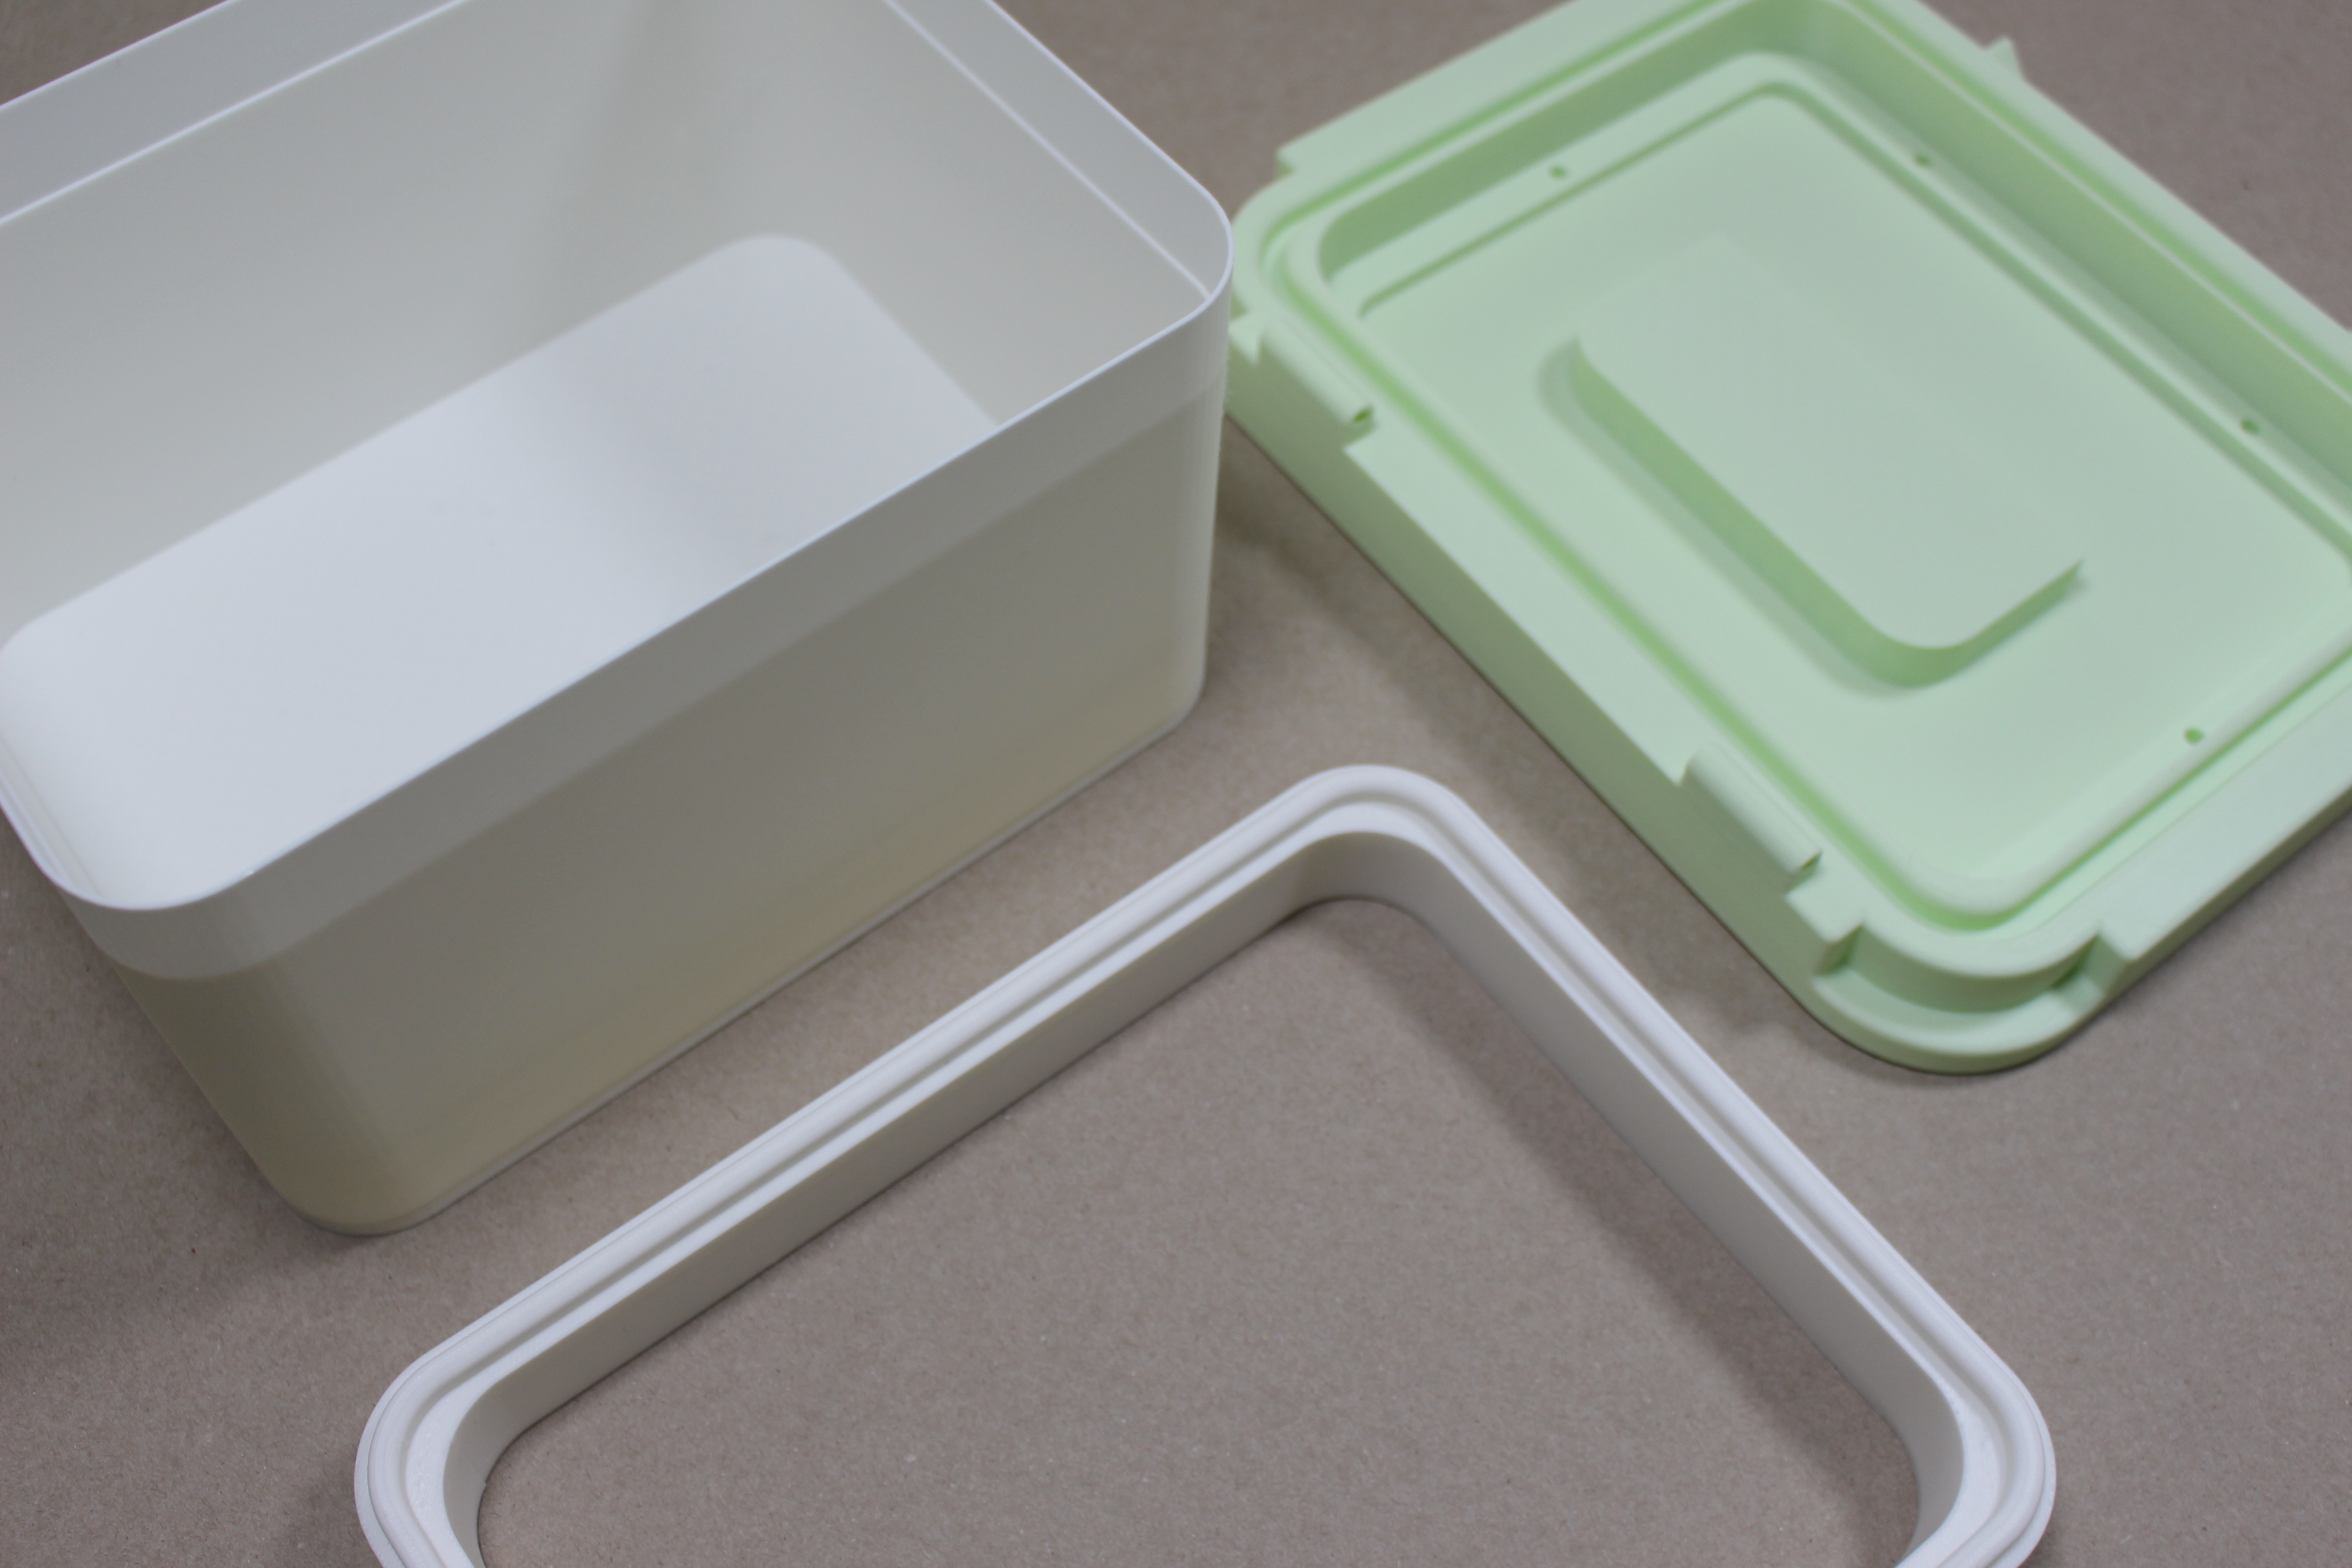
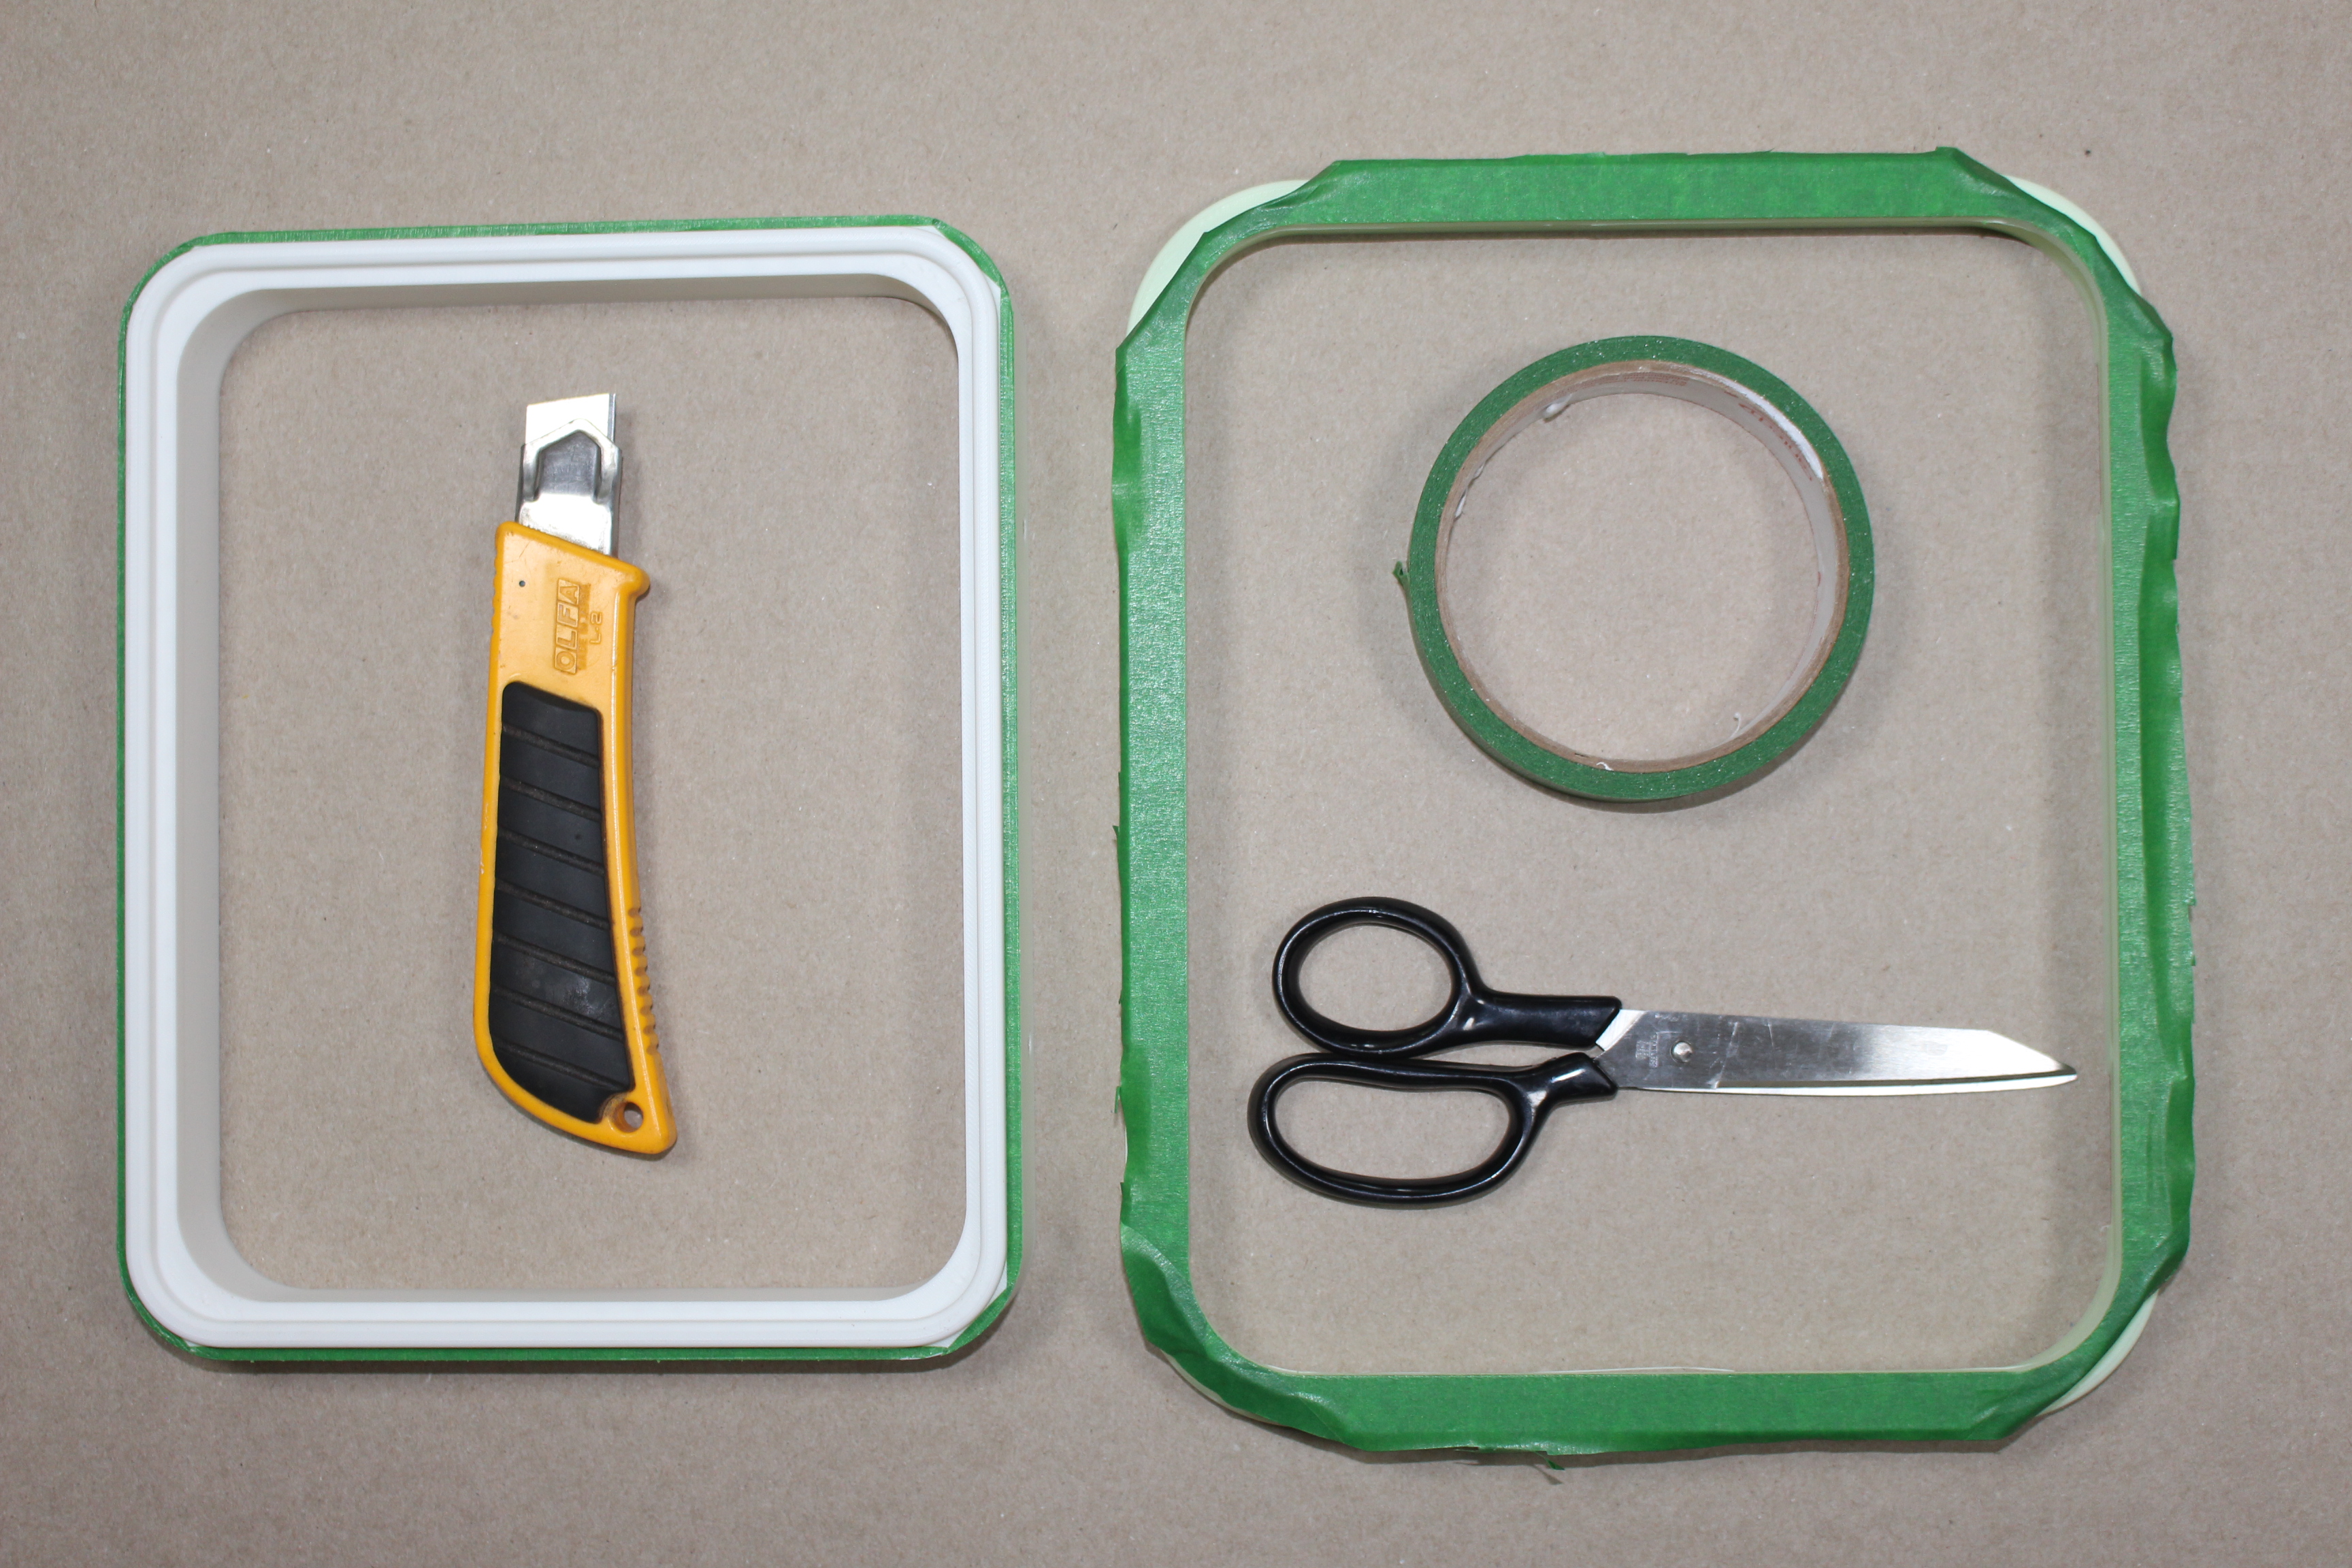
This next step is optional but I highly recommend it if you want a clean finished product. When assembling the Kooler later on it will be much easier if the Inner rim and Outer rim are glued. This is not structural in any way however lining up the holes on both rims and the outer shell can be a bit tricky especially when there is foam rising inside the cooler.
Place the Inner rim inside the outer rim and tape the top seam with painter tape. Then using a utility knife cut down the seam and seperate the rims. Place a small bead of super glue just inside the Outer rim then on a flat surface put the Outer rim down over the Inner rim. Push both rims down against the flat surface firmly to enssure they are lined up correctly then remove the tape.
IMPORTANT NOTE!!! there is a front/ back to the rims and outer shell. Before you glue be SURE that the holes line up. Speaking from experience here :)
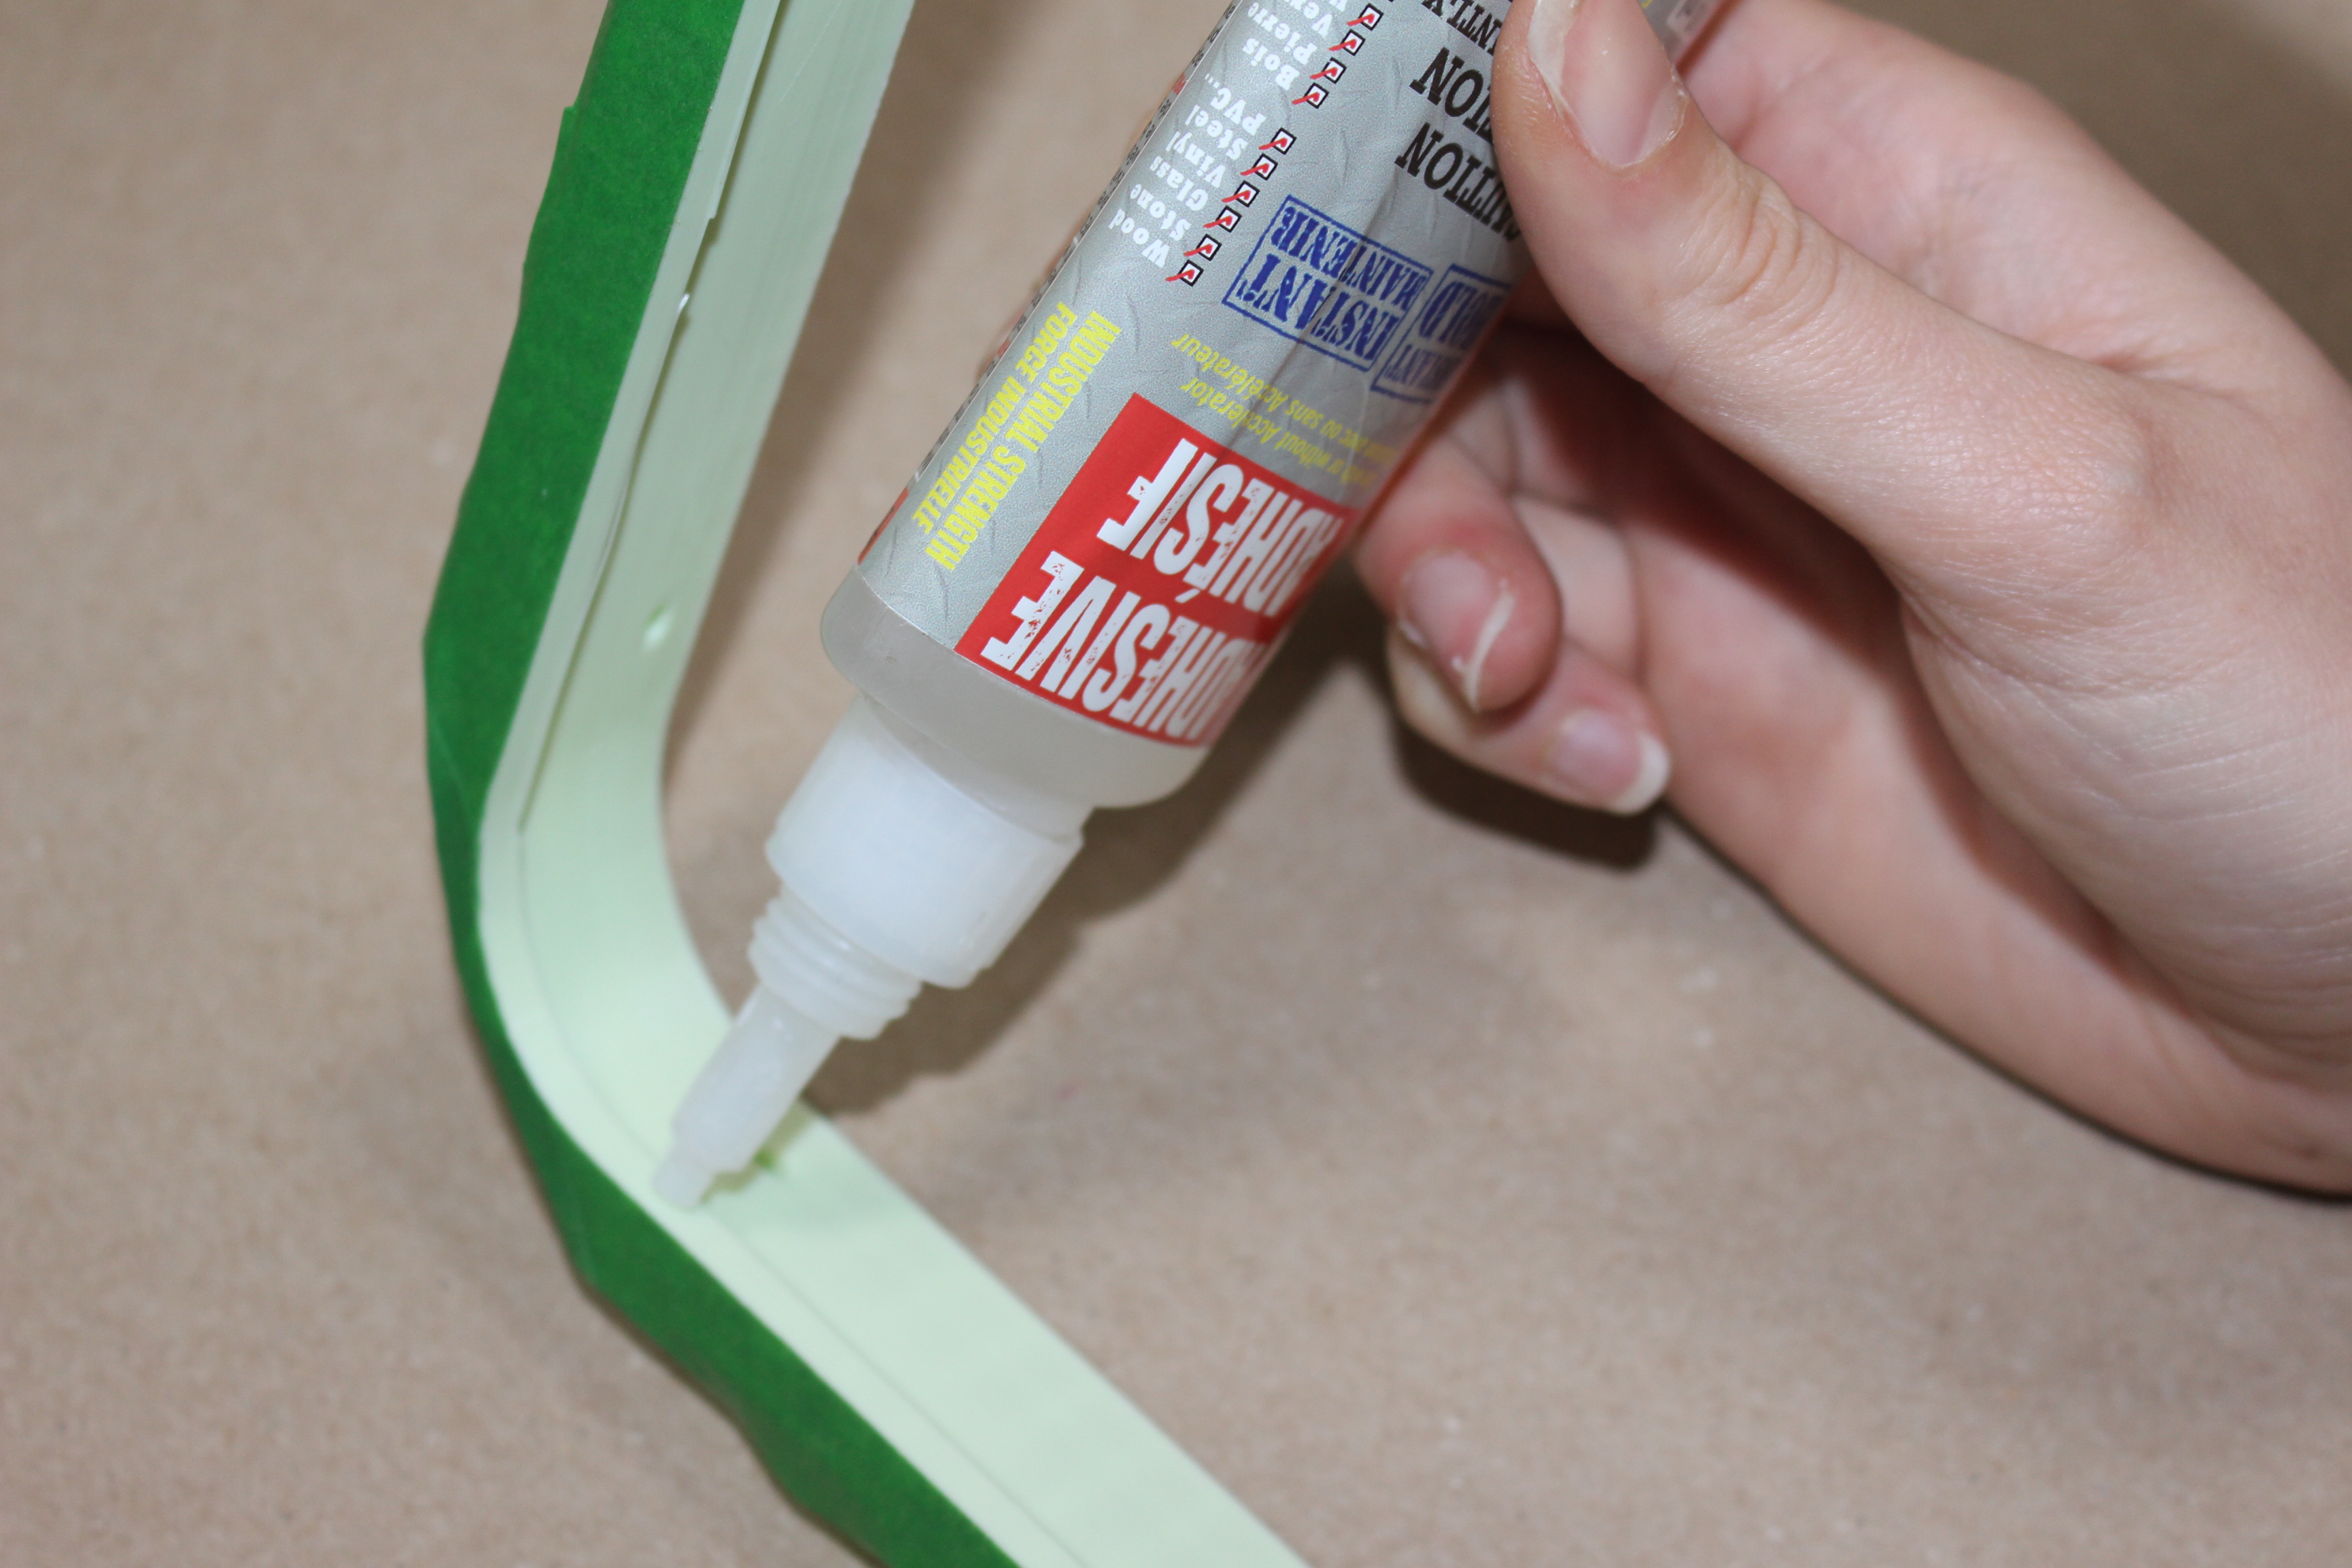
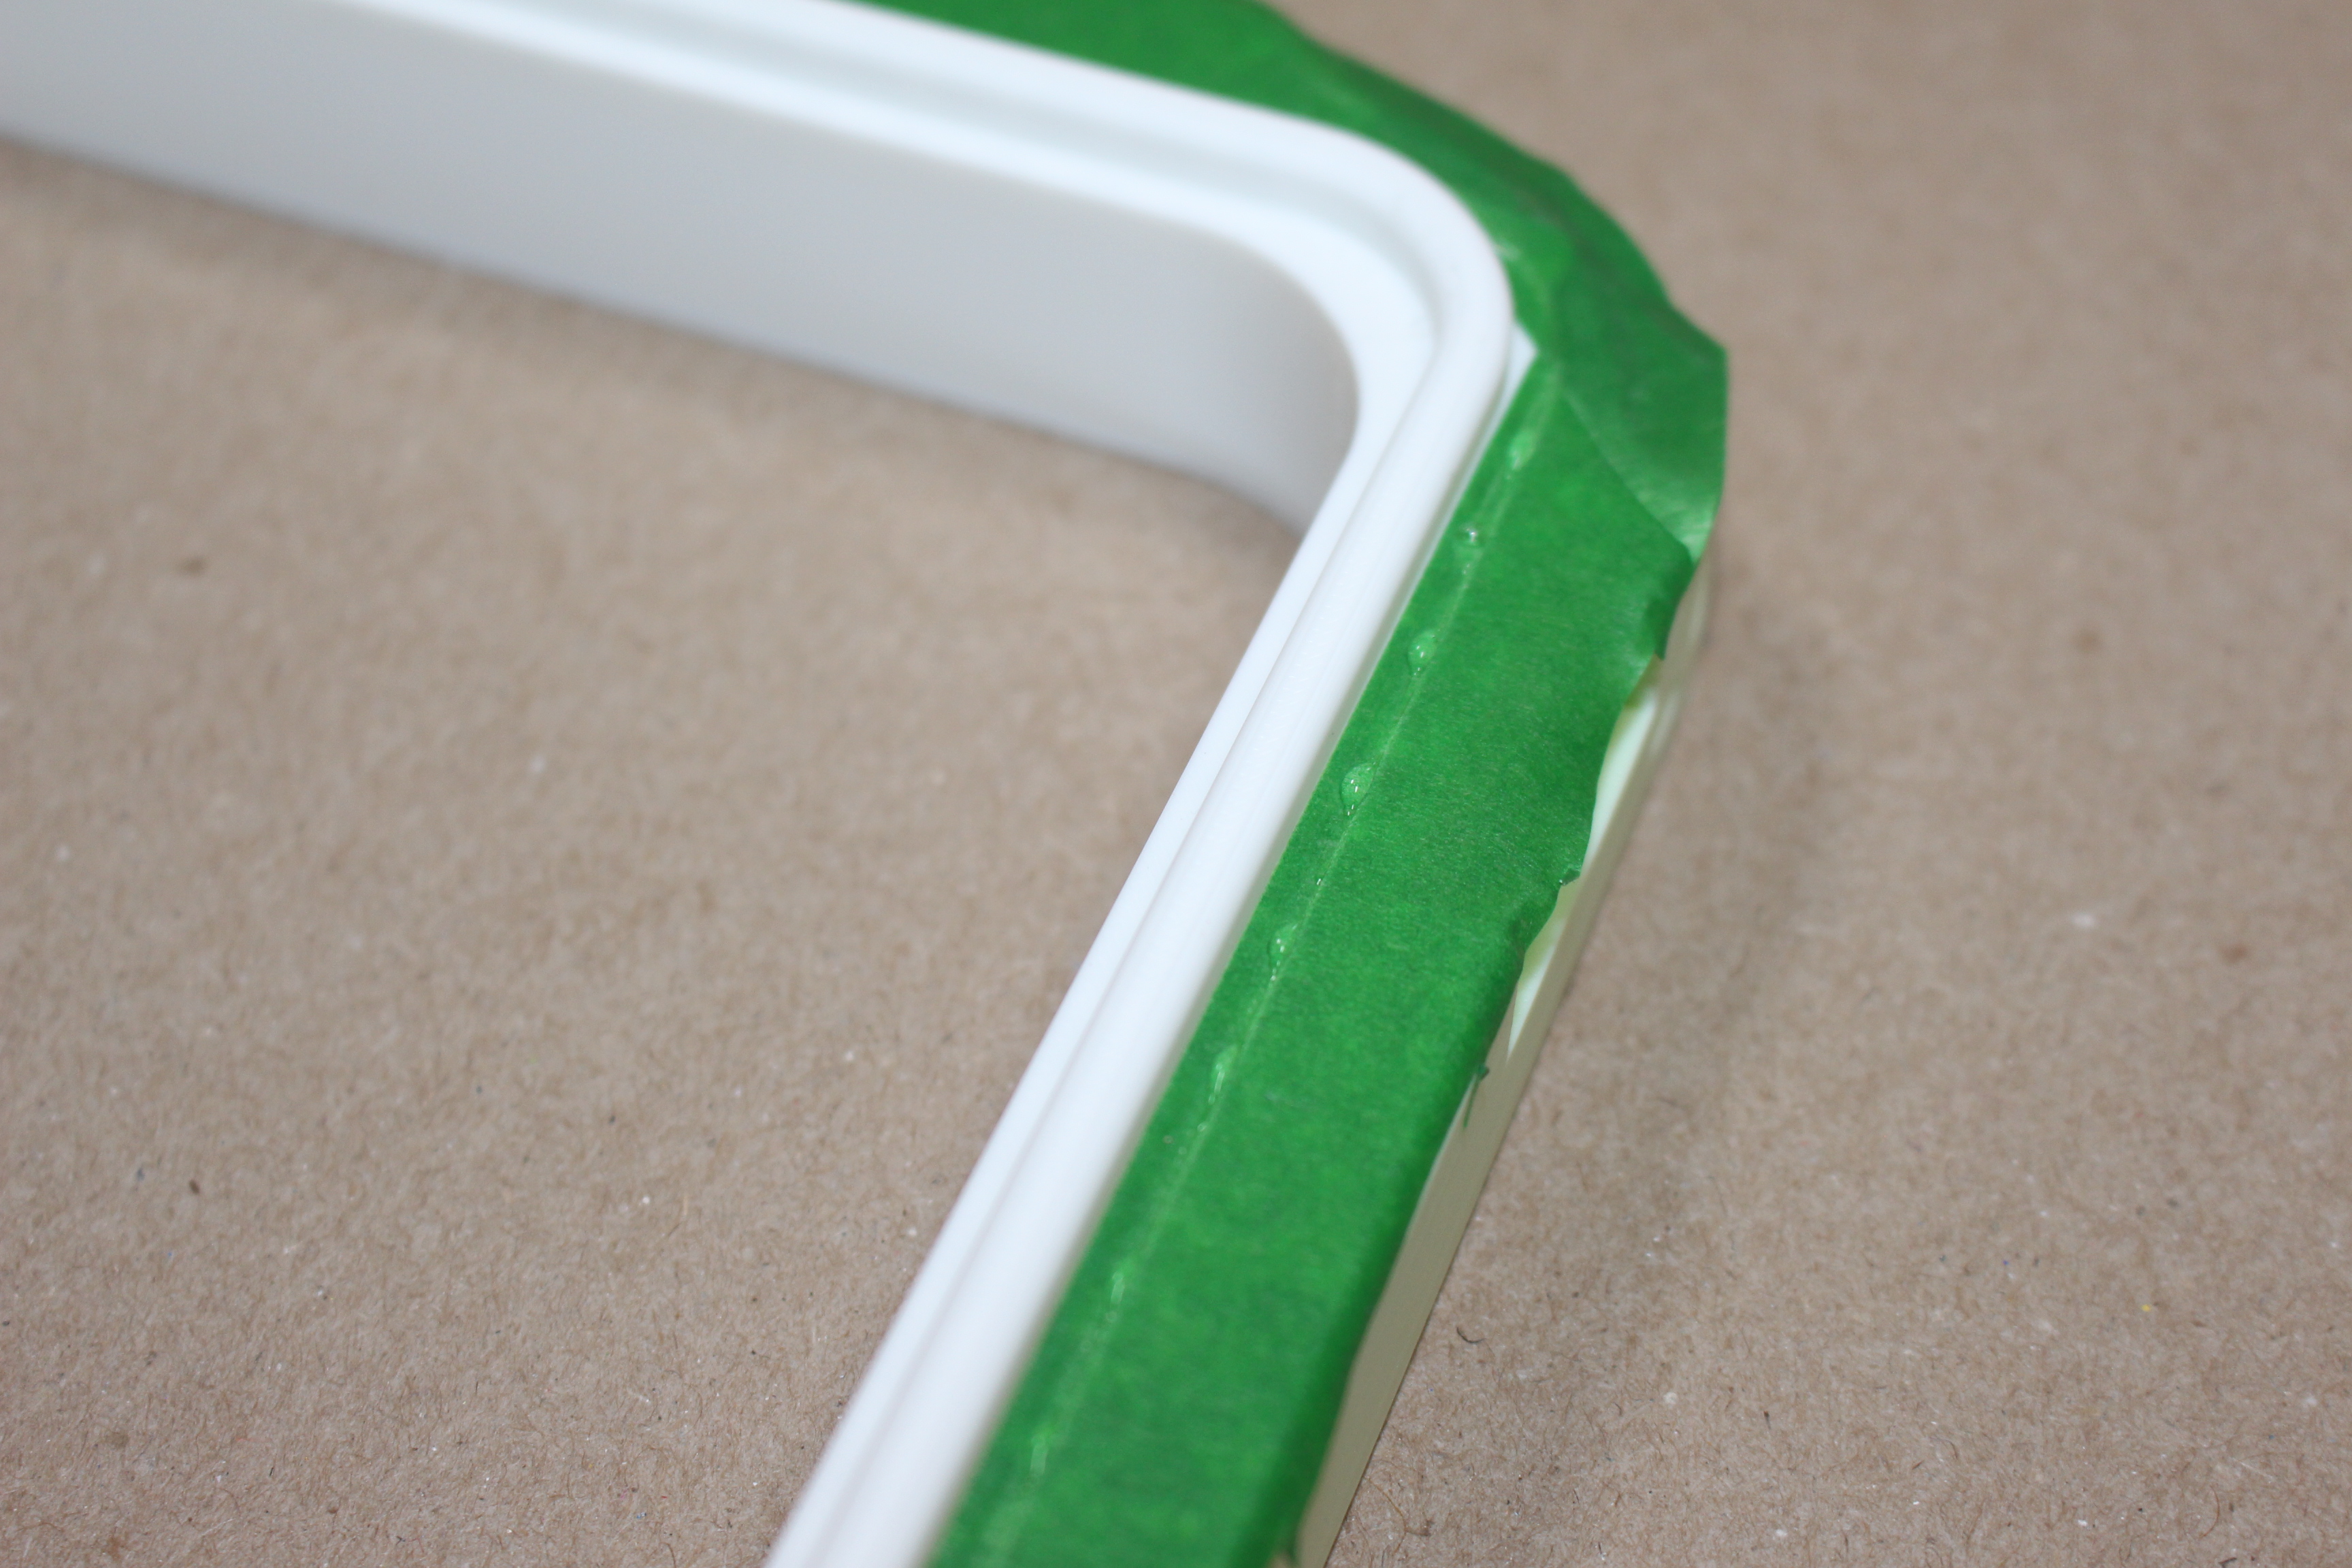
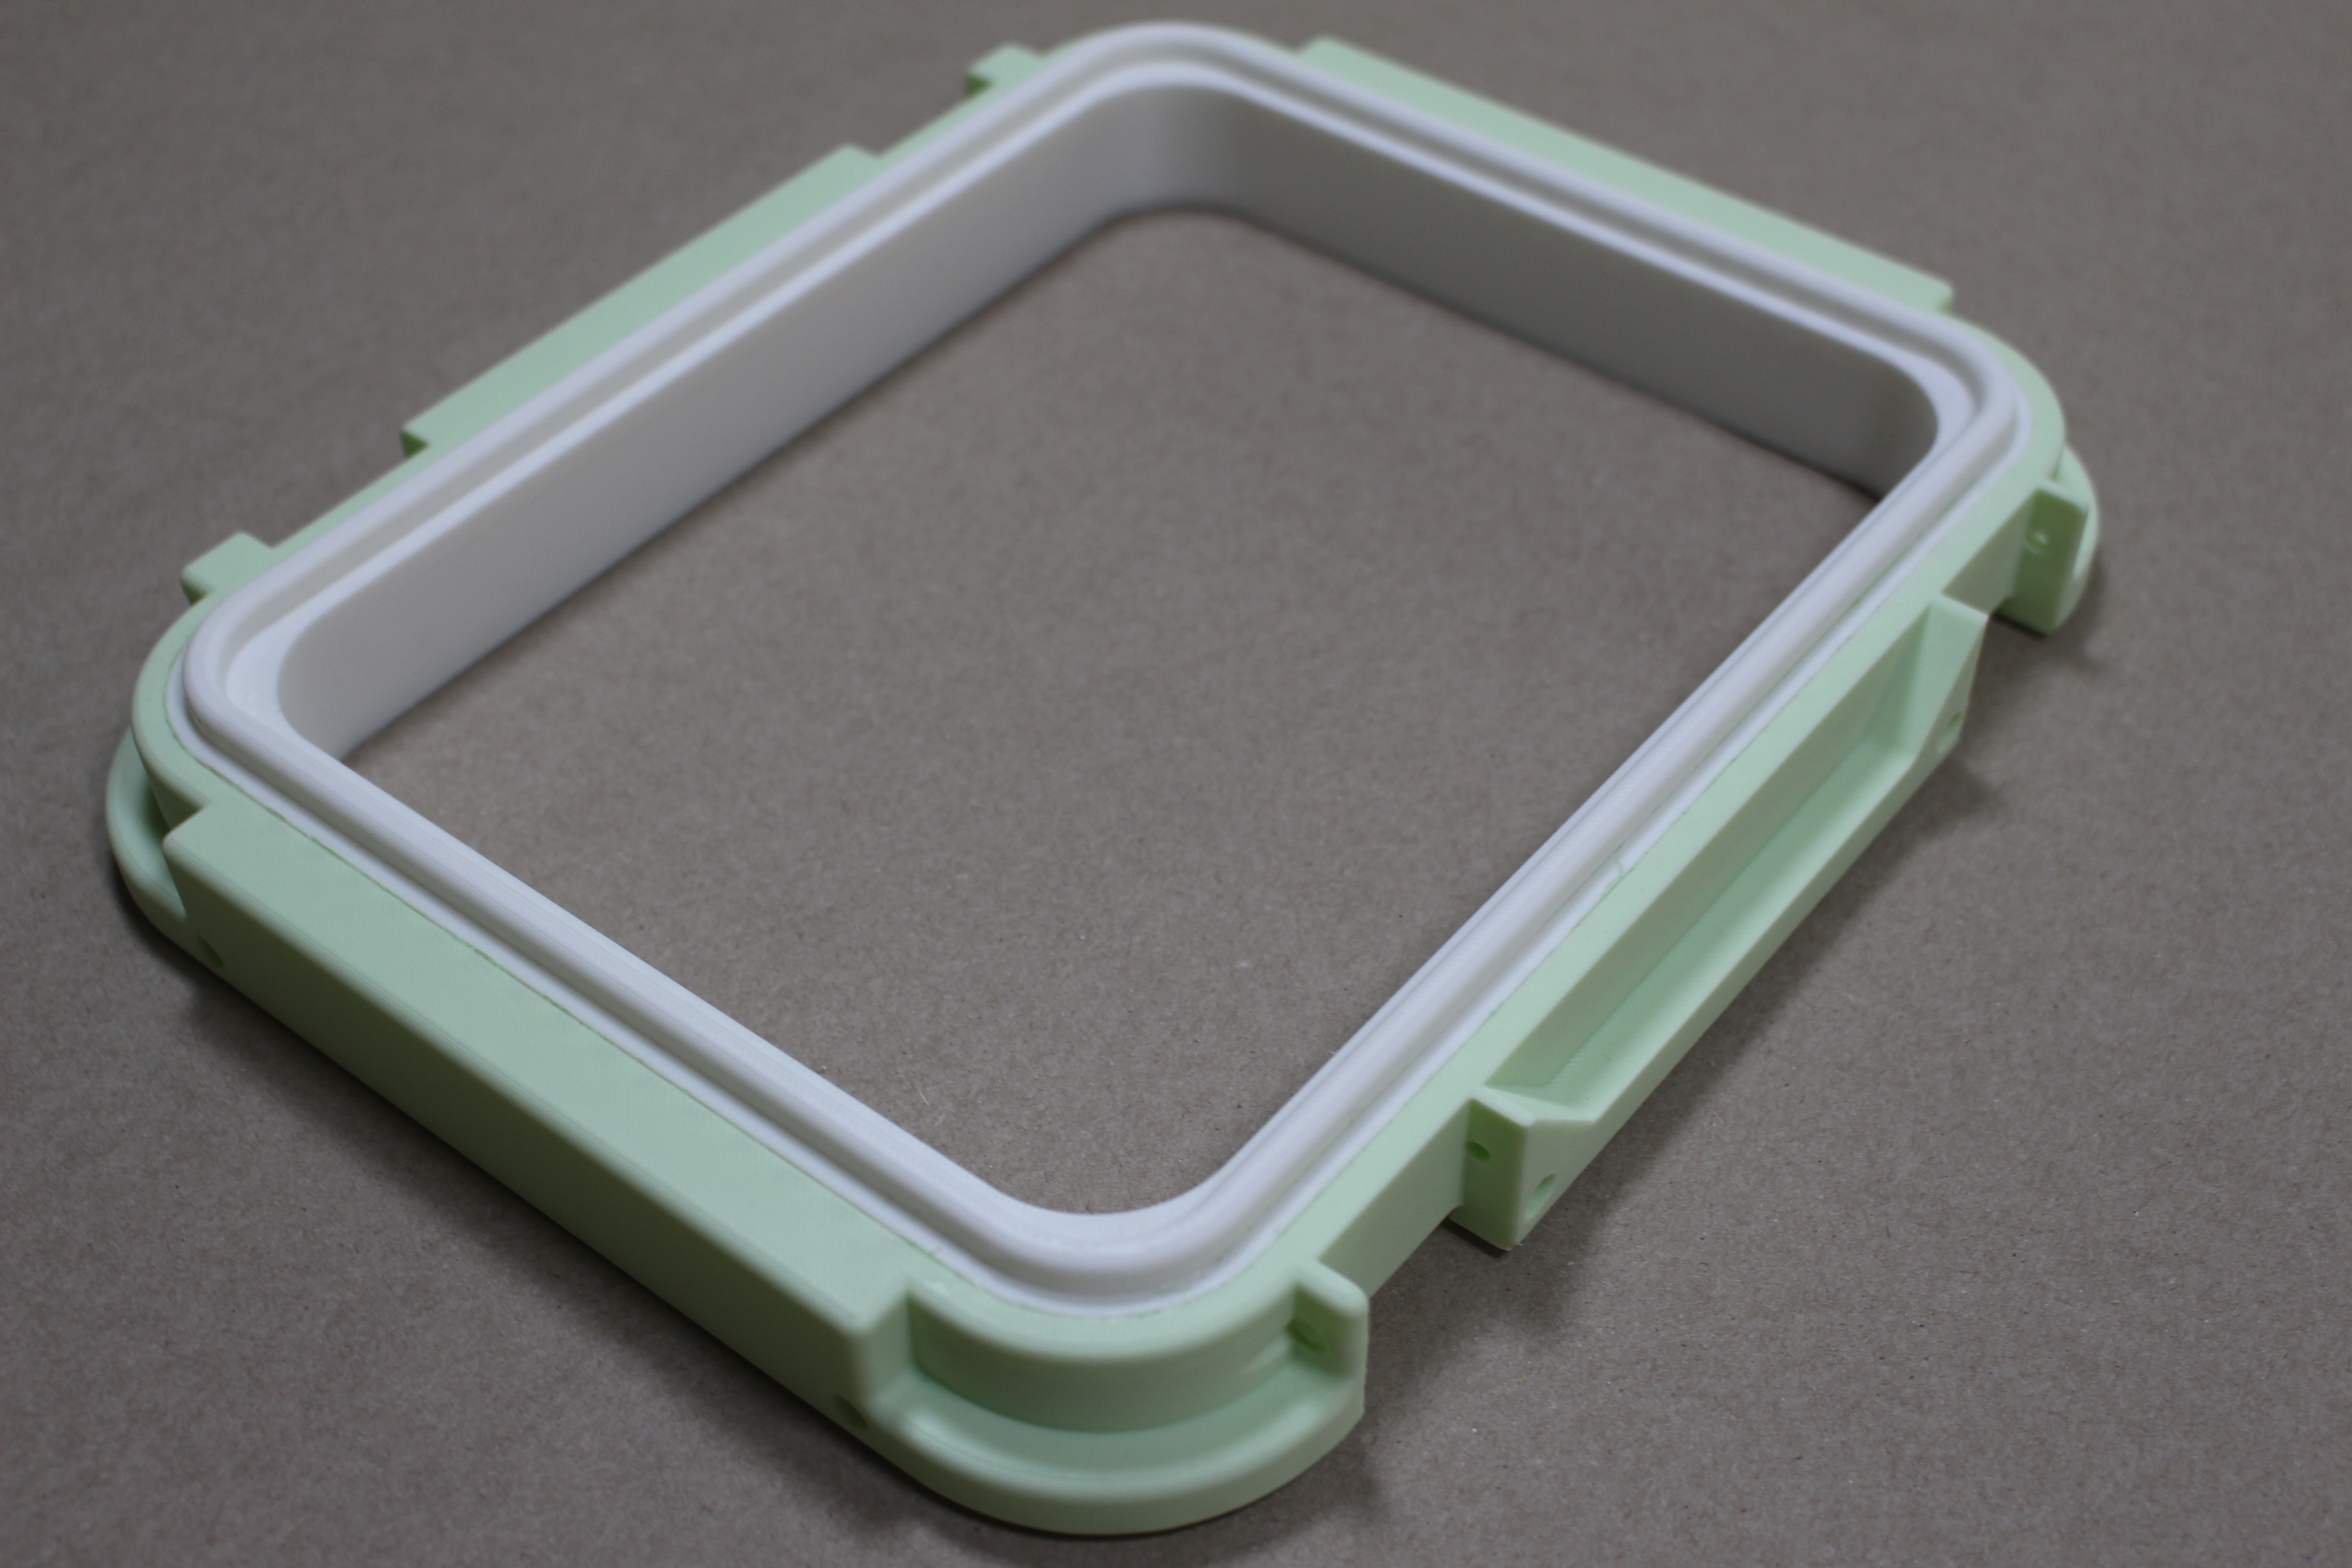
Next place the Inner shell upside down and place the Outer shell over top of it. Screw in the five M3 x 10 screws - fastening the the two shells together.
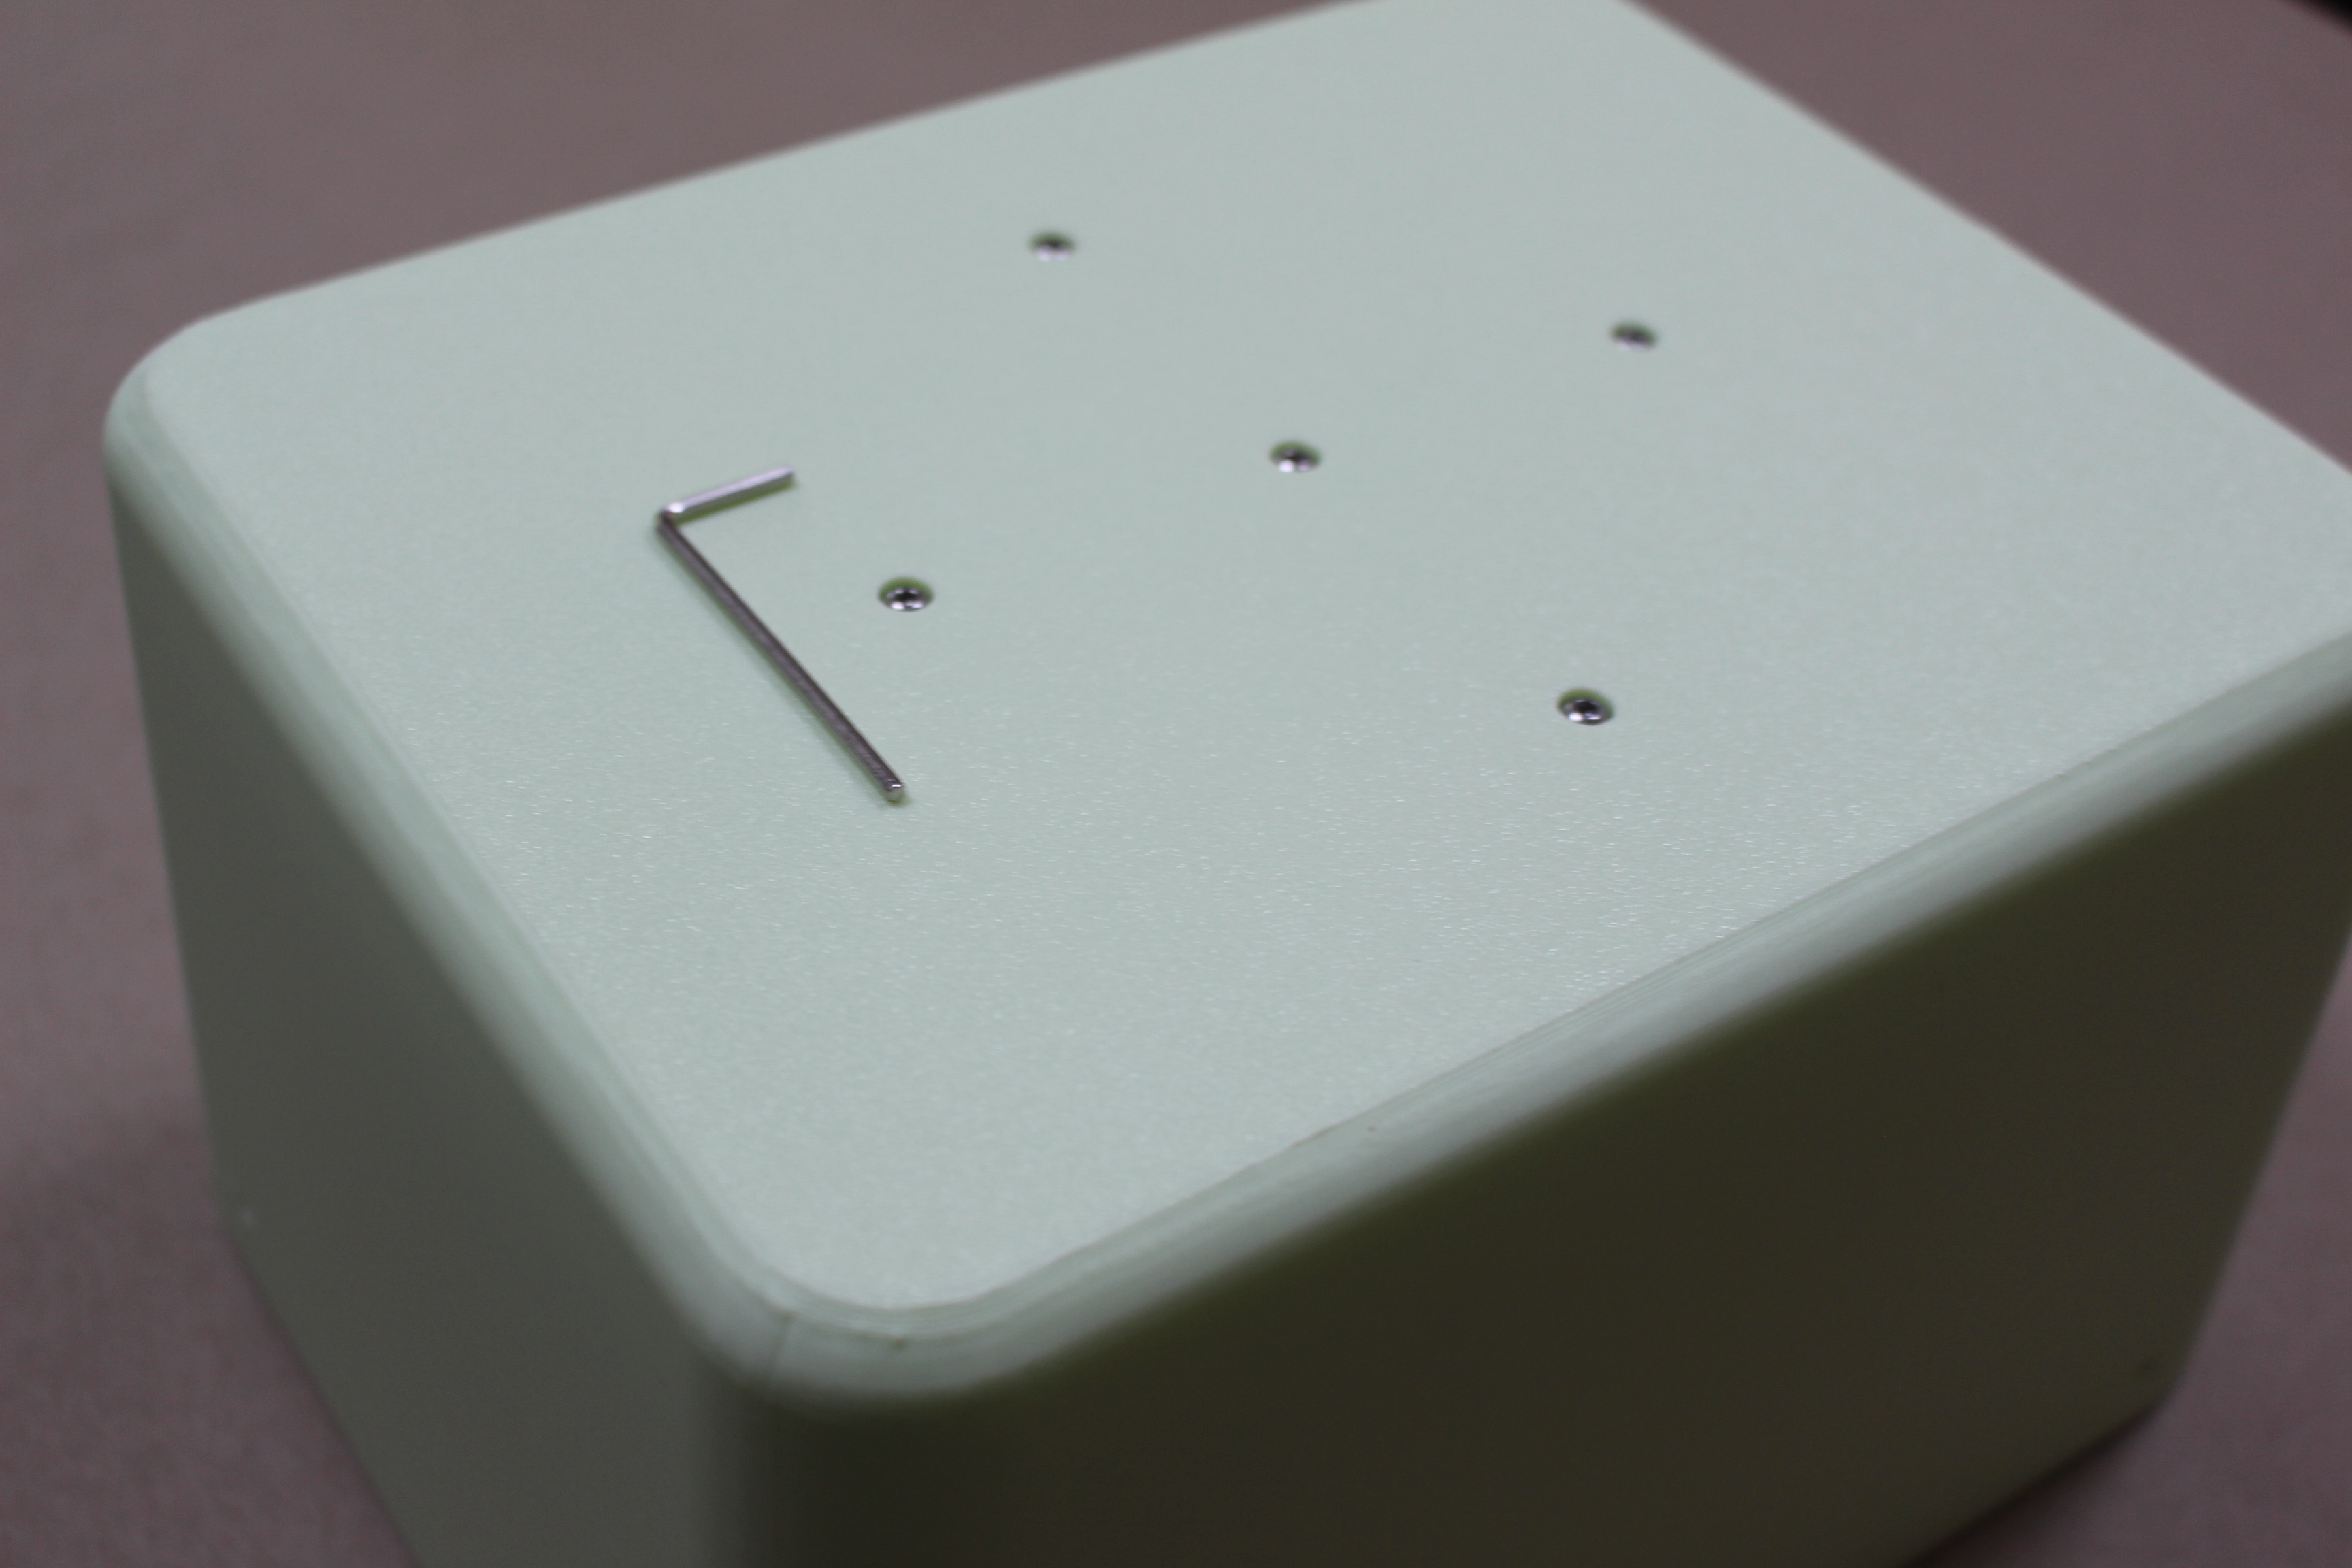
Now you're ready to insulate, I hope you're ready because it can be a little tricky and you should be ready to work fast! Theres a couple different ways I tried doing this. I'll explain them all here and post picctures below and you can decide which method is best for you.
The first method I tried was a two part pour foam. I worked out the volume and mixed up what i thought was the perfect amount of foam. Unfortunatly I thought wrong lol. My first attempt was way too much, It ended up blowing the cooler up lake a balloon. My second attemt was very underwelming and ended up only filling the cooler up ¾ of the way. If you are going to go this route I strongly suggest printing a small test container so you can work out the exact expansion rate of your foam.
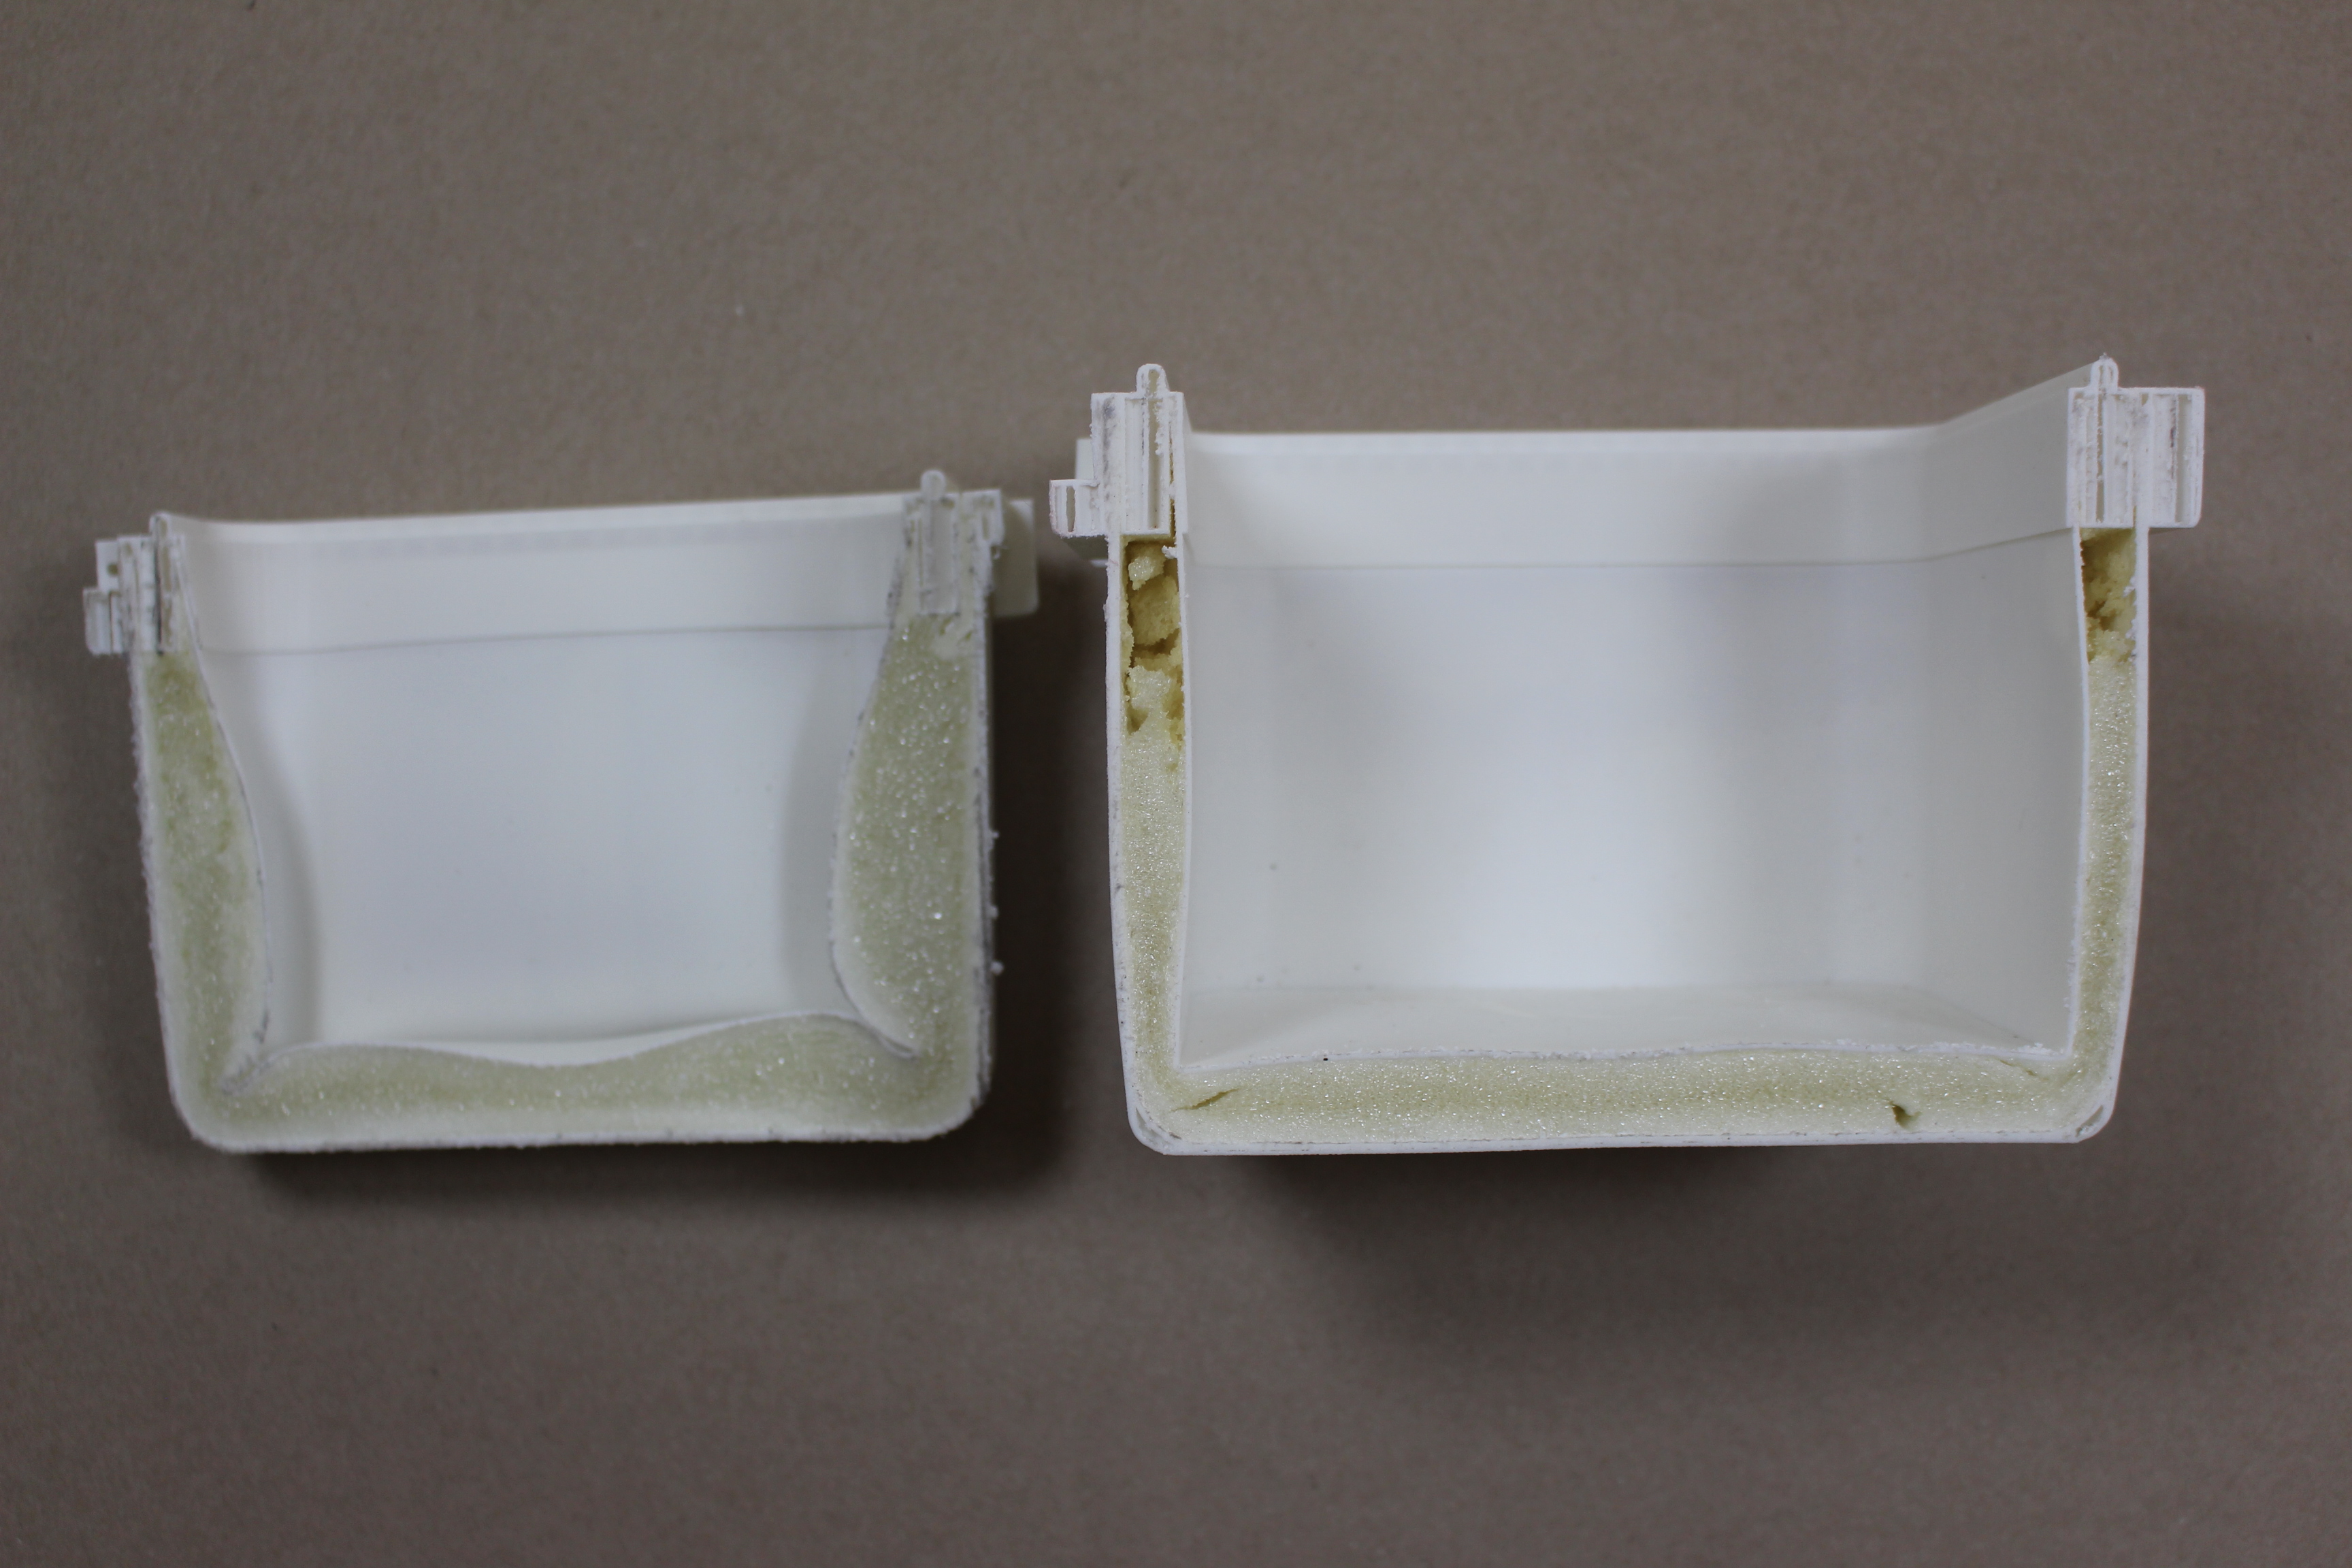
It should be noted that after these two tests; I decide to thicken the Inner shell to the same width as the outer shell which was 2mm.
The second method is a can of Sika big gap filler spray foam that i got from a big box store. I bent the the hose on the spray foam slightly and cut it at a 45 degree angle so that I could get the spray foam under the inner shell. The spray foam method is slightly easier but there are two important things to know. The first one - is that you should not try to fill the cooler more than half way. If you do it will end up over expanded and look like the one on the left in the picture. The second thing is - that the foam will continue to expand for several hours after filling.
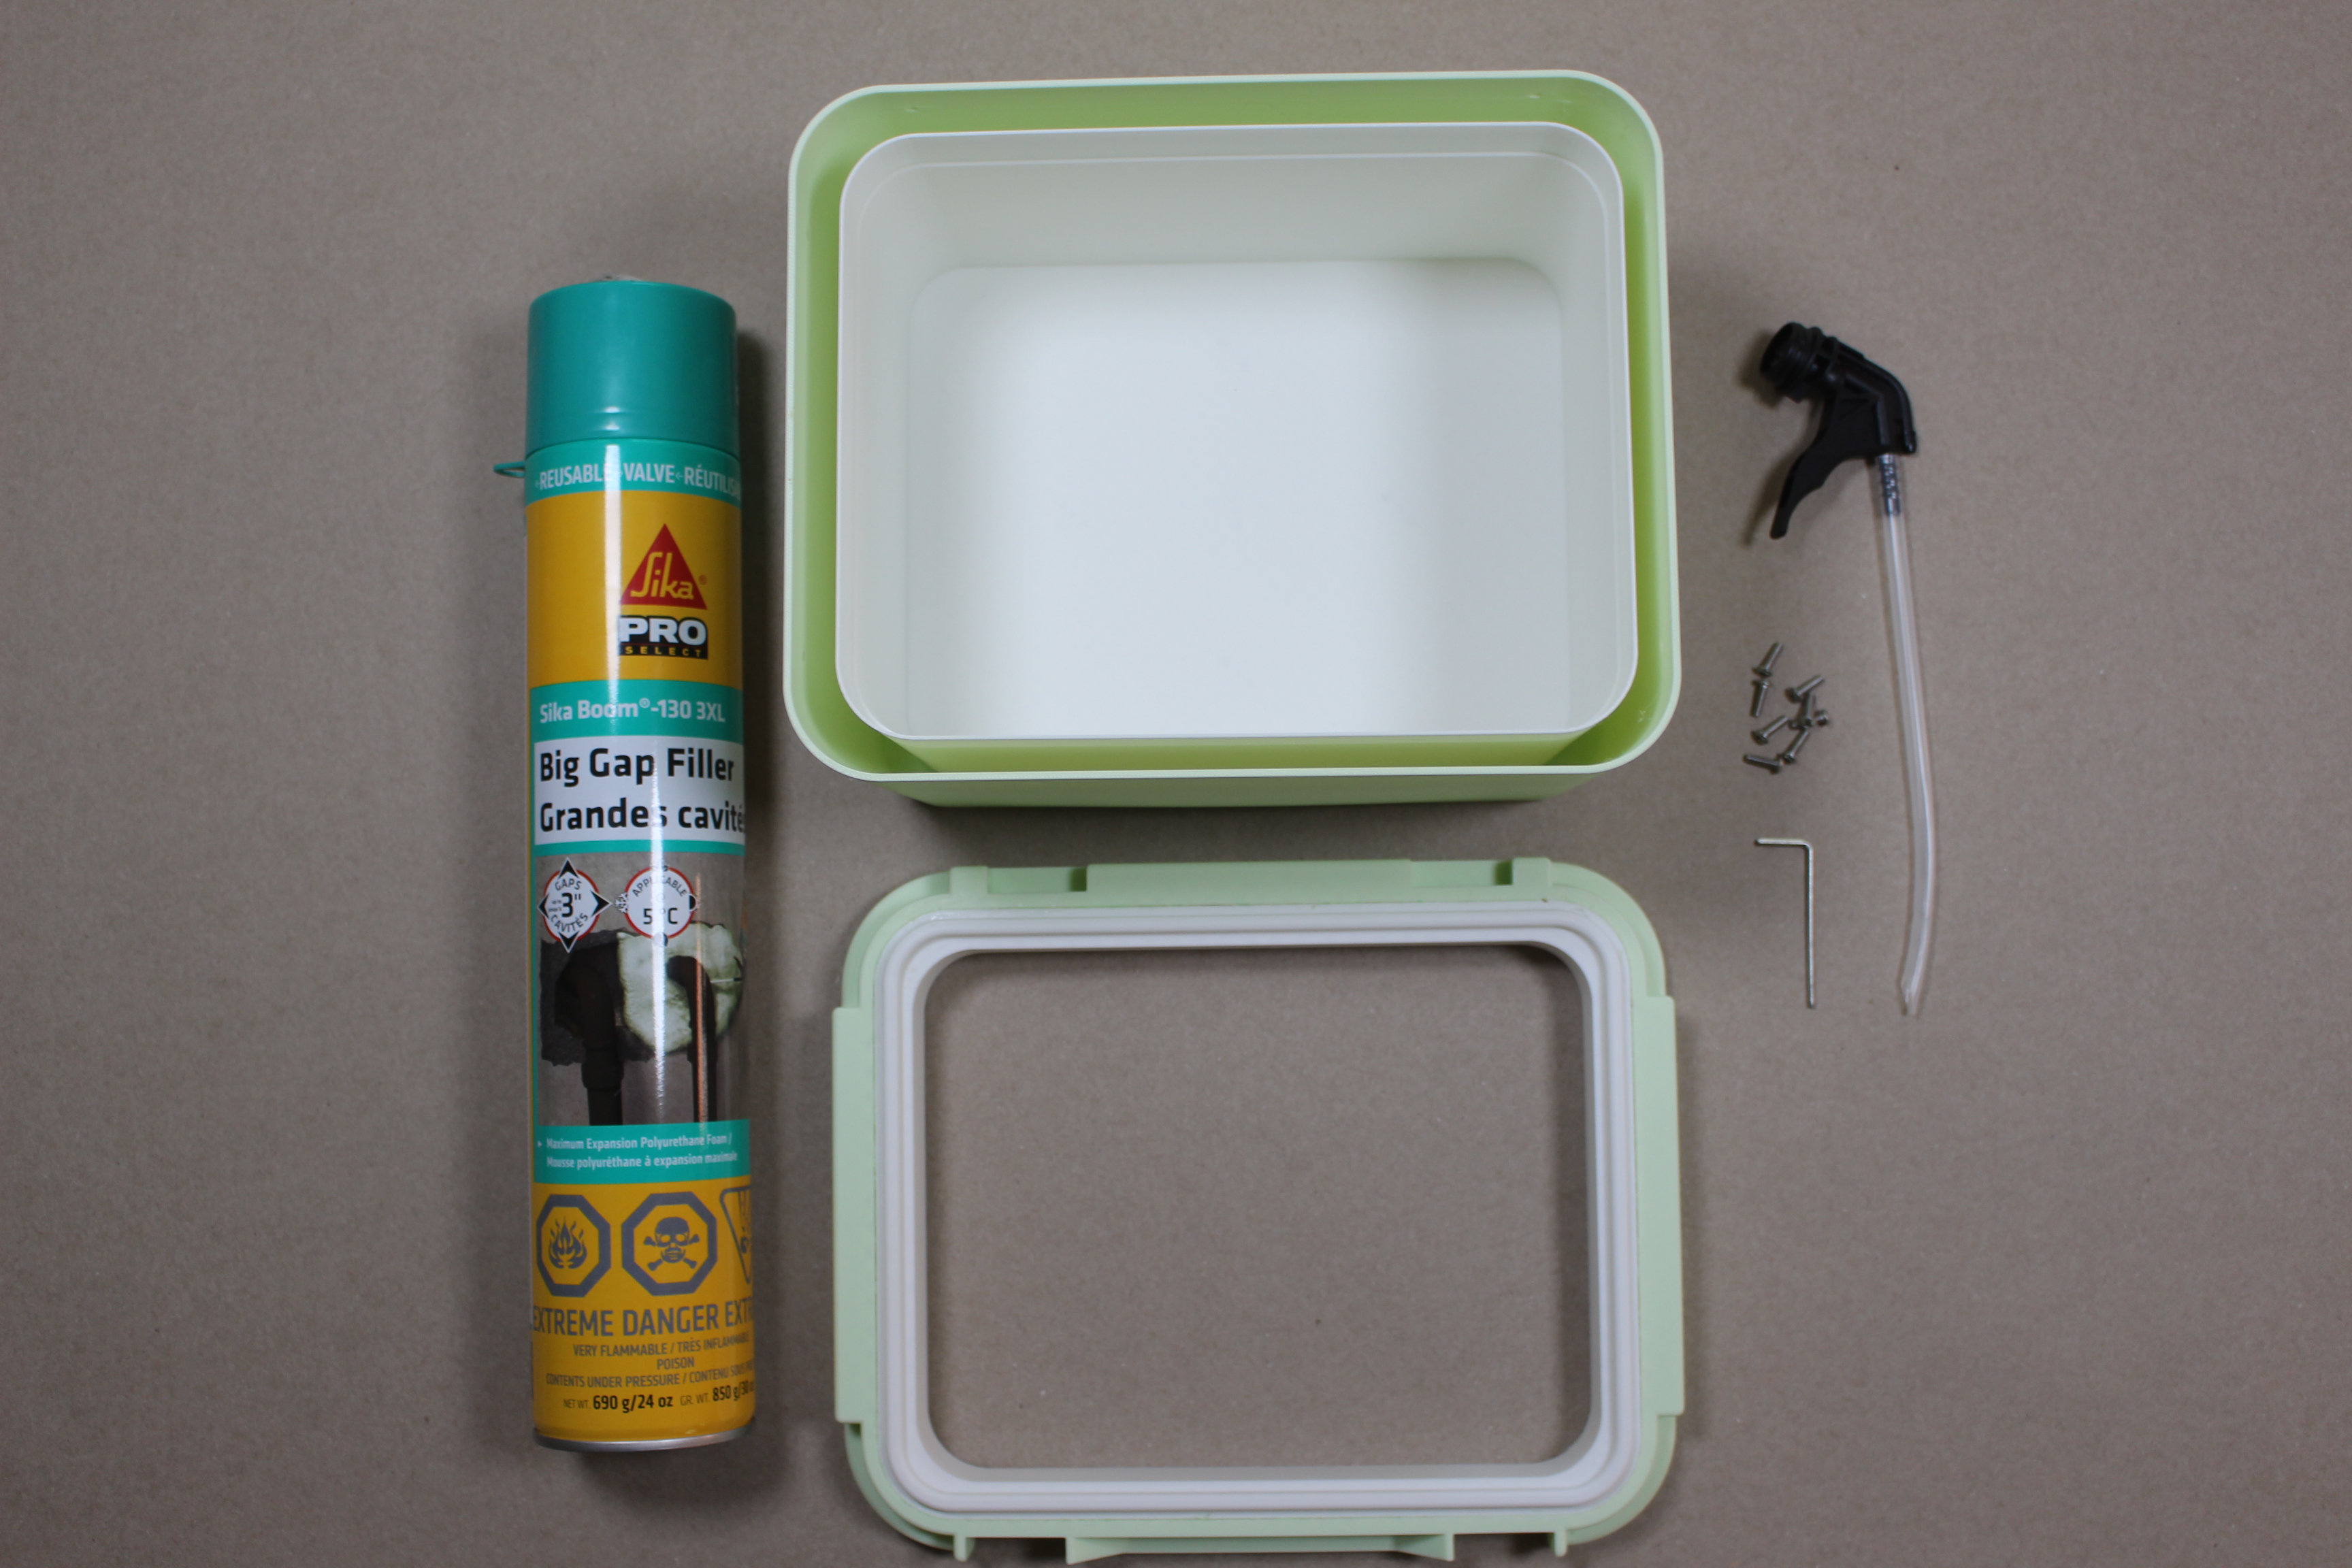
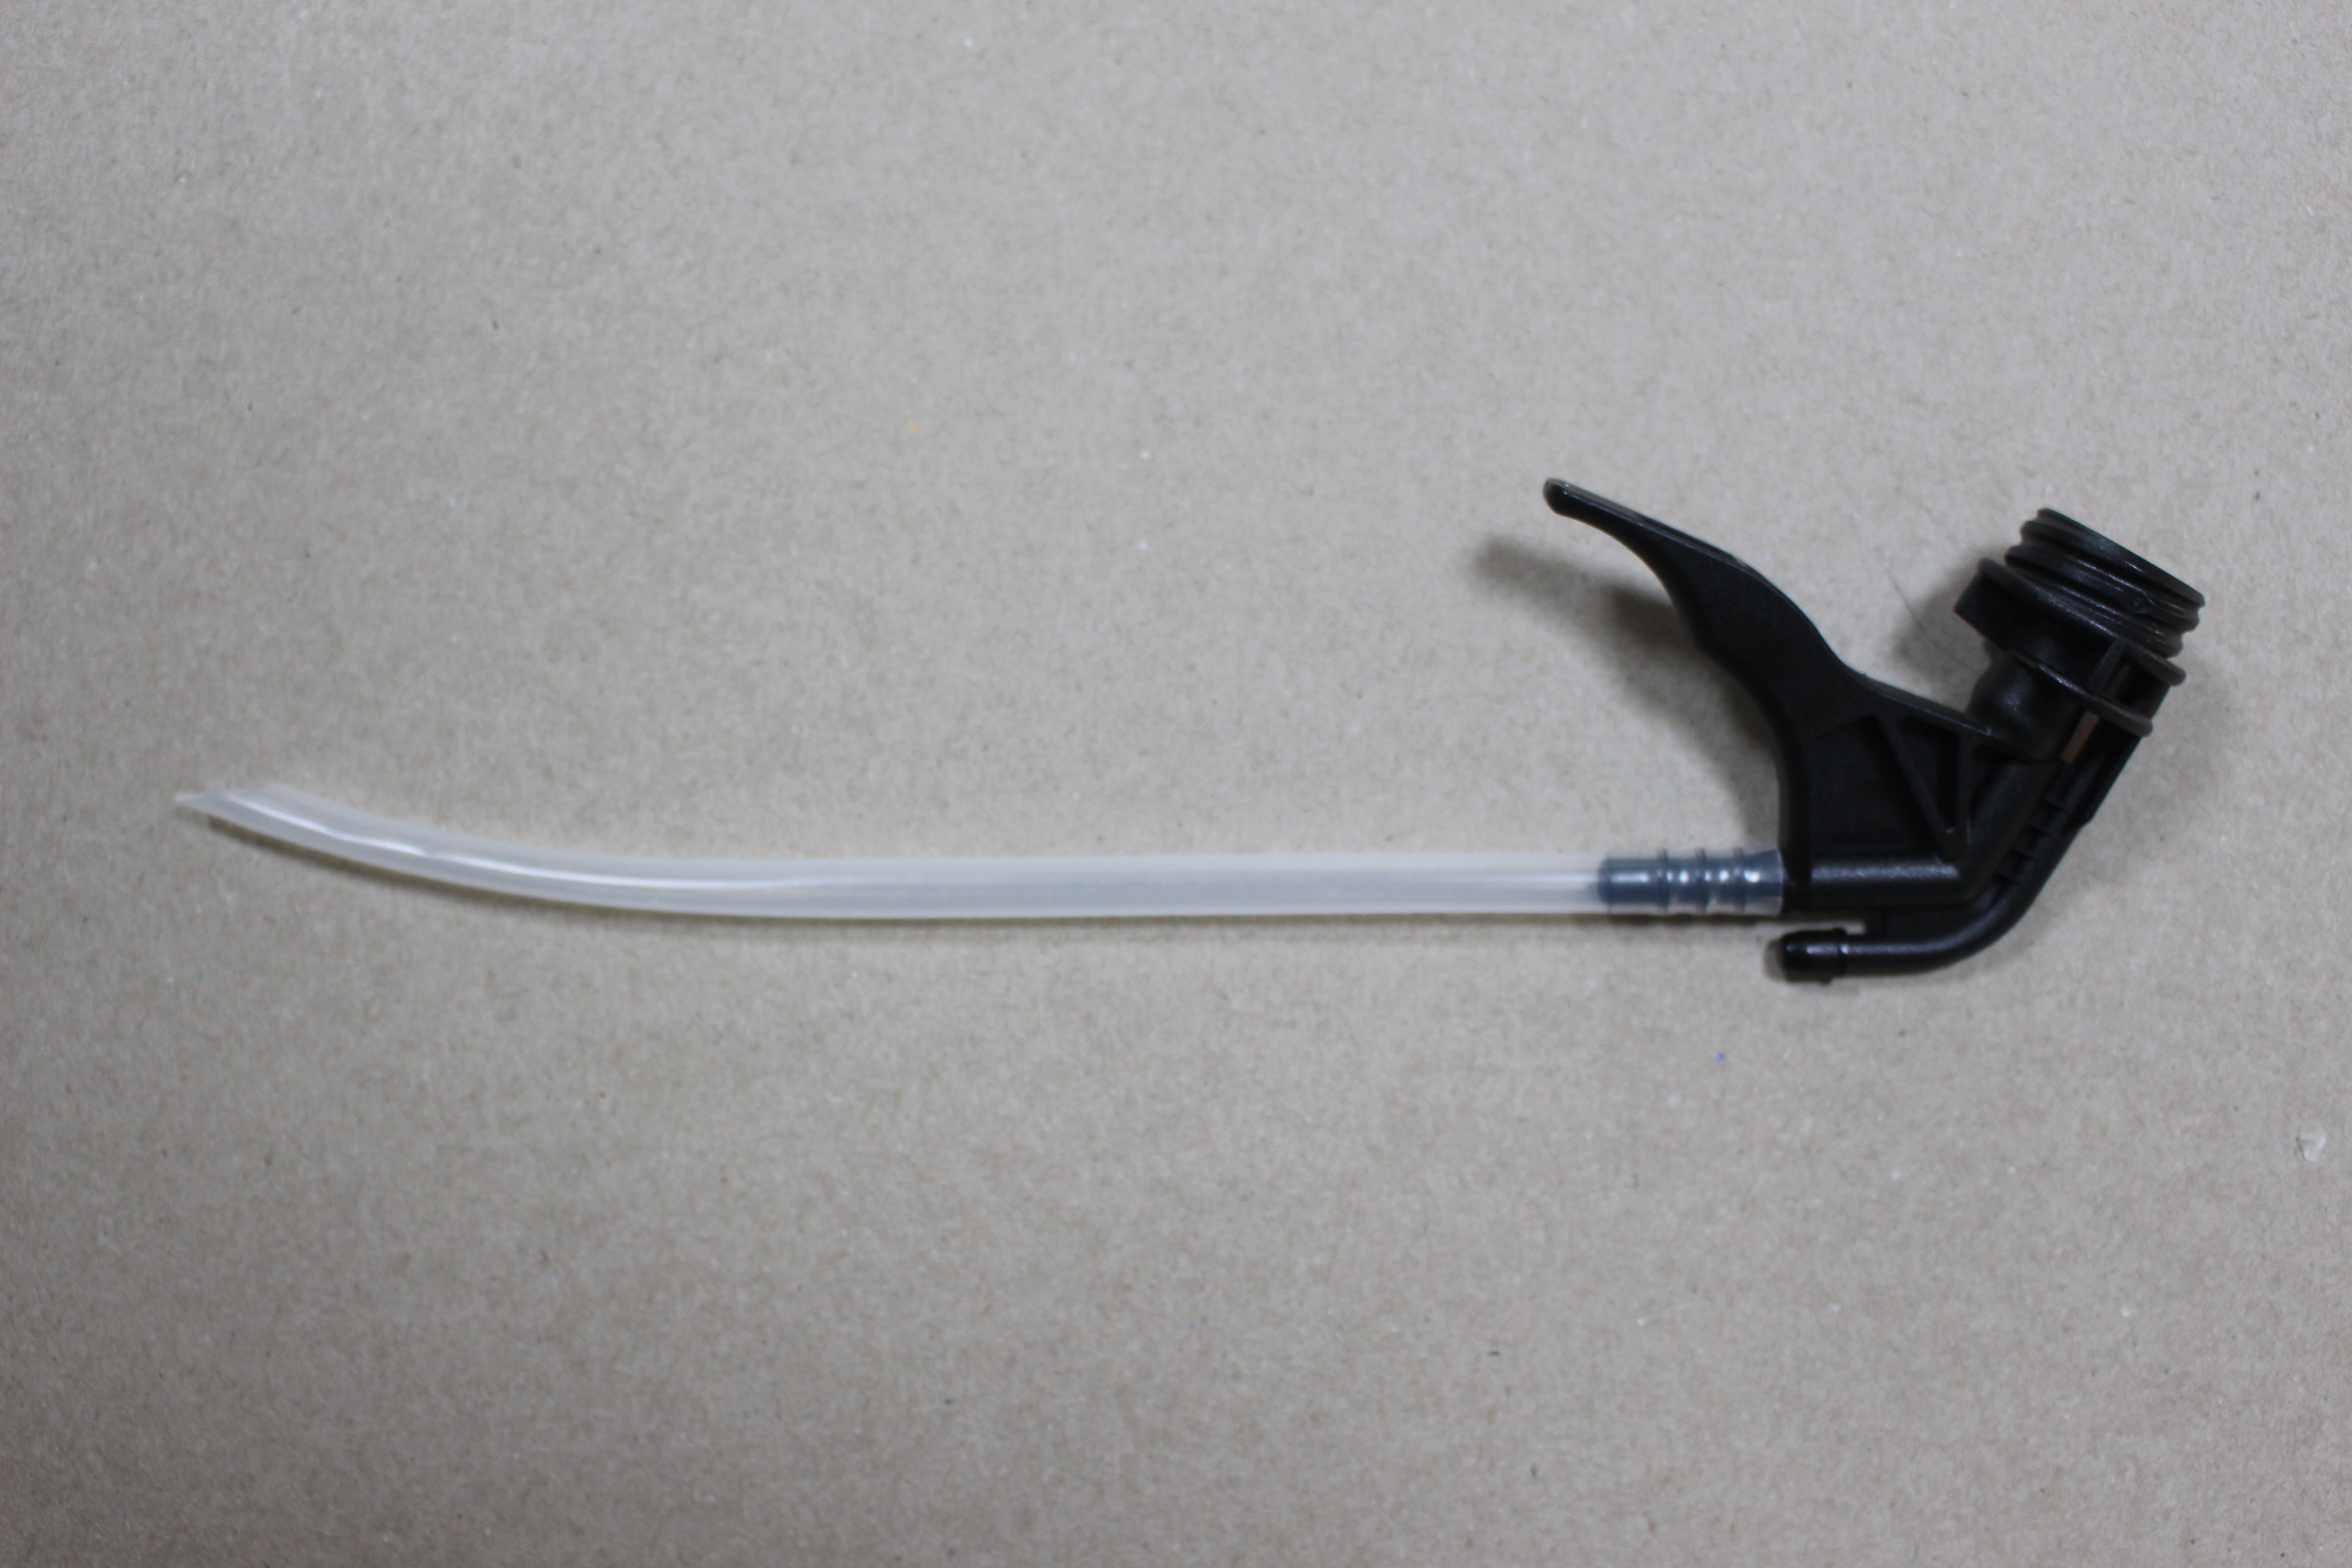
Before starting with the foam, I suggest starting all the M3 x 10 screws in the outer rim as you will have limited time once the foam starts to rise. IMPORTANT!! again, the holes only line up one way. take a minute to line the rim holes up with the shell holes then set the rim aside in the same orientation.
This is were things are going to get real! Start with the spray foam at the bottom. Do your best to get the foam under the inner shell first then work your way around untill you get about half way up the cooler. Quickly put the rim on and tighten down the 8 screws. If you work to slow here the foam will expand building pressure between the shells, which makes it very hard to get the screws in. Now its time for the lid. spray a small amount of foam around the botton of the handle cut out and quickly put the insert in place and screw it down. Once all the screws are in its time for a break! Give the foam a couple hours to do its thing.
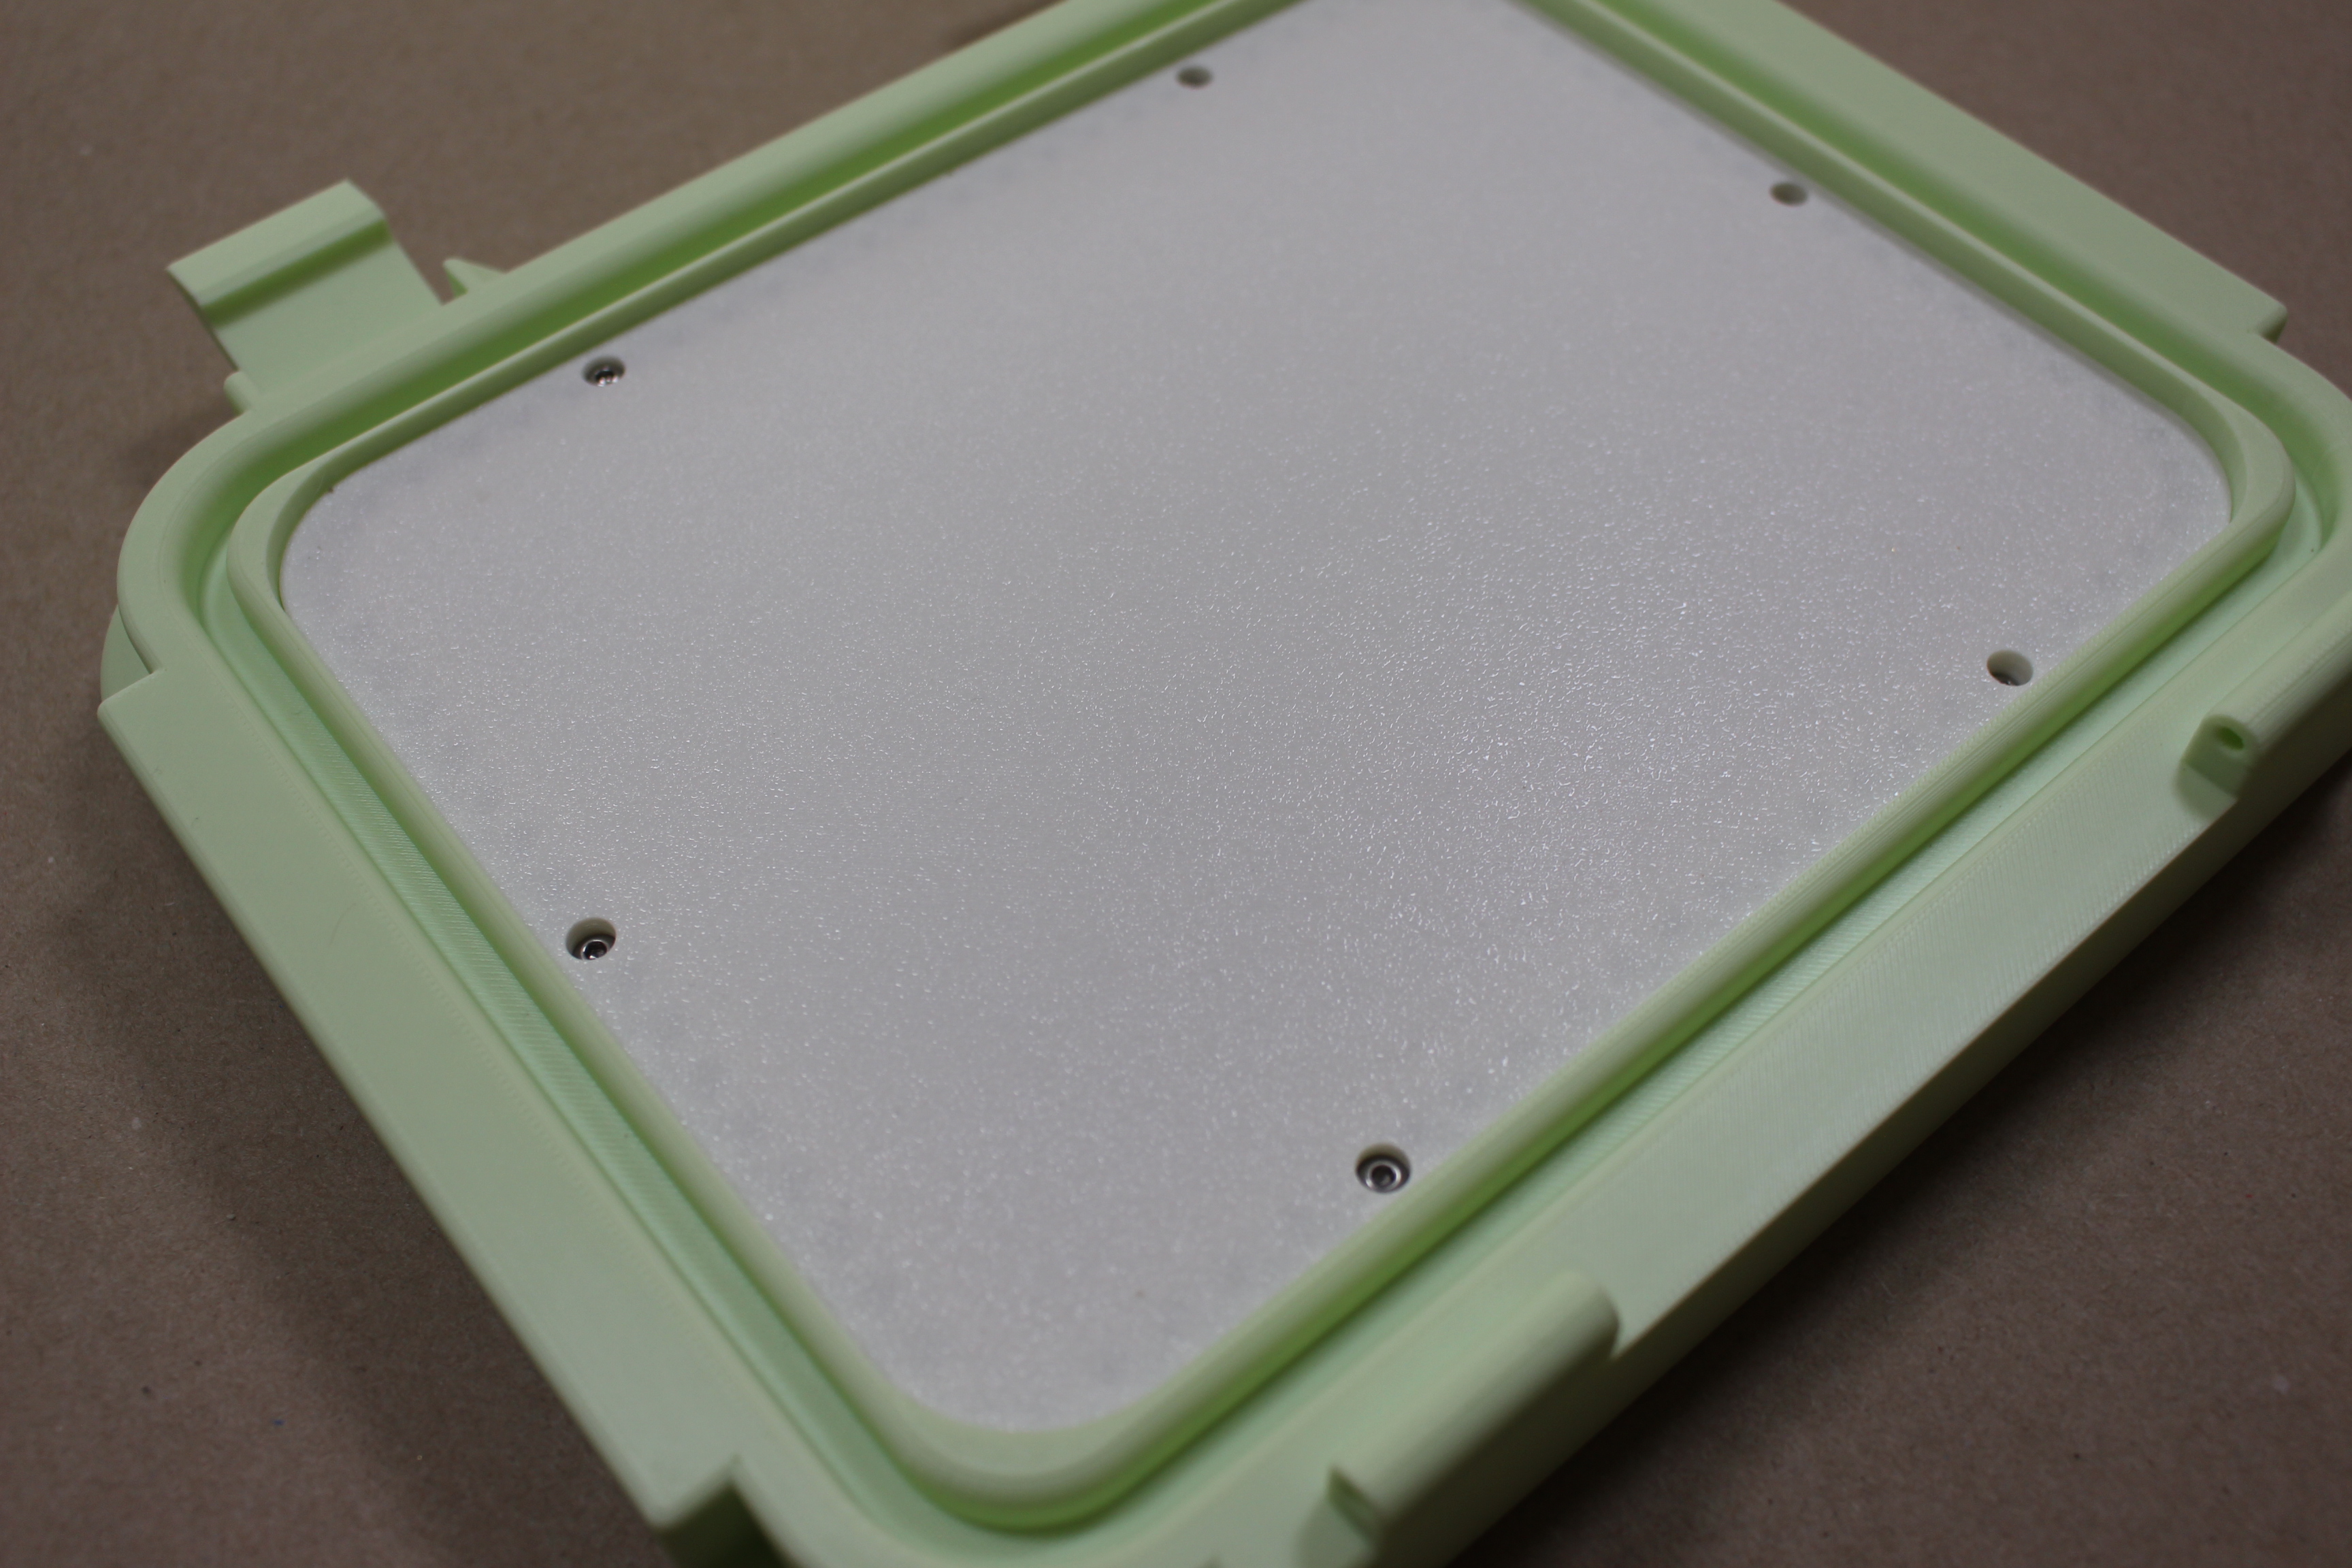
Now that all the hard work is done all thats left to do is screw on the lid and the latches. The latches and latch pins are M3 x 35 and the hinge pins are M3 x 40. Put those in and BAM! You're done - congrats if you made it here succefully! I hope you had fun :)

Gostou deste modelo? Crie uma conta grátis para salvar seus favoritos e voltar a eles depois.
Criar conta