Você está no 3DFinder
Buscamos em Thingiverse, MakerWorld e Printables ao mesmo tempo para te dar o melhor de cada uma.
Descrição
Overview
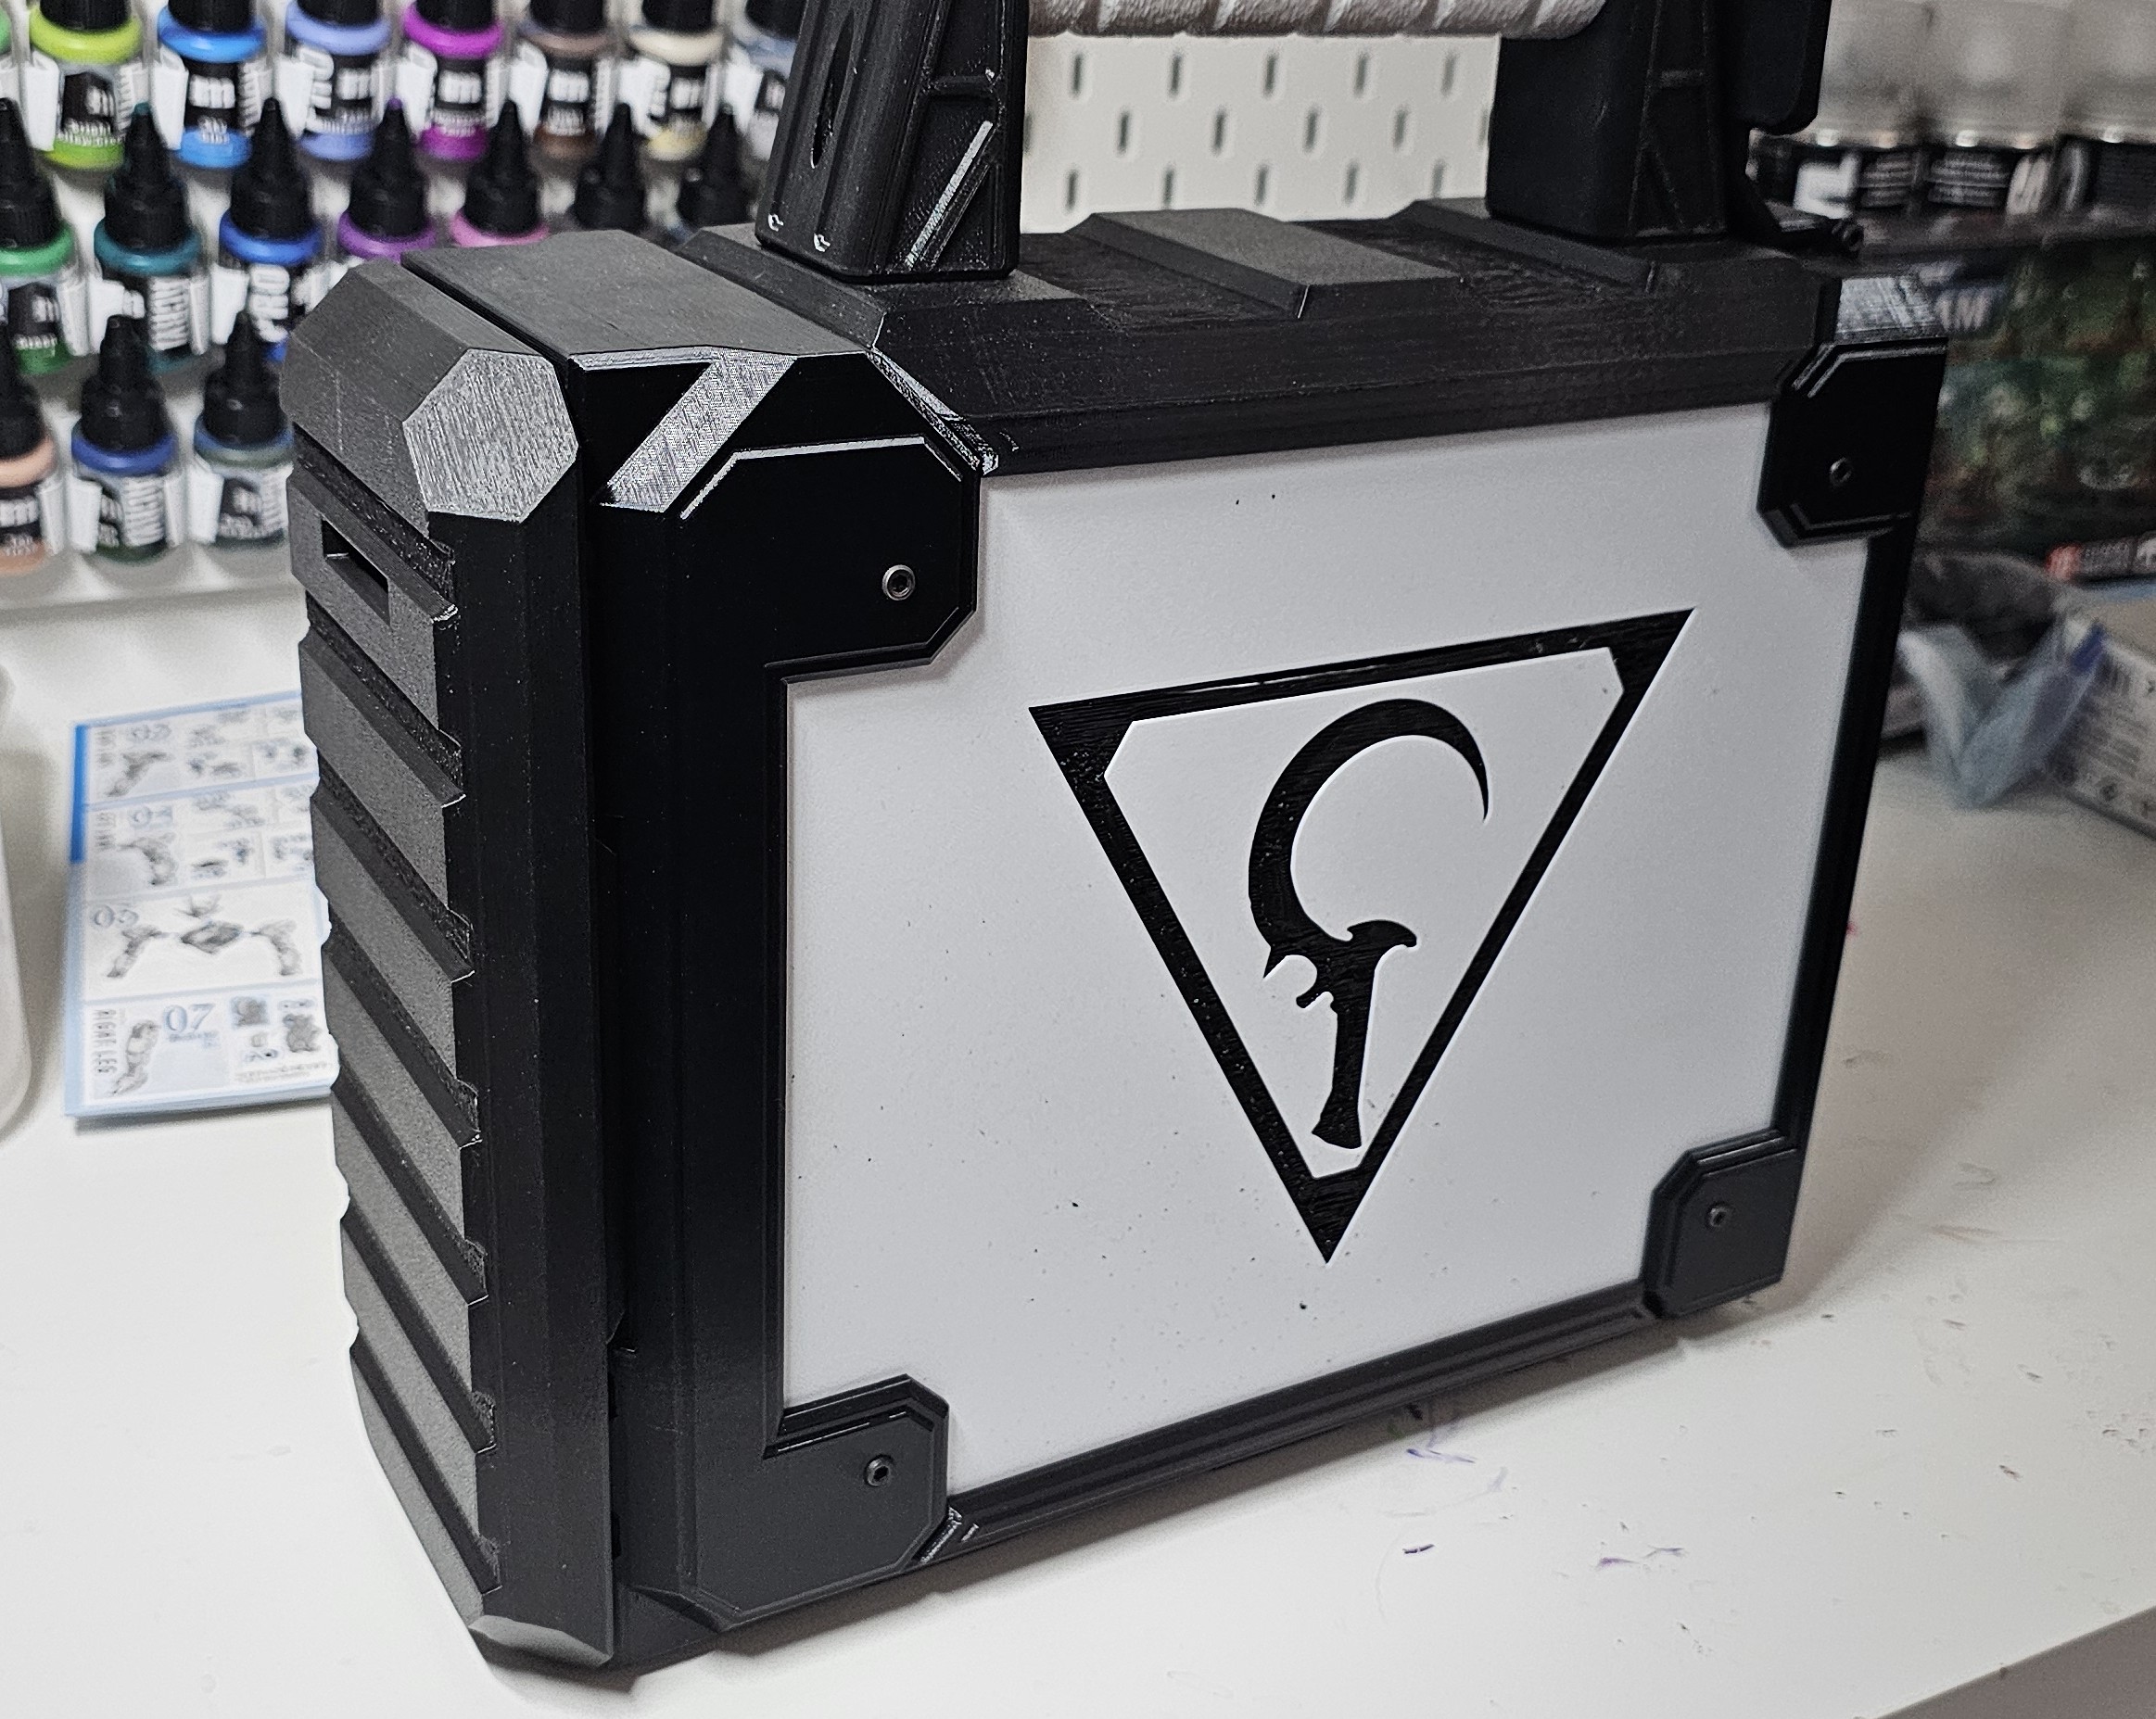
The BattleStack is a modular carrier to hold miniatures, dice, tokens, and more. Compact and customizable, the BattleStack can be used for DnD, skirmish wargames like Kill Team, and other tabletop games depending on what you need to bring to the table!
I designed the BattleStack so that I could have a custom transport solution for my Mandrakes for Kill Team, and expanded upon that with feedback from my buddies on what they'd like in their personal setups for other games. The side and back panel files are blank slates so that you can edit them with your own logos/artwork of your choosing (or keep them plain).
STEP files have been included to encourage customization, and I'm excited to see your builds!
---------------------------------------------------------------------------------------------------
Updates
5/29/2026
- revised Rear Shell piece for better printability on the back side
2/28/2026
- added hook feature to bottom of the Front Lid and Front Shell parts-- this will prevent a dislodged tray from pushing the lid off when tilted downward
8/1/2025
- added 1.5 Slot Storage Tray for builds that end up with an odd number of slots e.g. those using 3-slot miniature trays
6/27/2025
- added 40mmx6 miniature tray in both the standard 2-slot as well as 3-slot variants for mins with larger bases
6/24/2025
- added 3-slot size miniature trays (both with magnet pedestals and without); these trays are able to hold minis up to 65mm tall
---------------------------------------------------------------------------------------------------
Features
Modular Tray System
Choose from the available trays to create a custom carrier for your games, or remix the included STEP files to create your own! For the full list of trays available, see the Trays Section below
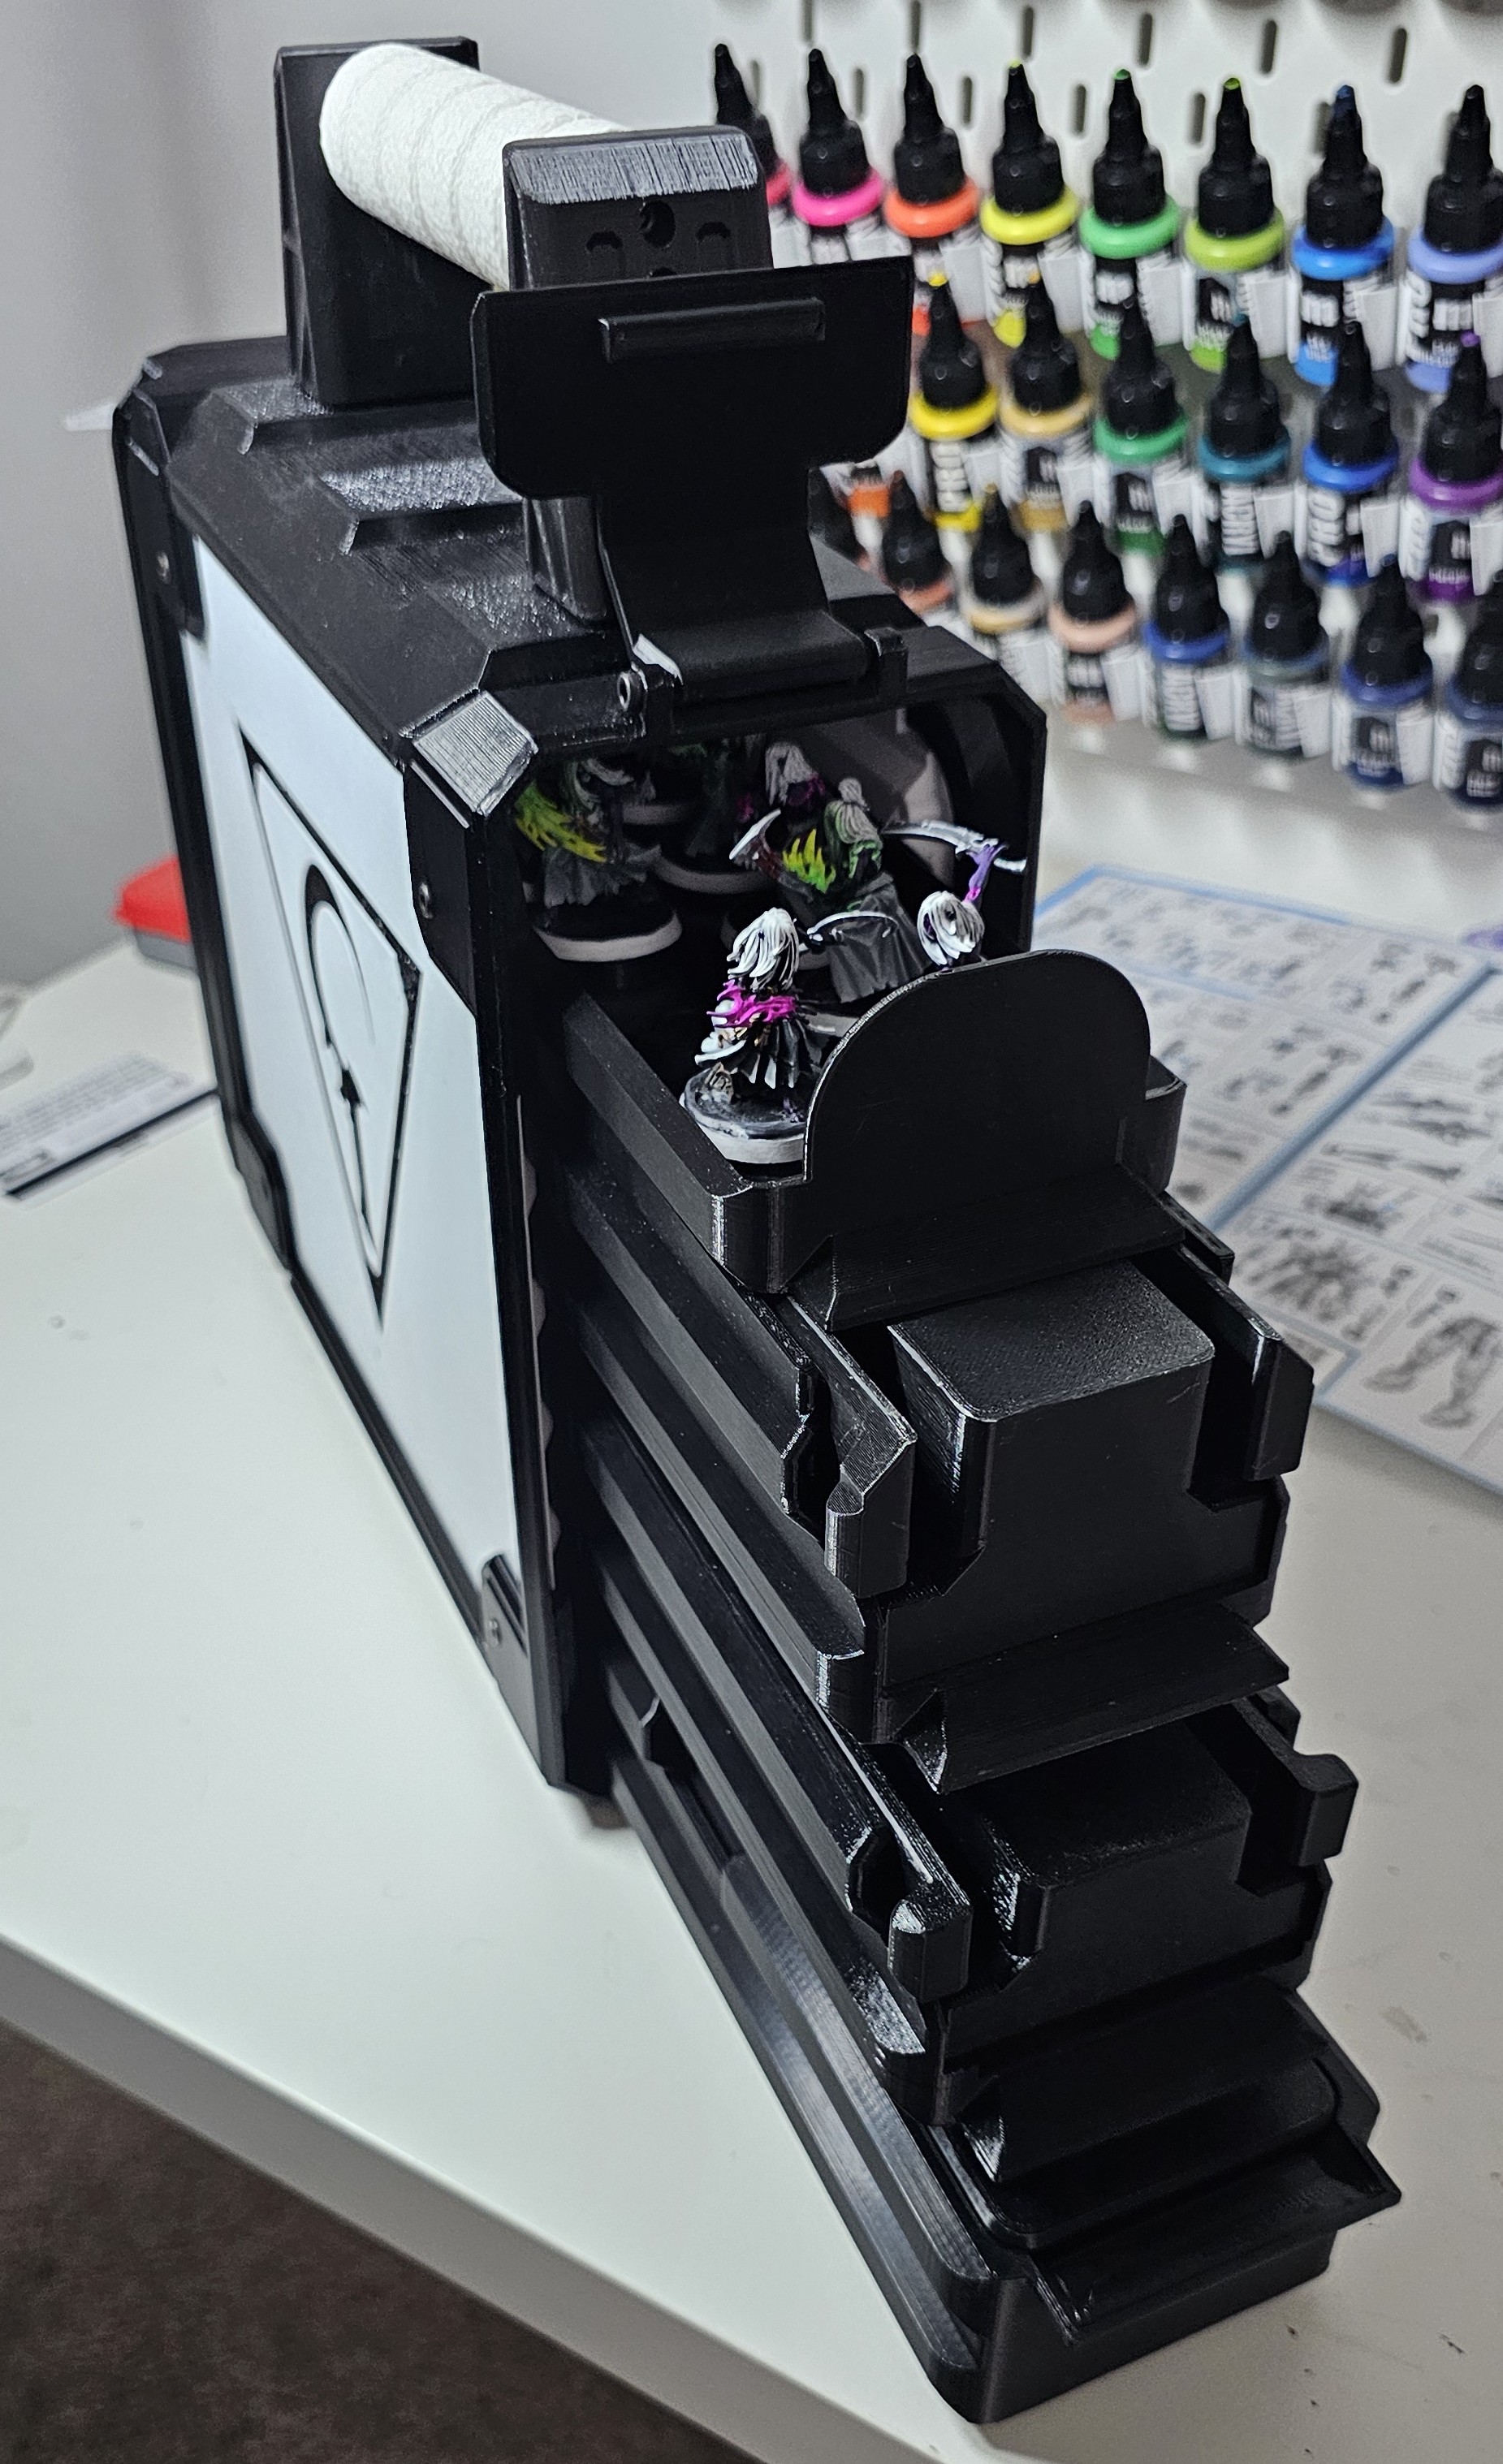
Magnets!
This project utilizes embedded magnets to “snap” trays to the inside, providing a strong hold and preventing any rattle

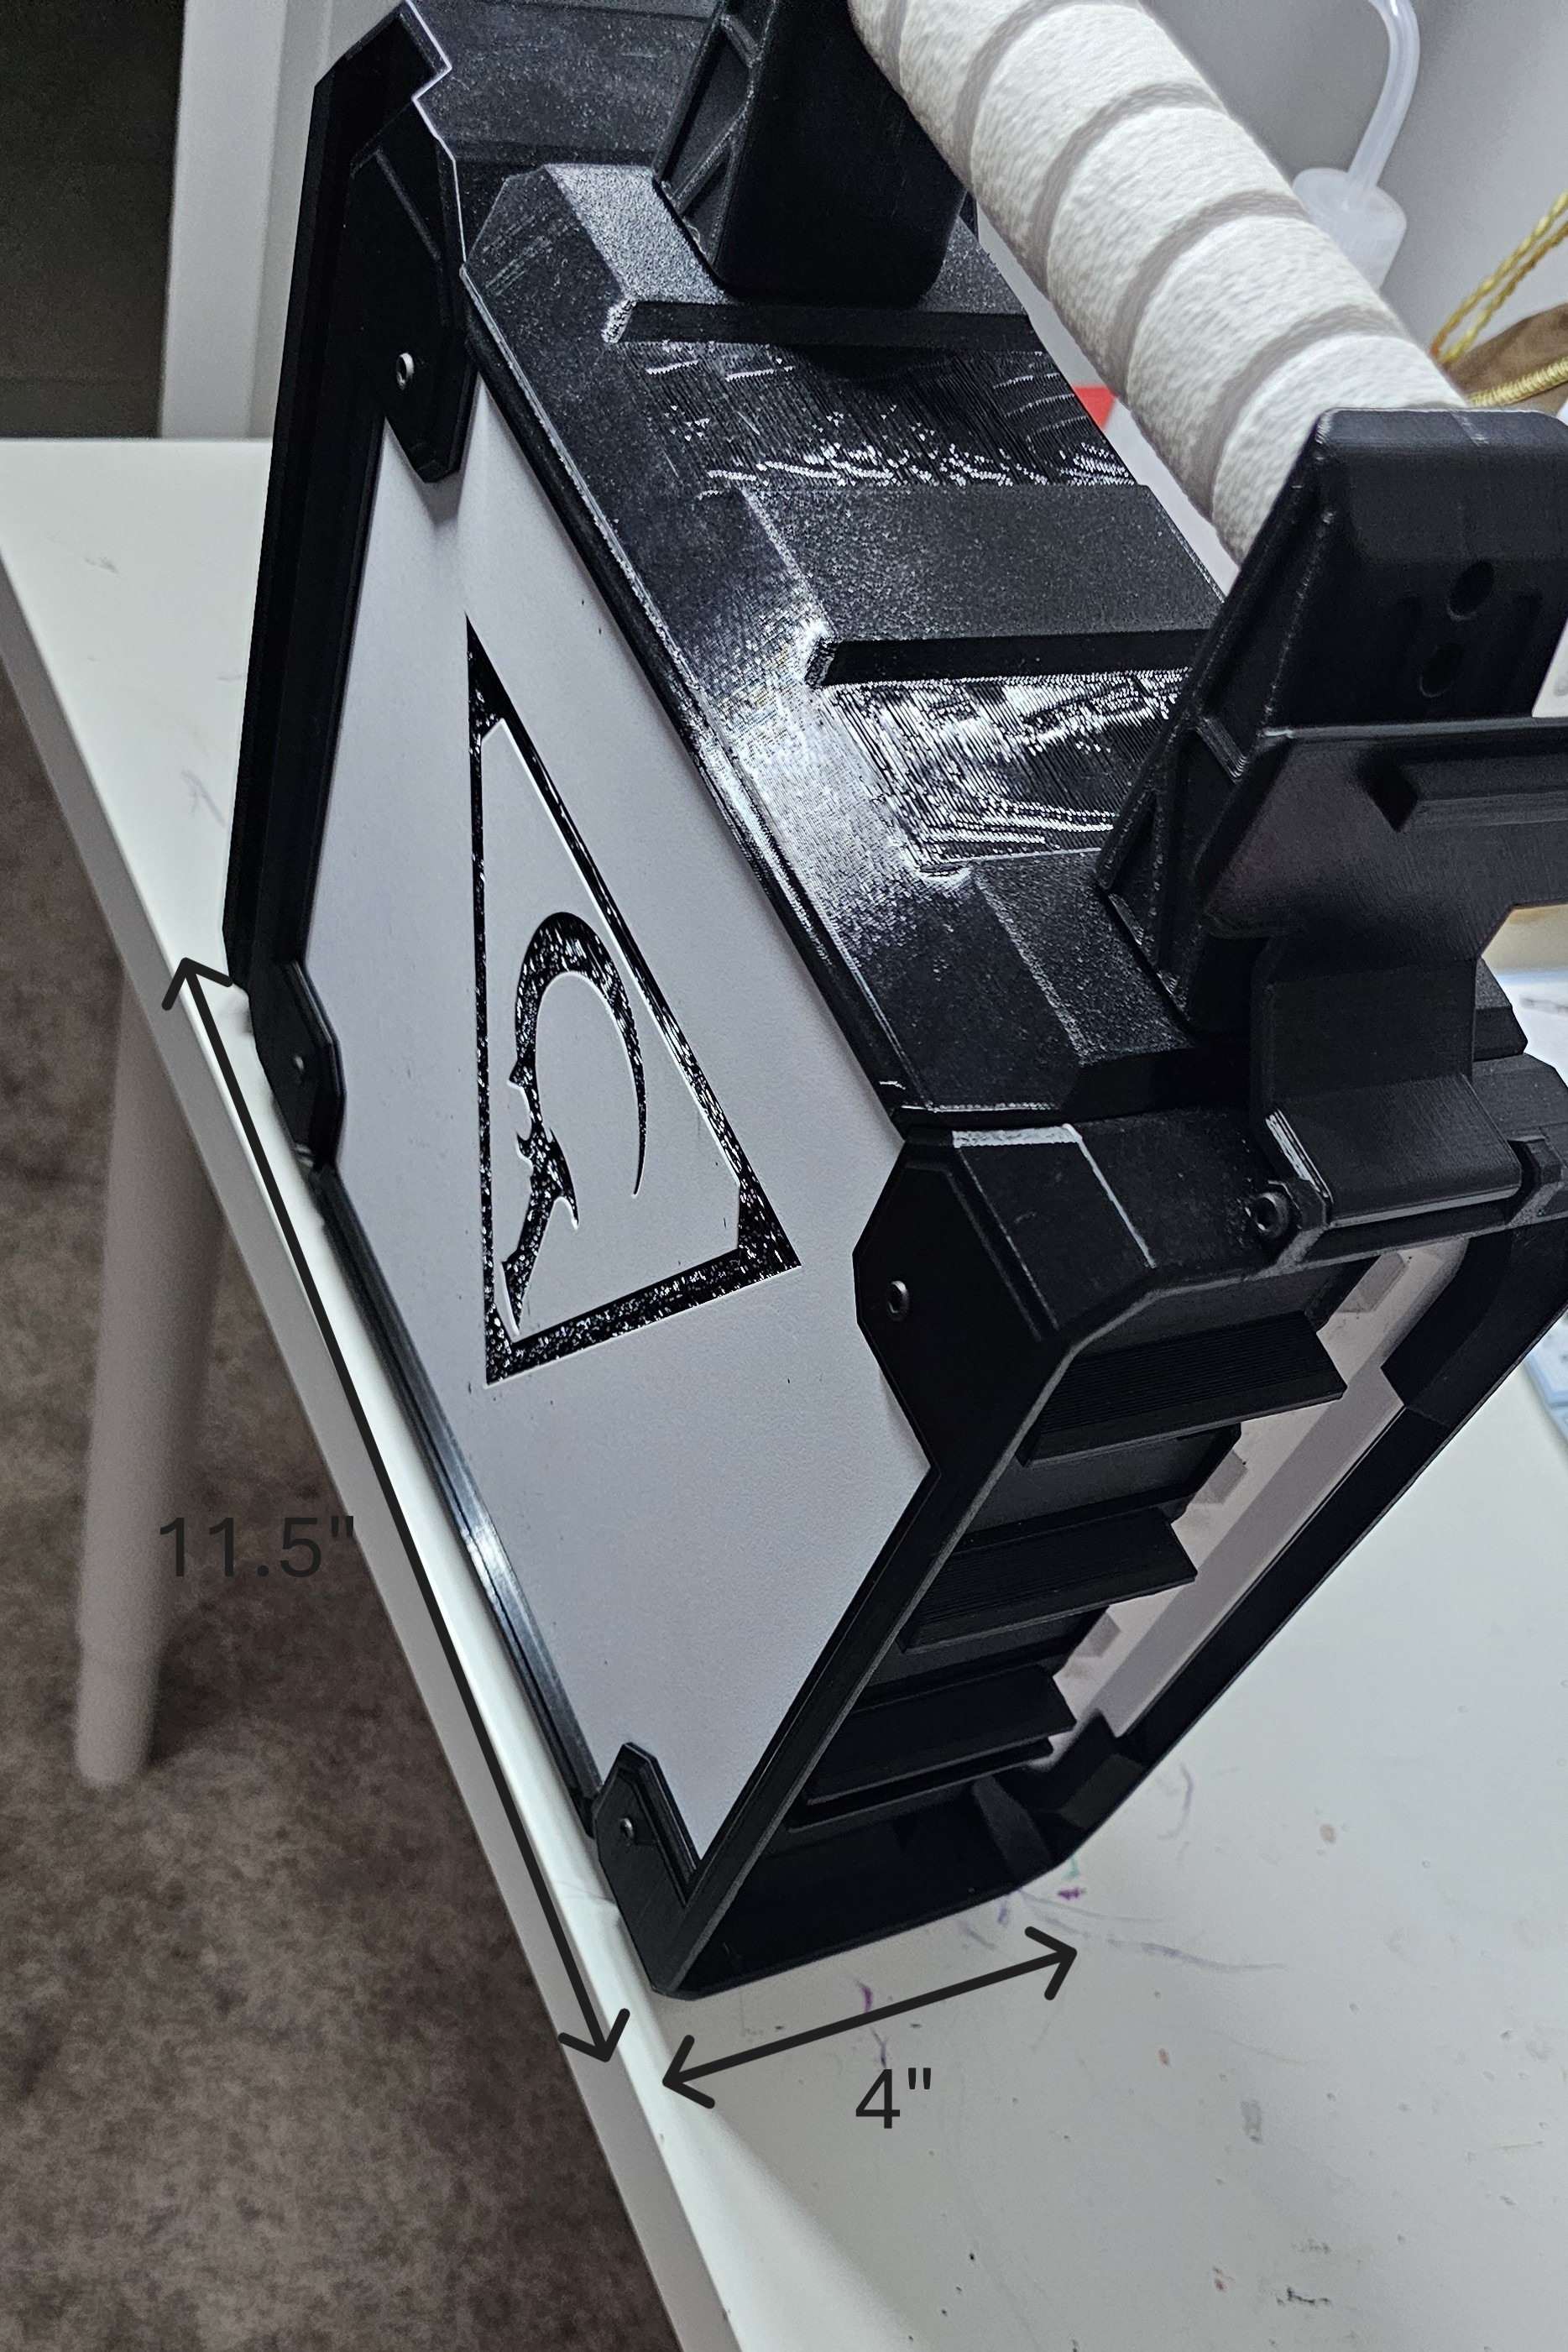
Compact Footprint
The carrier takes up a small 4" x 11.5" footprint on the gaming table
Locked In
The front lid snaps securely into place with both magnets and a compliant latch, and can be stored on the back of the unit to preserve table space
---------------------------------------------------------------------------------------------------
Trays
Base Trays (included in this project)
32mmx12 Model Tray
This tray can hold up to 12 miniatures using (12) embedded 12x3mm
circular magnets. This tray can hold miniatures with up to 32mm bases. I have created a 40mmx6 model tray variation as well, and there are 2 and 3-slot variations depending on the height of your minis being stored.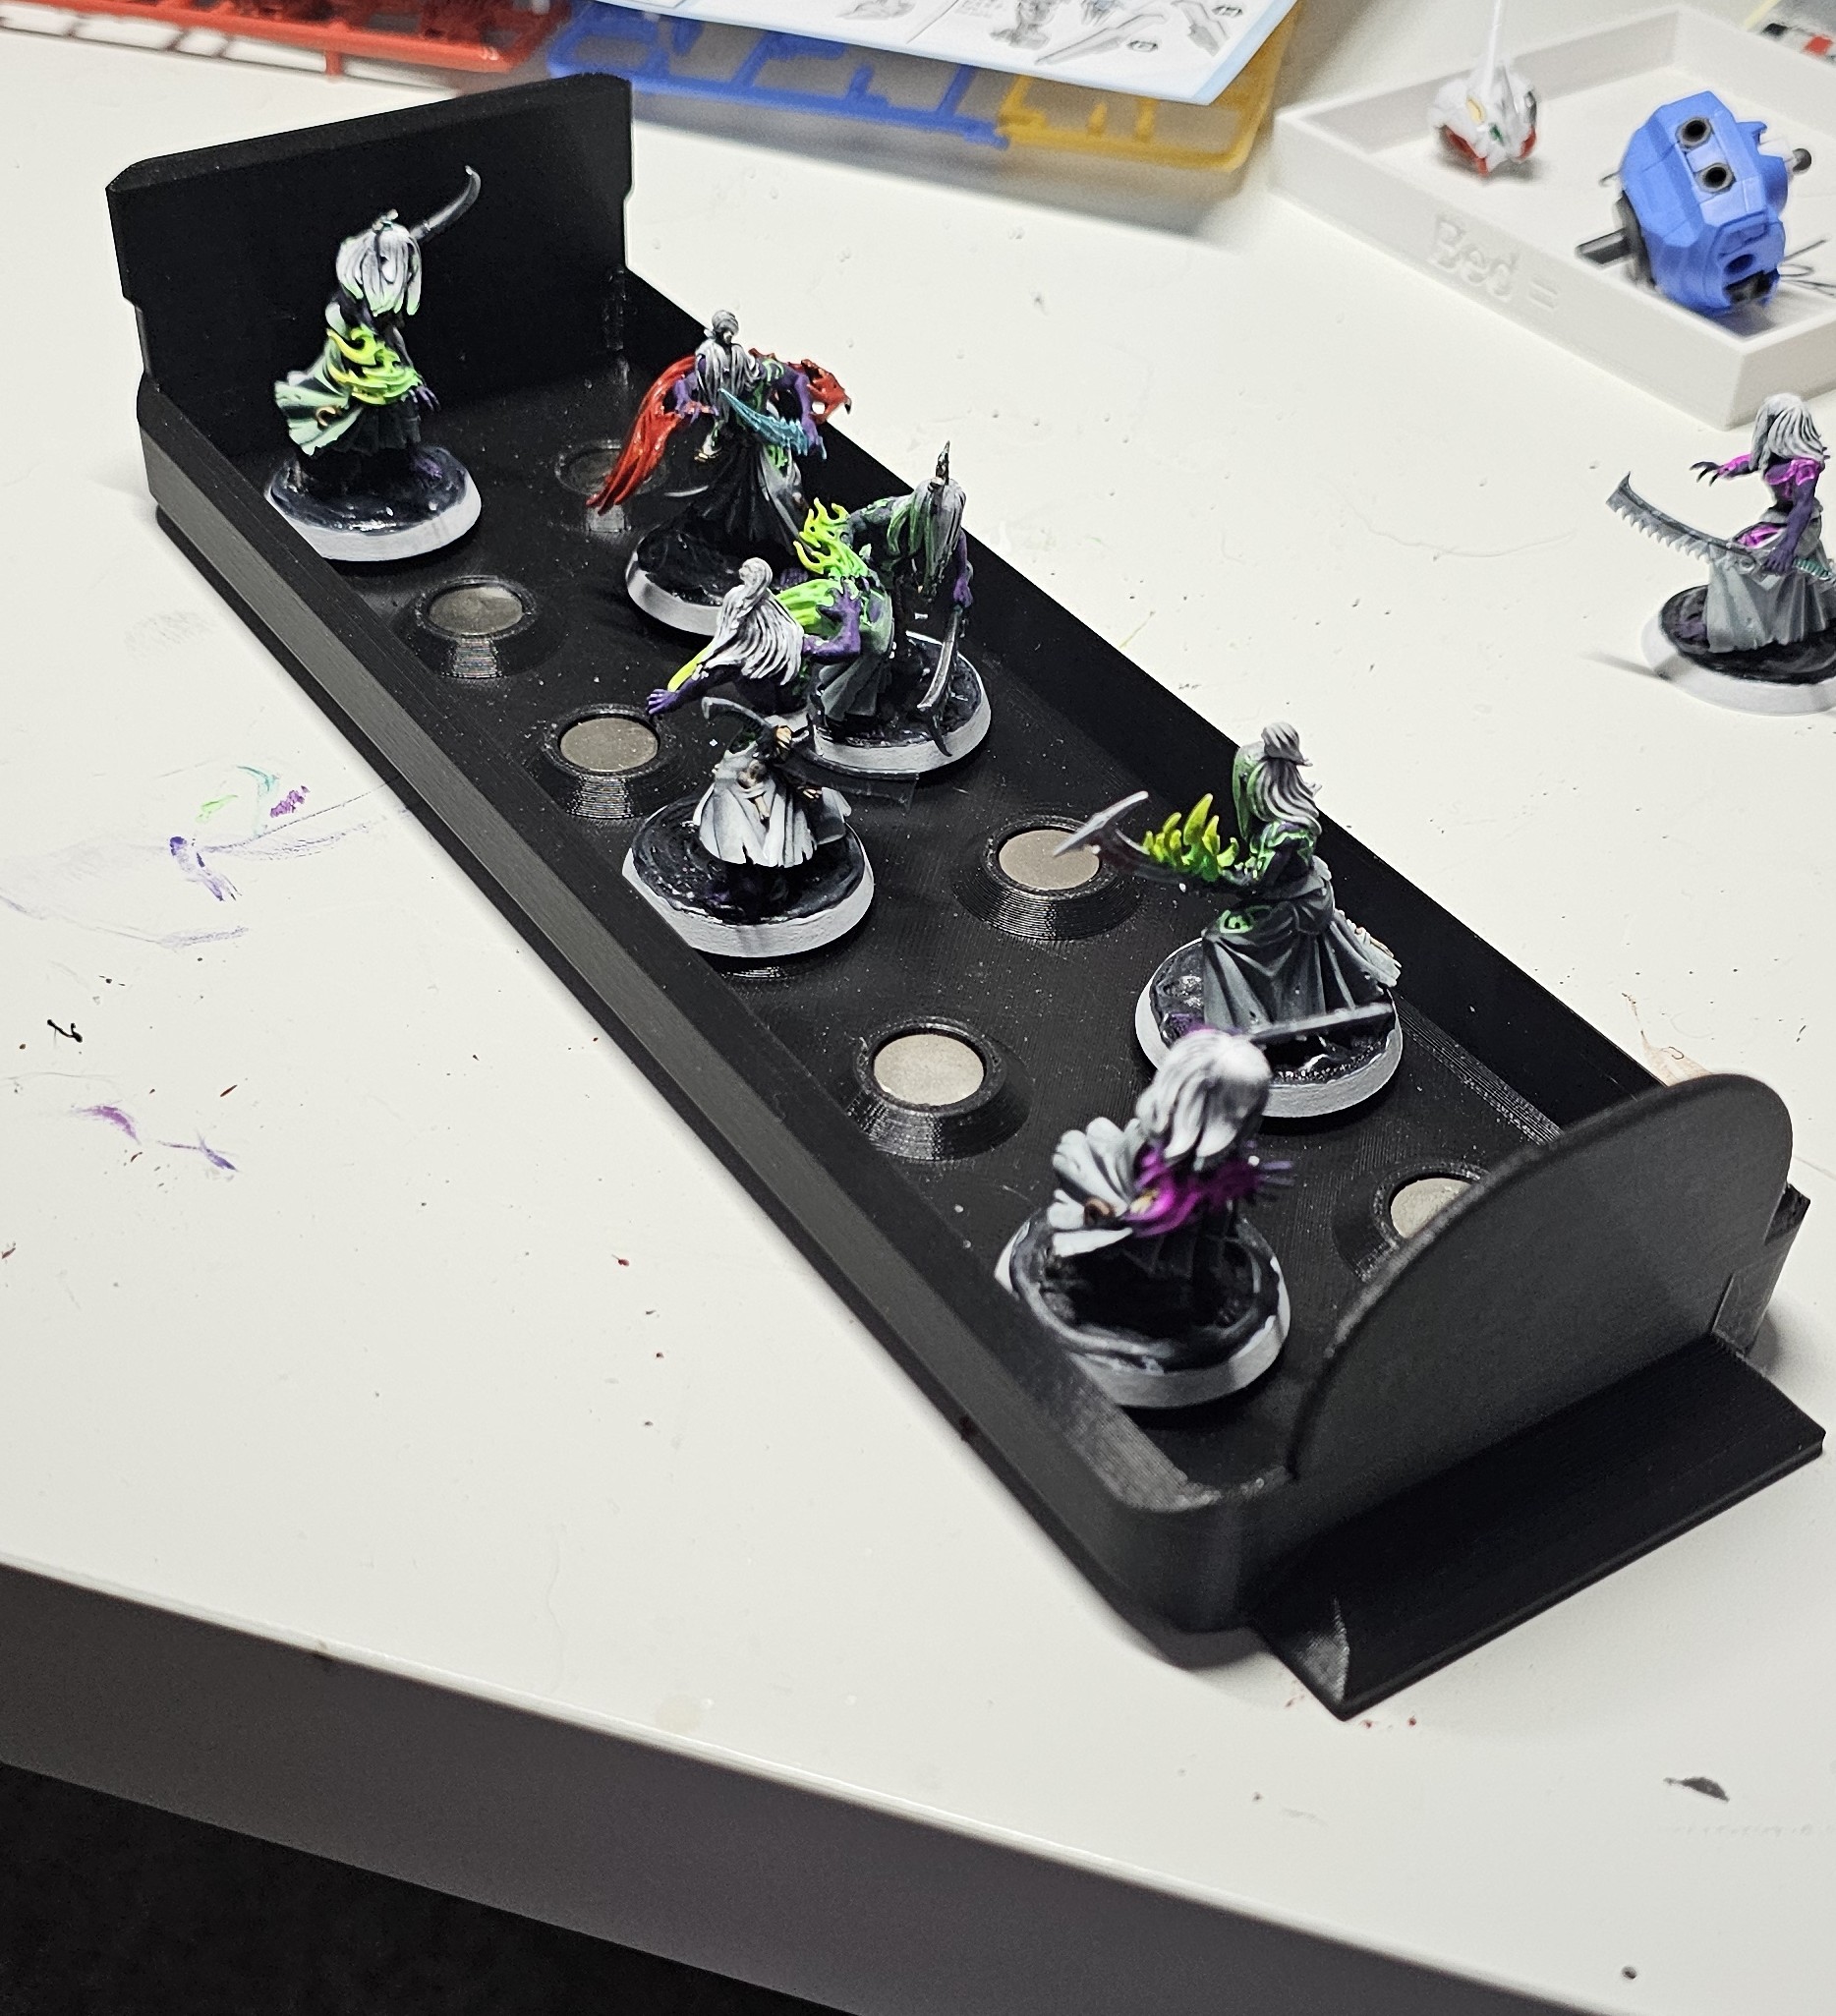
Note: Your minis need to have magnetized bases or have some form of metal
(like strikeplates) underneath. I personally use strikeplates on my models like these.
Flat Sheet Model Tray
This model tray is similar to the above, however the bottom is
flattened out so that you can stick a magnetic sheet to the floor to hold your minis
instead.
BattleStack Dice Tower
This tray folds out into a convenient dice tower for your games! Dice can also be held in the front end of this tray when the tower is folded down, thanks to embedded magnets that keep it securely closed. This tray requires (3) 60x10x3mm magnets.

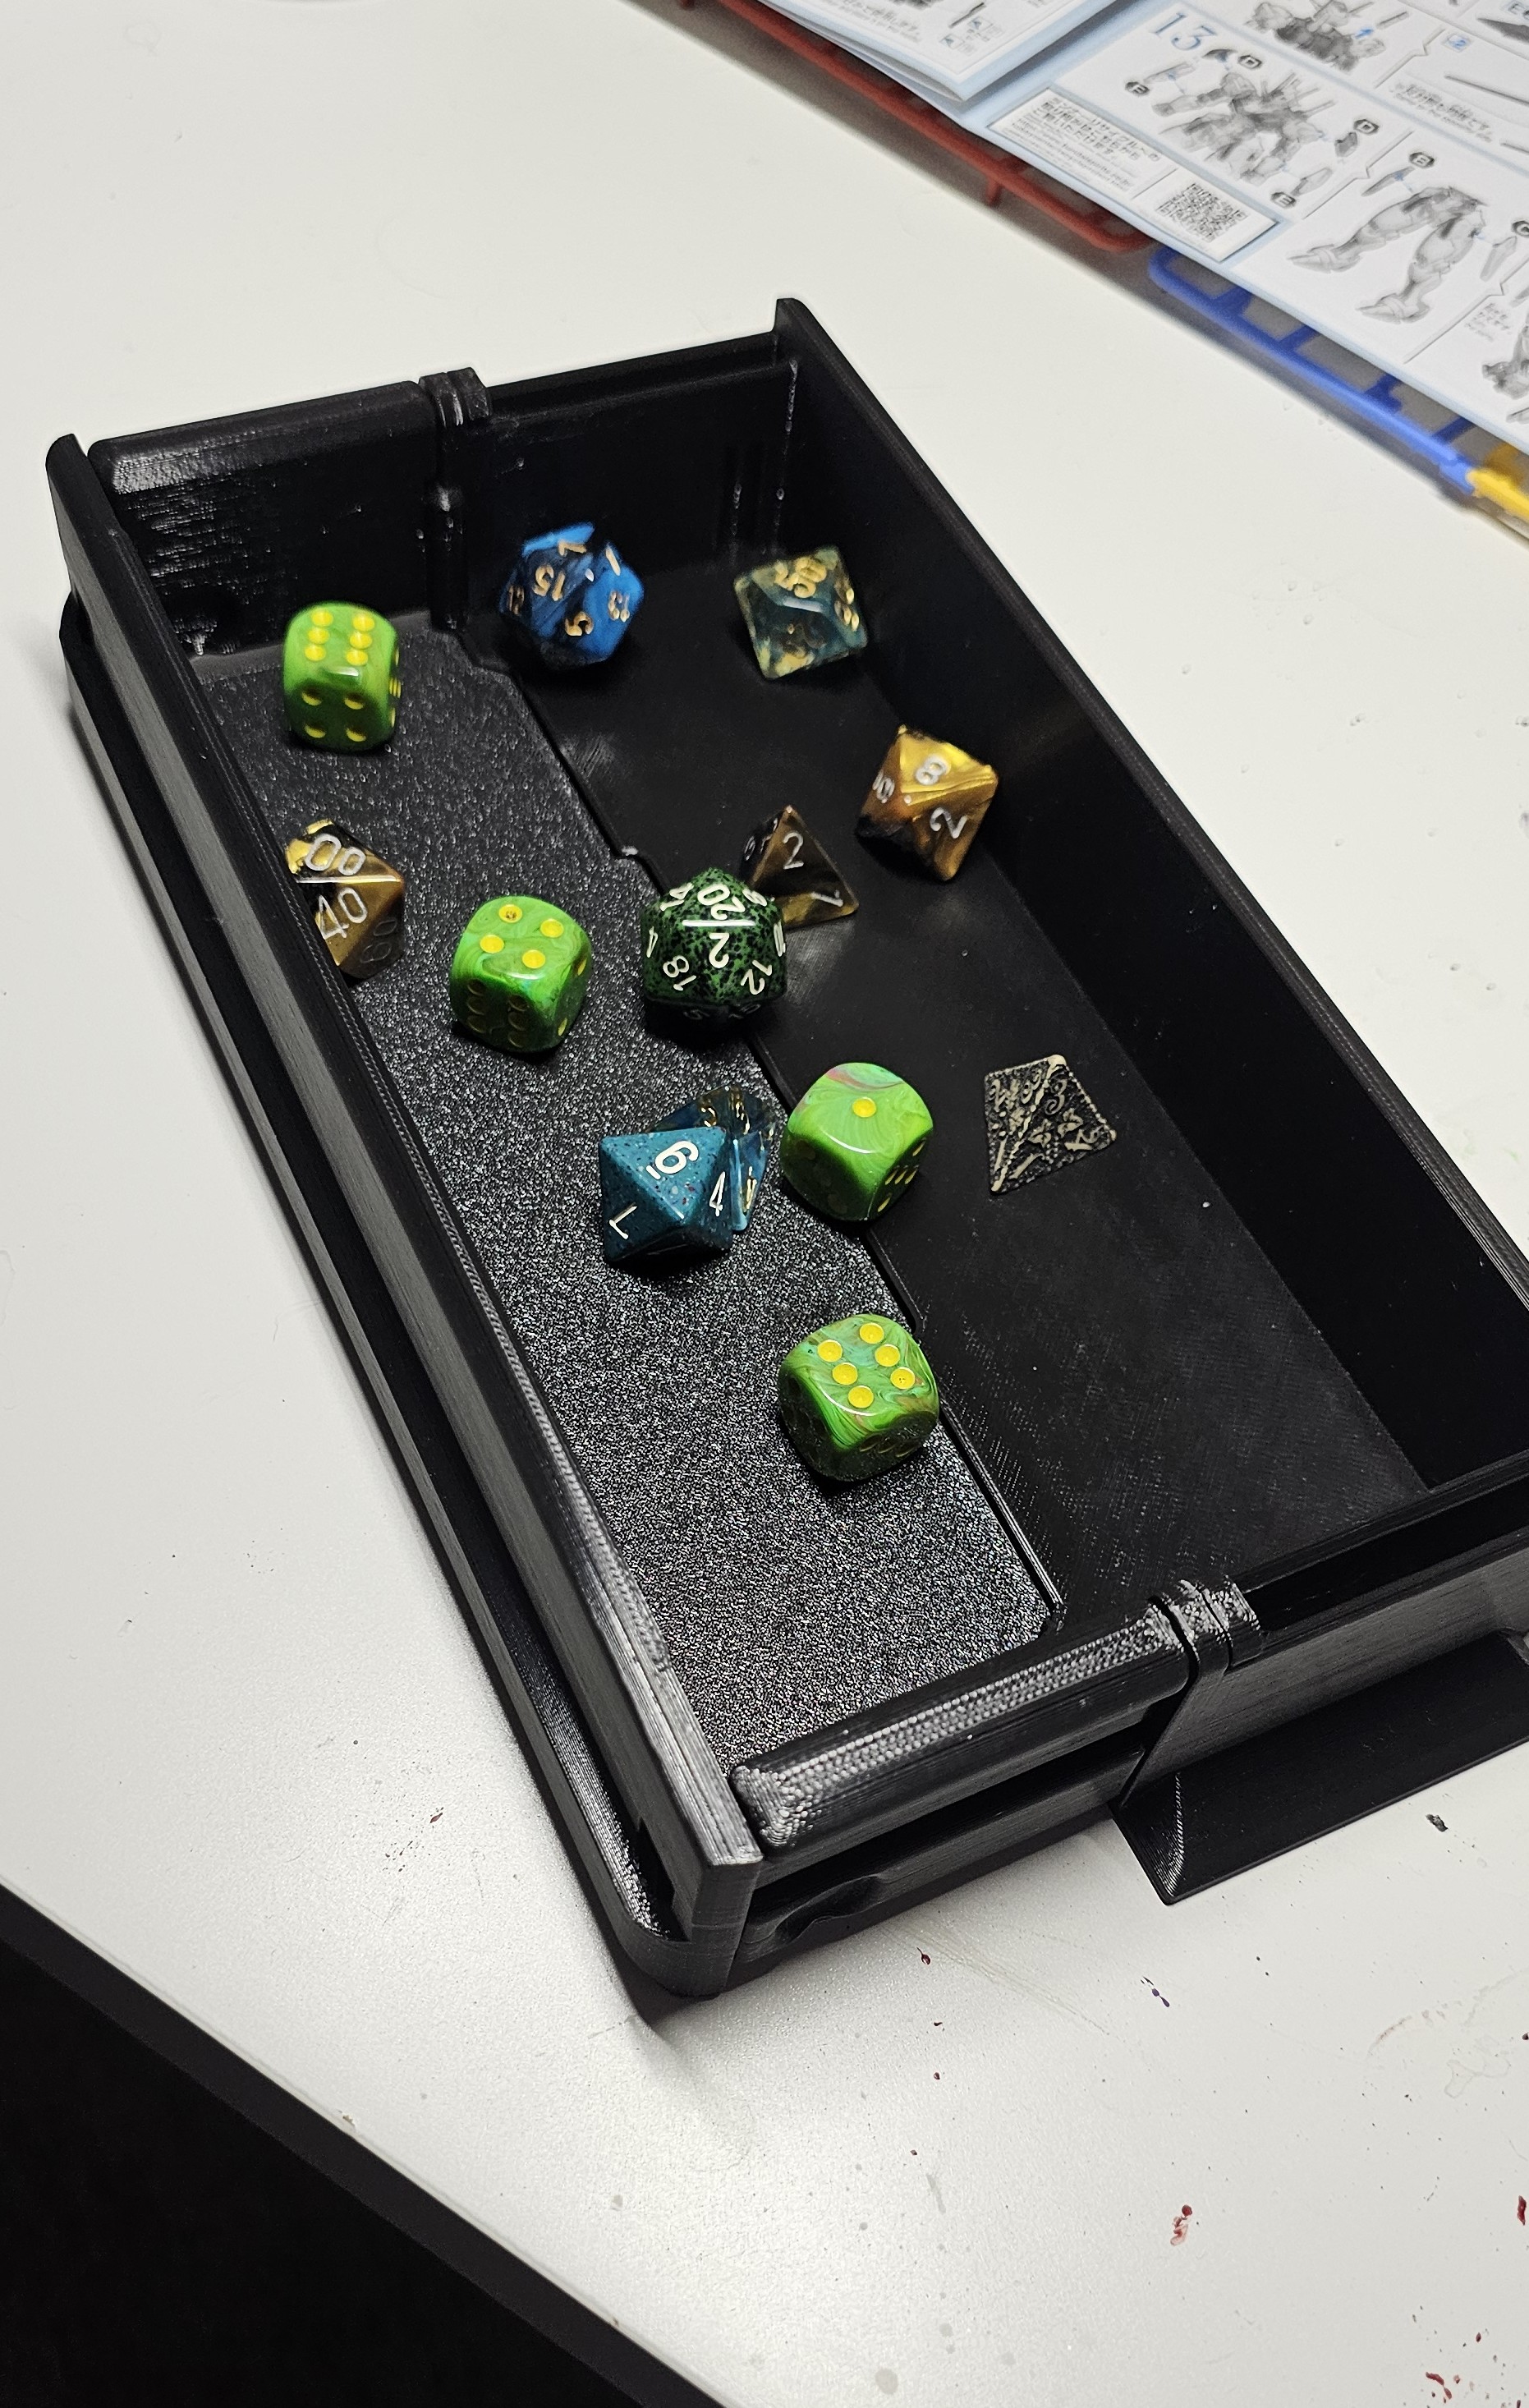
BattleStack Expanding Dice Tray
The expanding dice tray is a great alternative for those
who prefer trays over towers. Once expanded, this tray boasts a 208x110mm area to sling
dice.
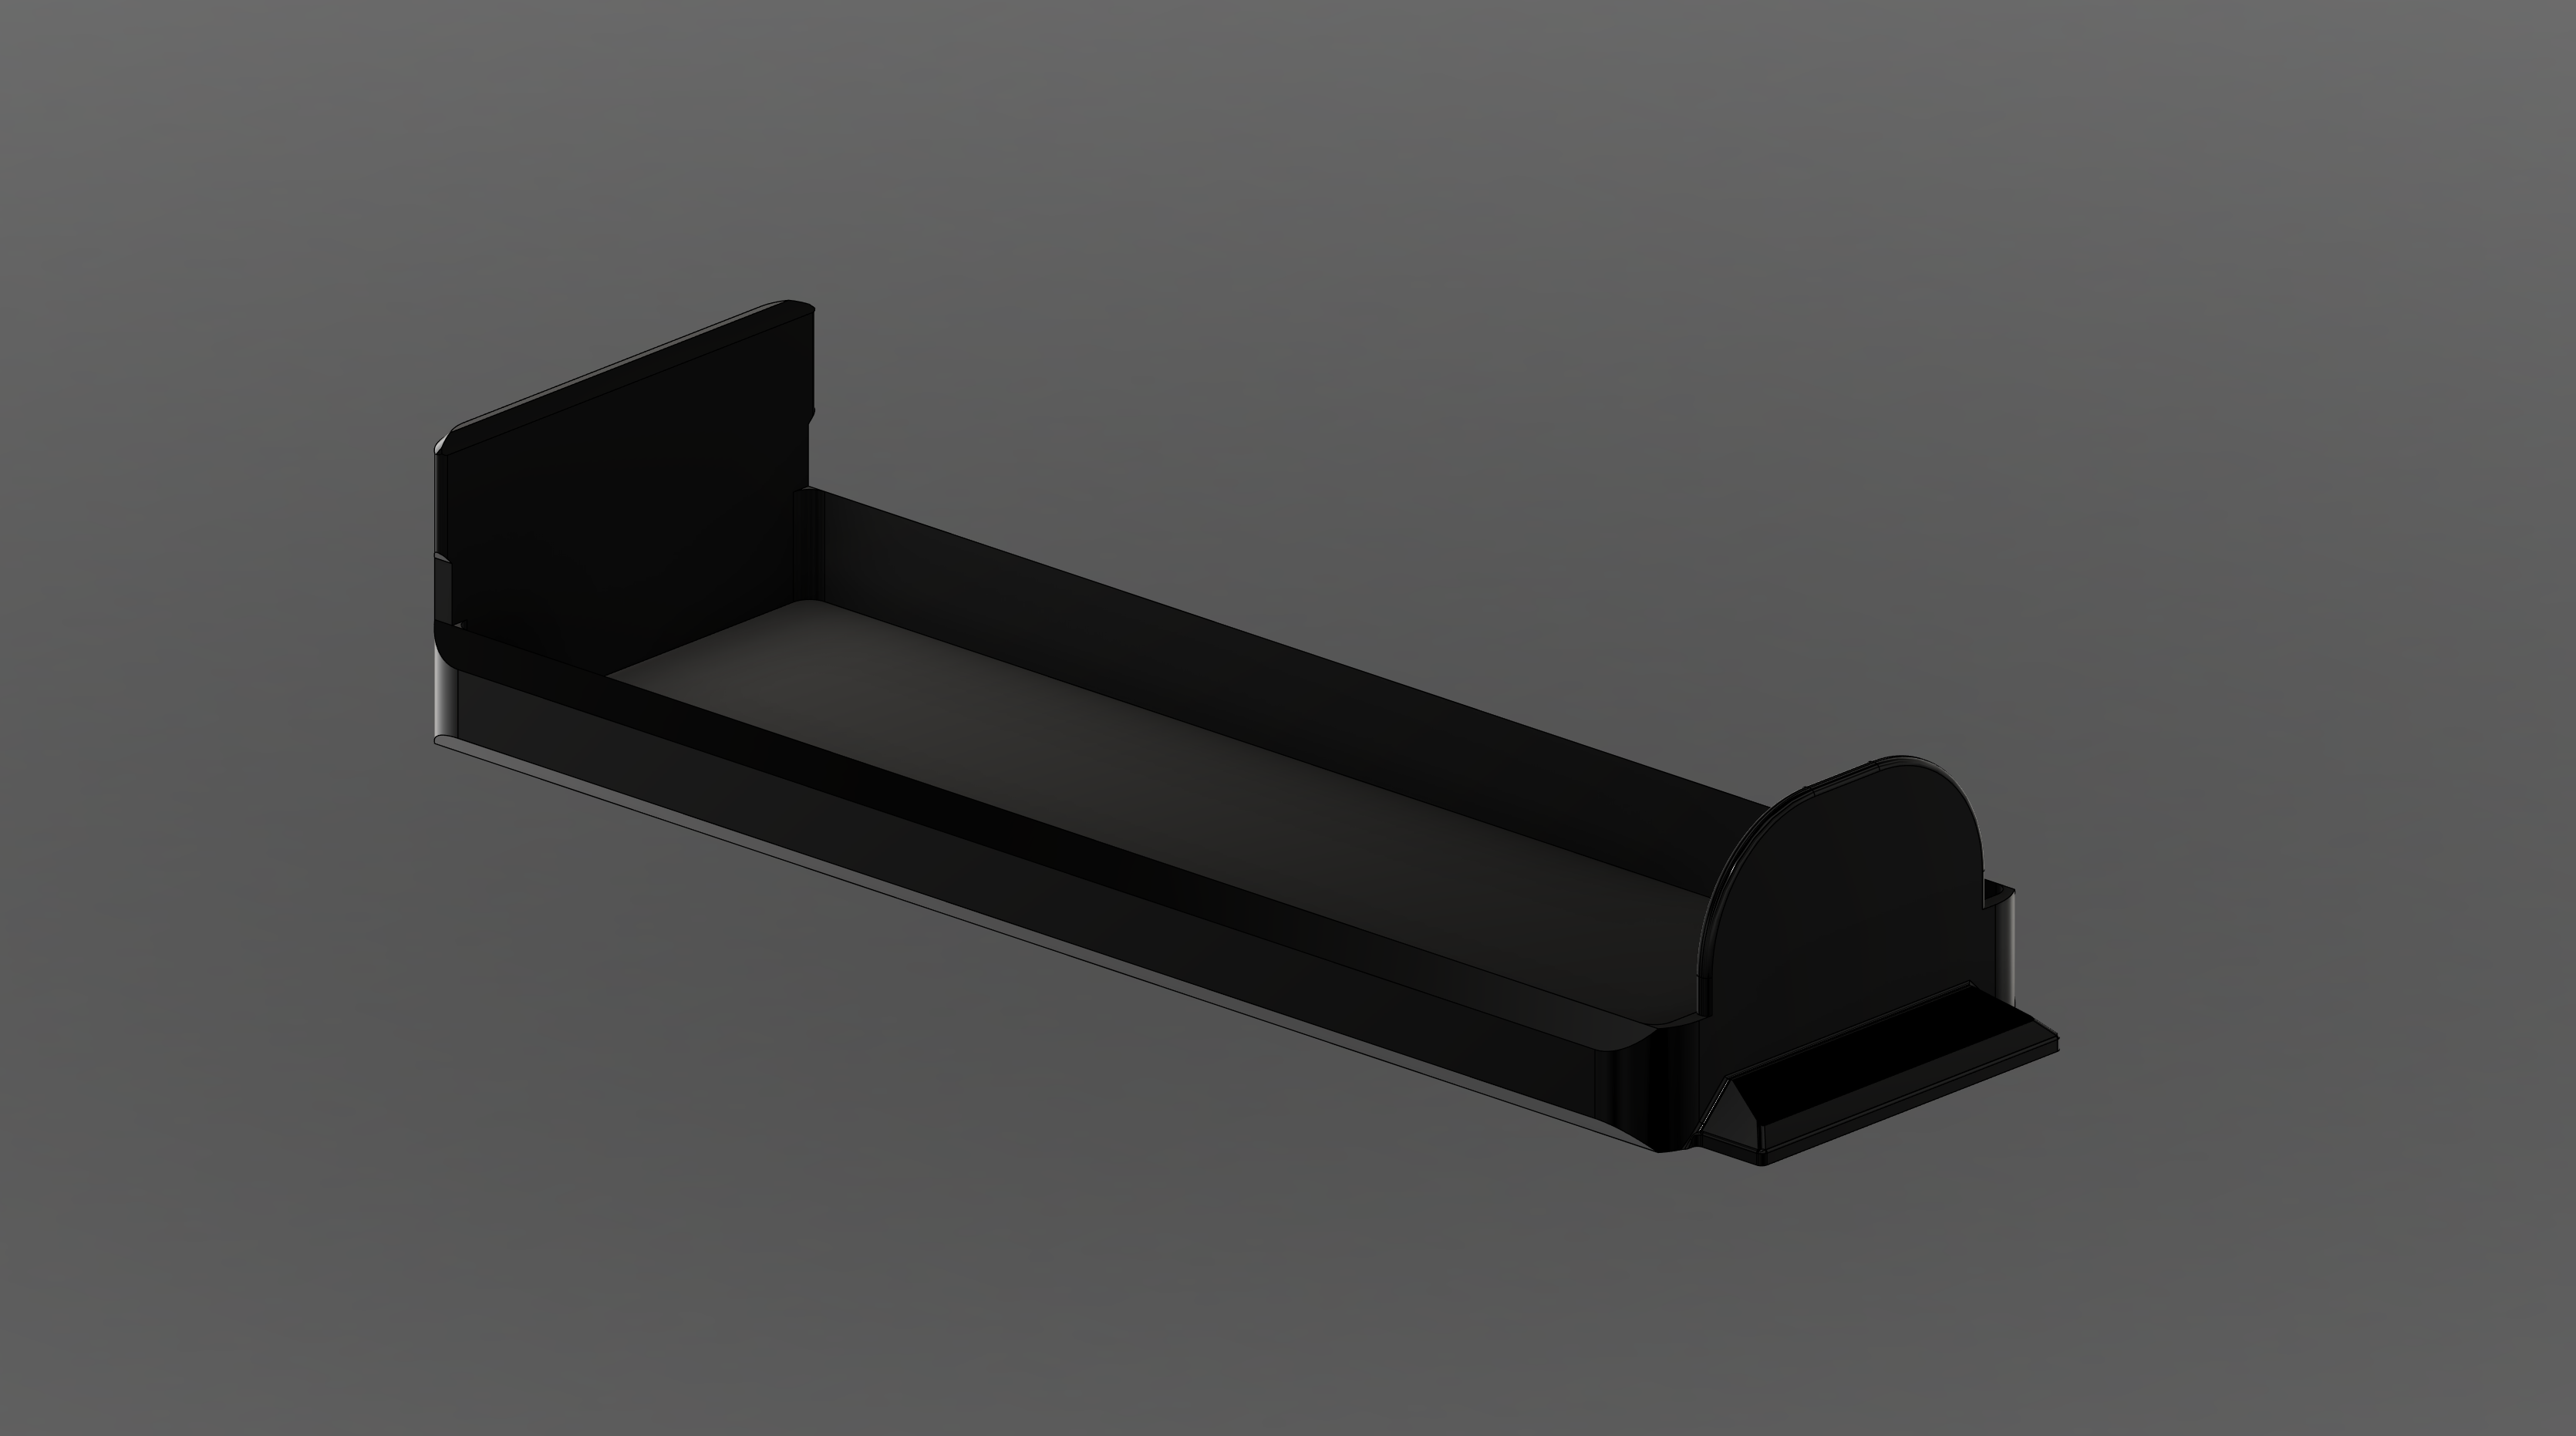
2.5, 2, and 1.5 Slot Storage Trays
A good catchall solution to carry your dice, cards, tokens, and more. It operates with a snap-fit lid that slides into the BattleStack like the other trays.

Base Tray
This tray is meant to be a template for your own custom designs! The STEP file is included with this project.

Additional Trays
Additional trays for more specific games or variations will be listed here
BattleStack Token Tray for Kill Team
---------------------------------------------------------------------------------------------------
Materials Needed
The following list of materials includes Amazon links or the materials I used for my own build. As an Amazon Associate I earn a small commission from qualifying purchases through these links, however this is at no additional cost to you and is 100% optional.
- Filament: PETG is preferred for its balance of printability and strength
- M3 Hardware:
- 18x M3x8mm Screws
- 4x M3x30mm Screws
- 2x M3x16mm Screws
- 1x M3x45mm Screws
- 1x M3 Hexagonal Nut
- 24x M3x4x5mm Threaded Heat Set Inserts
- 14x 60x10x3mm Neodymium Bar Magnets
- 1x bar magnet will be reserved for polarity reference tool
- (Optional) Gel Super Glue
- Helpful when inserting magnets to prevent them from attaching to your hotend mid-print depending on your printer
- (For Model Tray) 12x3mm Disc Magnets
- Each tray requires at least (1) 60x10x3mm magnet
---------------------------------------------------------------------------------------------------
Assembly Guide
A PDF guide is attached for full build instructions and includes guidance on magnet insertion, heat set inserts, and assembly.
---------------------------------------------------------------------------------------------------
Files Included
All parts of the BattleStack are included as individual models to print and slice, and I've also included the STEP files for the full project (including each tray).
---------------------------------------------------------------------------------------------------
I am more than happy to release the entire project to the community for free, but if you'd like to support me please consider using the following Amazon affiliate links to source parts/tools. As an Amazon Associate I earn a small commission from qualifying purchases through these links, however this is at no additional cost to you and is 100% optional.
- Current favorite PETG for the cost/value
- M3 Hardware Kit
- M3x4x5mm Threaded Heat Set Inserts
- 60x10x3mm Neodymium Bar Magnets
- (Optional) Gel Super Glue
- (Optional) Electric Screwdriver w/ M3 bit
- (For Model Tray) 12x3mm Disc Magnets
If want to support me and future project updates directly, you can do so at Buy me a coffee or PayPal, too.
I'm excited to see your builds!