Você está no 3DFinder
Buscamos em Thingiverse, MakerWorld e Printables ao mesmo tempo para te dar o melhor de cada uma.
Descrição
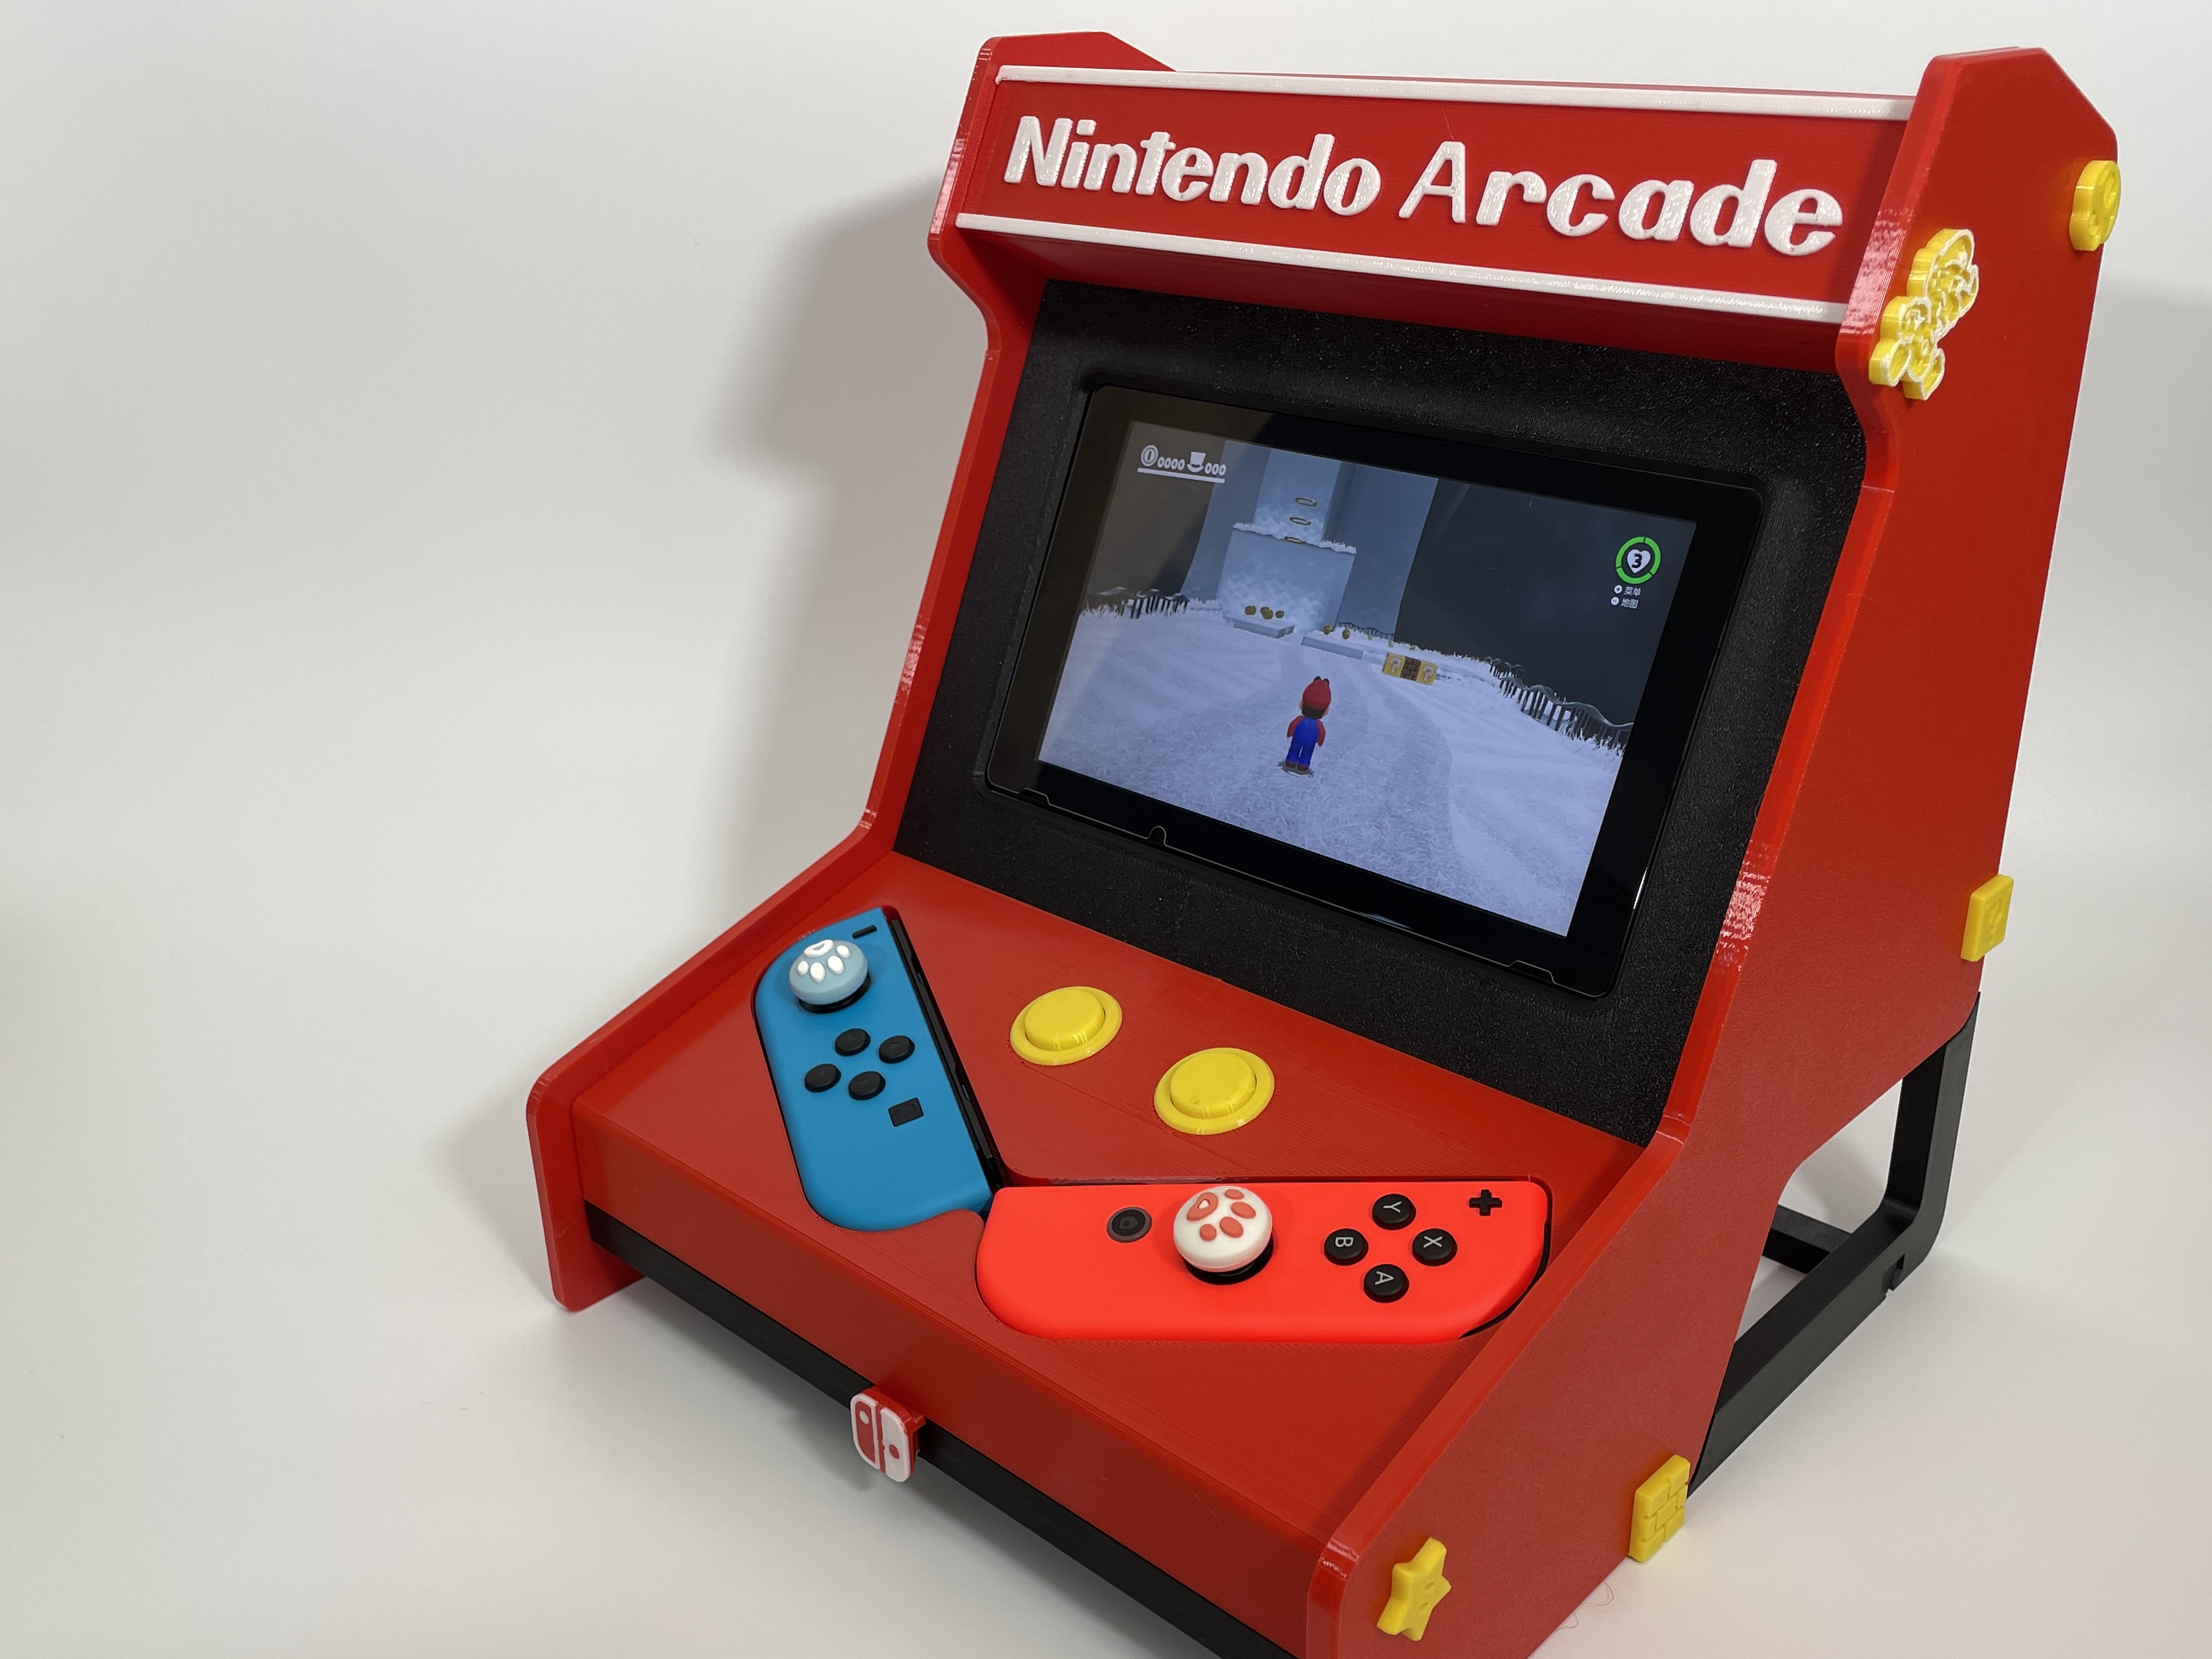
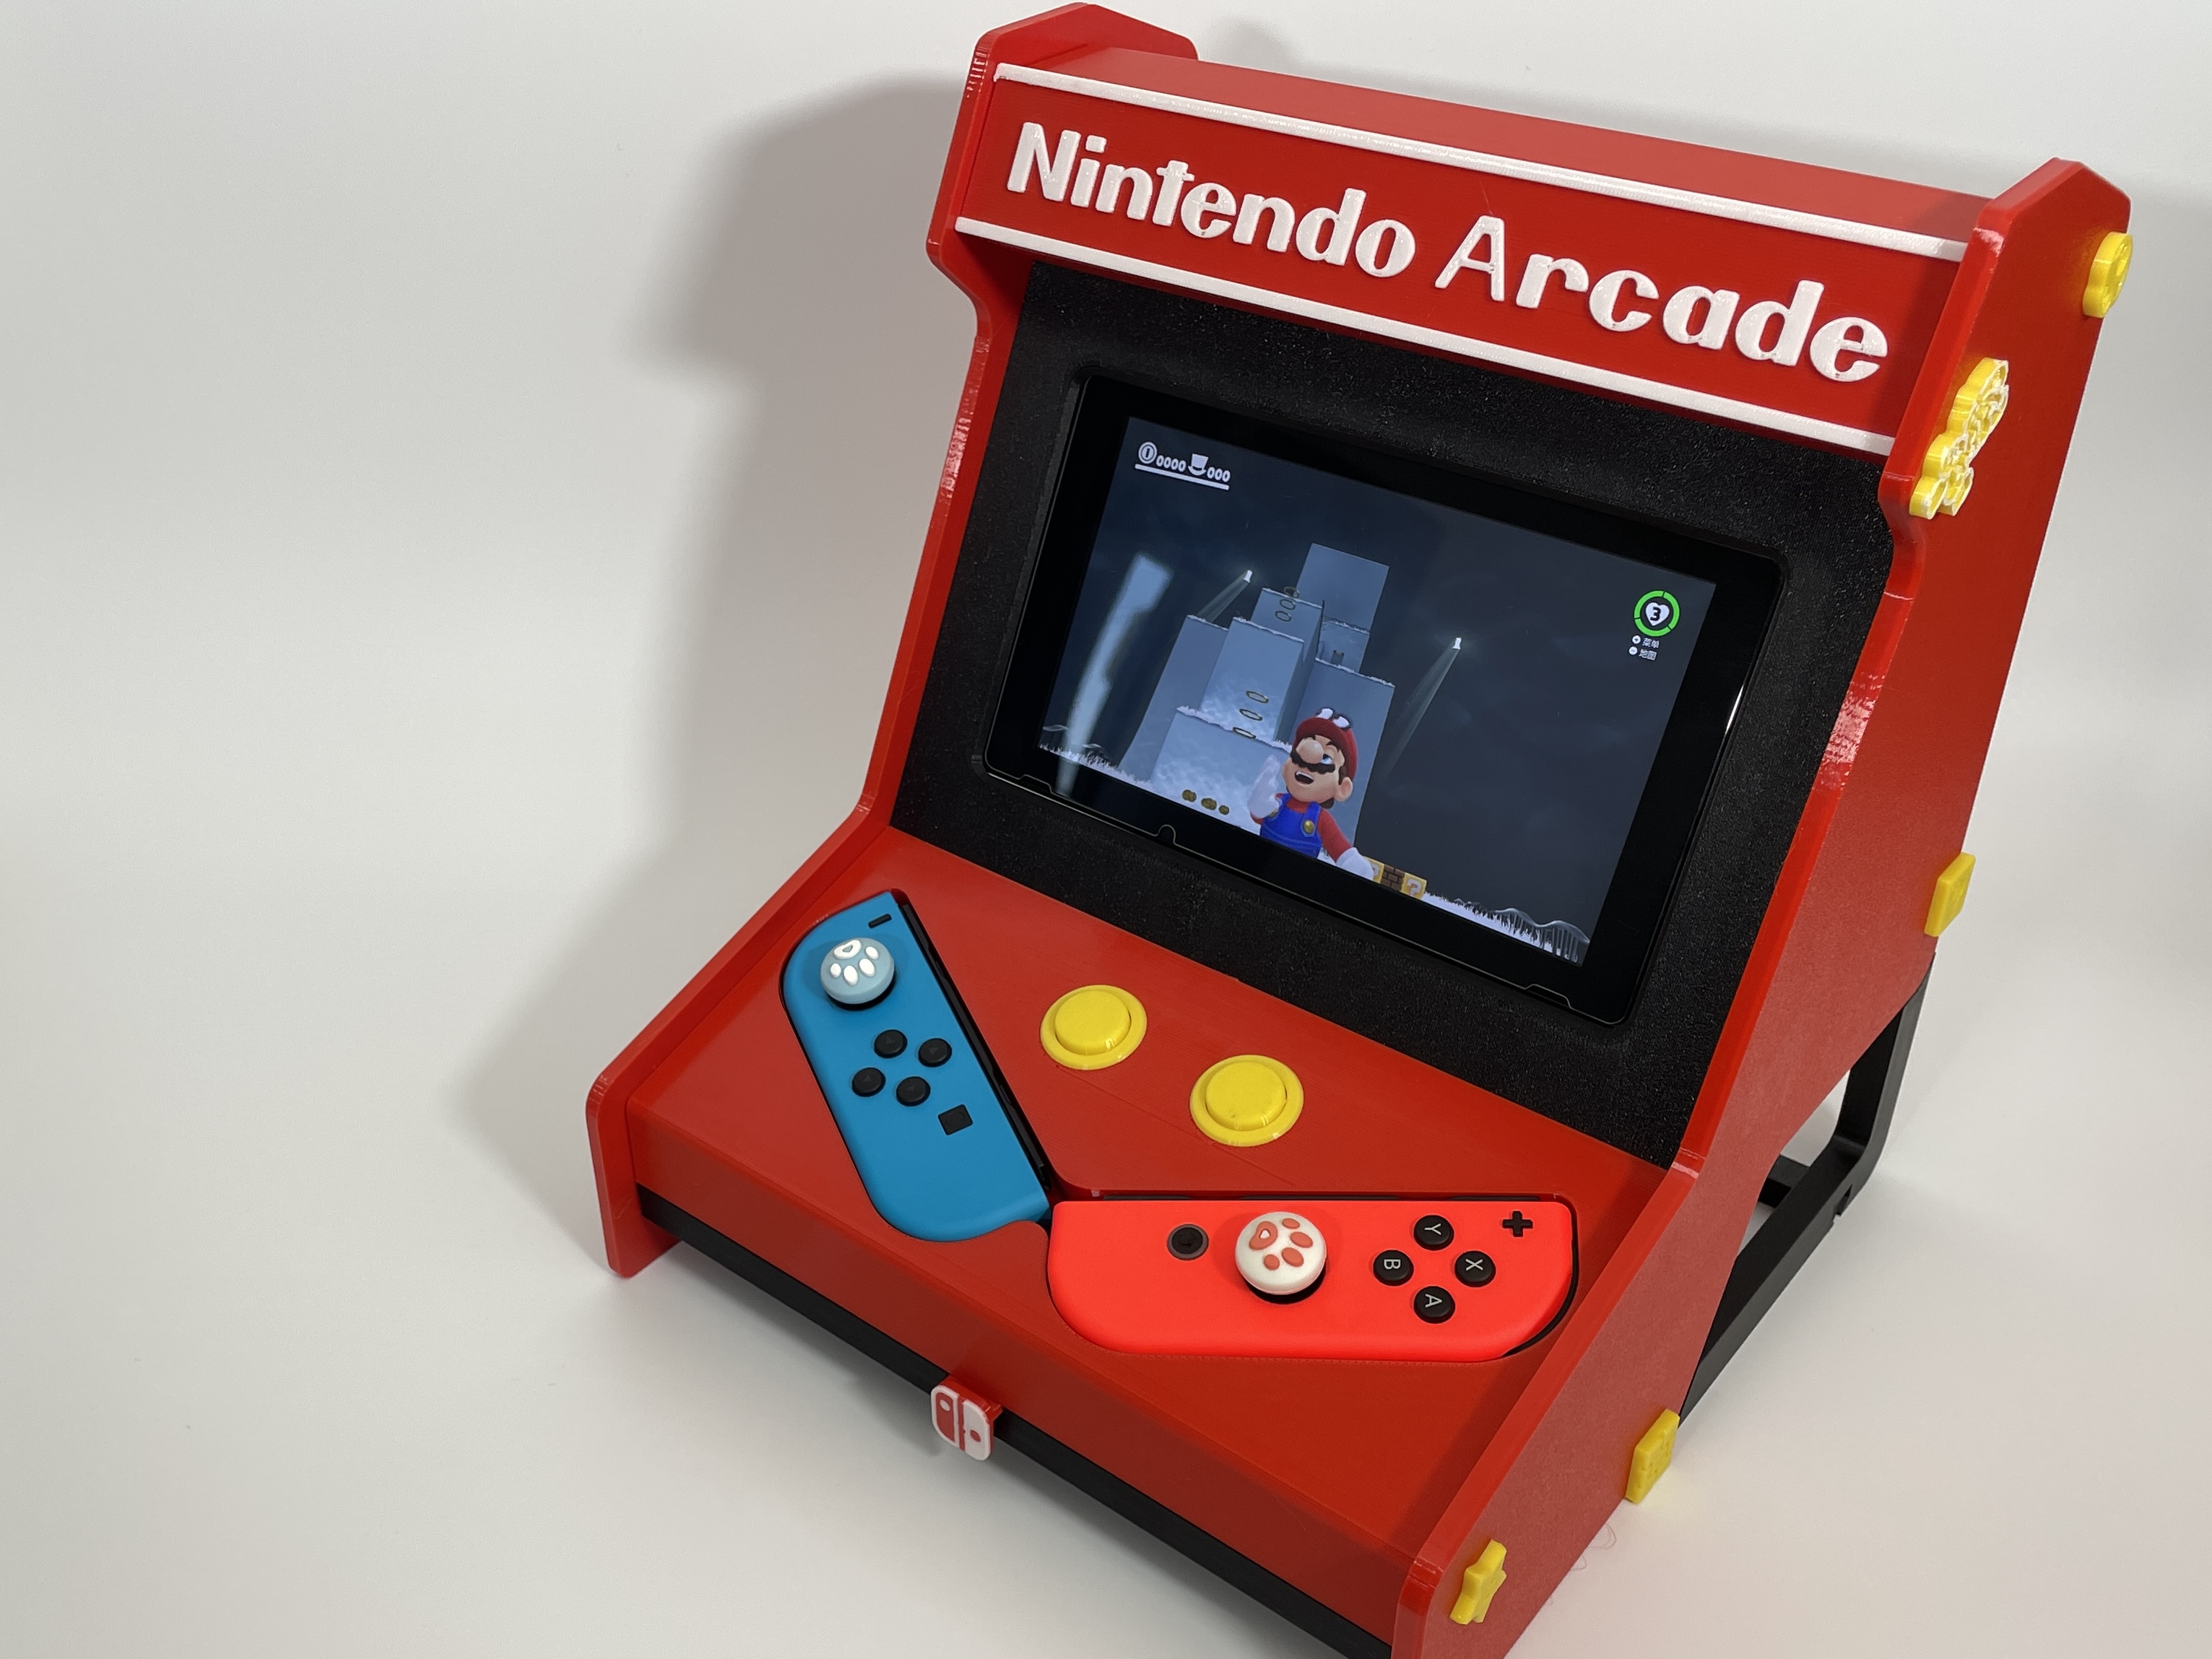
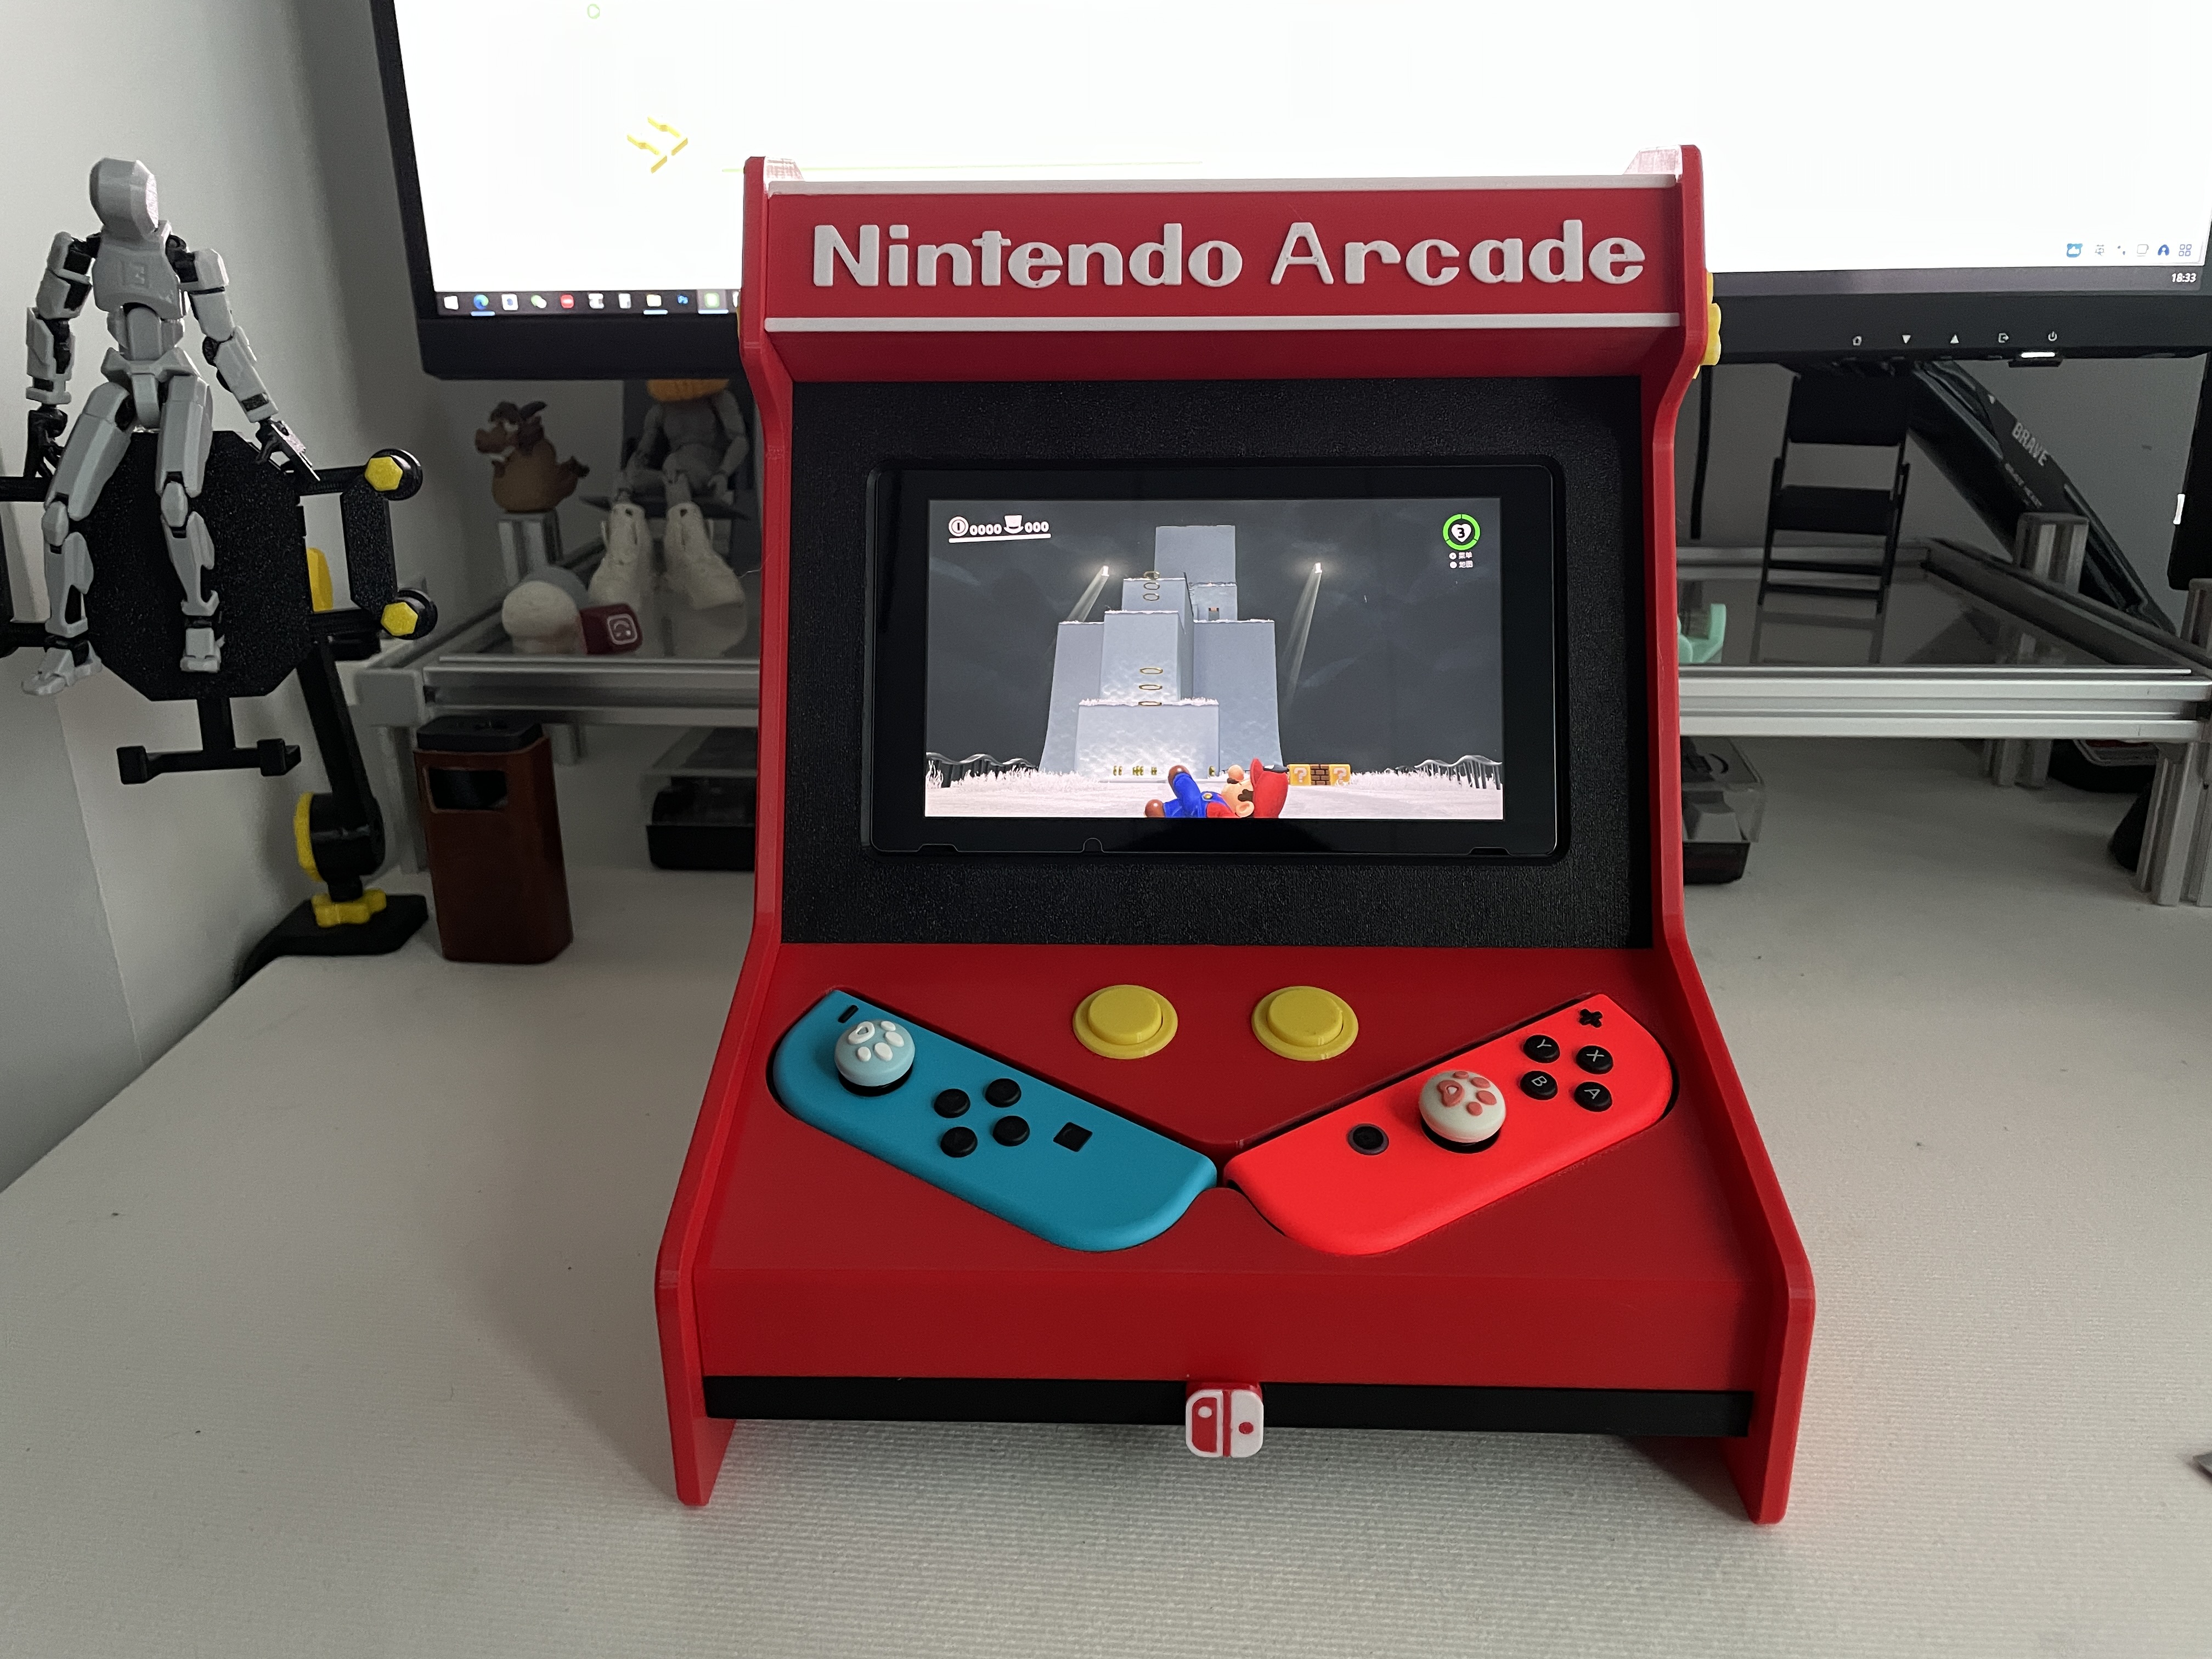
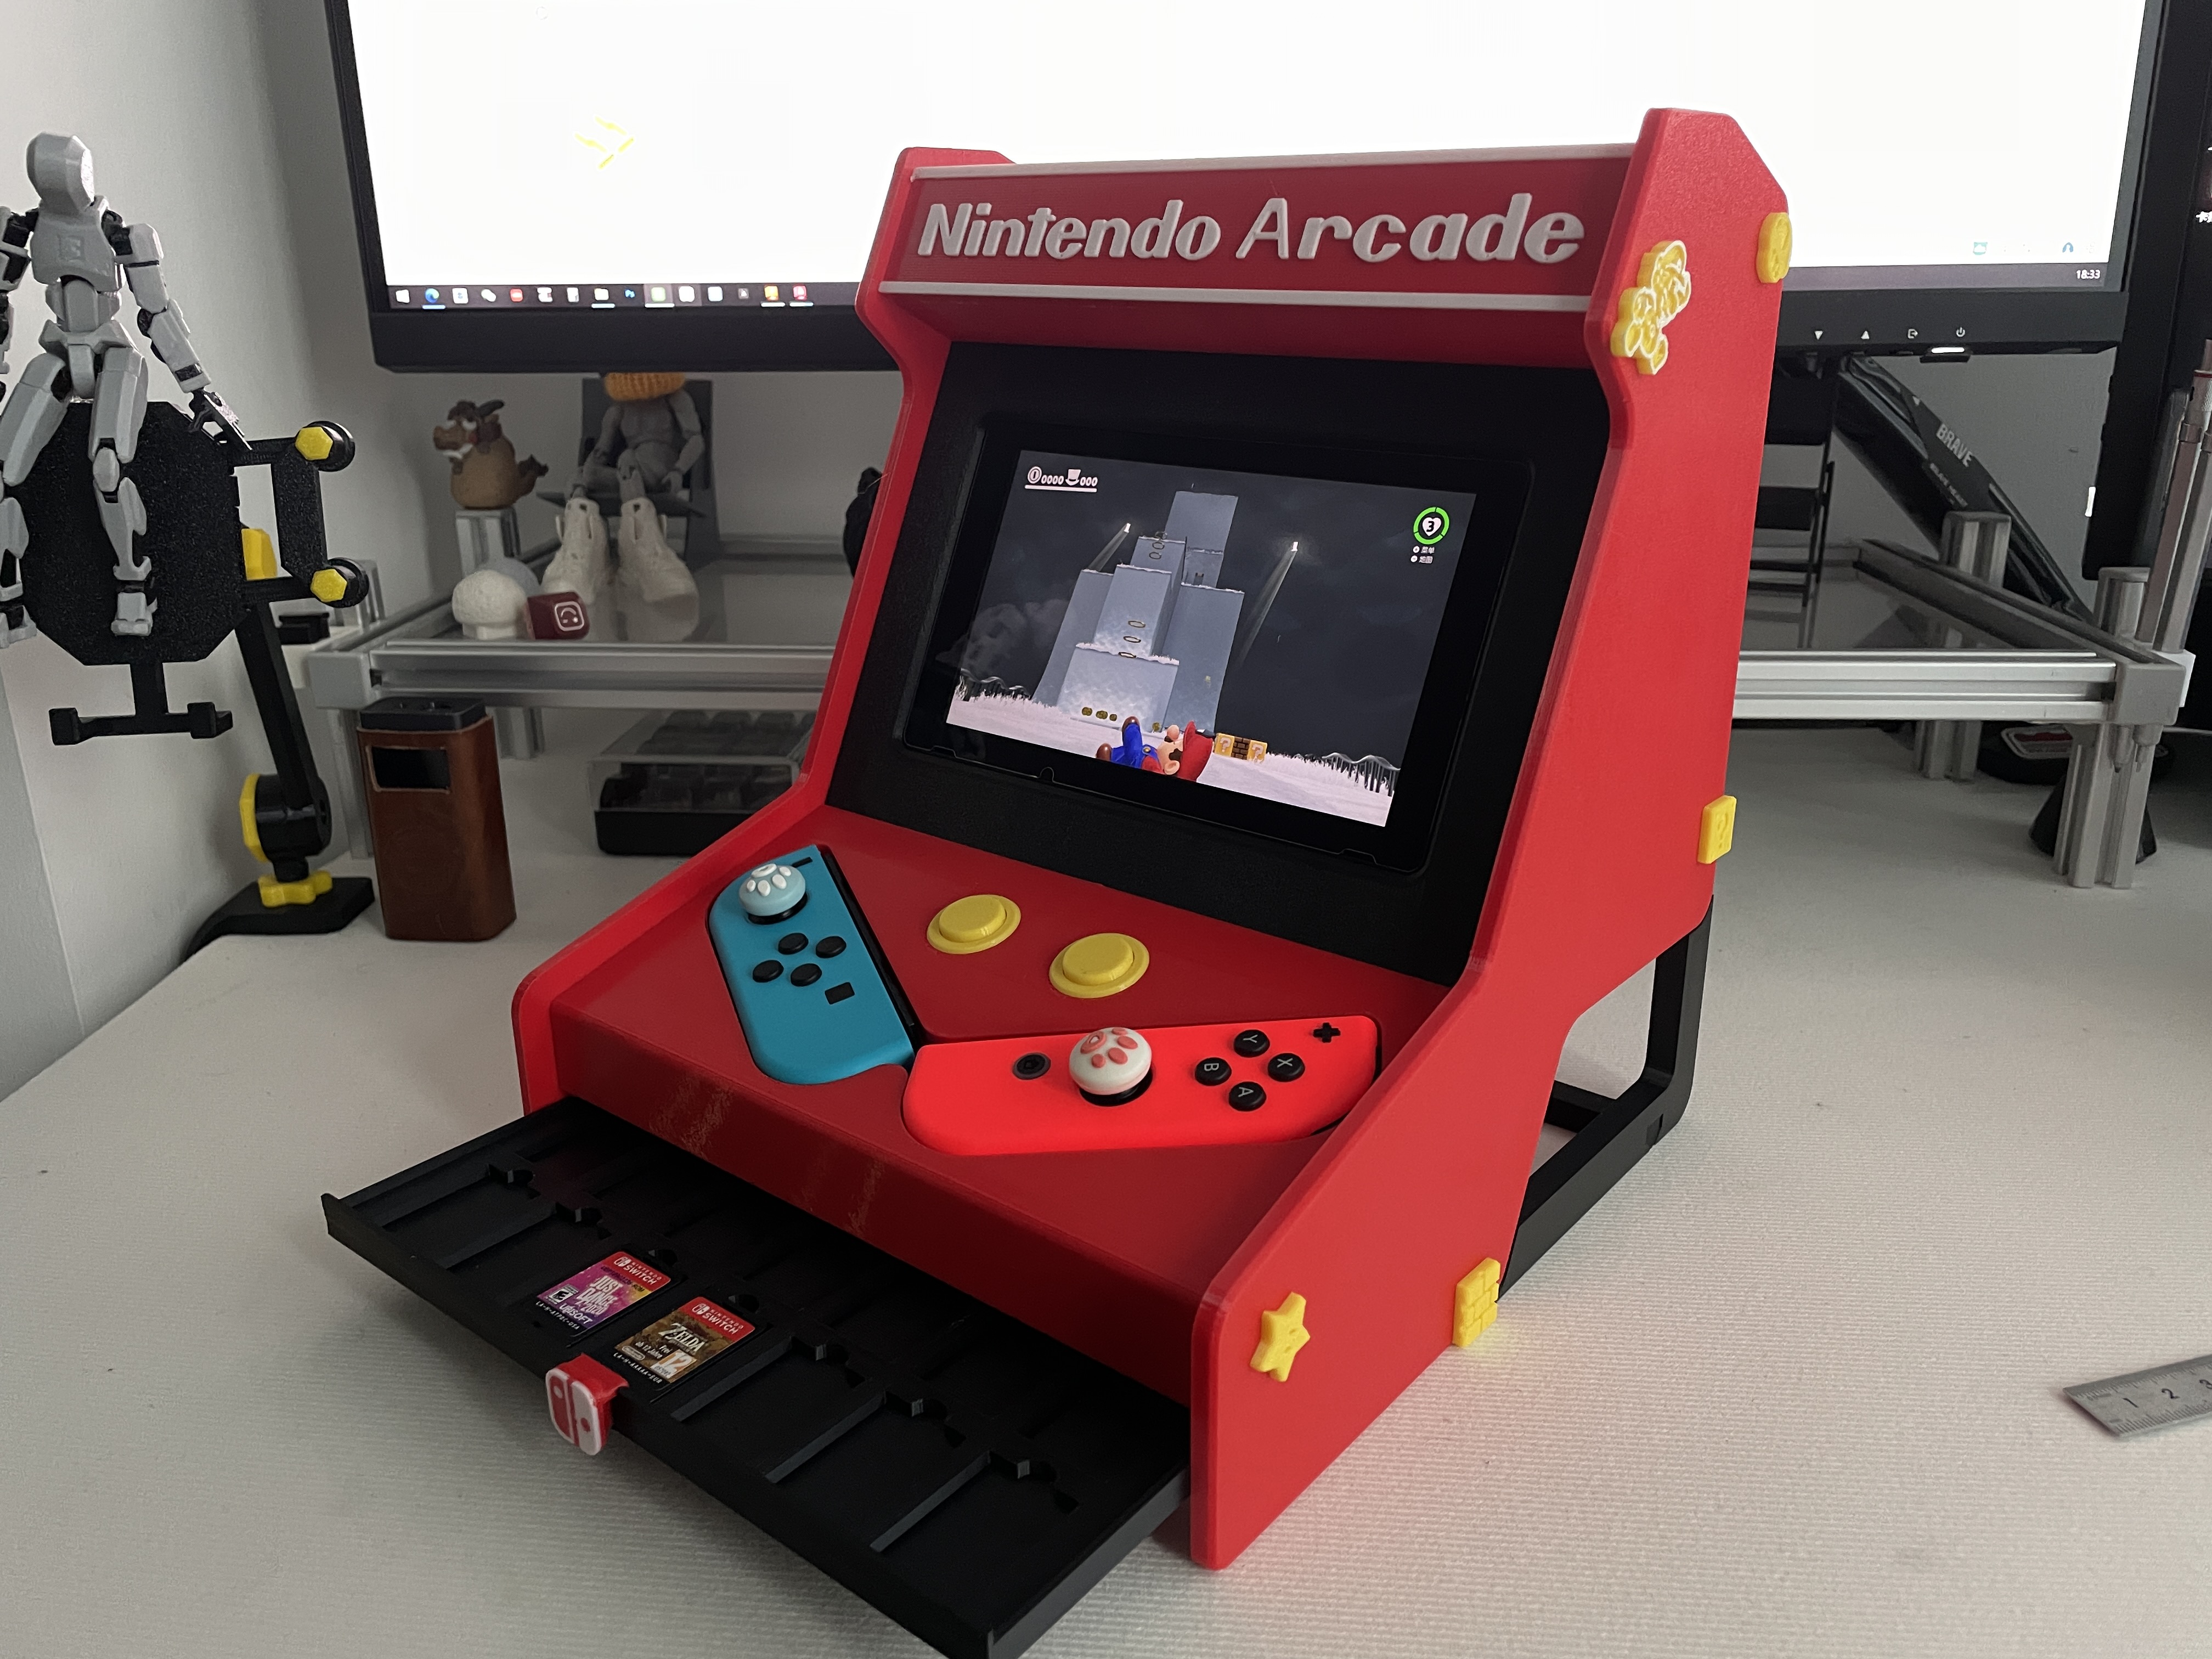
我花了将近一周的时间用来设计这款Nintendo switch NS街机外壳,每个细节都经过测试,预留充电口,希望喜欢它的你可以给个助力。
It took me nearly a week to design this switch NS bracket. Every detail has been tested.Reserve the charging port. If you like it, If you like it, you can give me a boost.Thank you so much!
无需任何金属件,不需要支撑,可以直接打印。
No metal parts or other components are needed, and no support is required. It can be printed directly.
打印之前请保证Pei板清洁干净,必要时可以涂胶,防止打印失败,尤其是小零件那一盘。
Before printing, please ensure that the Pei board is clean. If necessary, you can apply glue to prevent printing failure, especially for the small parts plate.
Nintendo Switch2 尺寸比较大,并且我手上没有,暂时无法设计。
所有材料我都使用PETG。
如有打印问题可以留言。
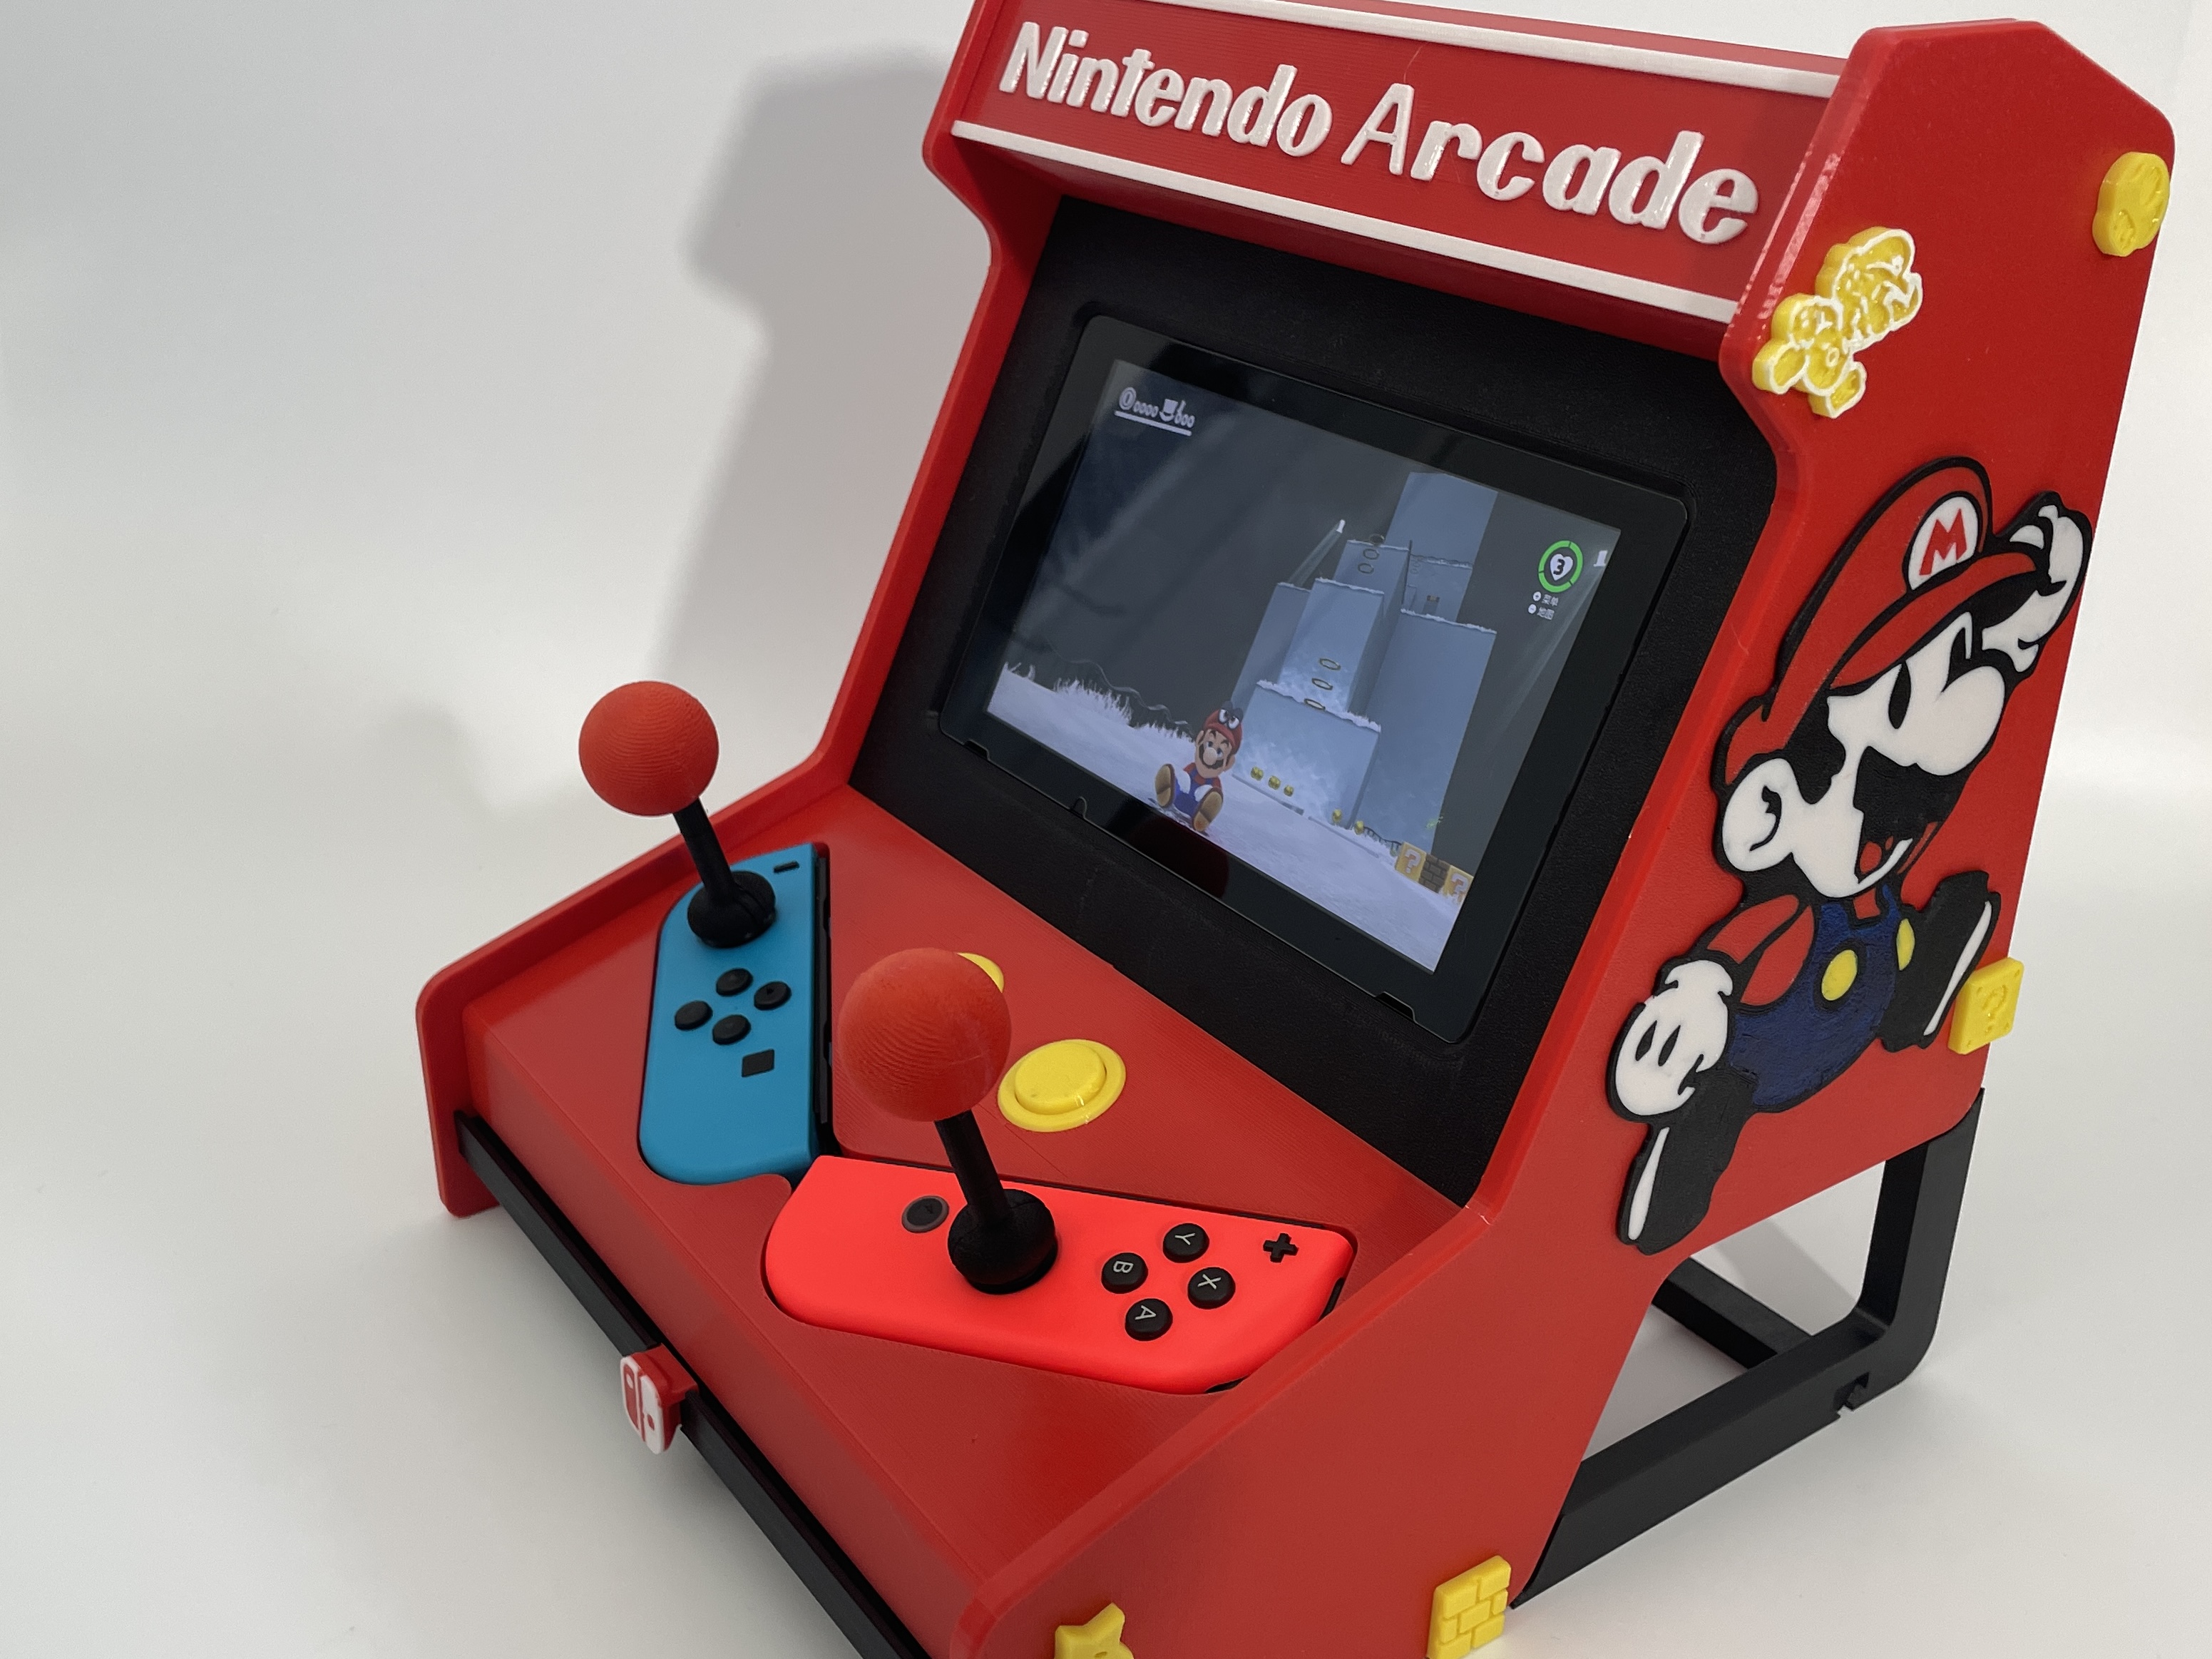
以下是安装步骤图:
Here are the installation steps:
STEP1: 主机本体所有零件如下: | 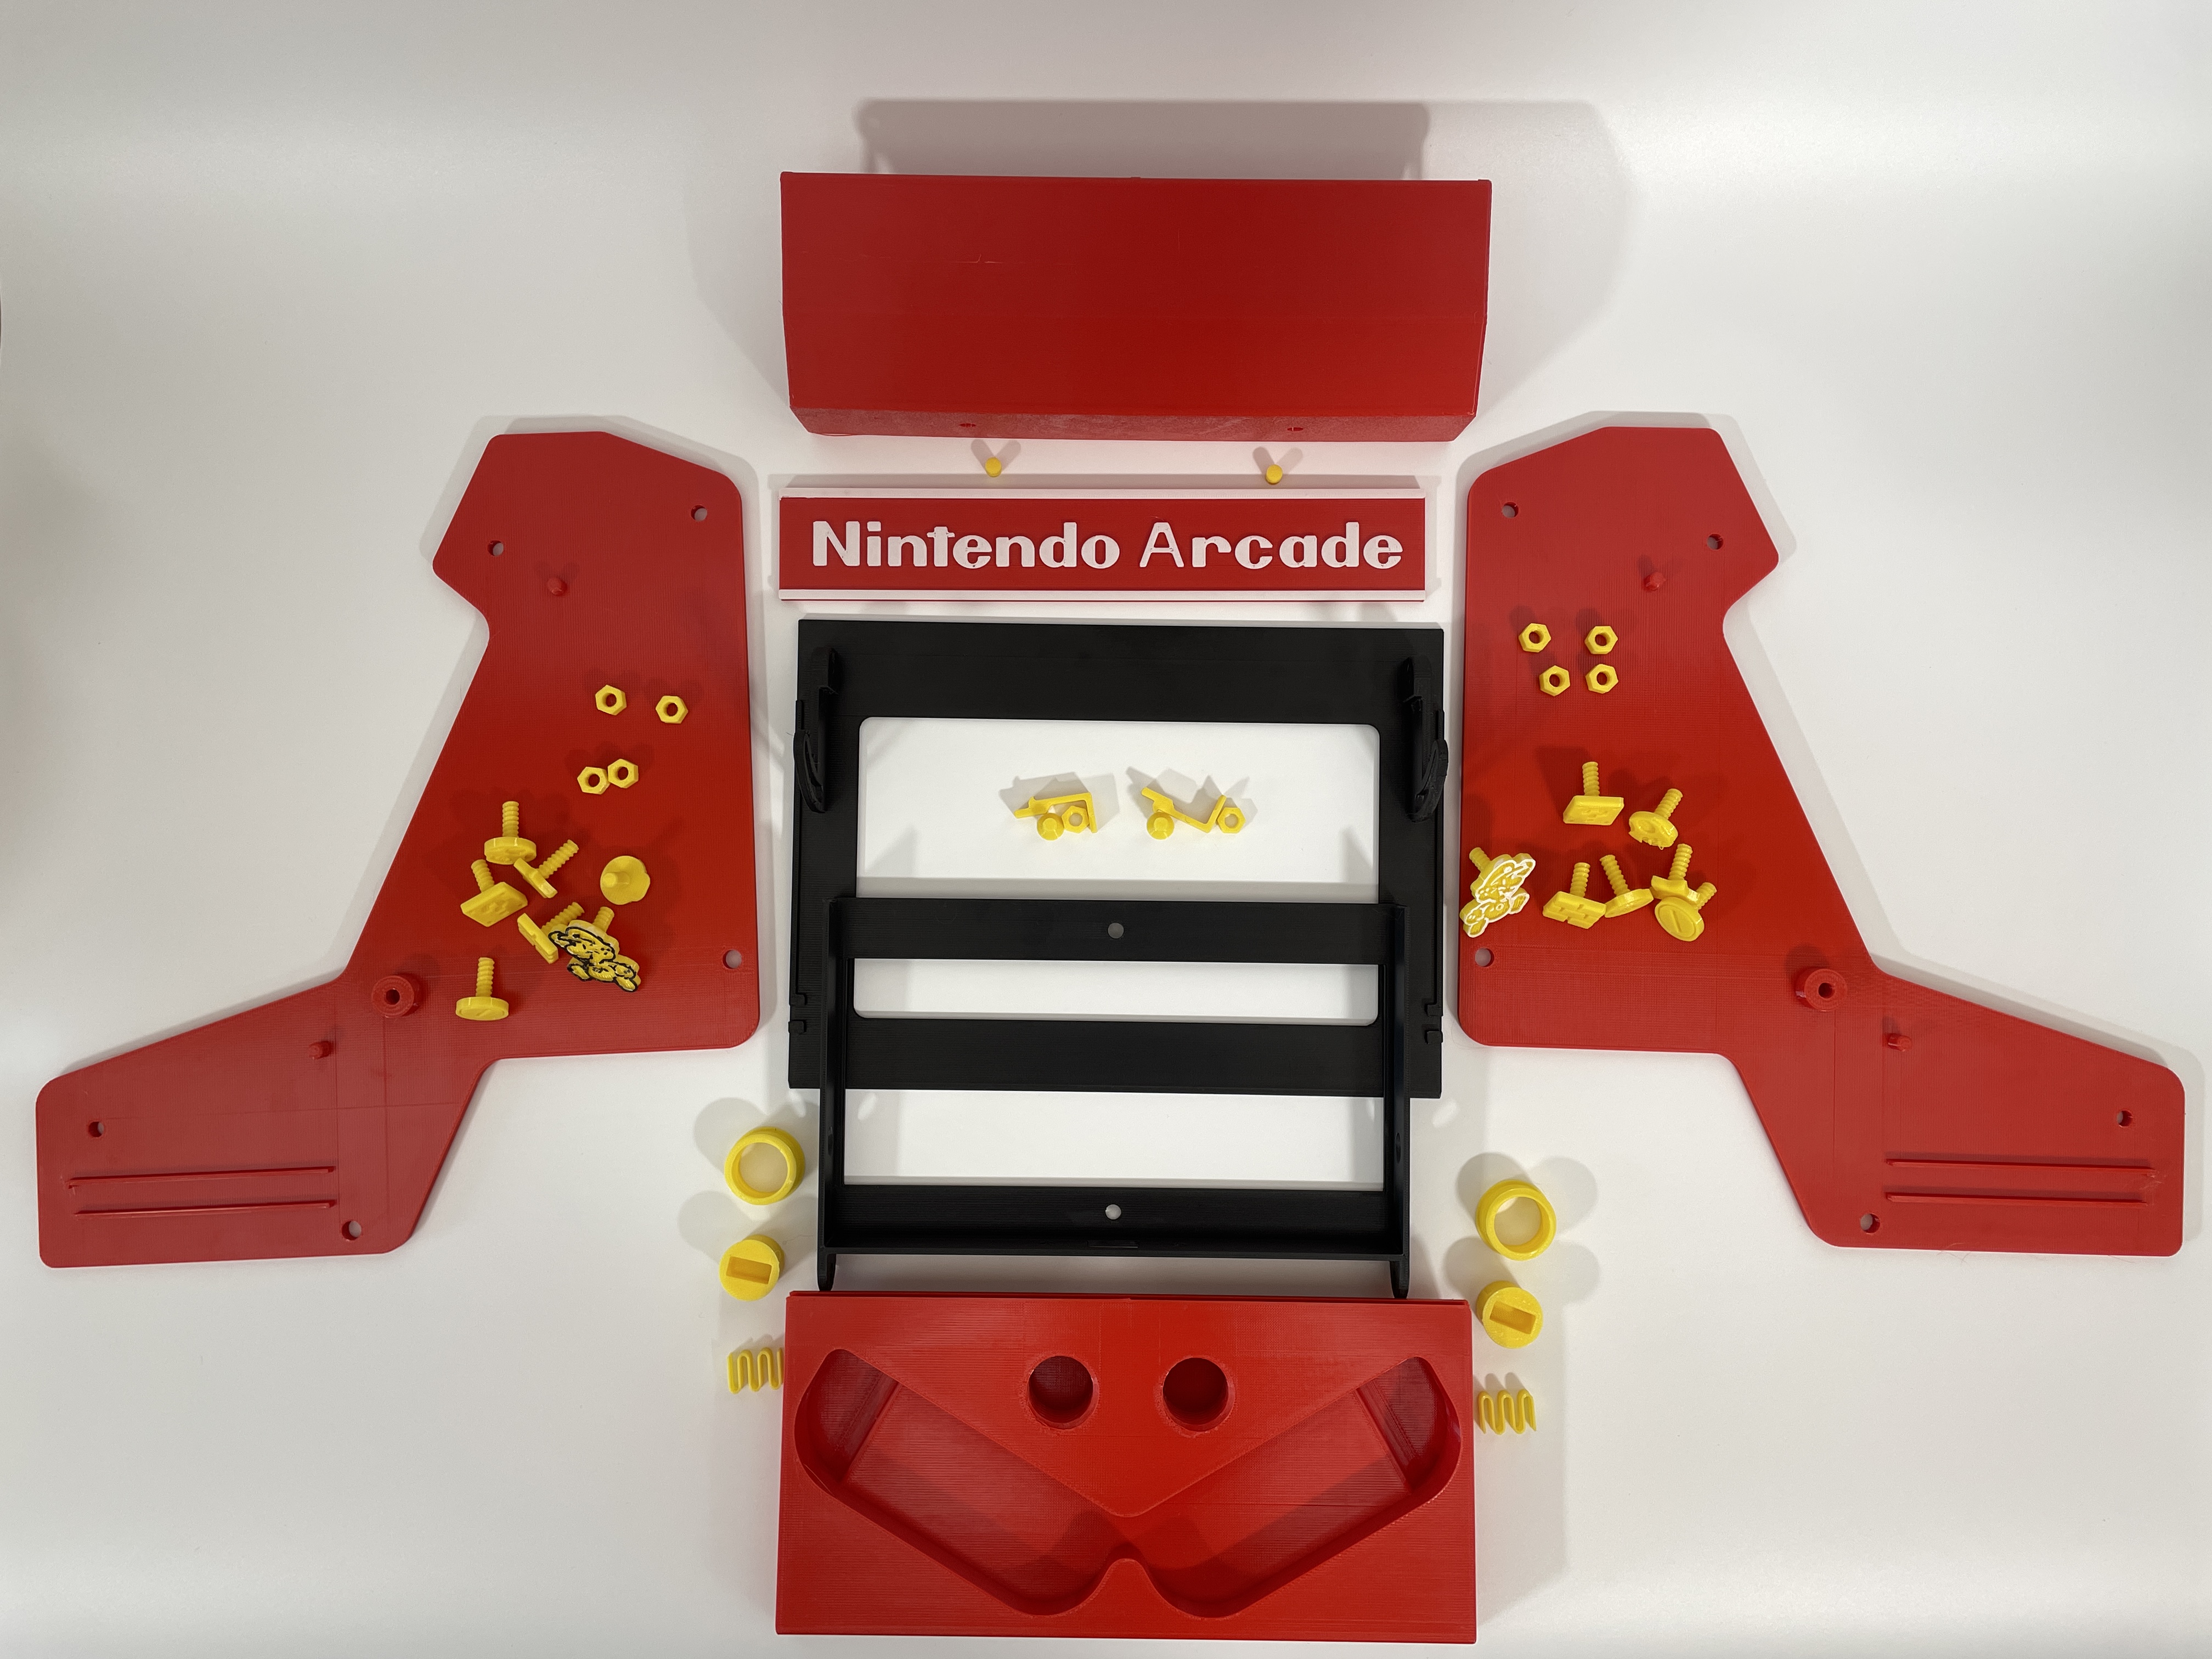 |
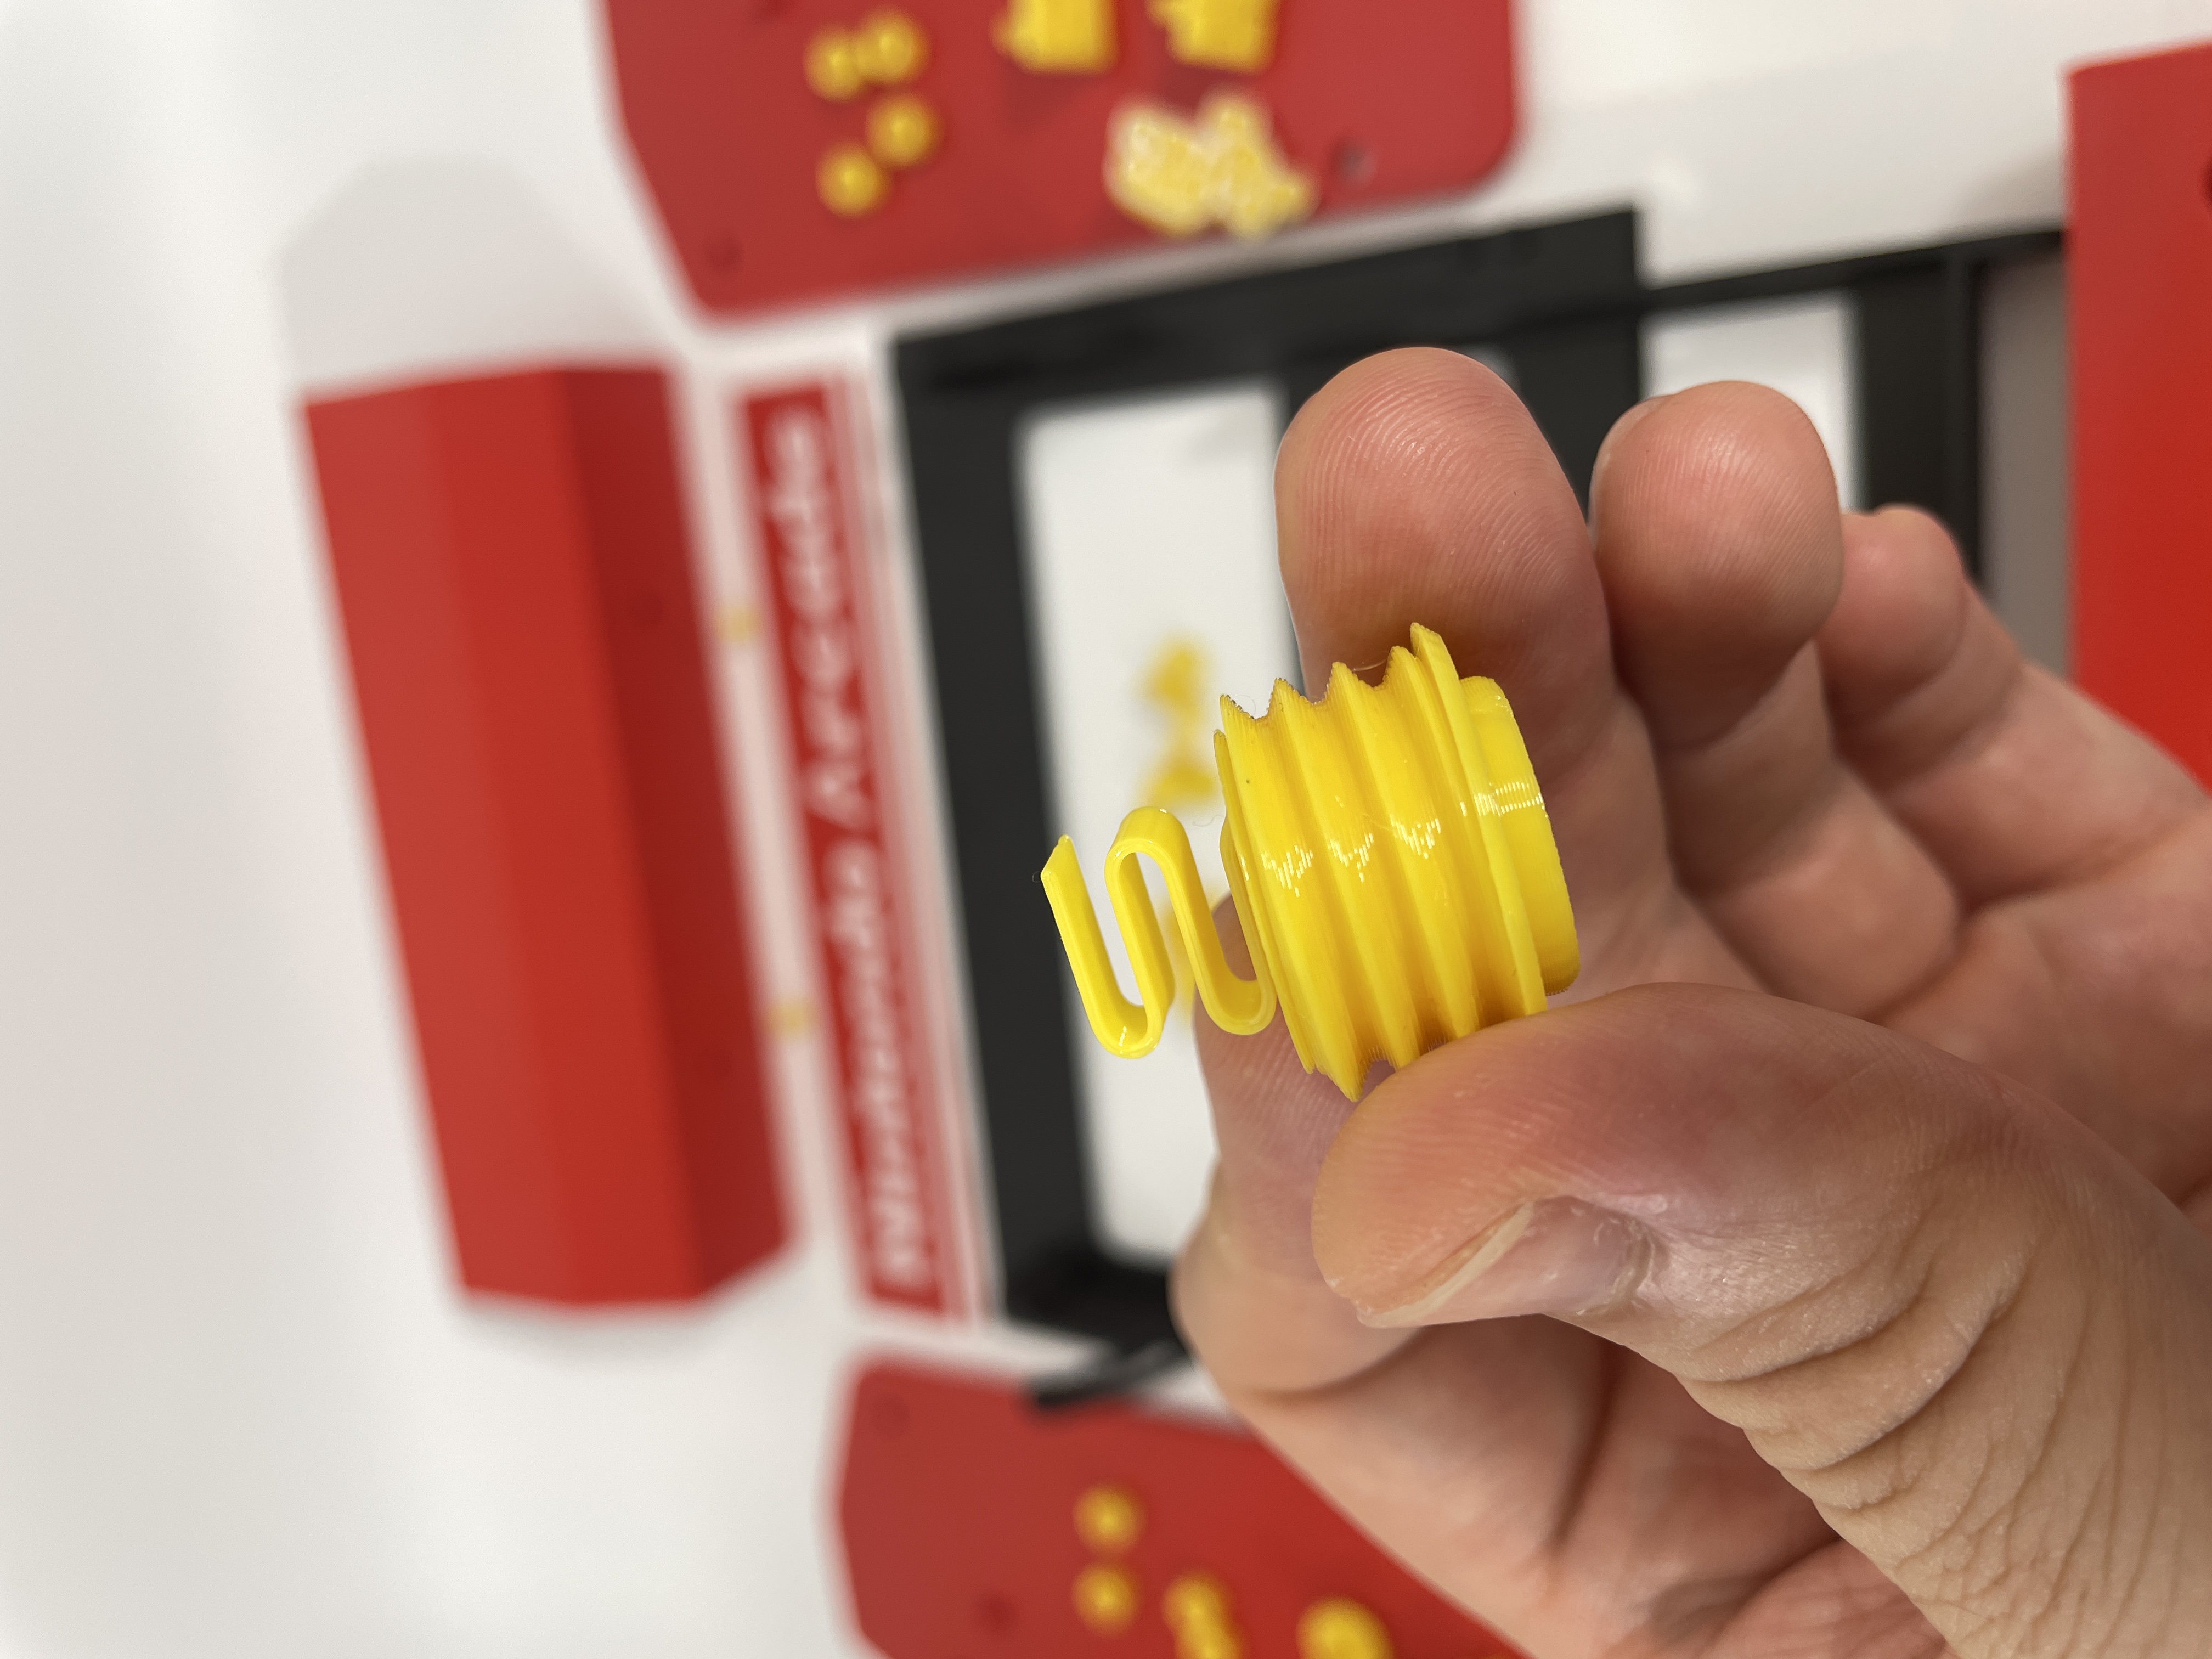
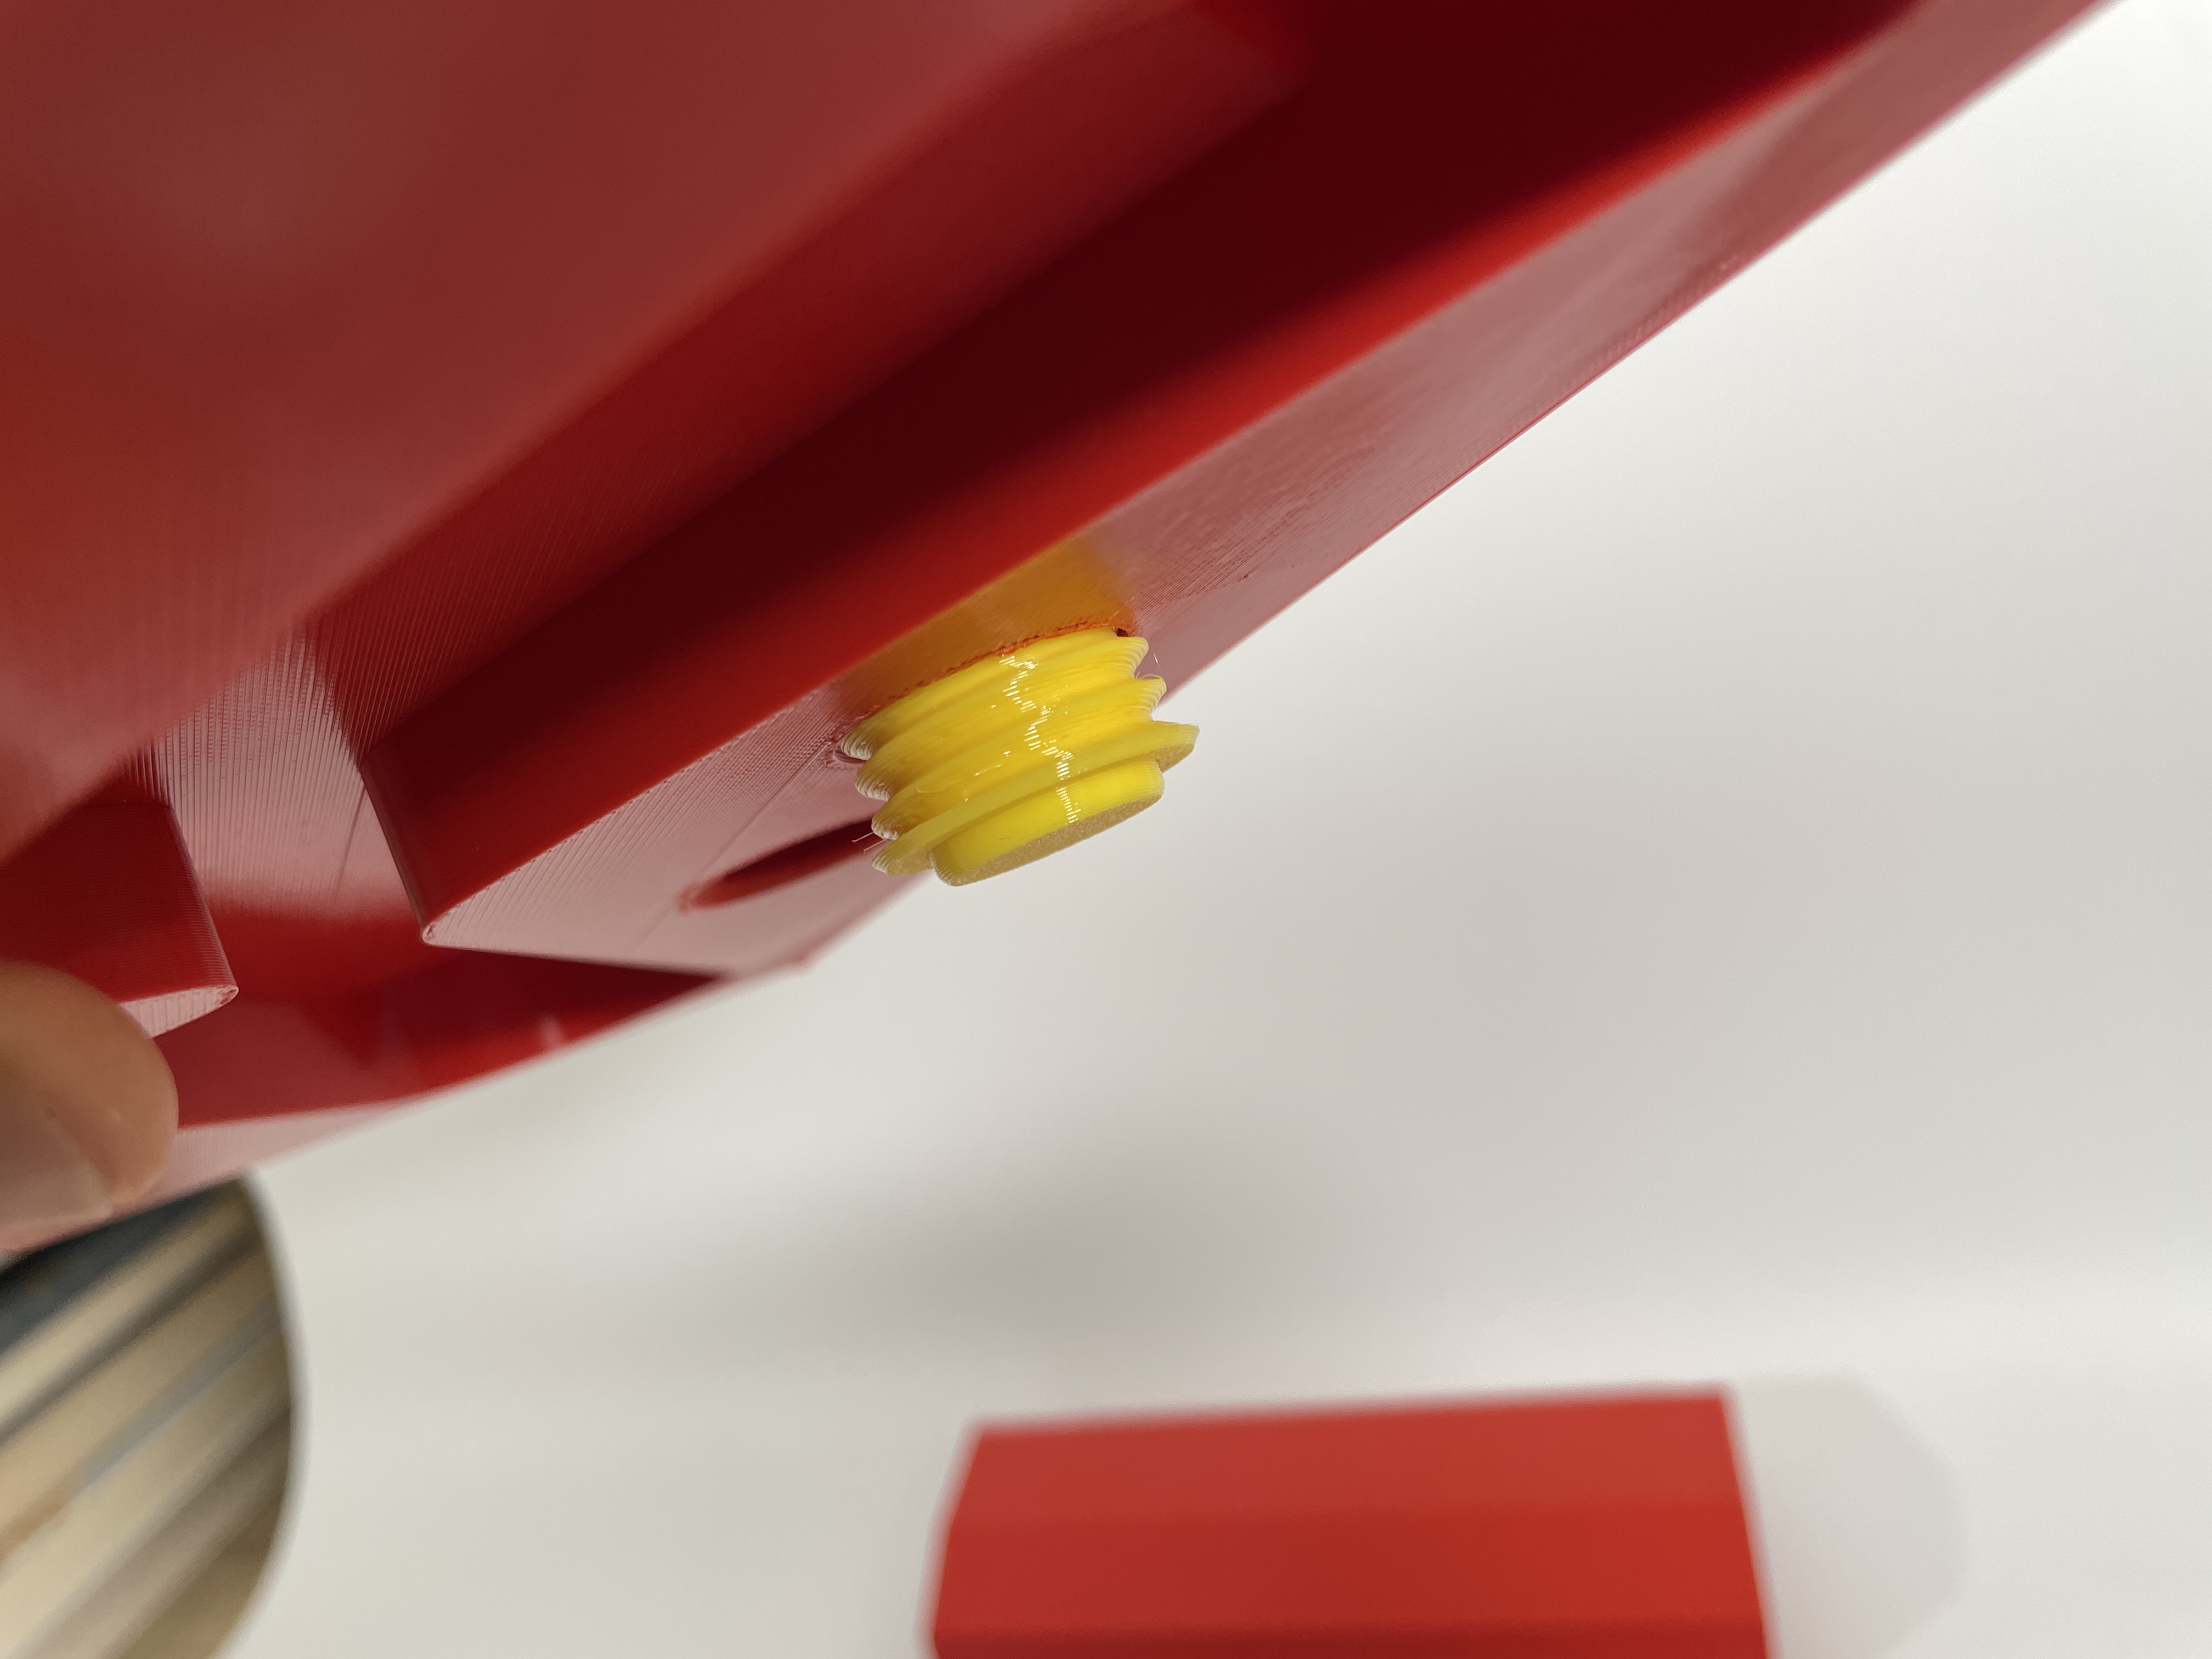
STEP2: 安装手柄底座部分, 先将弹簧放入按钮底部,从螺纹一侧将按钮装入,倒着将按钮旋转入底座螺纹,底座安装完成。 |
  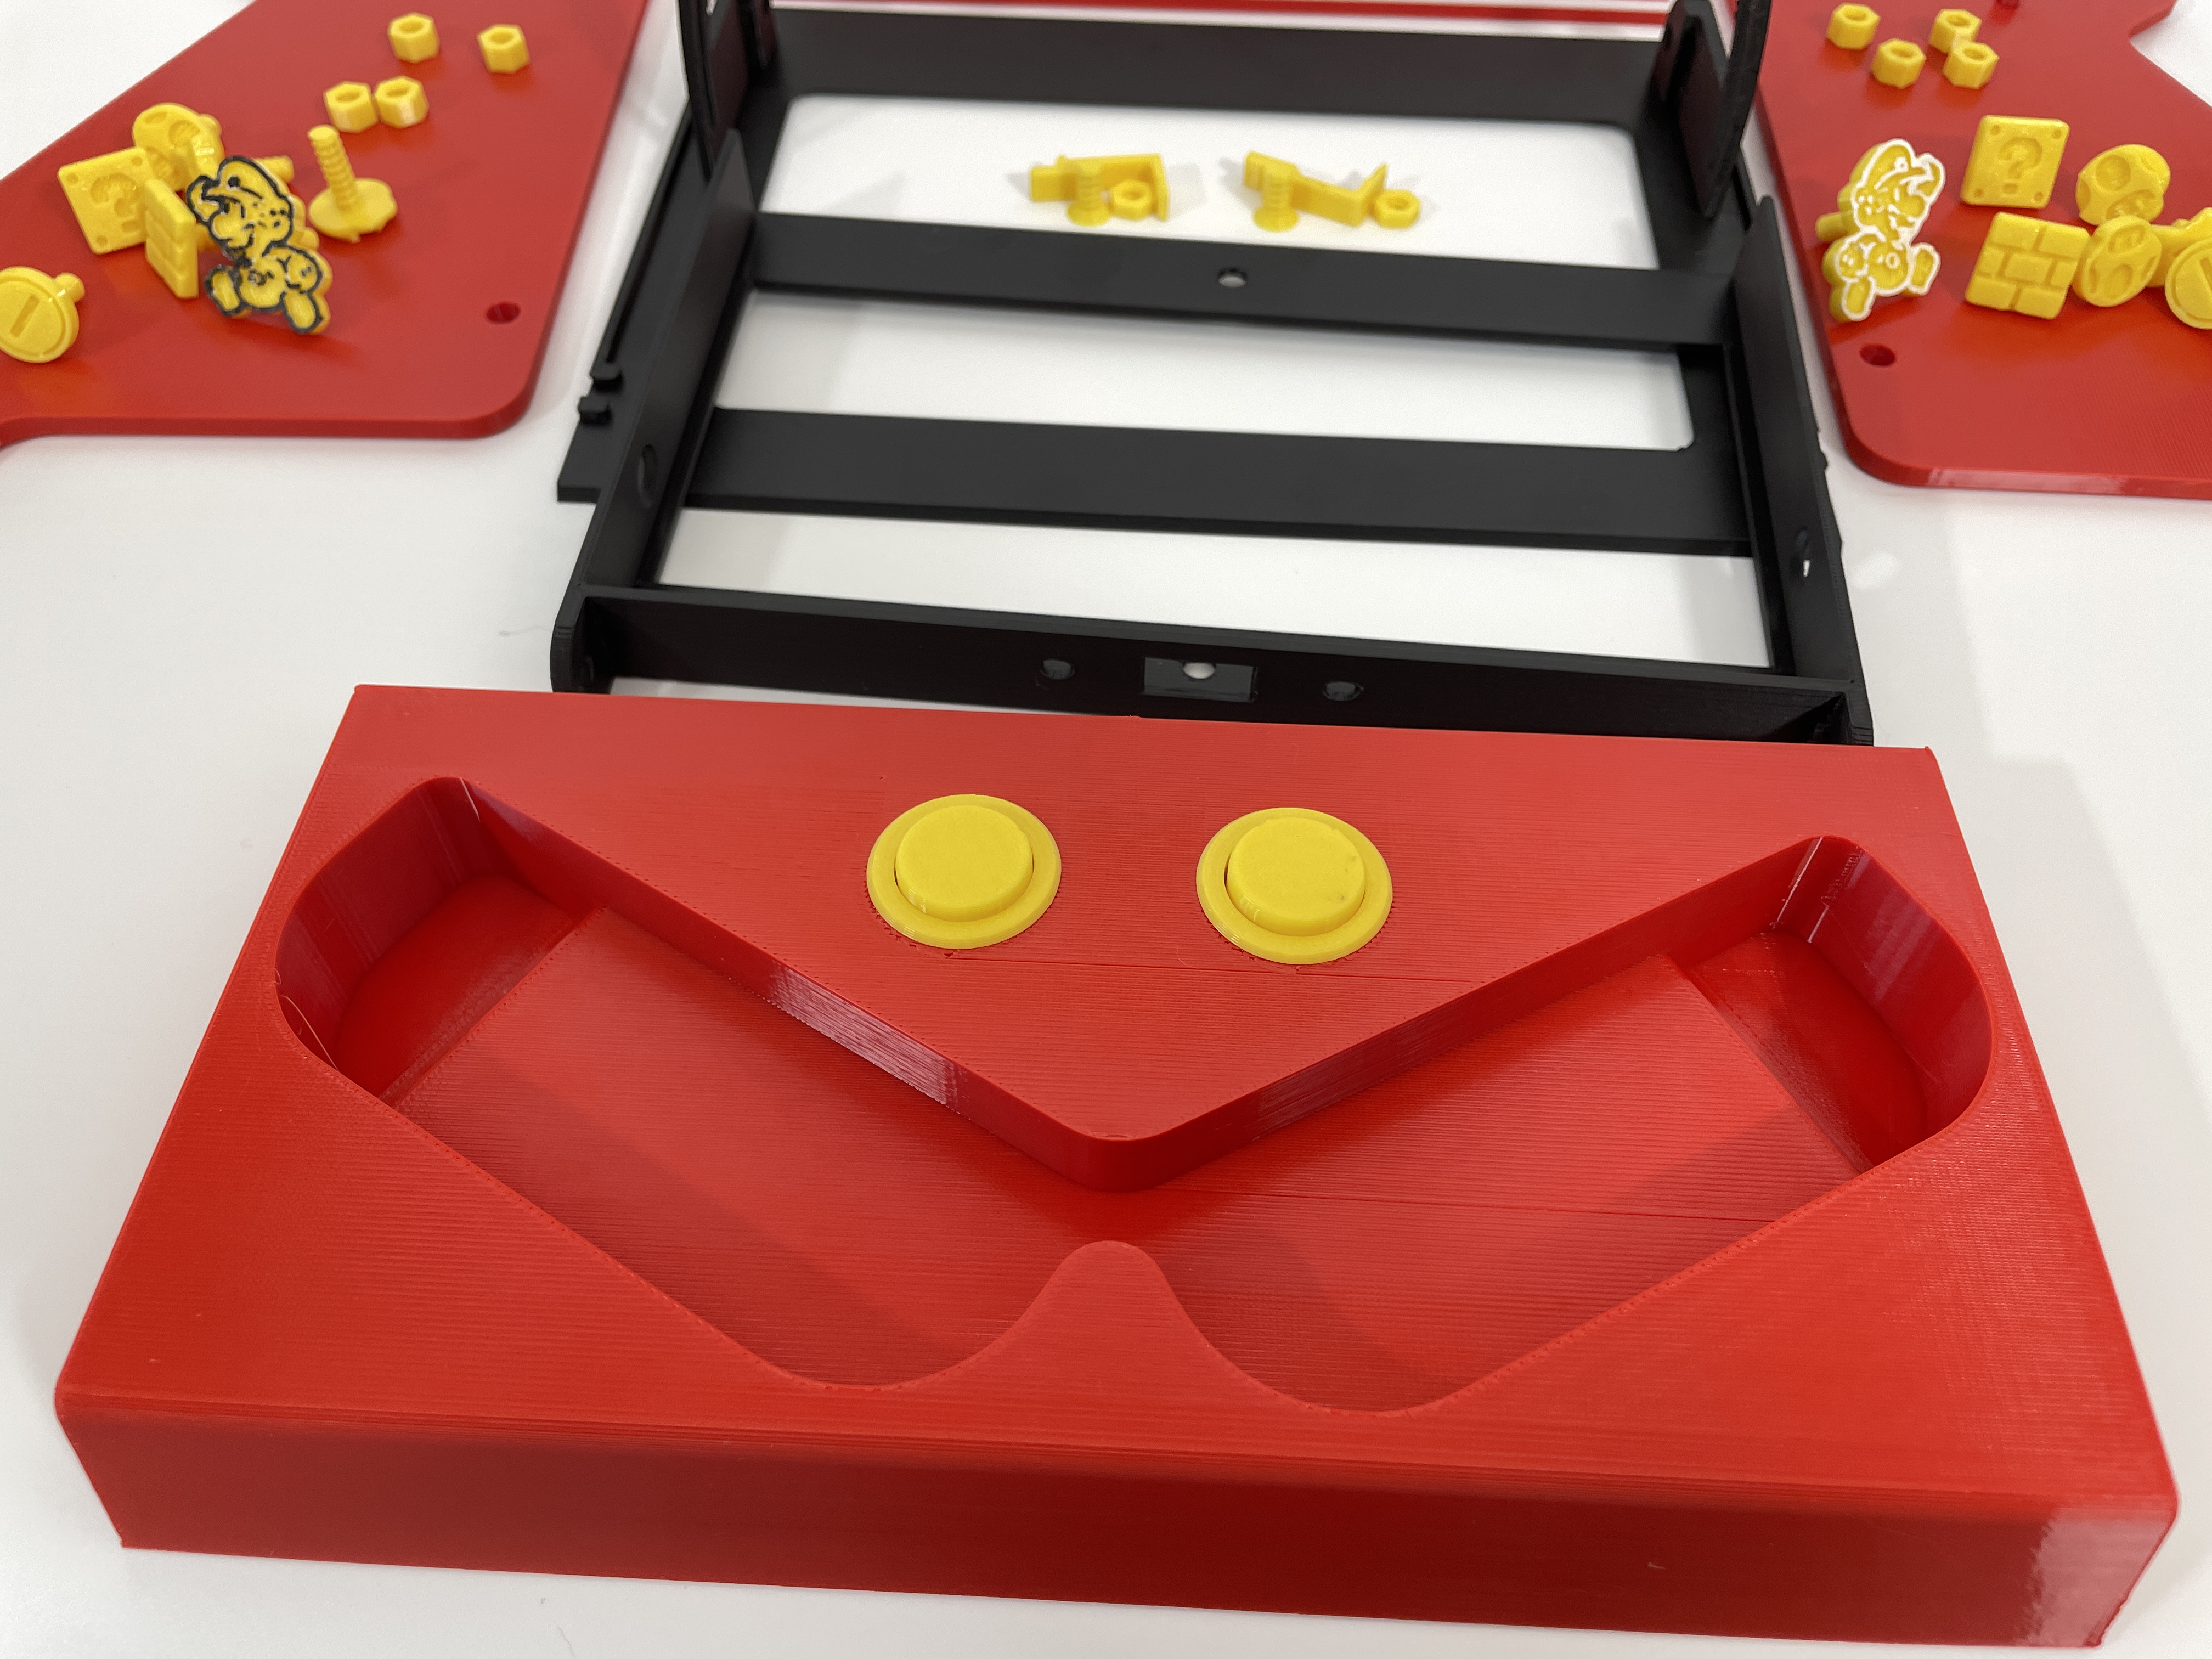 |
STEP3: 安装前面板 将卡扣插入前面板两侧相同位置,准备好平底锥形螺丝和3mm薄螺母,装入两侧洞口。对准滑轨之后将螺丝拧到位卡住滑轨。 主机背后横条的圆洞可以多打印一个锥形螺丝用来调节厚度,卡槽预留16mm,主机厚度约13.9mm,我是带壳所以尺寸正好 | 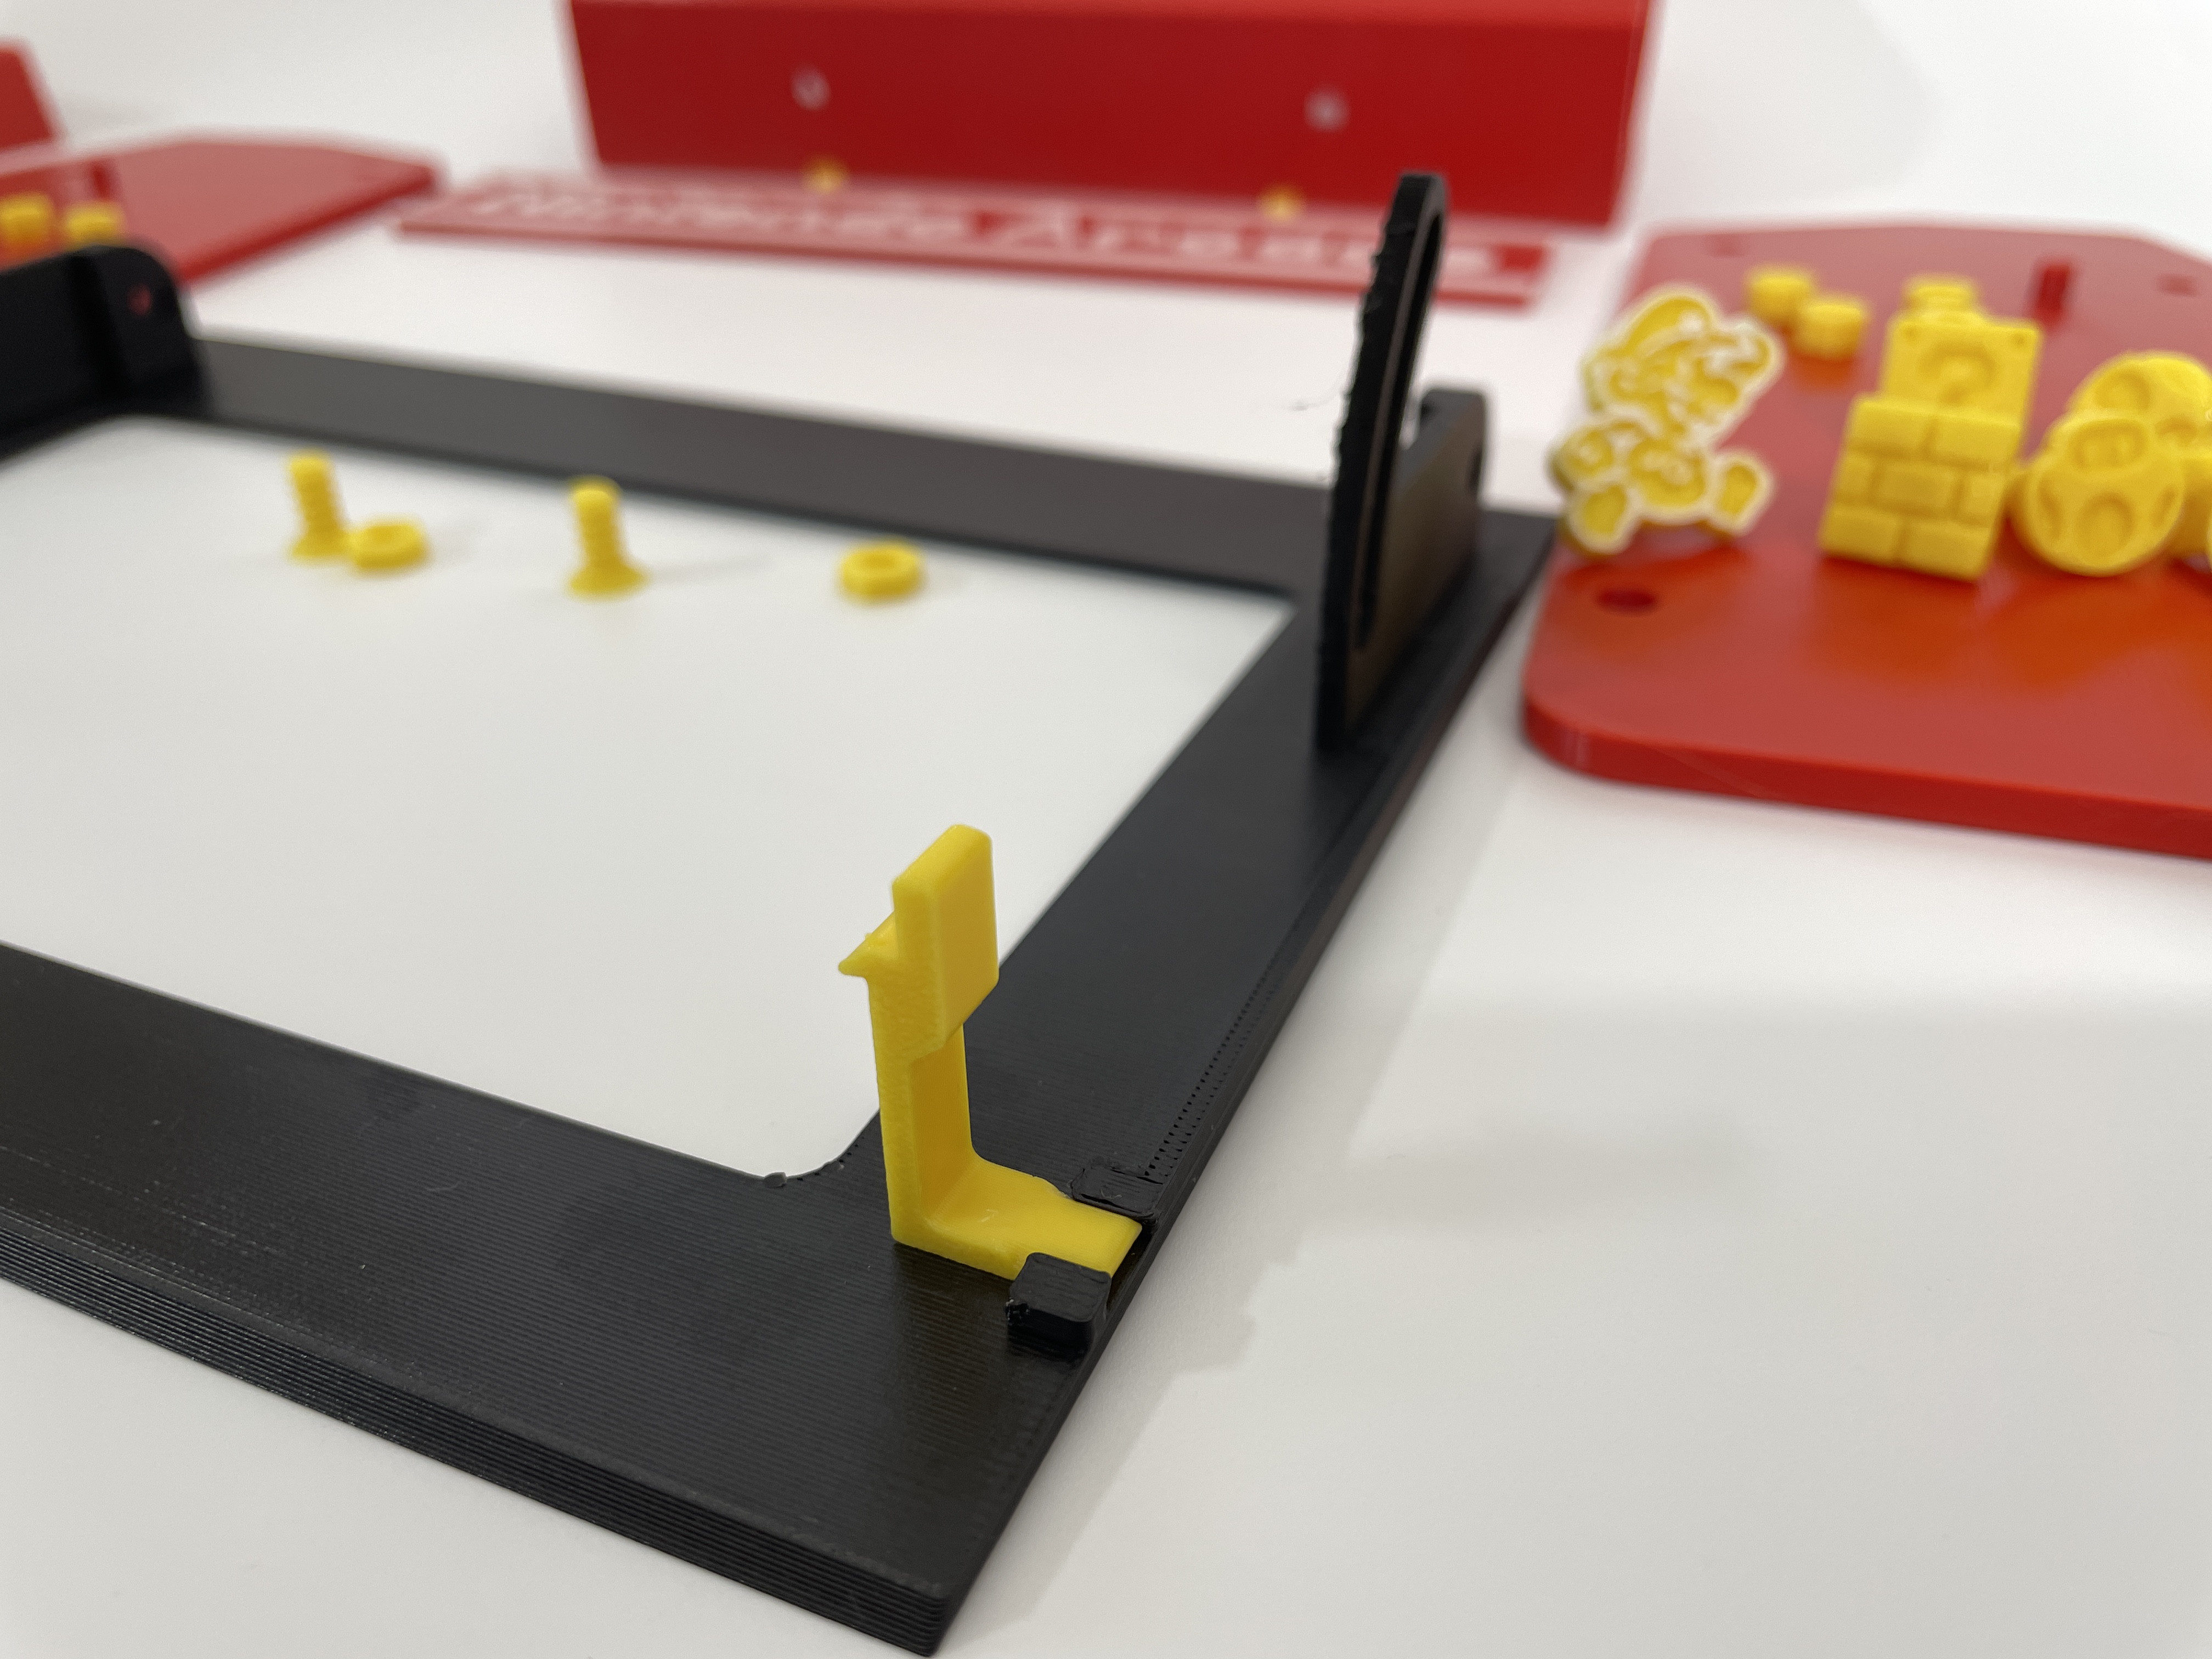 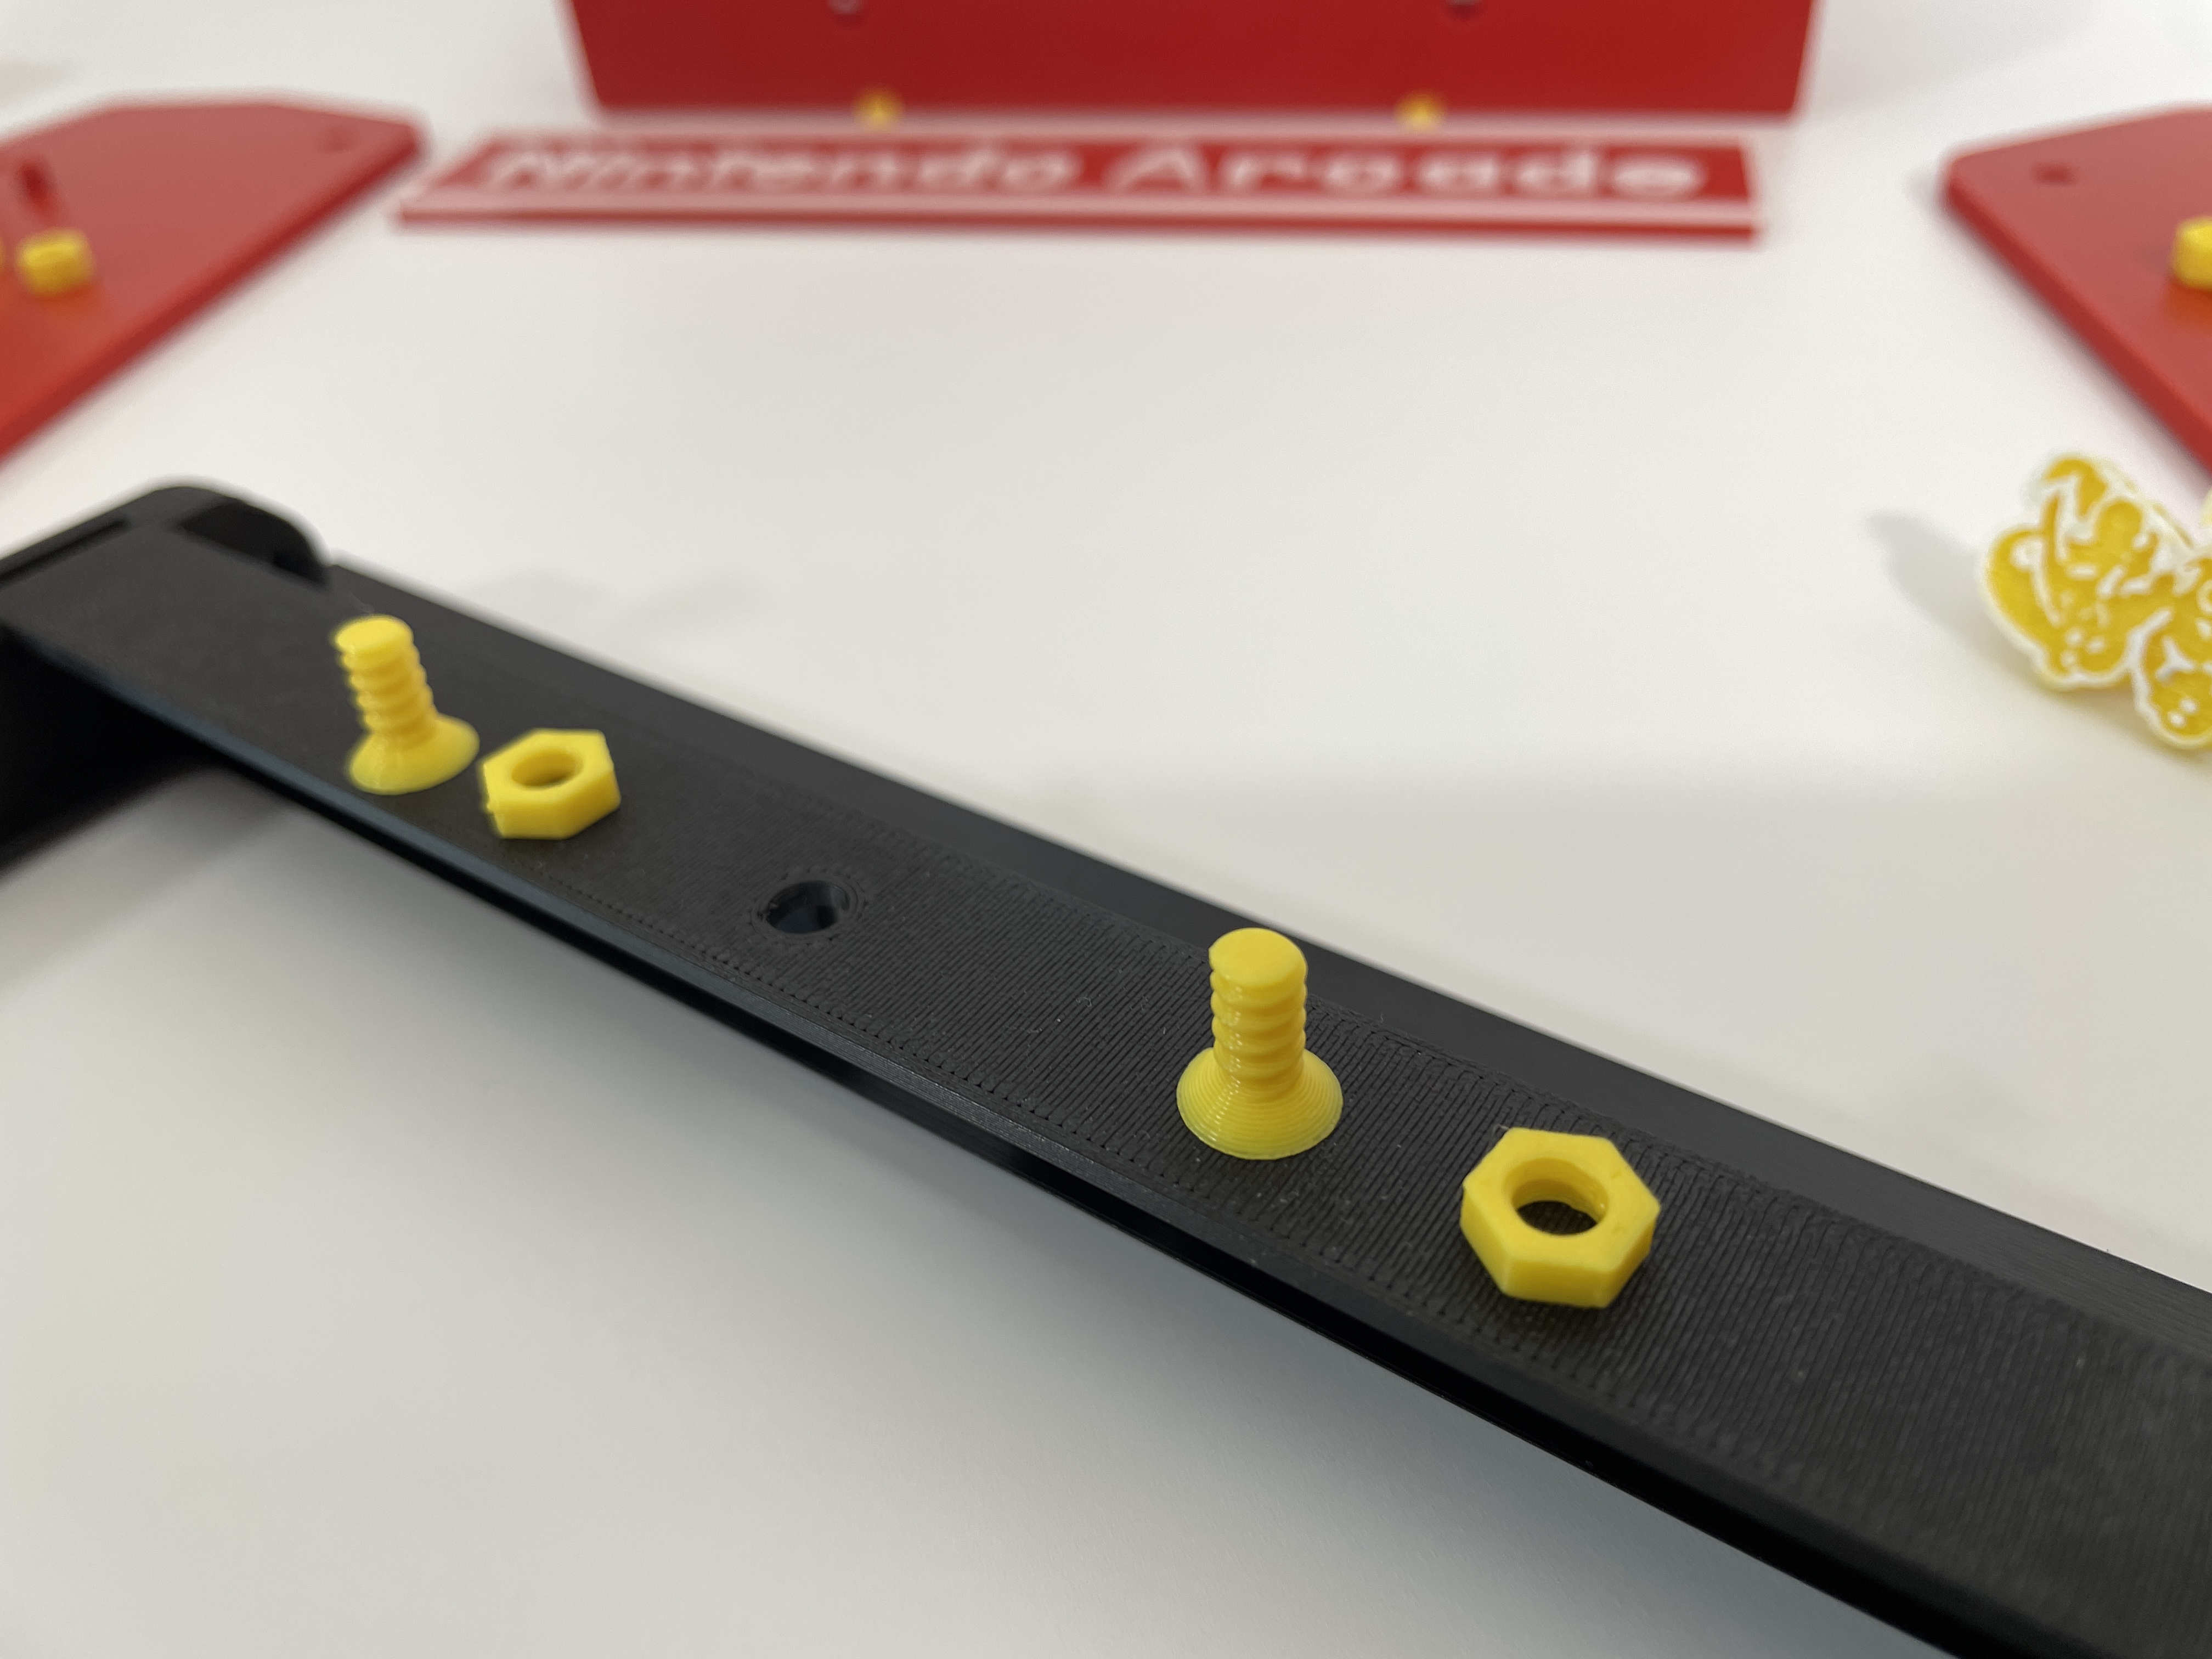 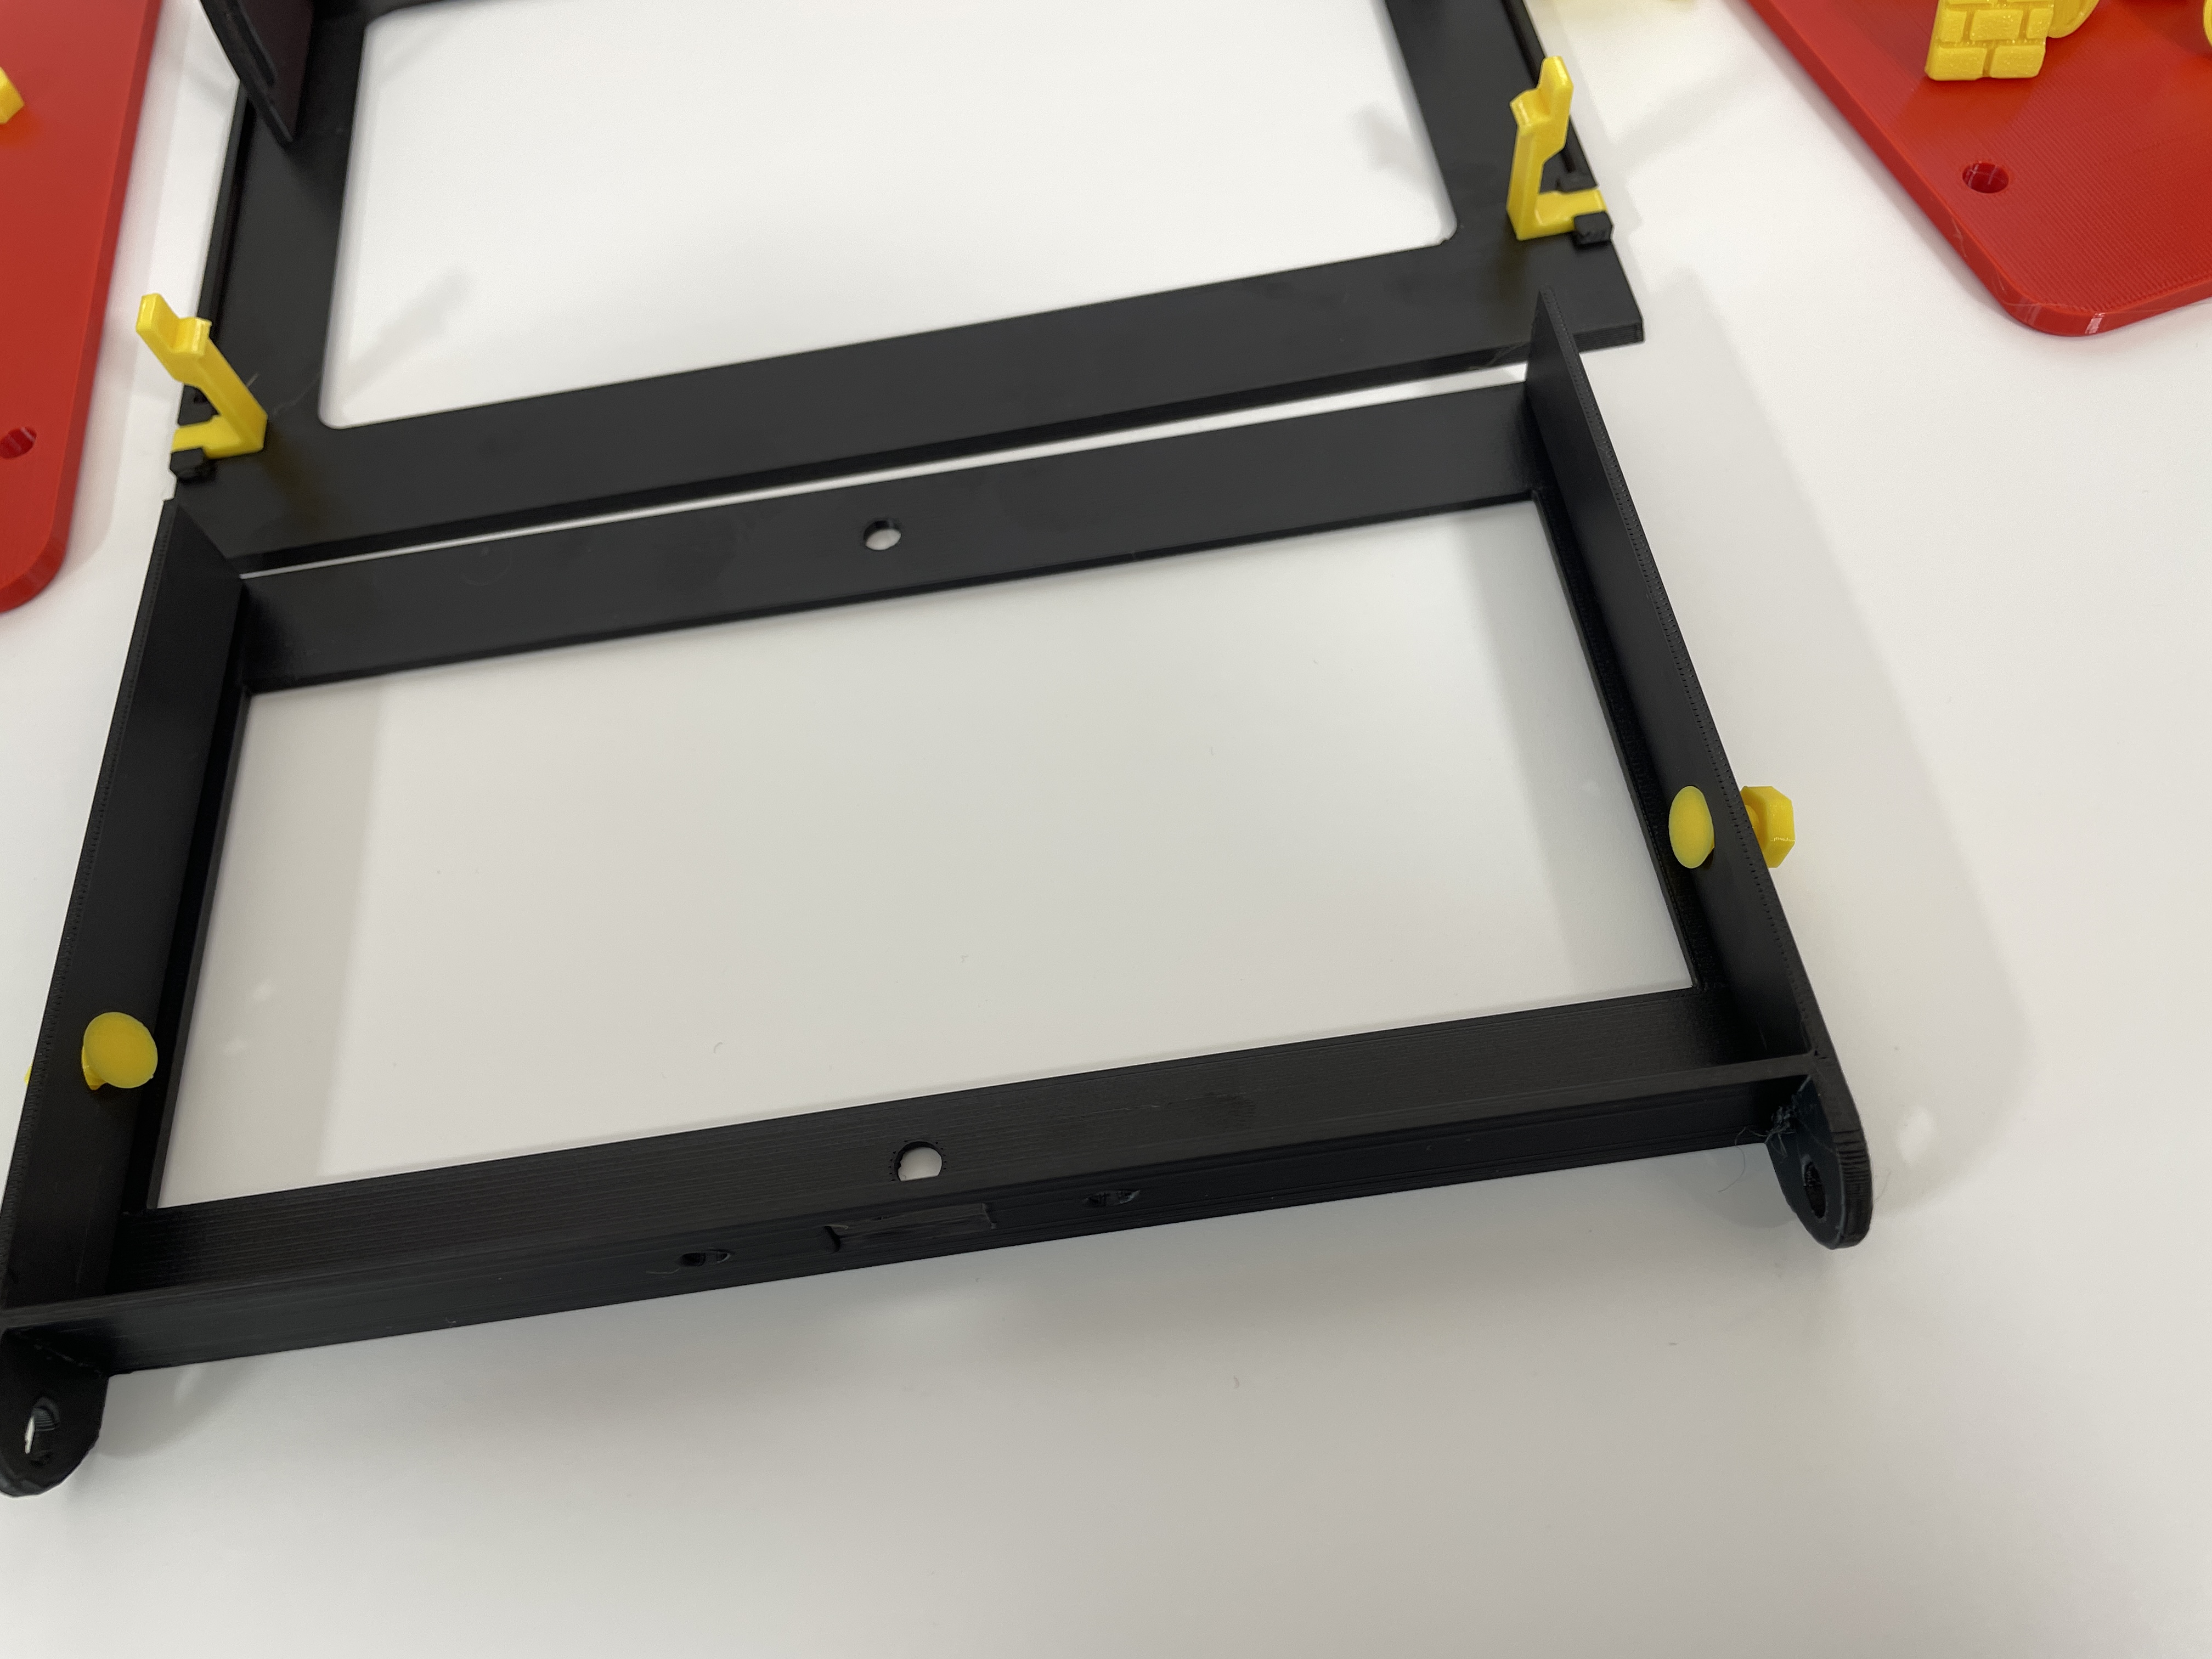
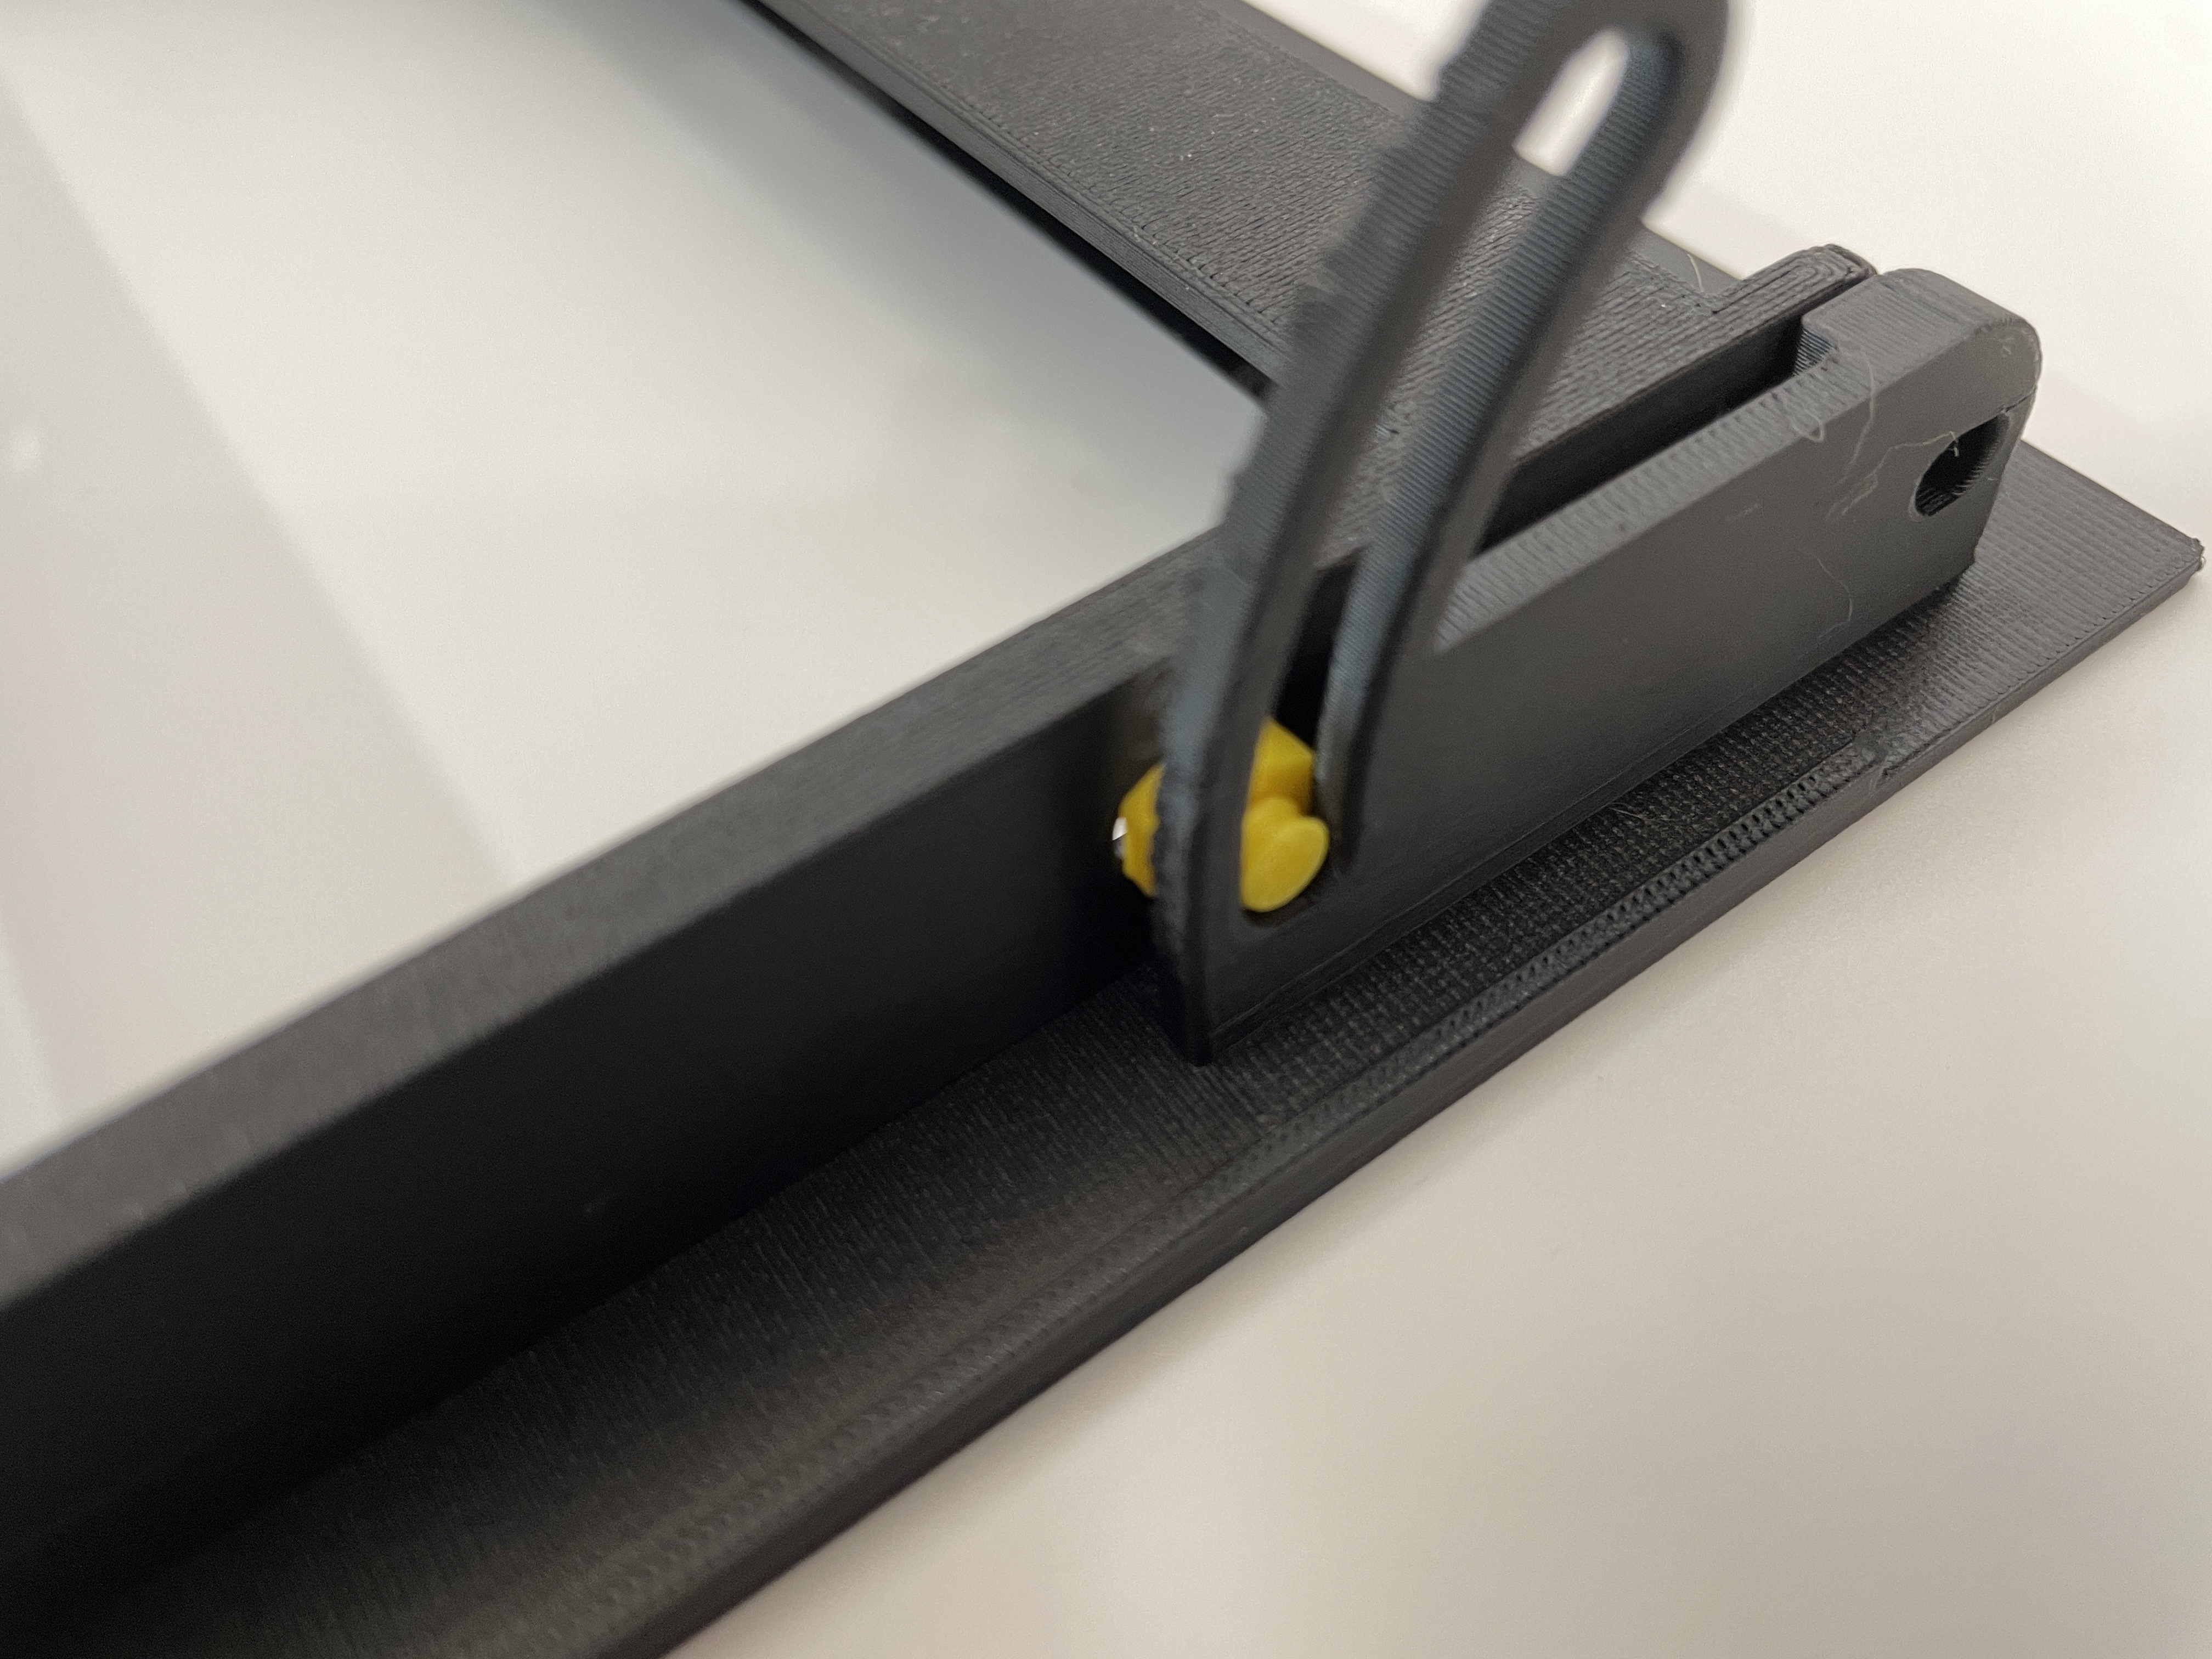 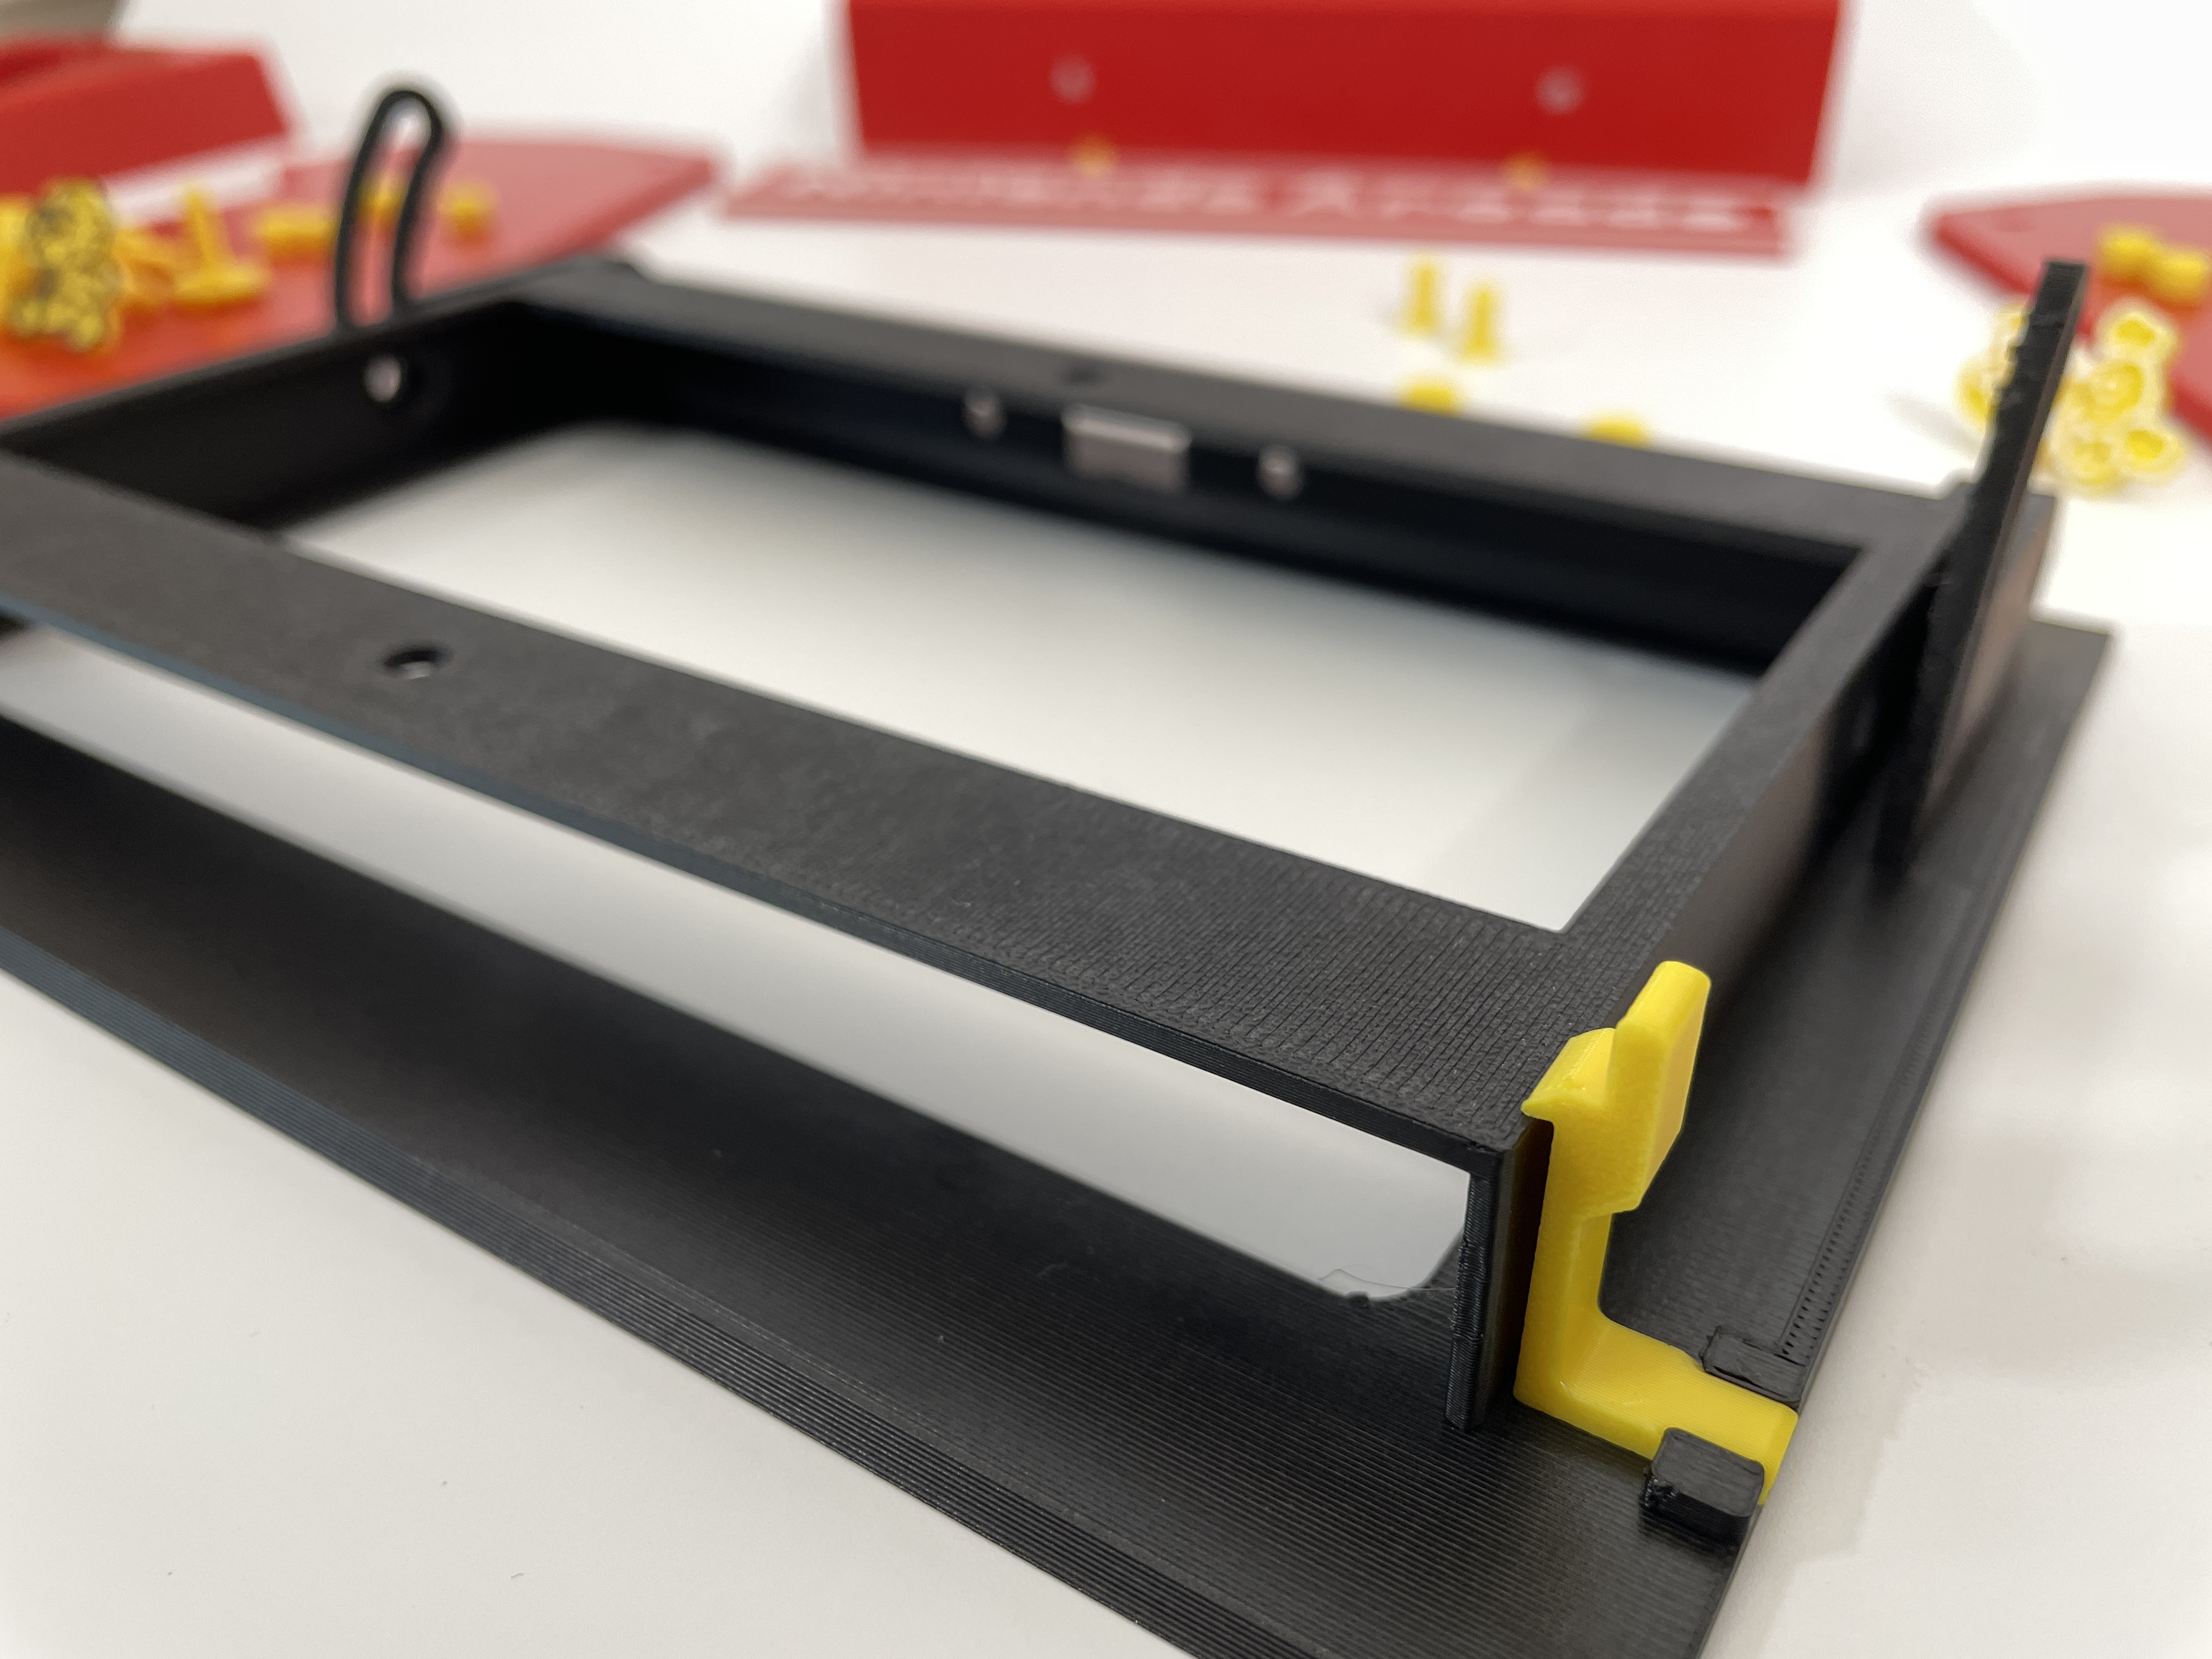 |
STEP4: 安装顶盖字母板, 将2个圆柱形卡扣按入前板洞,和底板安装到一起,圆柱可以缩放控制大小,用来卡紧面板,外盘预留了一个空白面板模型可以DIY字母 面板的洞可以嵌入D5*2mm的磁铁更换面板更方便,磁铁注意磁极方向 | 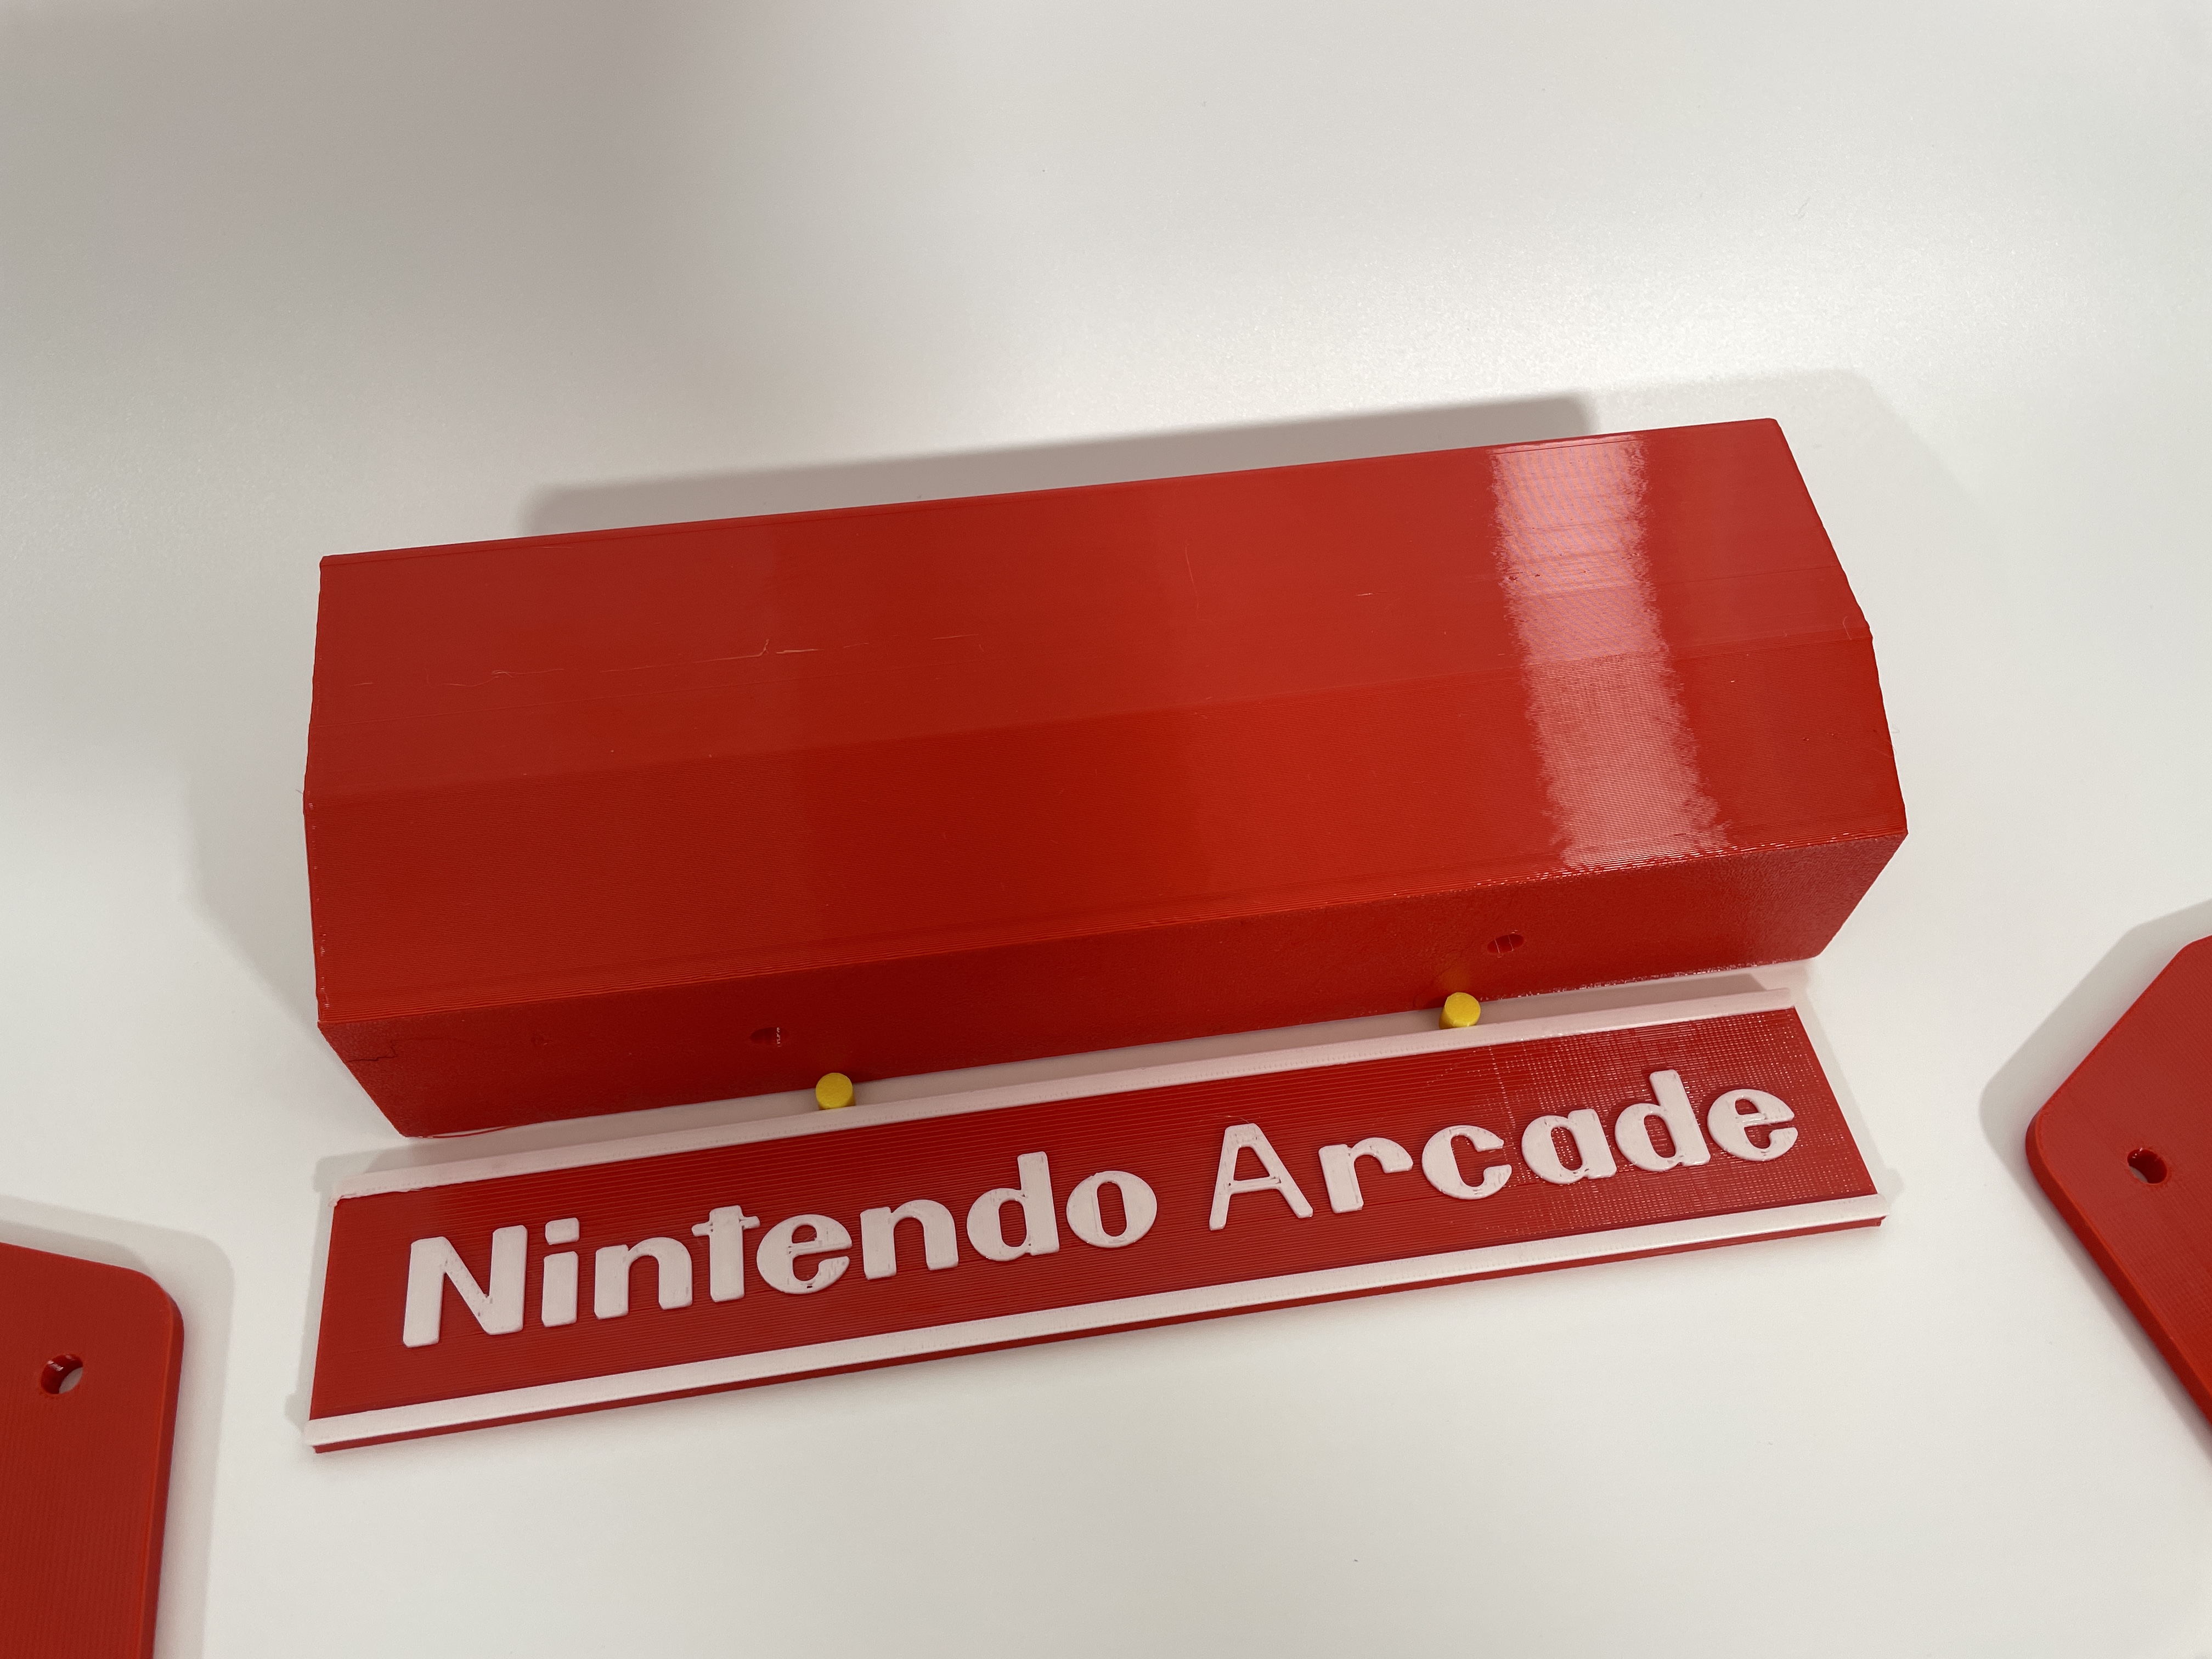 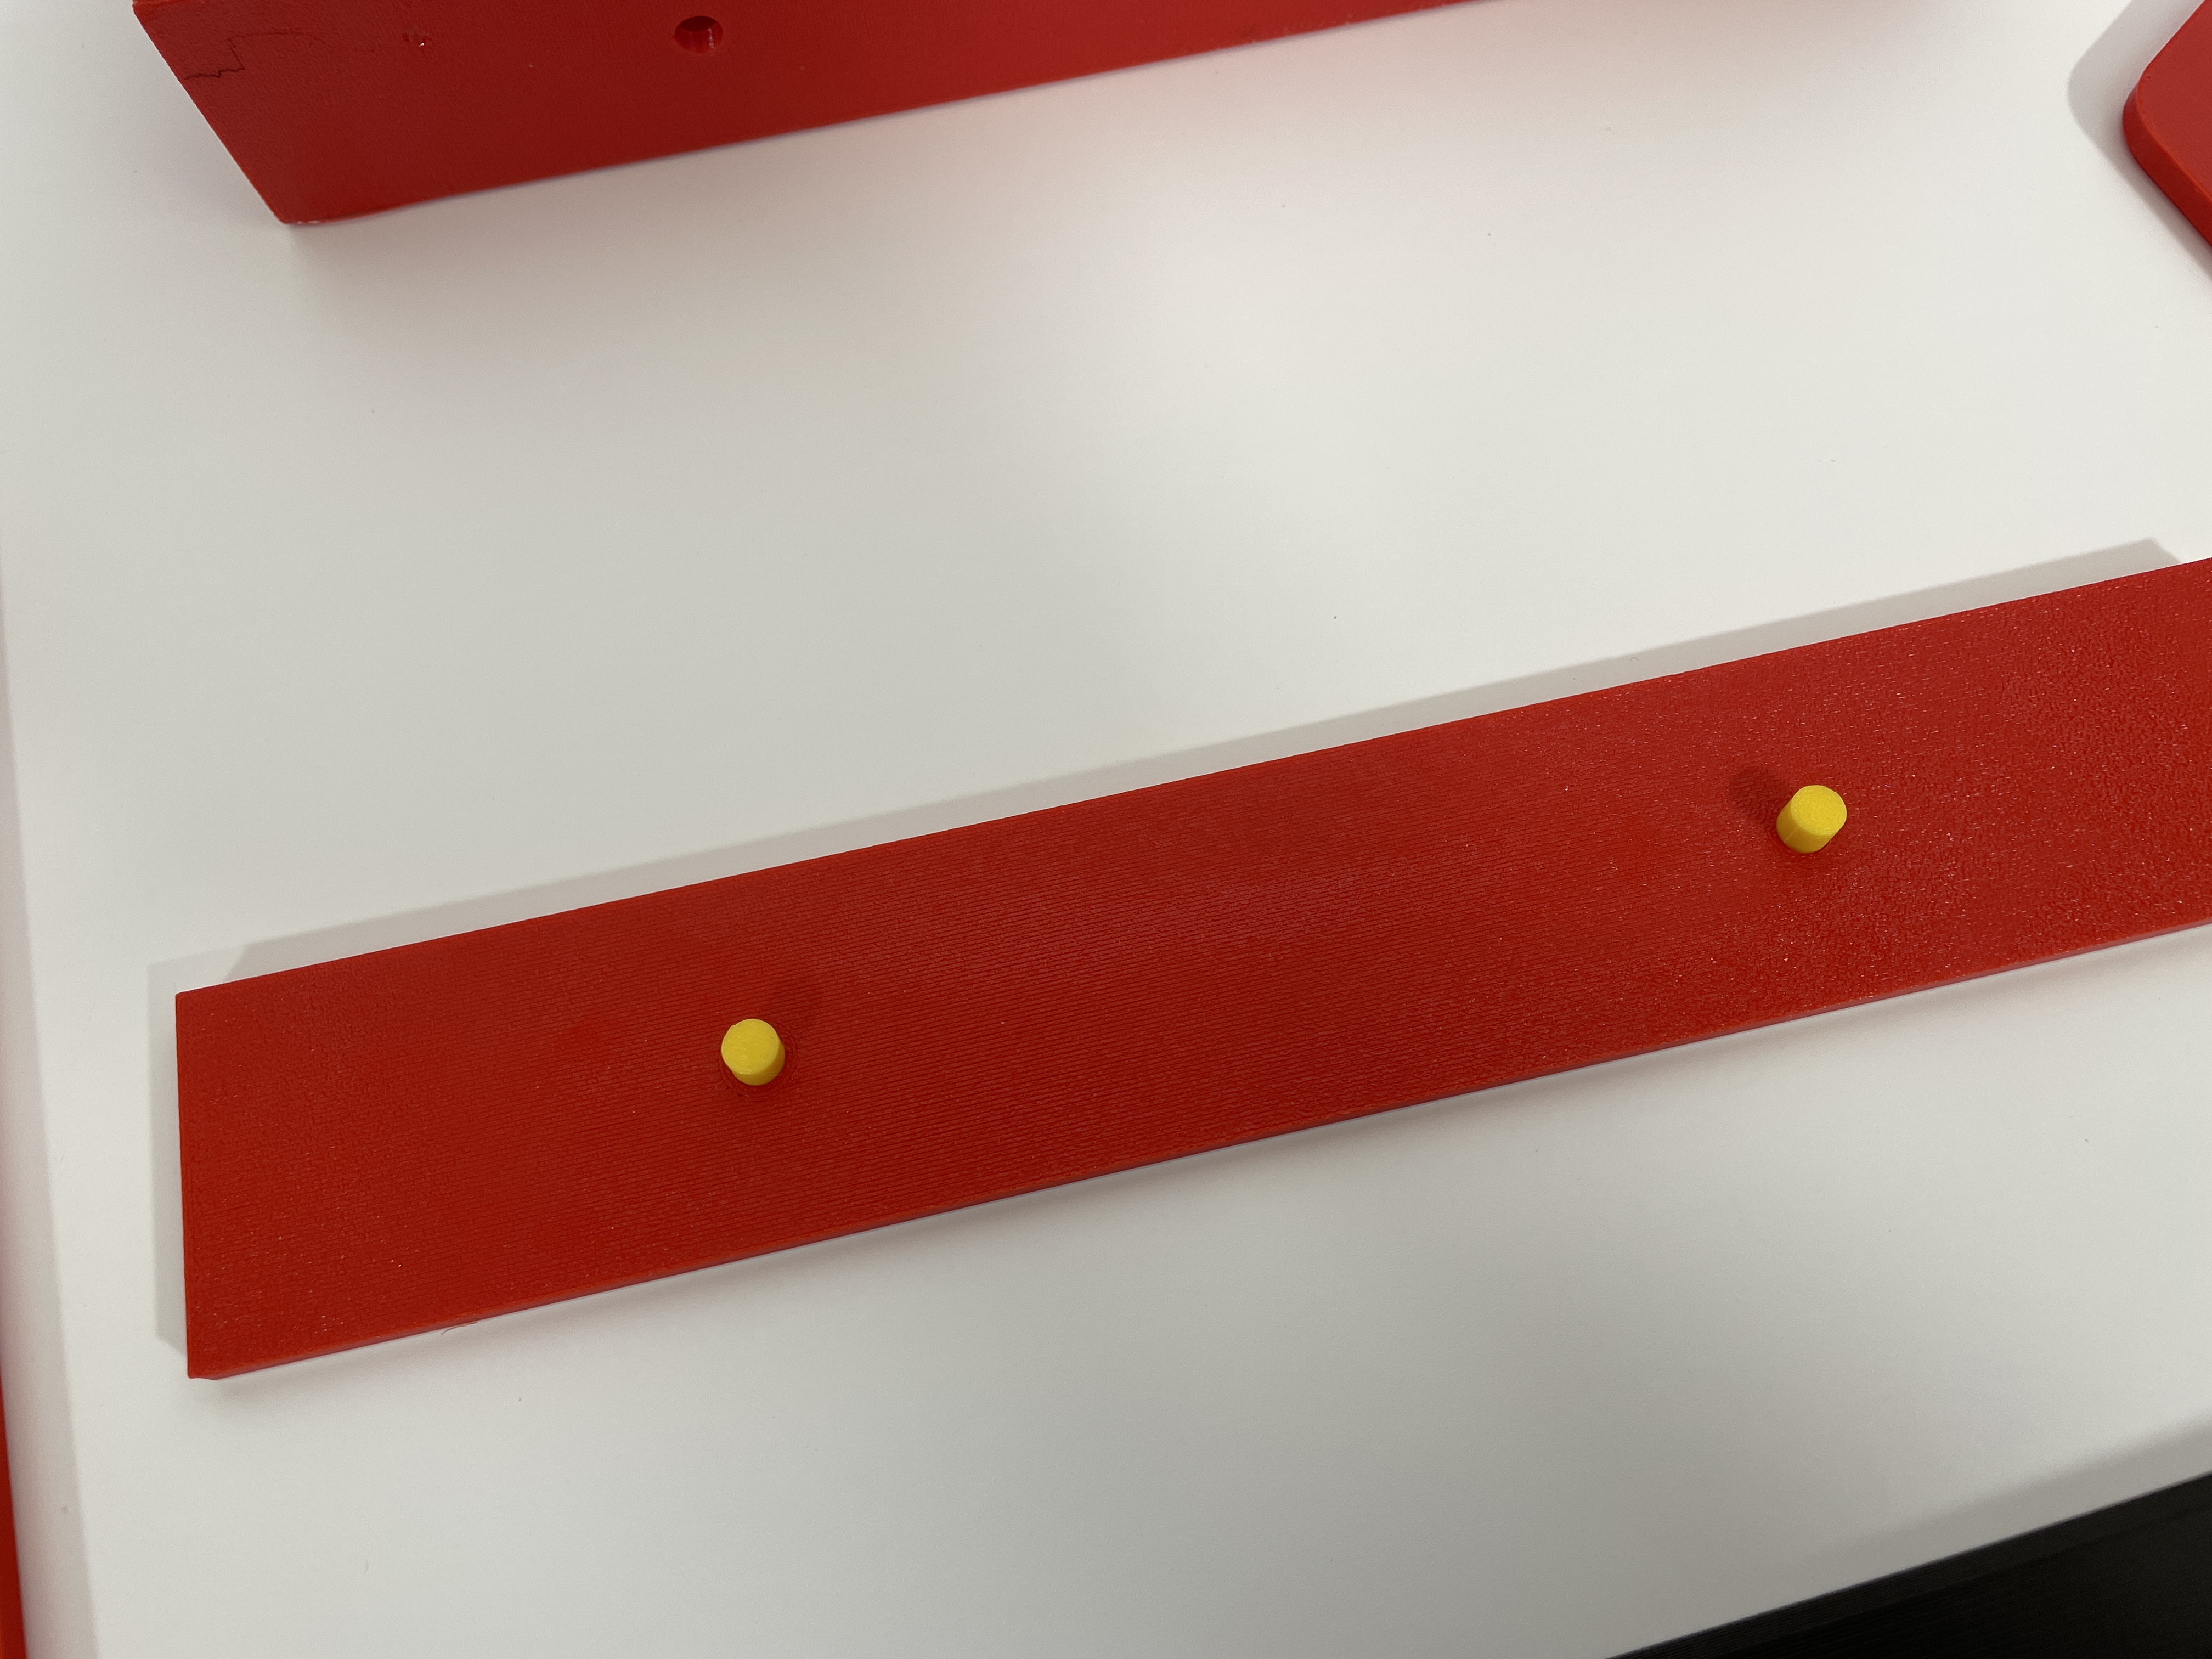 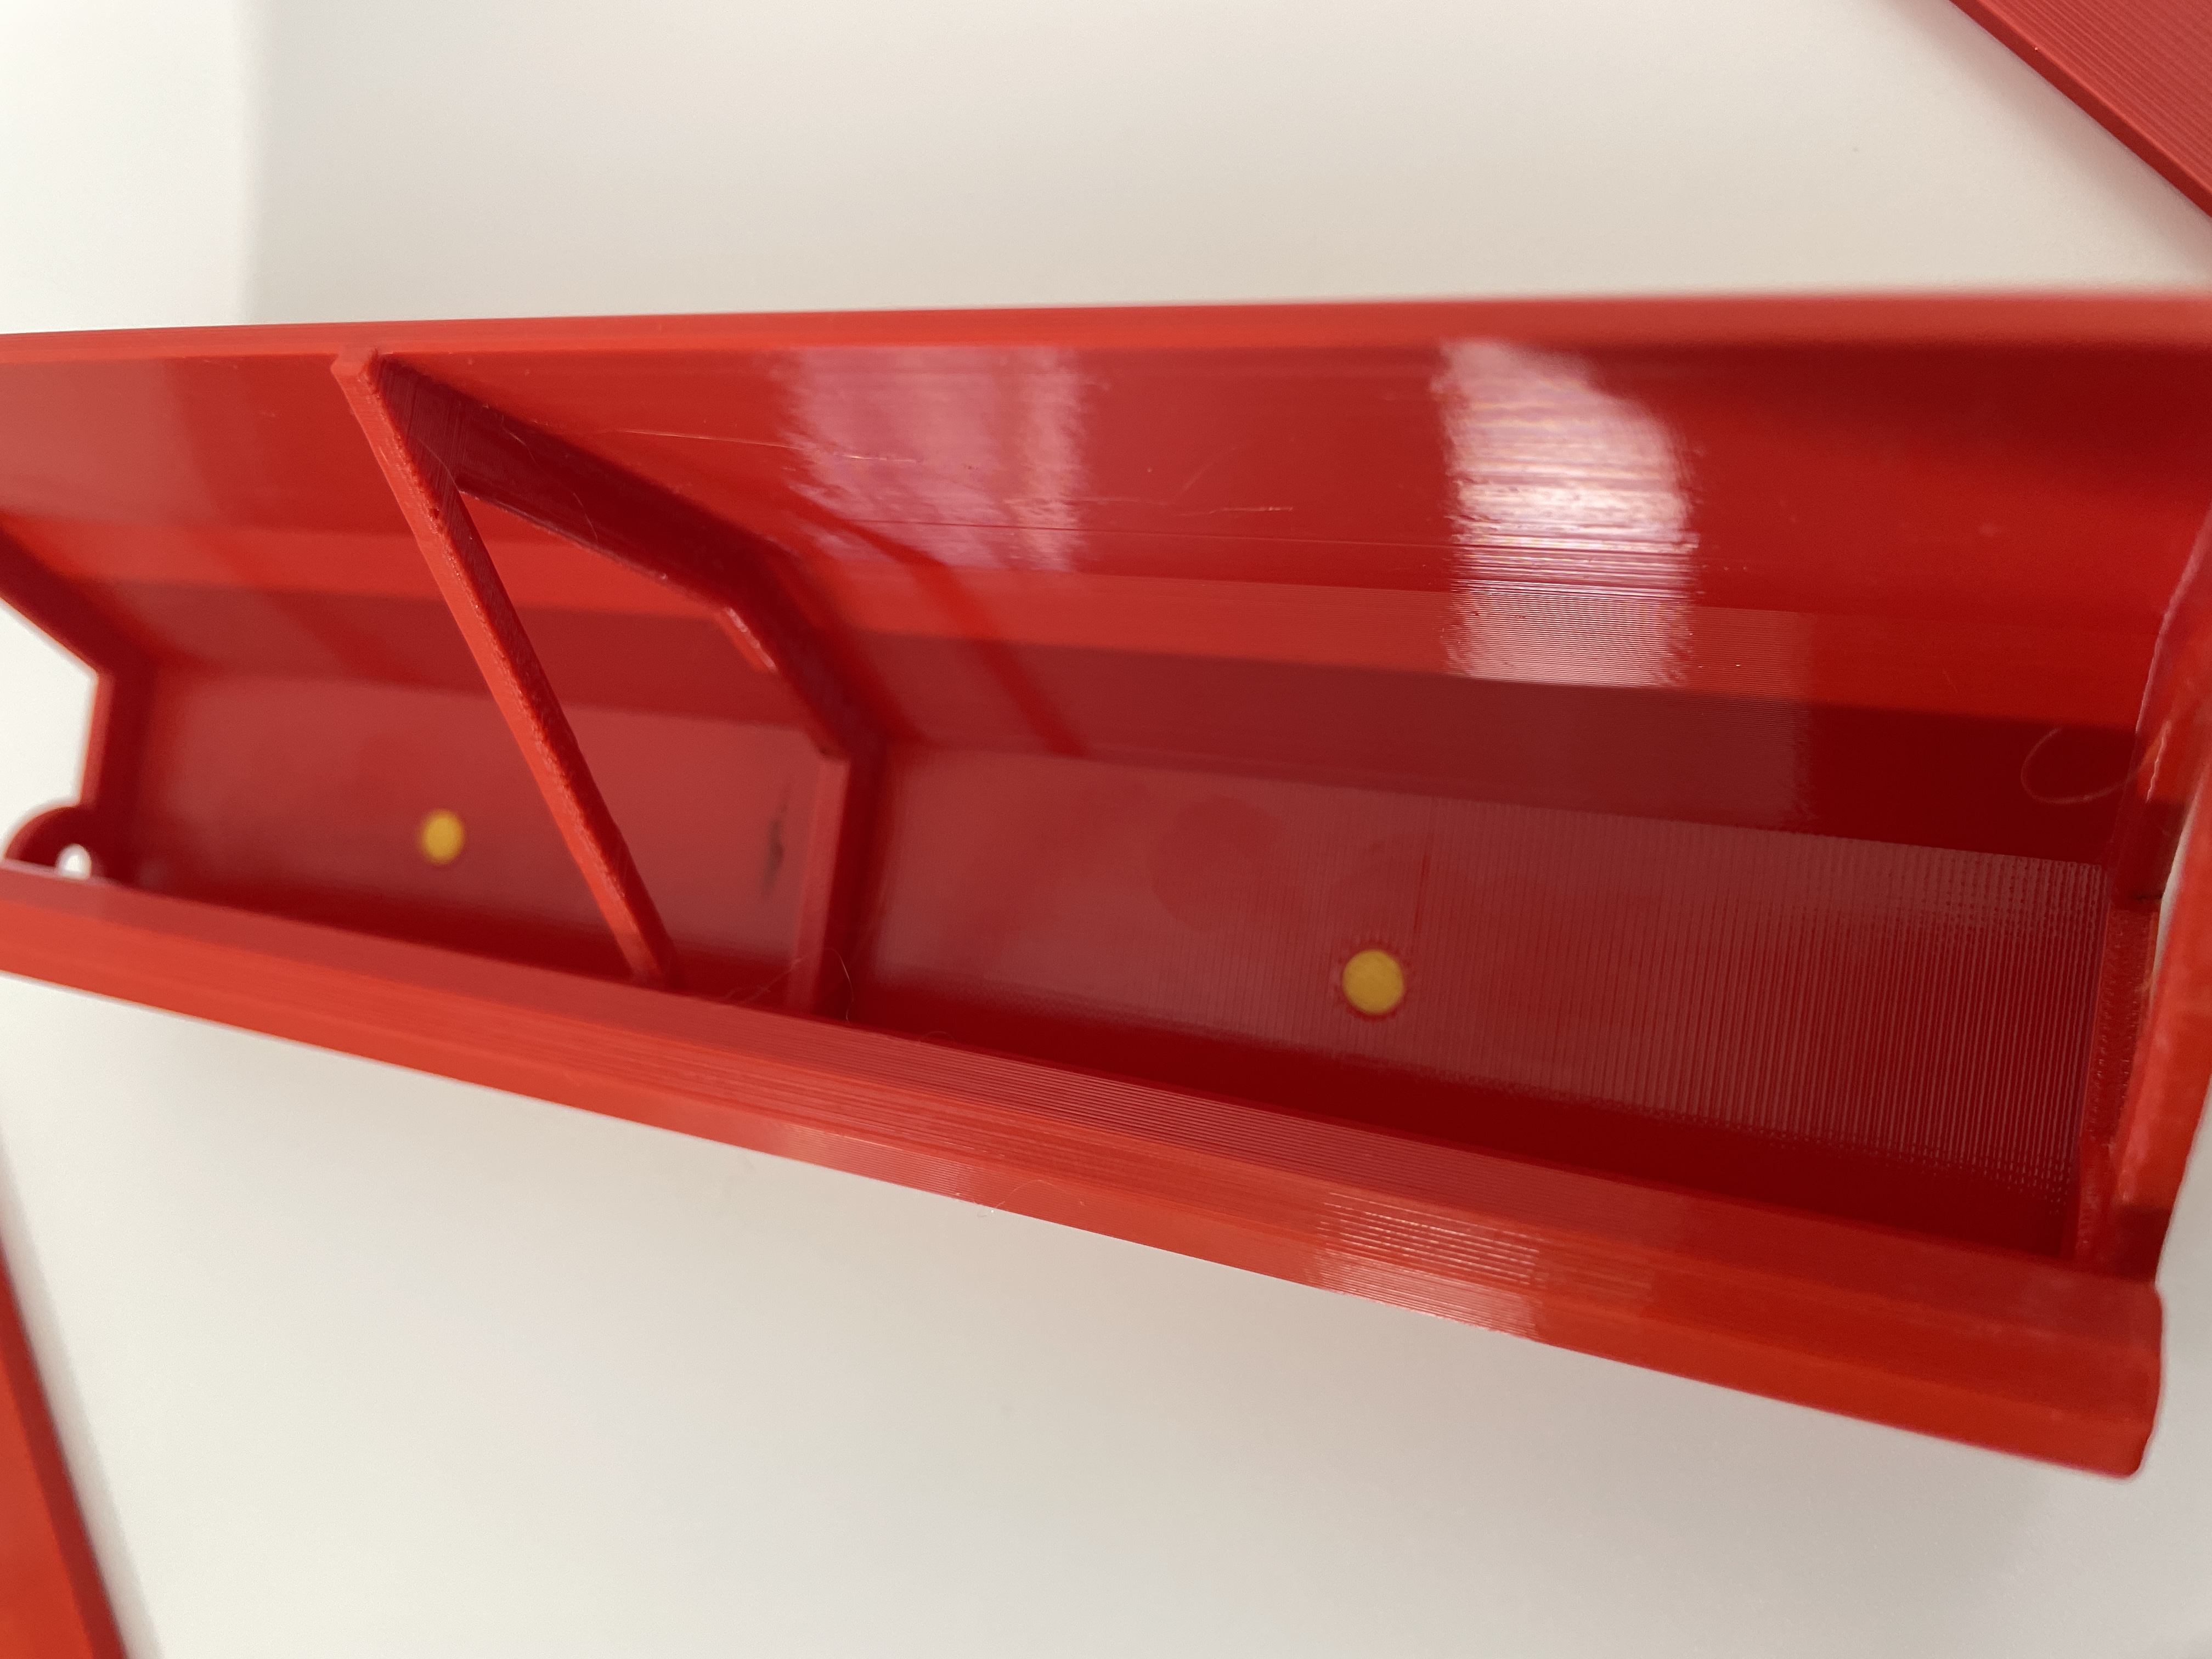 |
STEP5: 将前面板插入底座槽 | 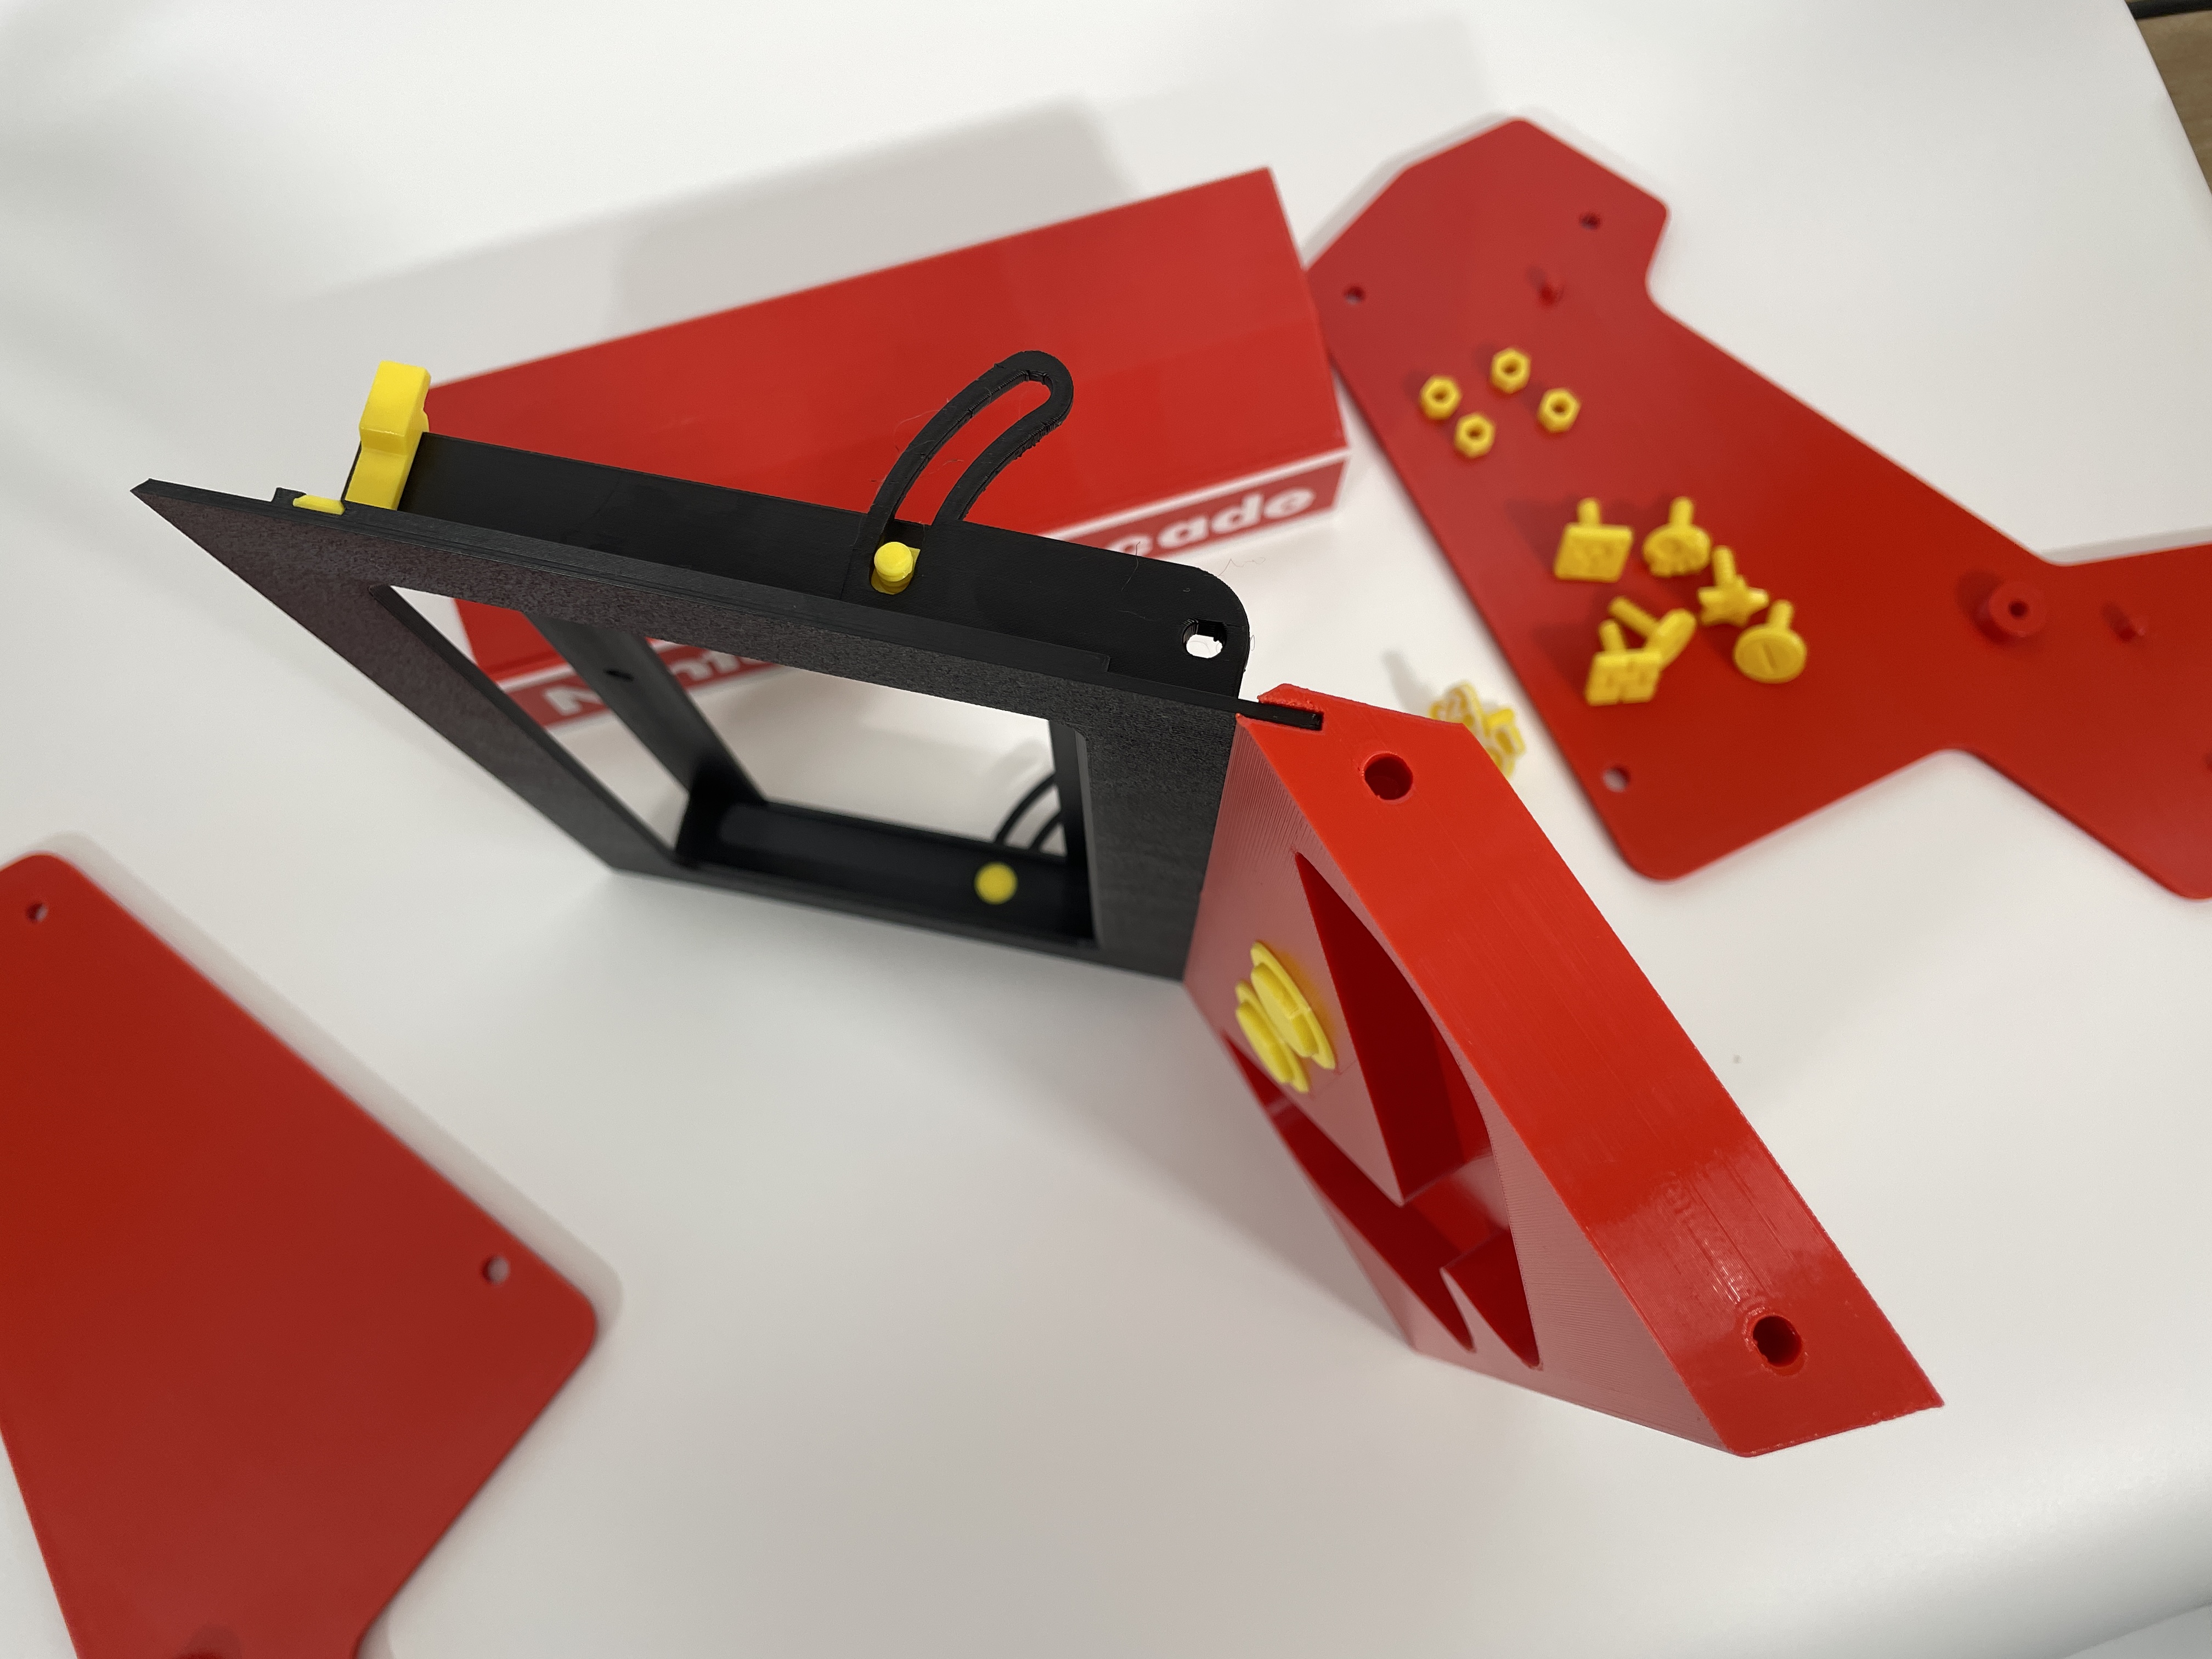
|
STEP6: 手柄底座洞口对准侧板凸起,选择长螺丝拧紧侧板螺纹。 | 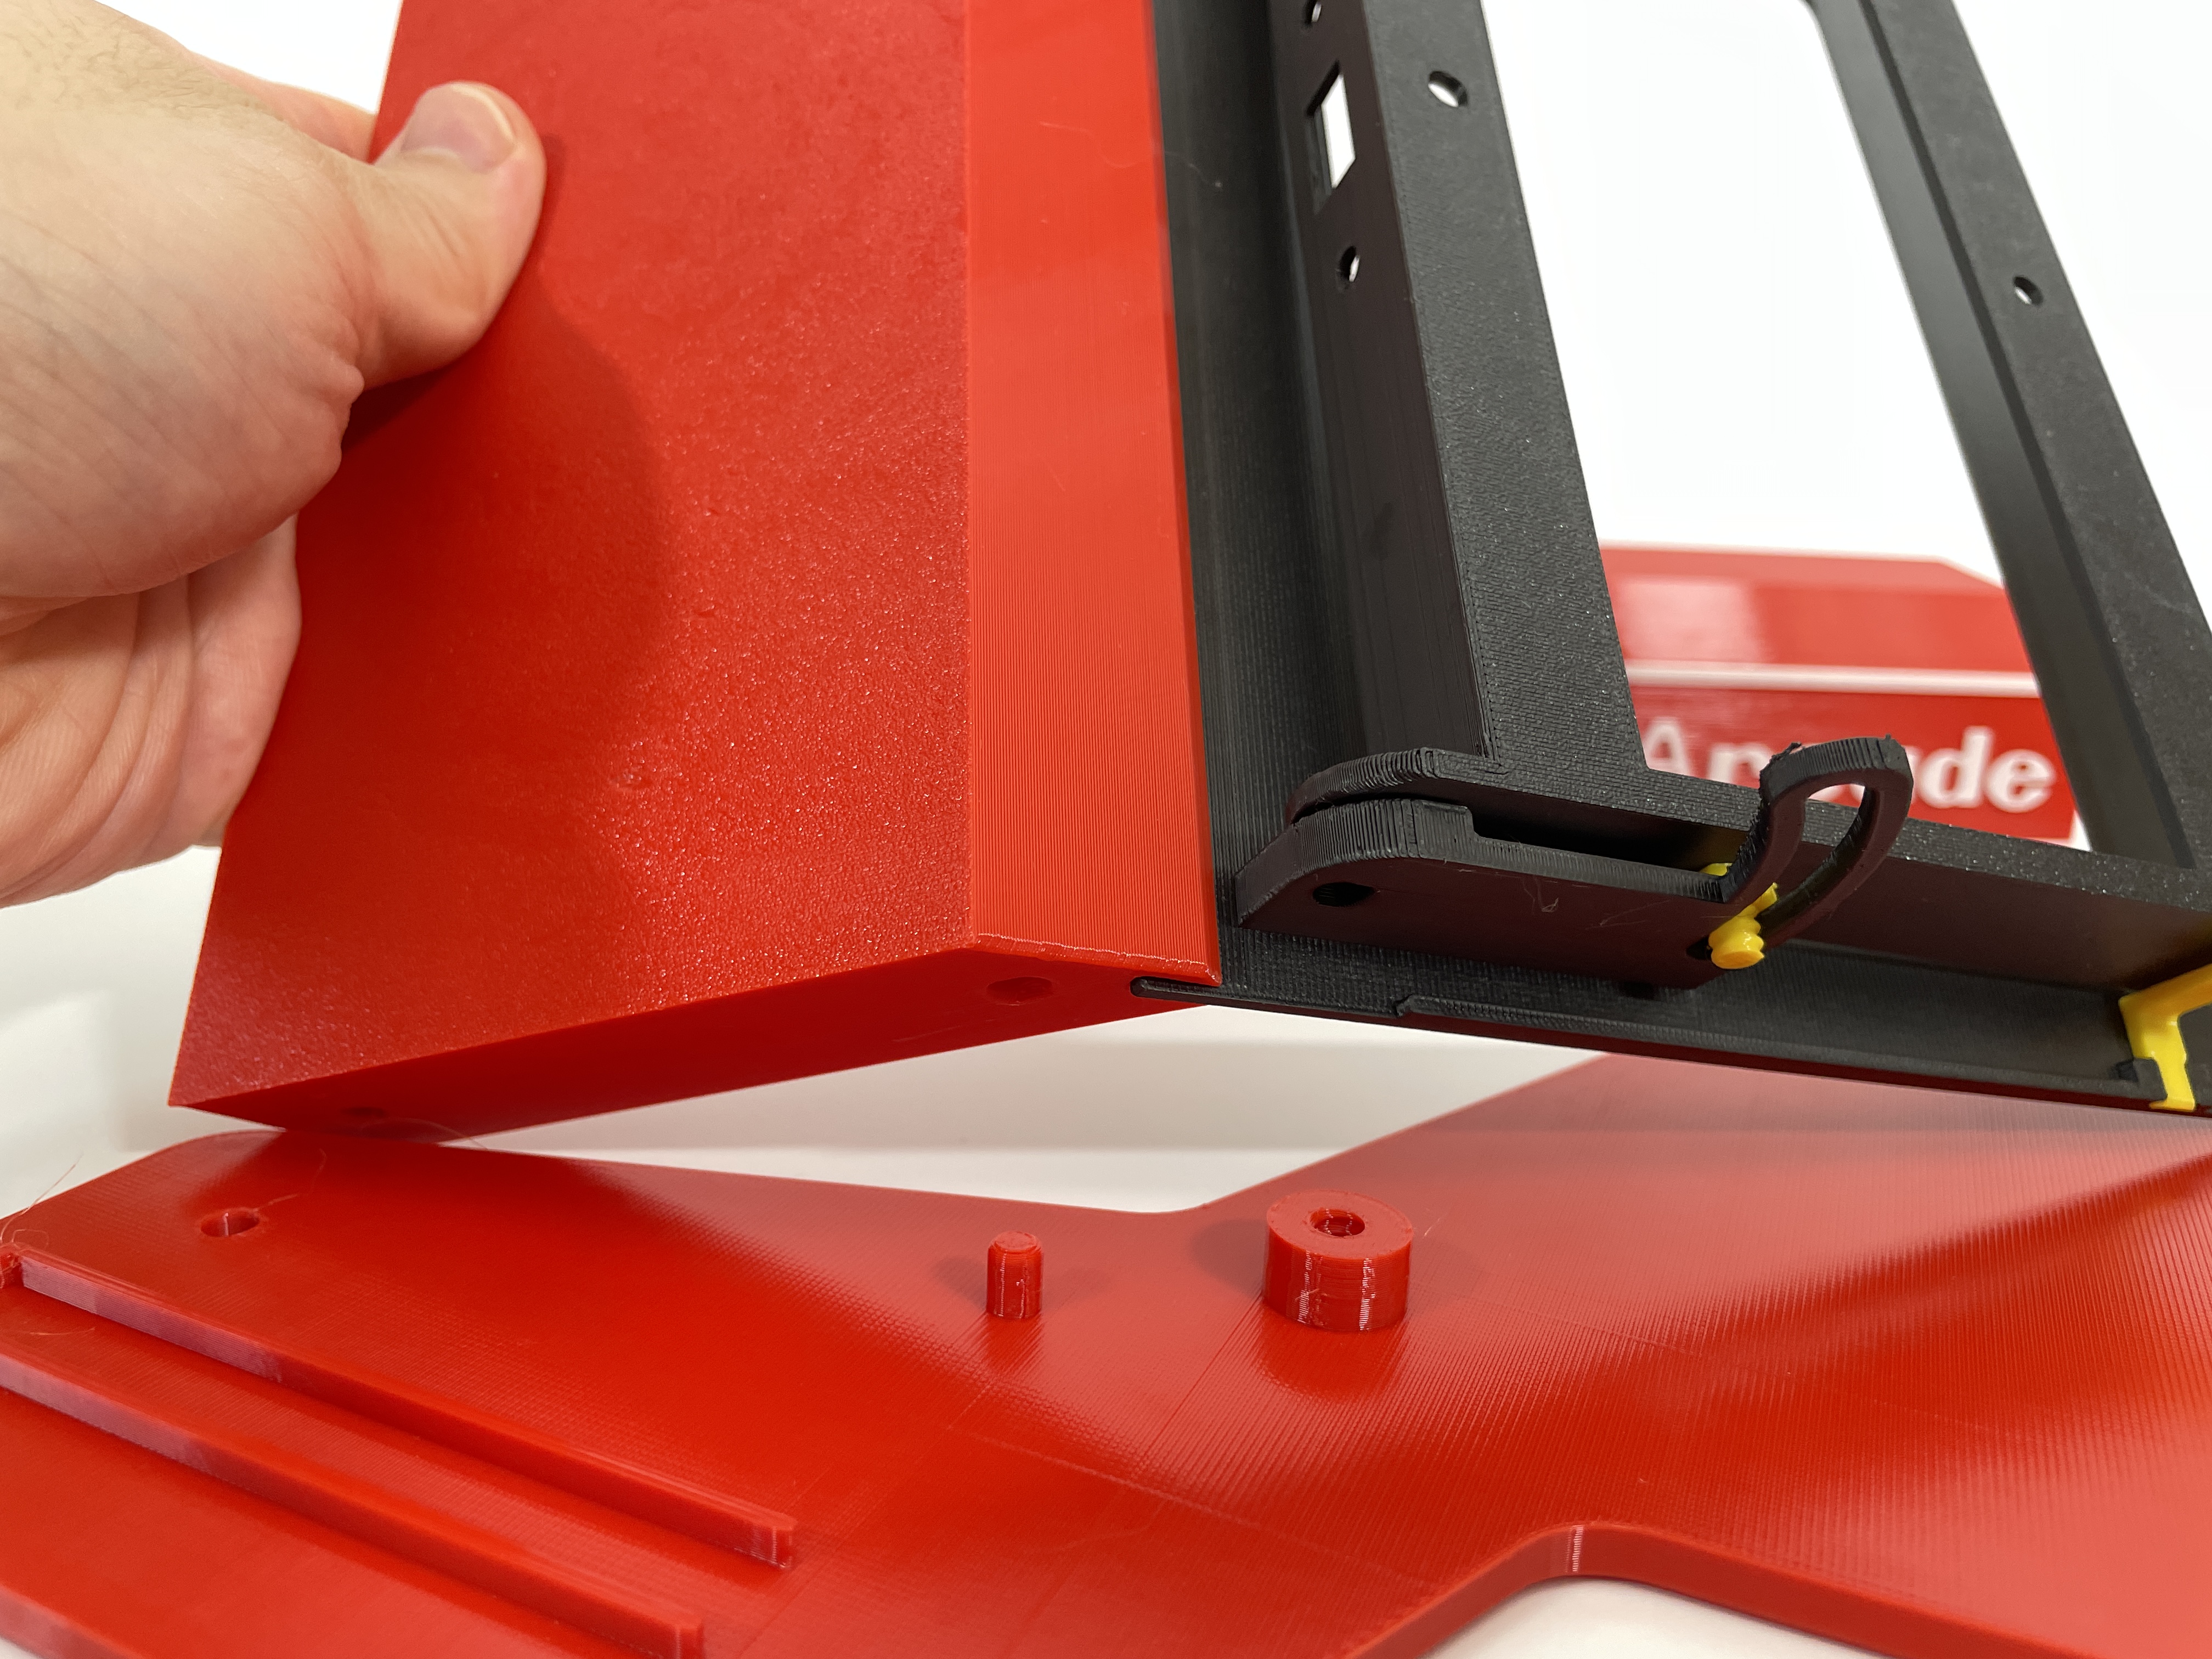 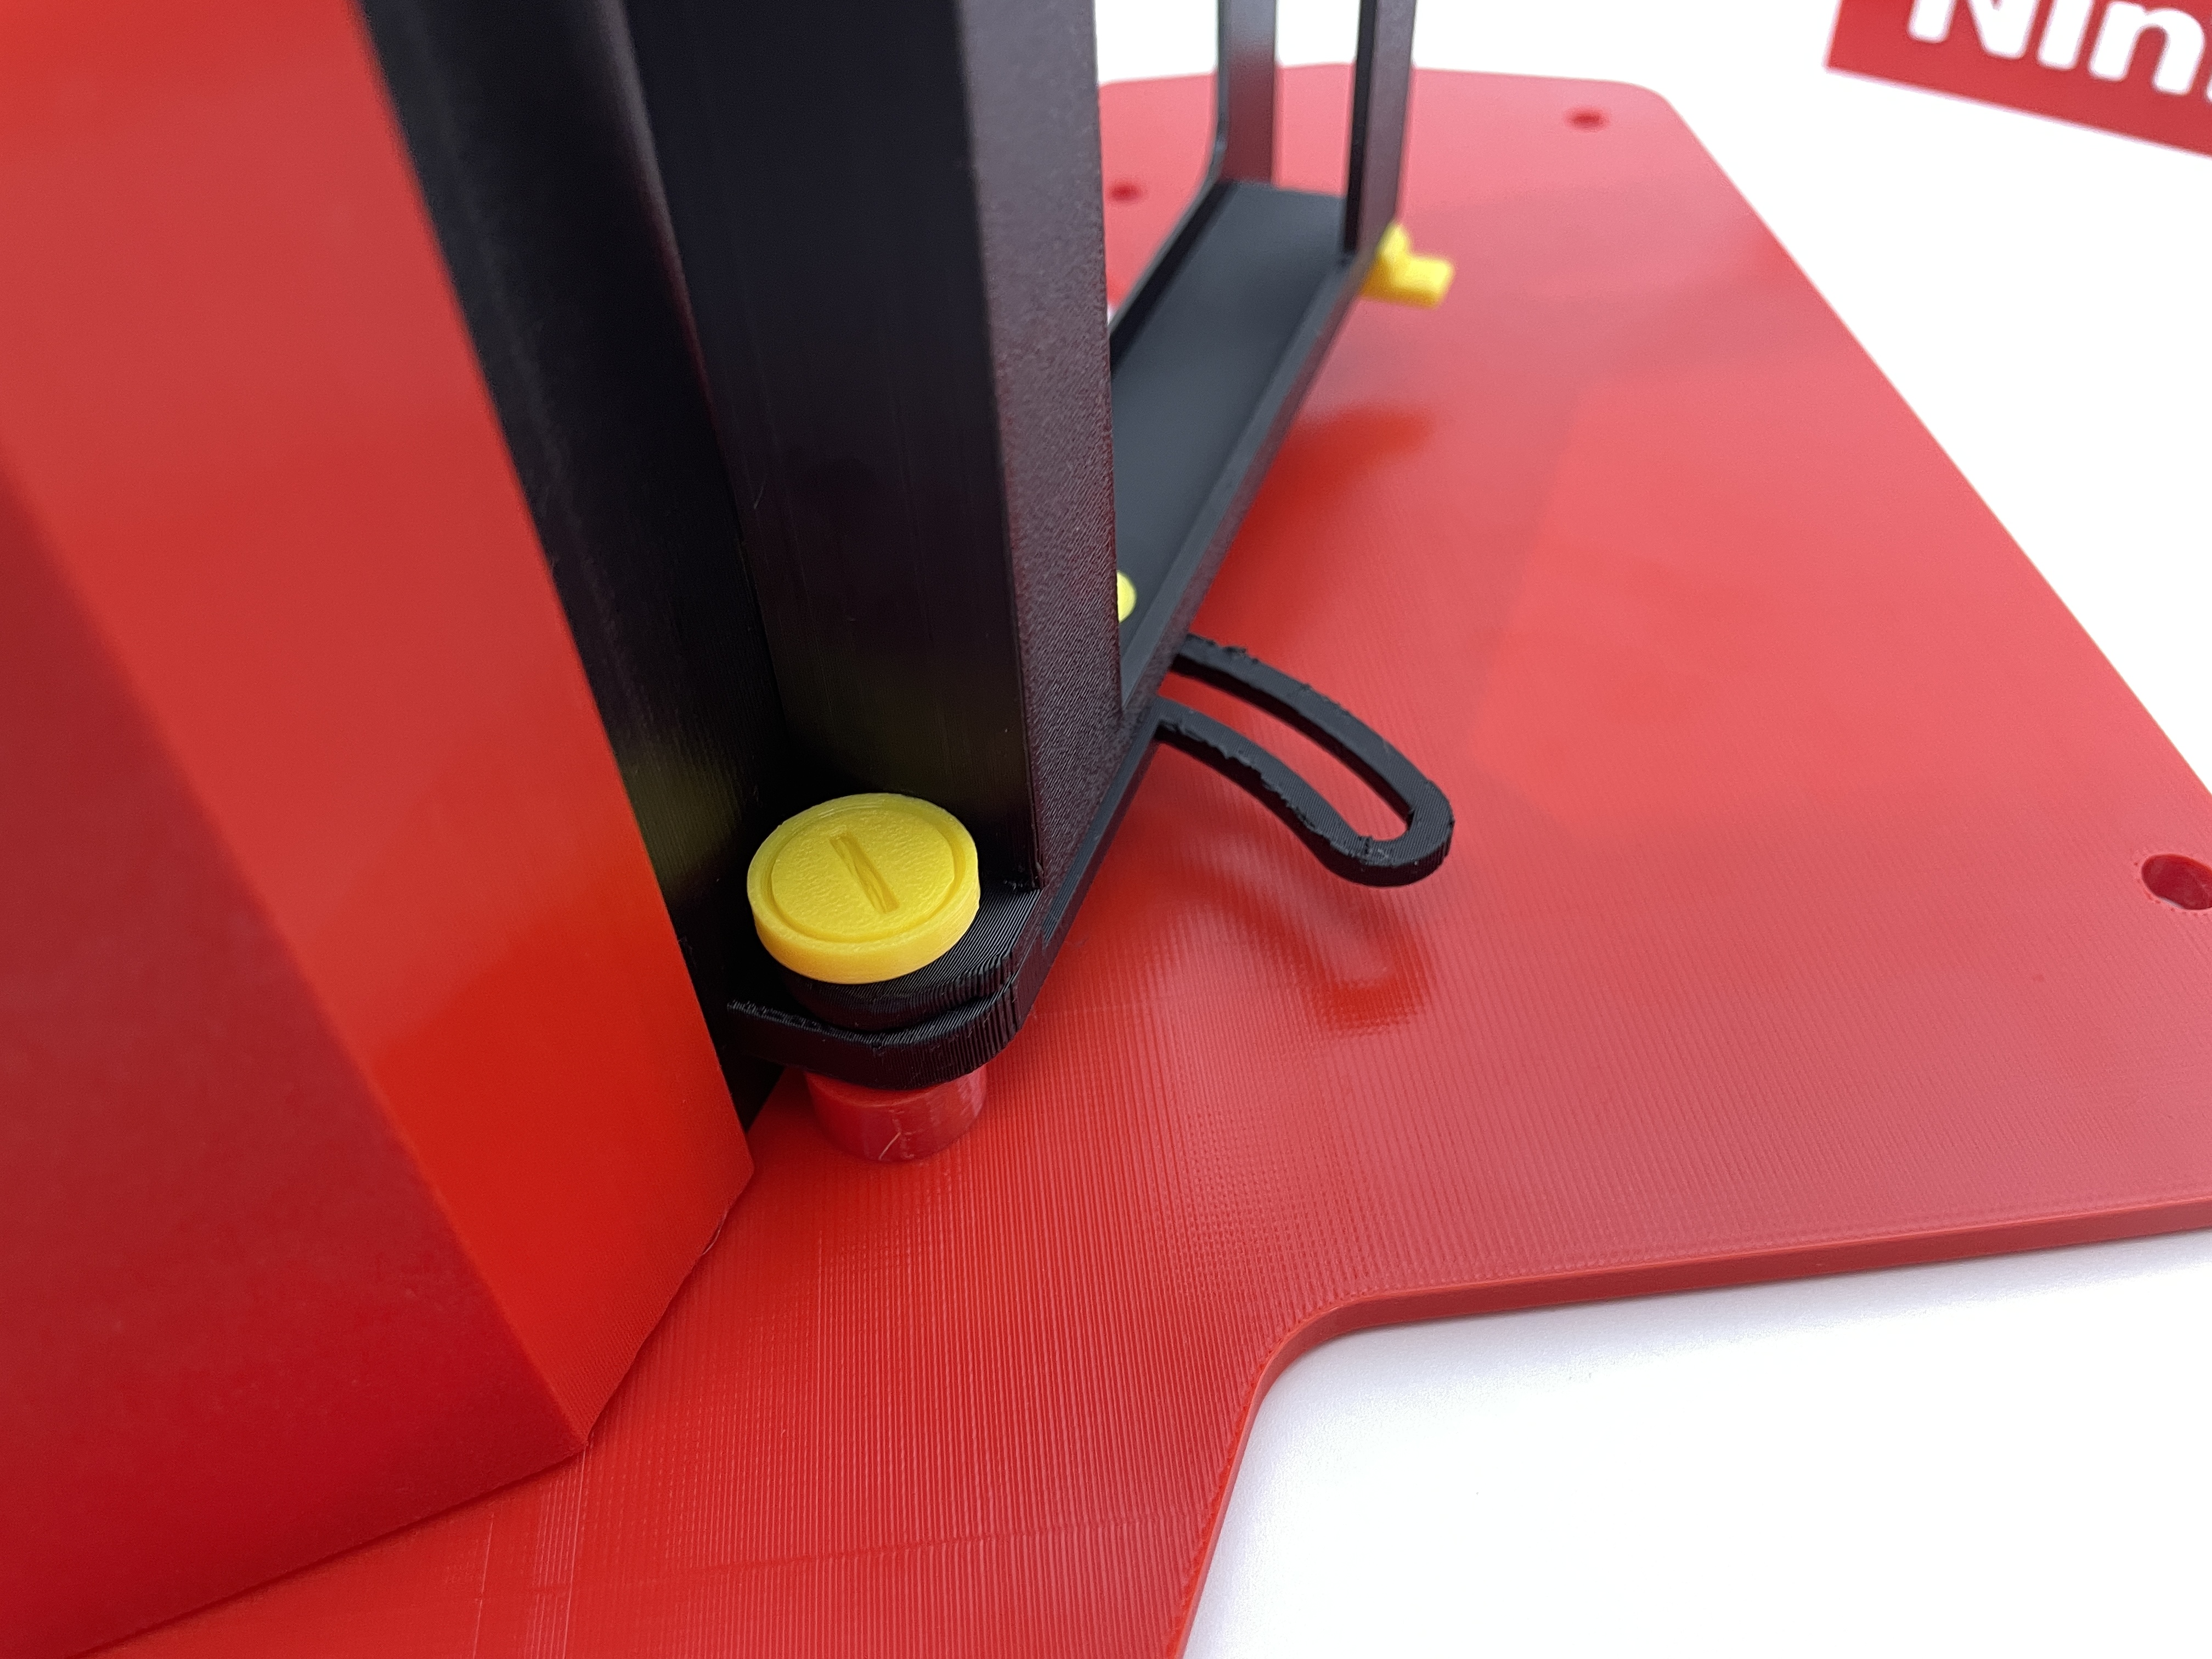 |
STEP7: 将顶盖洞口对准定位点,前面板插入卡槽,选择喜欢的长螺丝和5mm厚螺母拧紧侧板 | 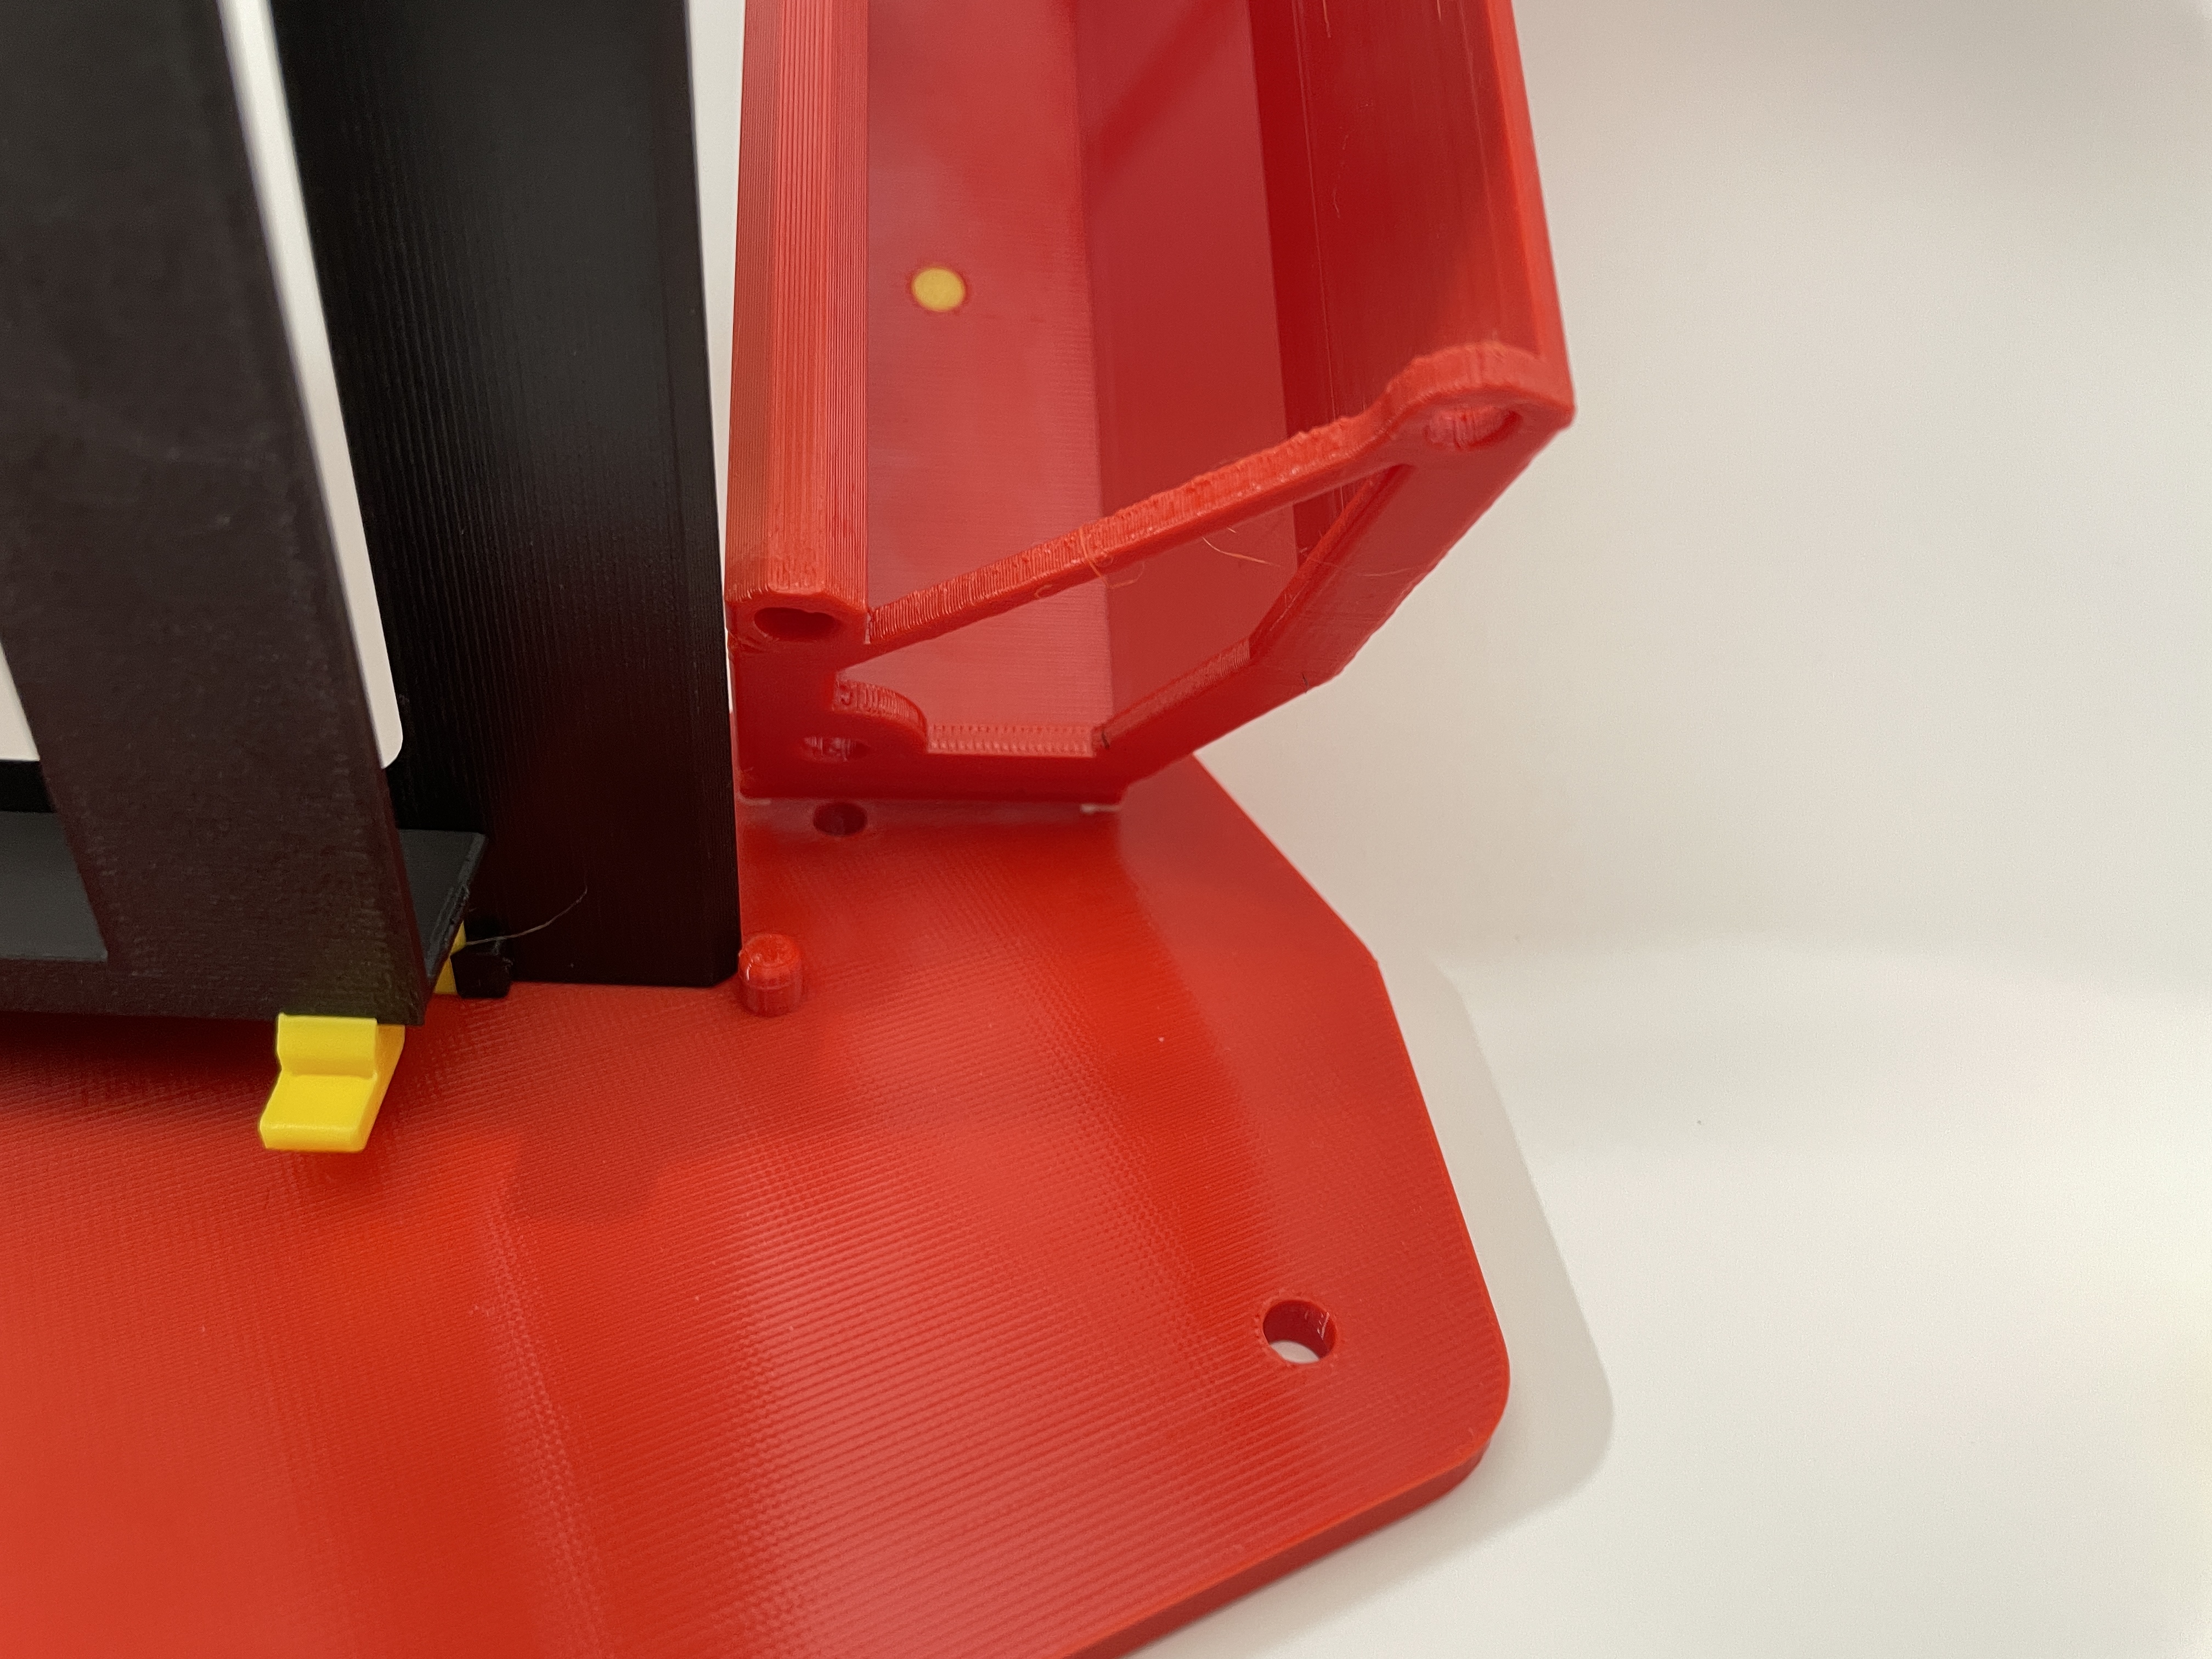 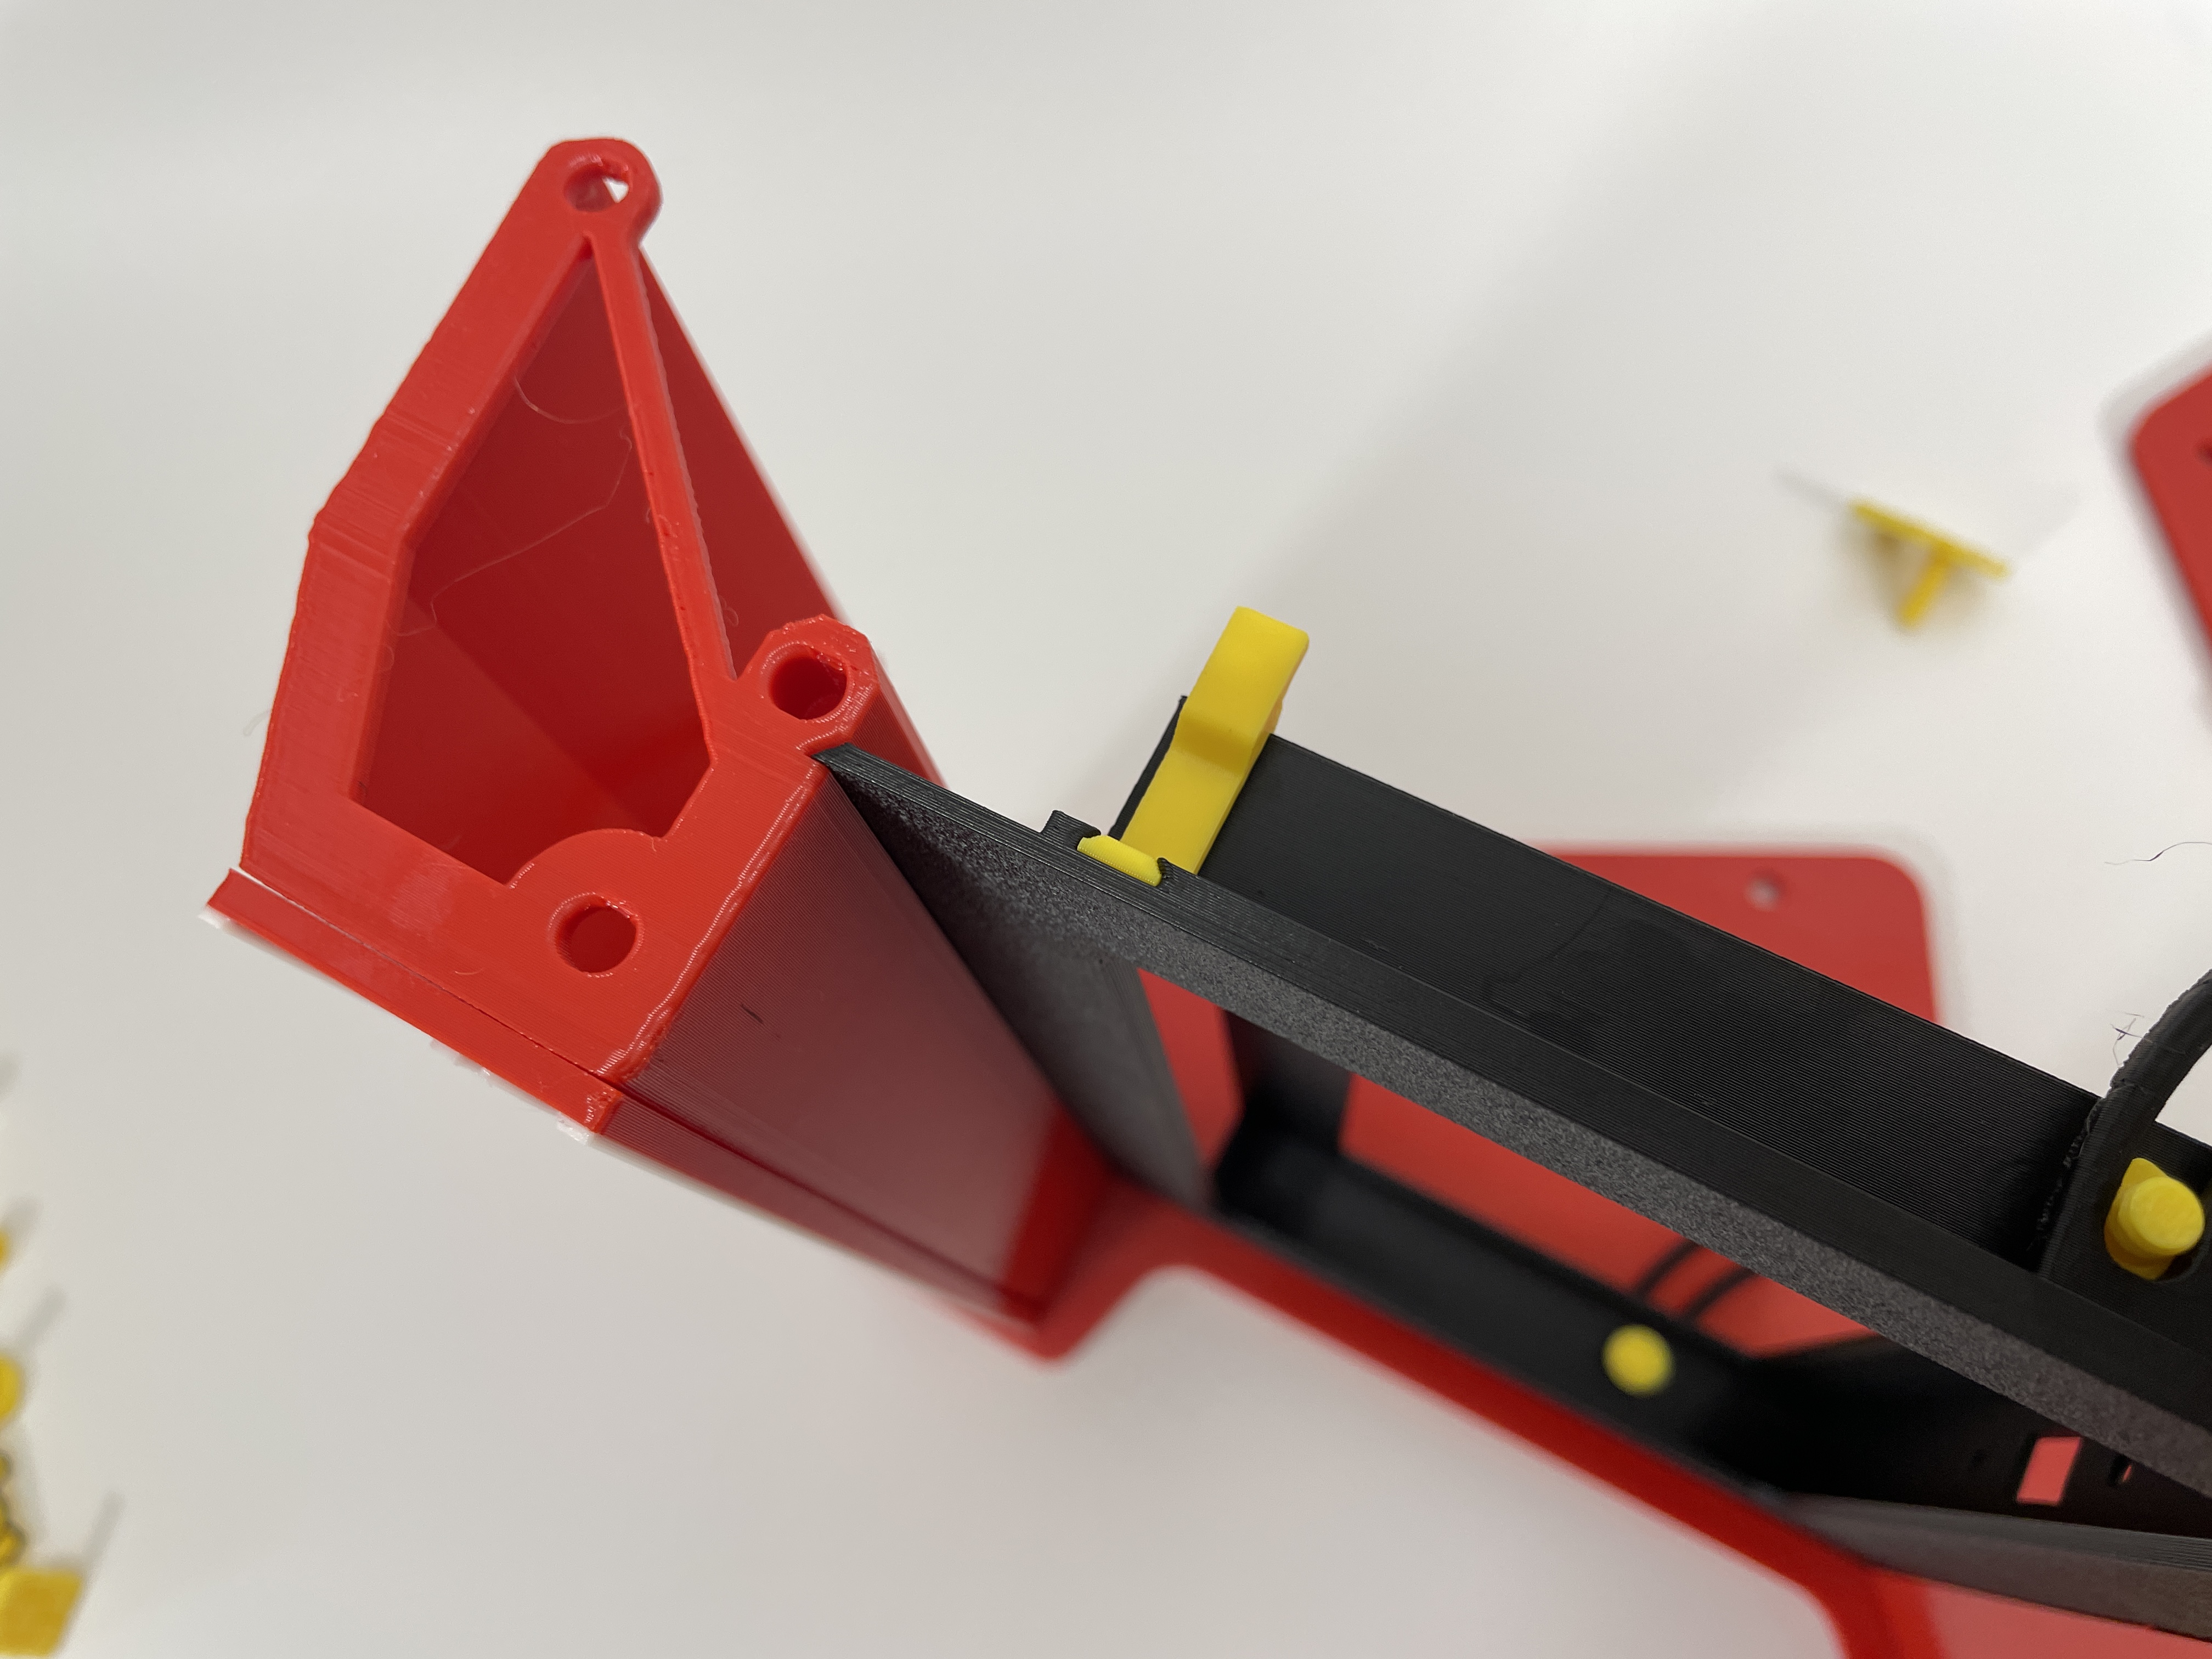 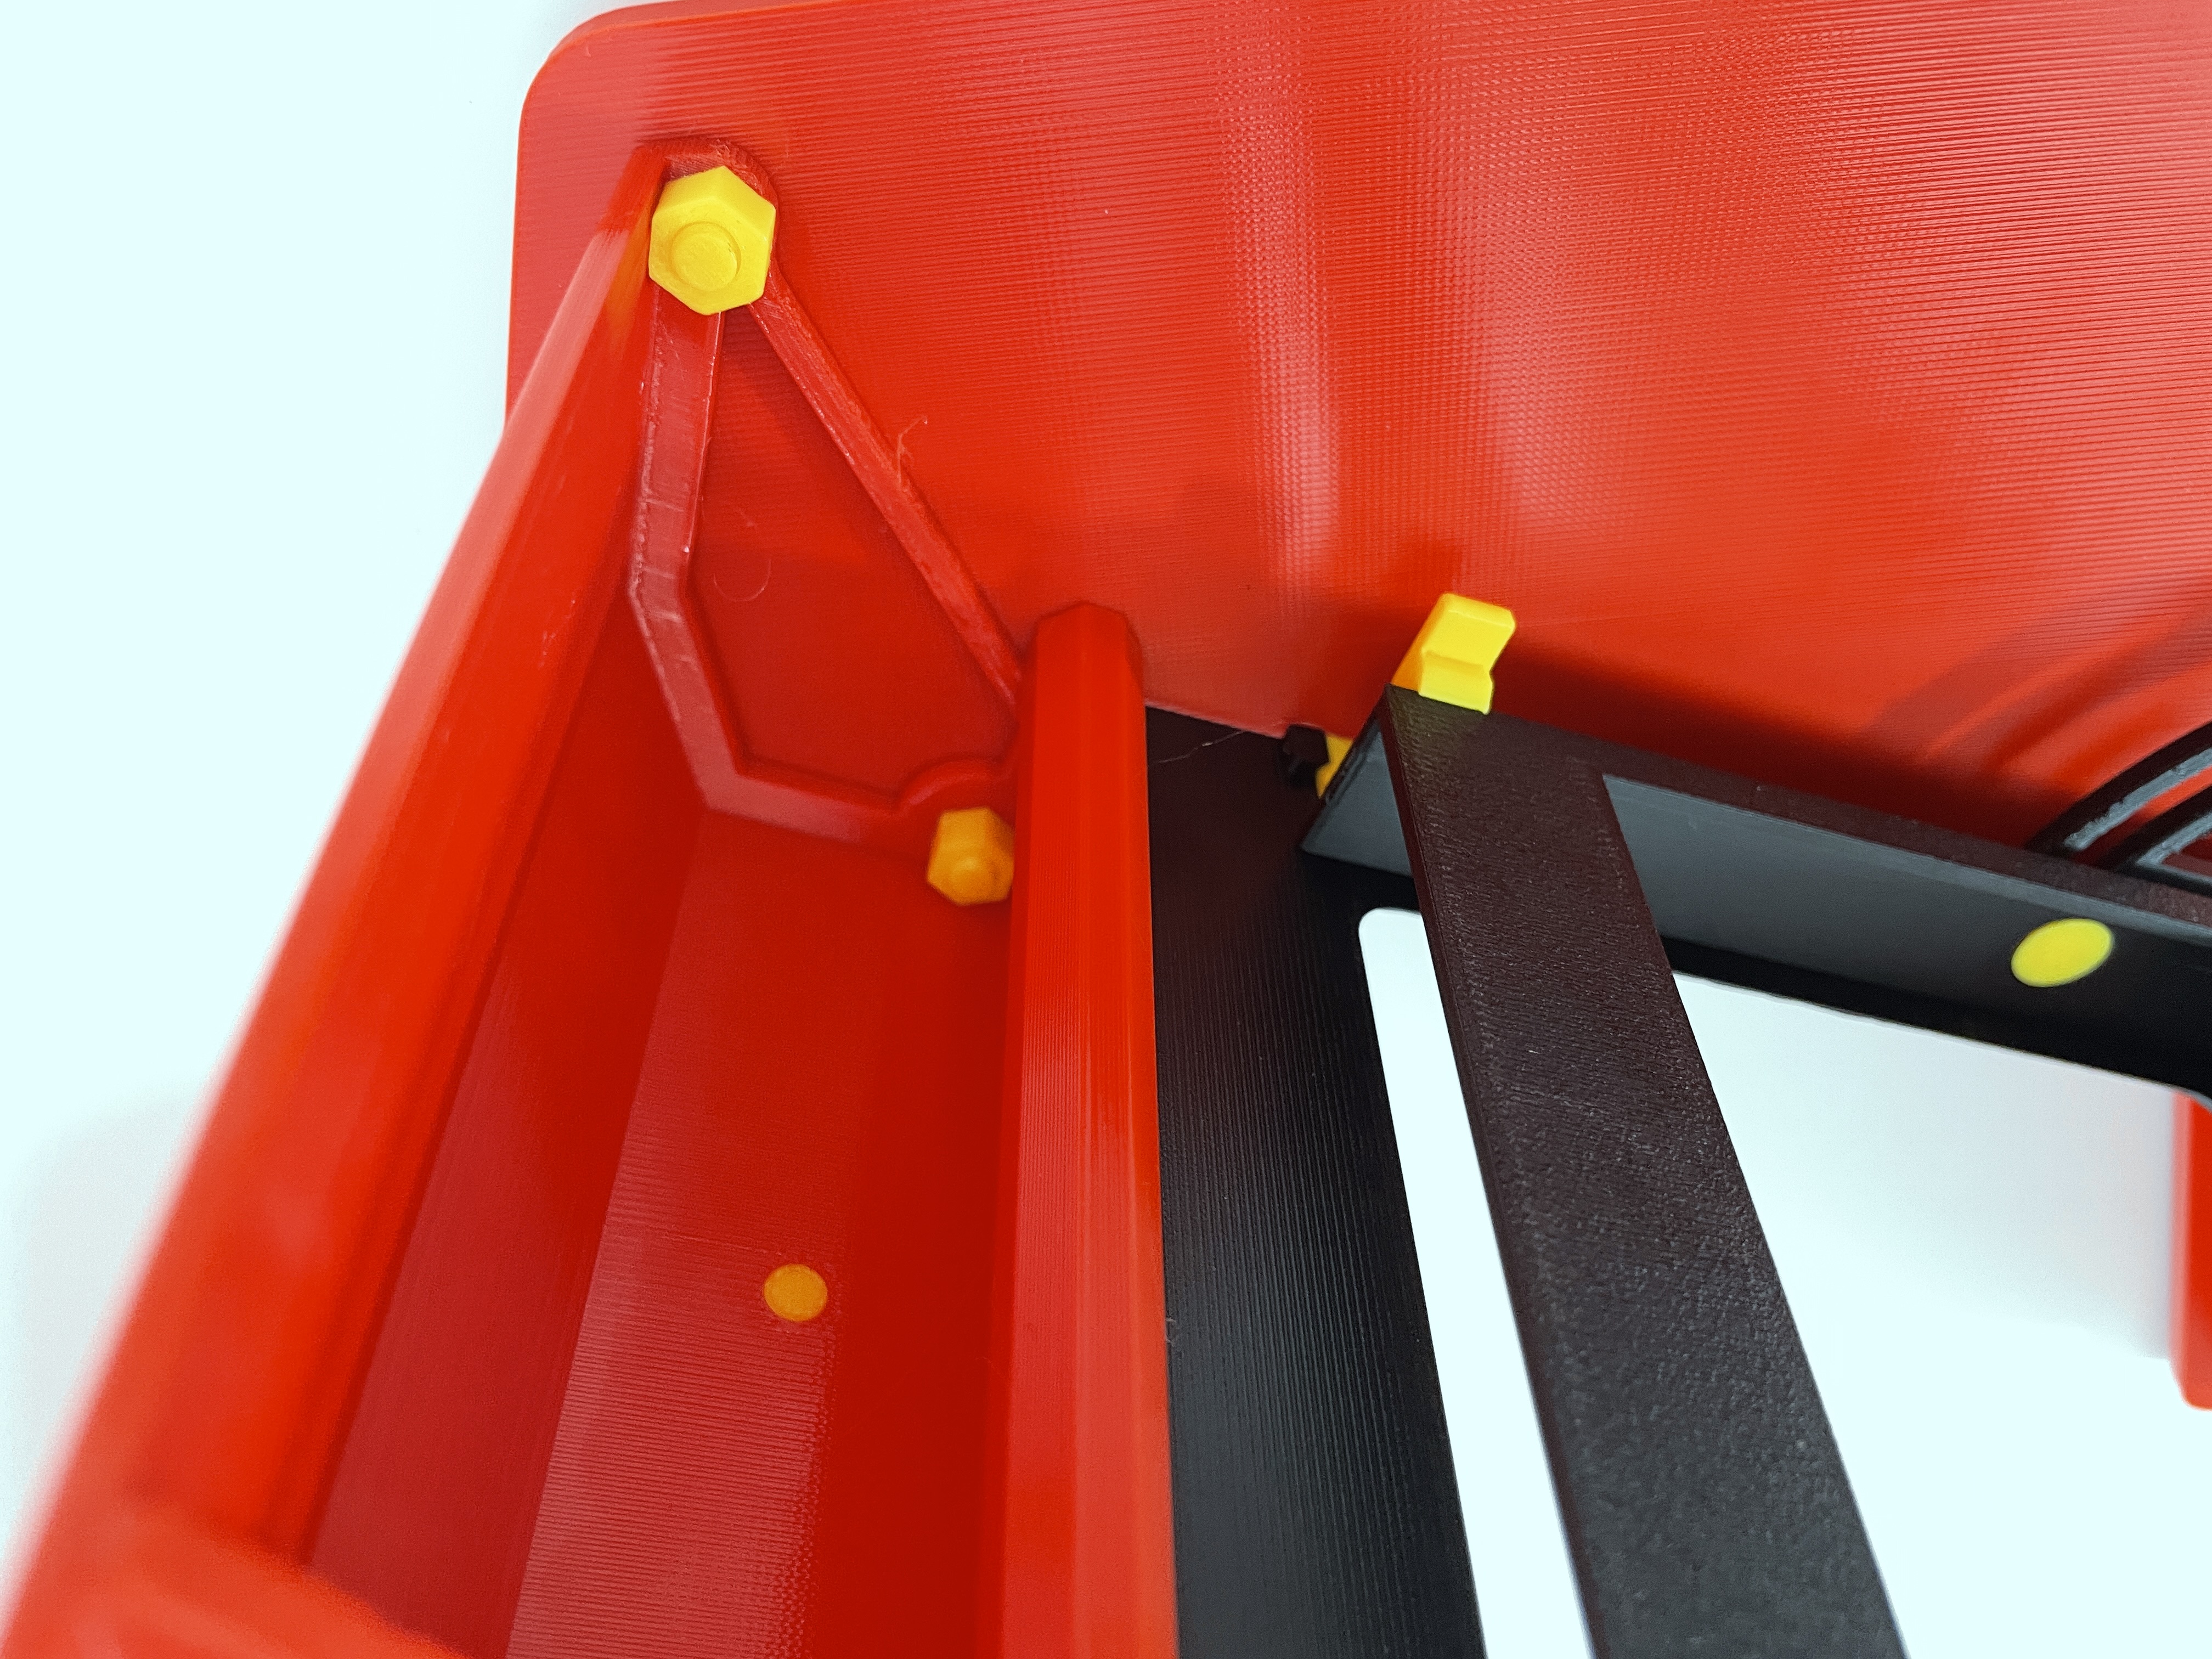 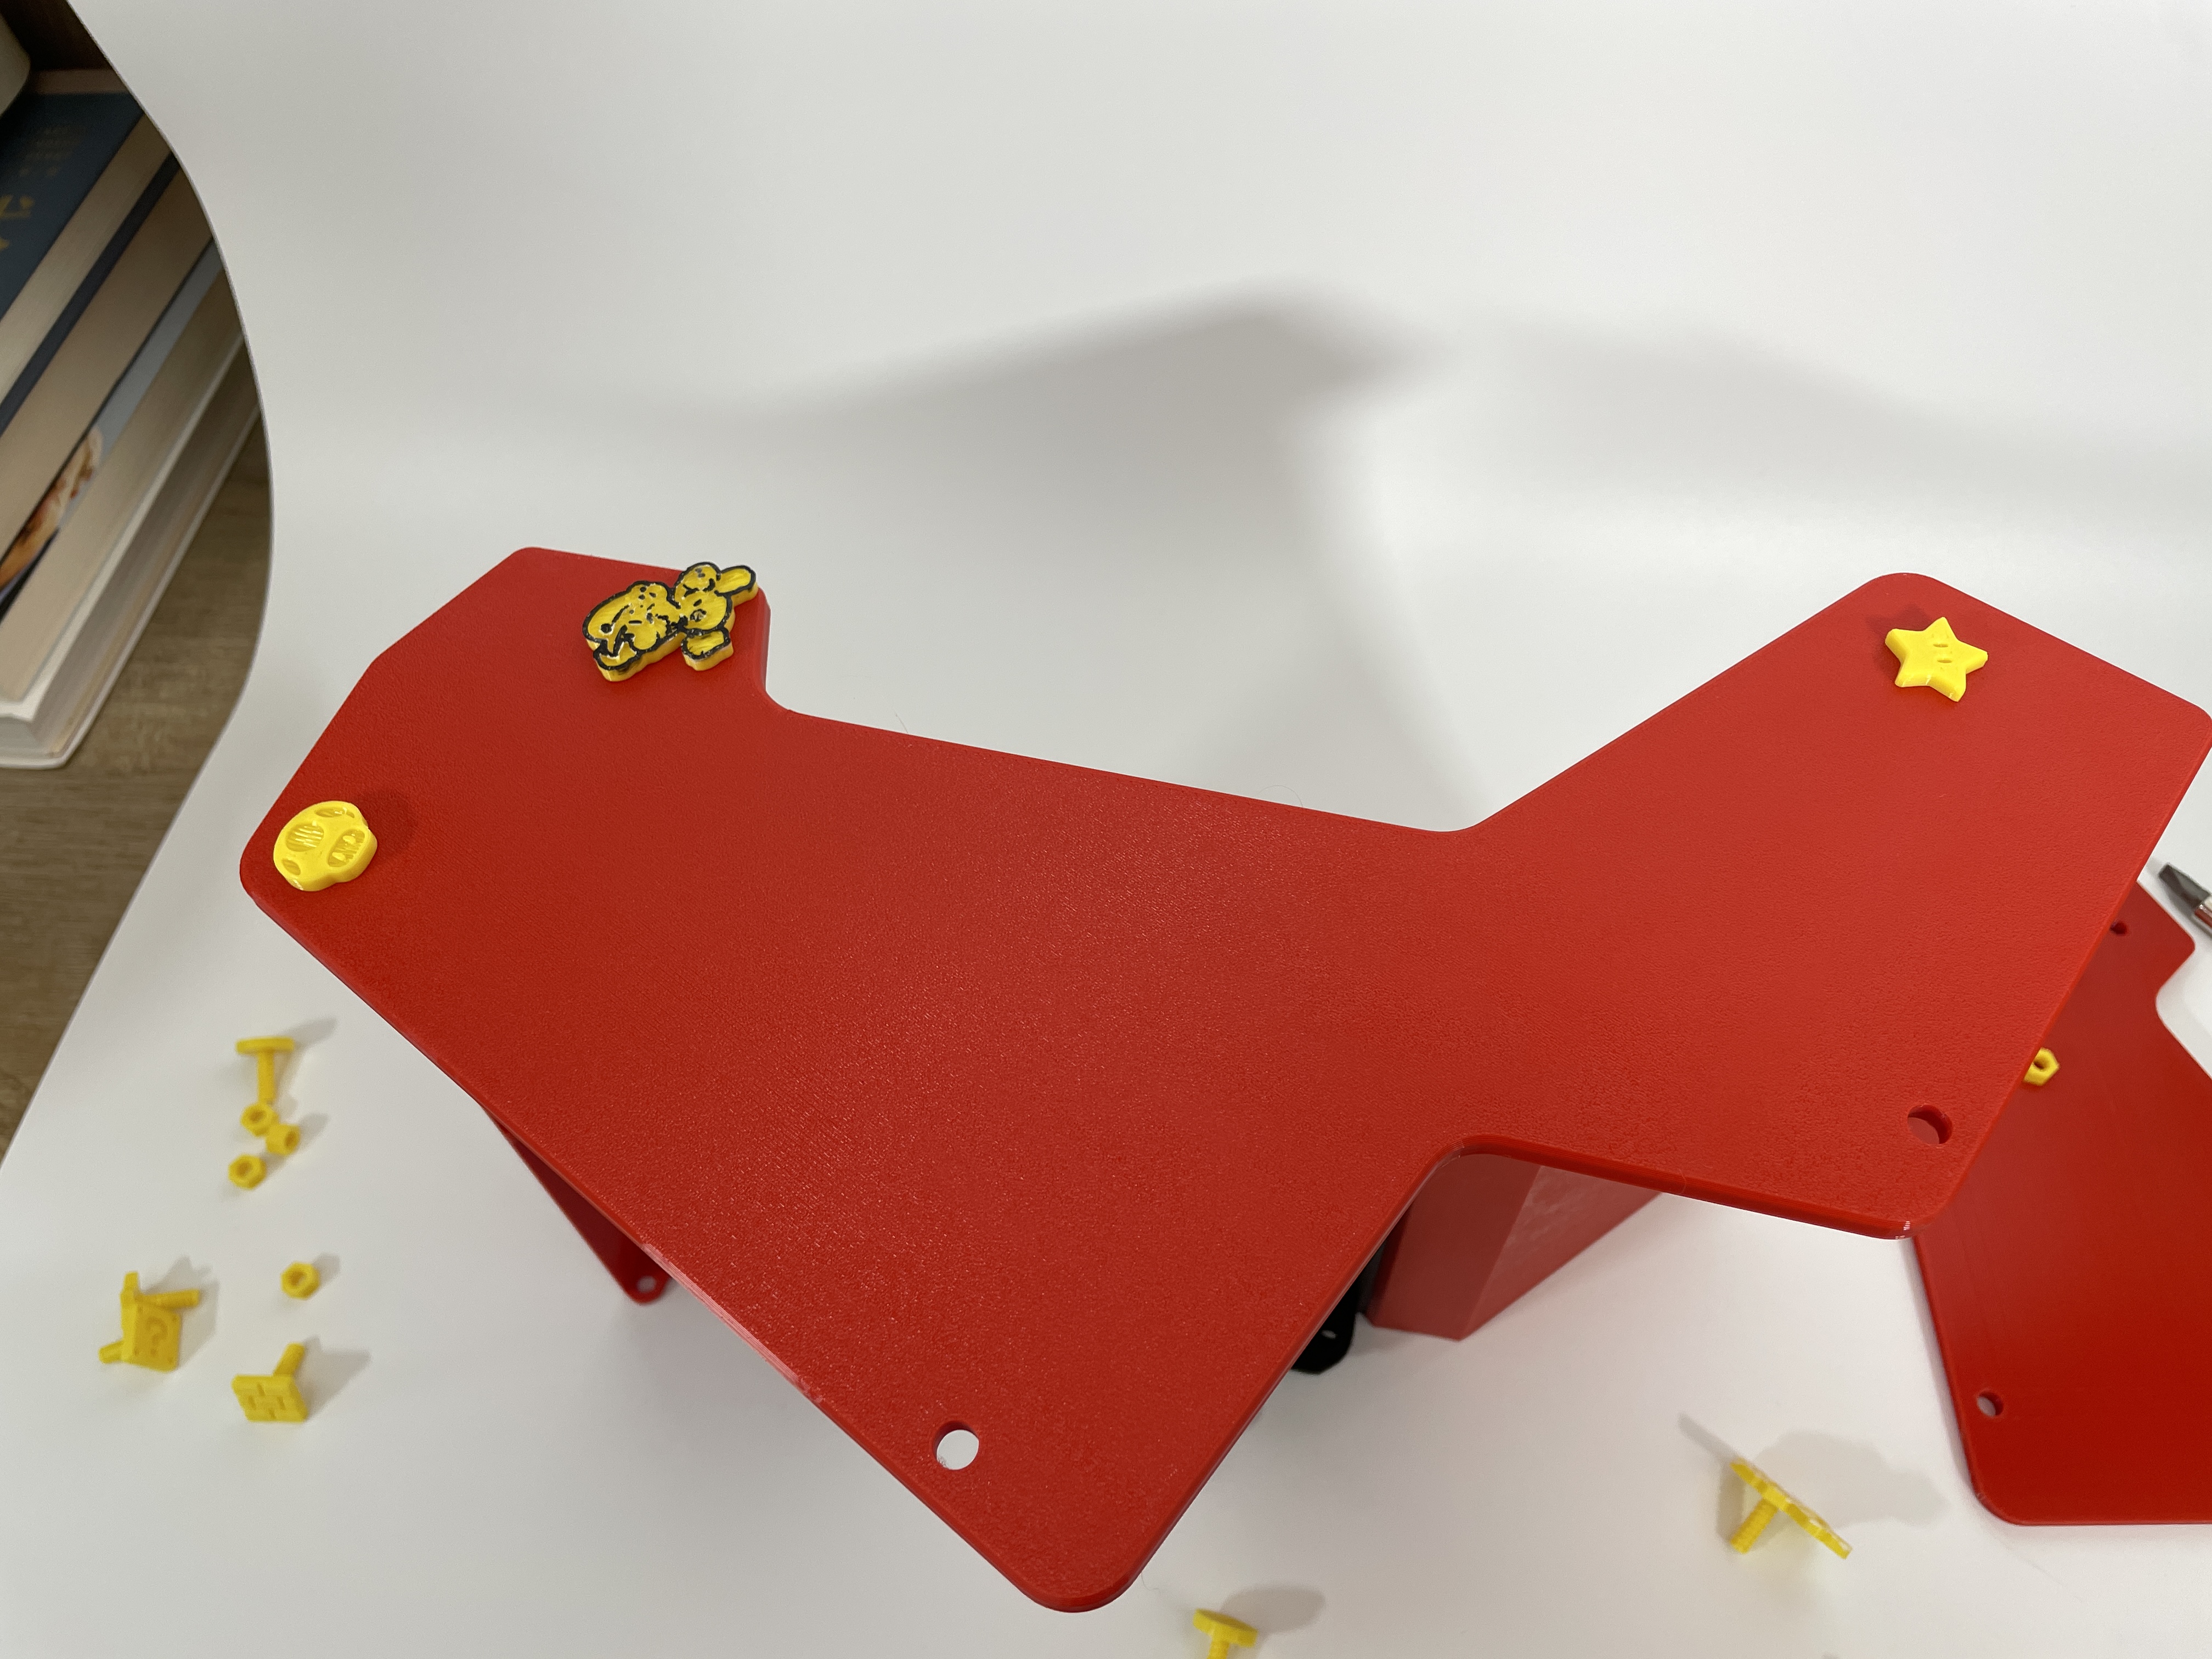 |
STEP8: 倒转另一侧相同方法安装侧板 |
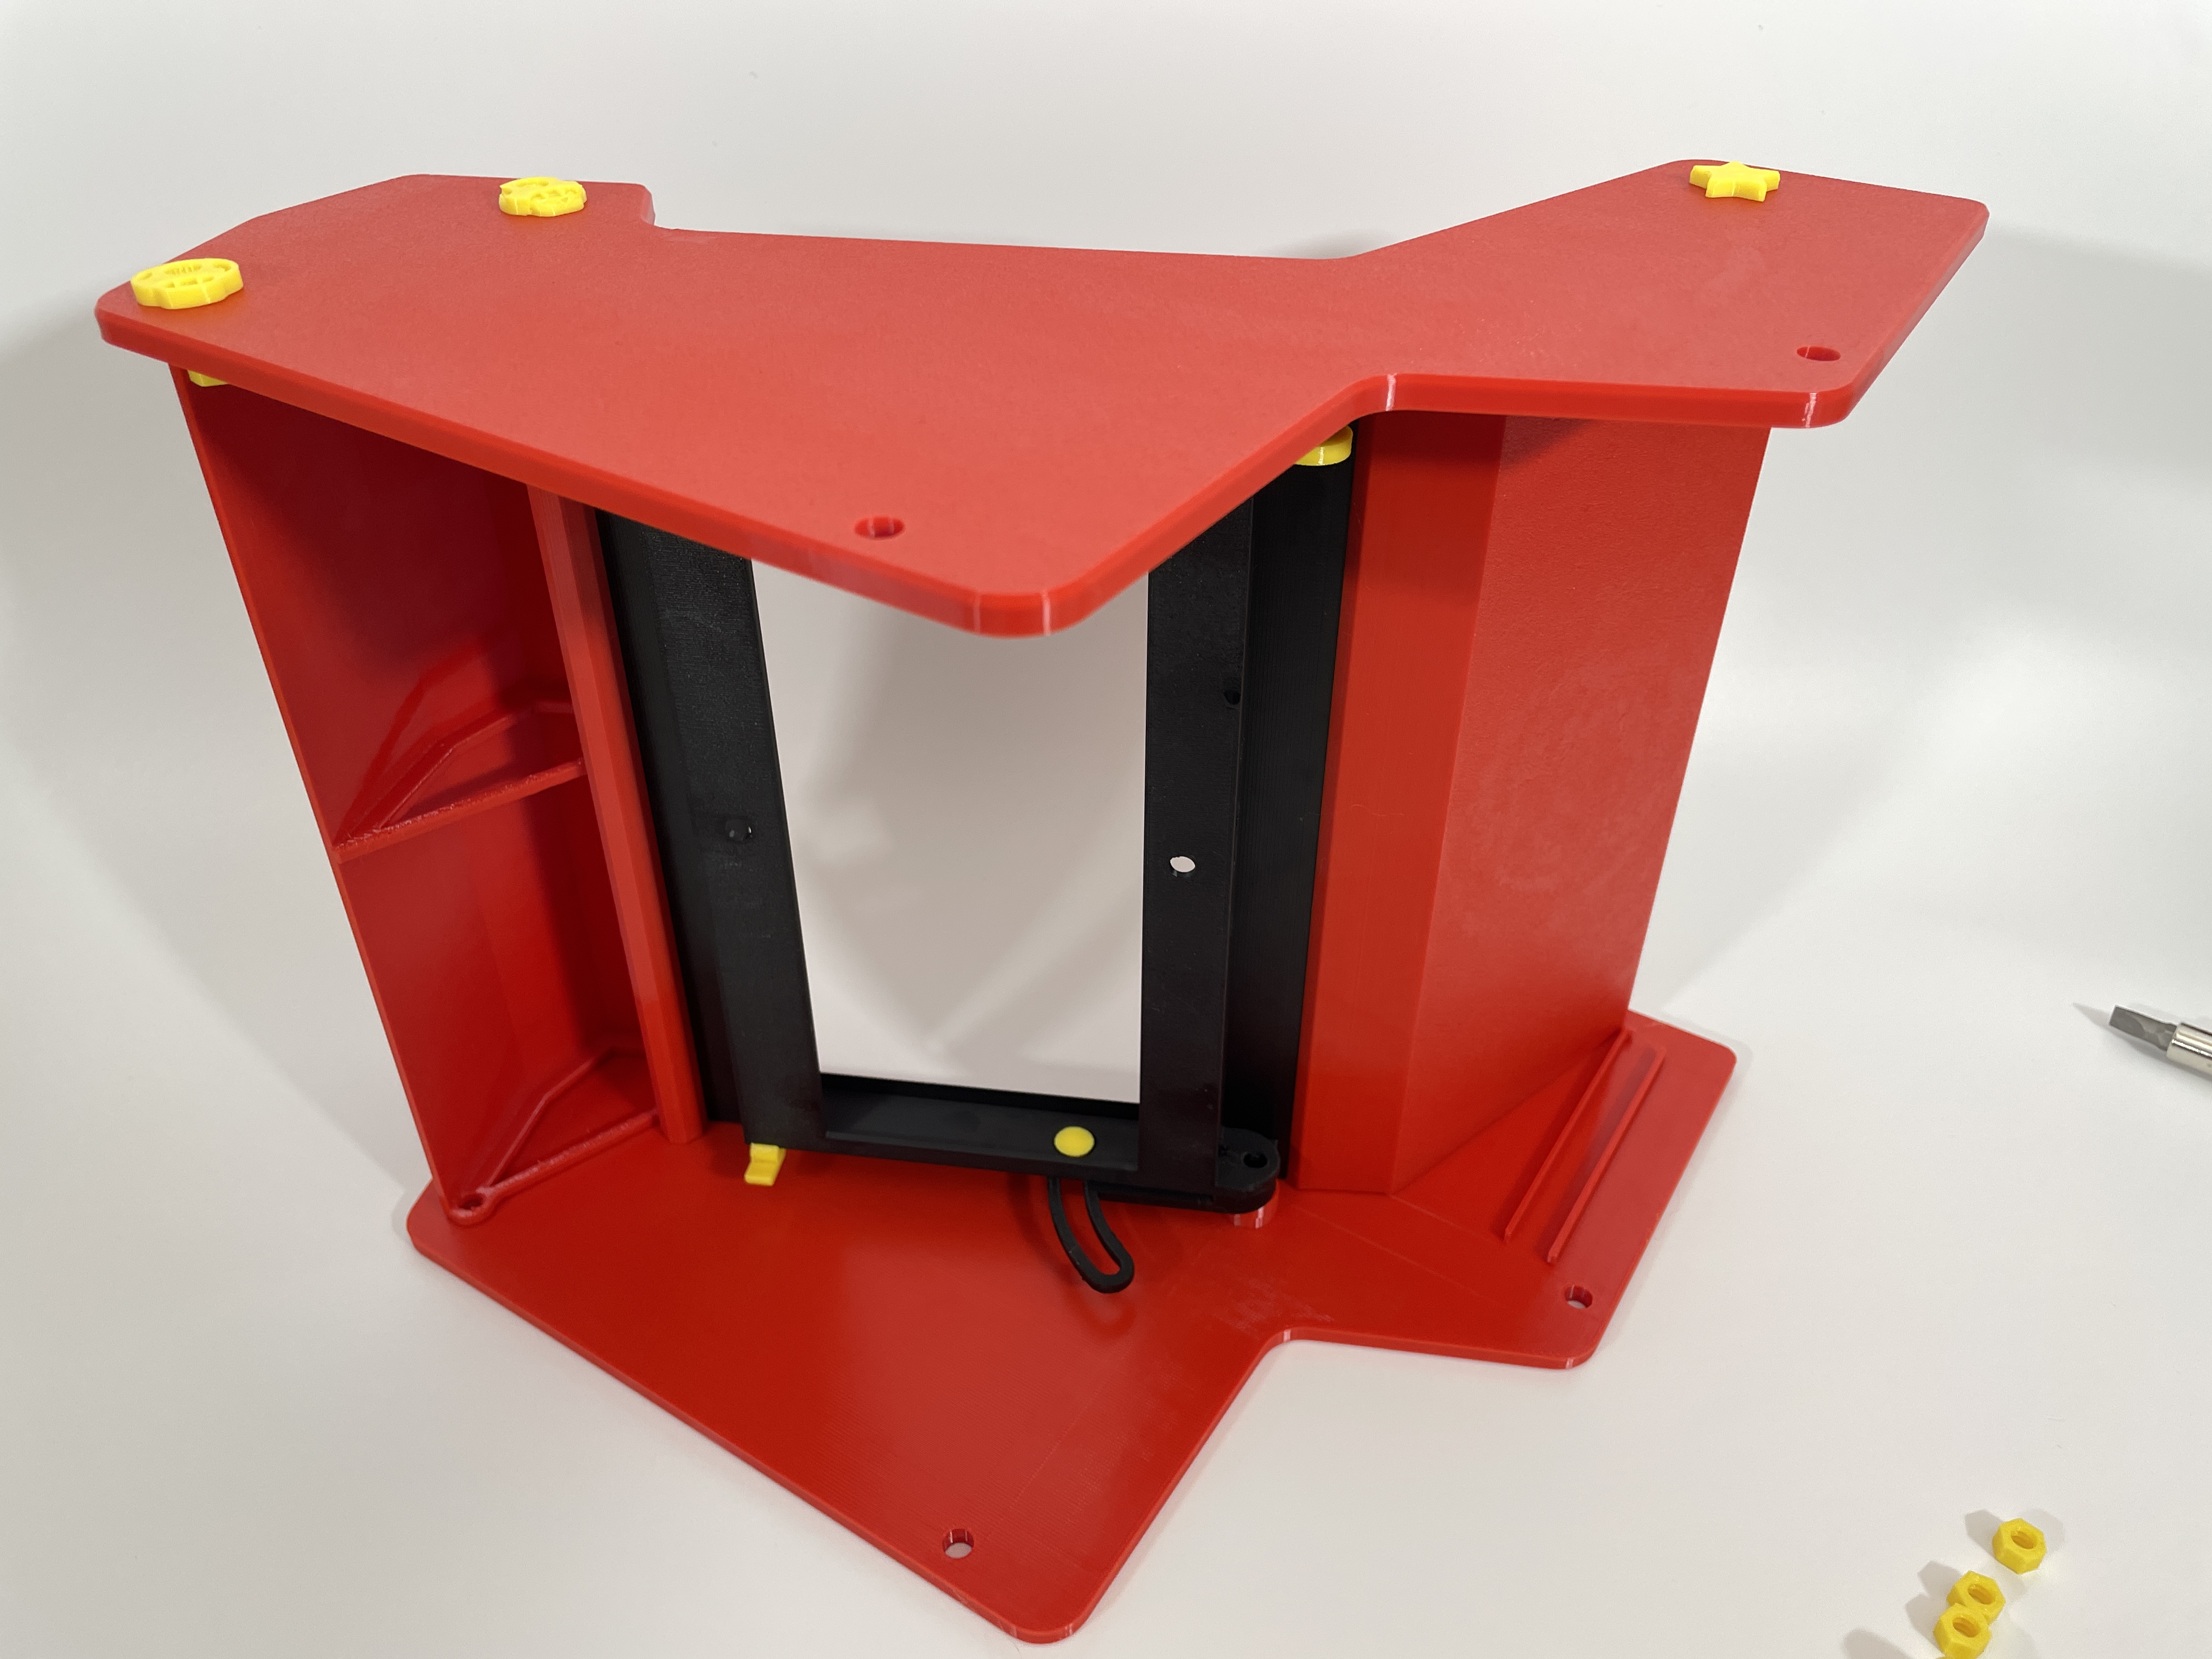 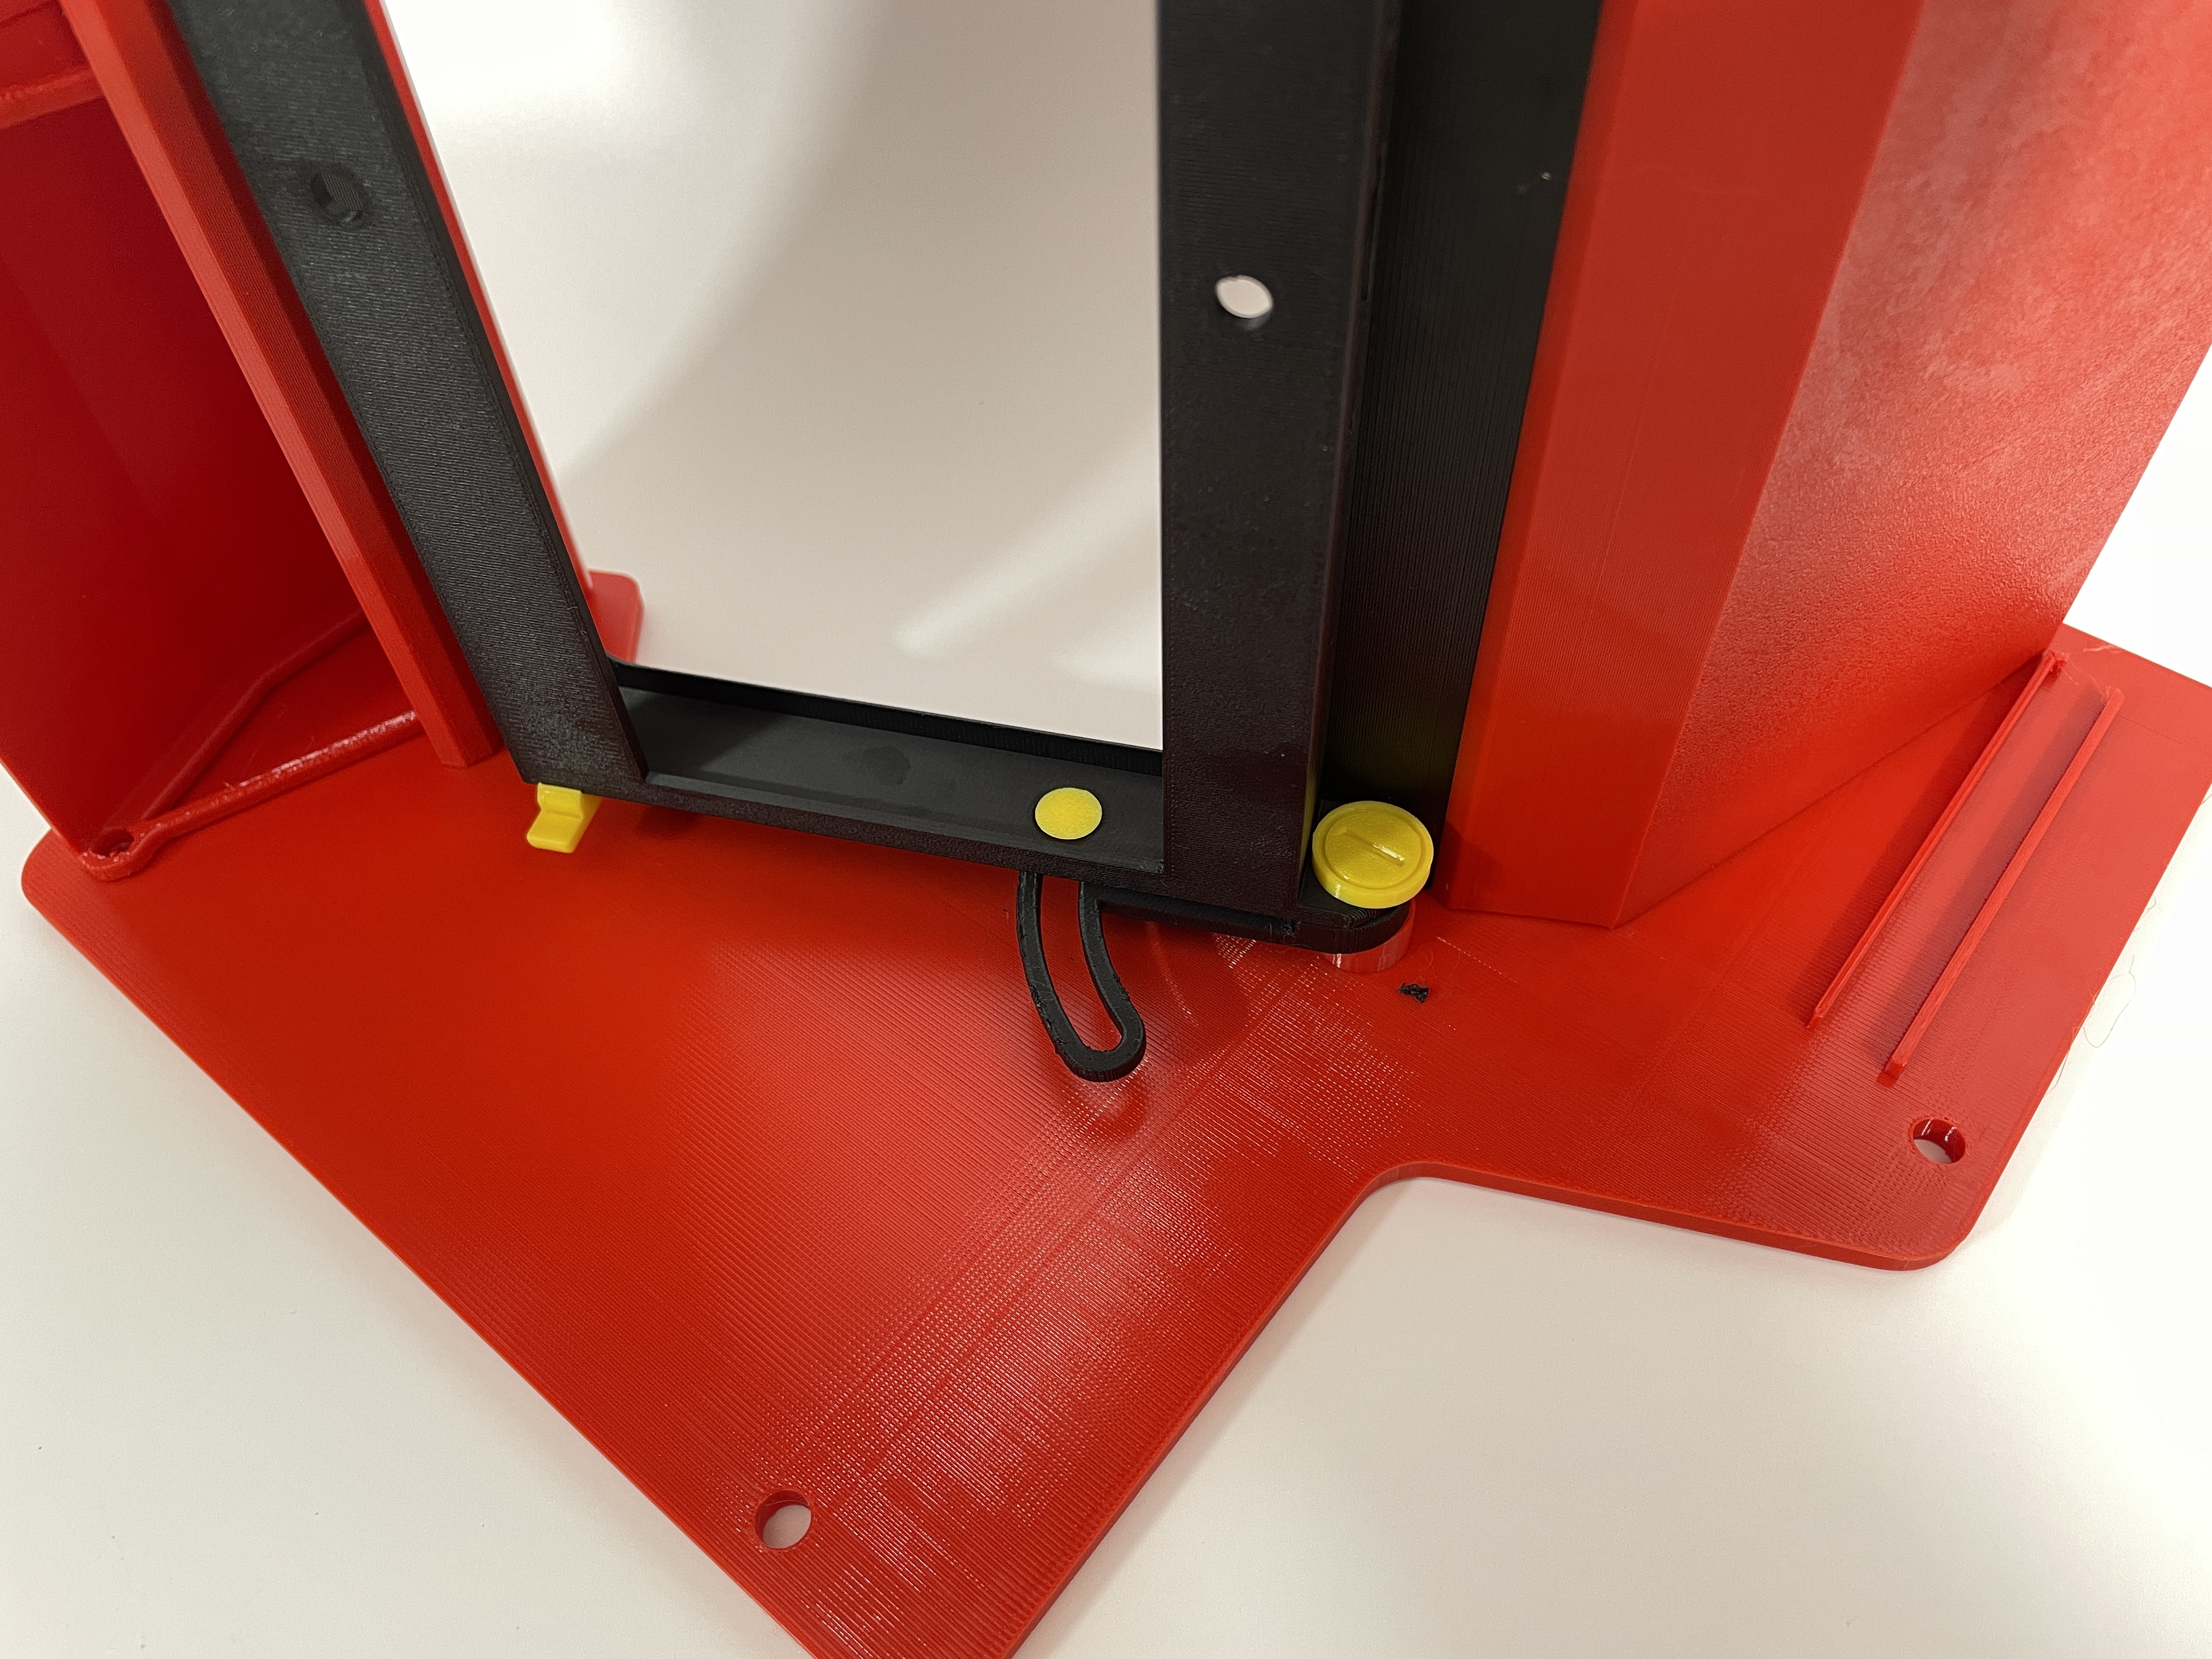 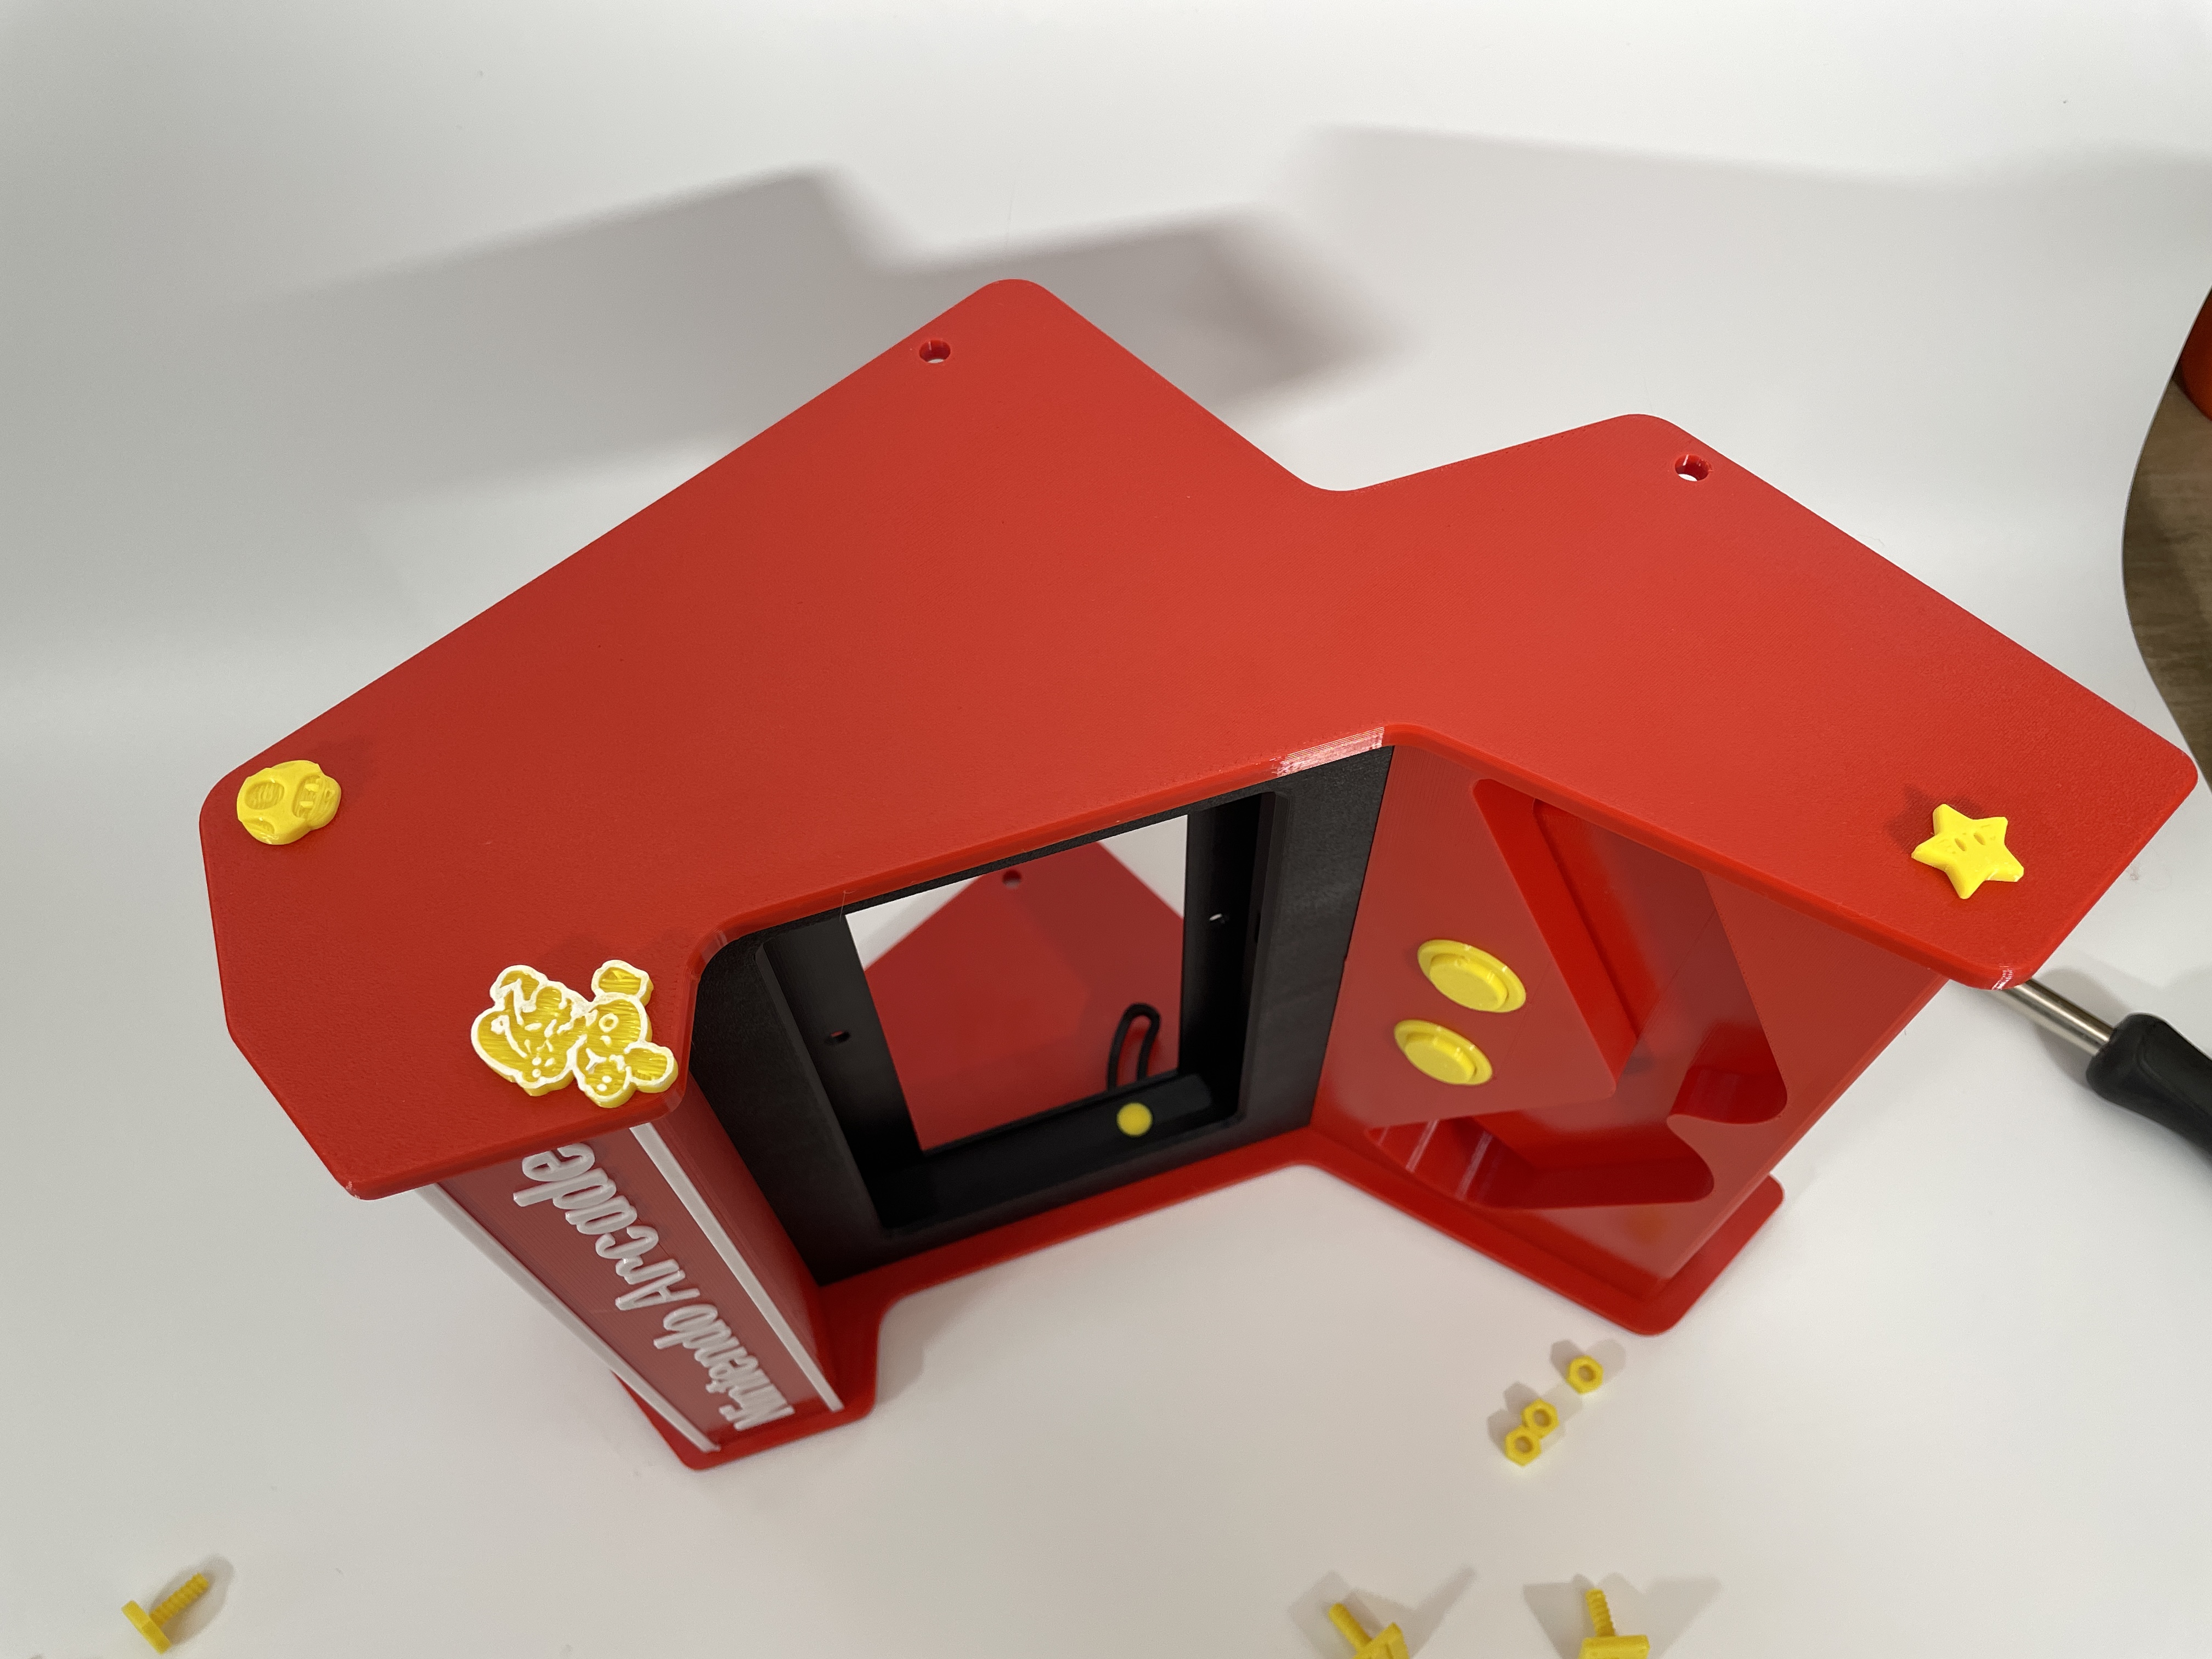
|
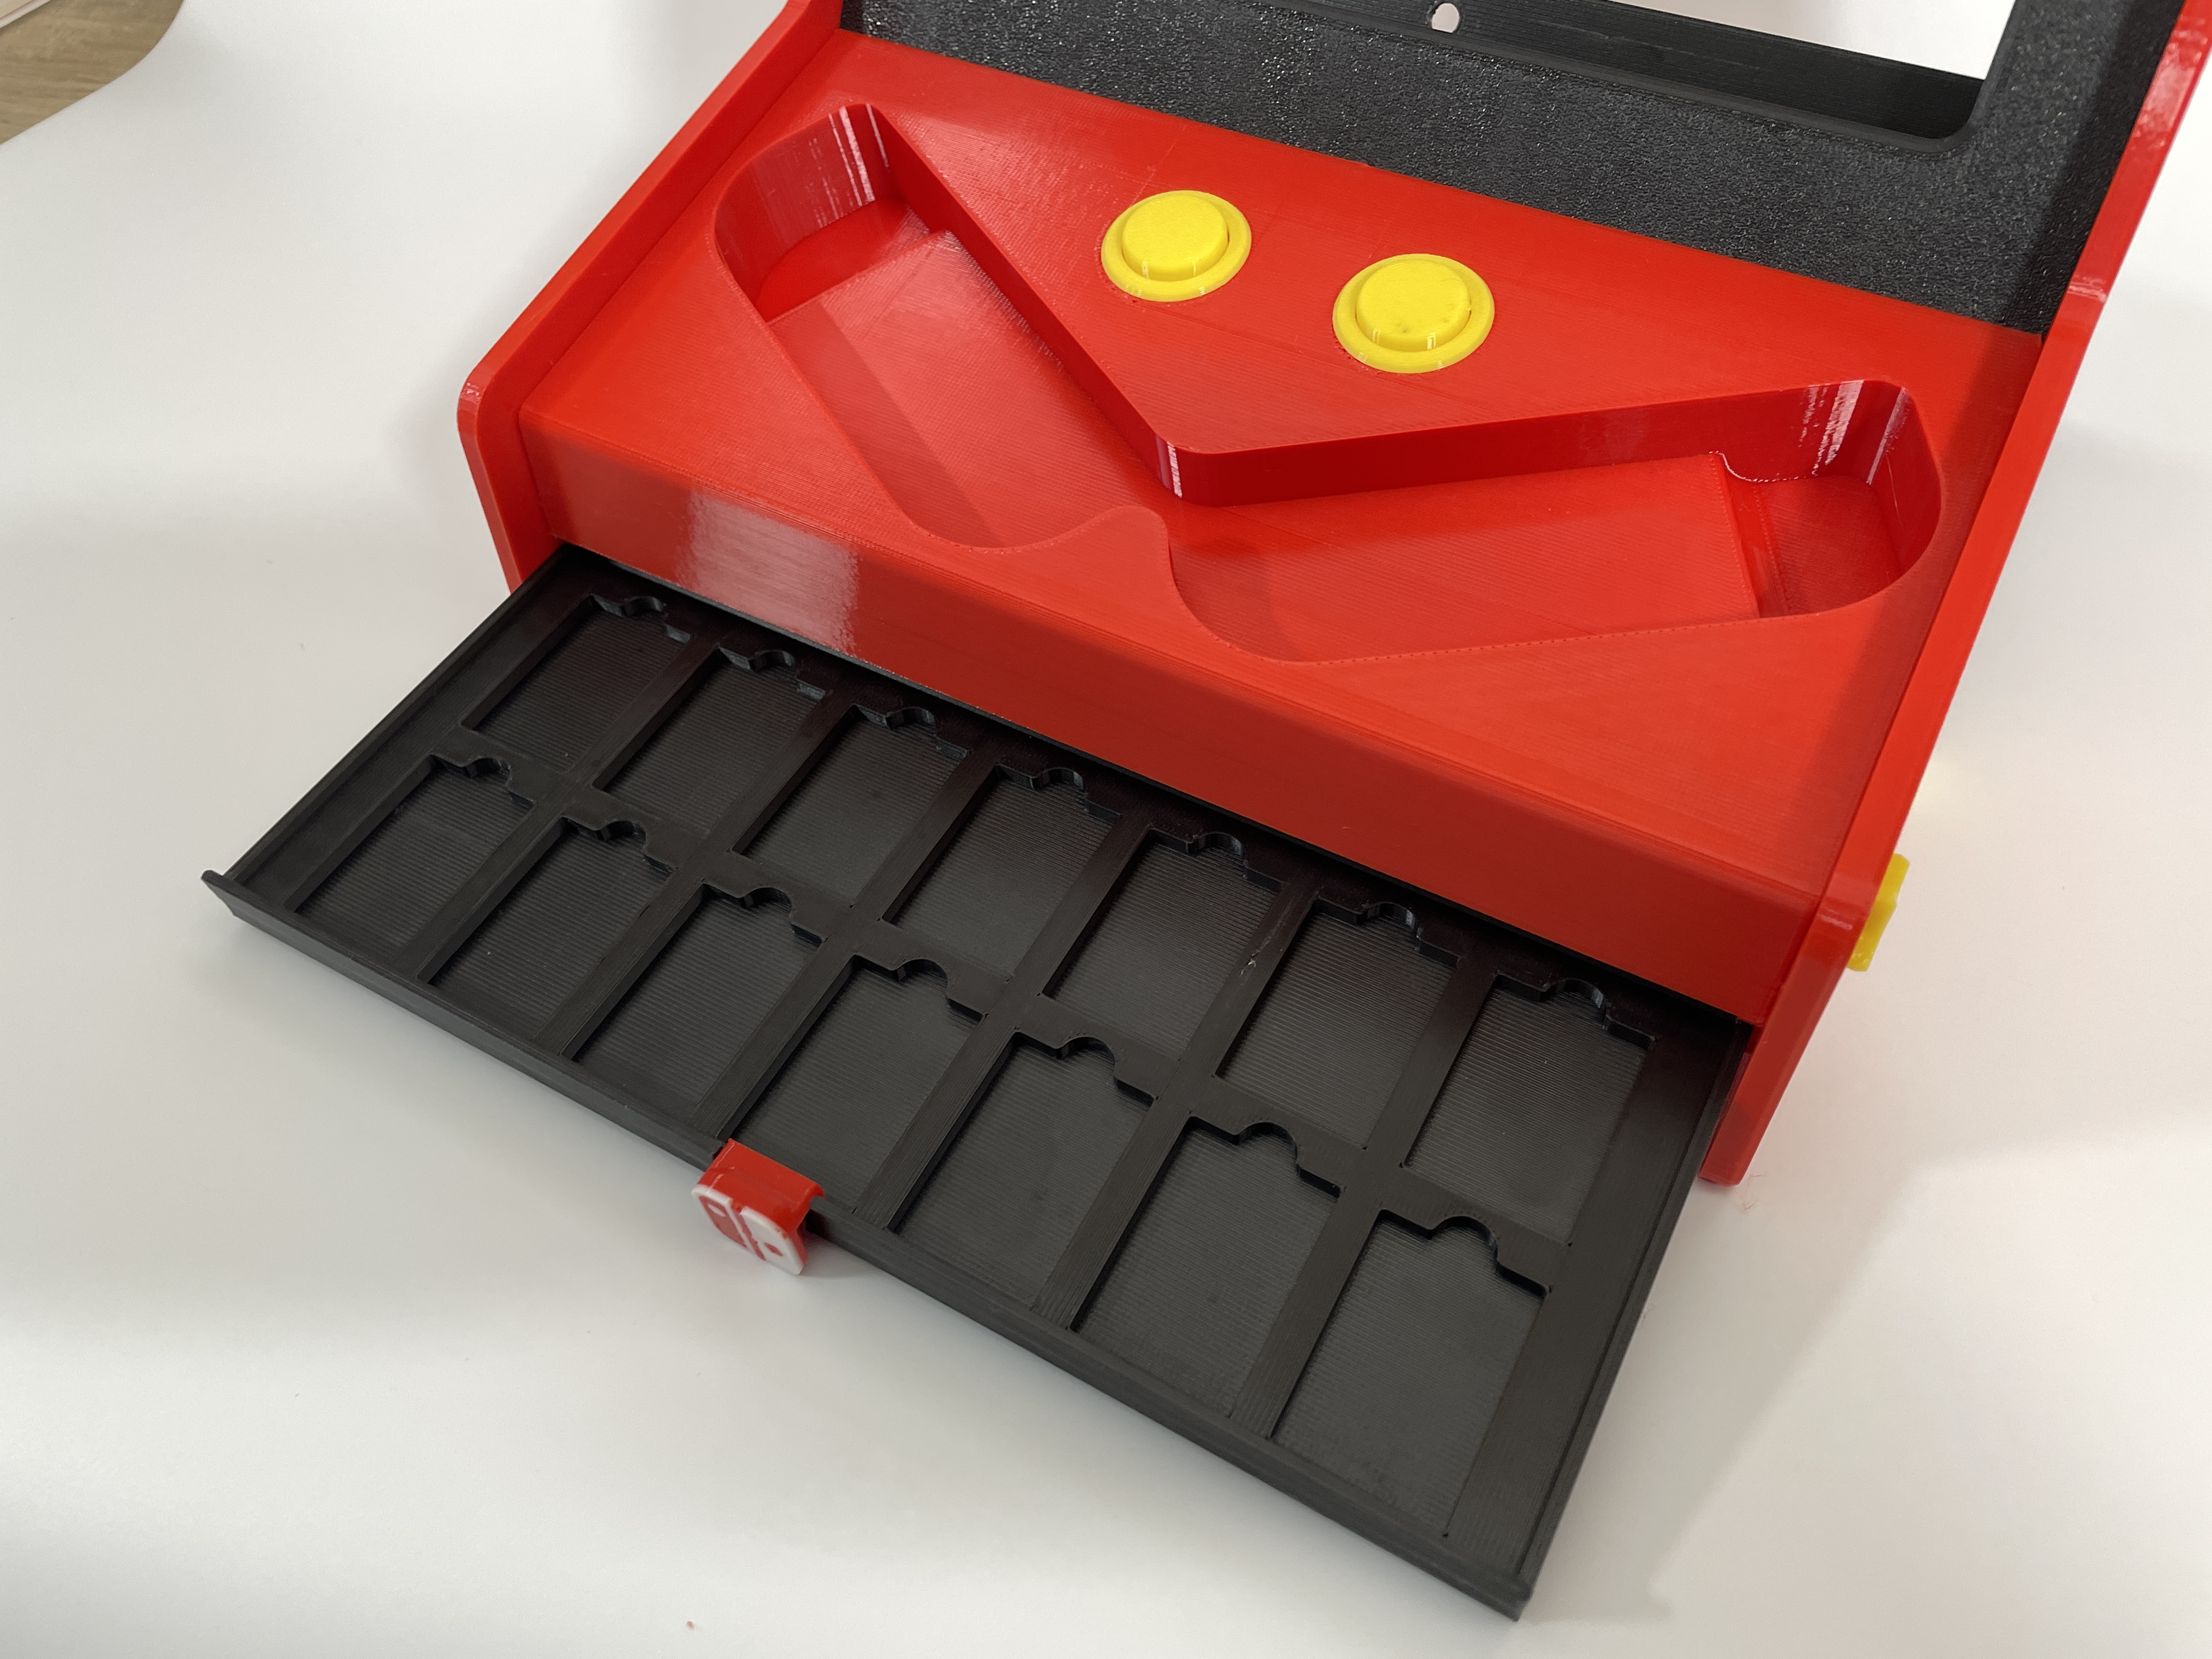
STEP9: 安装支架和抽屉, 抽屉拉手从卡扣插入, 支架横杆插入立杆底座两侧,对准侧板洞,选择长螺丝拧紧。 |
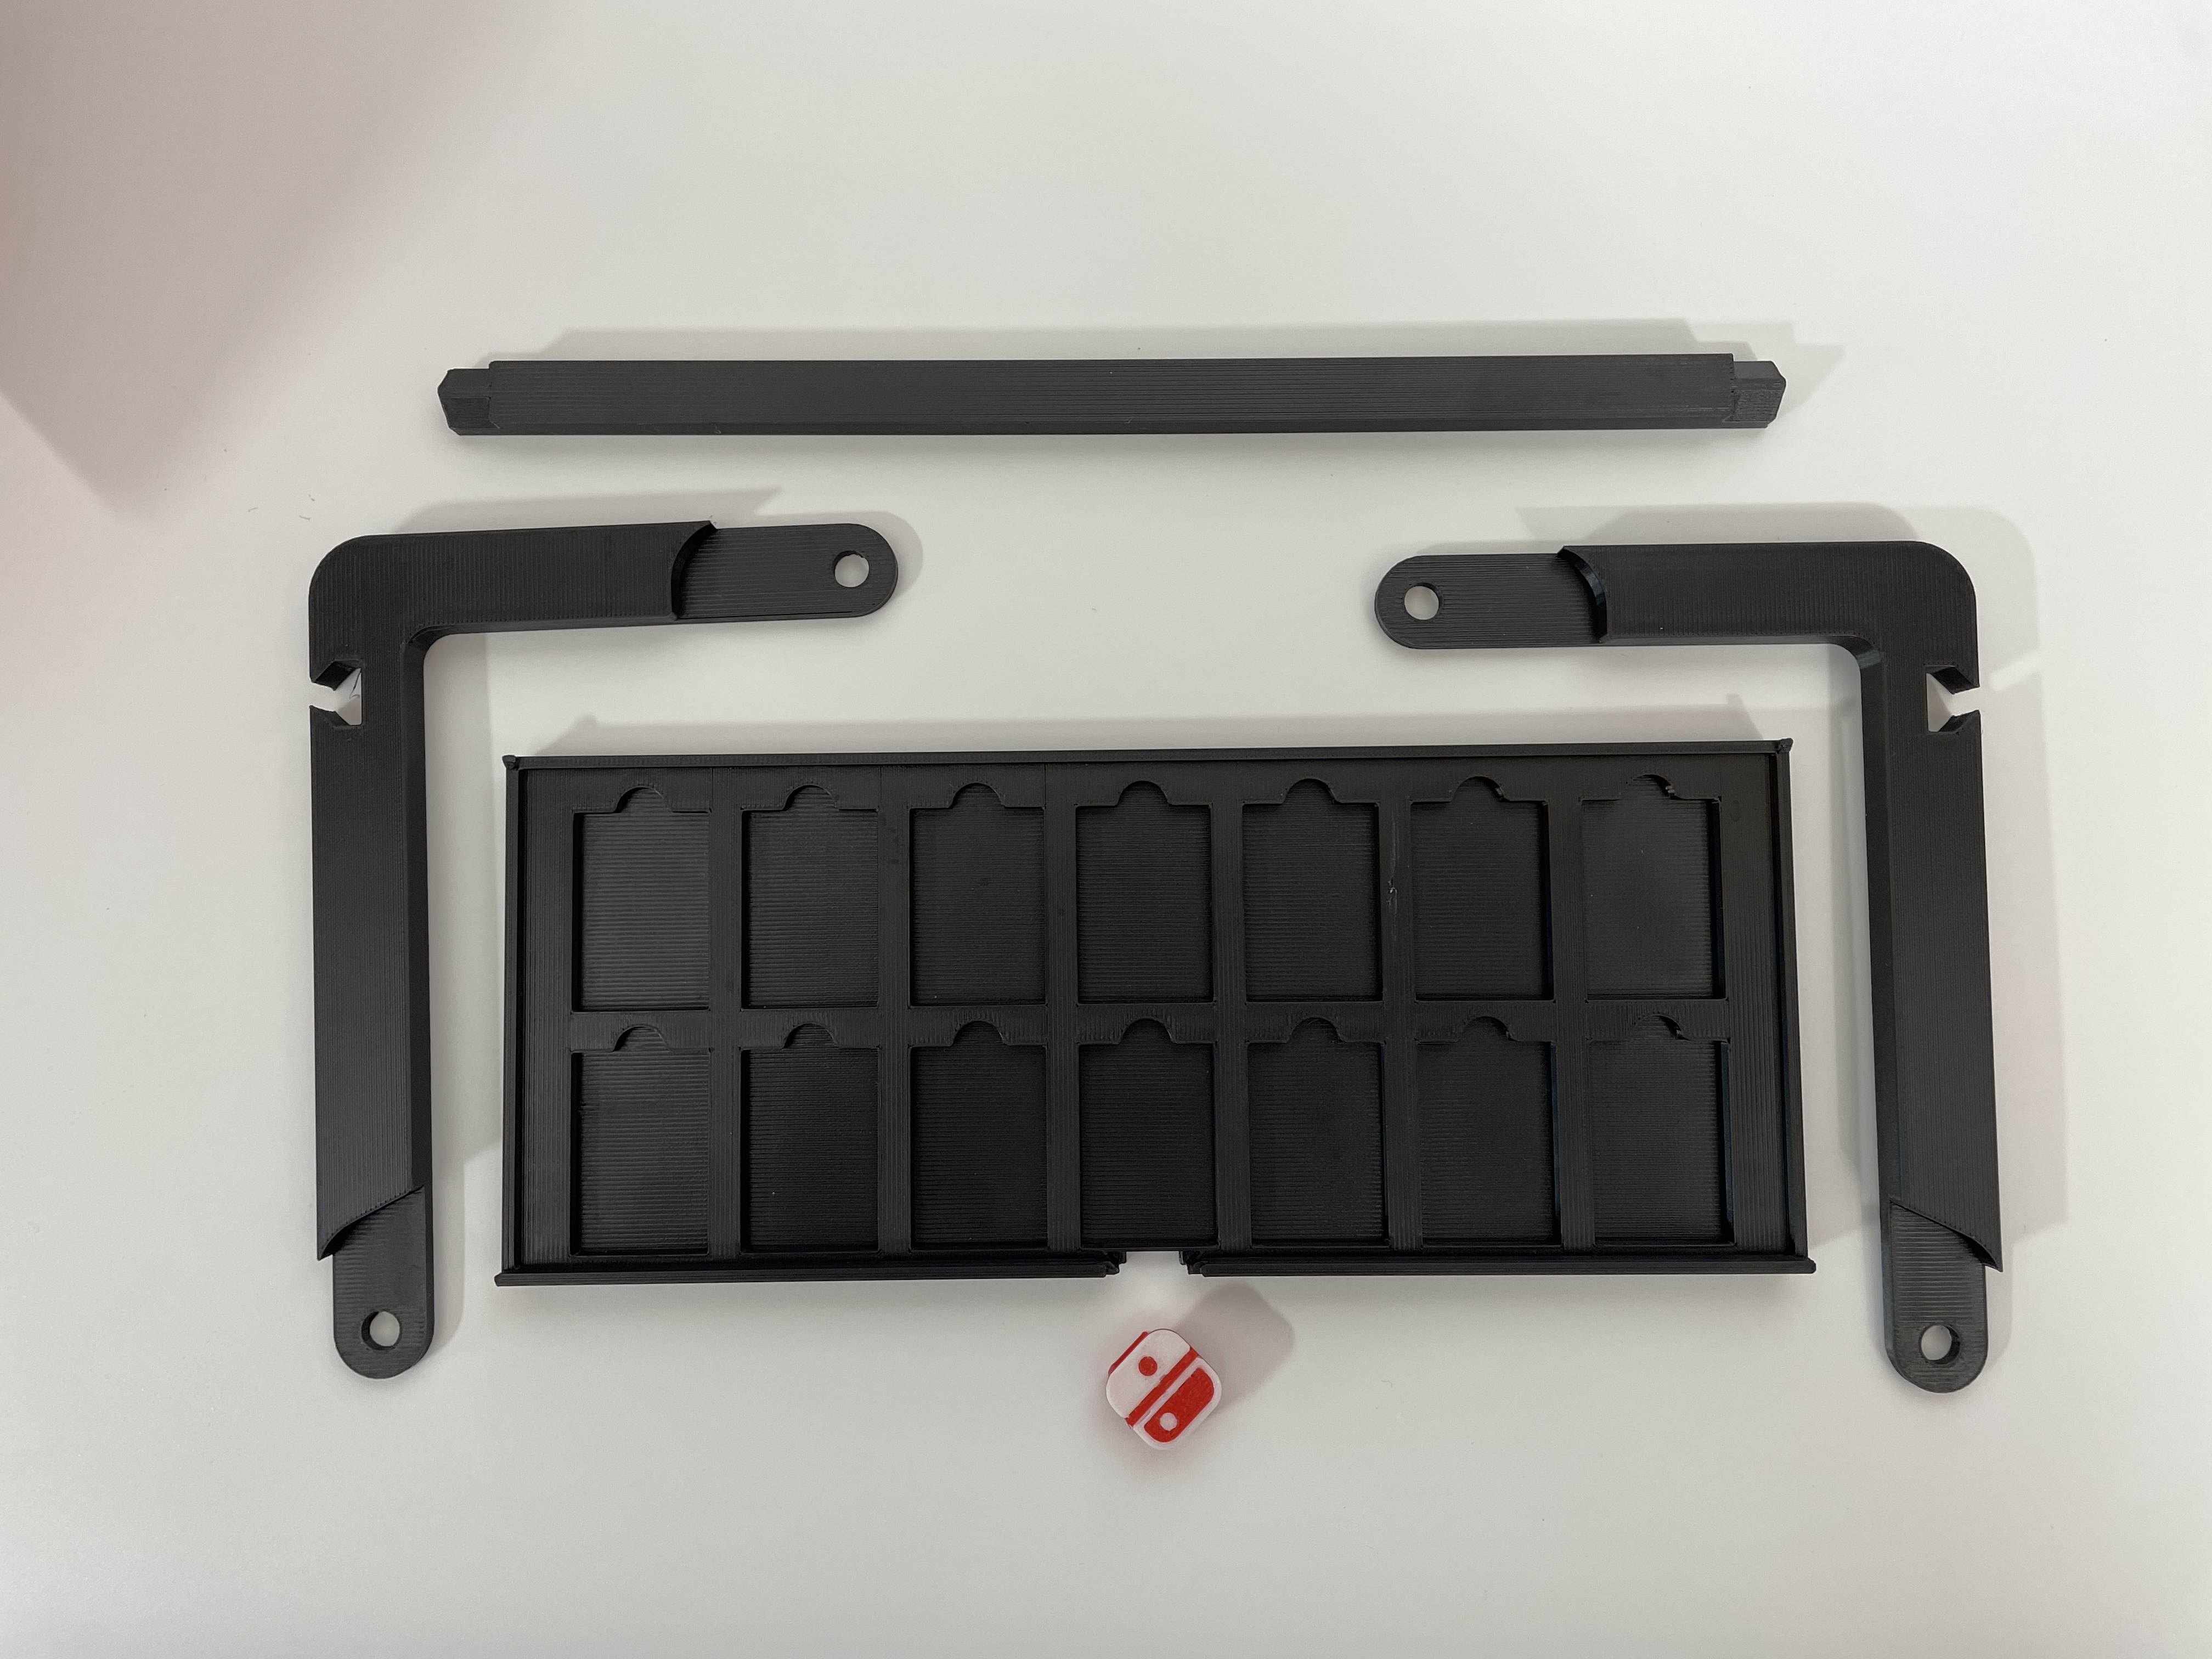 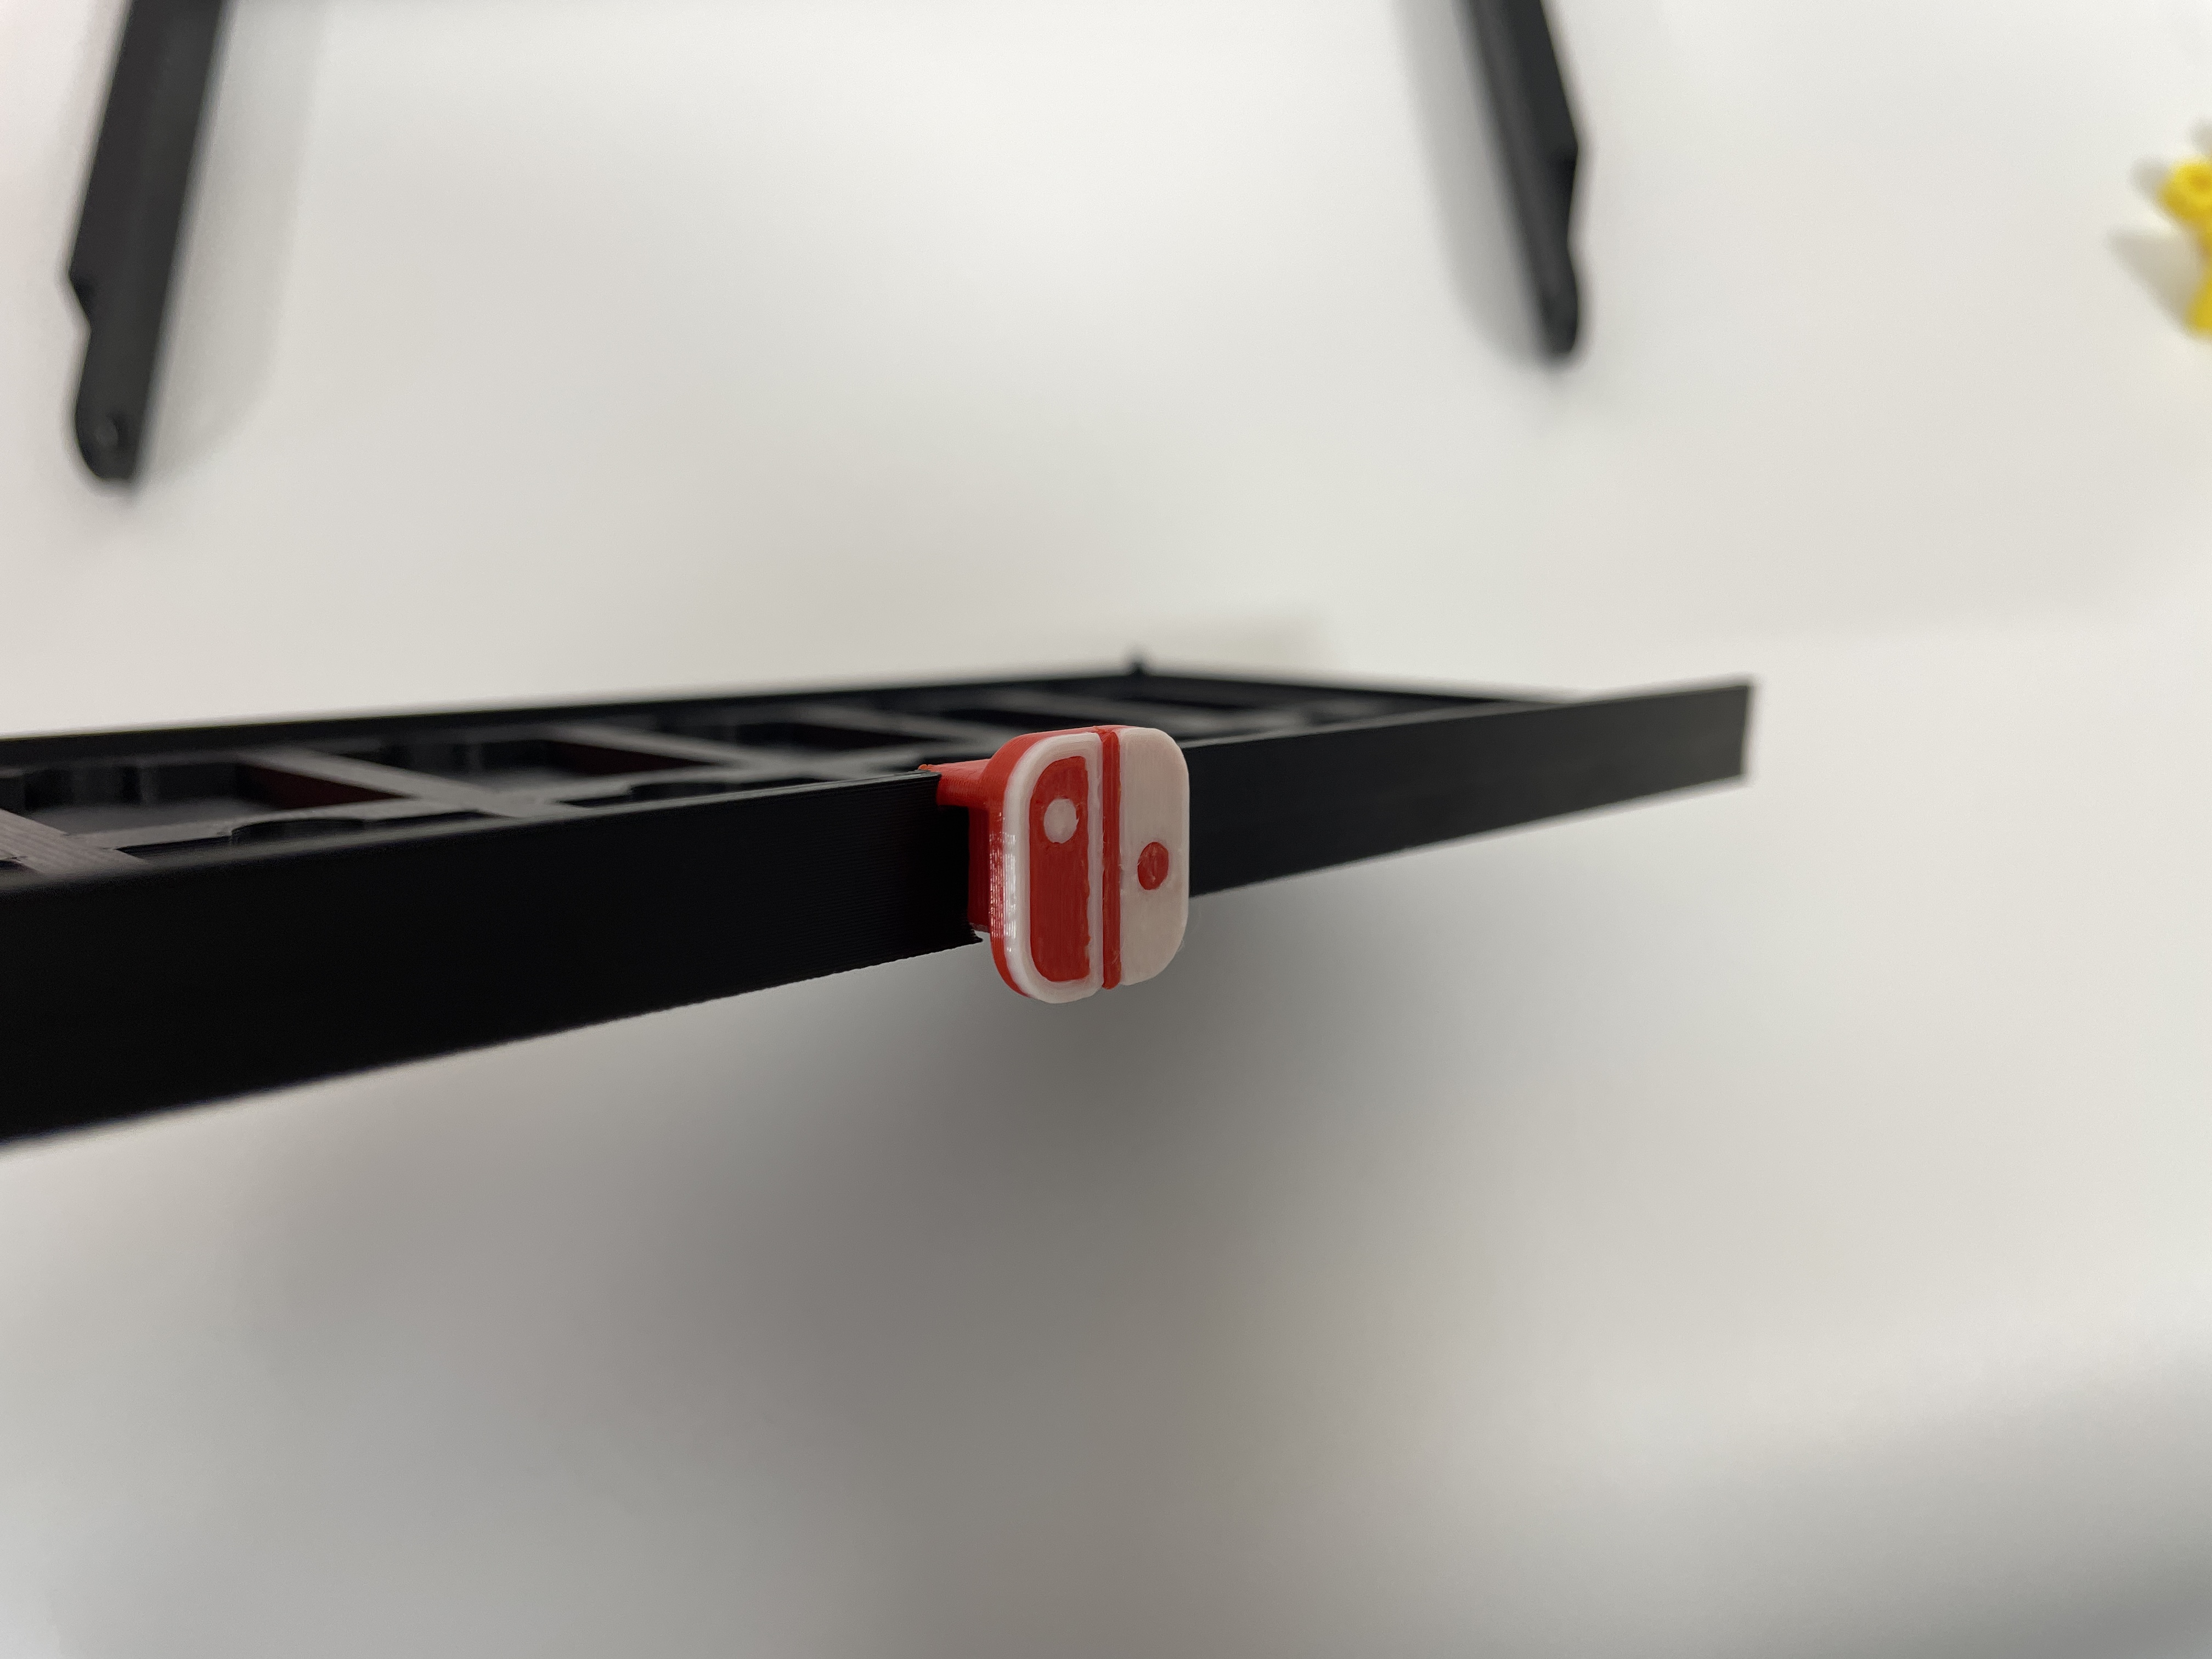 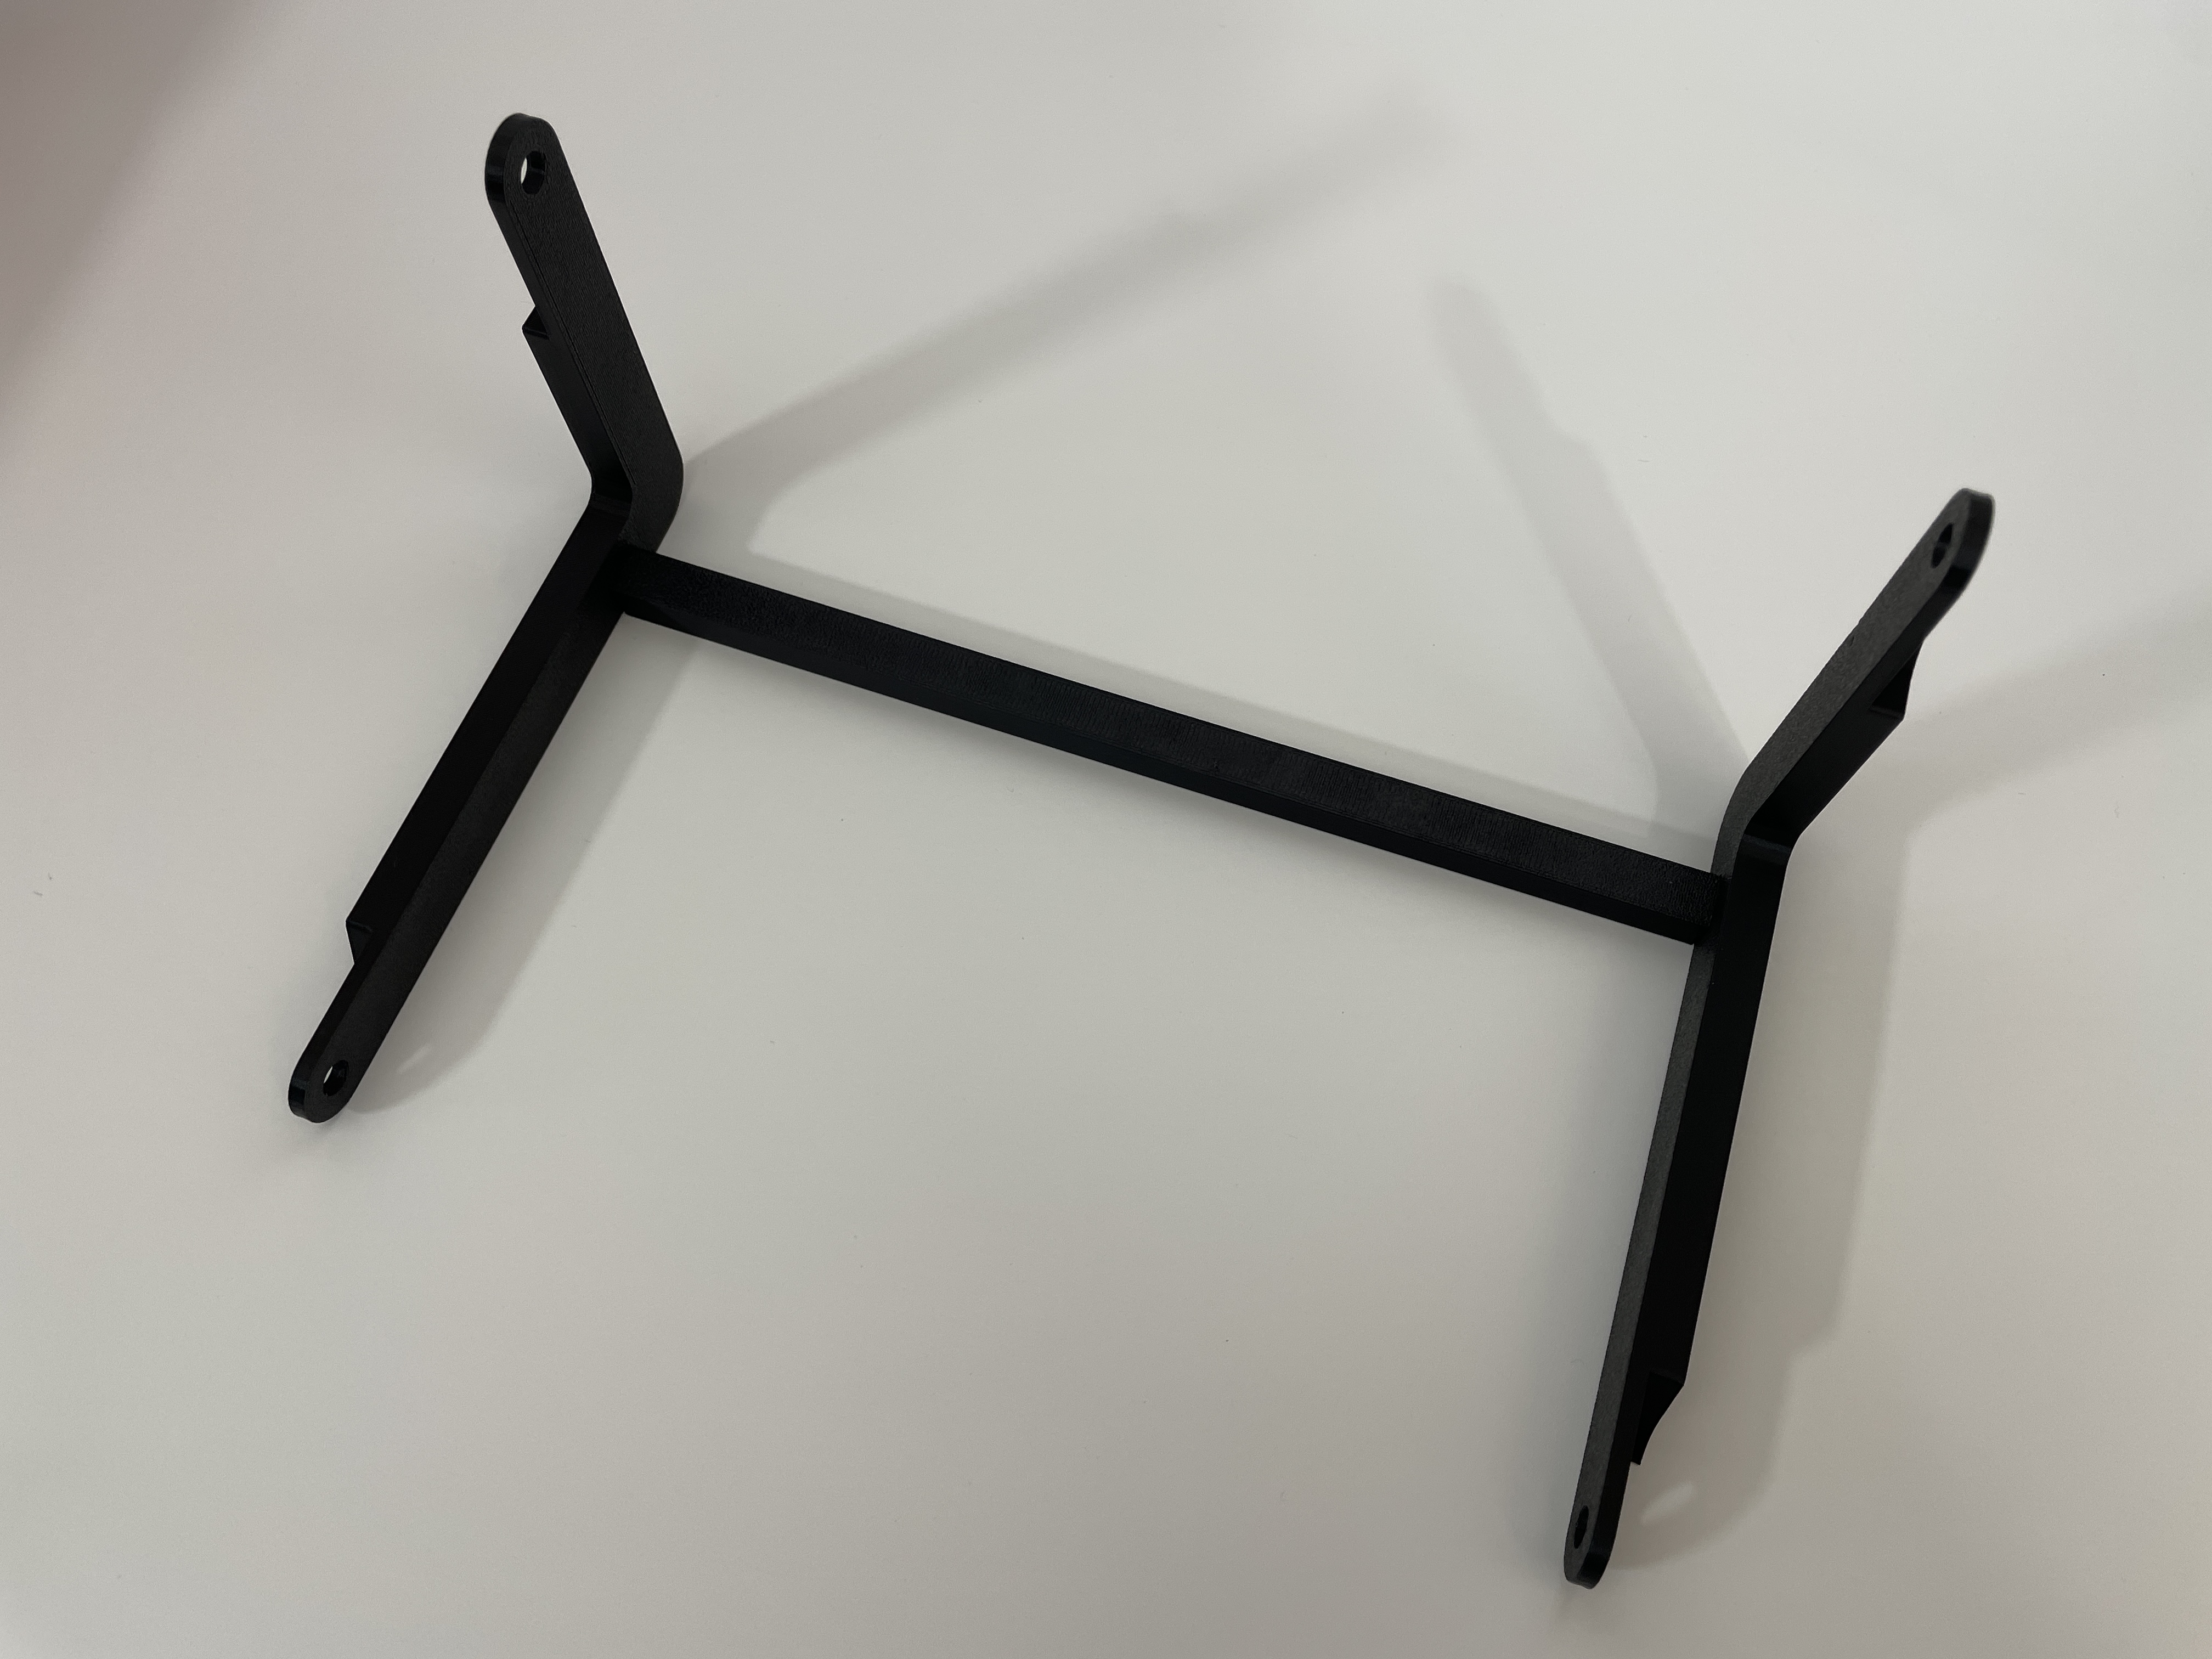 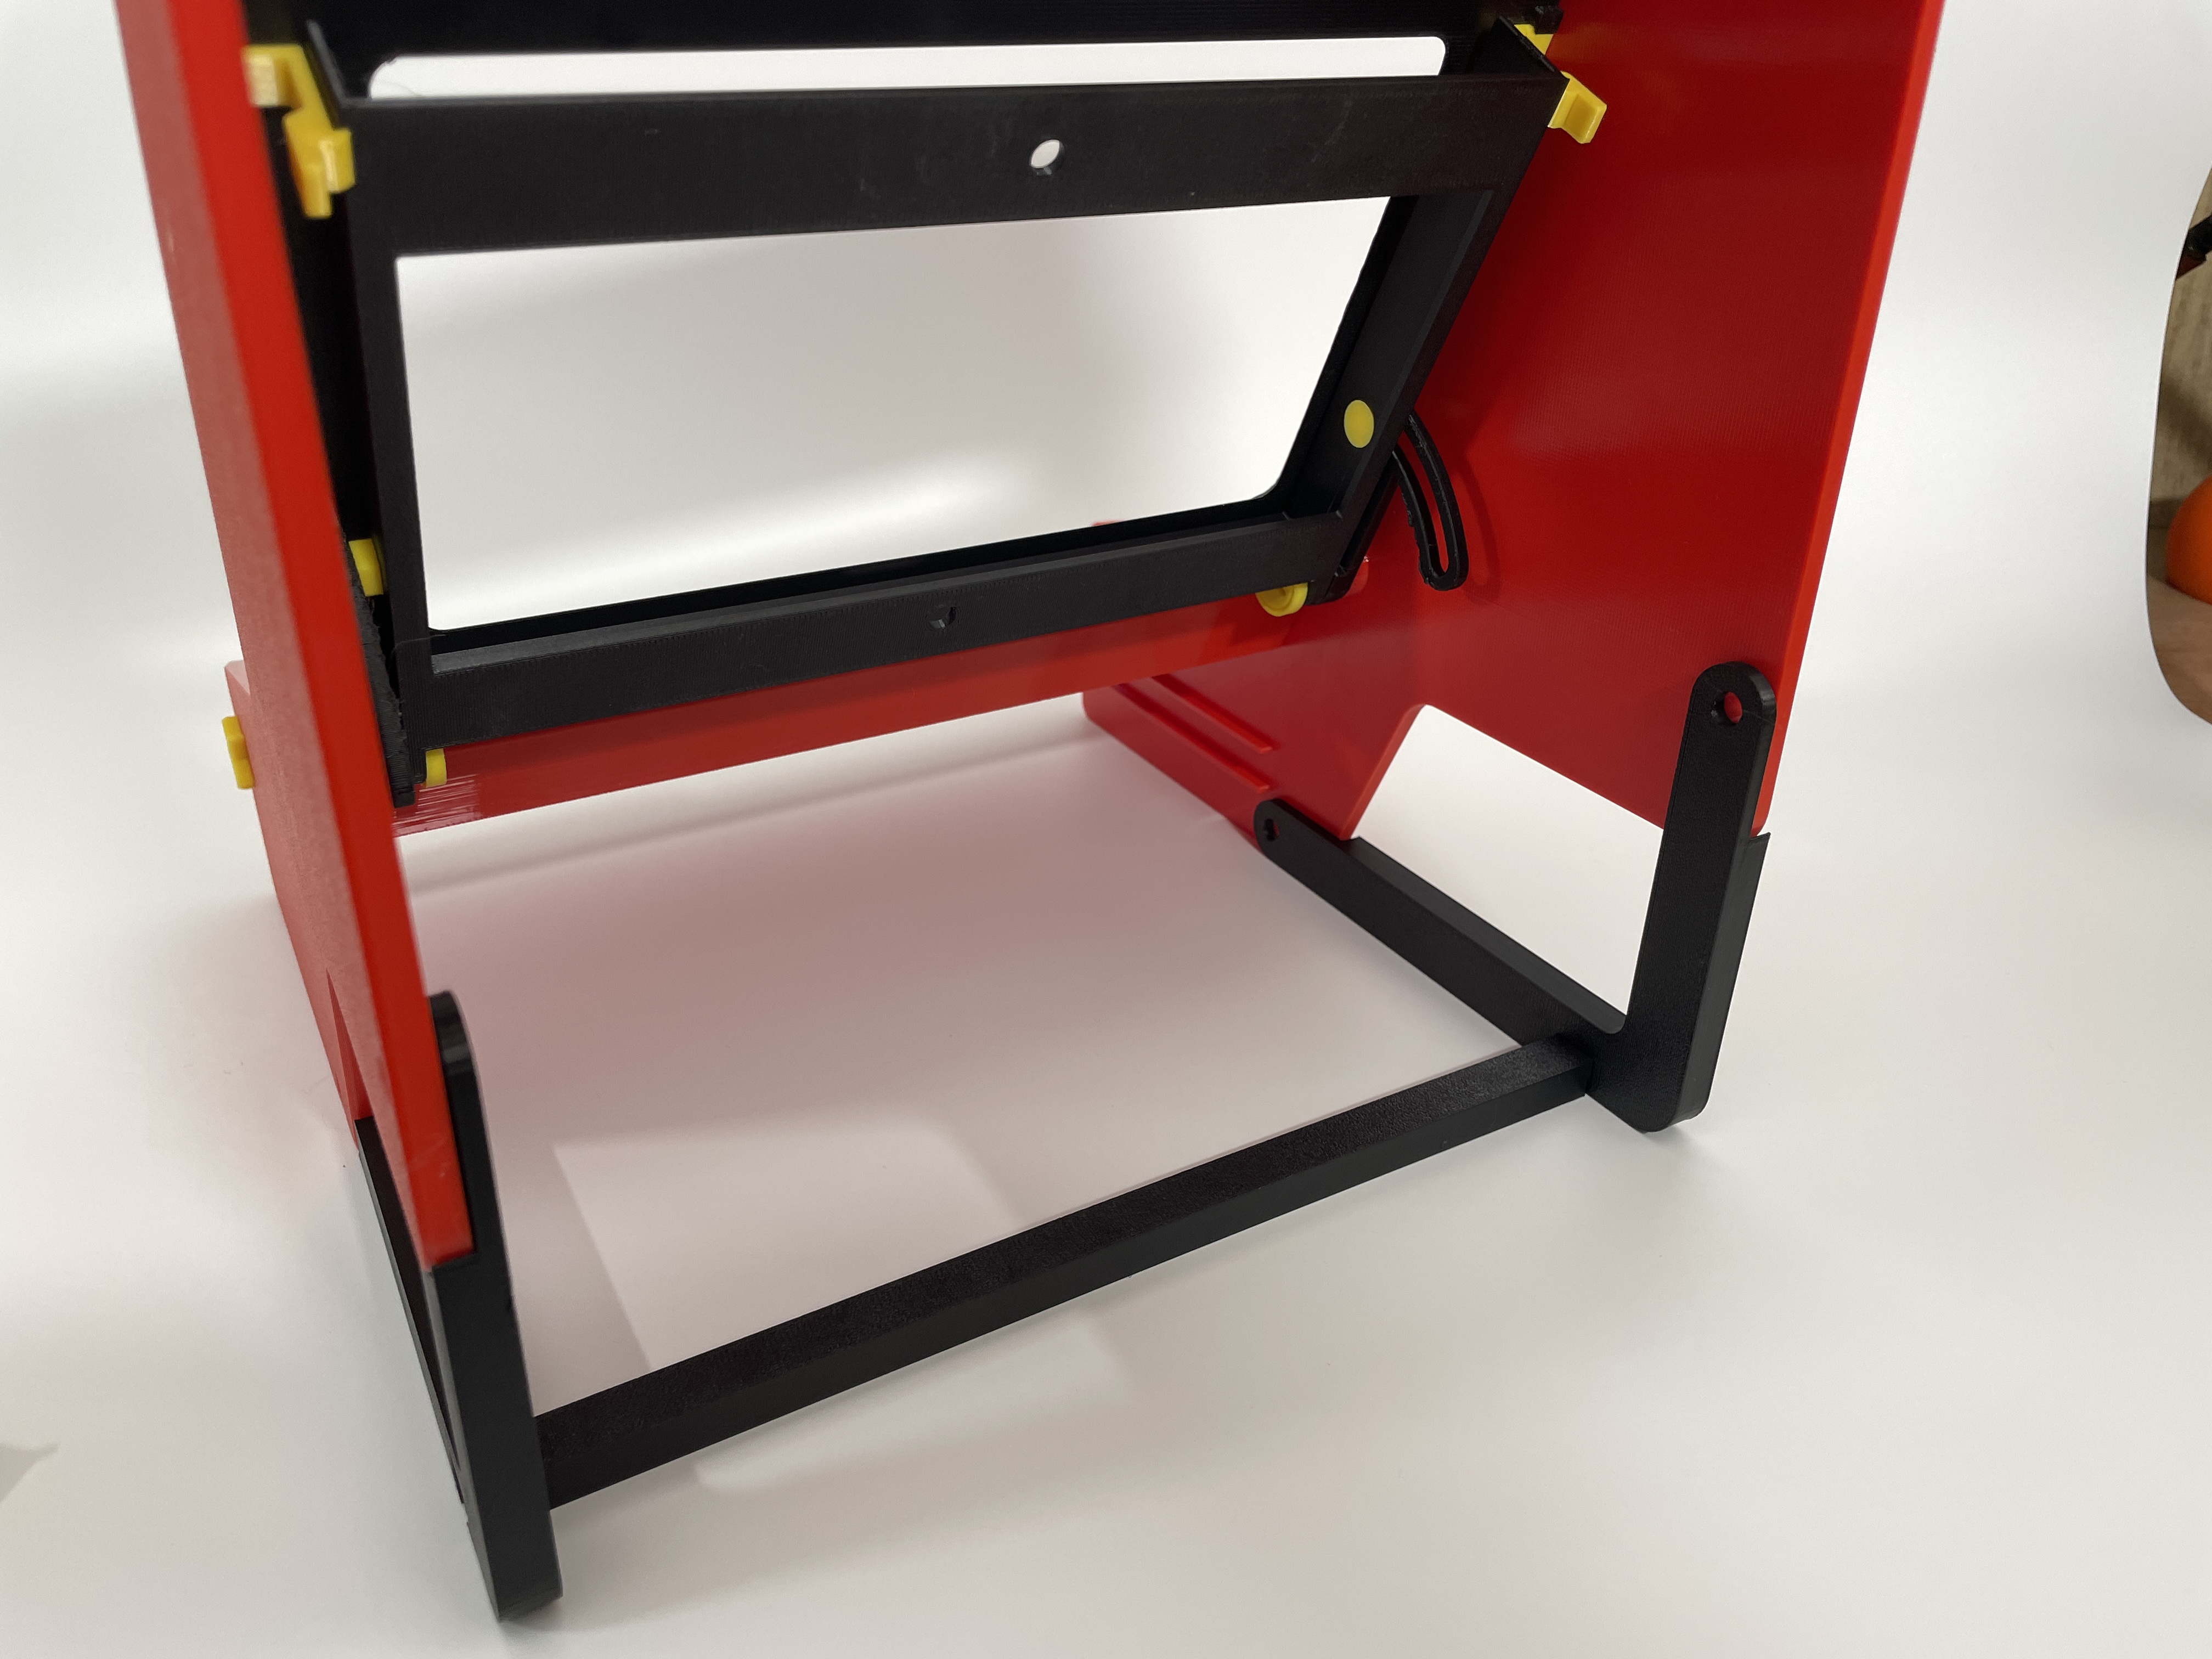 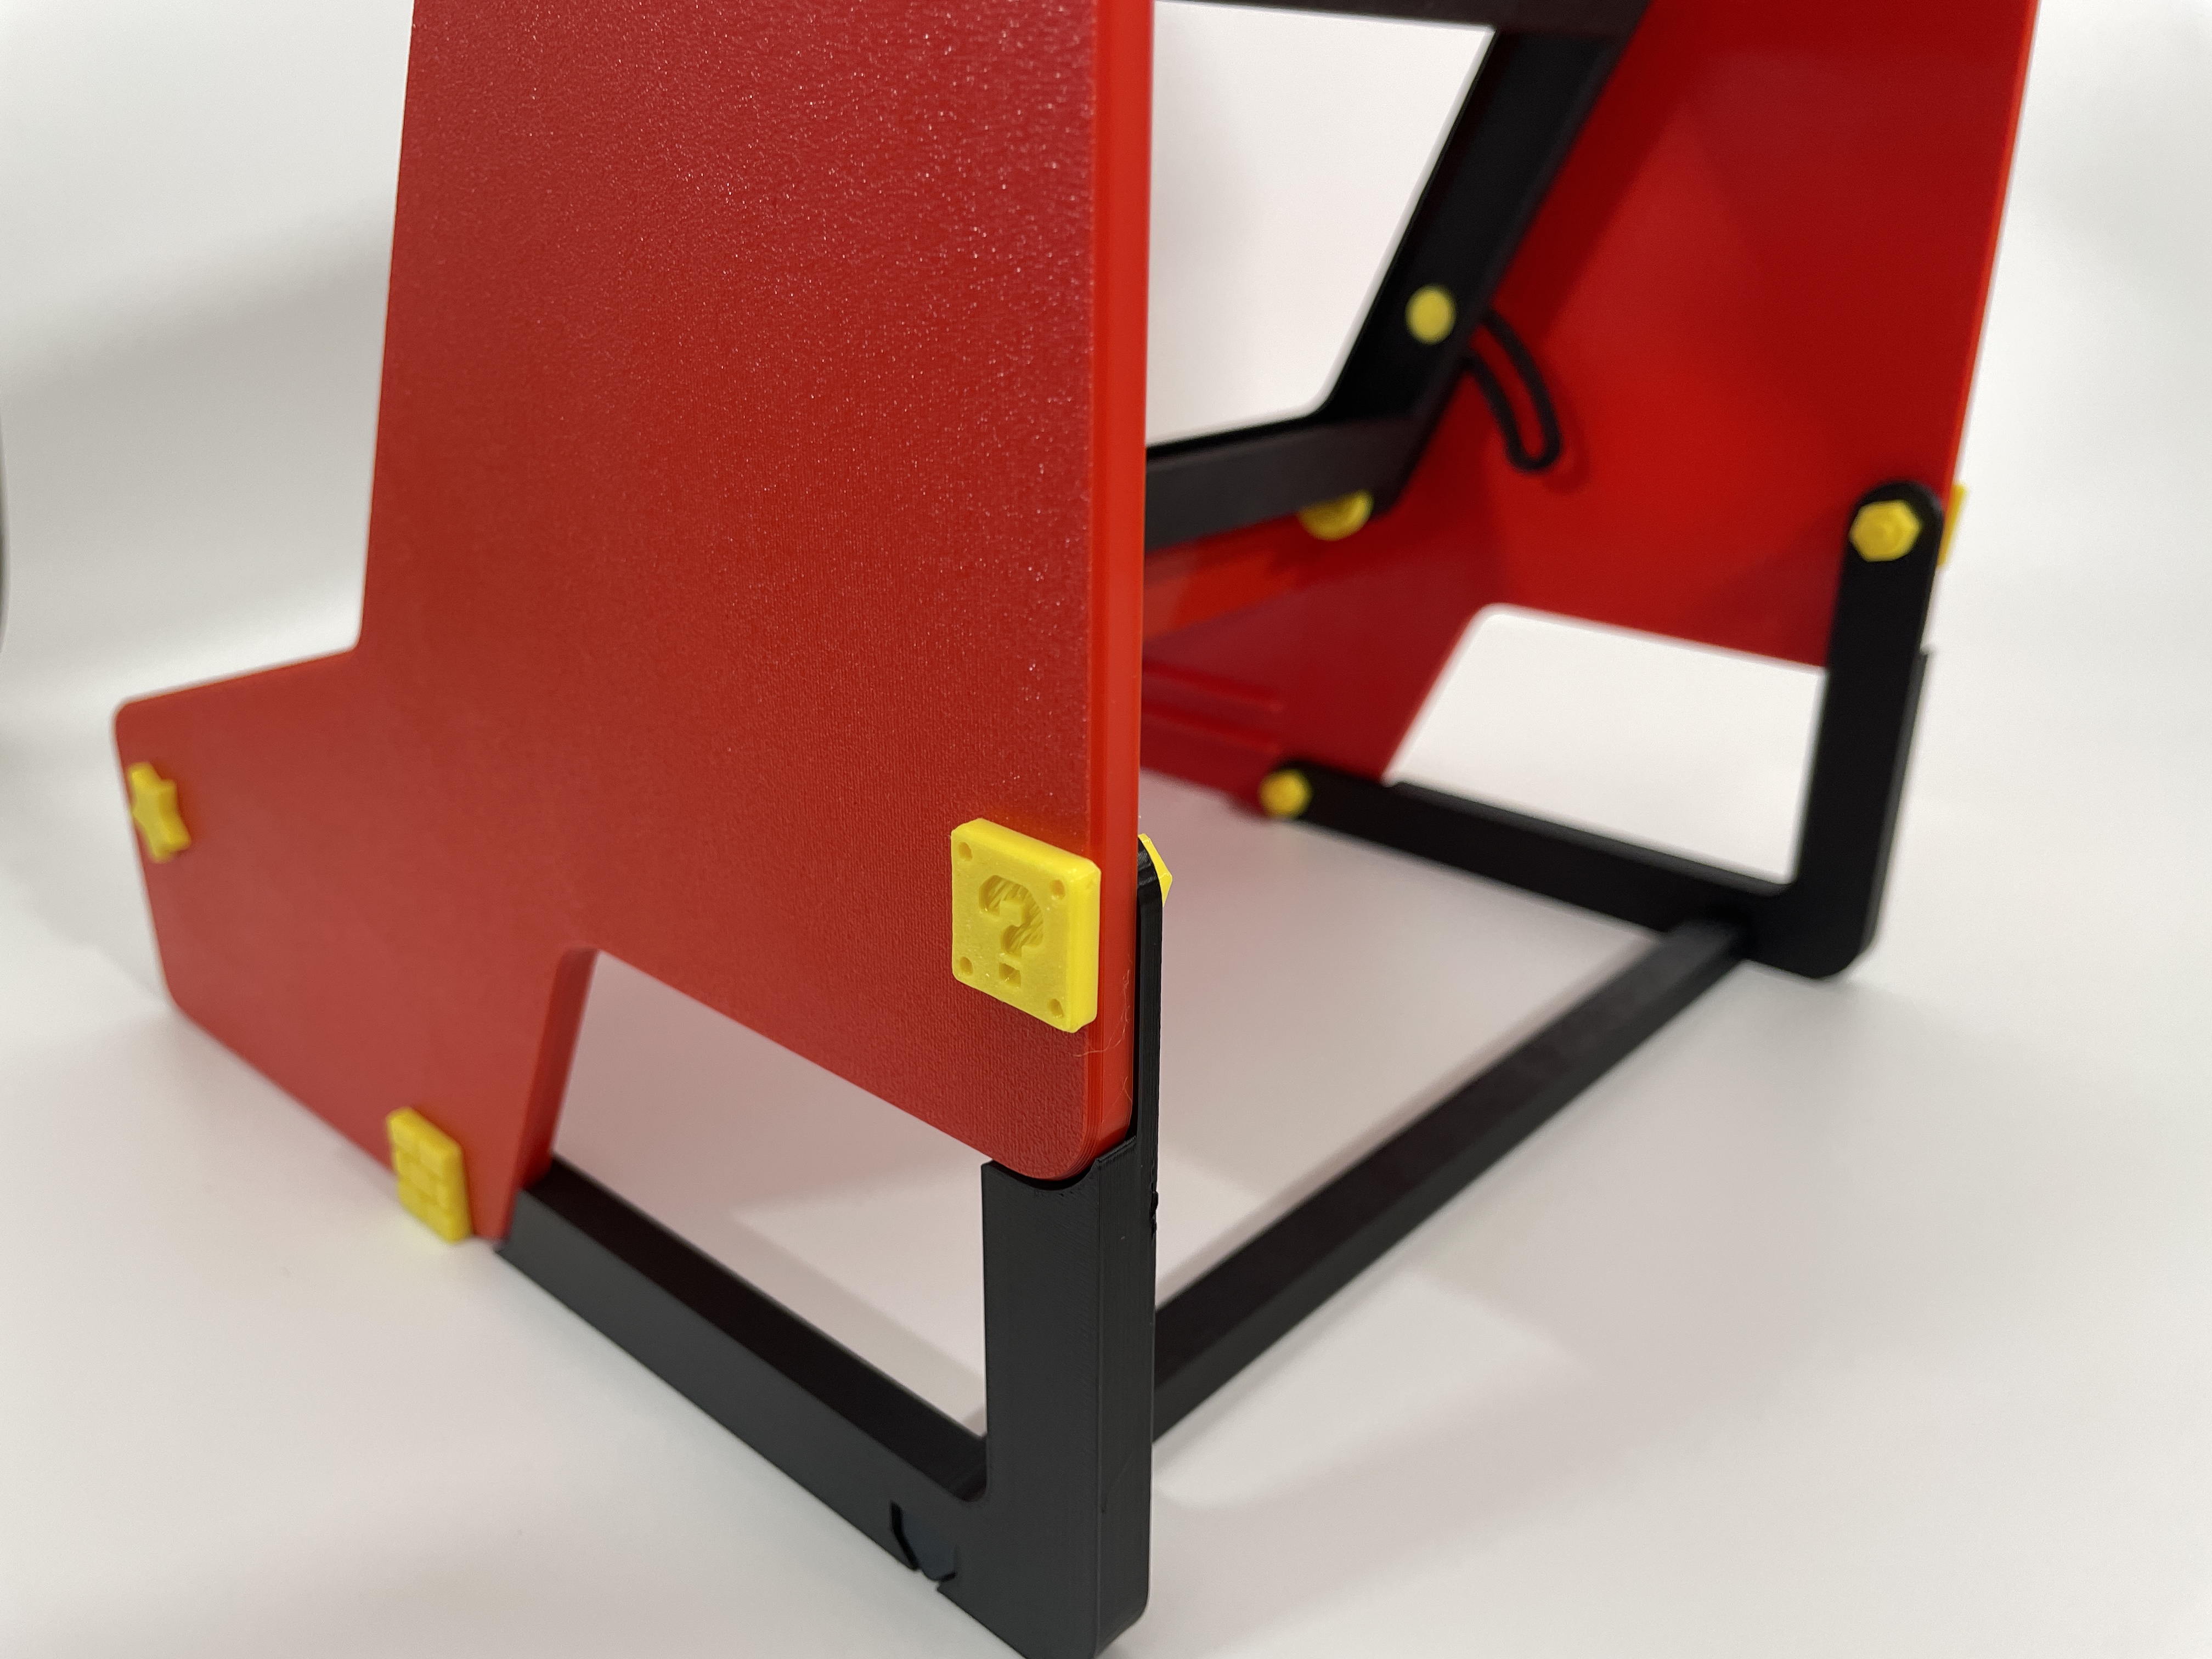  |
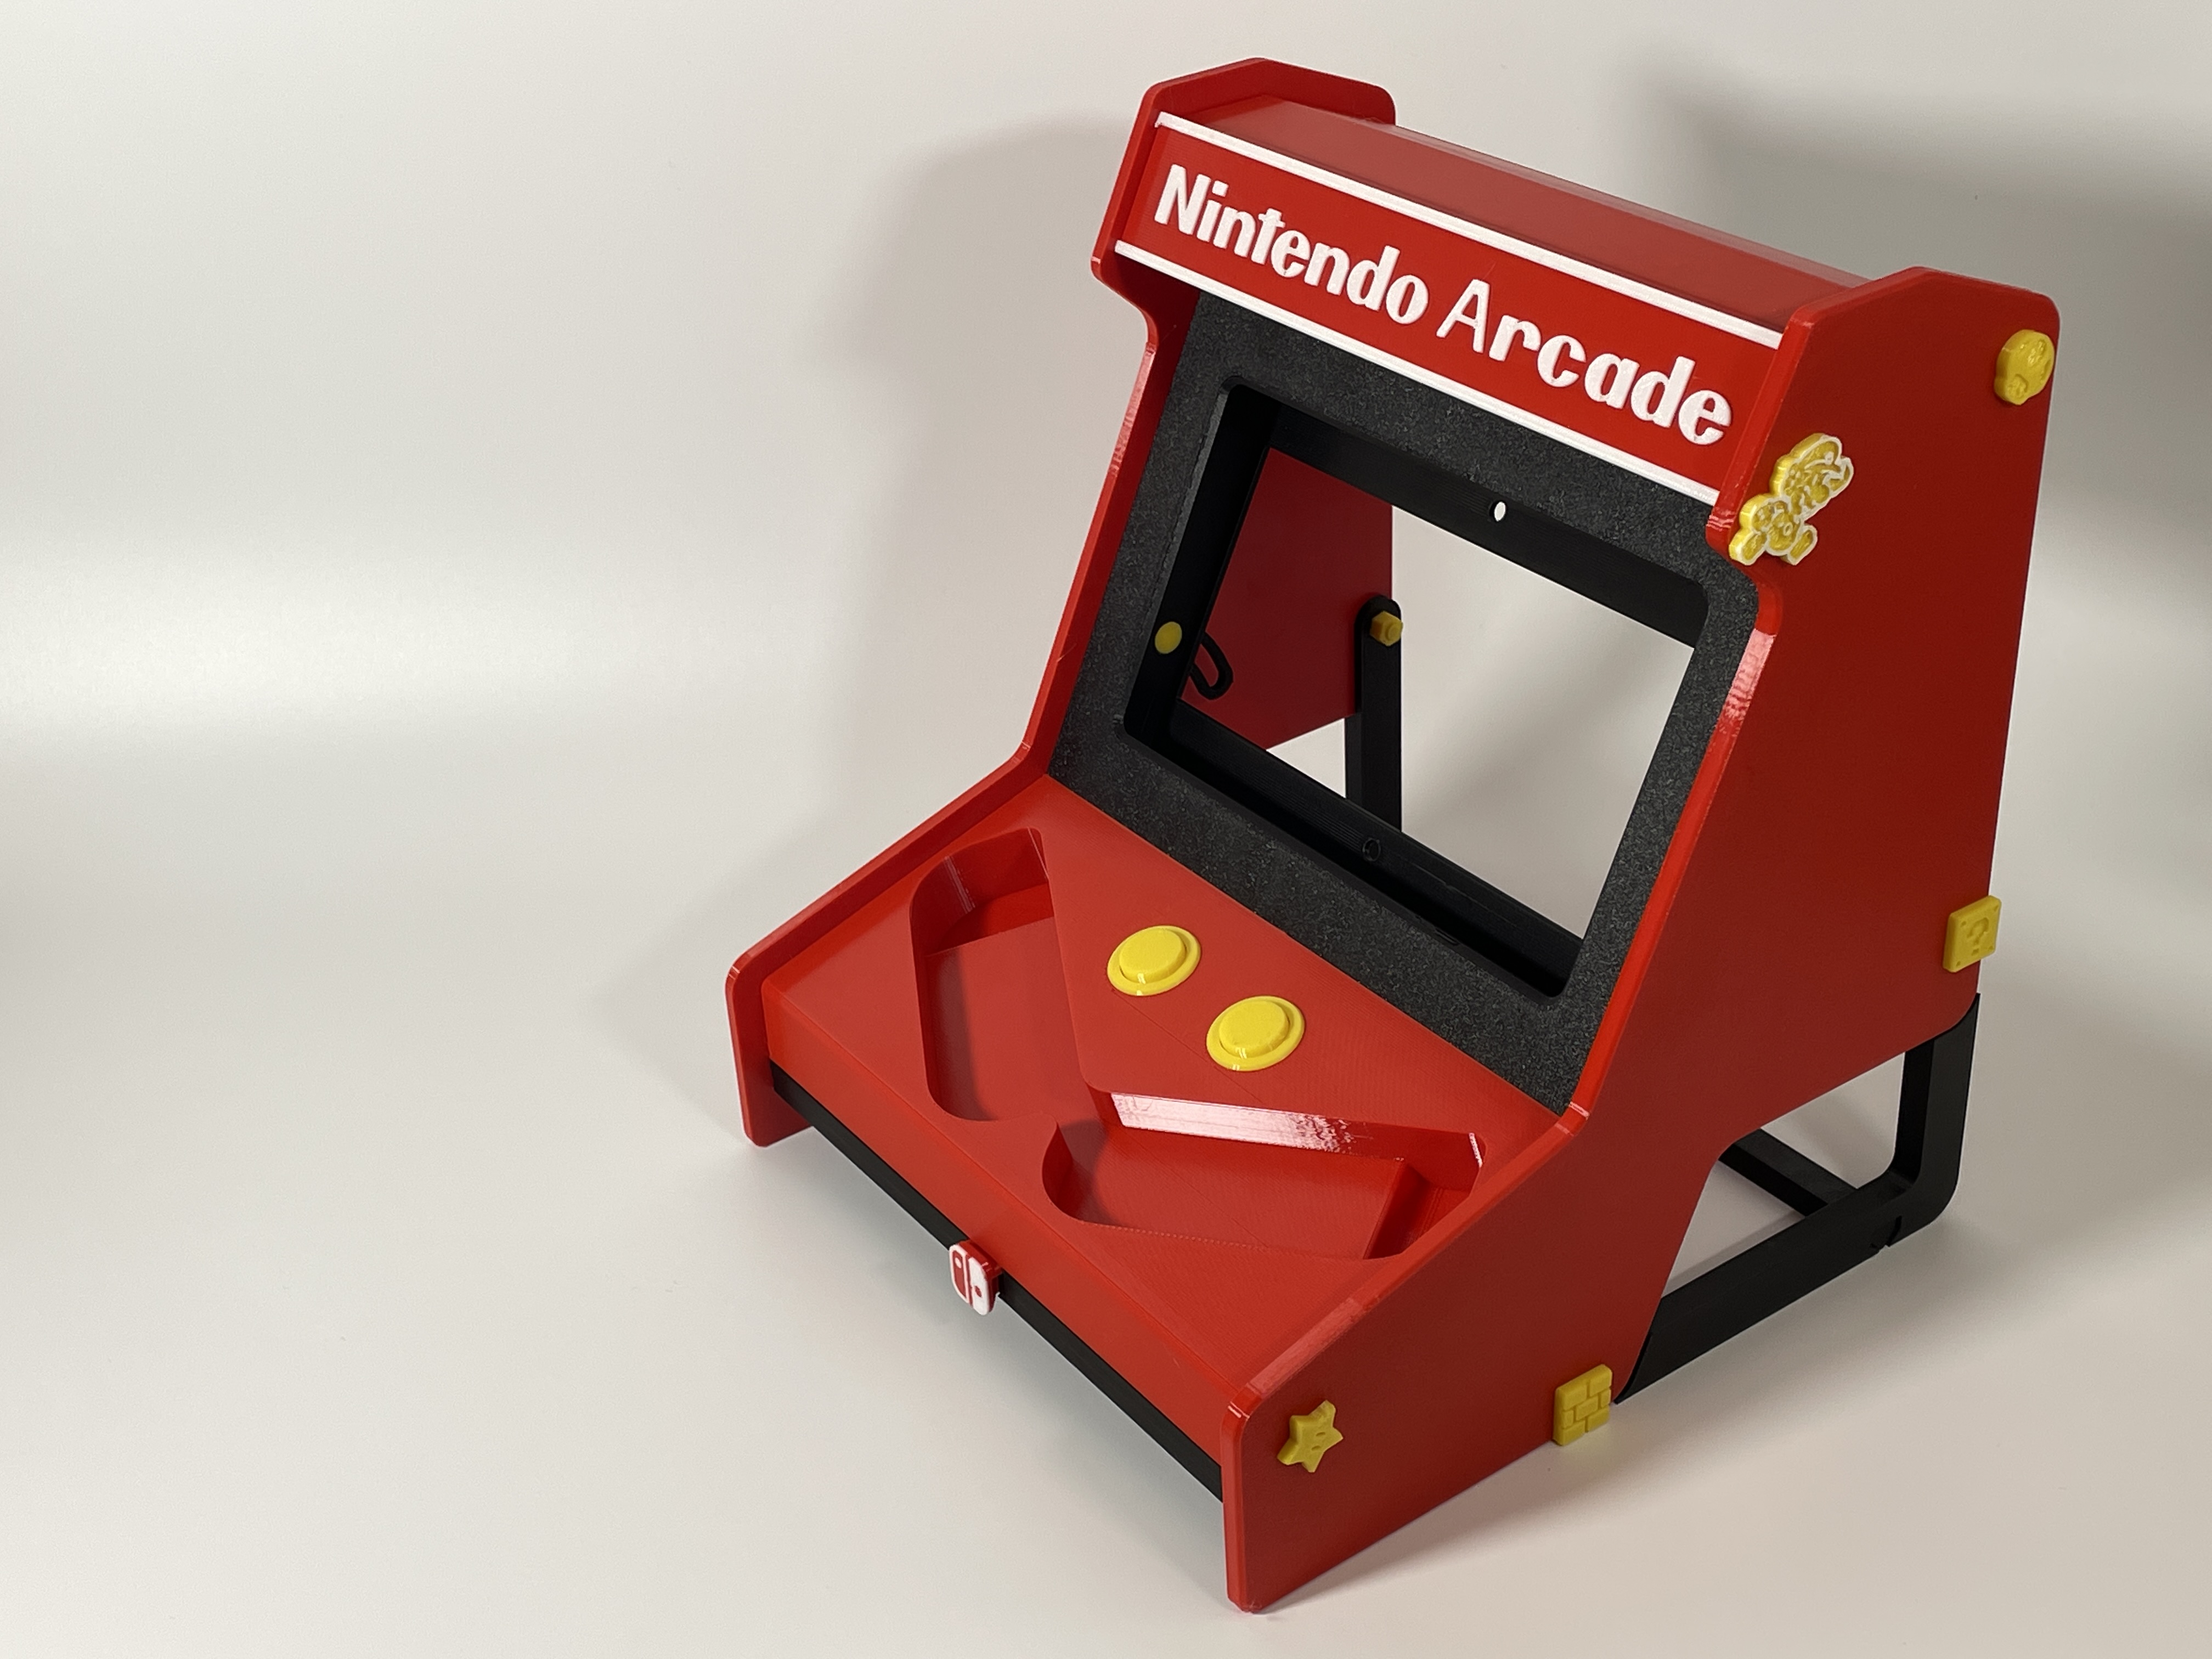
Step10: 安装完成 |
 |

Gostou deste modelo? Crie uma conta grátis para salvar seus favoritos e voltar a eles depois.
Criar conta