Você está no 3DFinder
Buscamos em Thingiverse, MakerWorld e Printables ao mesmo tempo para te dar o melhor de cada uma.
Descrição
Infinitely Scalable
Modular 19" Rack

based on
This is my take on a fully modular 19" server rack for the HomeRacker ecosystem.
It’s designed to accommodate any 19" build you have in mind.
That said, please note: it’s not intended for industrial-grade use. Metal is metal—and it will always outperform 3D-printed parts in terms of durability and strength.
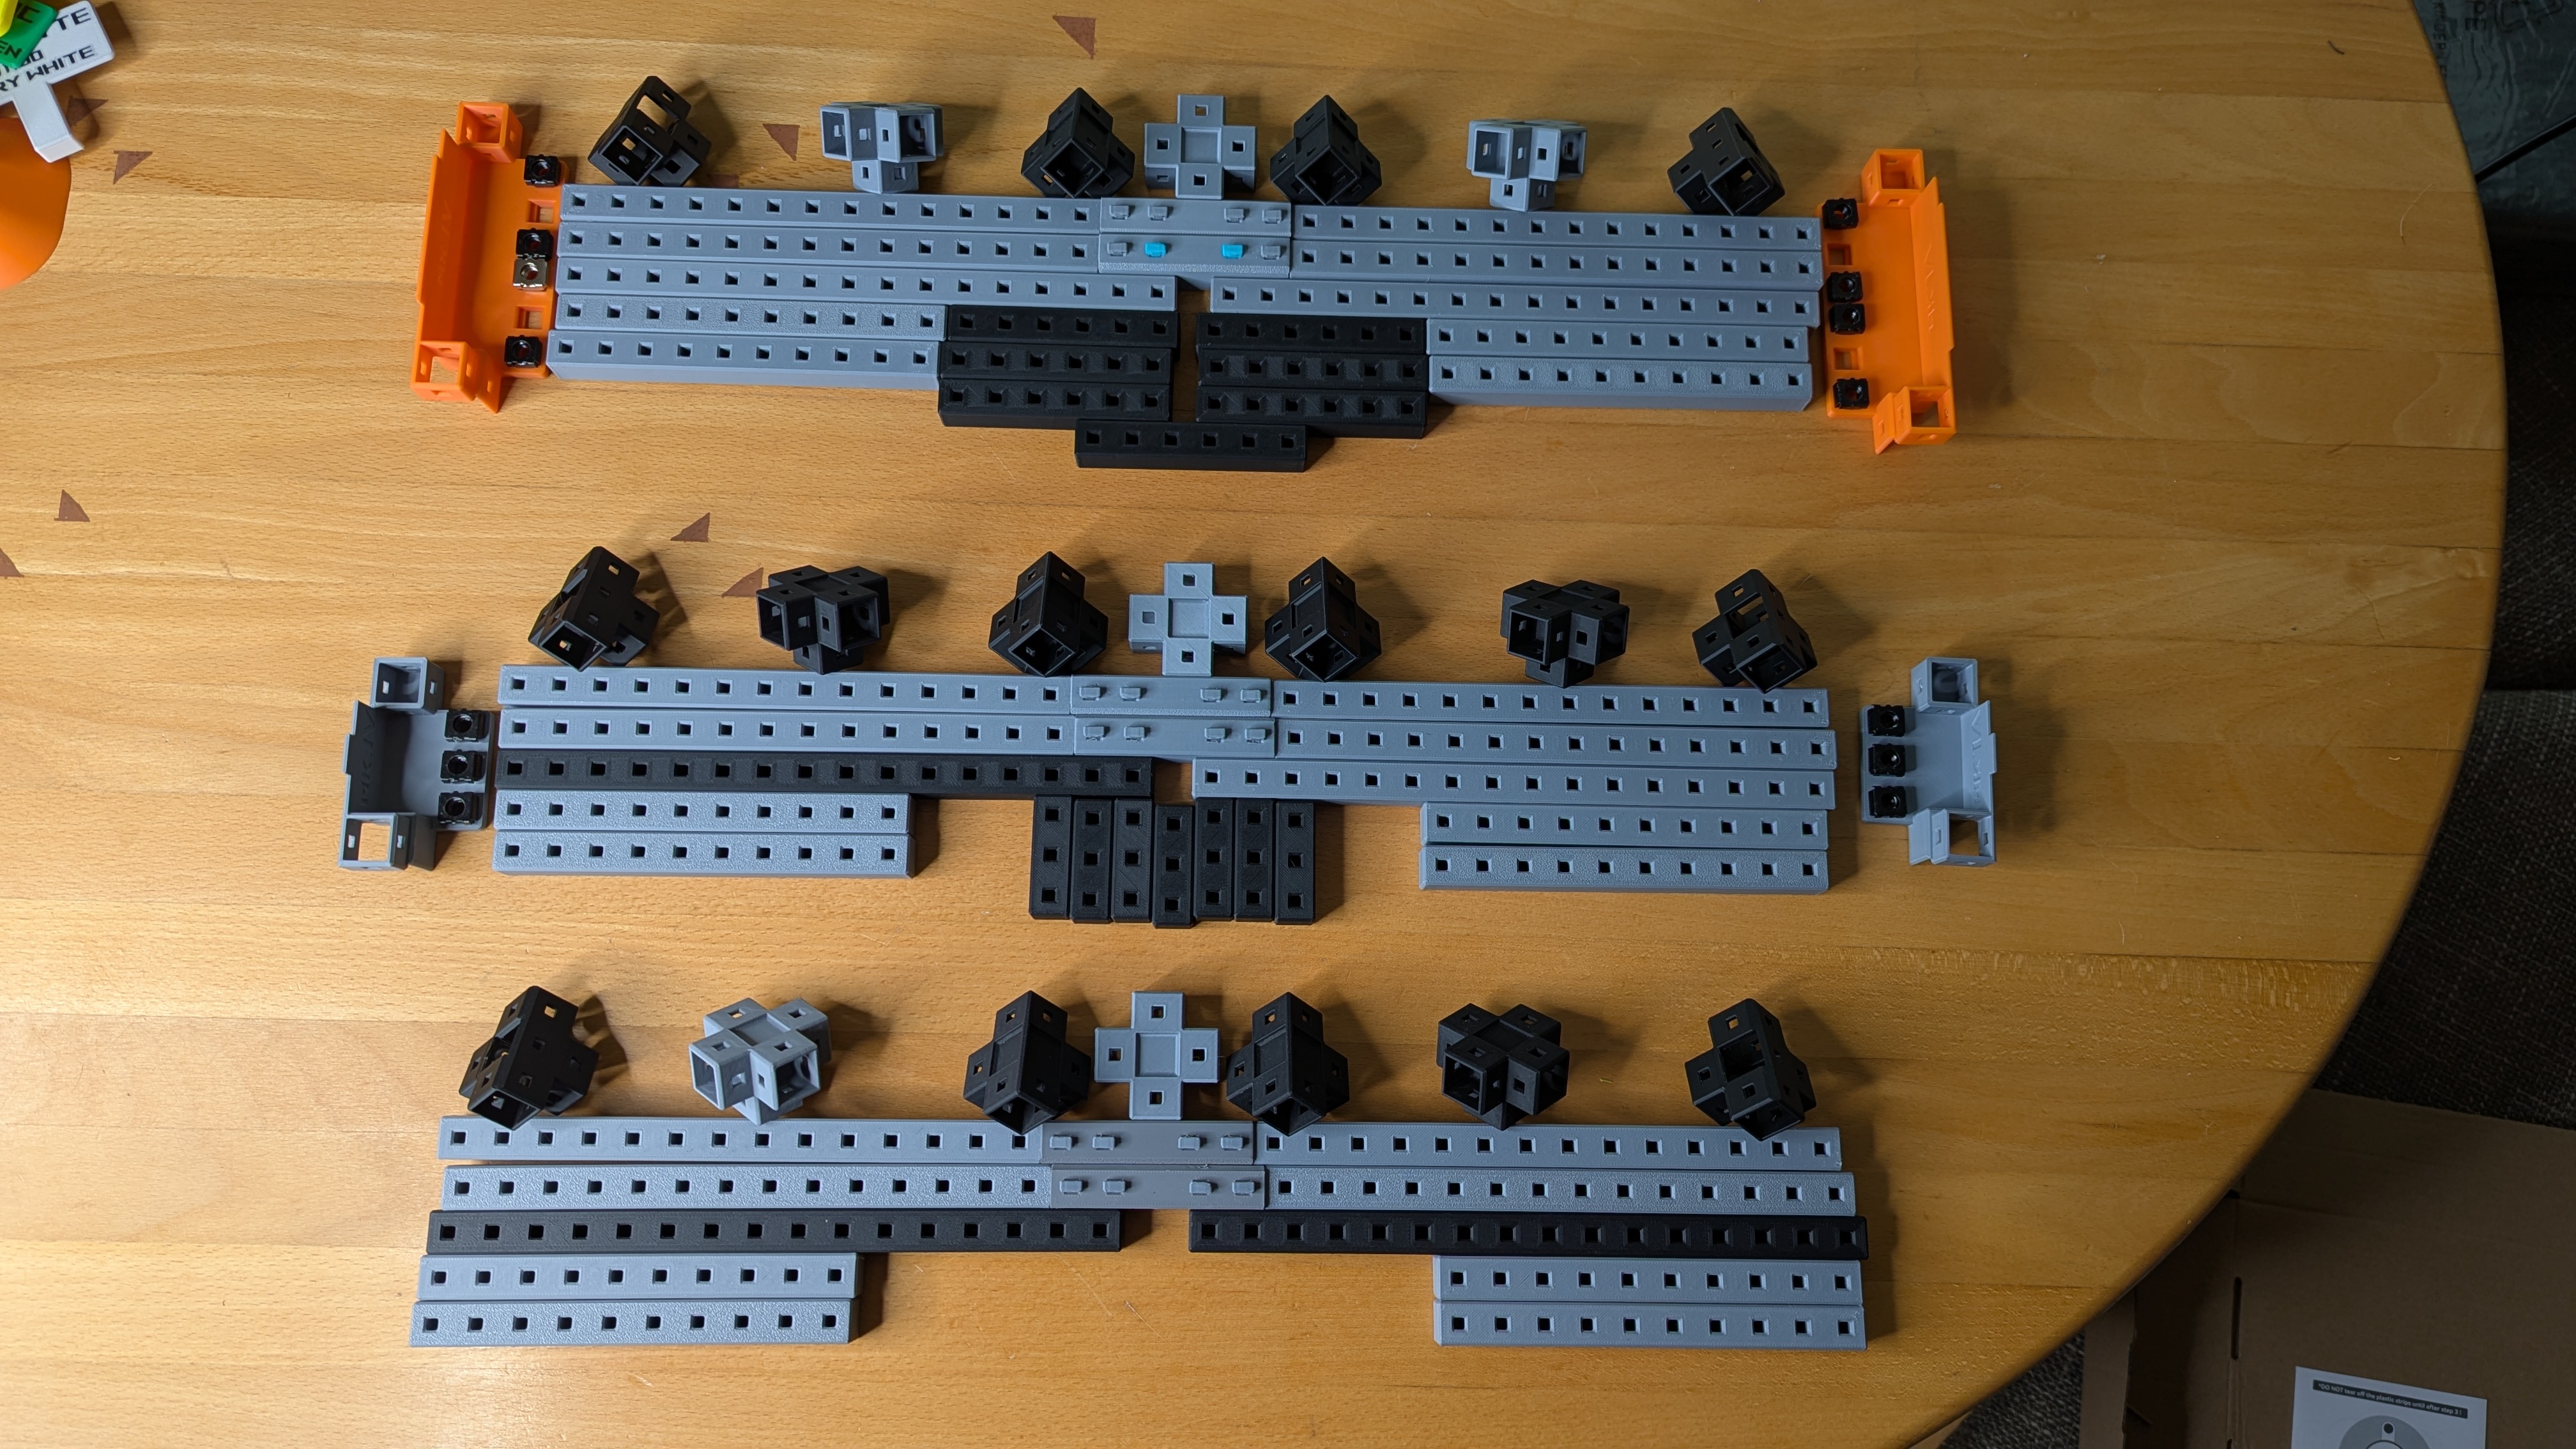
To give you a better idea of how it all comes together, this model includes a showcase print profile featuring both 1U and 2U rackmounts.
The model itself is built around two main components (in addition to the HomeRacker Core):
- Rackmount kit – serves as the interface between the HomeRacker frame and standard 19" devices.
- Extended supports – run above and below the rackmounts to enhance the structural integrity of the entire frame.
19" Rackmount Kit
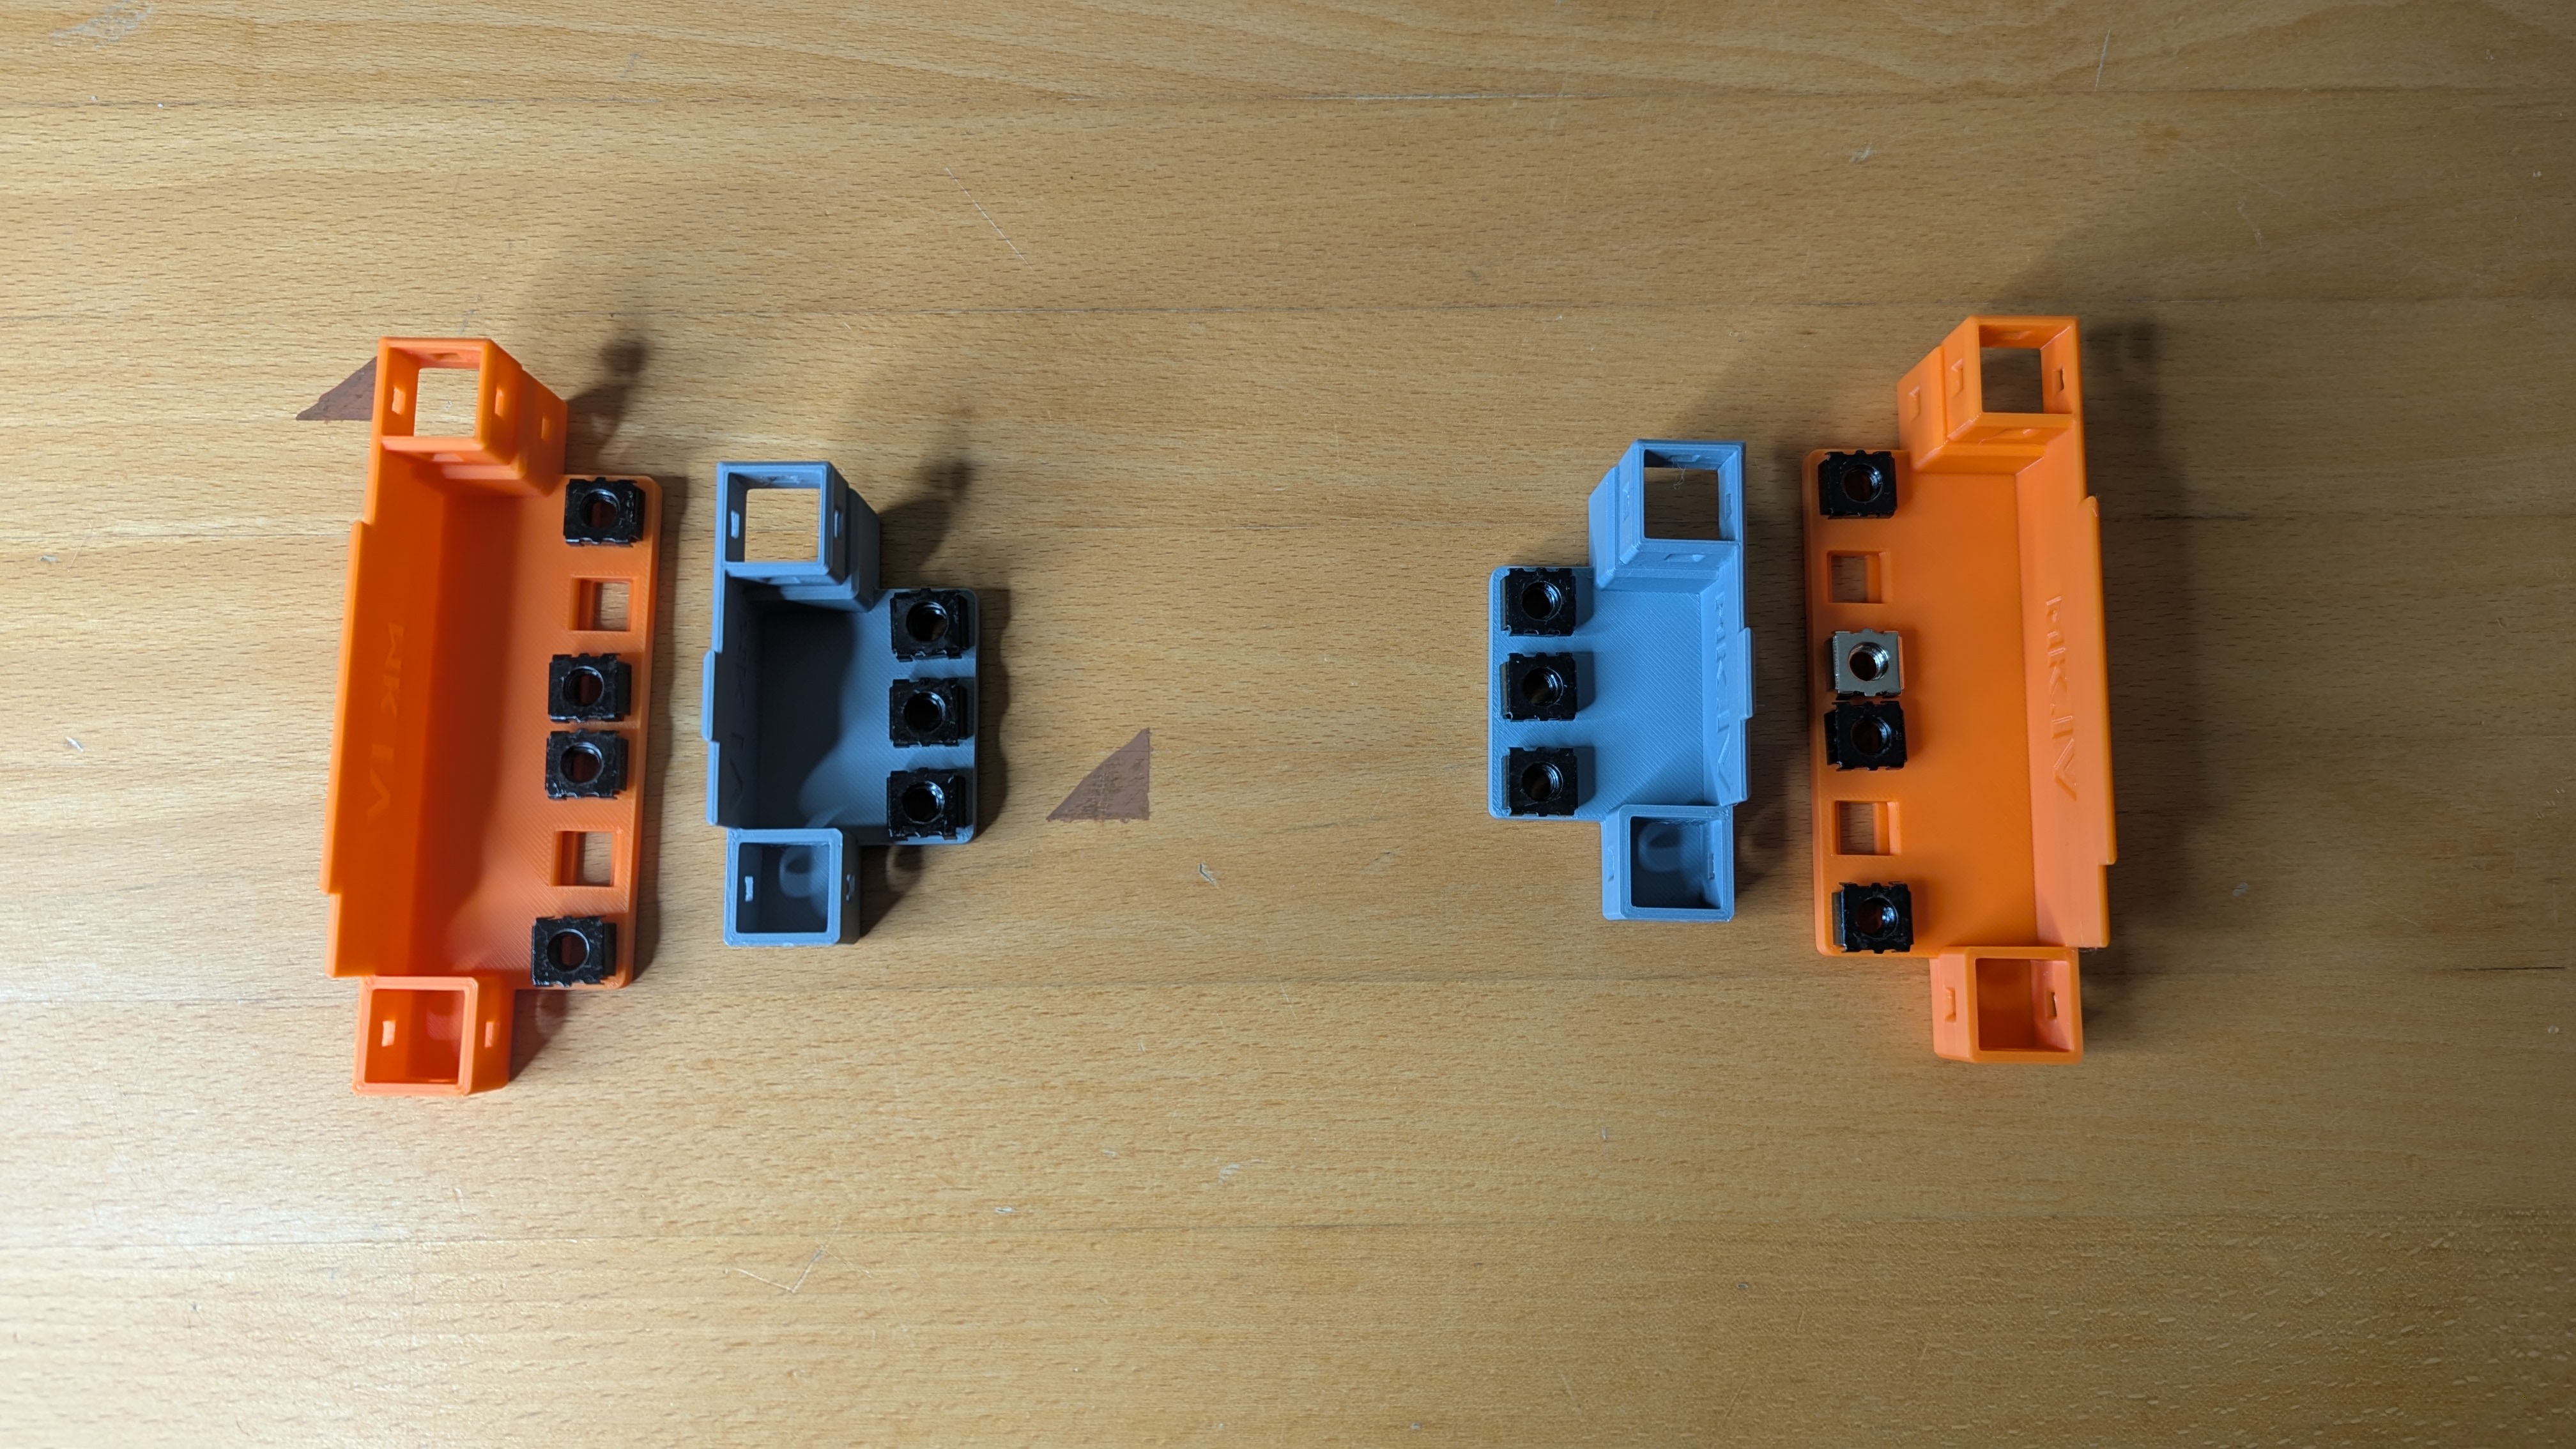
The kit is an adapter designed to mount on a HomeRacker Core frame like this:
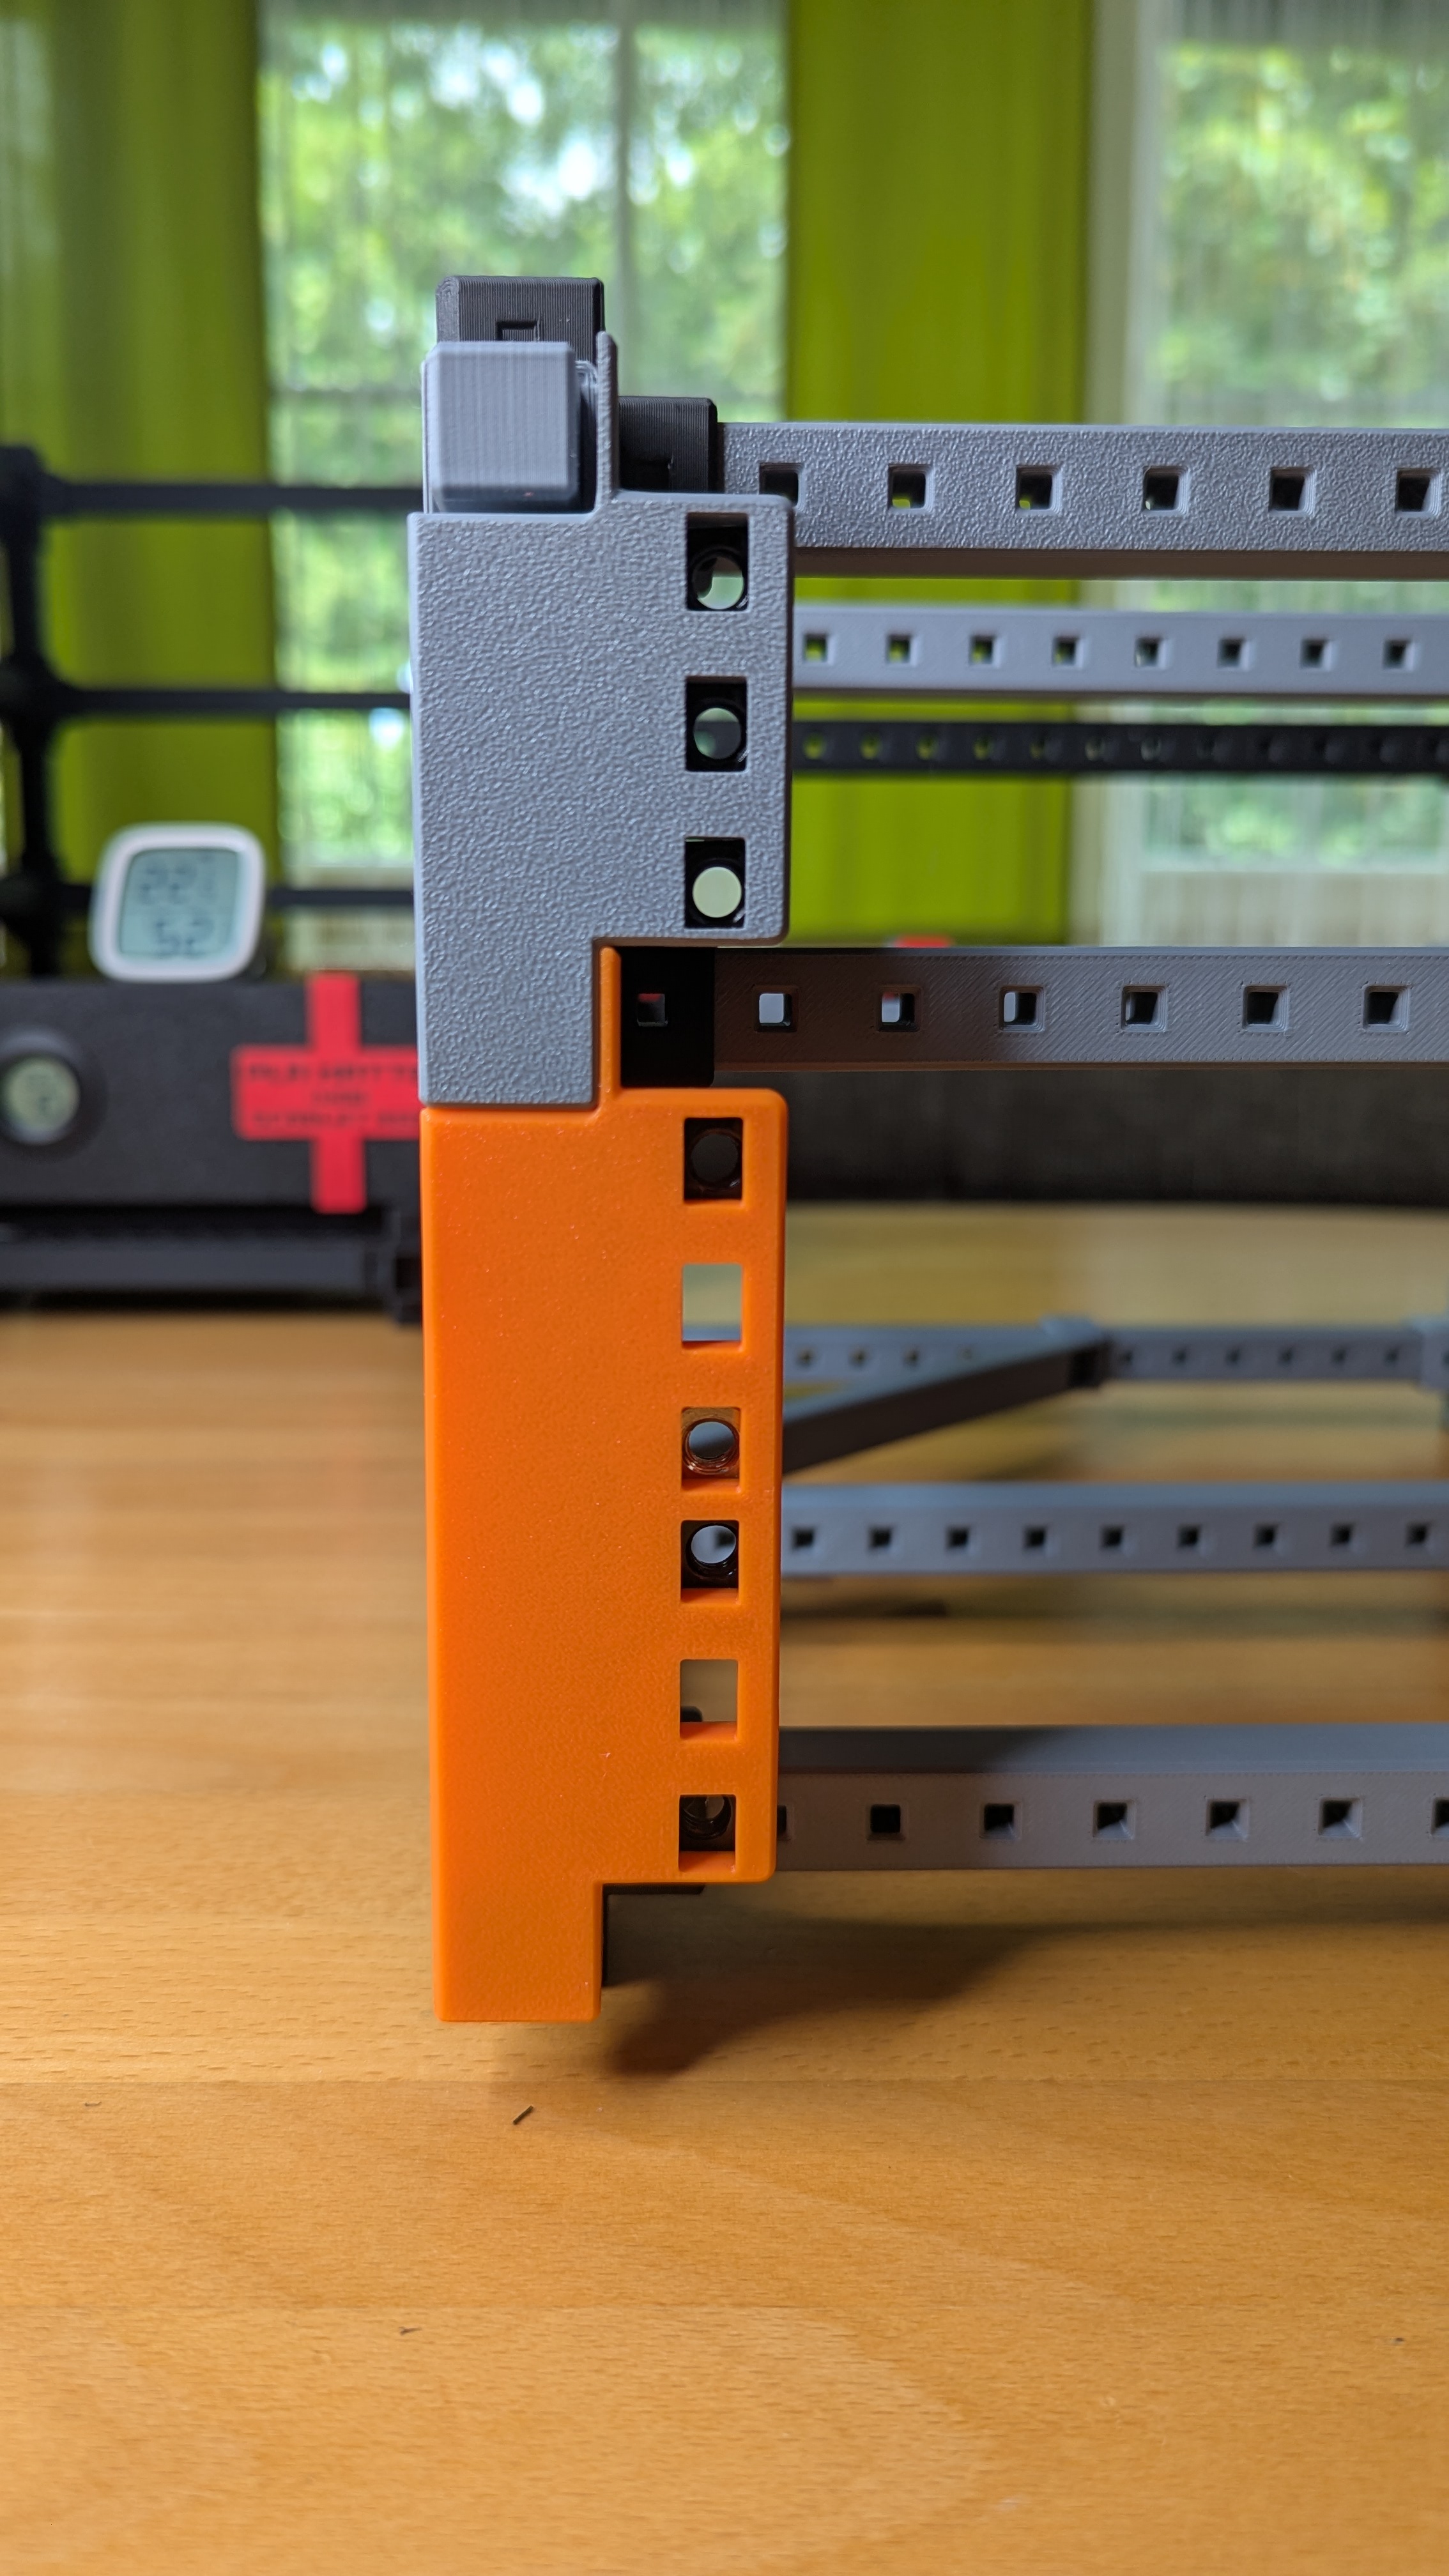
By using two connected x16 supports (see Extended Supports), you’ll match the 19" standard exactly - making it perfect for fitting standard 19" devices.
Features:
- Standard 19" rackmount compatibility
- Mounting holes for M6 cage nuts
- Included print profiles in two heights: 1U and 2U (fully adjustable via the provided .f3d file)
Extended Supports
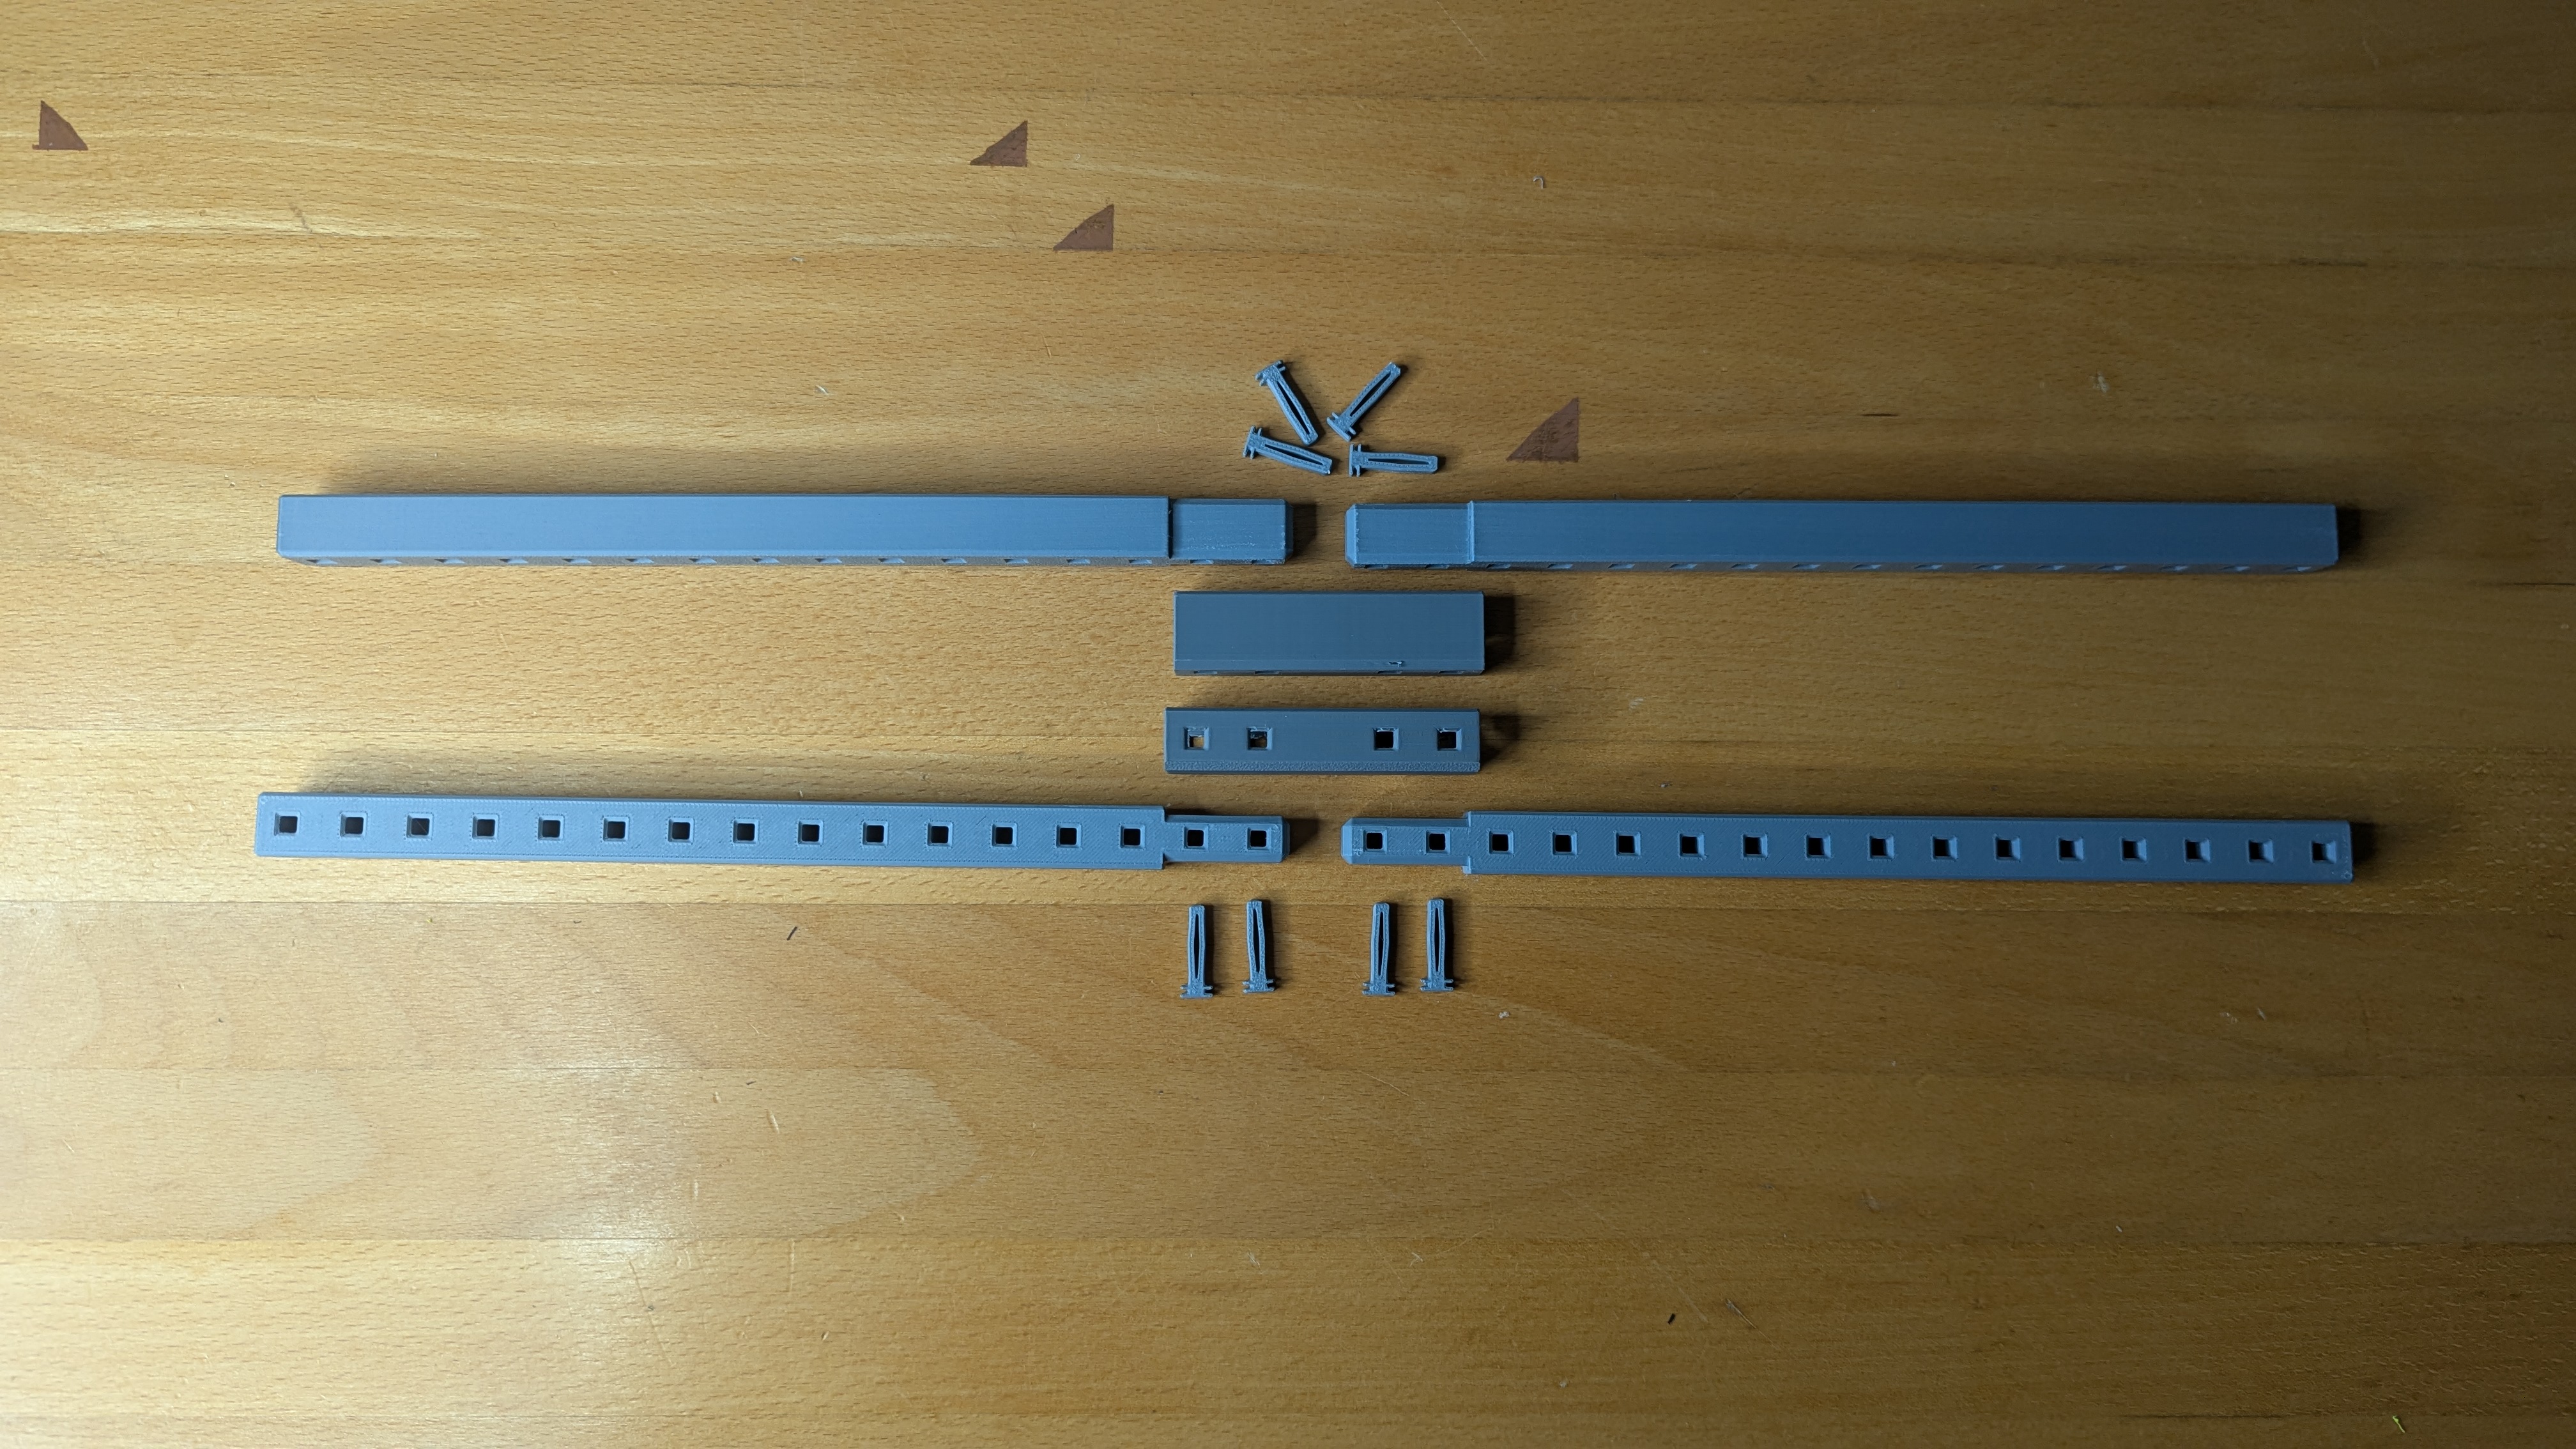
HomeRacker conveniently aligns with standard server rack height units—three HomeRacker units equal 45 mm, while one standard rack unit (HU) is 44.5 mm.
This is perfect for 10" racks, where horizontal x17 supports can be used to ensure structural integrity. However, for a 19" rack, you'd need x33 supports - something no common 3D printer can produce in one piece.
Leaving these supports out isn’t an option, as the entire structure would become wobbly and unstable. Standard connectors weren’t viable either, as they add 4.2 mm in height - causing interference with devices above and below.
I had to develop a system to connect supports without increasing the overall height of the connectors. That’s why these extended supports and the 19" rack mounts form the base of this model.
Important Considerations
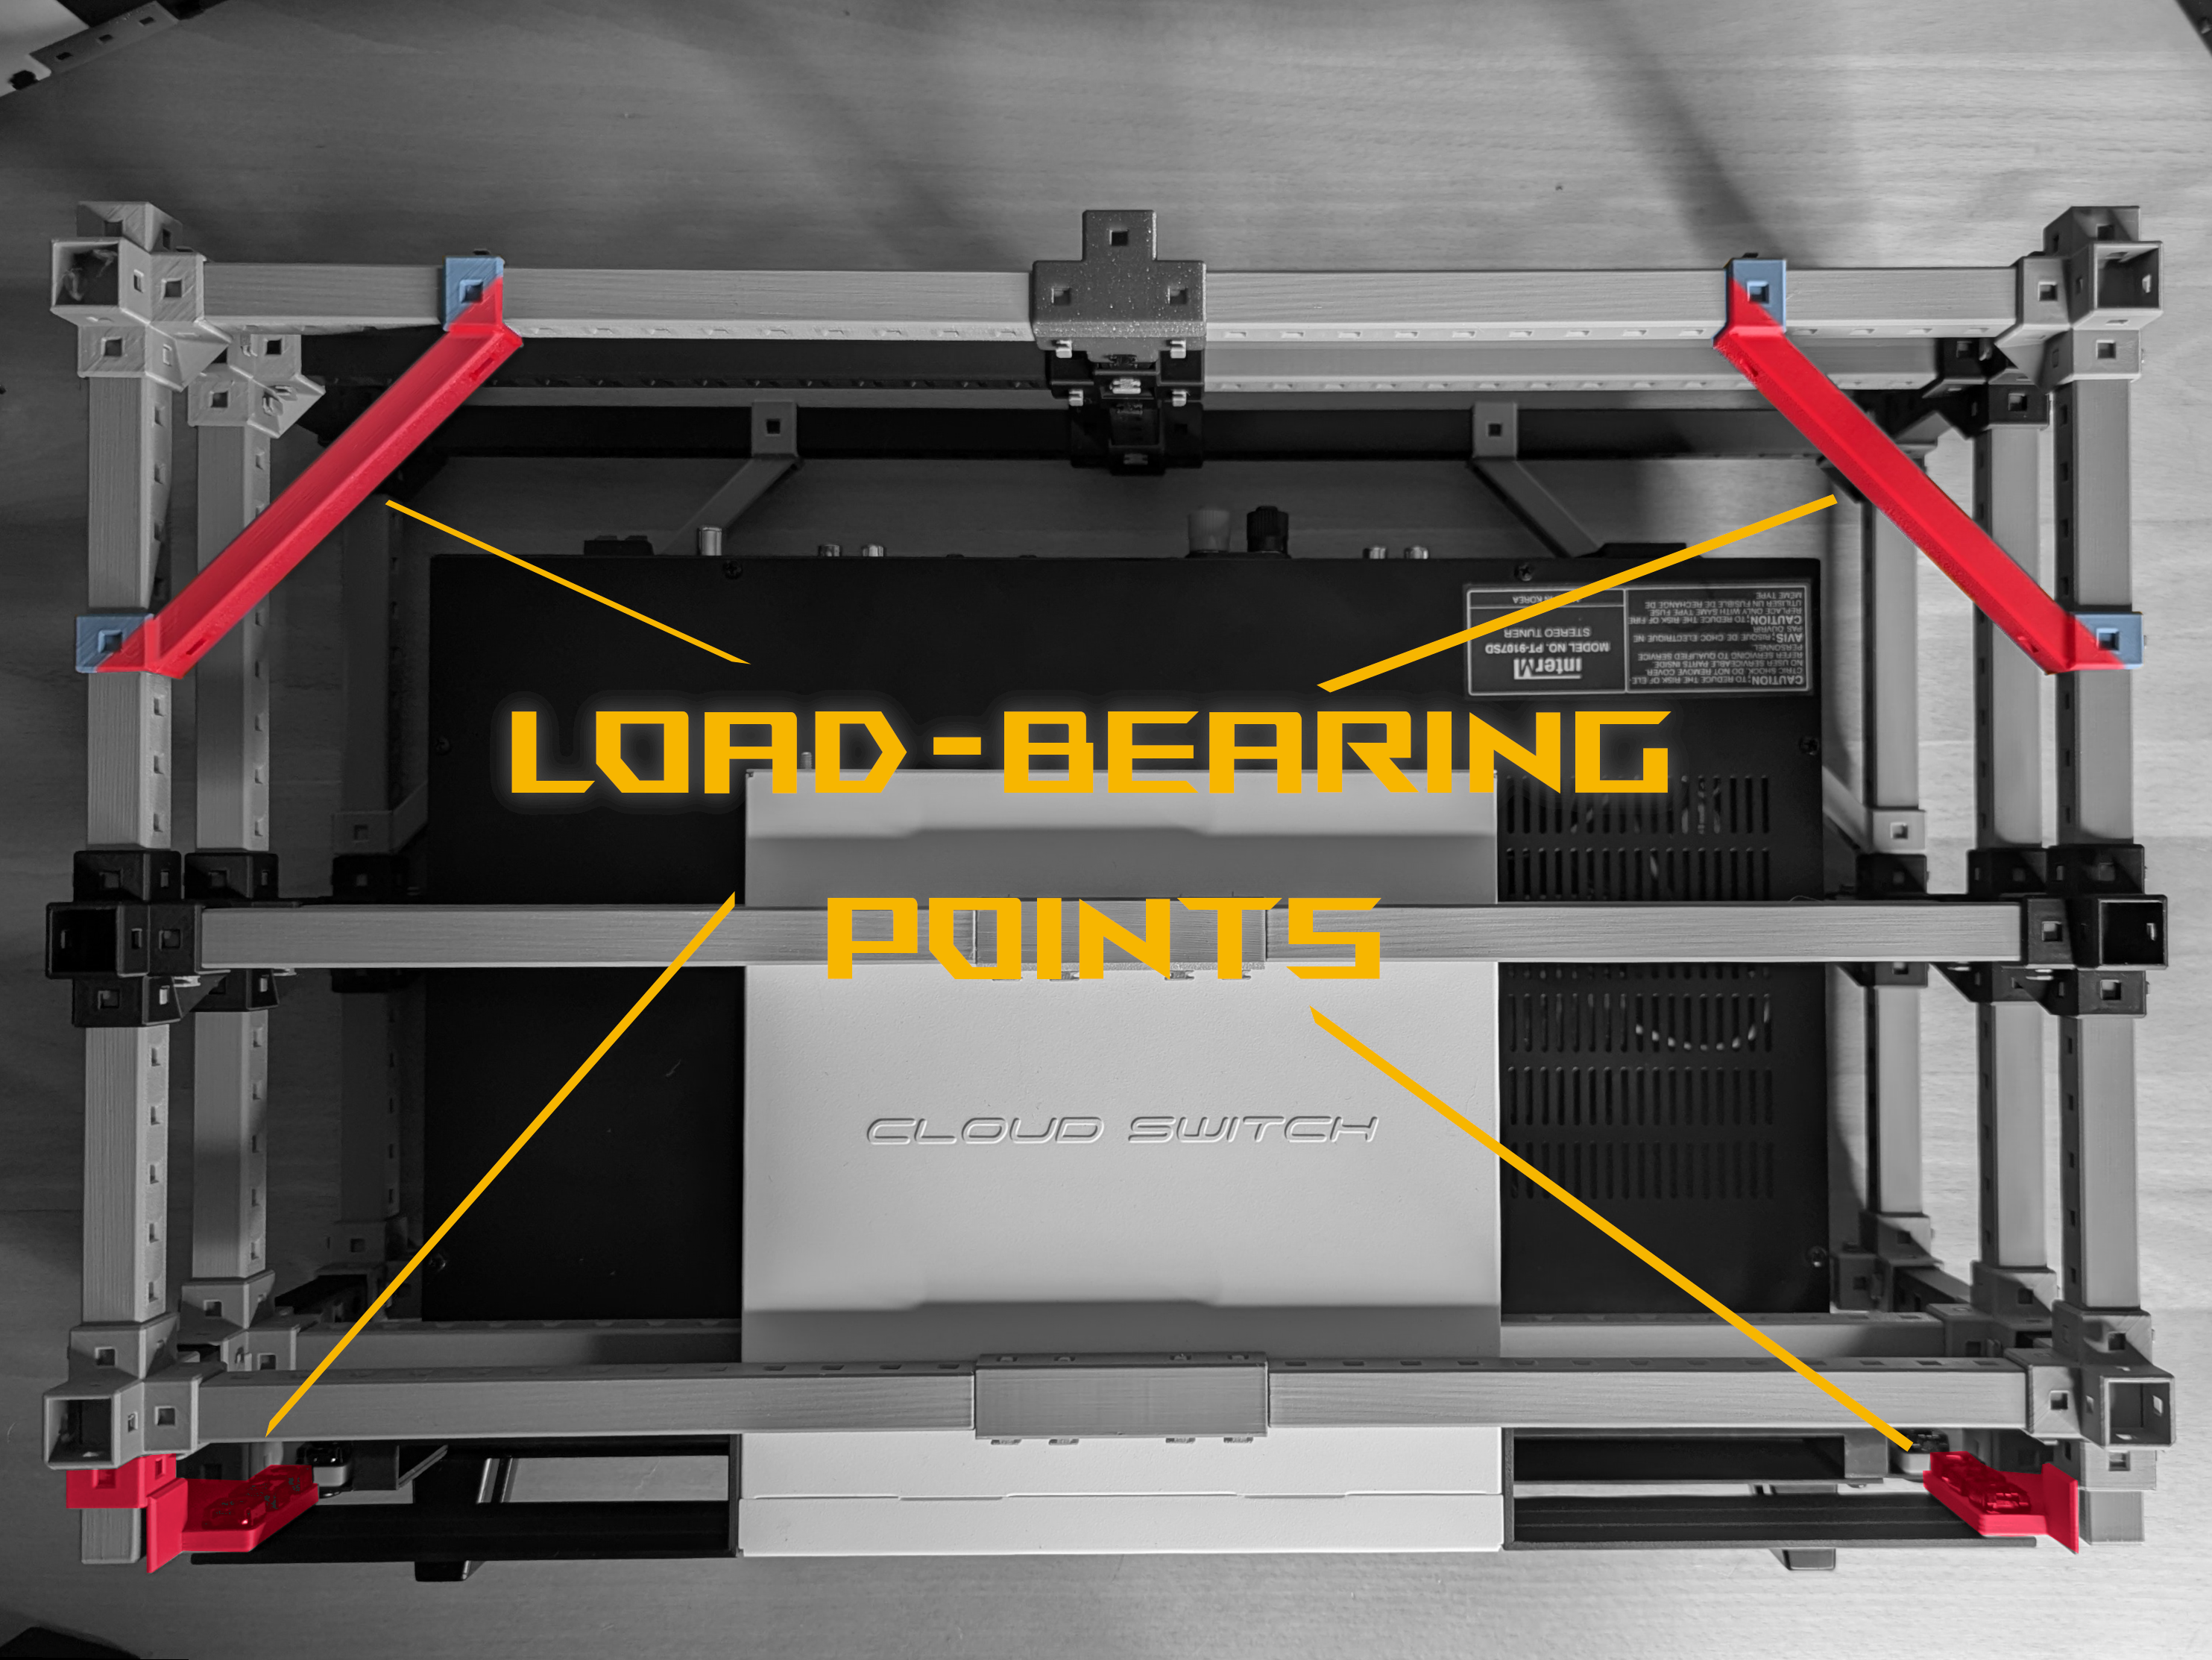
- Please don’t mistake the extended 19" supports for load-bearing components. They’re designed to enhance structural integrity and help guide devices into place - but not to carry weight. They might bend up to a point where they might break.
- Only the diagonal supports and rackmounts are intended to bear the majority of a device’s weight.
- Diagonal supports just need to be as big so they overlap with the device they need to carry. The x10s from the showcase are just some educated guess to cover a variety of devices.
- For improved structural integrity, I always recommend enclosing each rackmount with a frame both above and below your devices, as shown in the pictures. You’ll notice supports running above the rackmounts as well. This approach is slightly more material-intensive but significantly reduces bending and improves overall stability.
- I intentionally didn’t include feet or special “end” connectors. This leaves the option open to extend the rack either upward or downward. If you prefer a cleaner finish, please refer to the respective connectors in the core model (link down below).
- If you’re experiencing bed adhesion issues when printing the lock pins, a user suggested that using a raft layer might help. I haven’t tried it myself, though.
- The showcase includes a bottom frame representing two height units, complete with load-bearing parts (diagonal supports and rackmounts). The midframe represents a single height unit. And the top part is used to conceal everything and give it more structural integrity.
- It’s important to note that the rackmounts for this 19" rack are not the same as those for the 10" rack. There’s a difference in their width measurements. So please refrain from mixing them up.
- I only performed load-bearing tests with the radio shown in the title picture, which weighs about 5 kg. To push it further, I placed a 10 kg weight plate on top and left it for a week. Using PLA, there was no visible deformation. That said, please use at your own risk.
- If your devices have greater depth, consider replacing the x10 front-to-back supports with longer ones to accommodate the extra size.
Assembly
Assembly might be a bit complex, so I’ve included a visual PDF guide for the showcase model. It provides a clear overview of the general assembly process. With this guide as a reference, you should be able to adapt the steps to suit any custom build you have in mind.
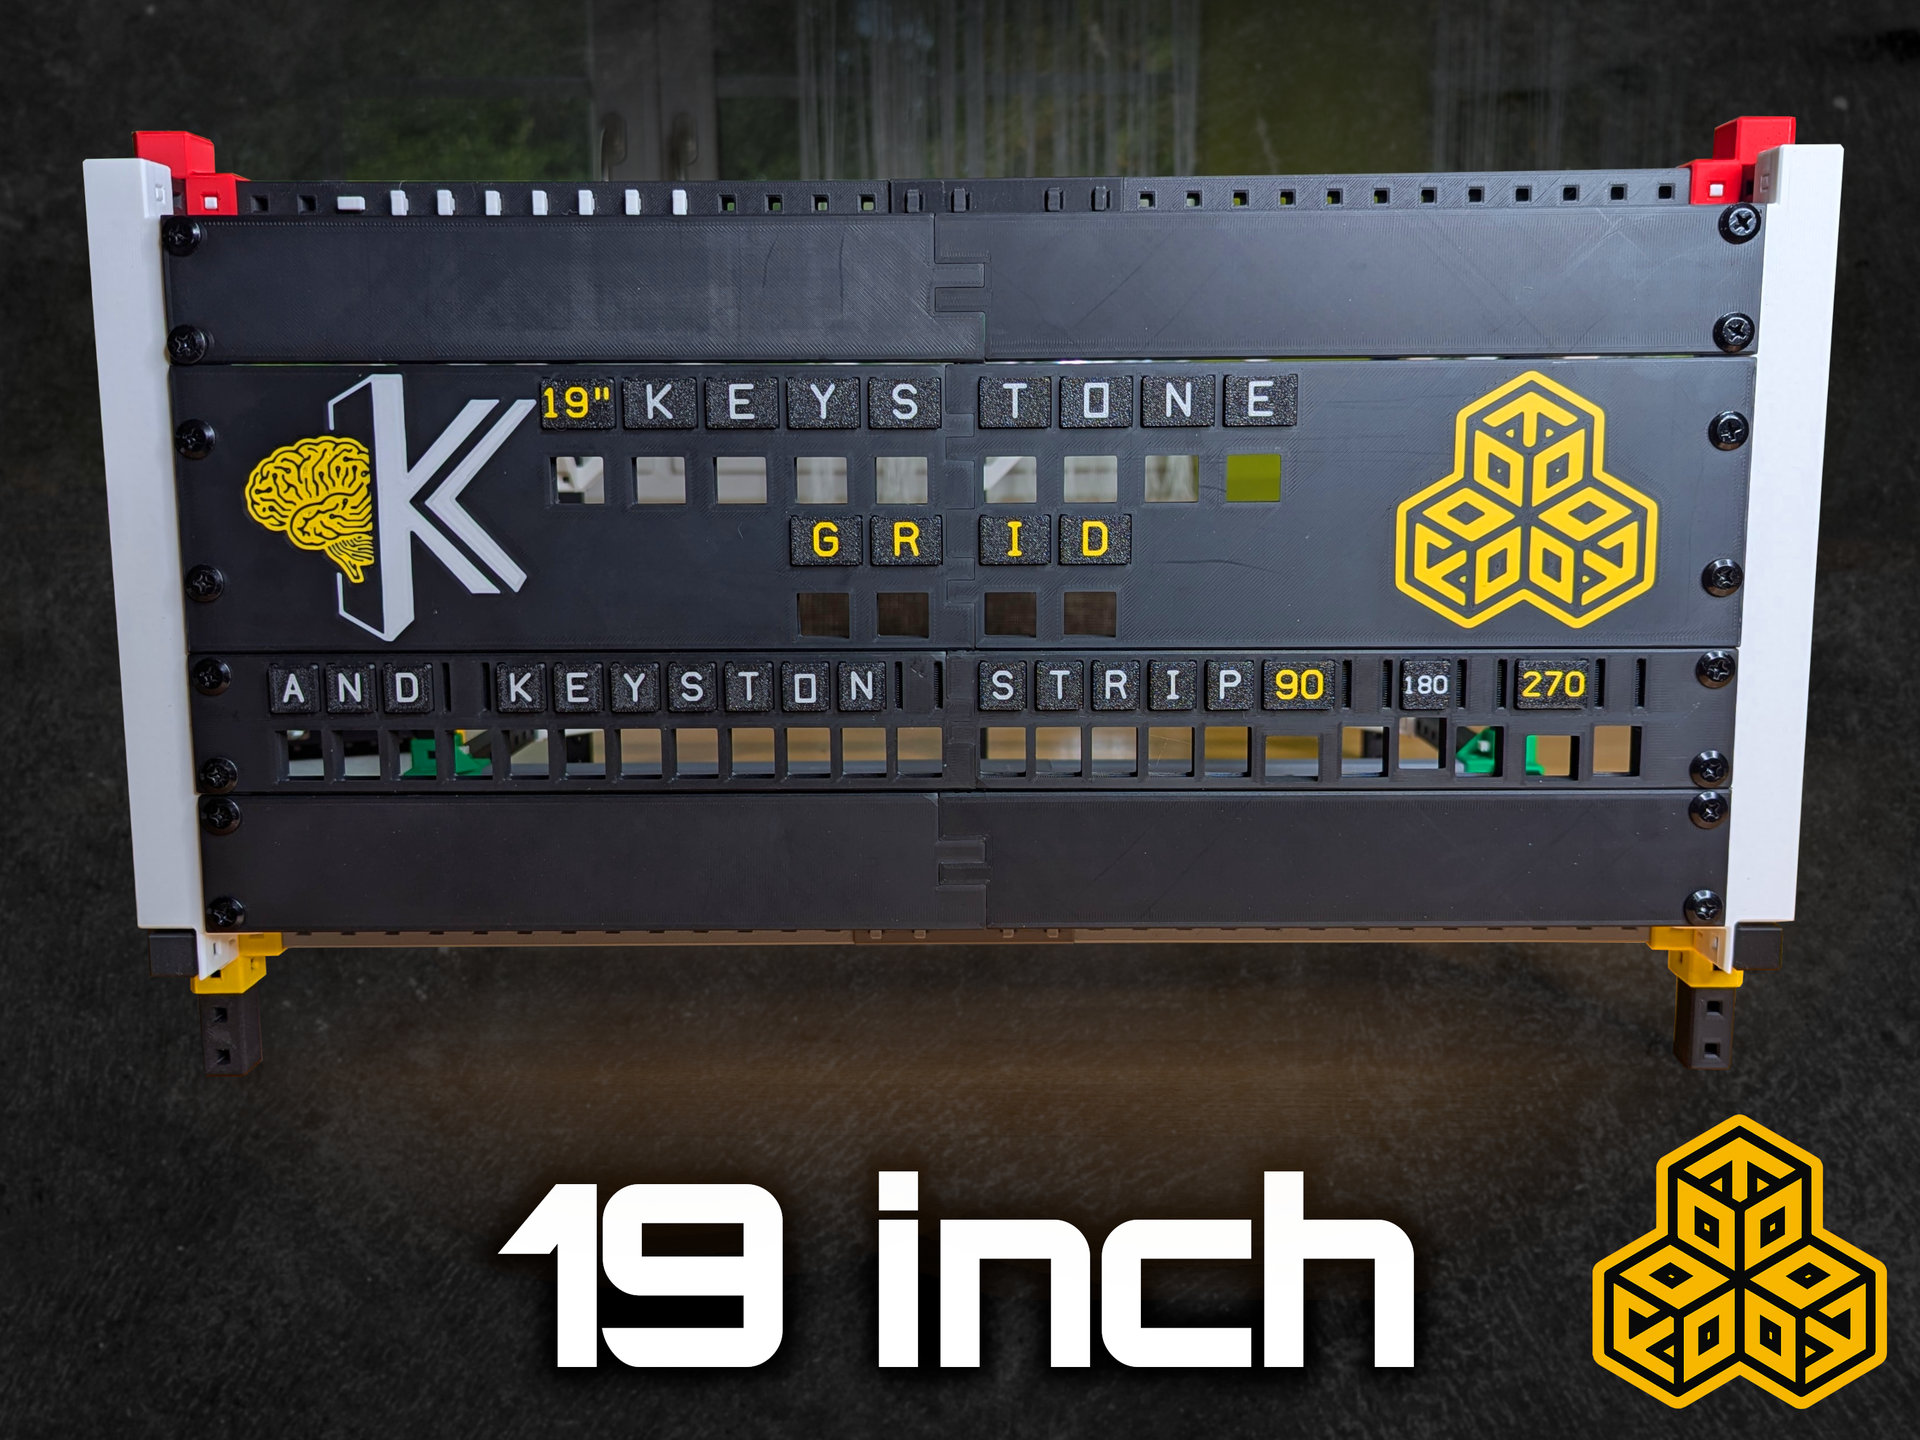
Looking for a fitting keystone panel?
Then click ⬇️ here ⬇️
What is HomeRacker?
HomeRacker is a universal modular rack building system I created. It's based on an open specification. Find out more here:
HomeRacker - Core on Makerworld
or visit
[https://homeracker.org/](https://homeracker.org/)
or checkout
The Official HomeRacker Collection
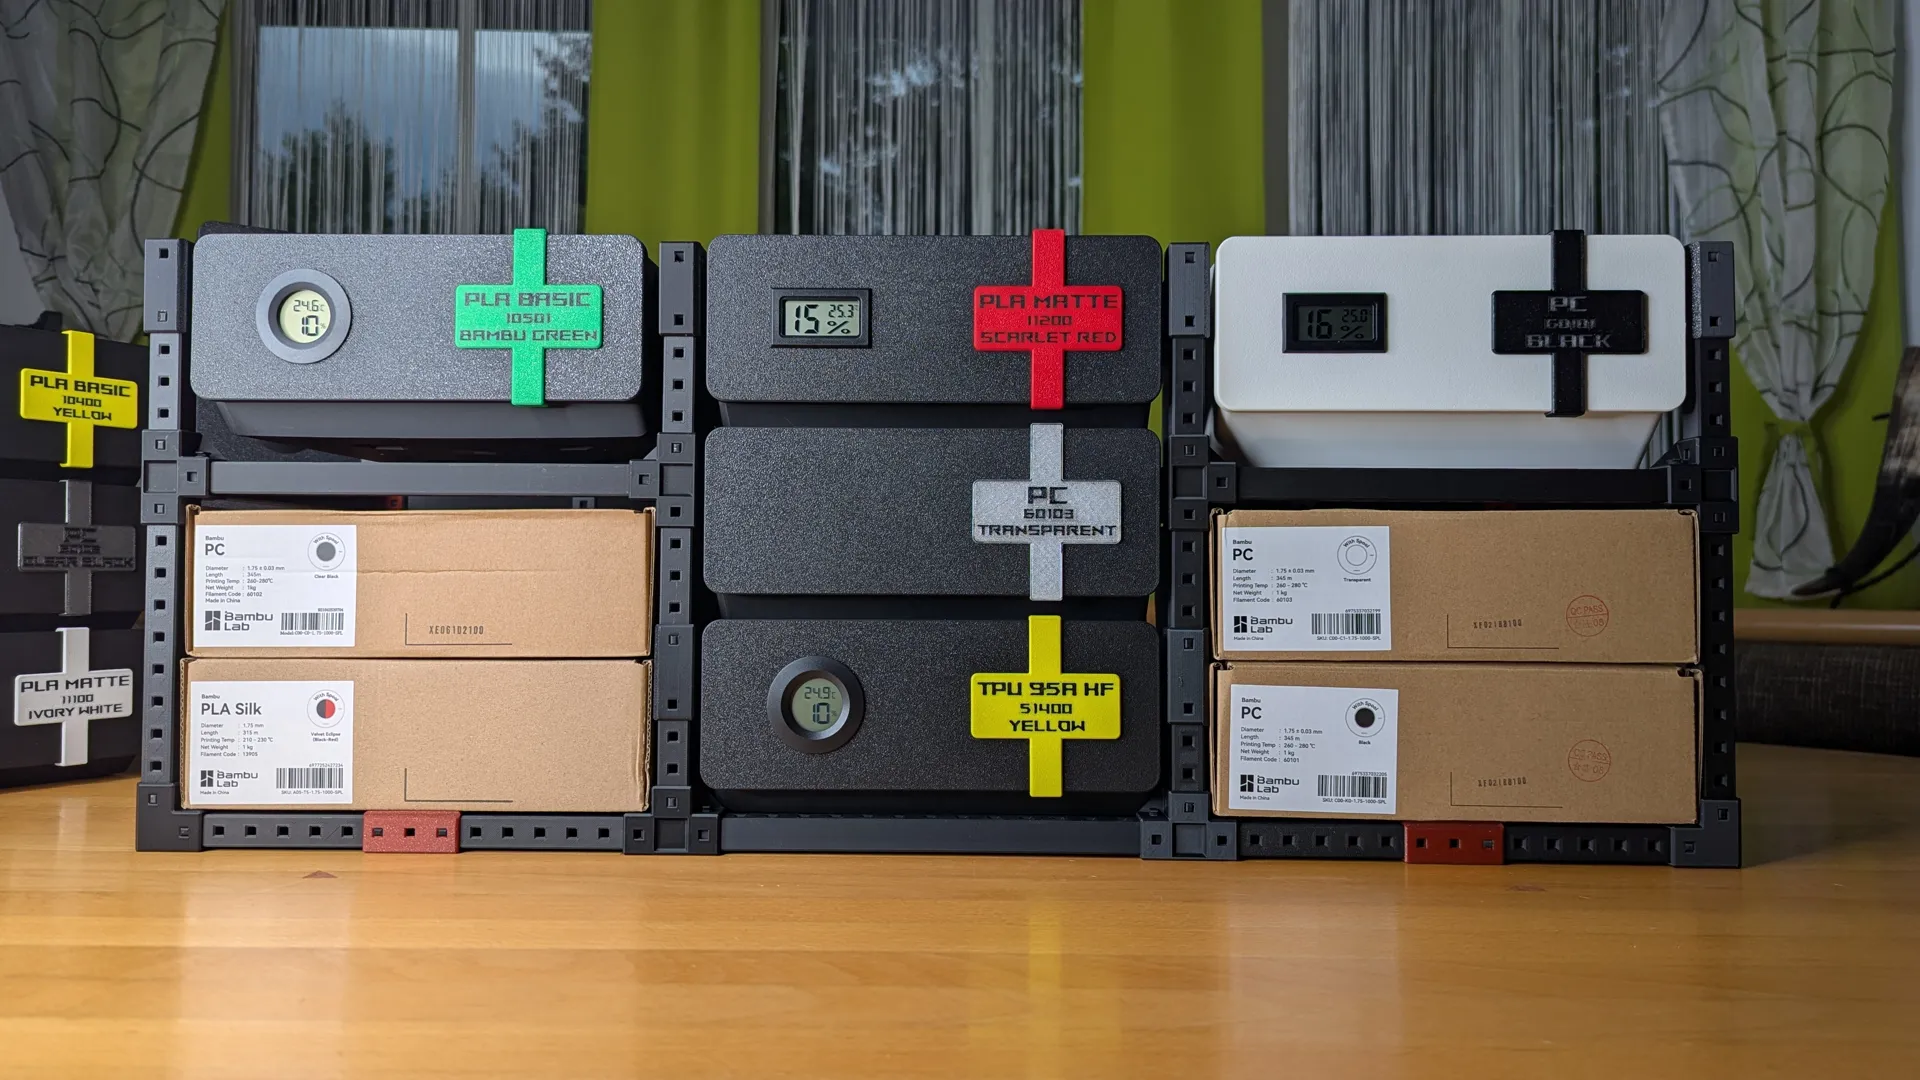
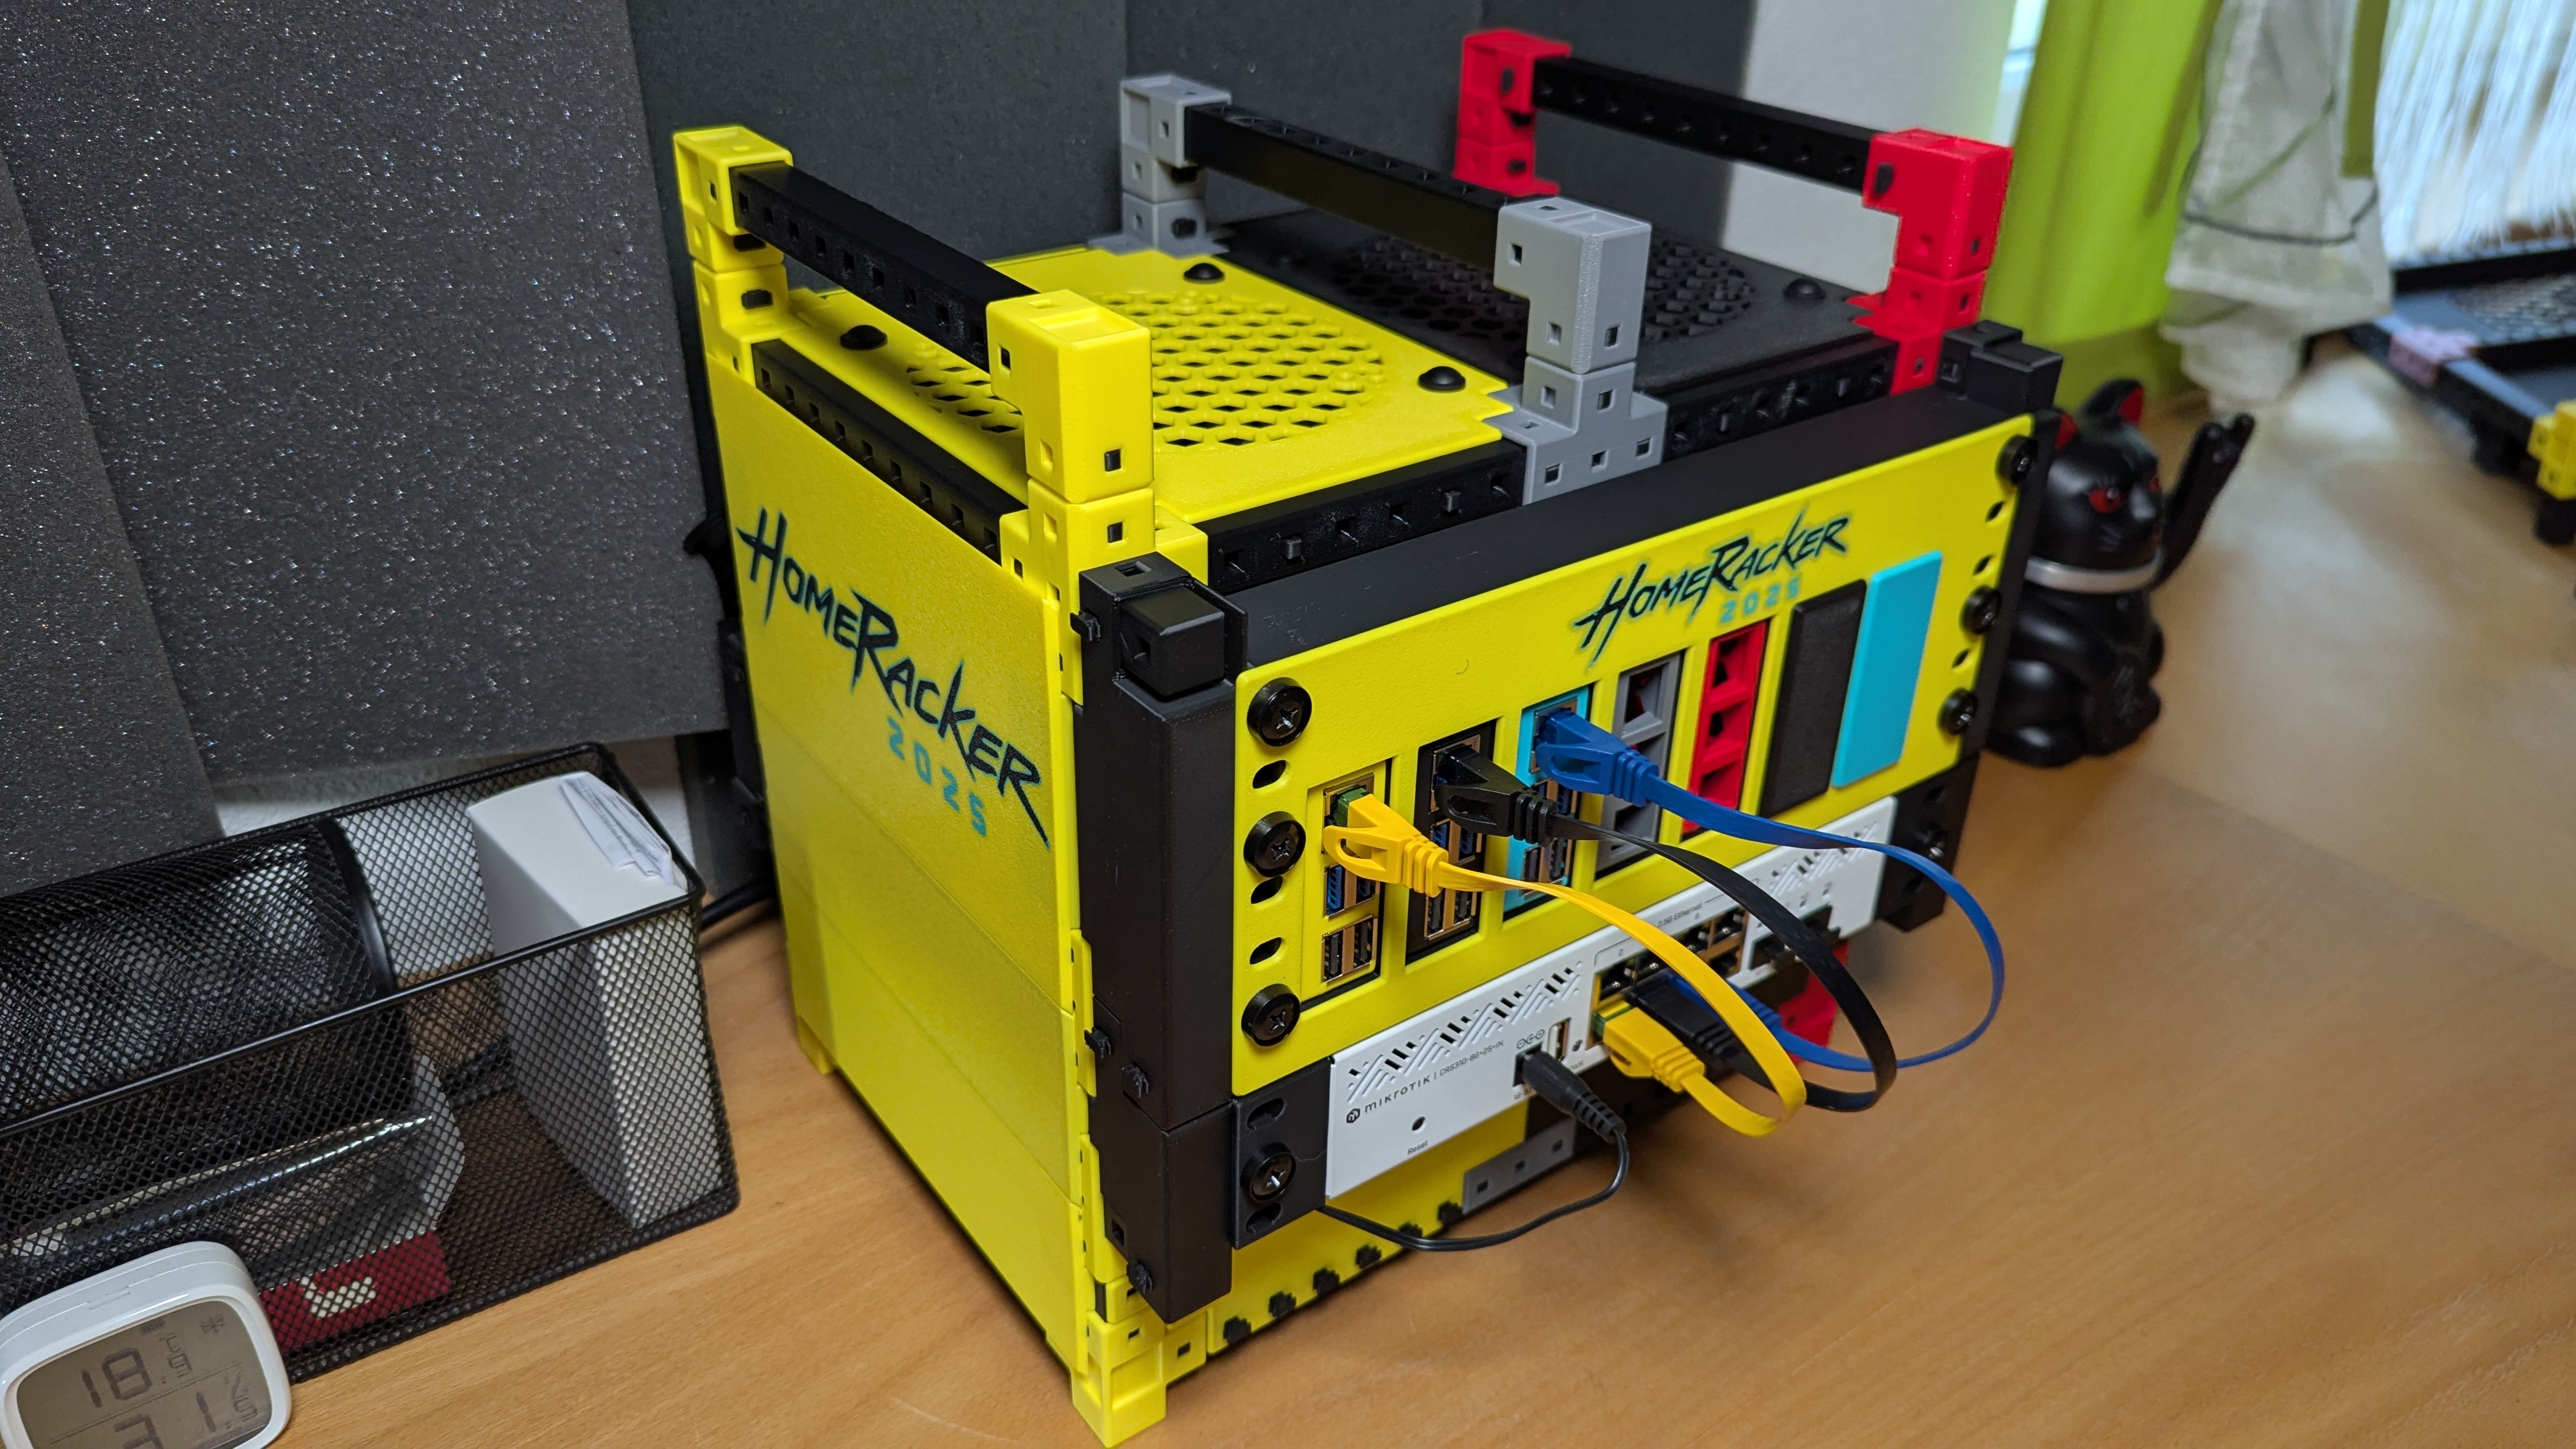
With HomeRacker, you can build all sorts of things—like the Dry Filament Shelf or this 10" Cyberpunk-style rack which you can also find on Makerworld. Check it out!
What's in the Box??
The included print profiles are limited to the exact builds shown in the pictures—plus a bunch of lock pins.
Because they’re complex, the profiles only include necessary parts.
If you want to create your own build with custom rack sizes, I’ve added extra files to the folder Parts:
- 4 rackmount variants (1U–4U)
- 19" support extender f3d: Home Racker - 19Inch Extender v14
- Rackmount Kit f3d: HomeRacker - Rackmount Kit 19 inch v49
What's missing?
The rack frame itself isn’t included in this model (only selected parts).
To build a complete setup or get extra connectors/supports, download the full:
Feedback & Disclaimer
Please let me know what you think!
This build has a lot of parts, so there’s a chance something’s missing from the print profiles.
If you notice anything, check the Core Model or let me know - I’ll fix it asap.
Community Driven
Many of you have already shared great ideas with me — thank you! Unfortunately, my time is very limited. That's why I created the open specification (see Technical Specs), so anyone can create extensions and models for HomeRacker without license restrictions. If you have an idea and the ability to design CAD models, please go ahead — I'd be happy to link your creations in the catalog!
If you're not familiar with CAD design, feel free to pitch your idea to me with as much detail as possible.
Check out the glorious
Community Catalog
Pitch ideas or vote for them
here on GitHub!
Join the
Support
If you appreciate this model and wanna buy me coffee, you can do so here: [https://ko-fi.com/kellervater](https://ko-fi.com/kellervater)
Or simply scan this QR-Code:
Changelog
[2025-12-11]
- ✨ Added 5HU step file
[2025-06-09]
- 🎉 Initial Release upon Community Request - Note this is only a proof-of-concept