Você está no 3DFinder
Buscamos em Thingiverse, MakerWorld e Printables ao mesmo tempo para te dar o melhor de cada uma.
Descrição
My cat's like to use the balcony, but the bug screen tends to be in their way. I've designed this cat flap that can be mounted on your bug screen to allow your cats to enter/exit. While functional it also hides any screws to keep it visually appealing.
It uses two 608zz bearings to allow the flap to swing smoothly and has place for two optional magnets (glue them in place) to help the flap stay closed. 9 self tapping 3x12 screws are required for mounting the cat flap on your bug screen (you could probably also use 9 M3x12 screws, but i haven't tested that).
See the bill of materials for everything you need. I've added maker's supply magnets, but personally I've used magnets from some other store (so if they don't properly fit let me know!). You will also need a small sharp knife for cutting the screen, H2 bit/hex key/screwdriver and glue for mounting the magnets. Also: my bug screens use a thicker pet safe material, but I expect a regular screens to work just a well (probably even better).
Installation
| Step | Photo |
|---|---|
(Optional) Glue one magnet in the hole of “frame top” and one in the hole of the “flap top”. Mind the orientation of the magnets so that they don't repel each other.
Push the magnets all the way down. | 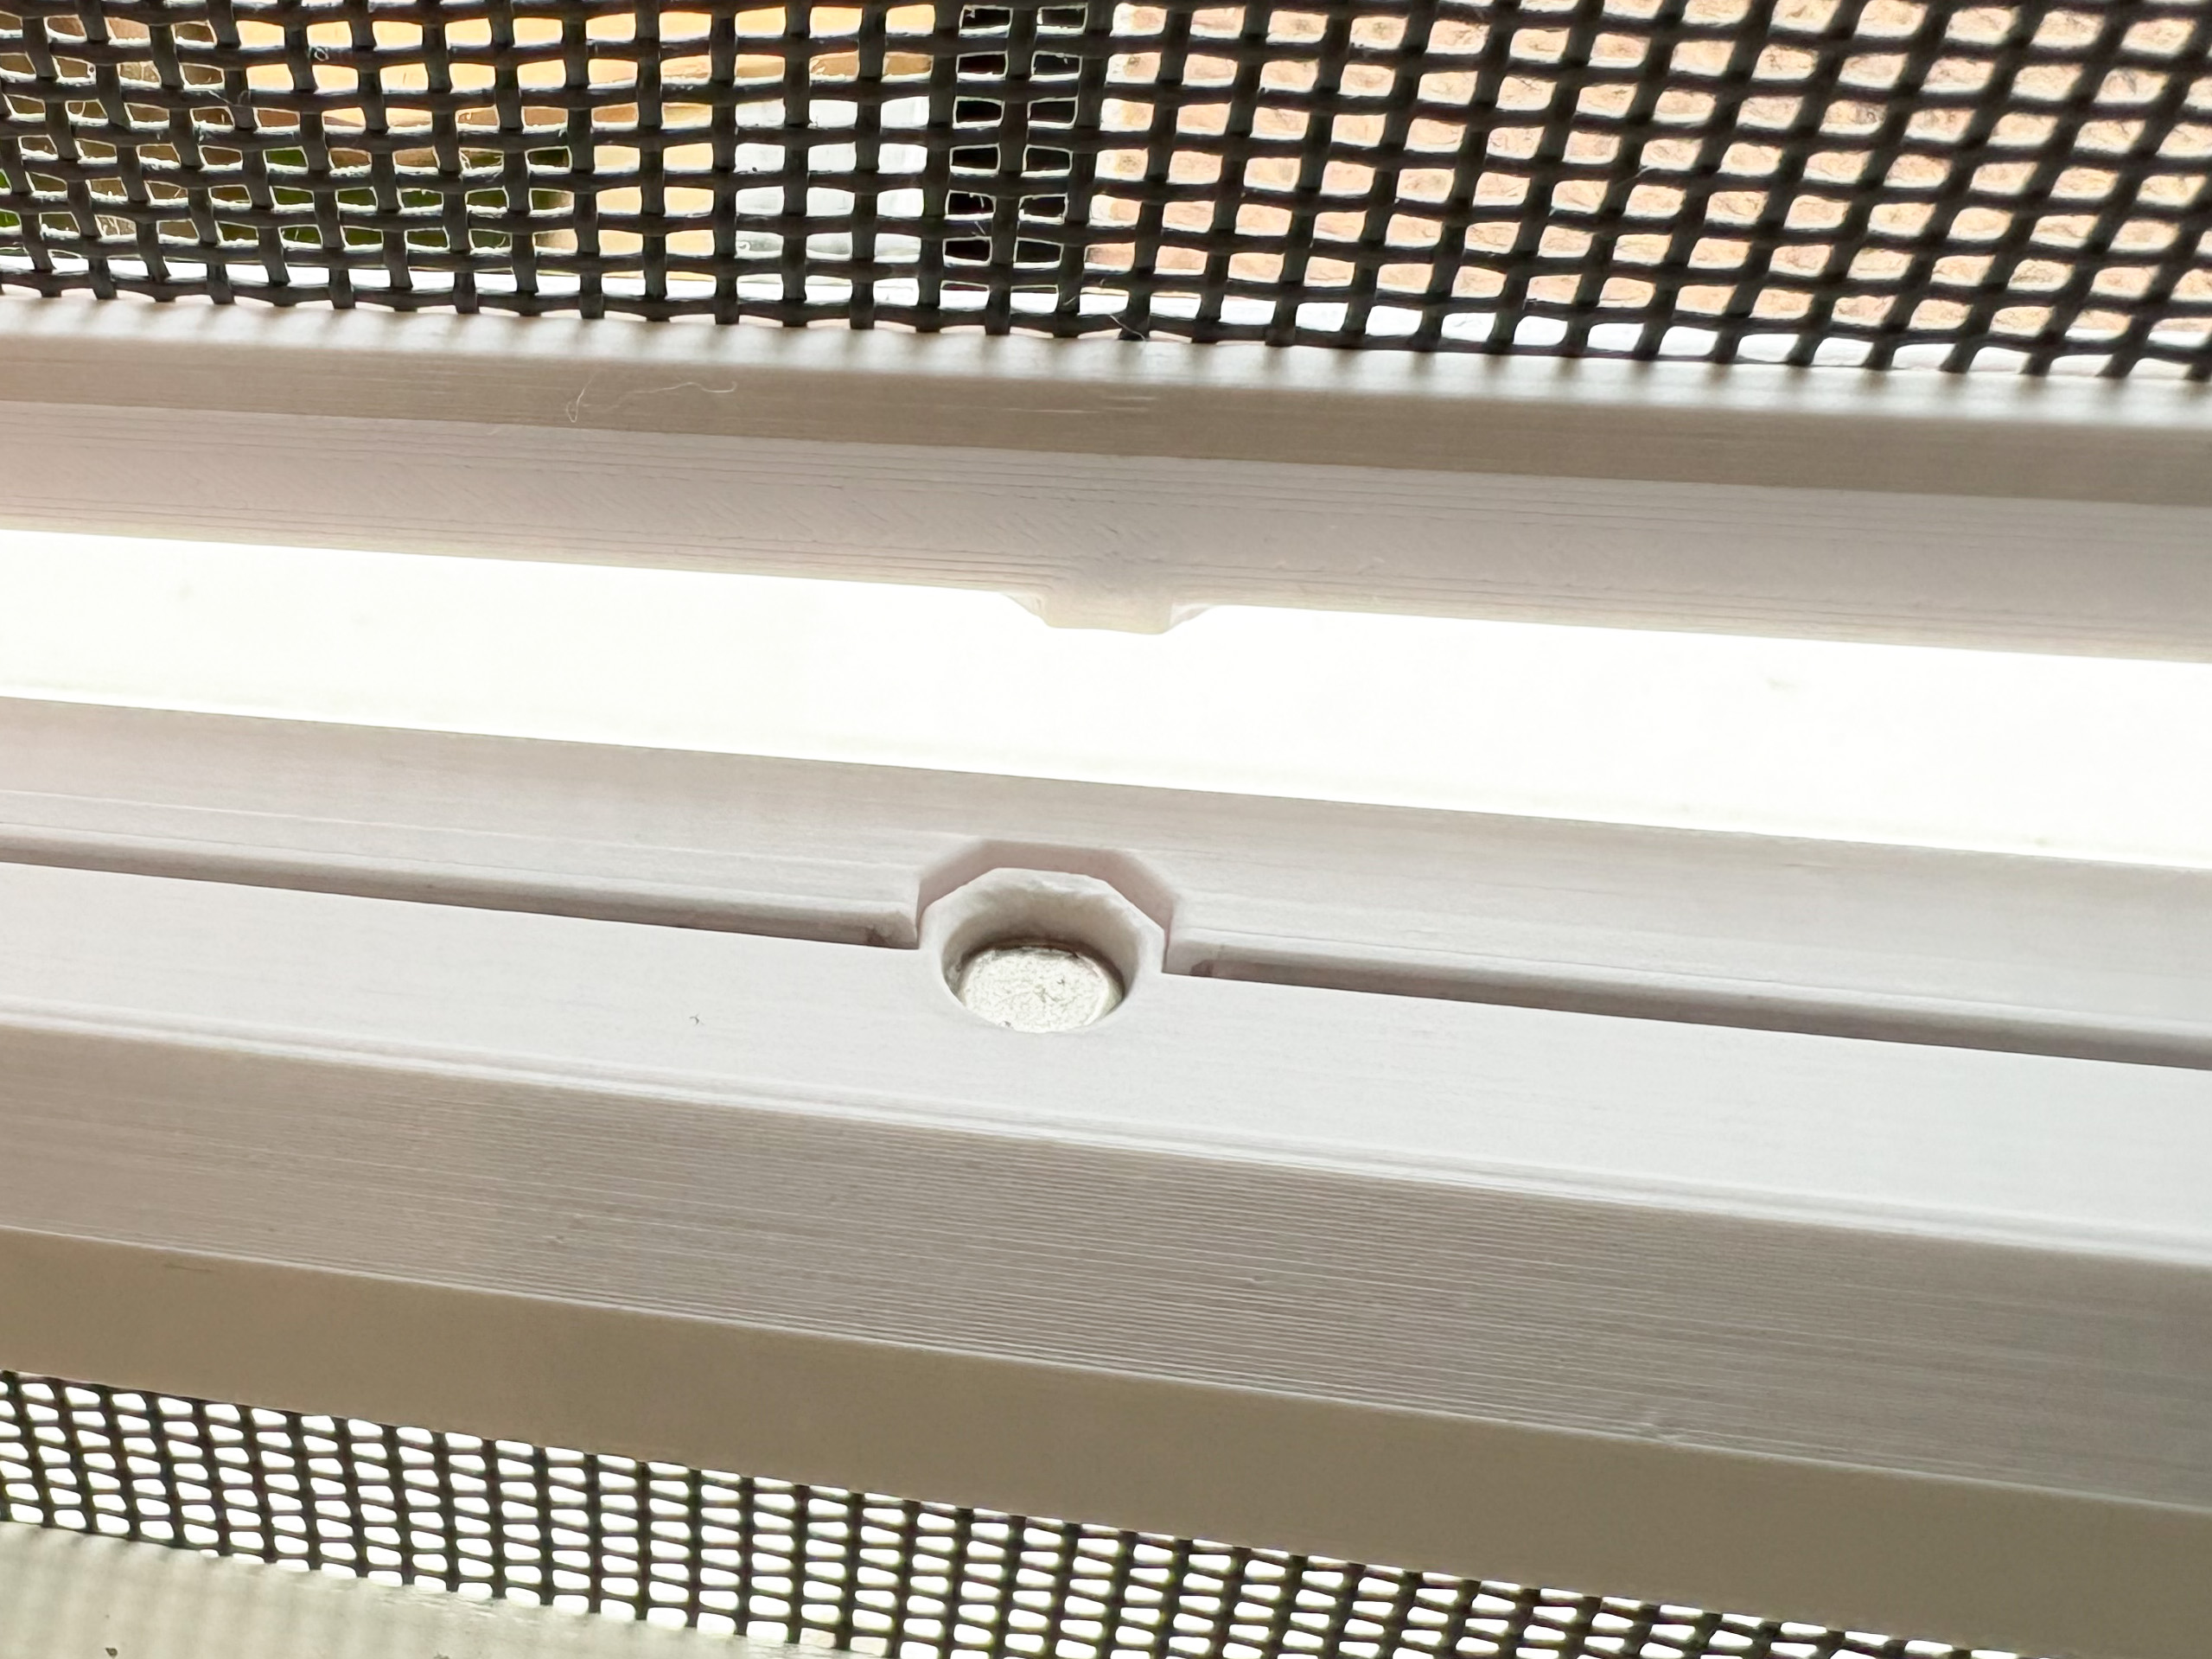 |
| Align the “frame bottom” on your screen. Working flat on the ground is probably your best option. | 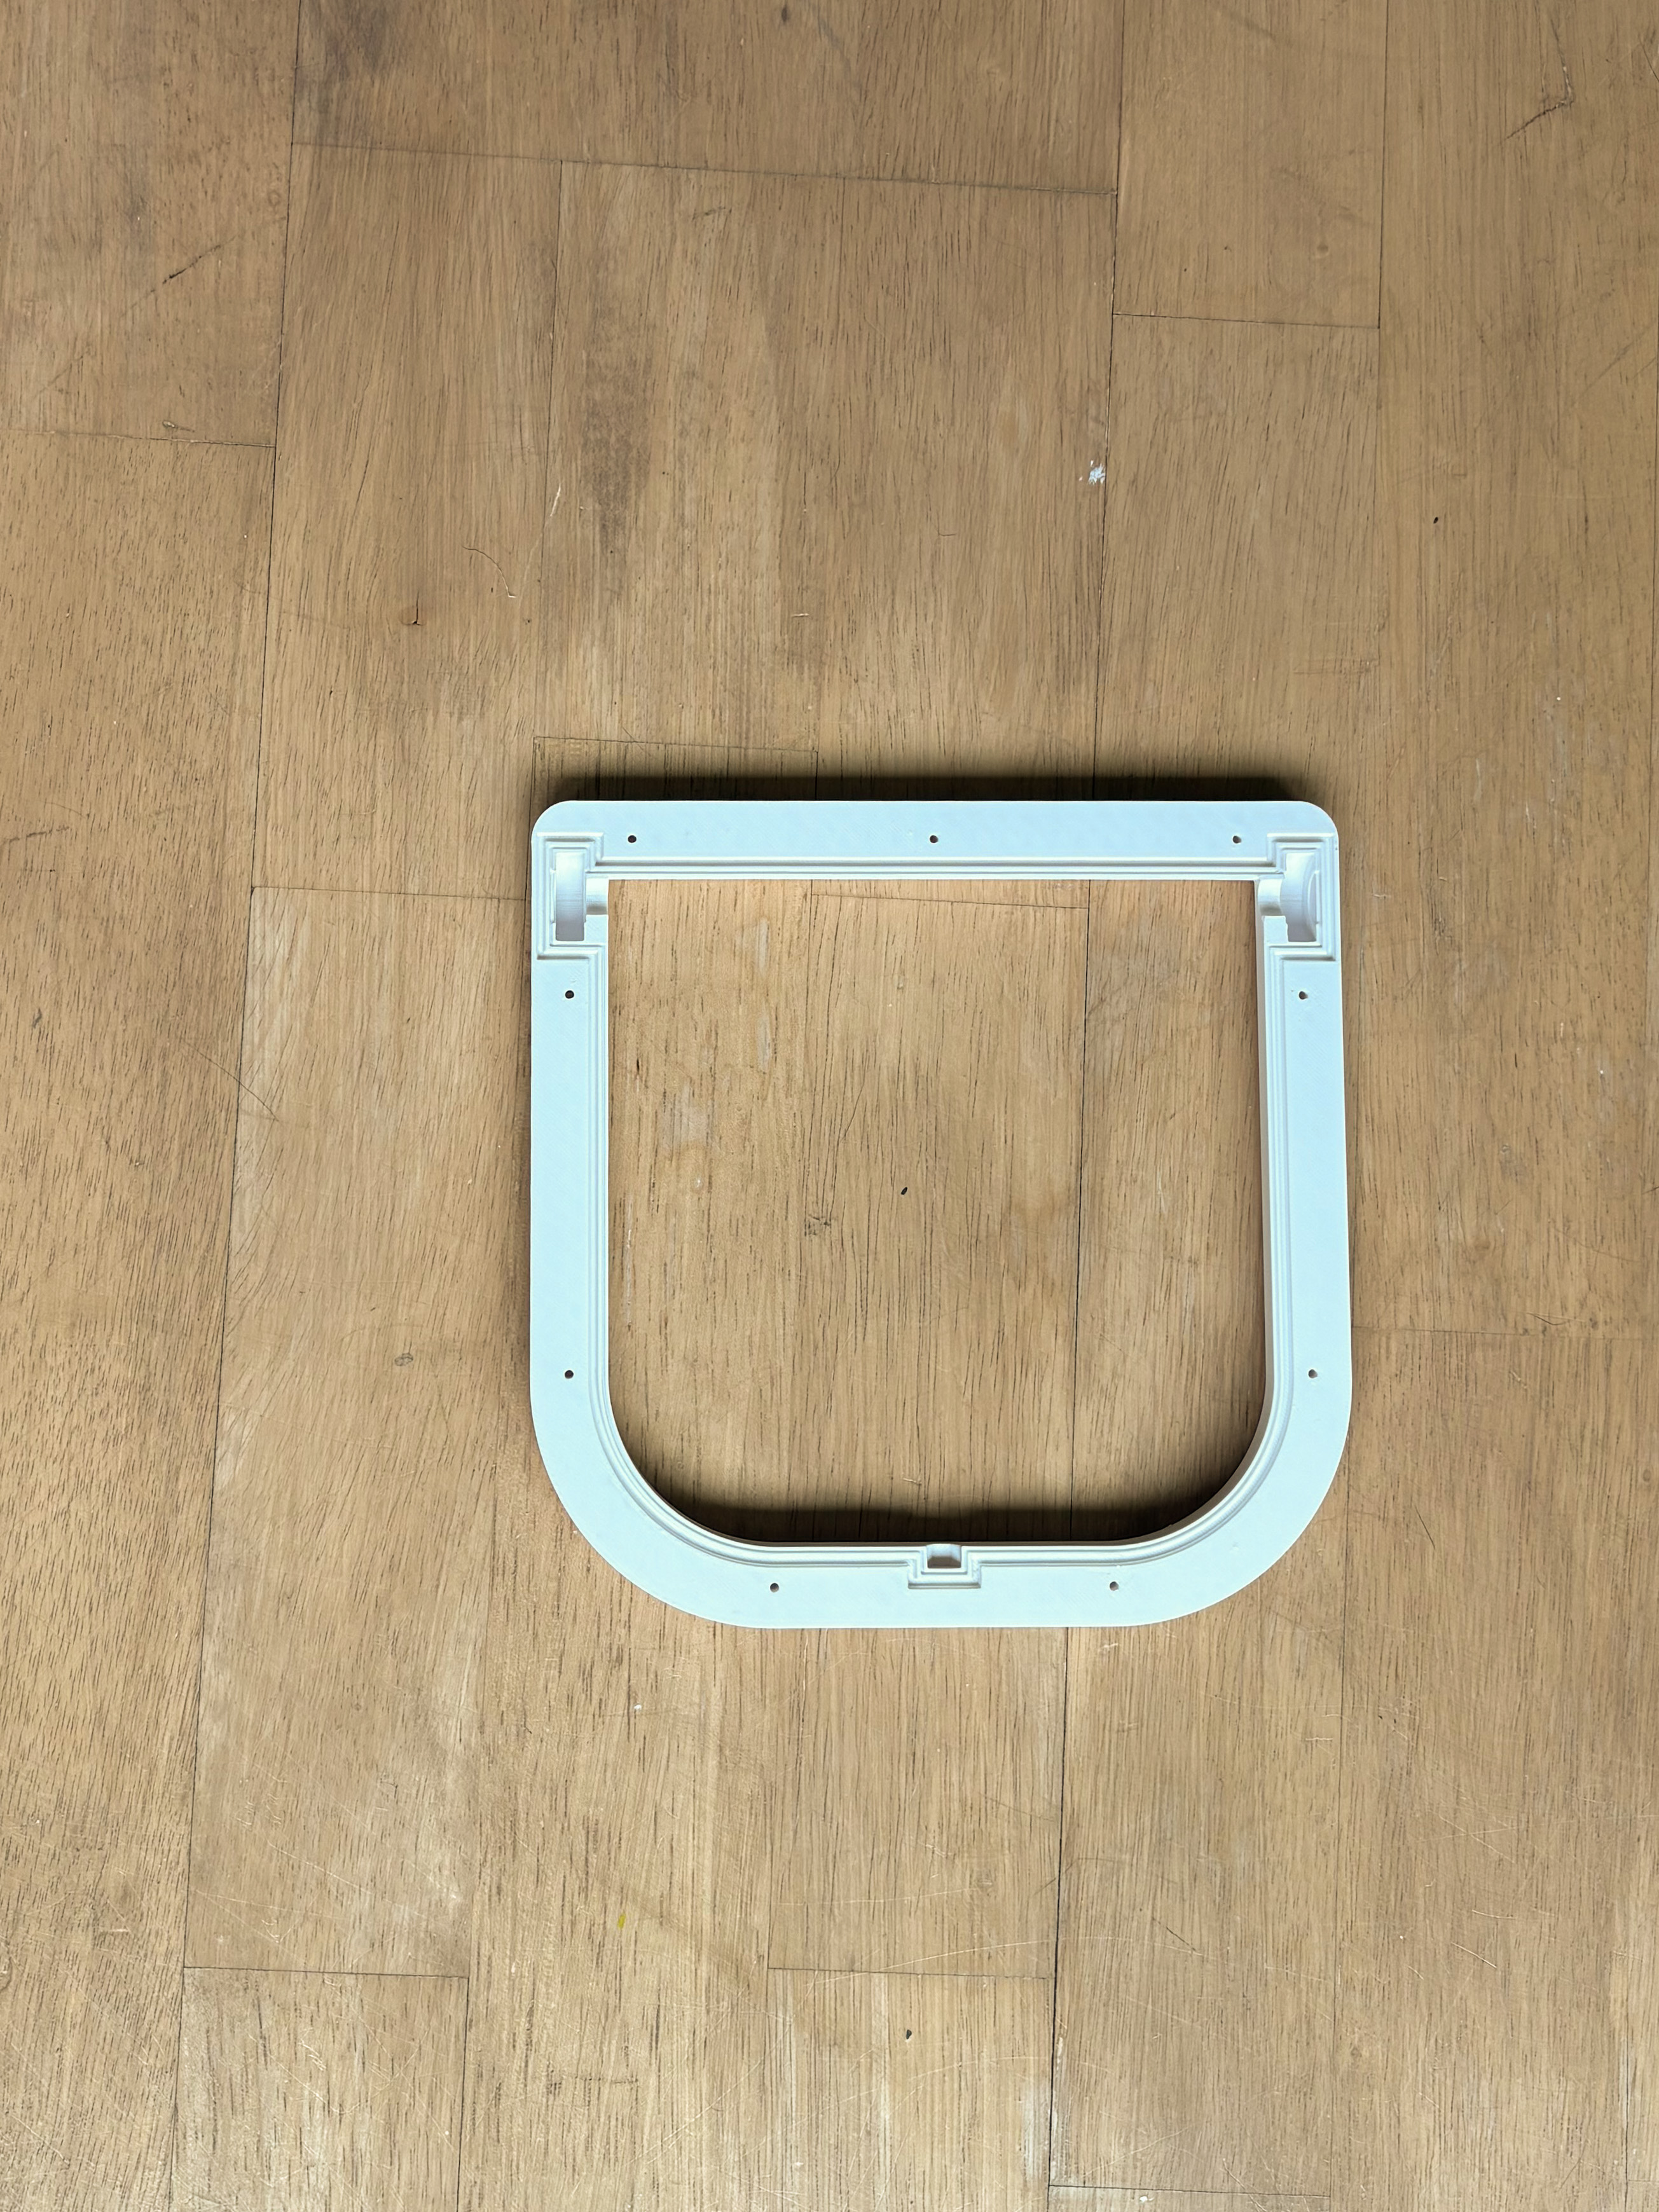 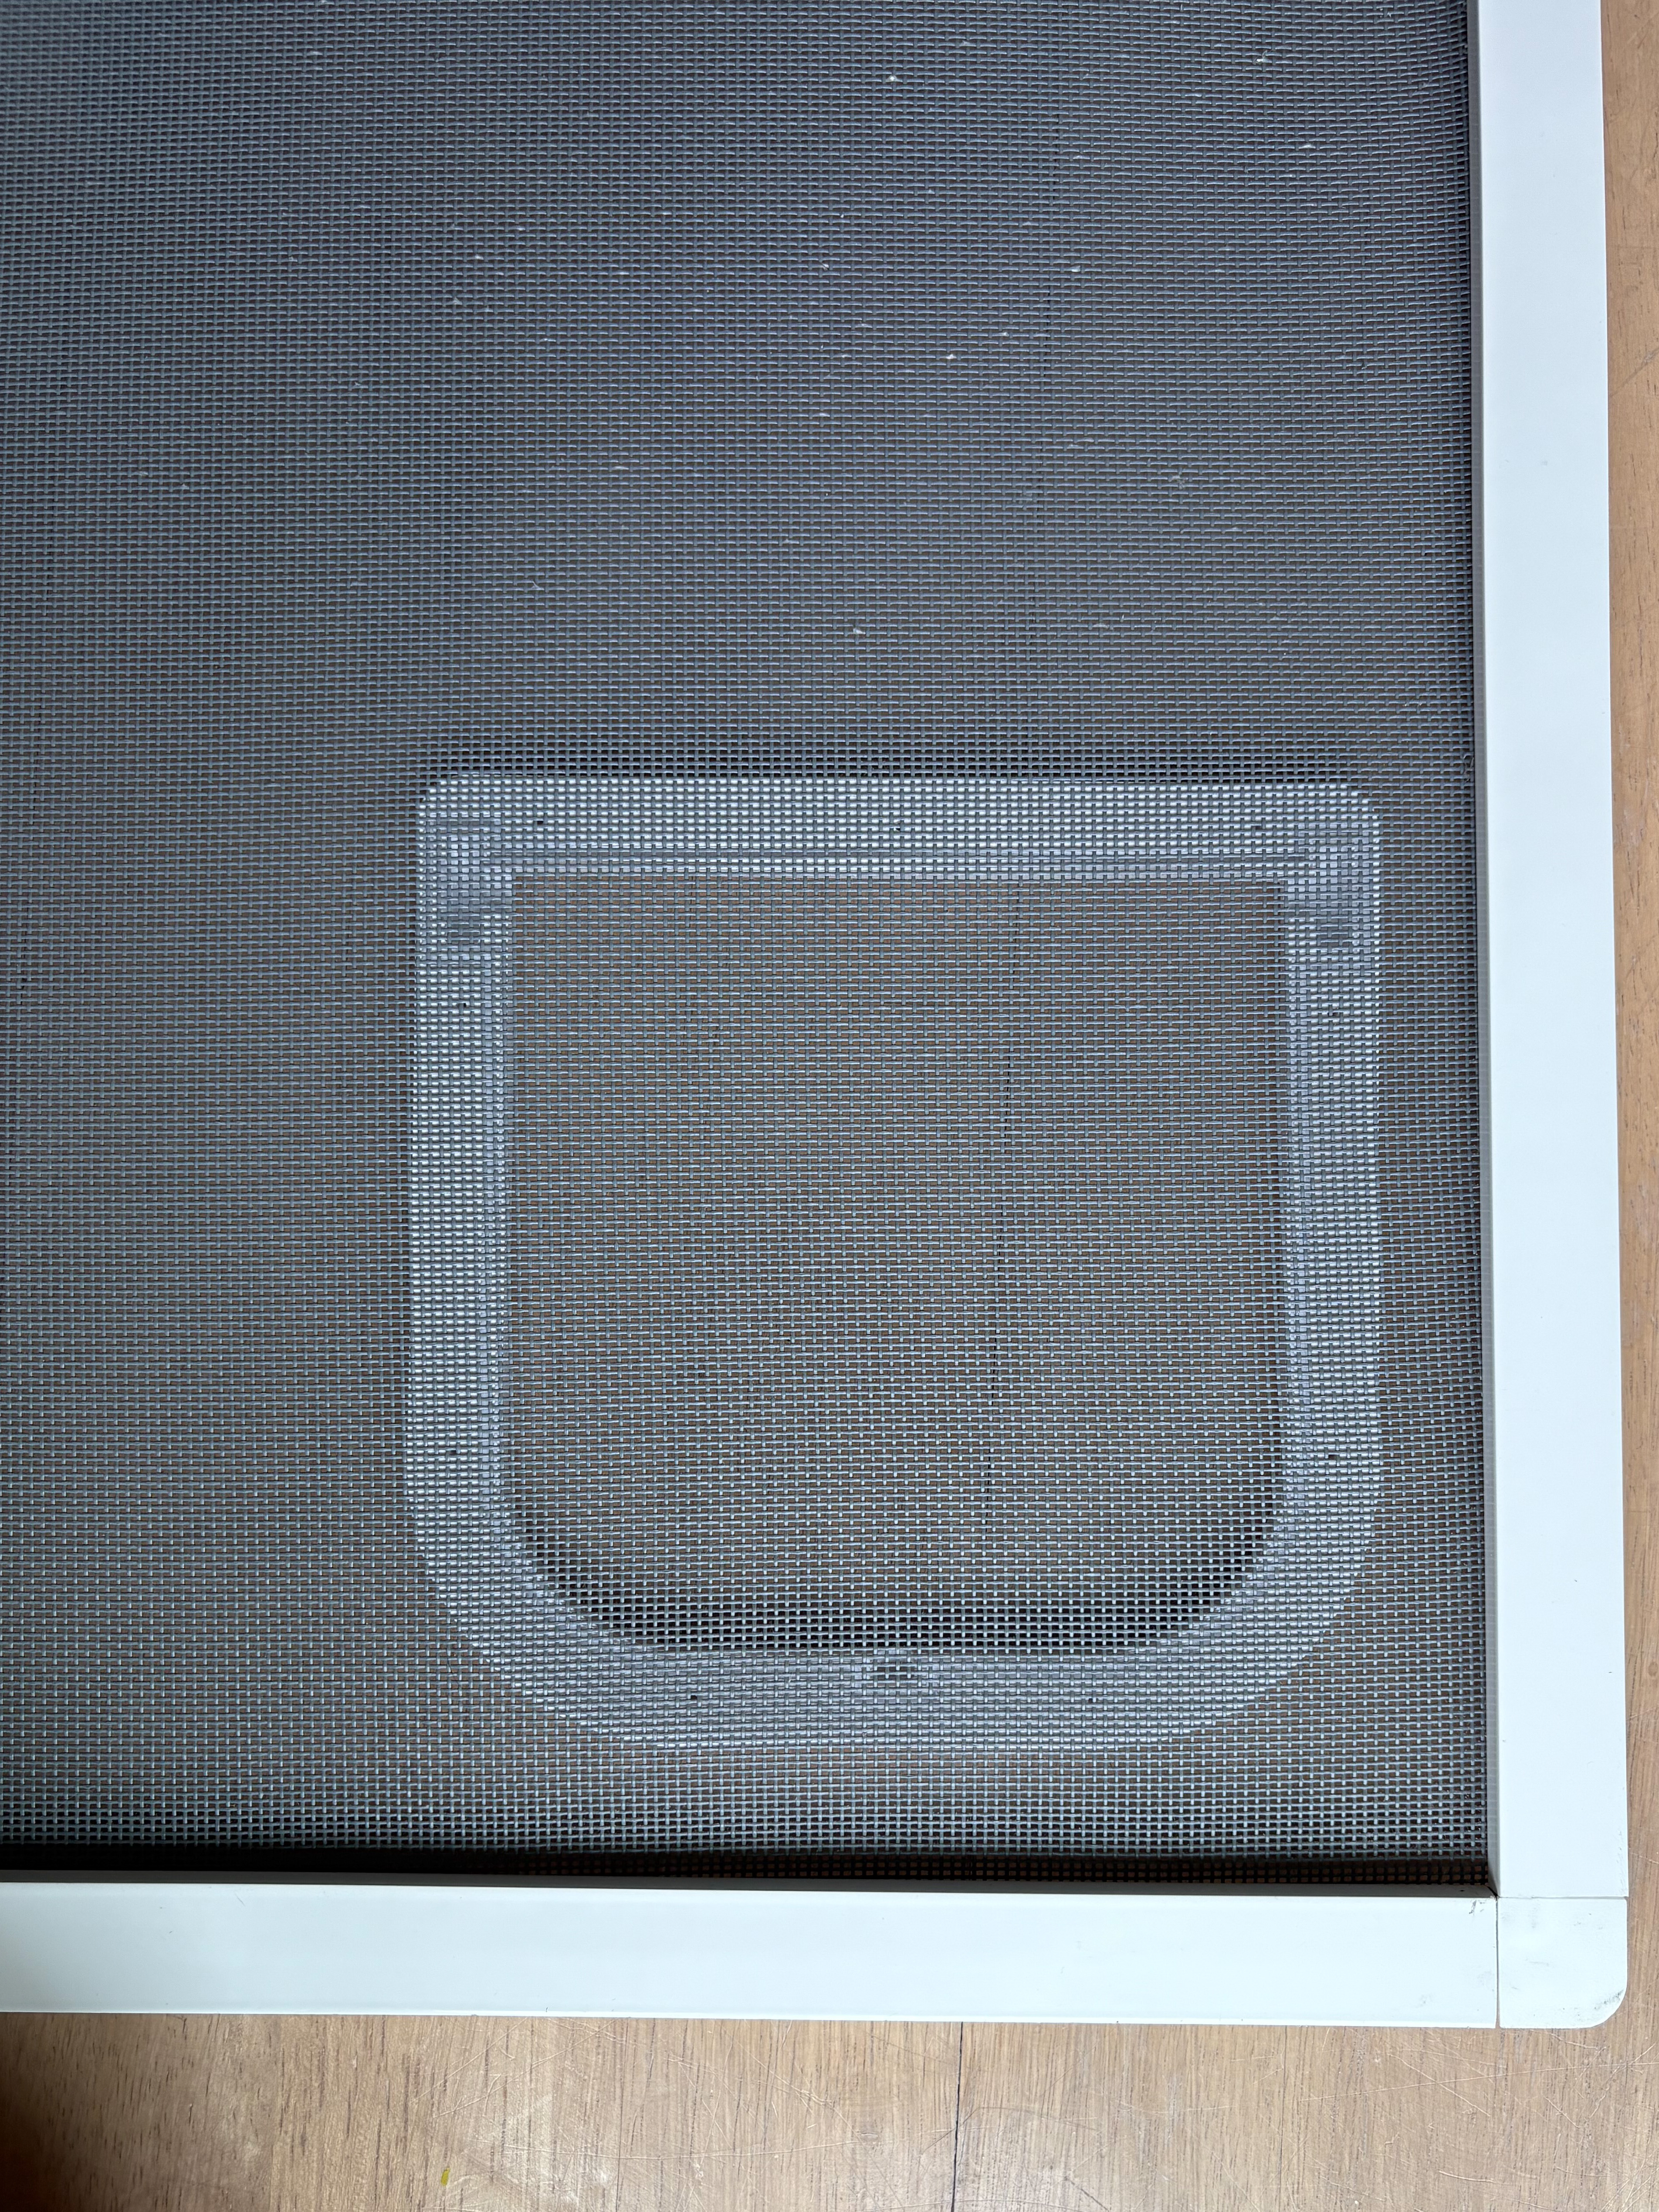 |
Place one 3x12 self tapping screw into the top center hole of the “frame inner”. Align this with the top center hole of the “frame bottom” and screw it trough your screen into the bottom frame.
Don't fully tighten the screw just yet. | 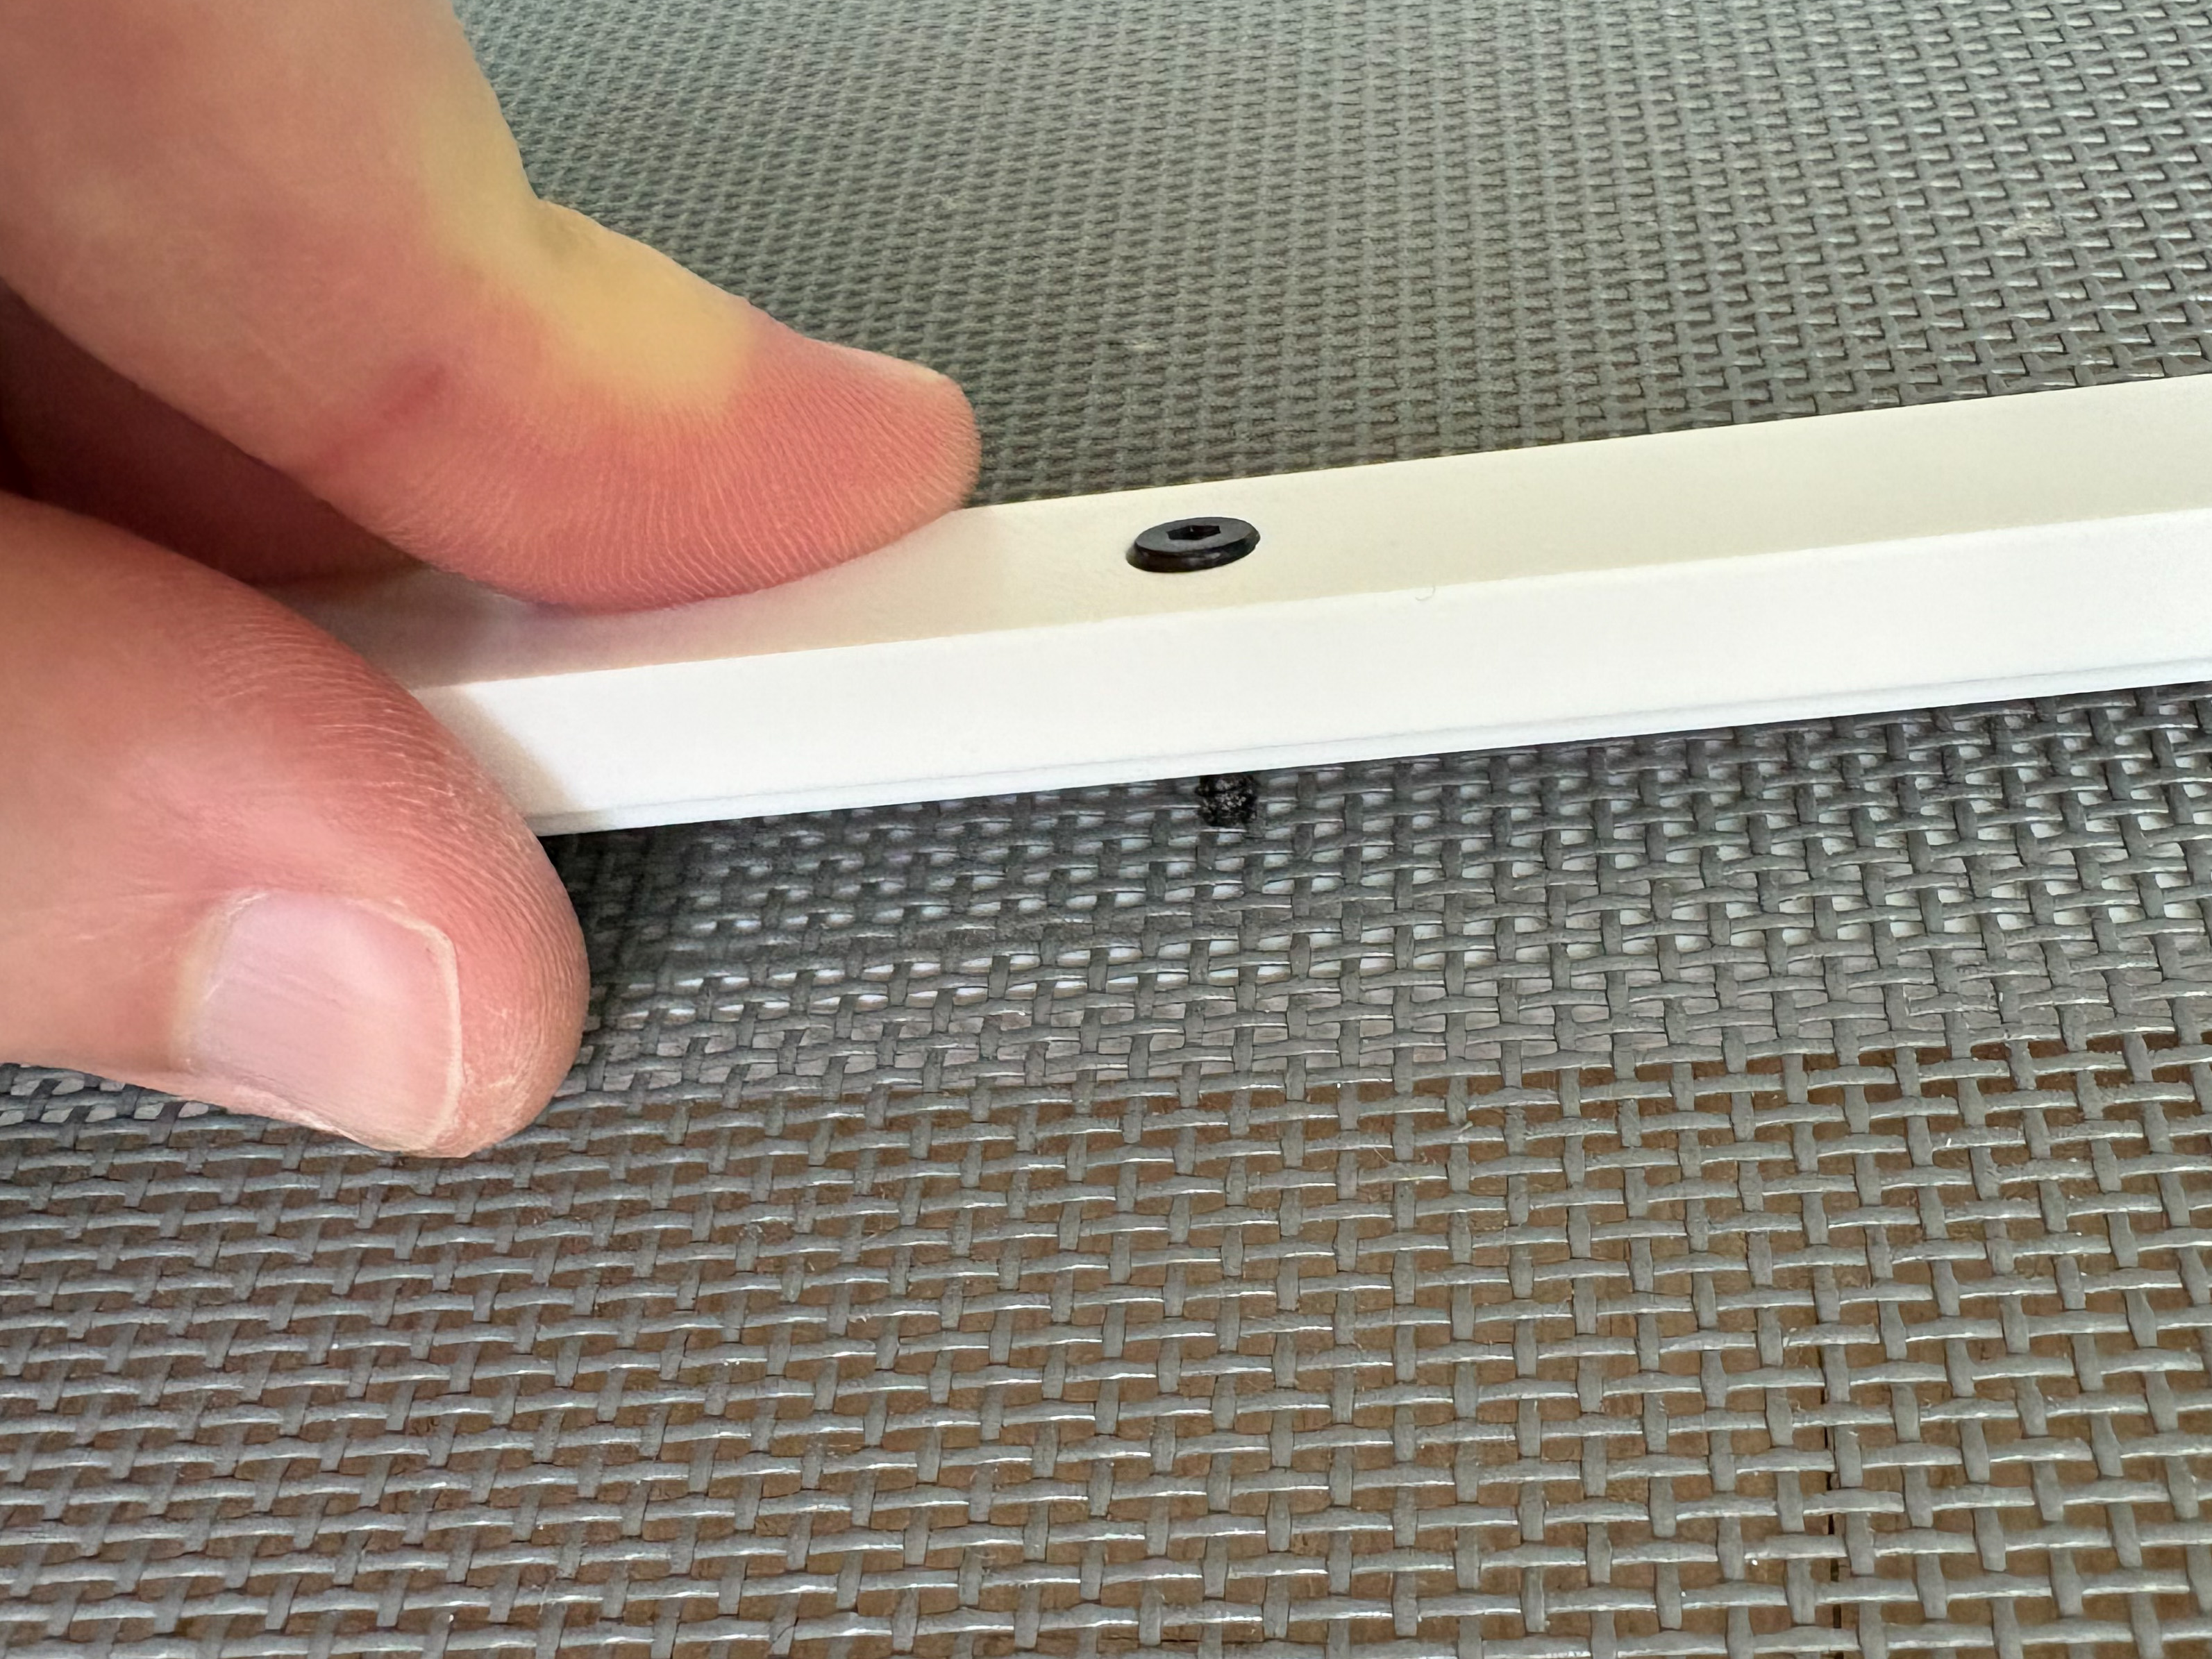 |
Make sure that “frame inner” and “frame bottom” are properly aligned. Add more screws and screw them down.
Work in a cross pattern and still don't fully tighten the screws. | 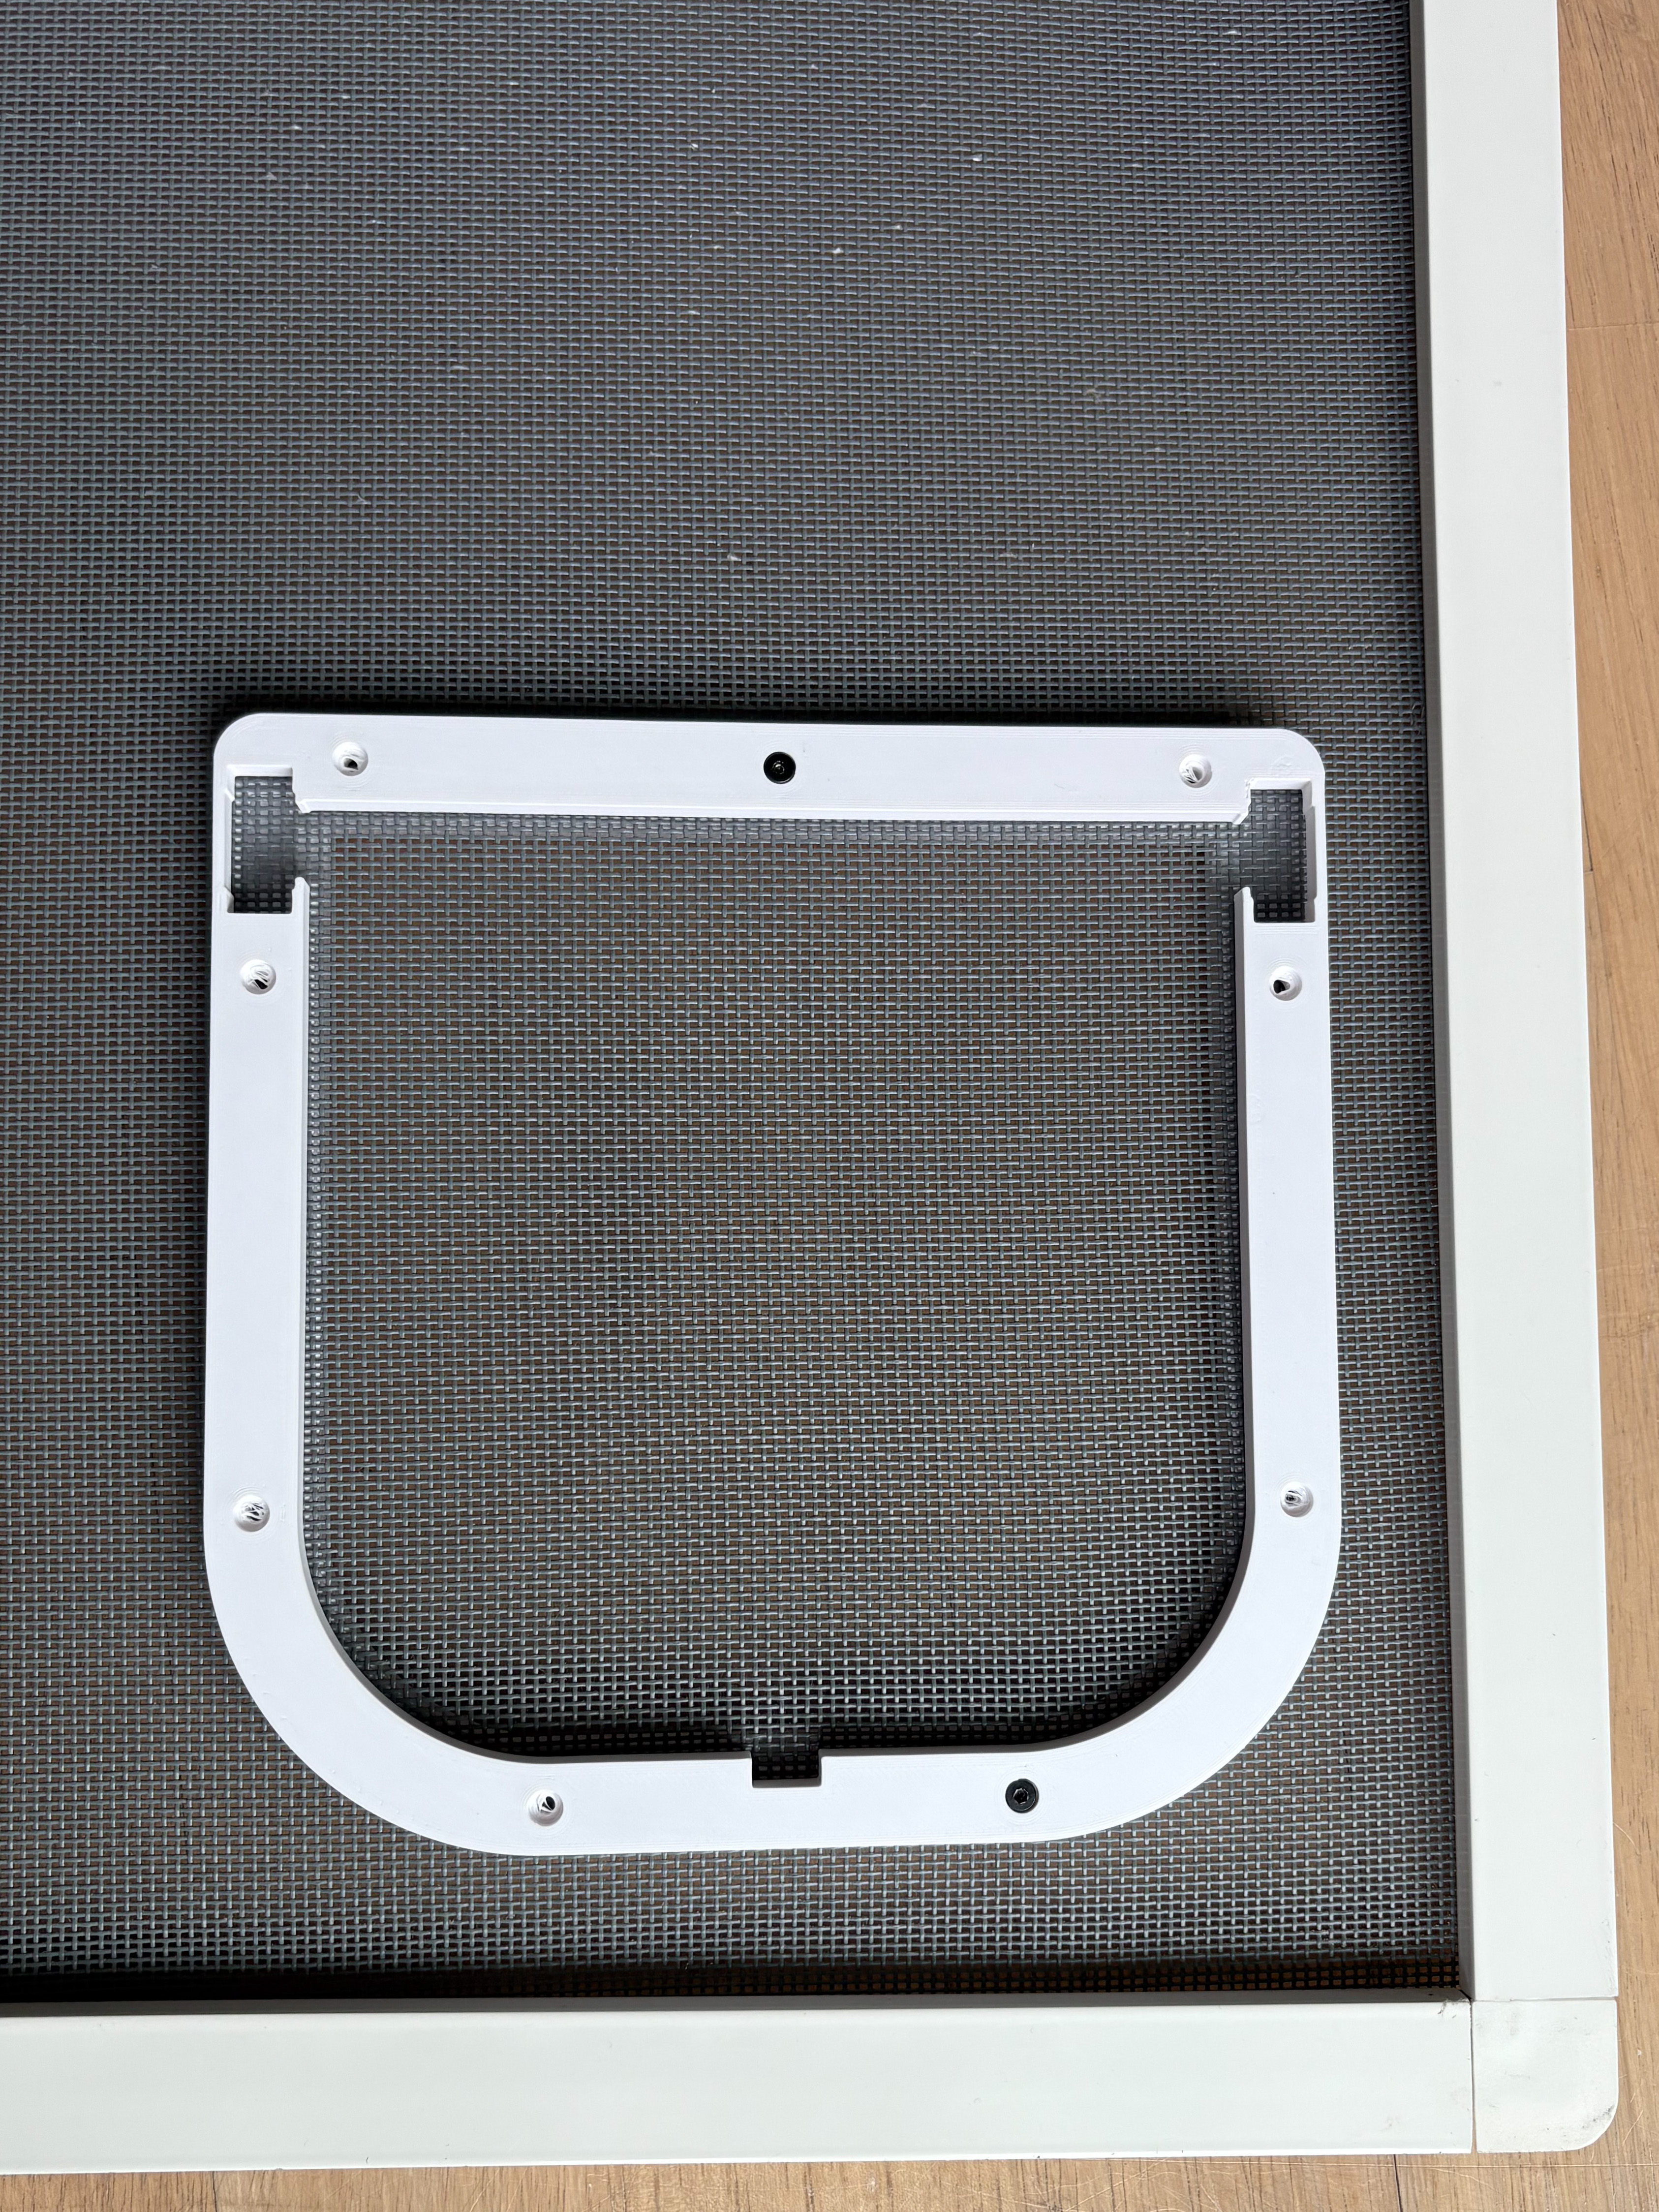 |
When you've added all screws tighten (in a cross pattern) all screws so that “frame bottom” and “frame inner” tightly clamp onto the screen.
Don't over tighten the screws or you might break the frame or strip a screw hole. | 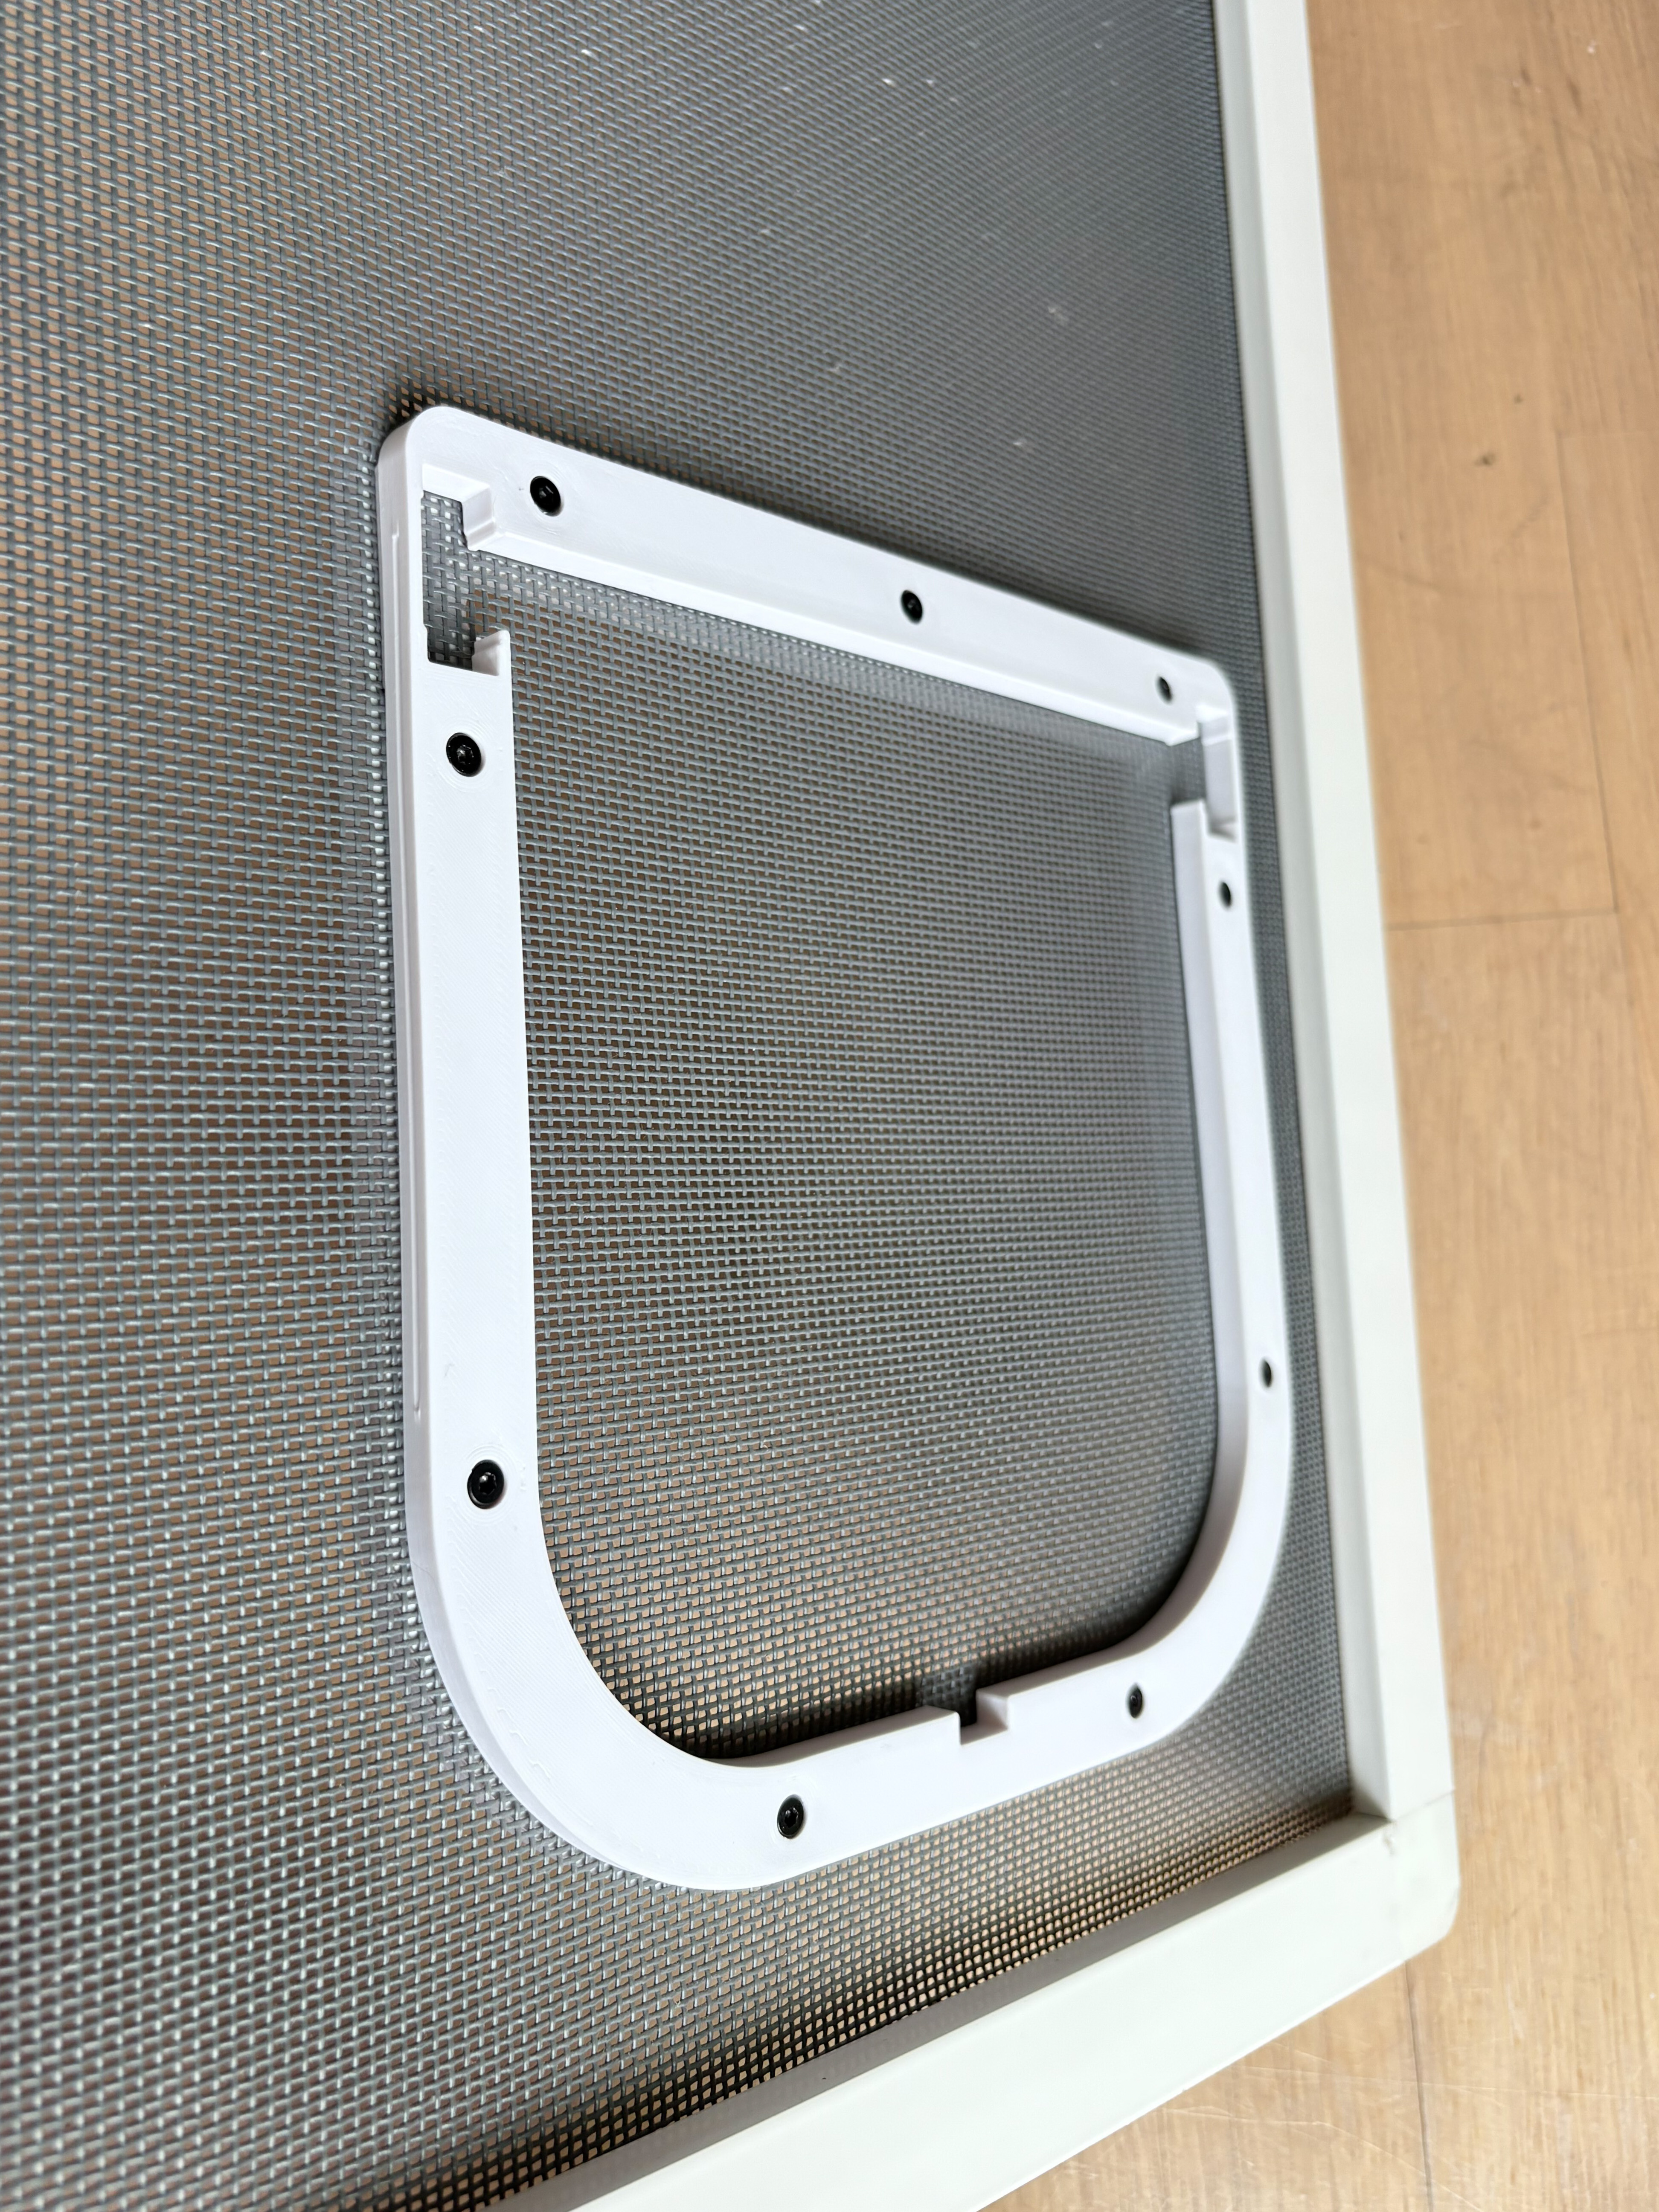 |
Using a small sharp knife cut out the screen. There are guiding gaps in the frame to help you cut the screen.
Don't damage the center part of the screen since you will need this for the flap, but if you do you can print “flap solid”. | 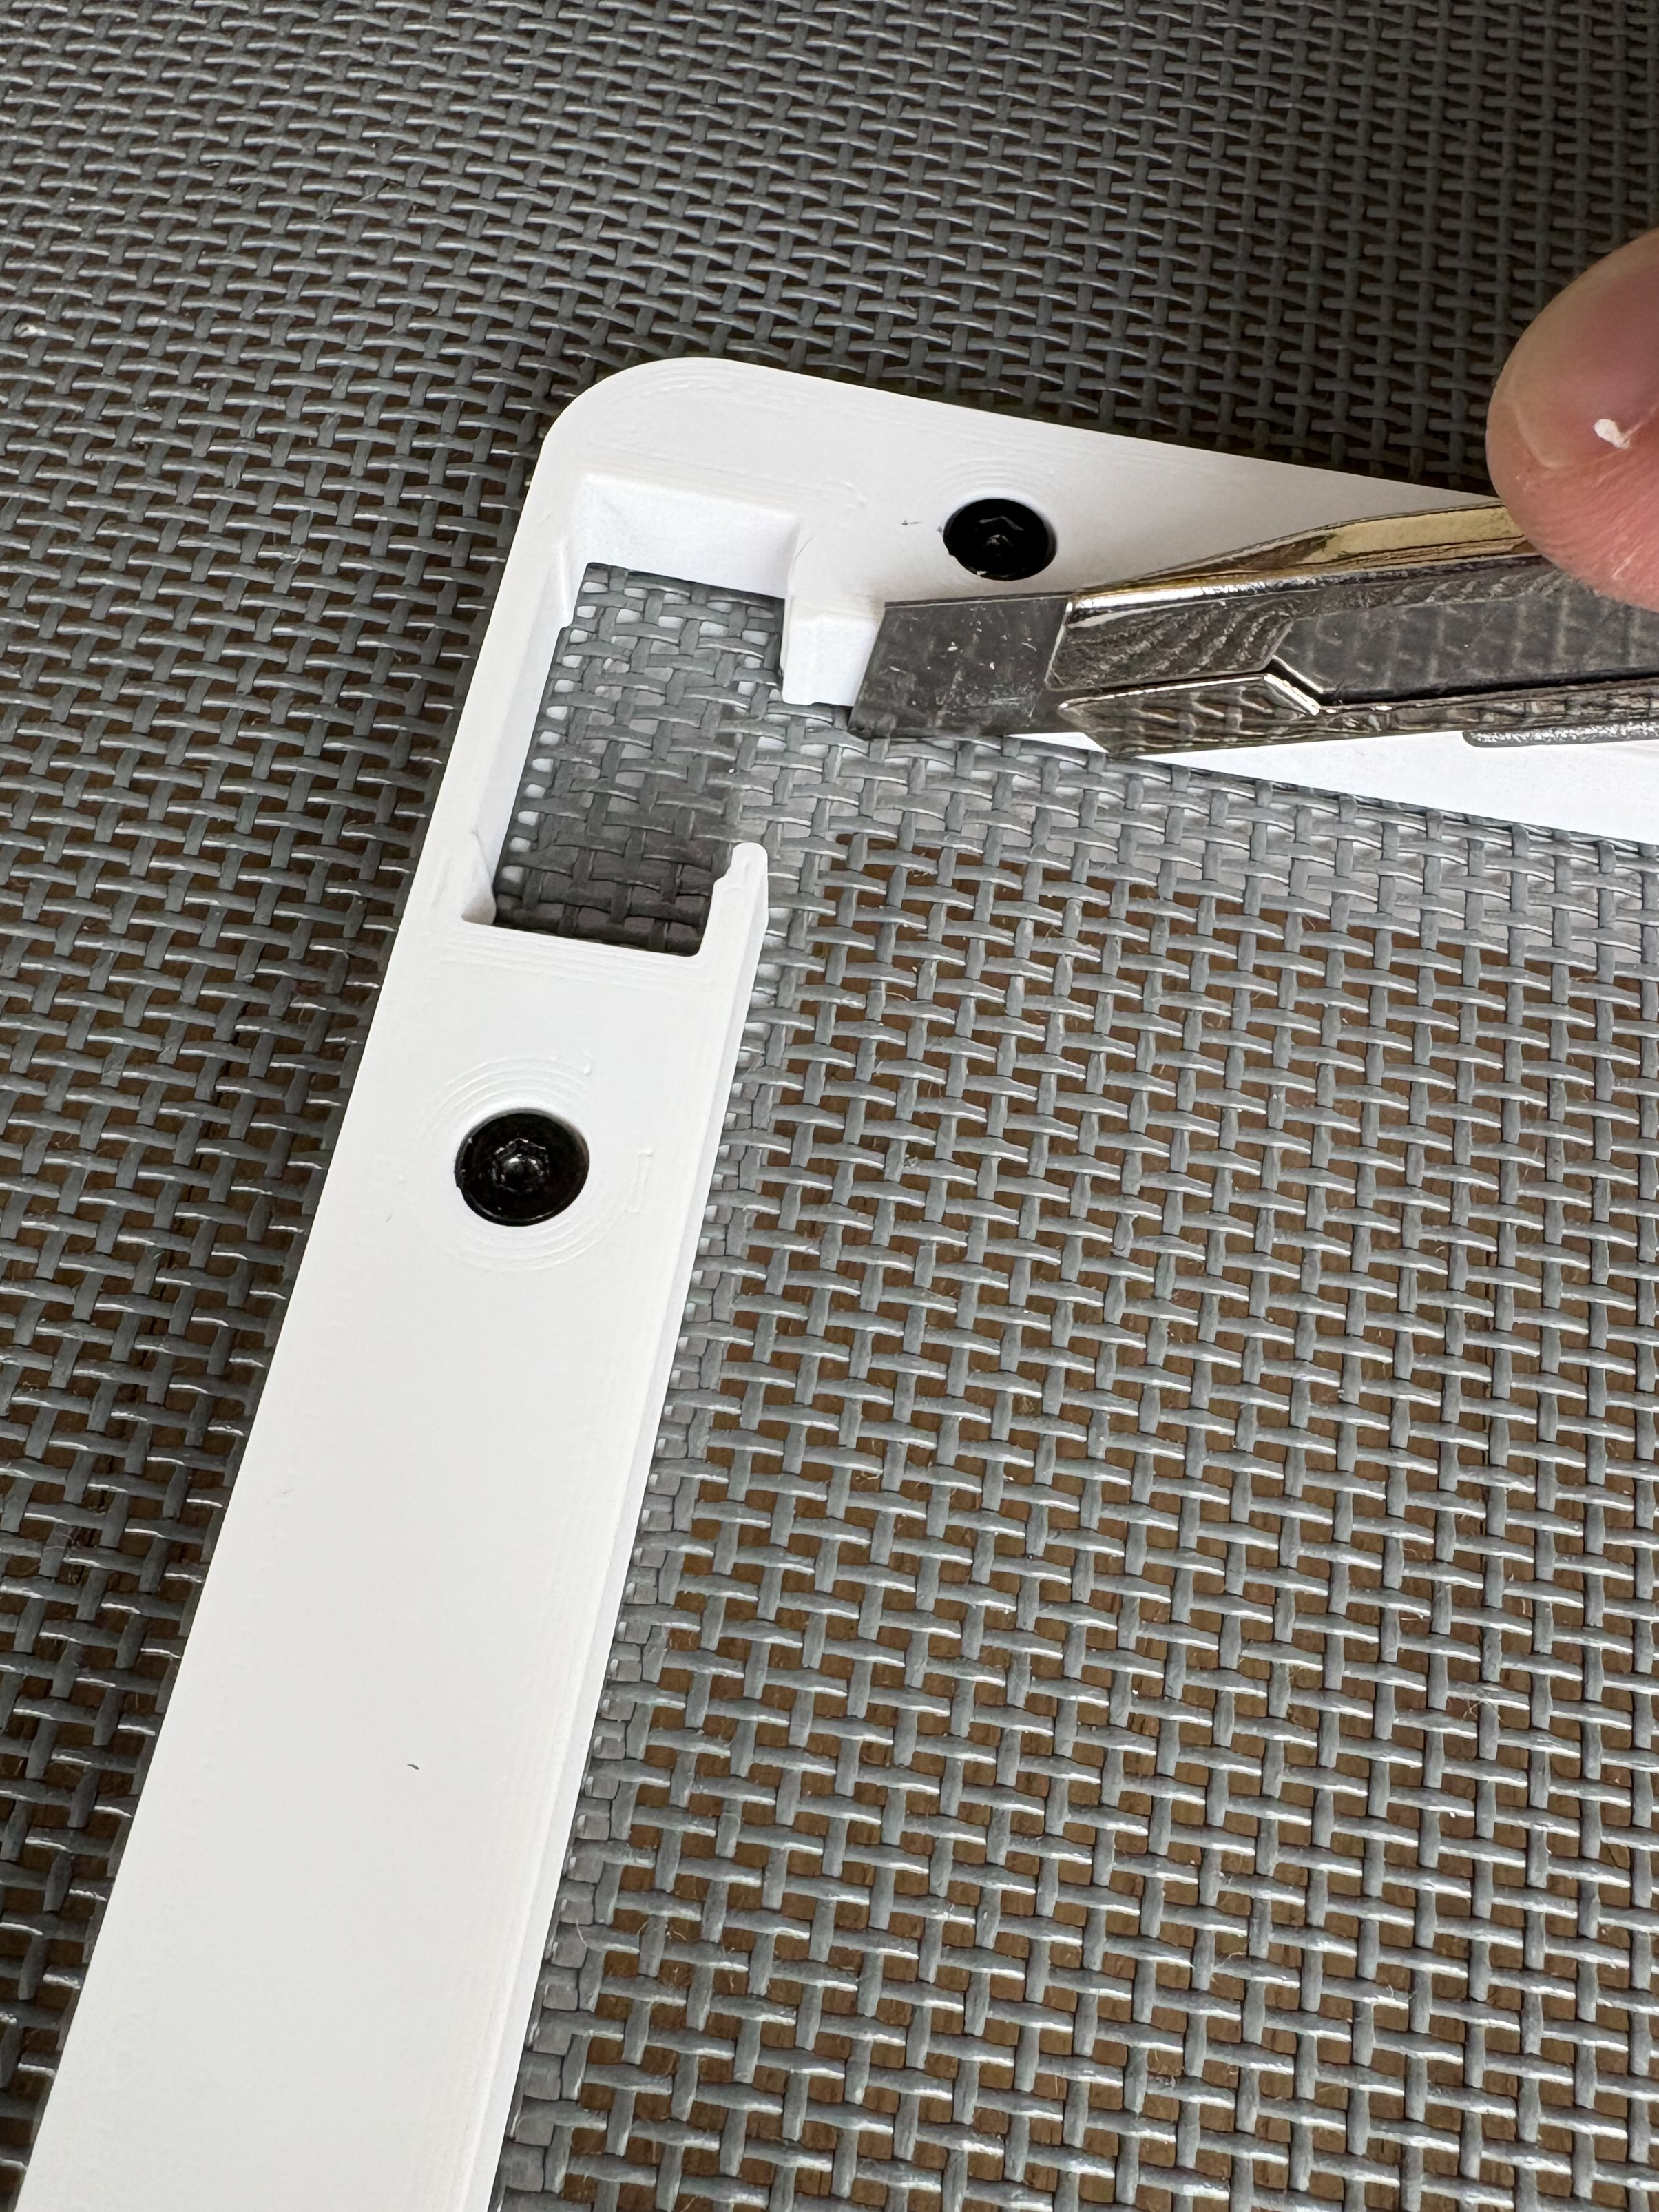 |
| Store the cutout to be used for the flap. | 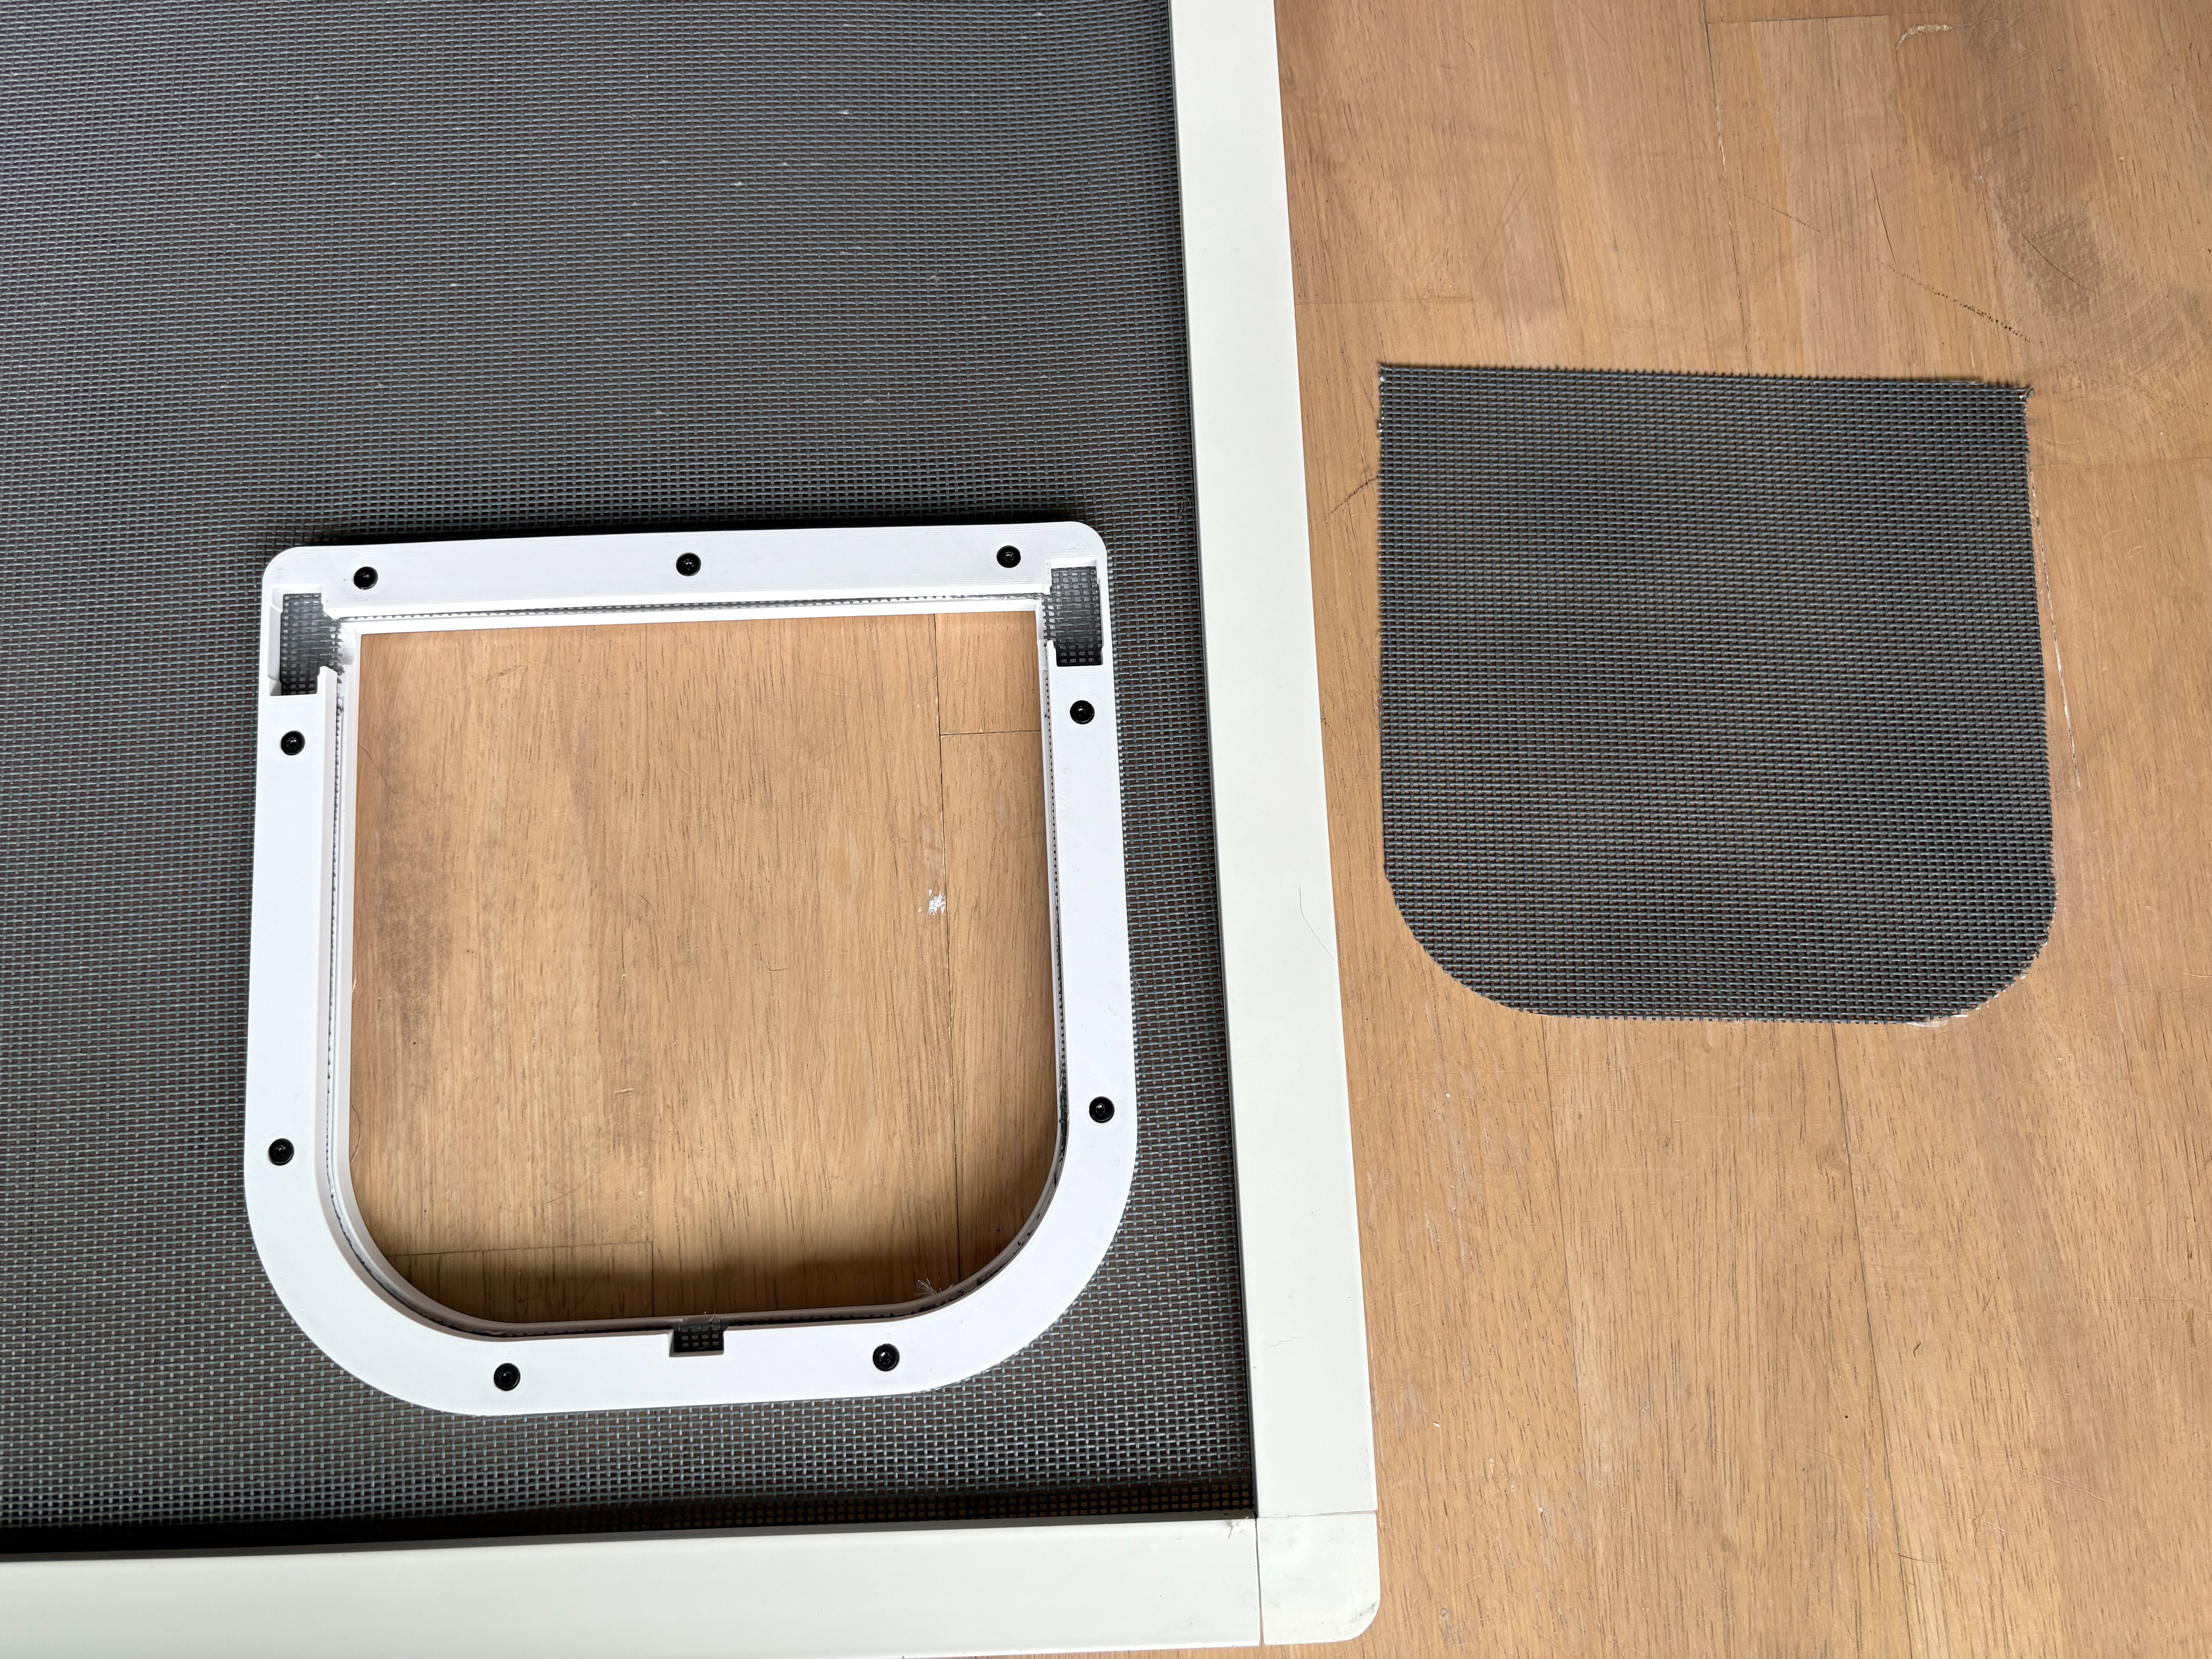 |
| Cut out the smaller holes. You can throw these parts of the screen away. | 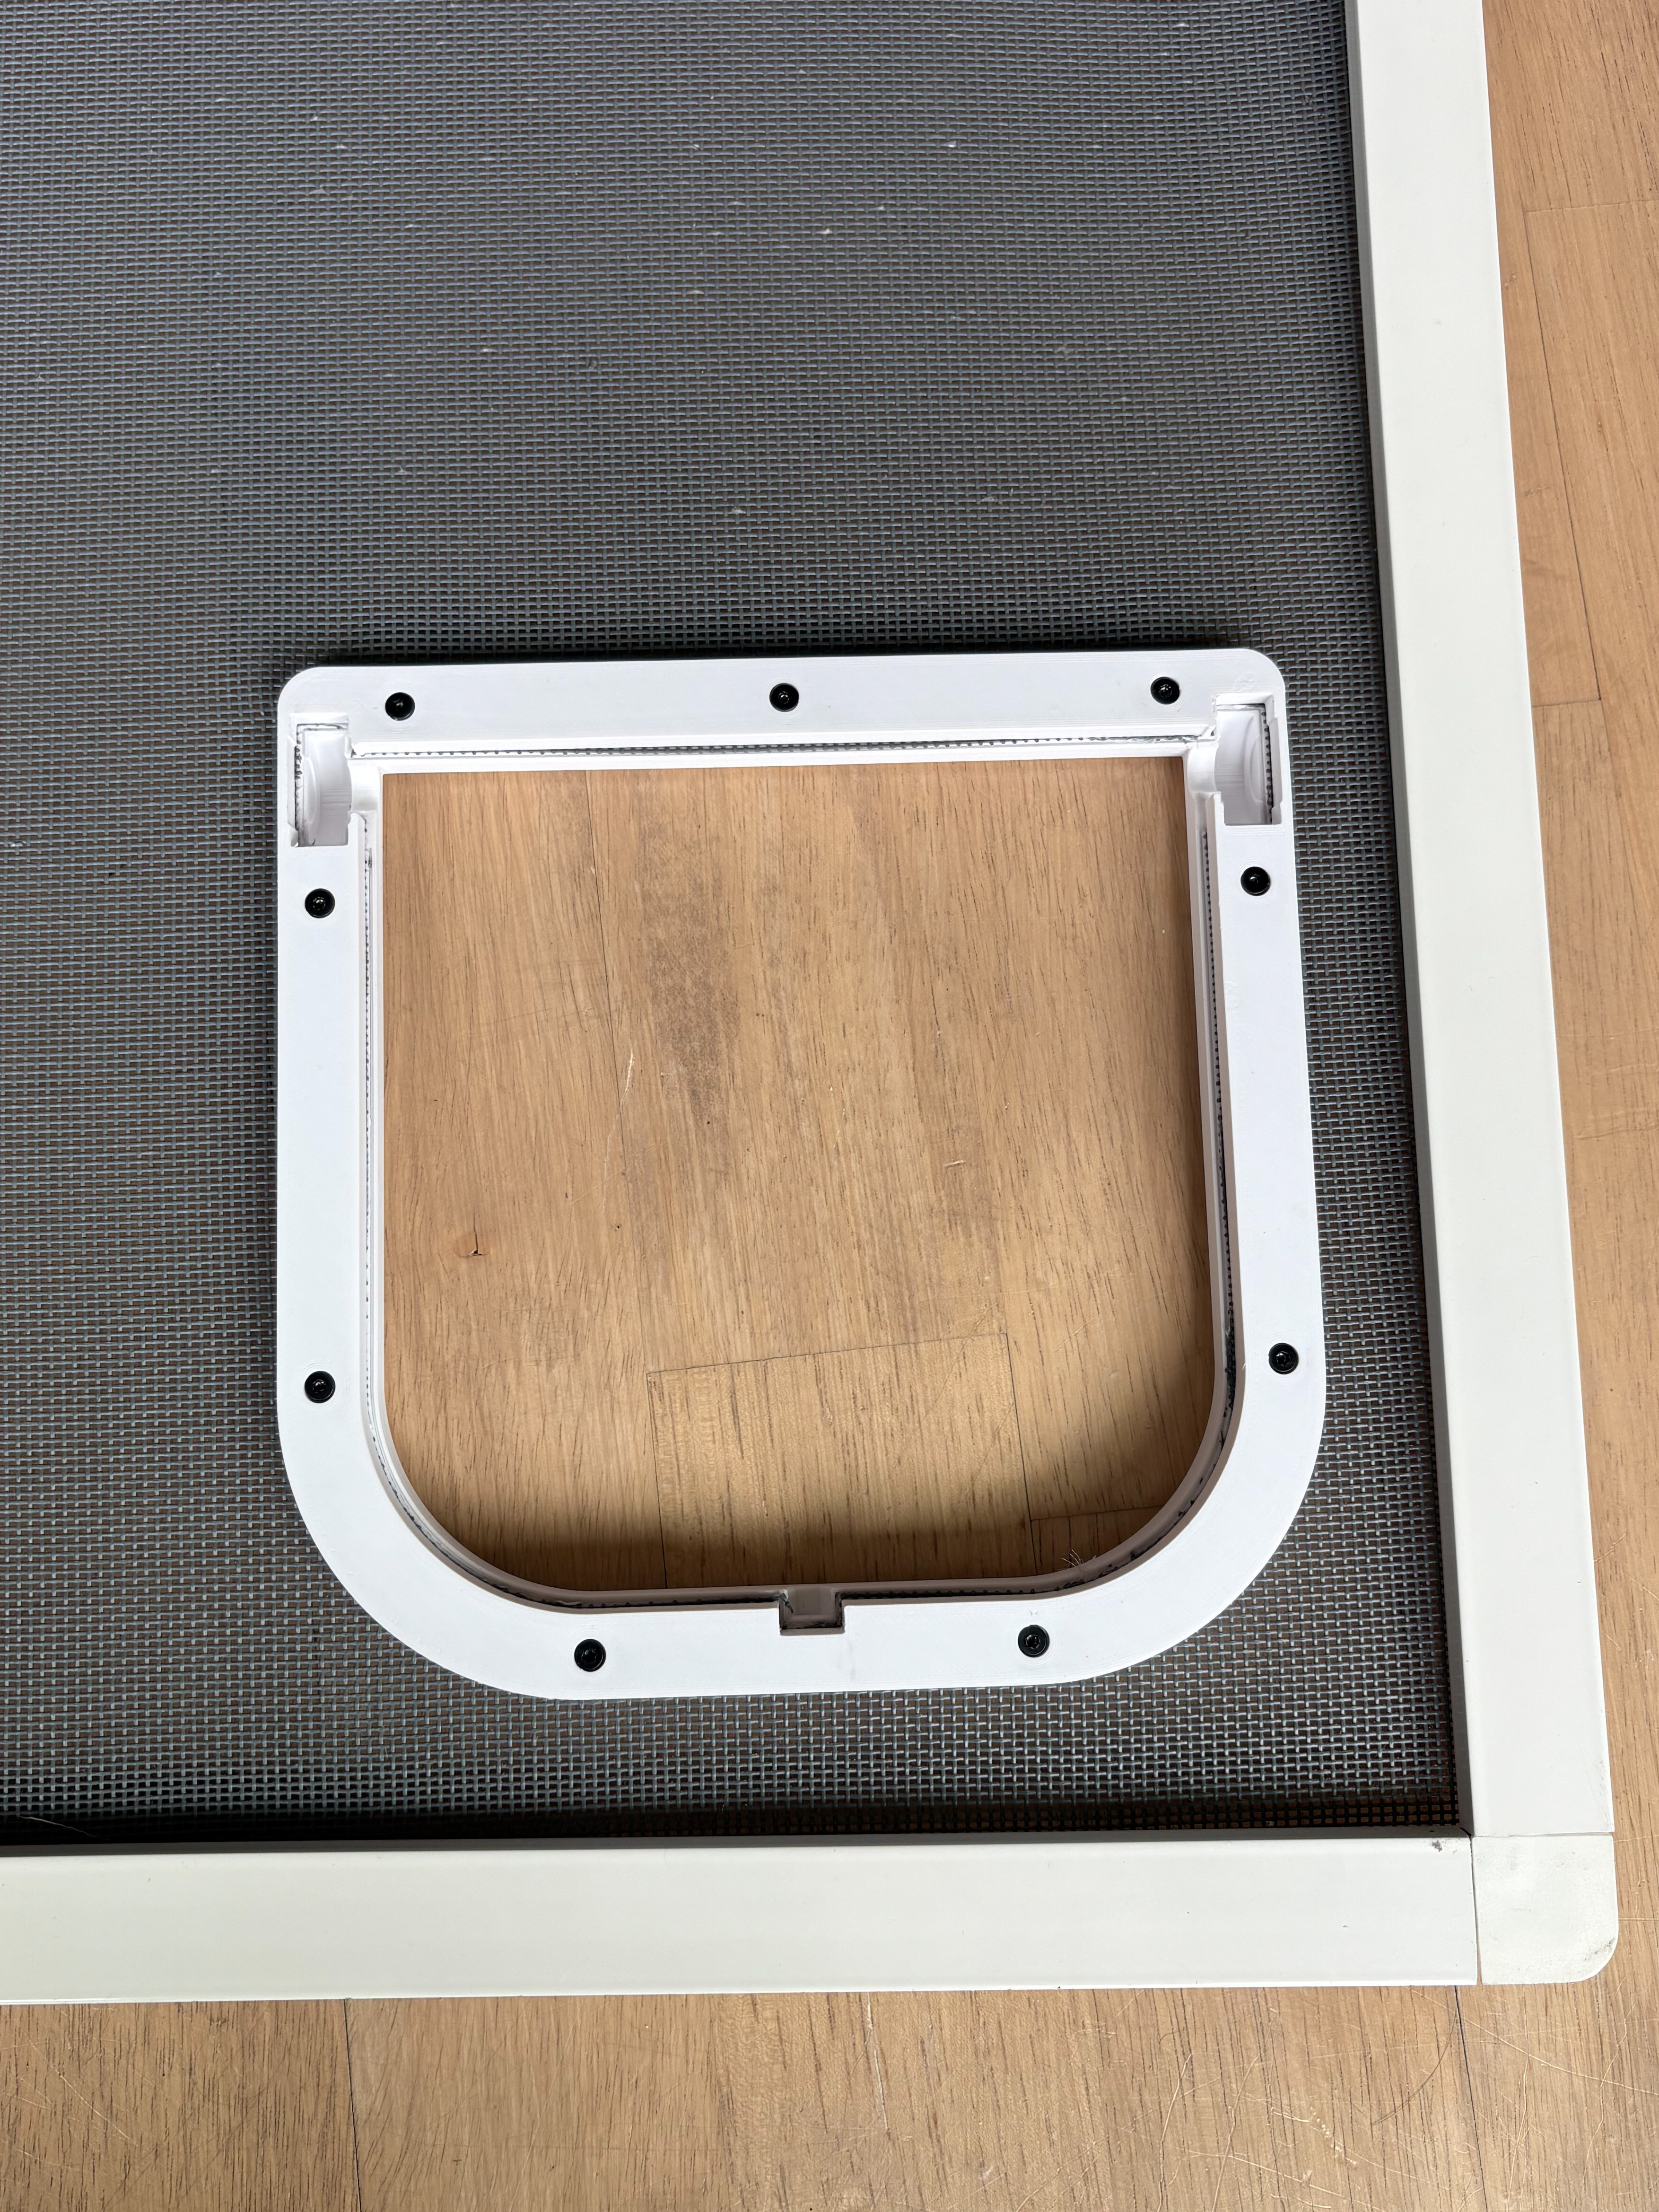 |
| Grap the “flap top”, “flap bottom” and cutout screen. | 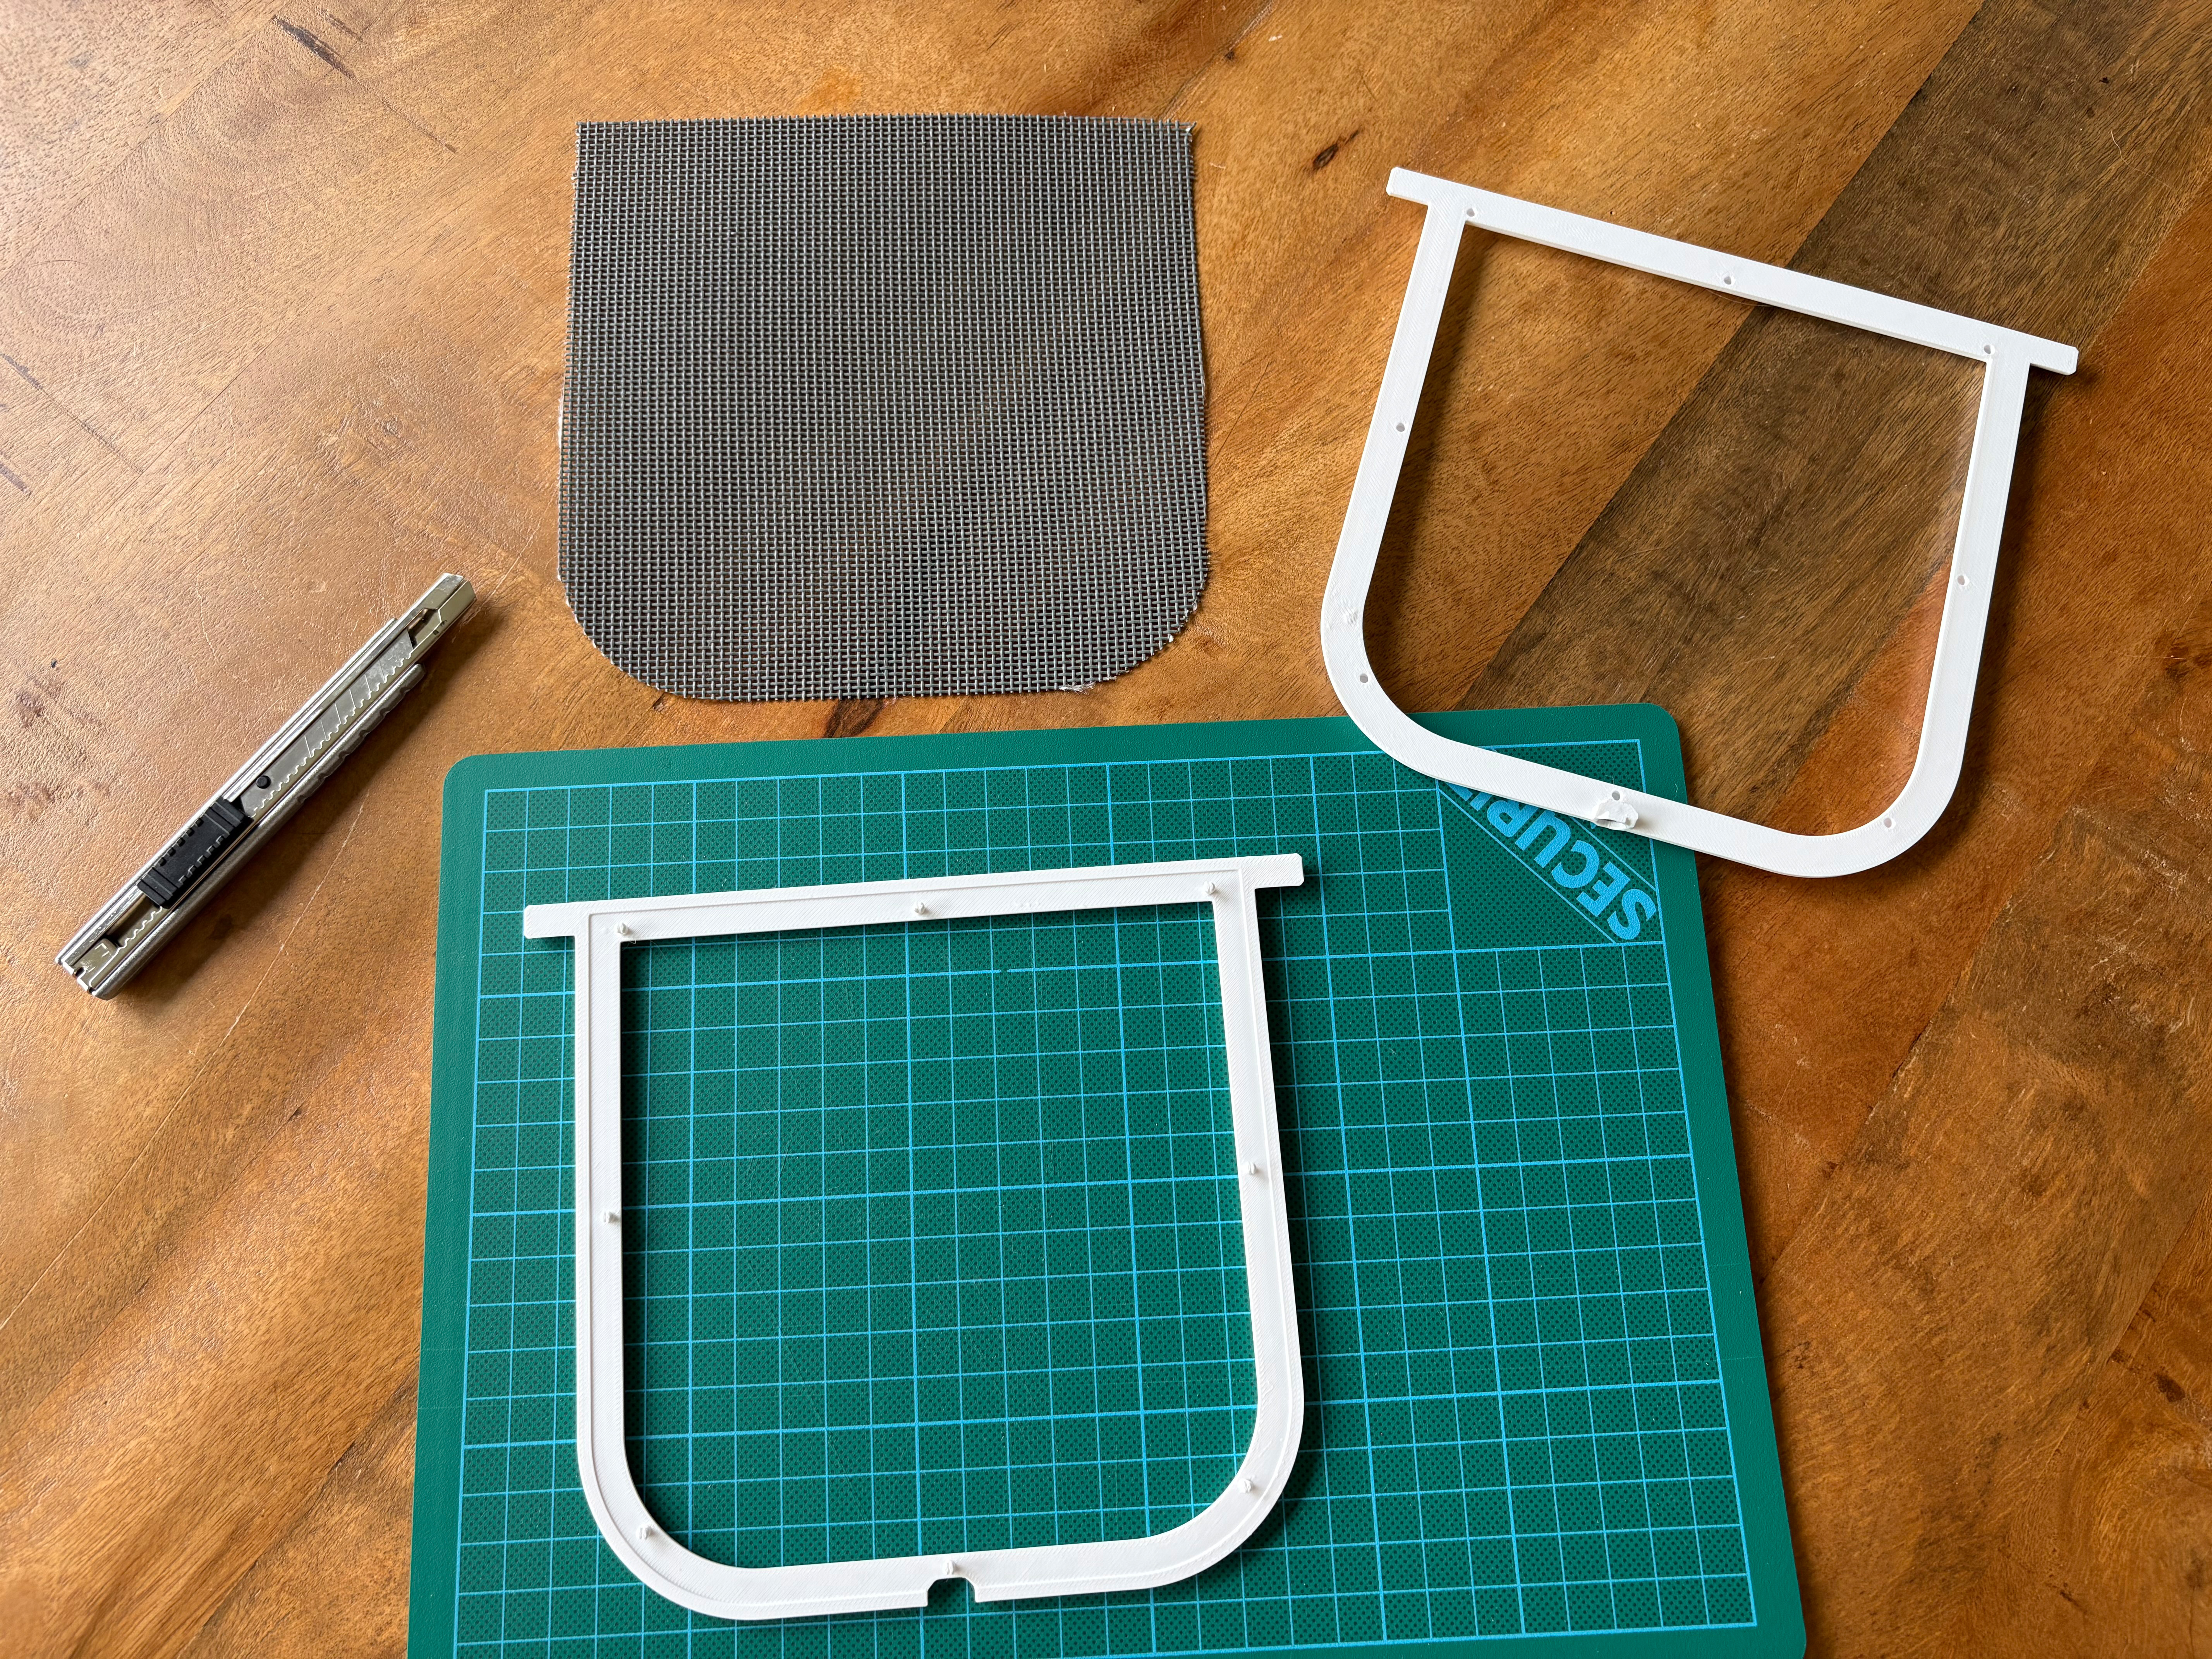 |
| Place the cutout screen over “frame top”. | 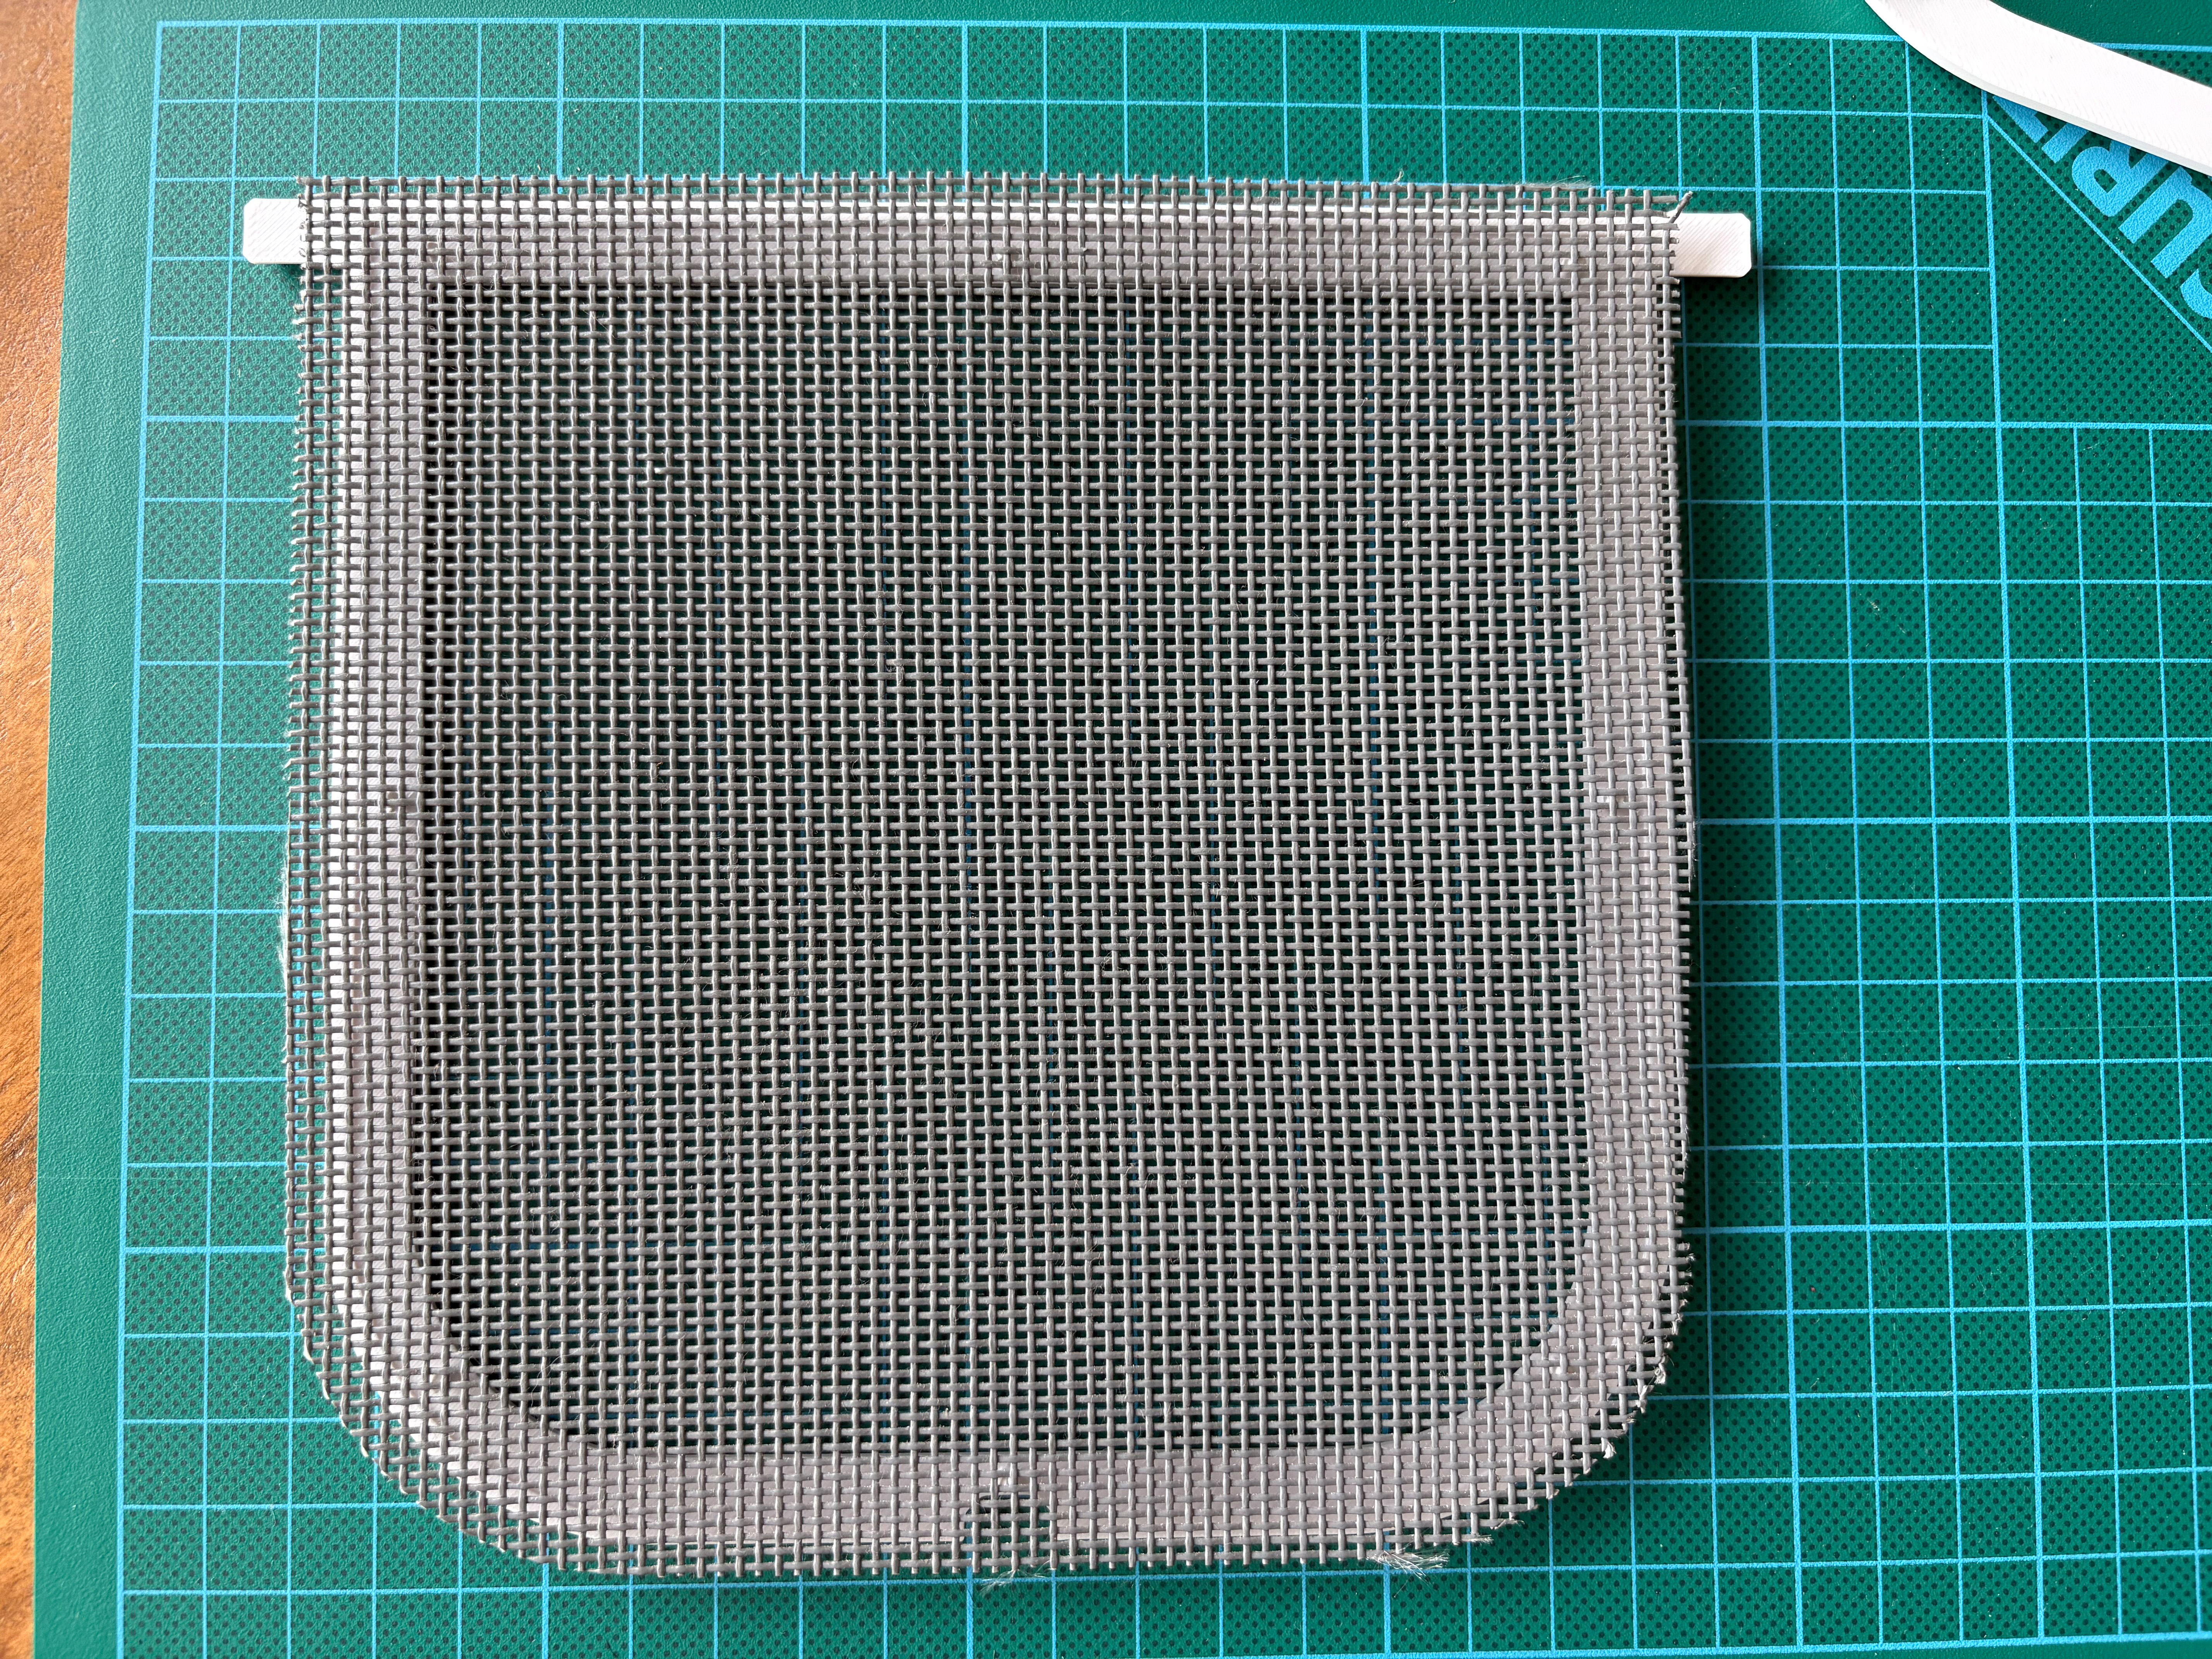 |
| Make small insertions where the pegs are so that you can push the screen over the pegs. | 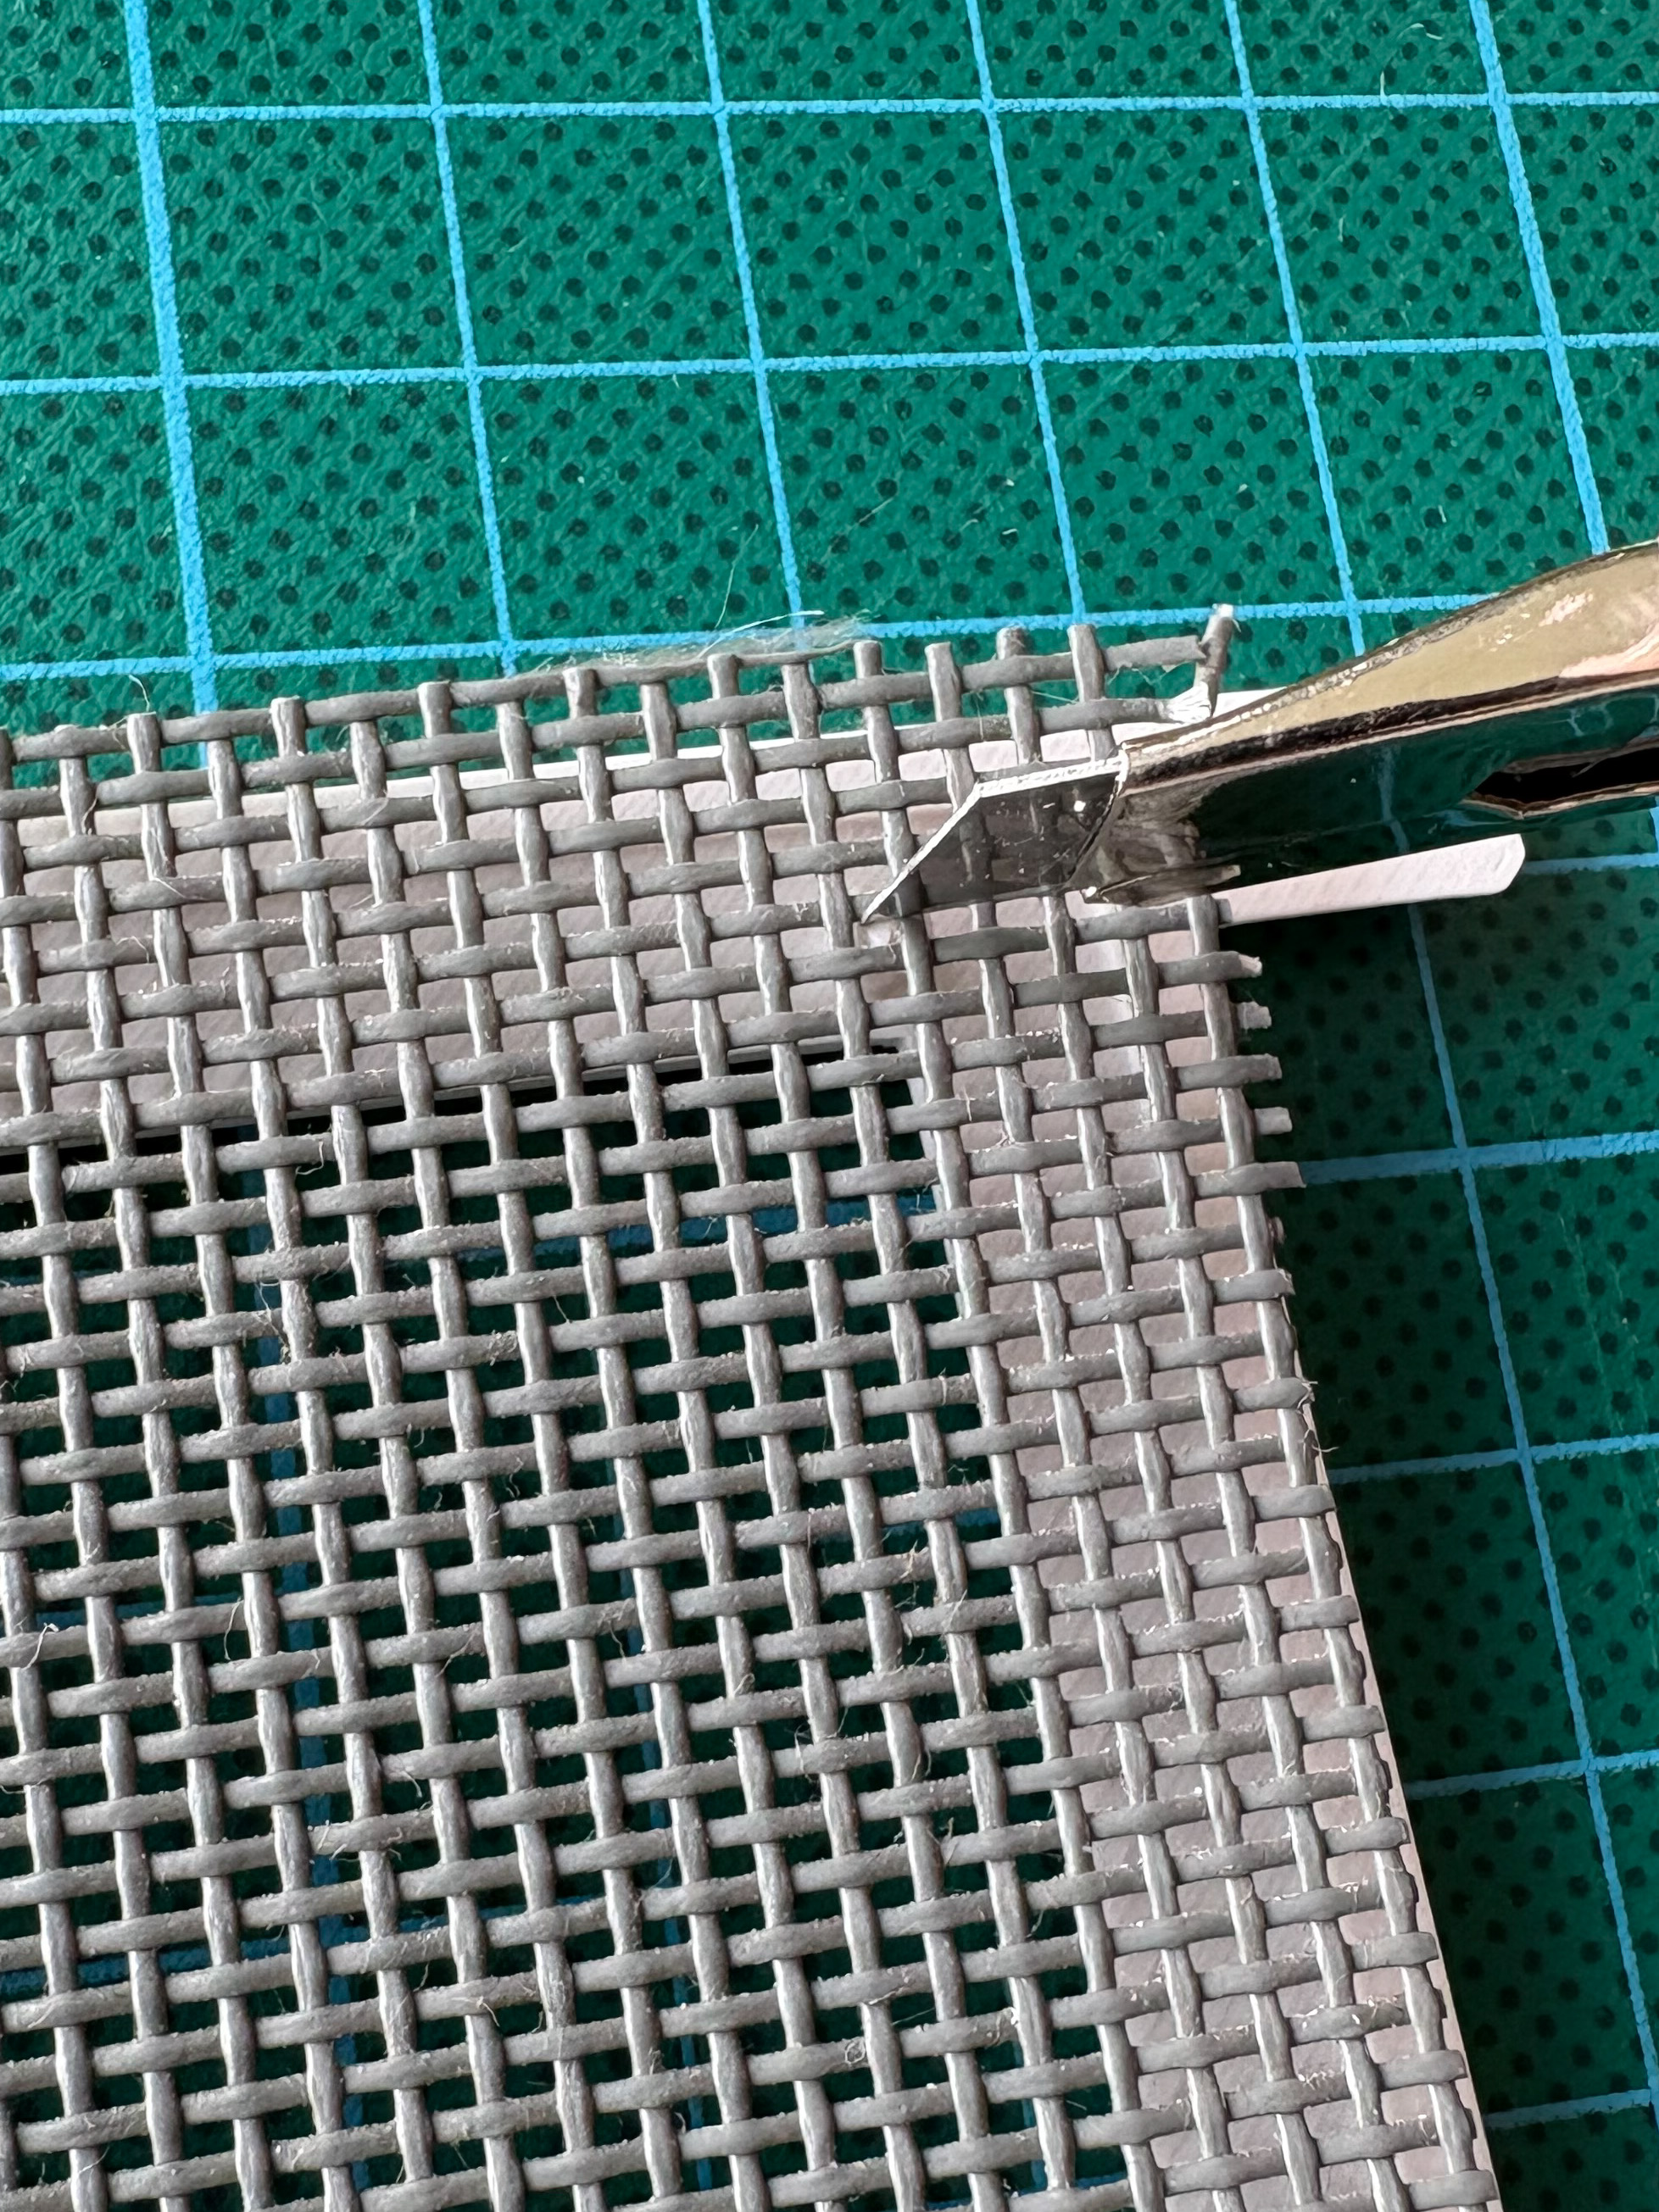 |
| Press the screen down on the pegs flatten the screen as best as you can. | 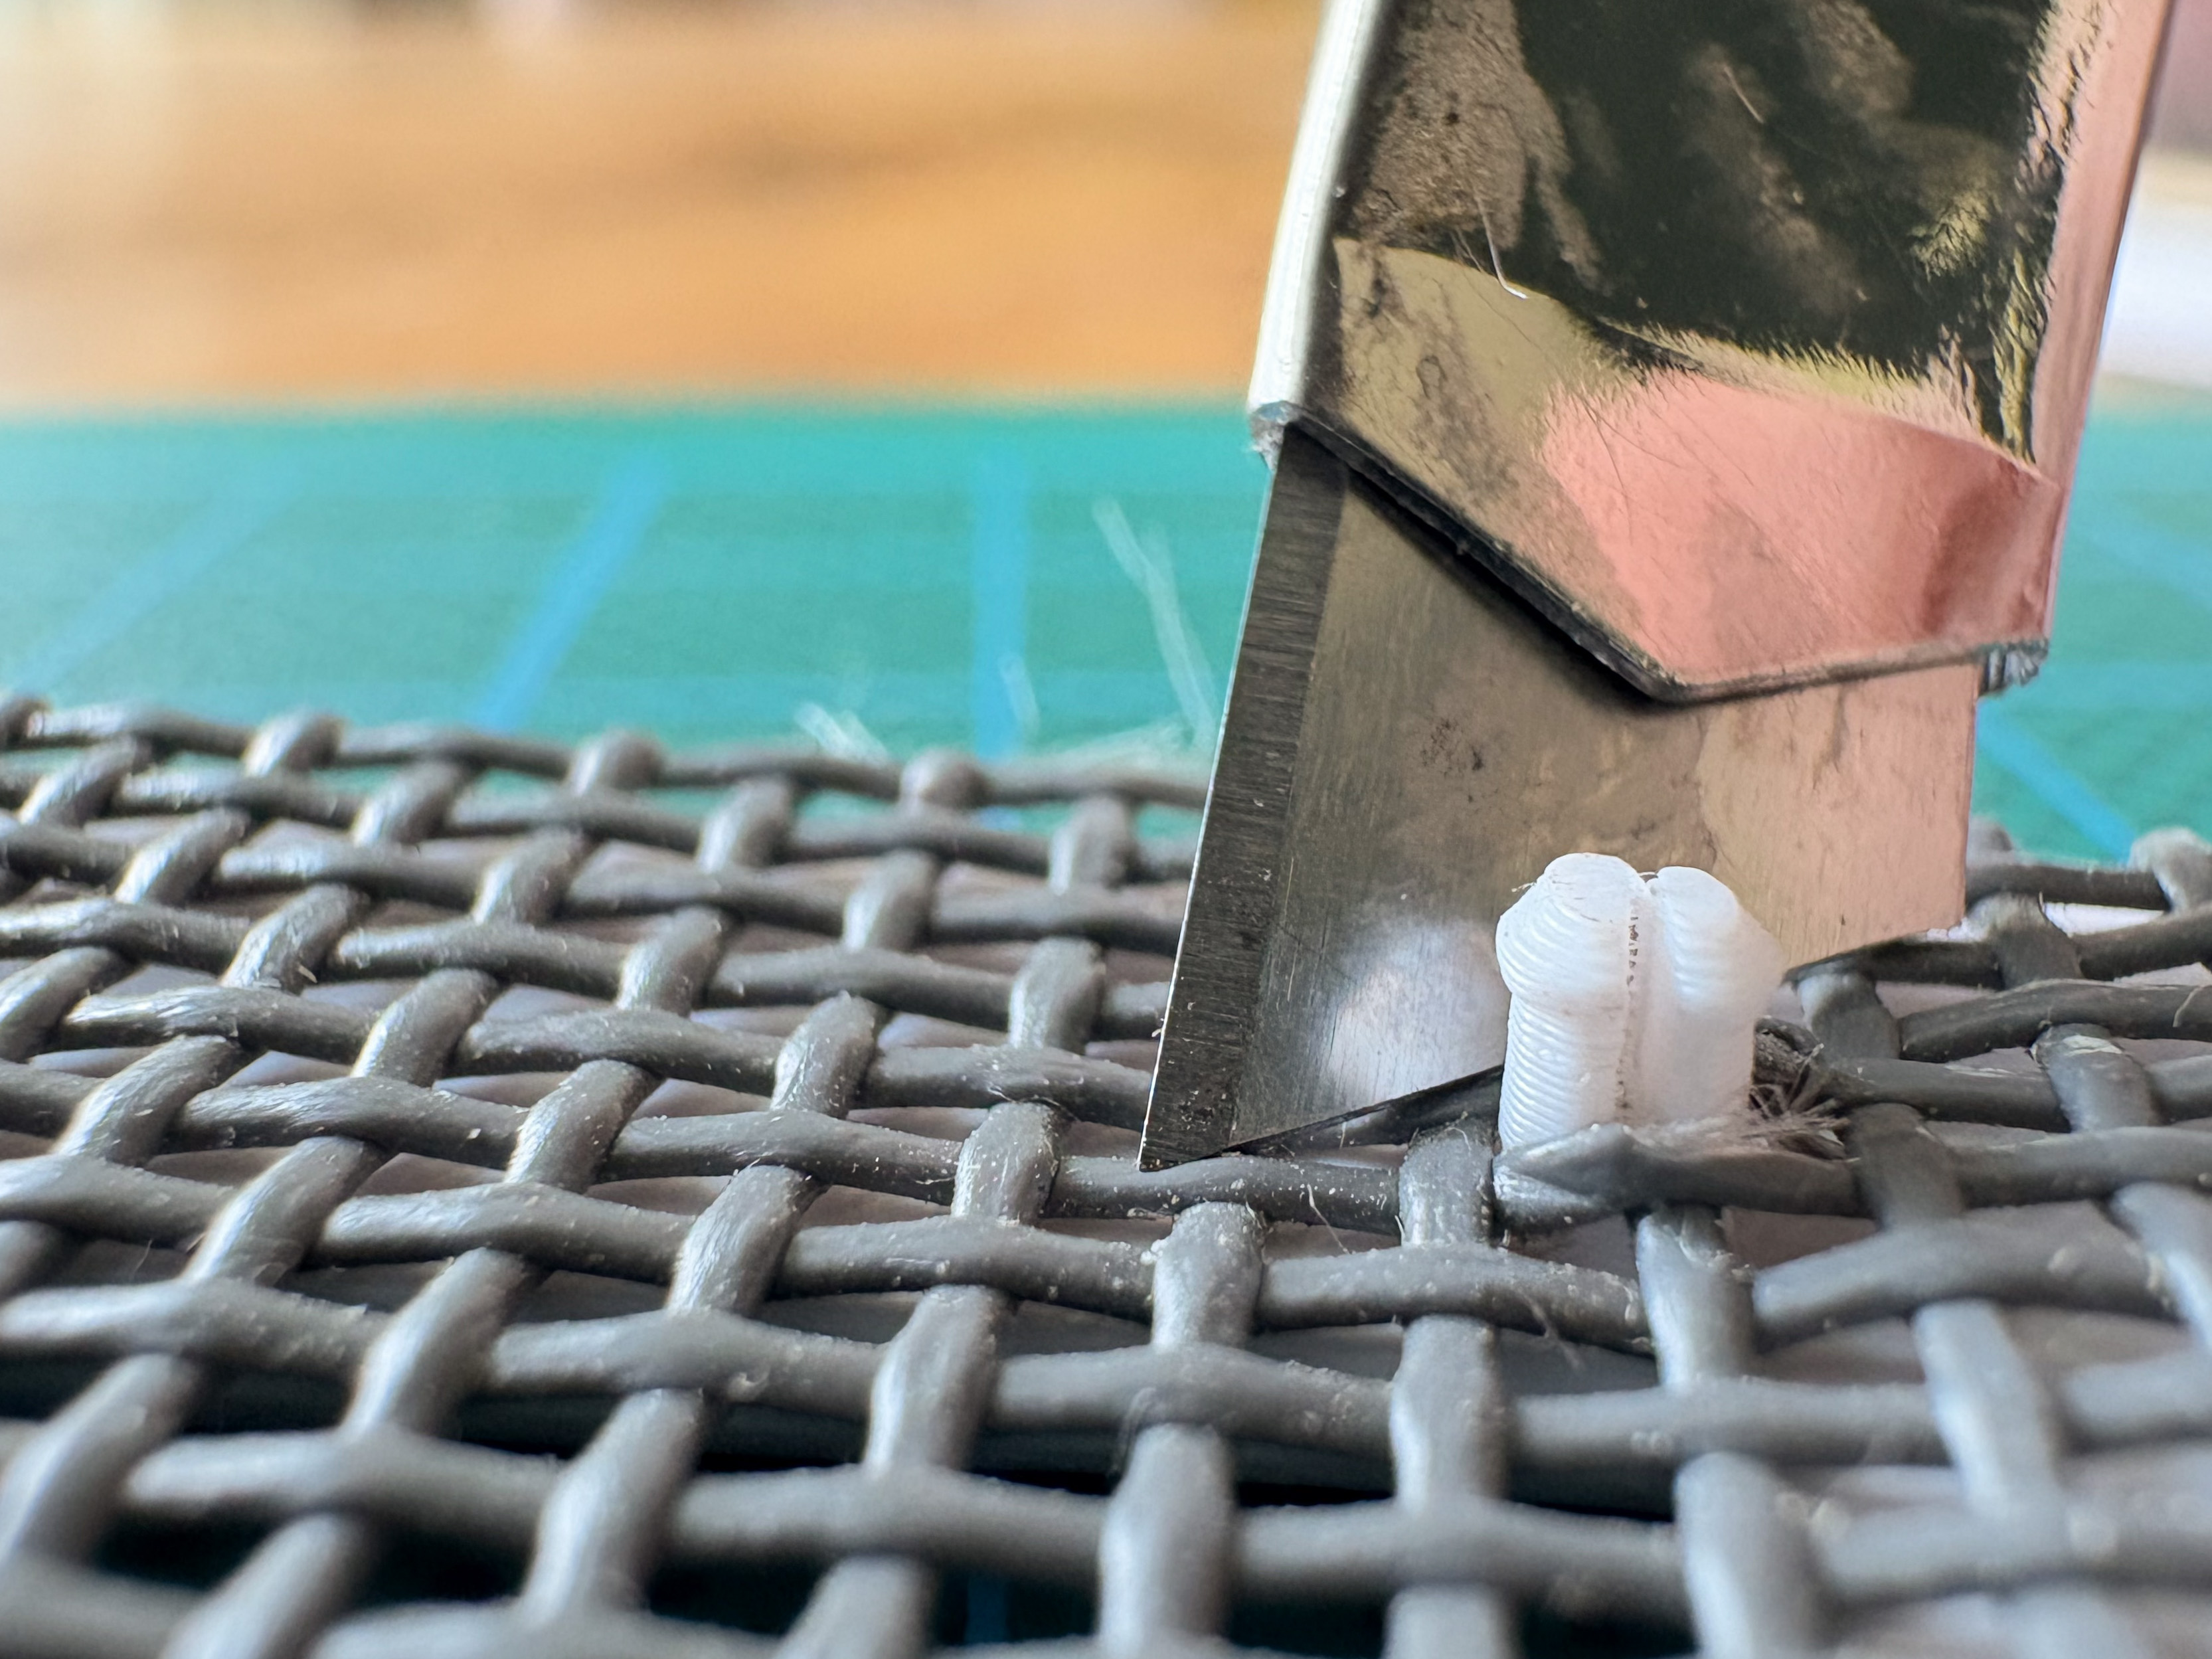 |
| Do this for all the pegs. | 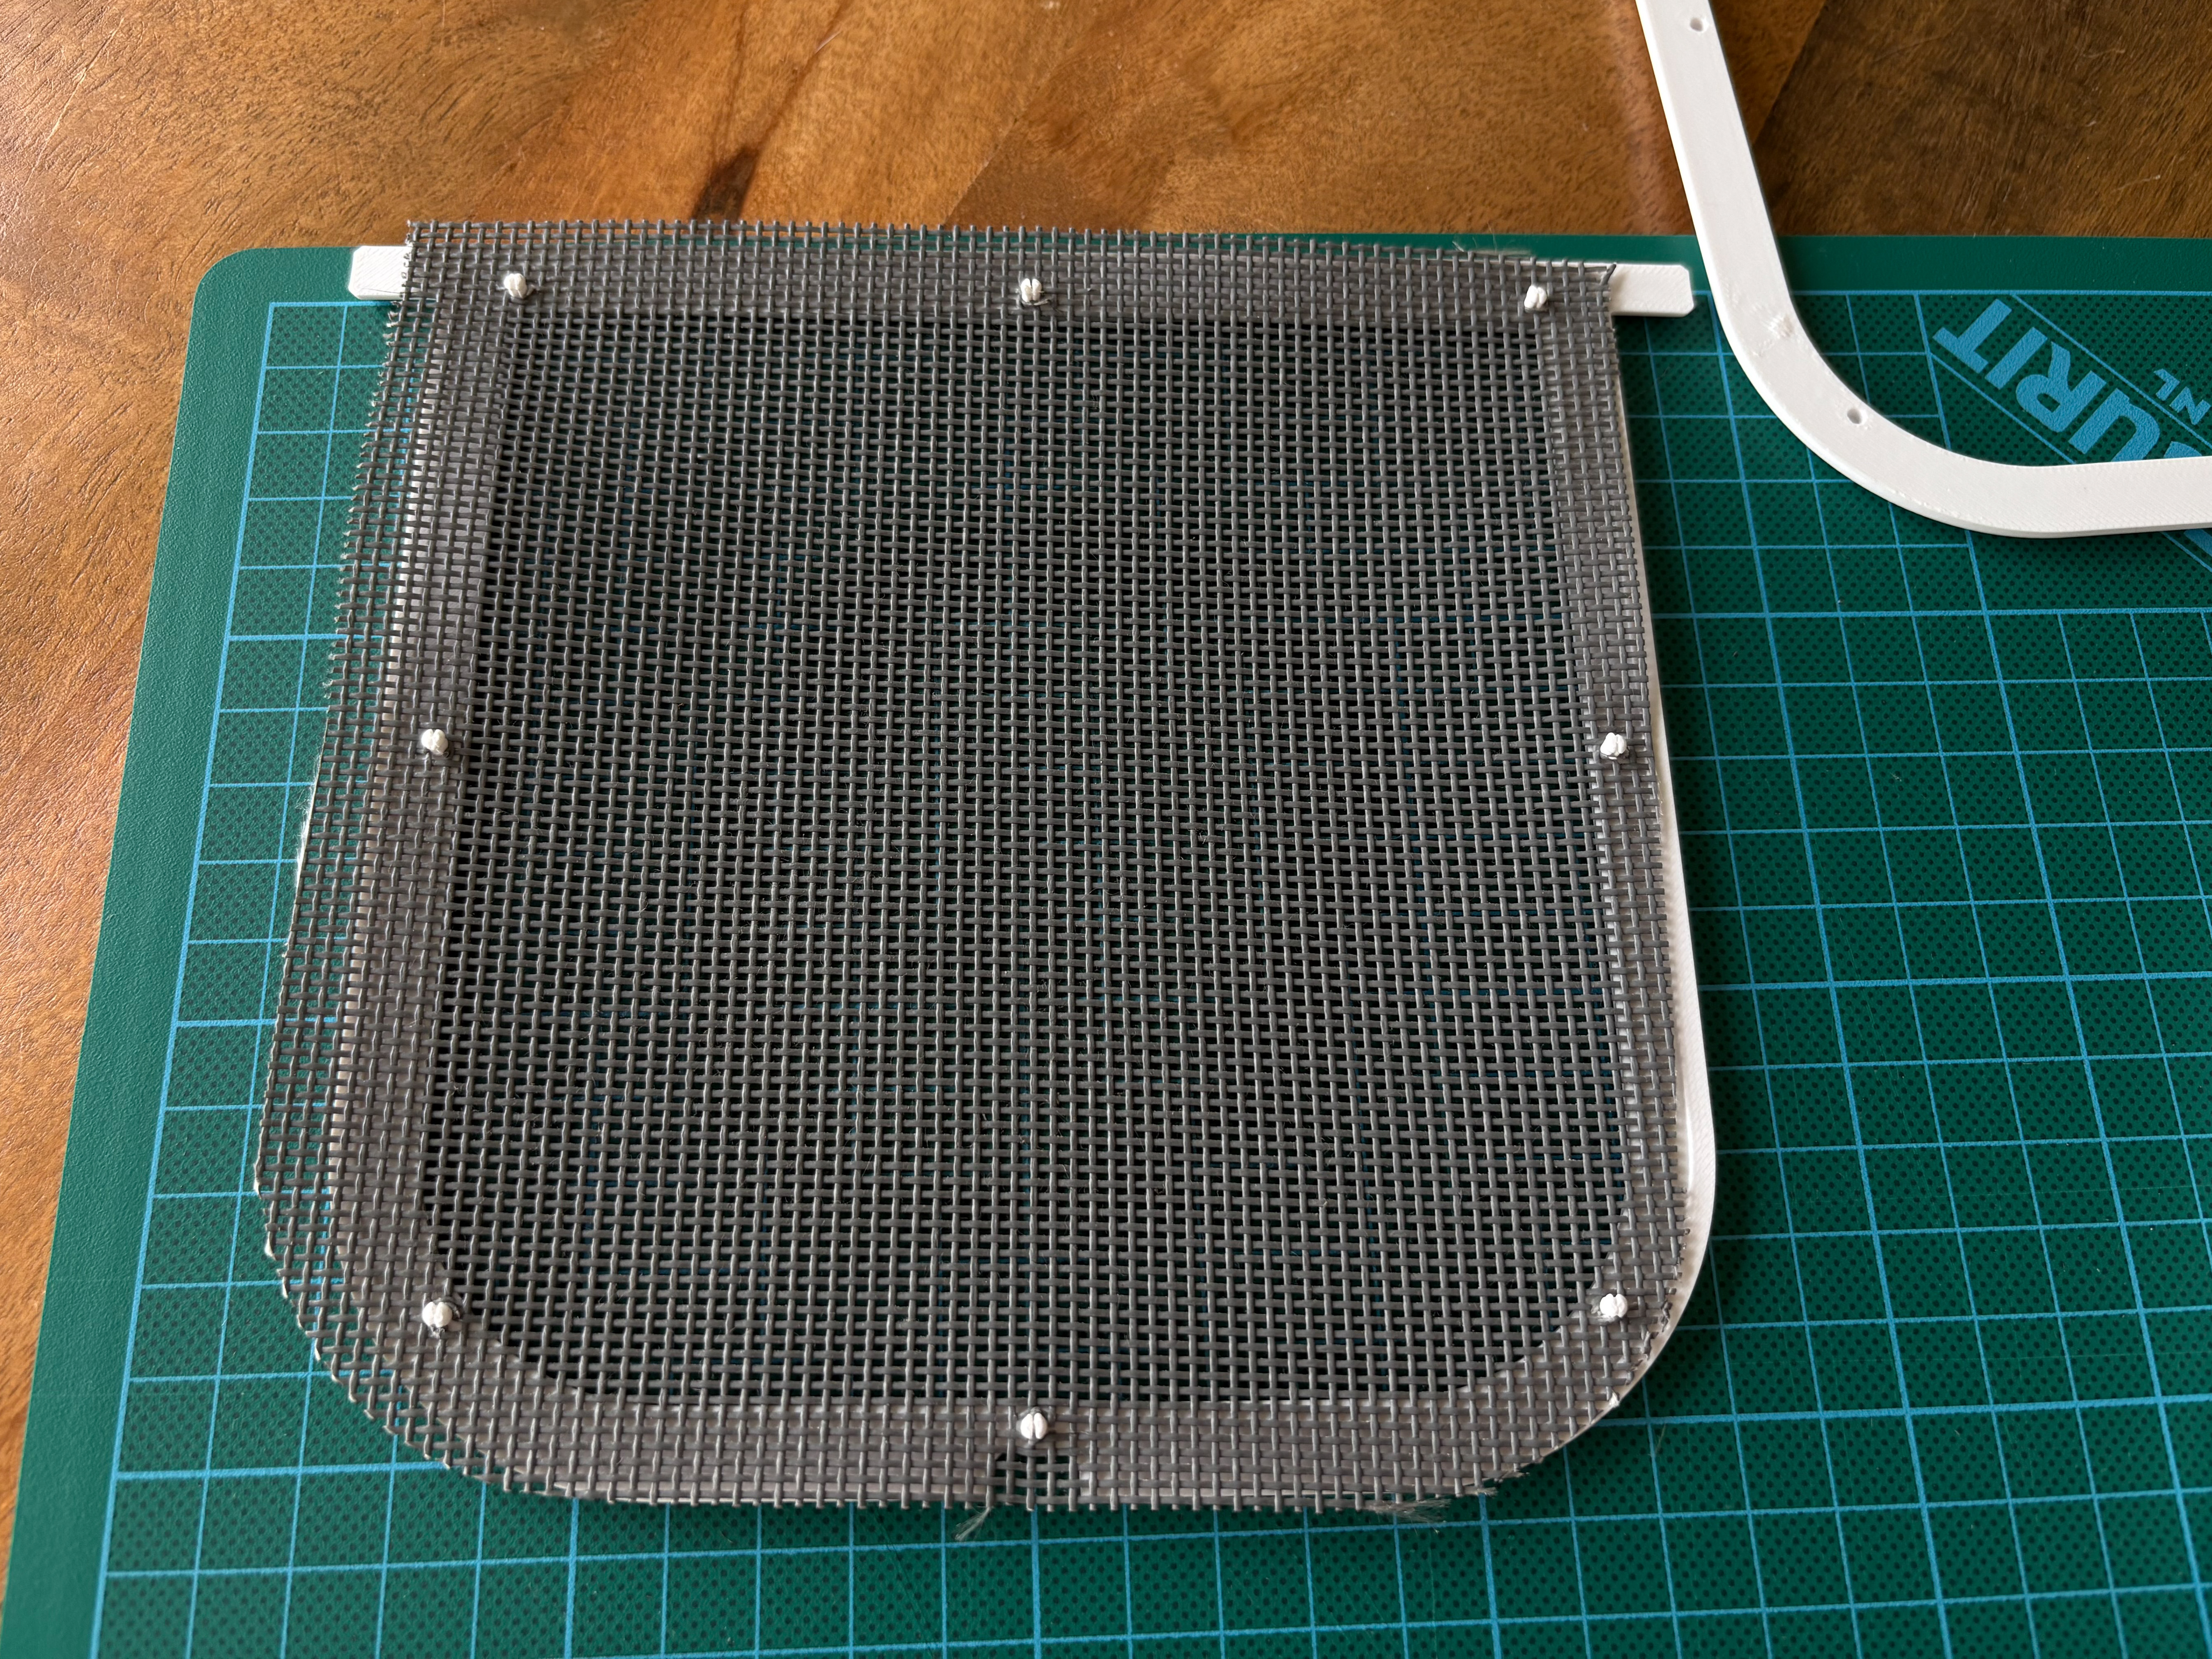 |
| Cut away the leftover screen so that the screen stays inside the lower part of the frame. | 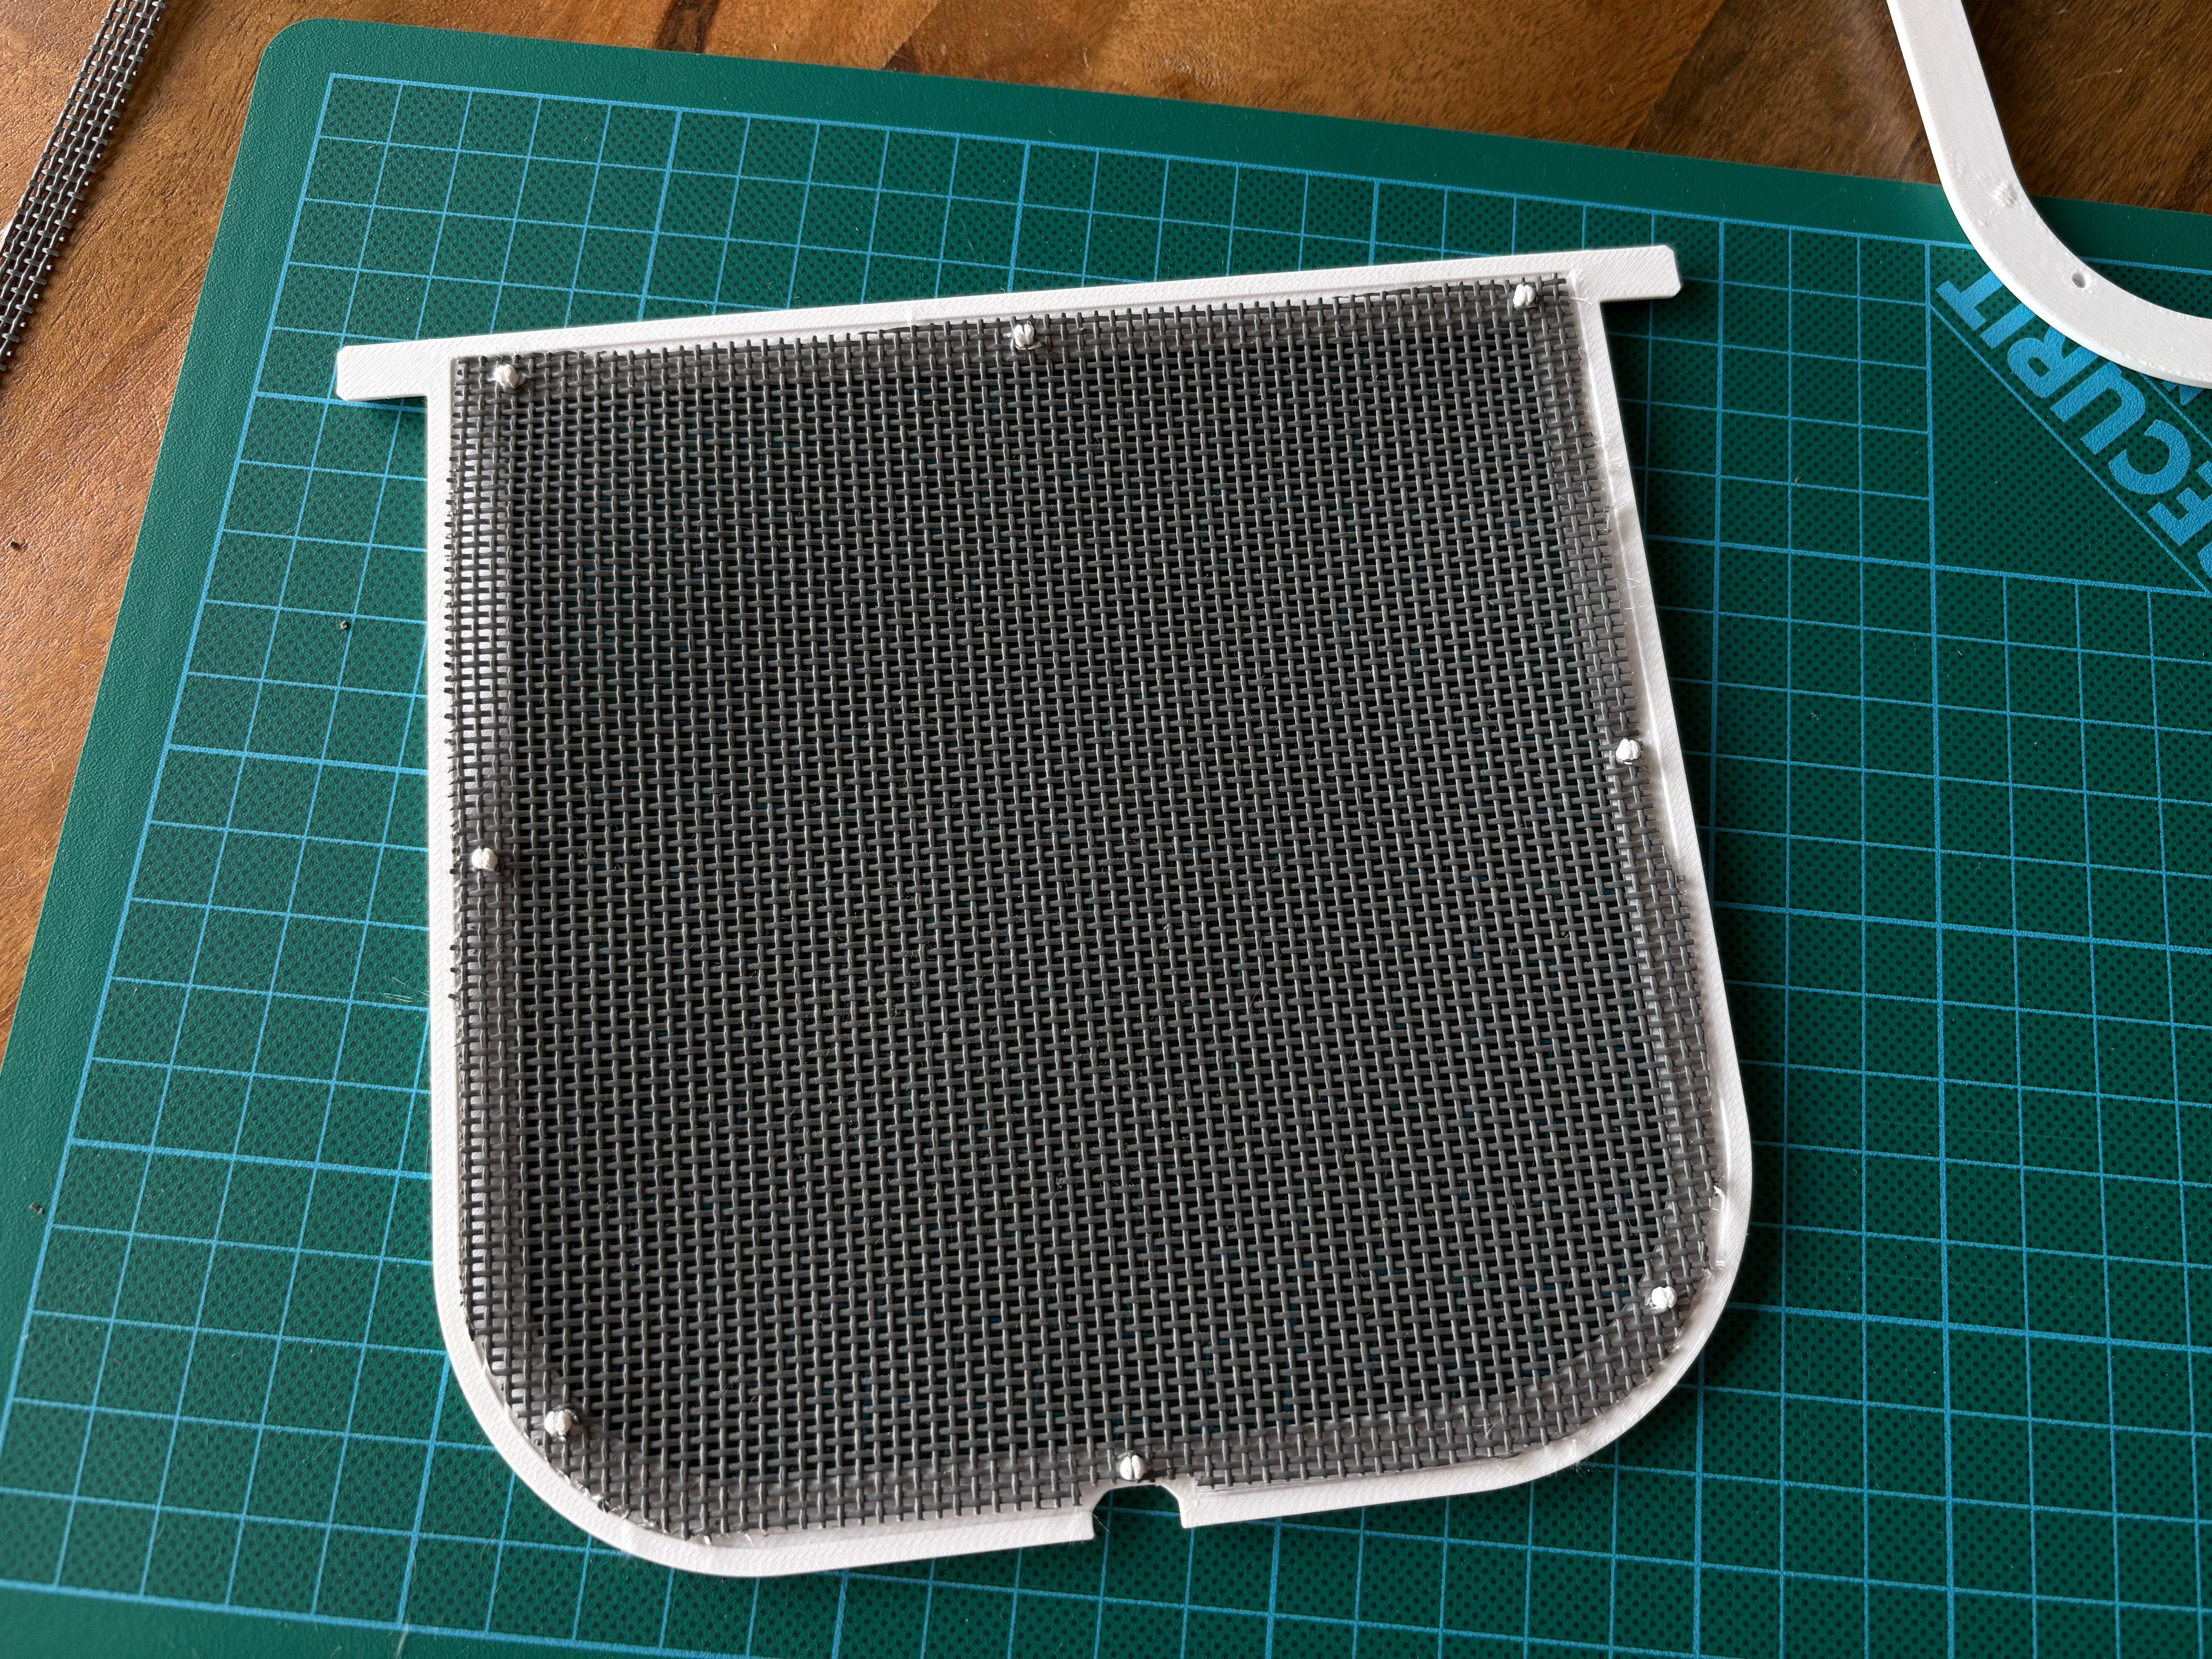 |
| Align “frame bottom” over “frame top”. | 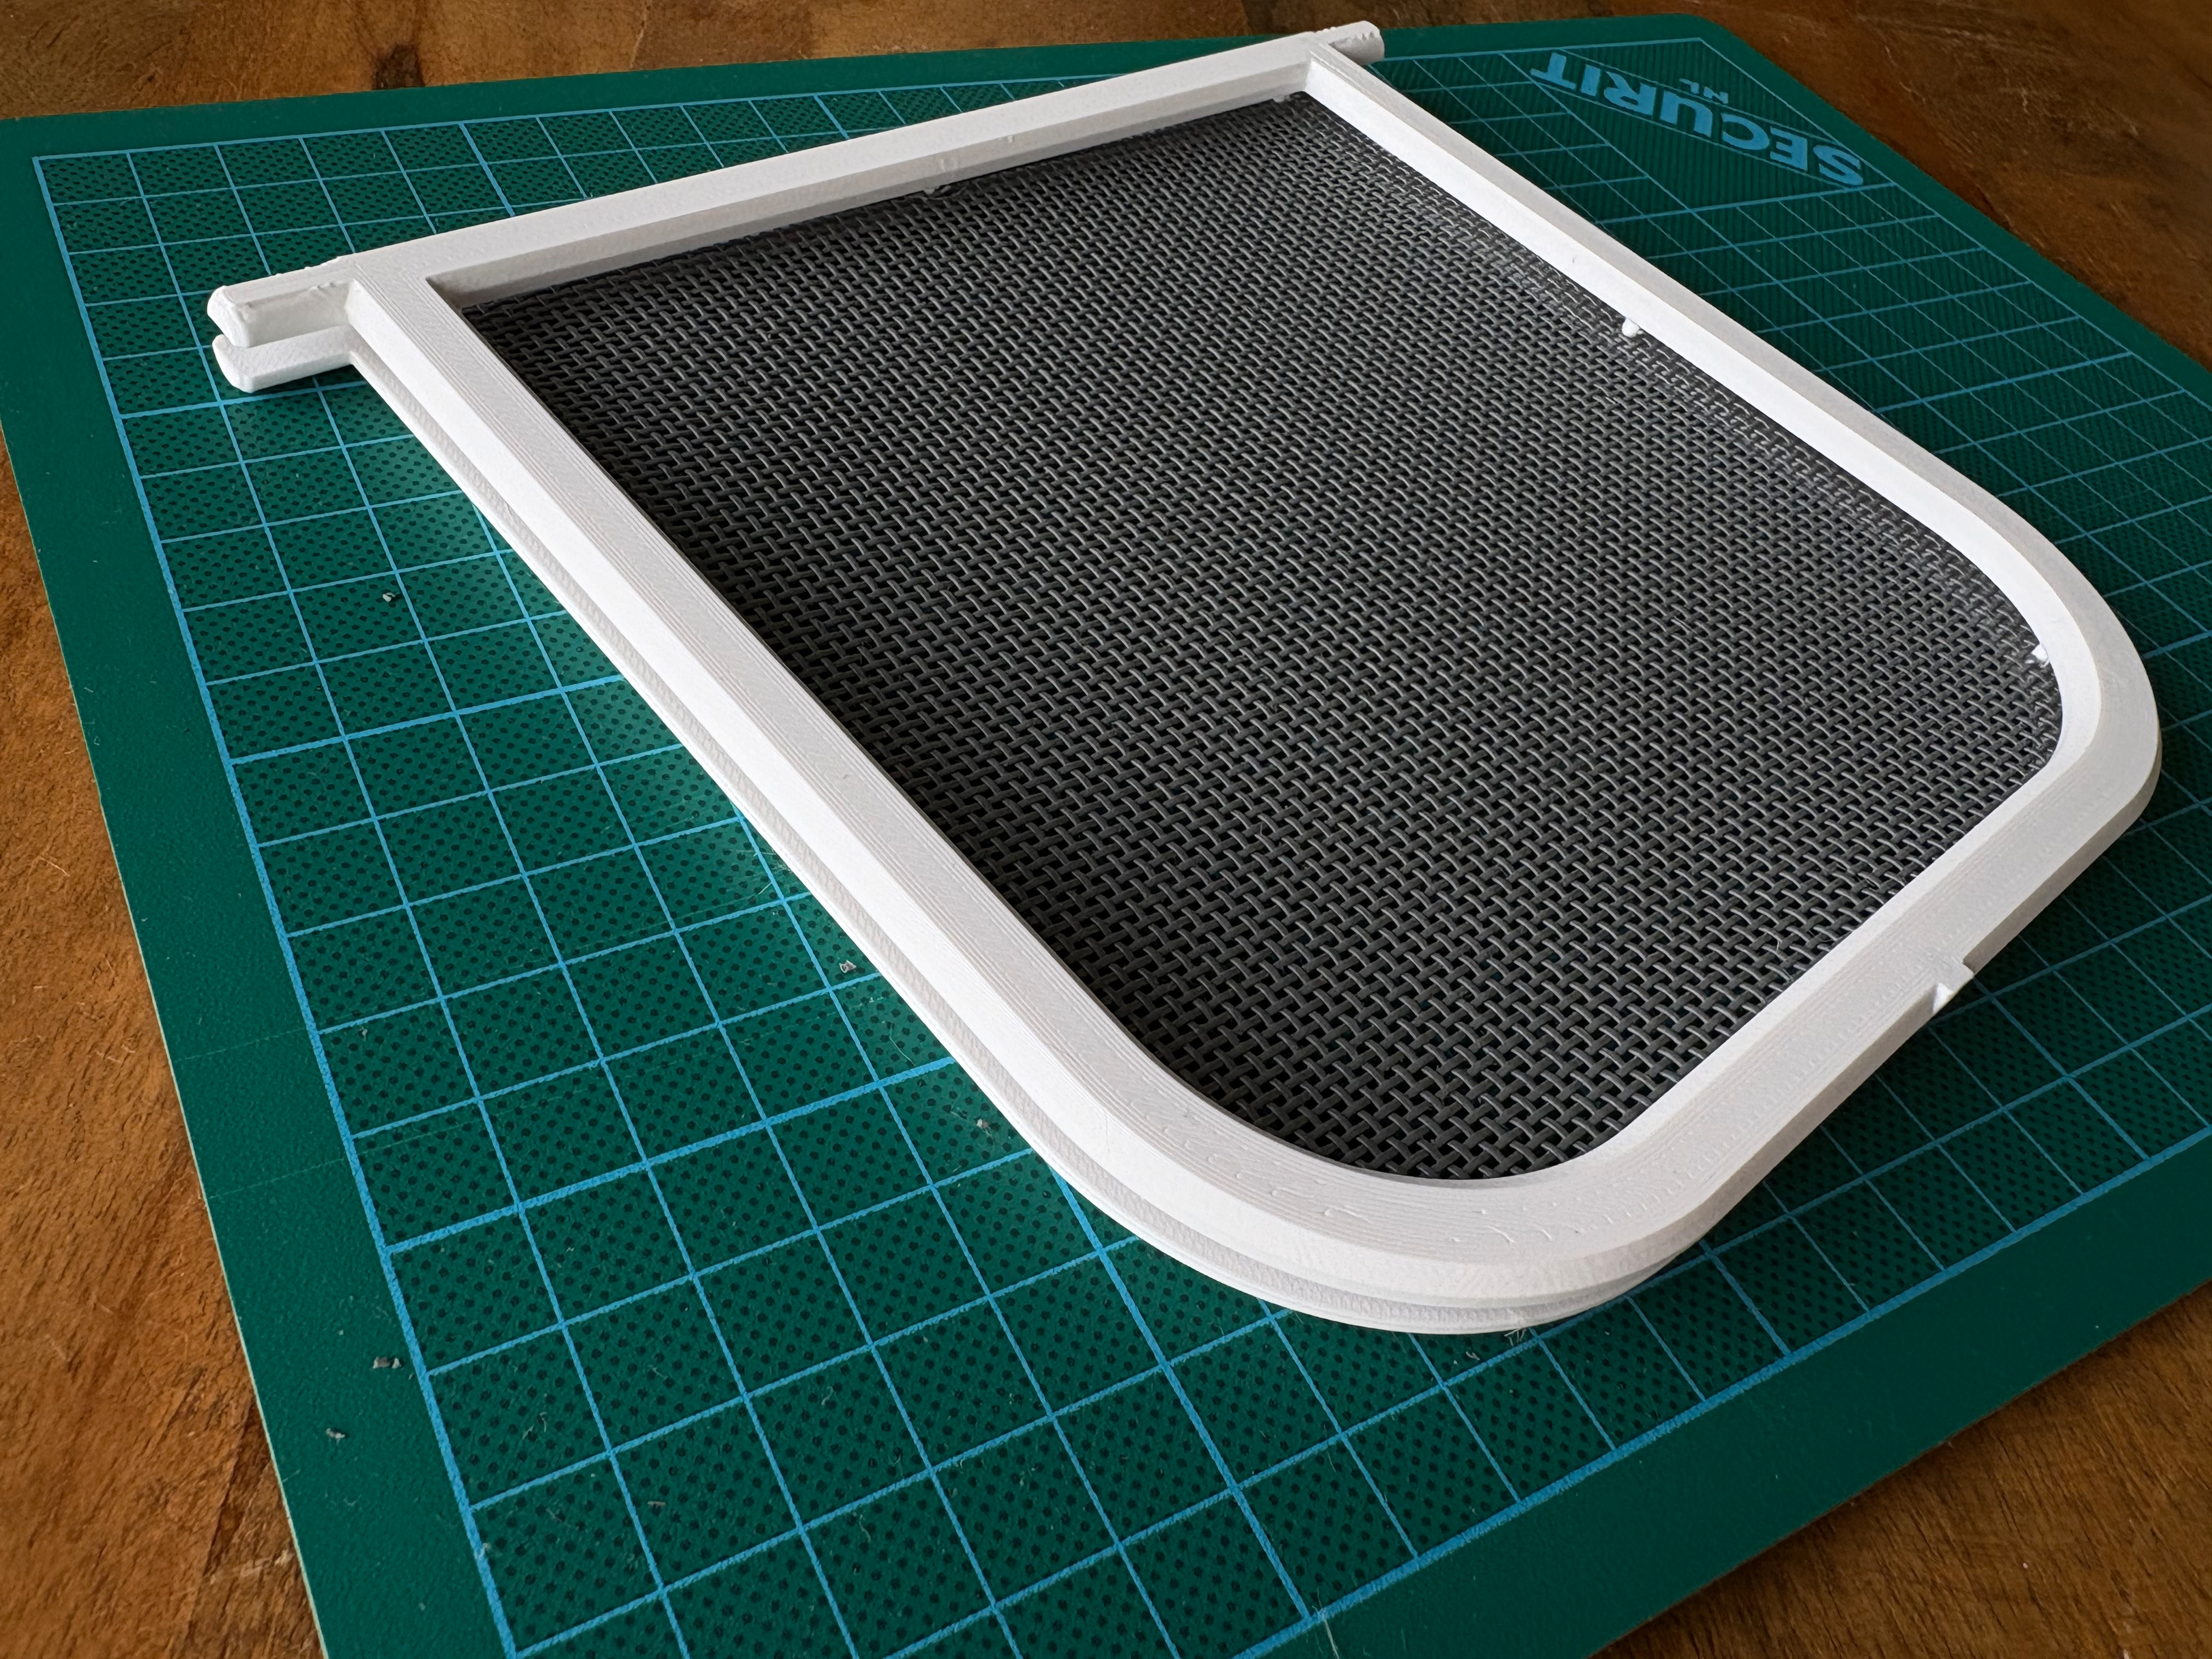 |
| Press the pegs into the bottom frame. | 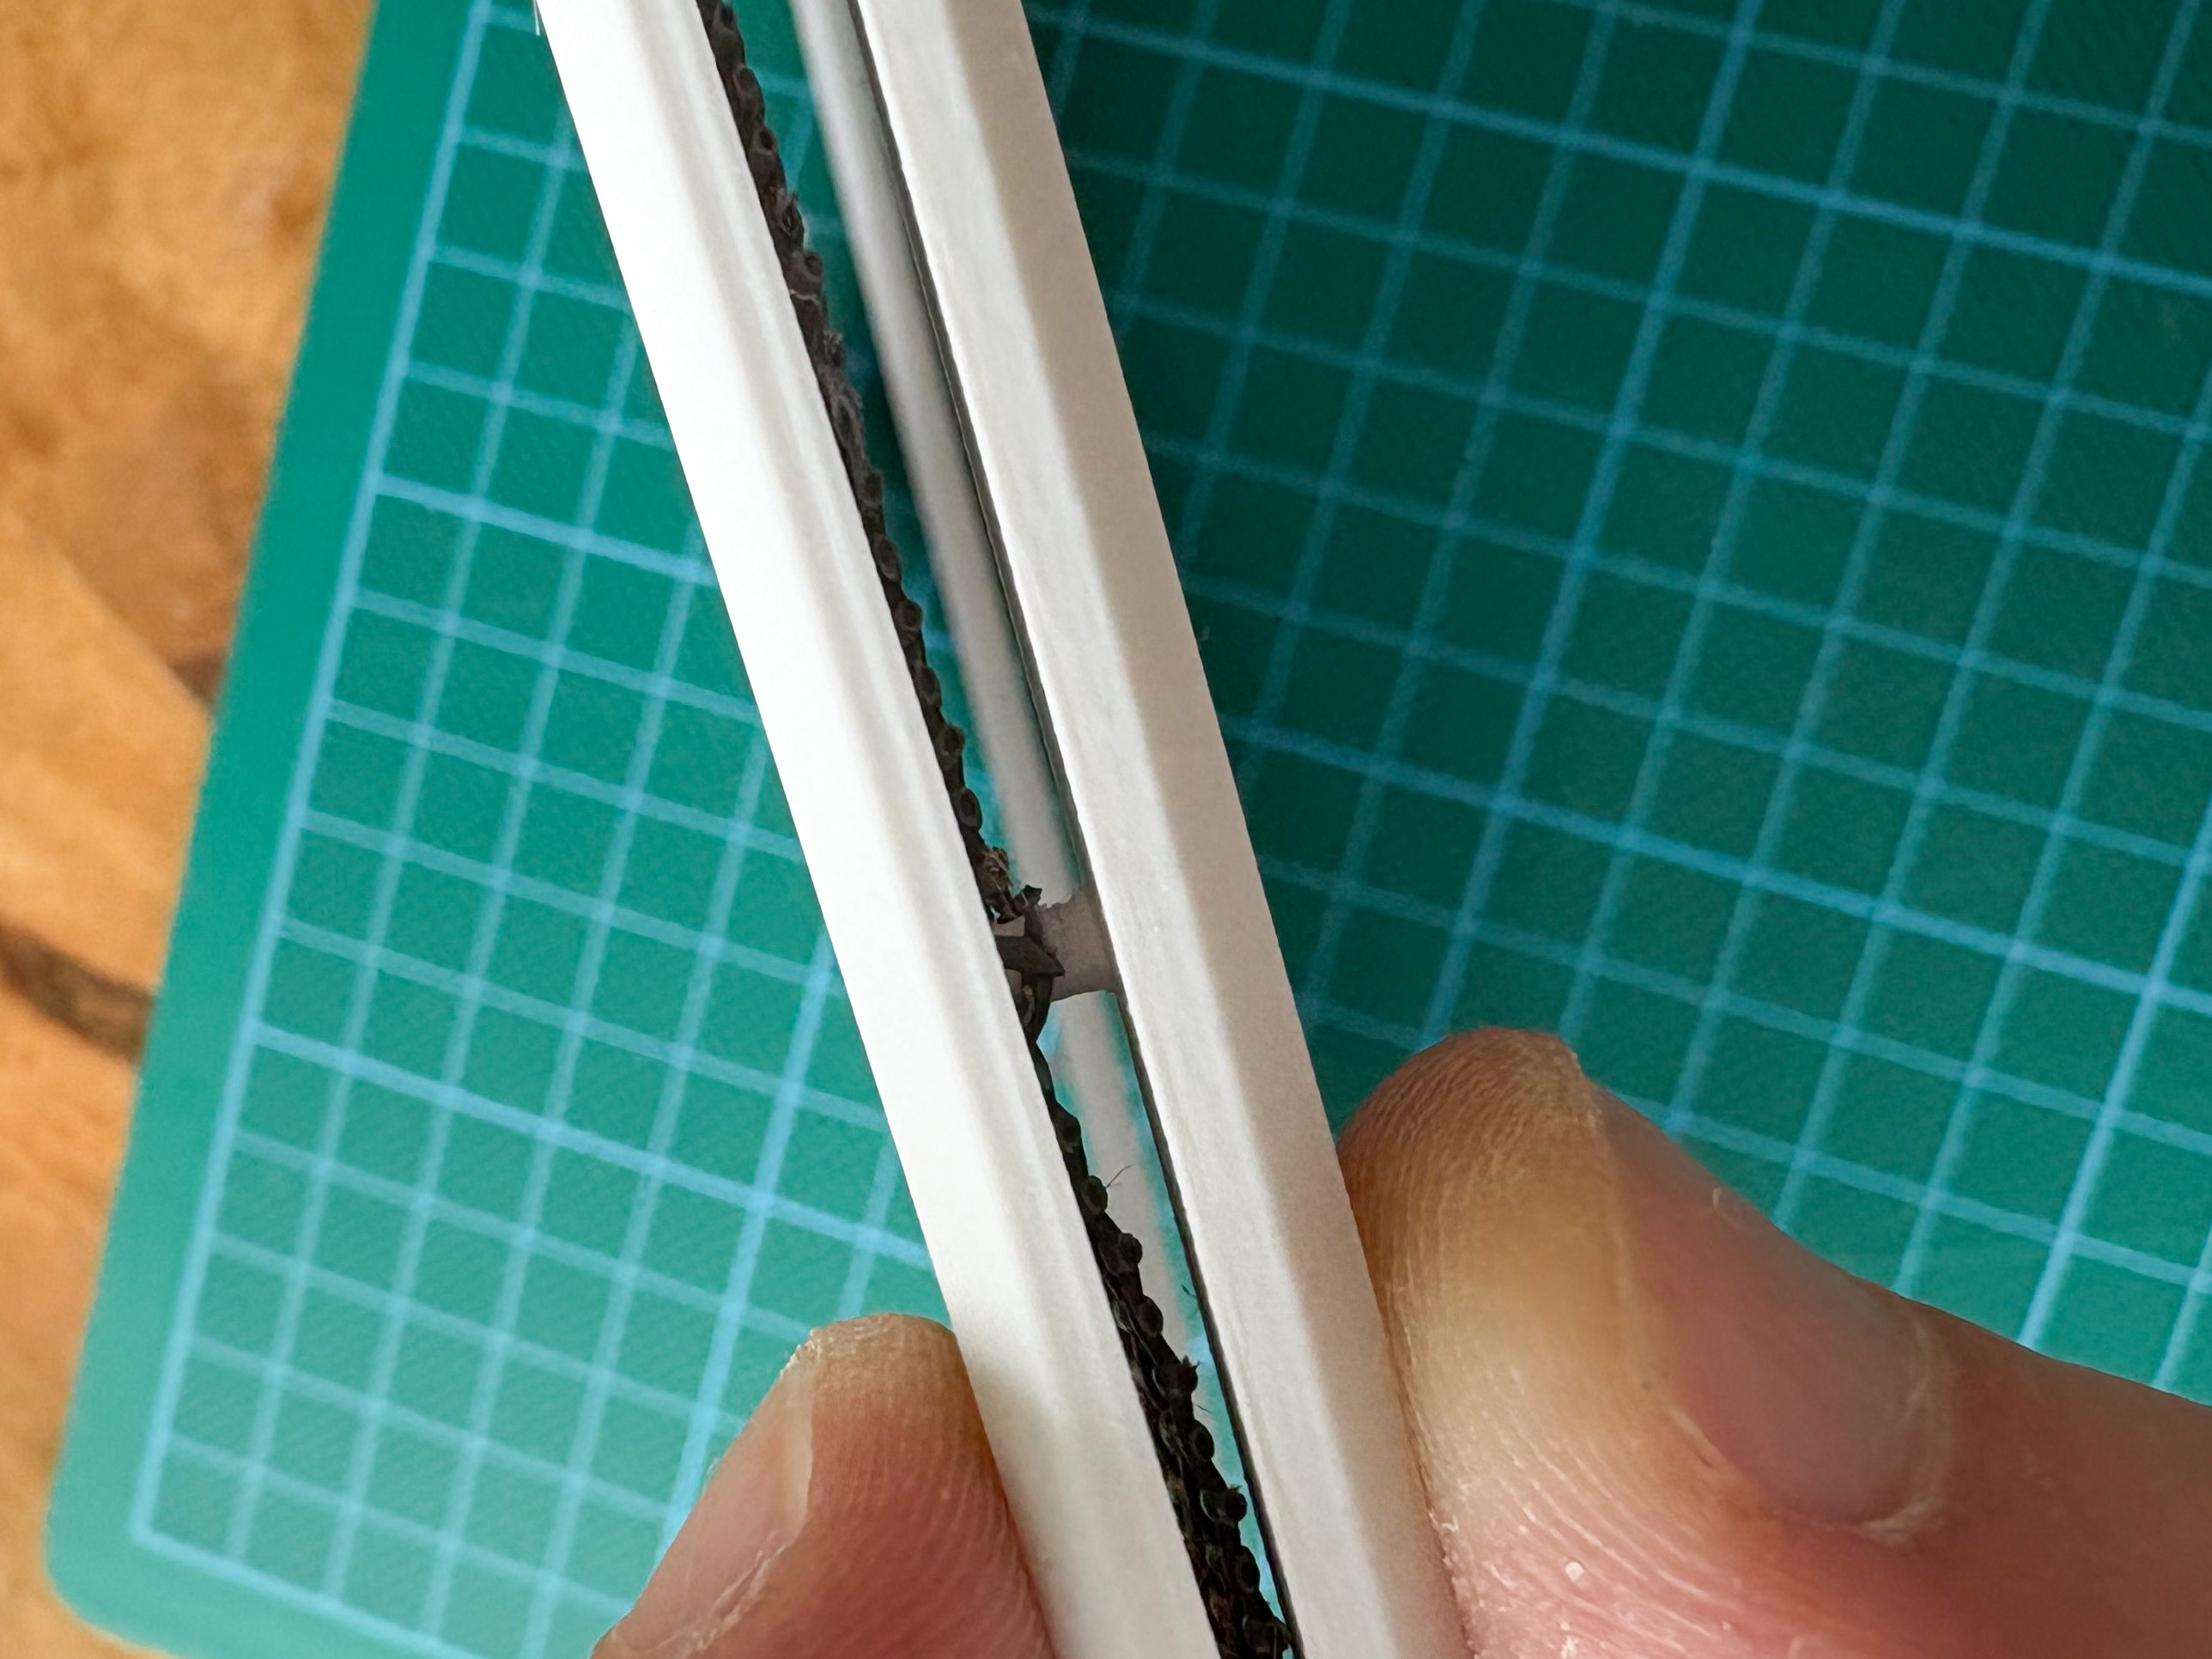 |
You should now have an assembled flap that can be placed in the frame.
If for some reason the screen got damaged you can print “flap solid” as a replacement. | 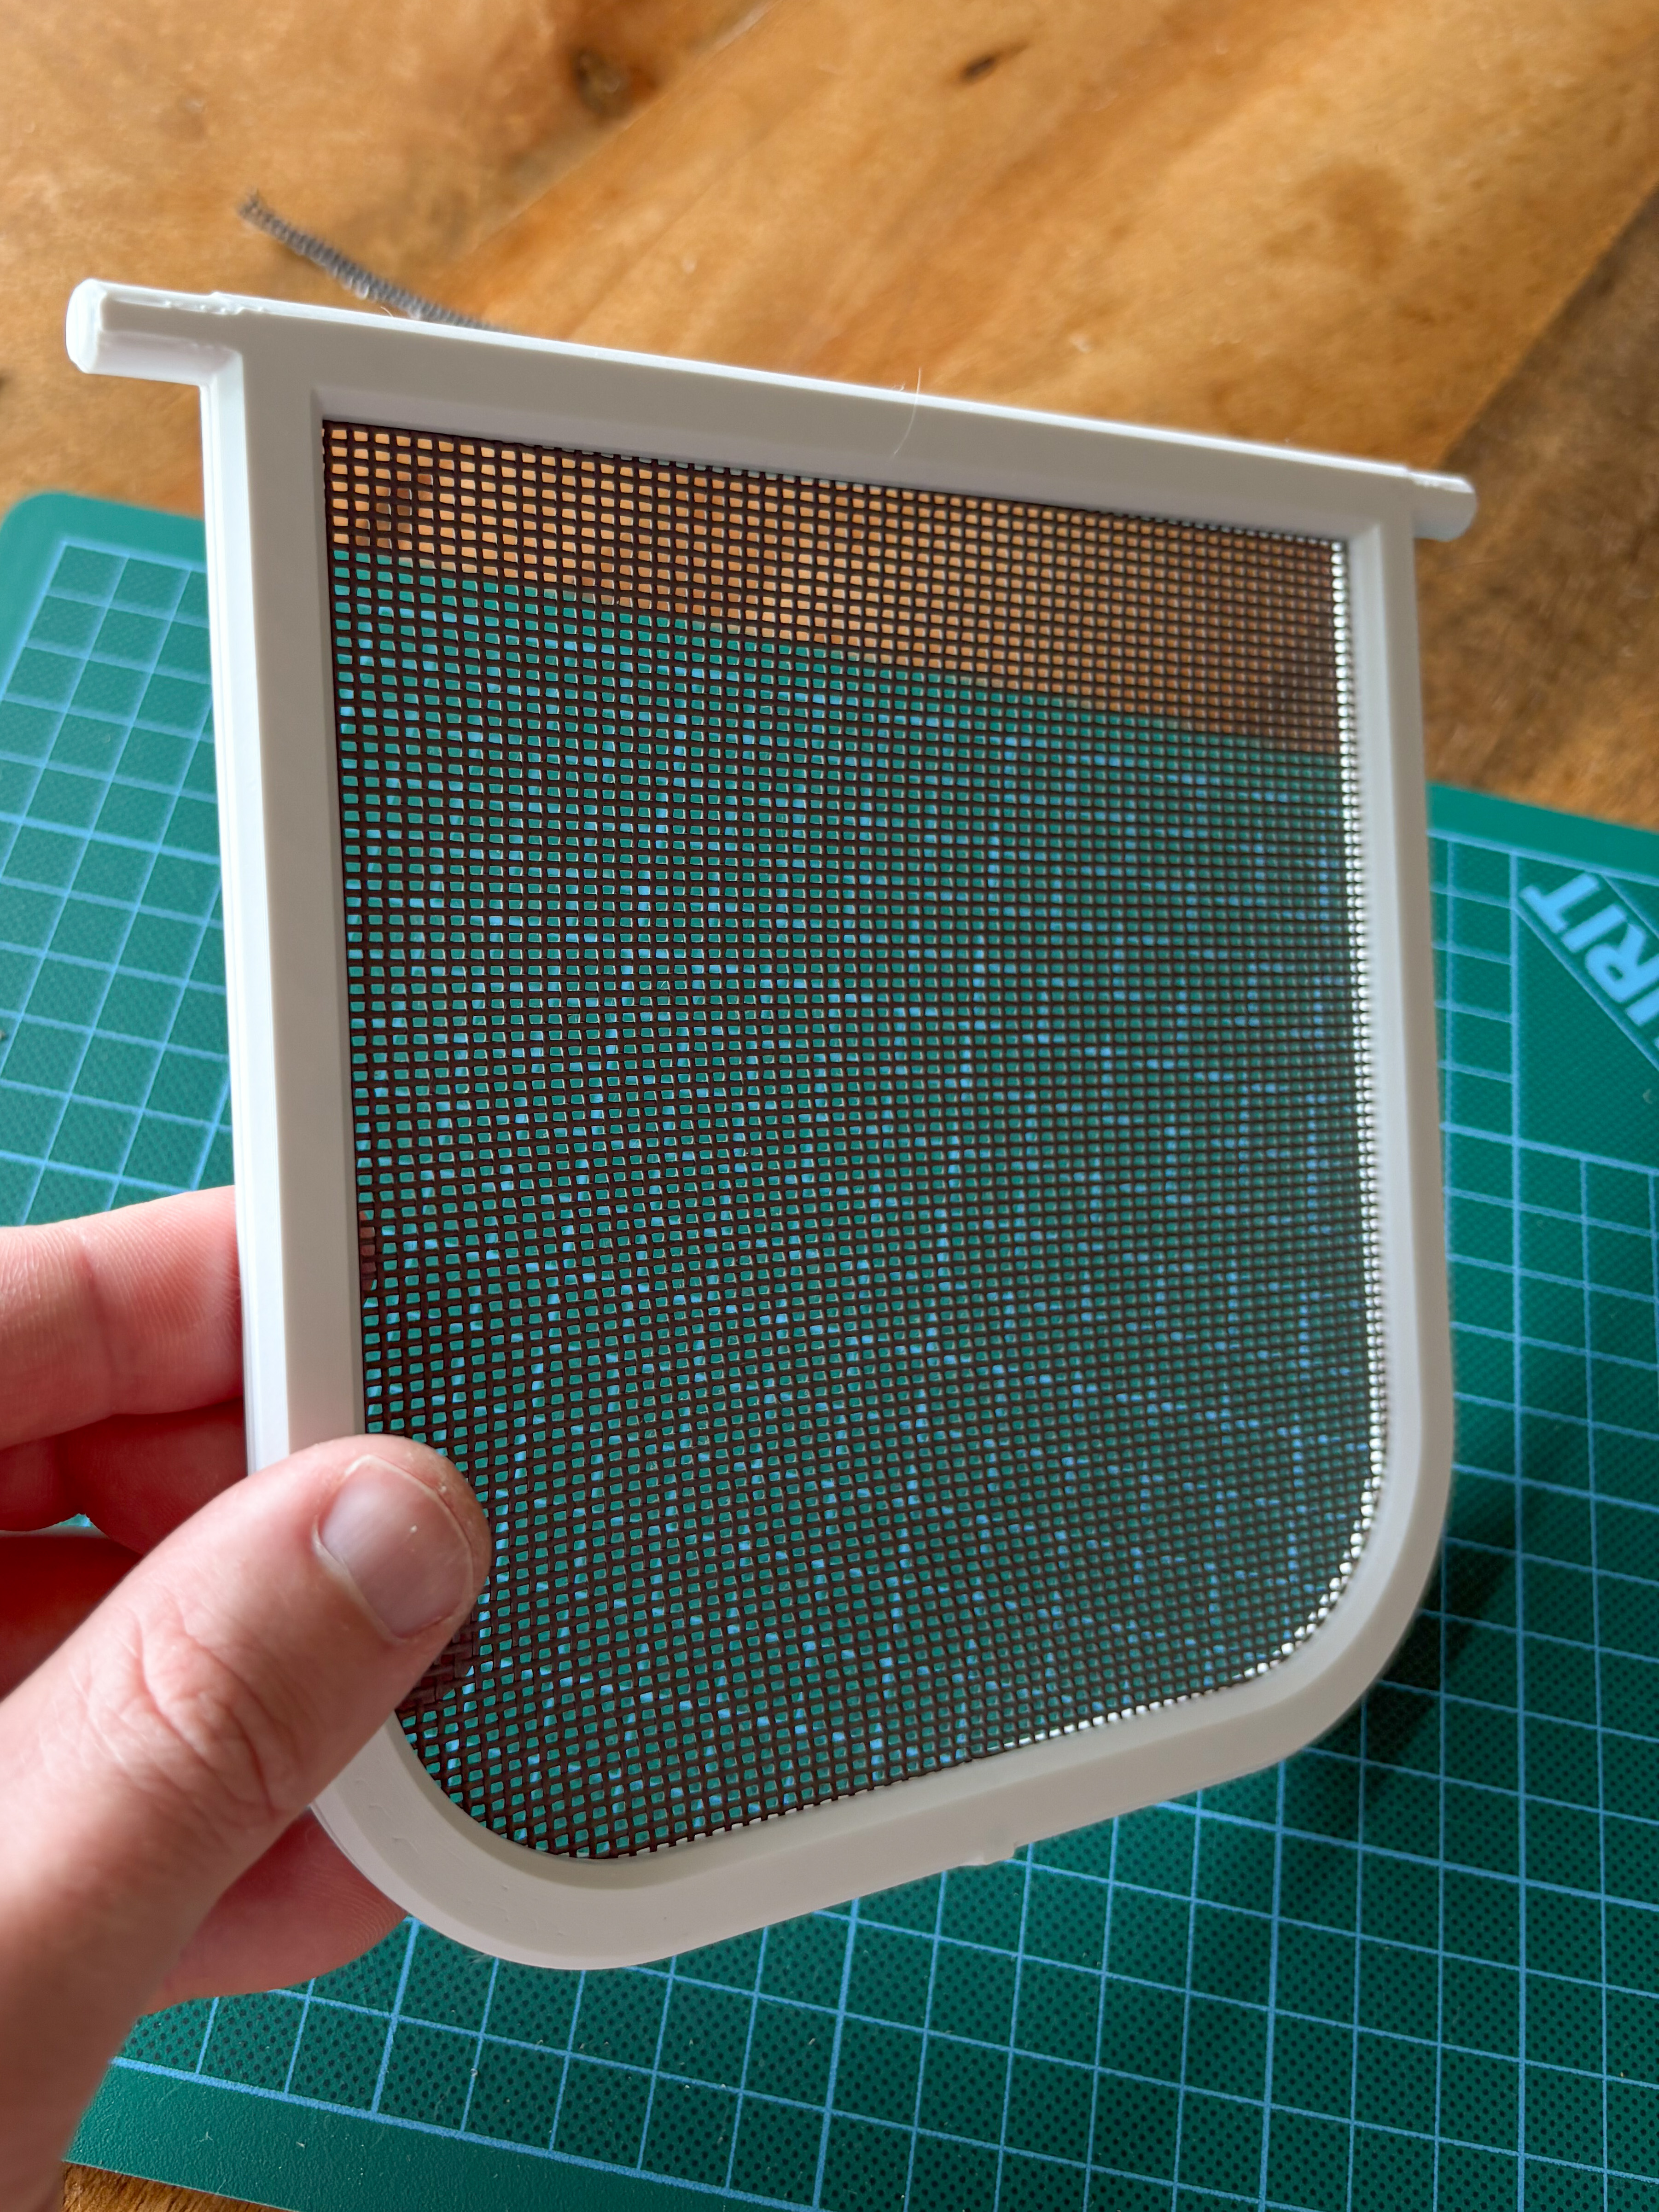 |
| Collect the bearings, flap and “frame top”. | 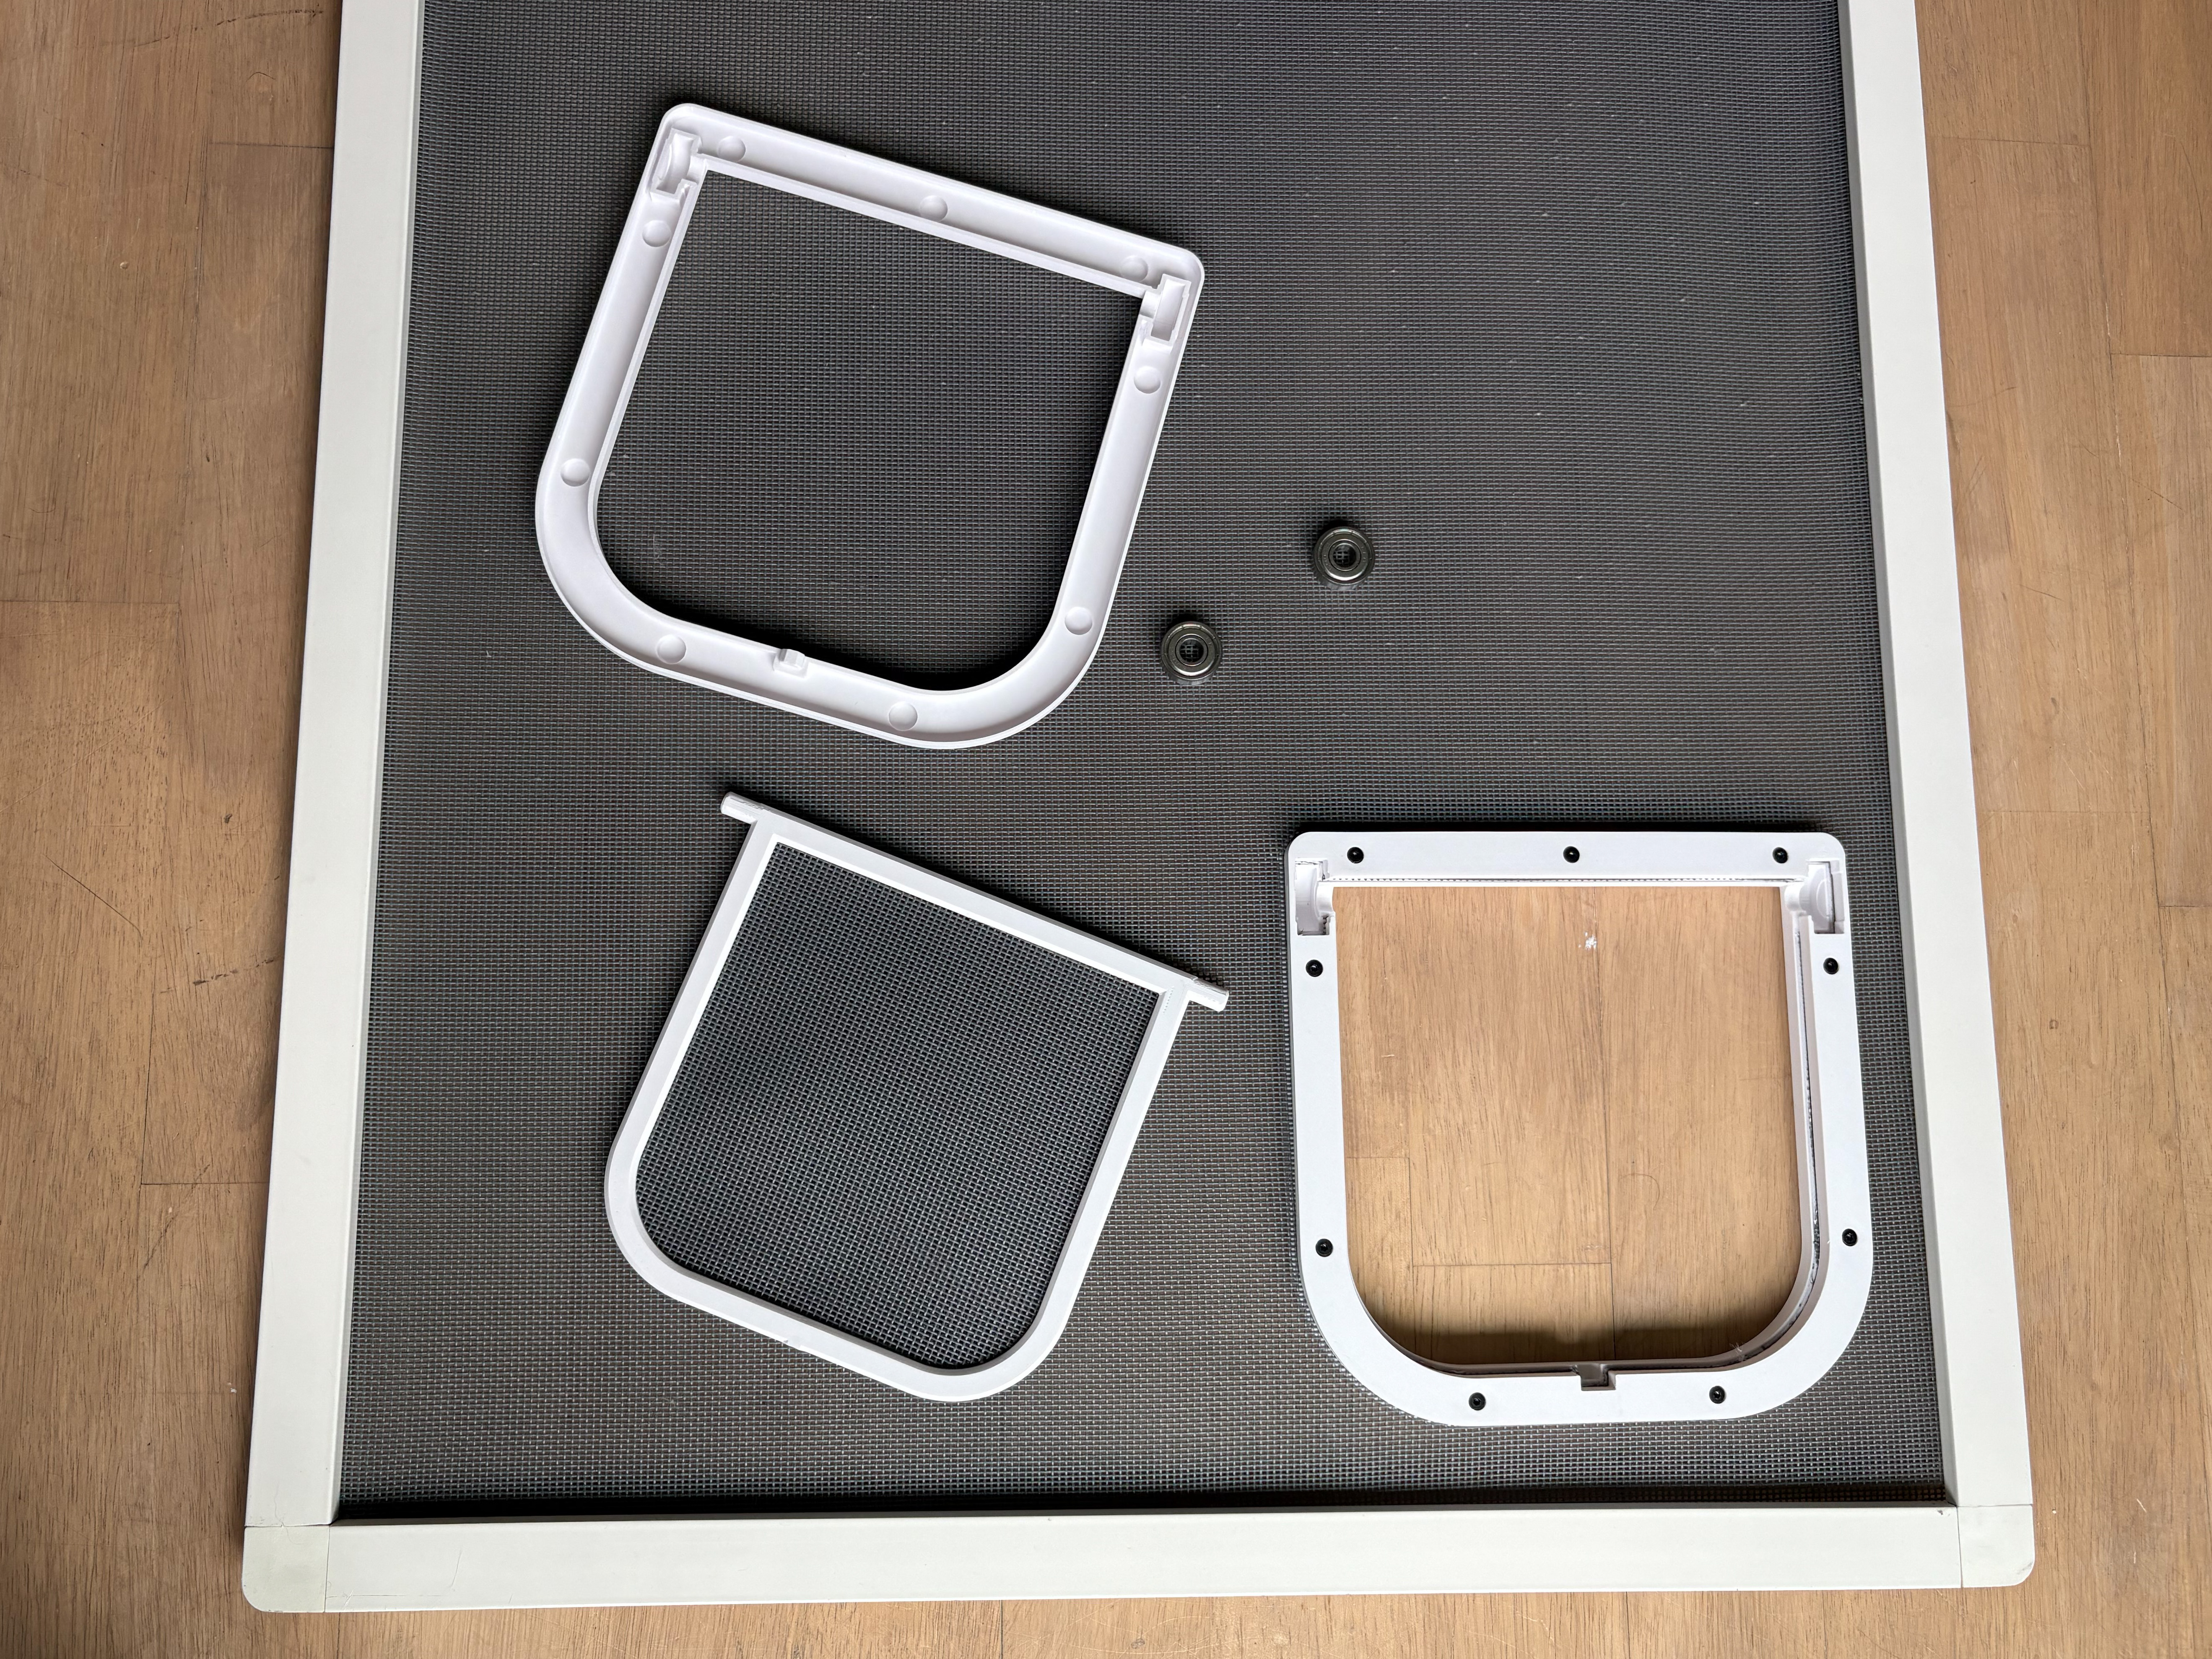 |
| Place the bearing on the pins of the flap. | 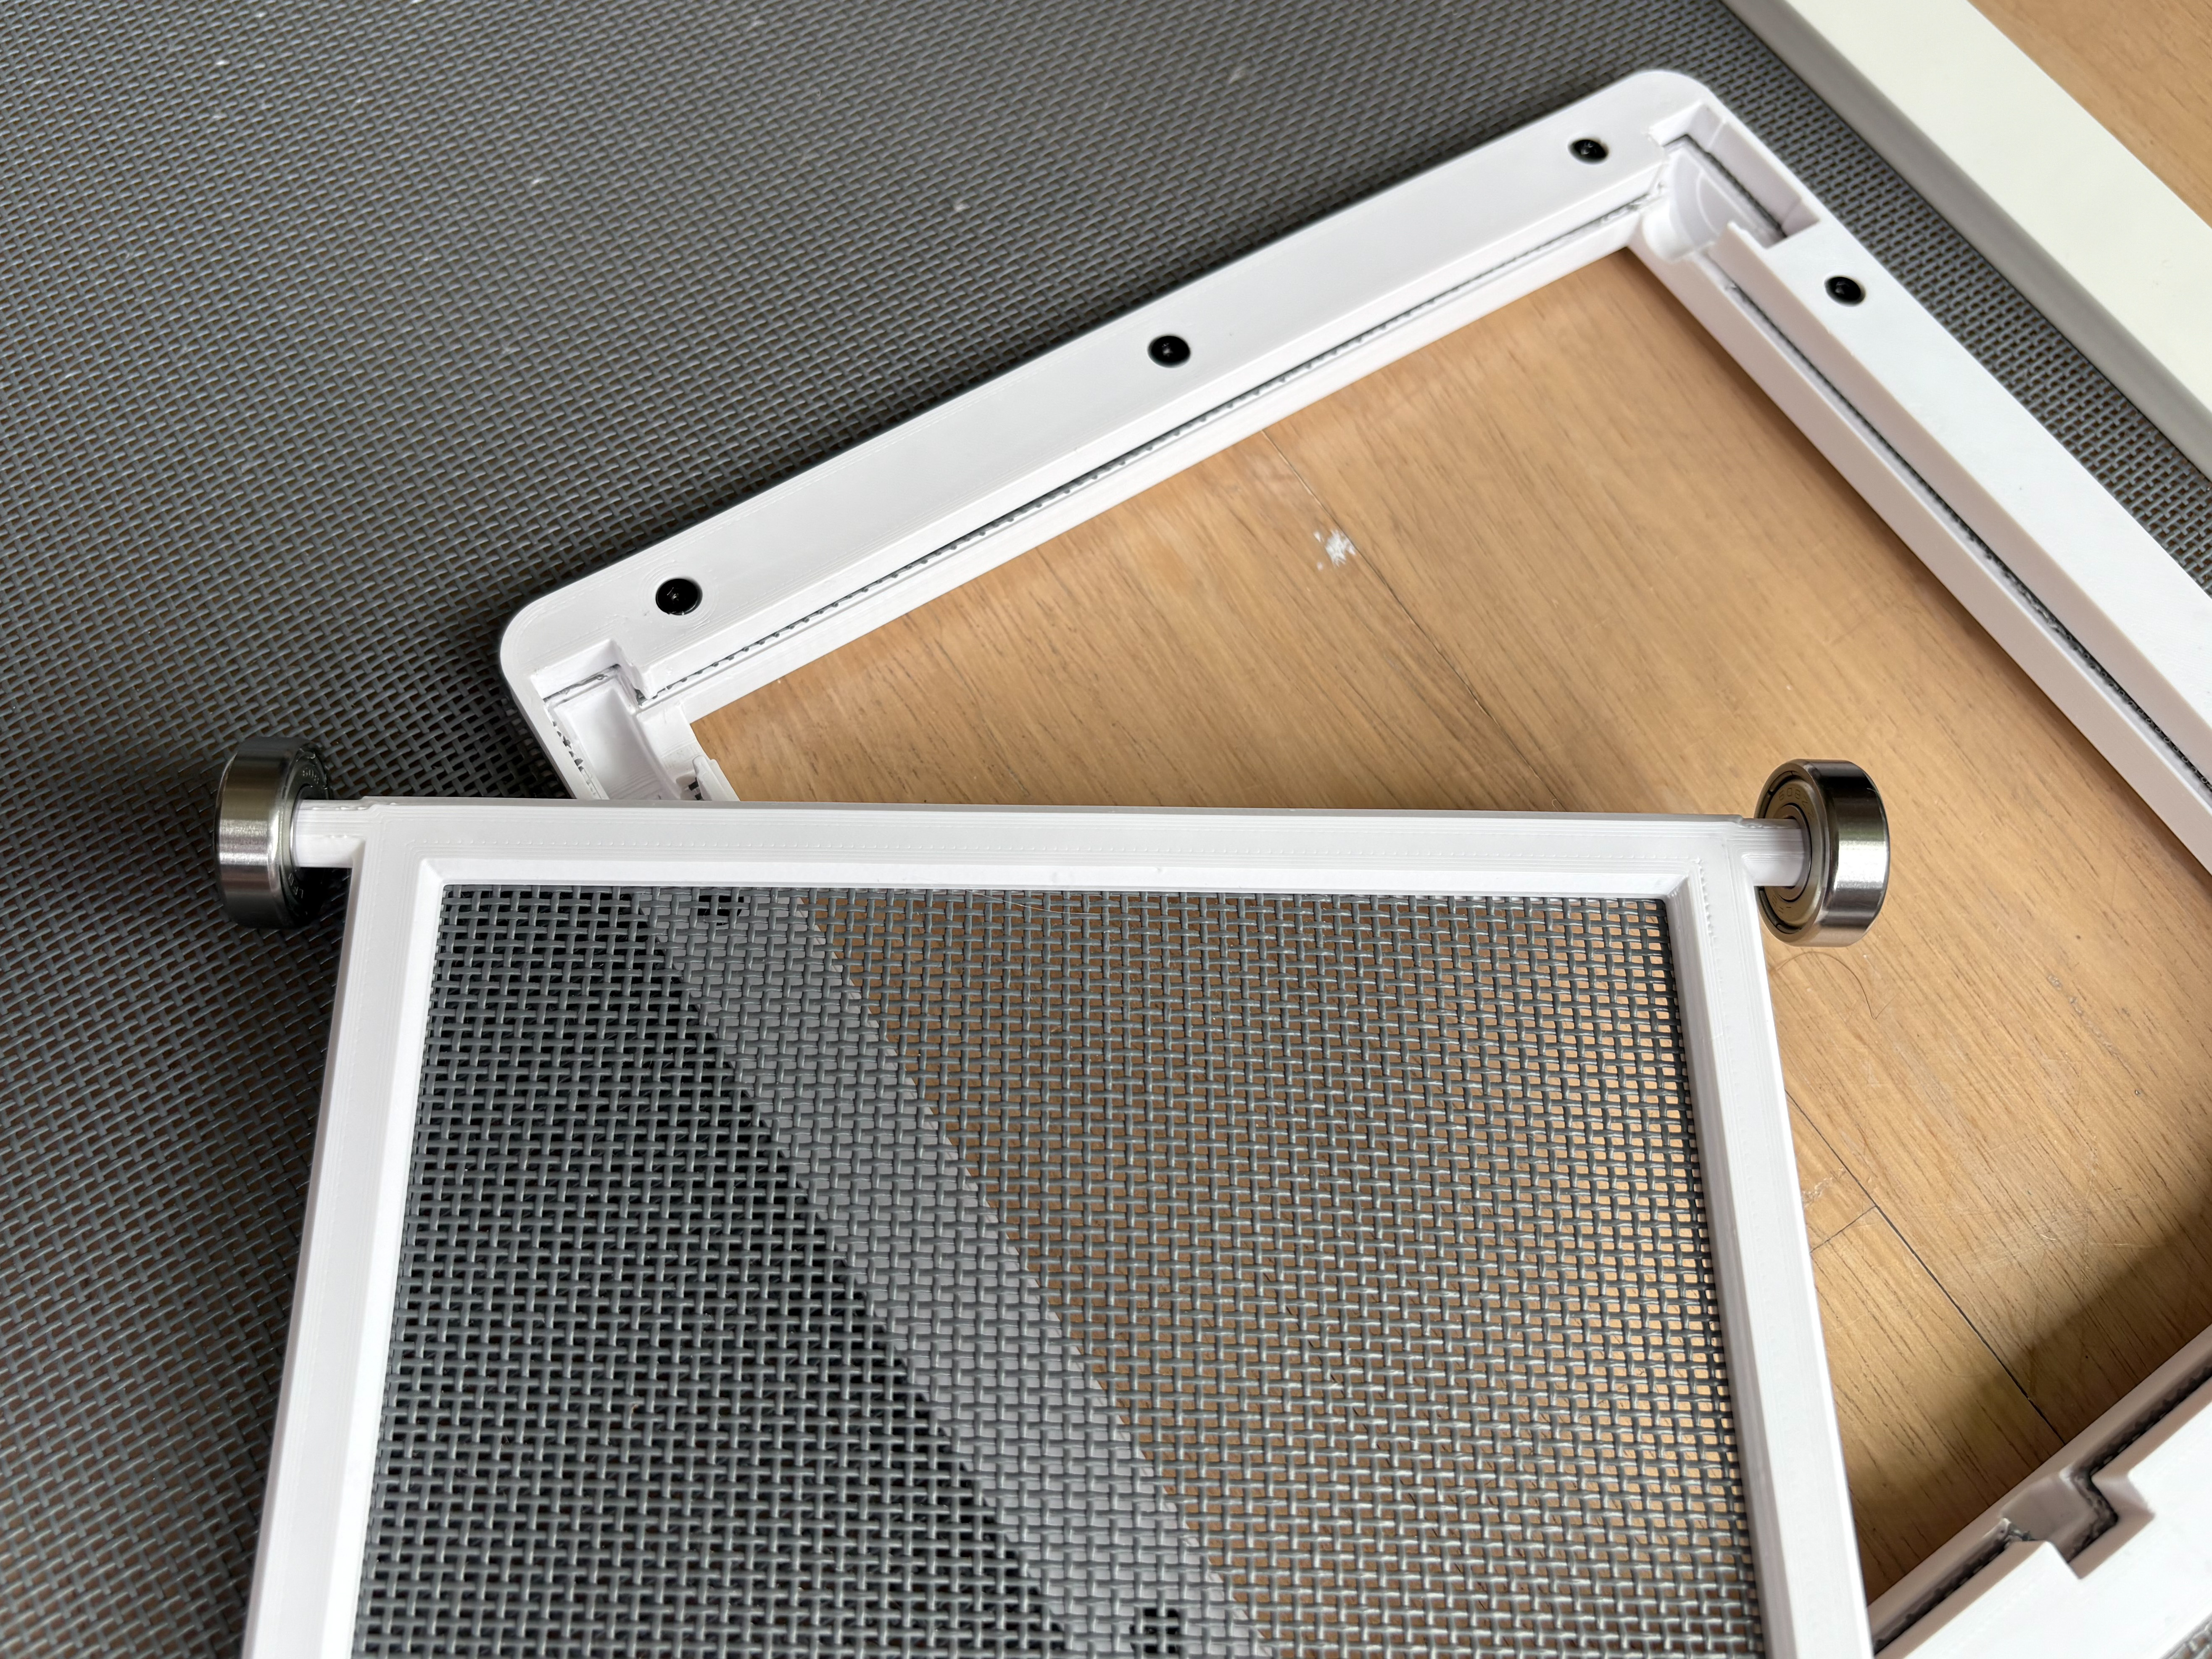 |
| Press the bearings with the frame into the holes in “frame bottom”. This should be a tight fit. | 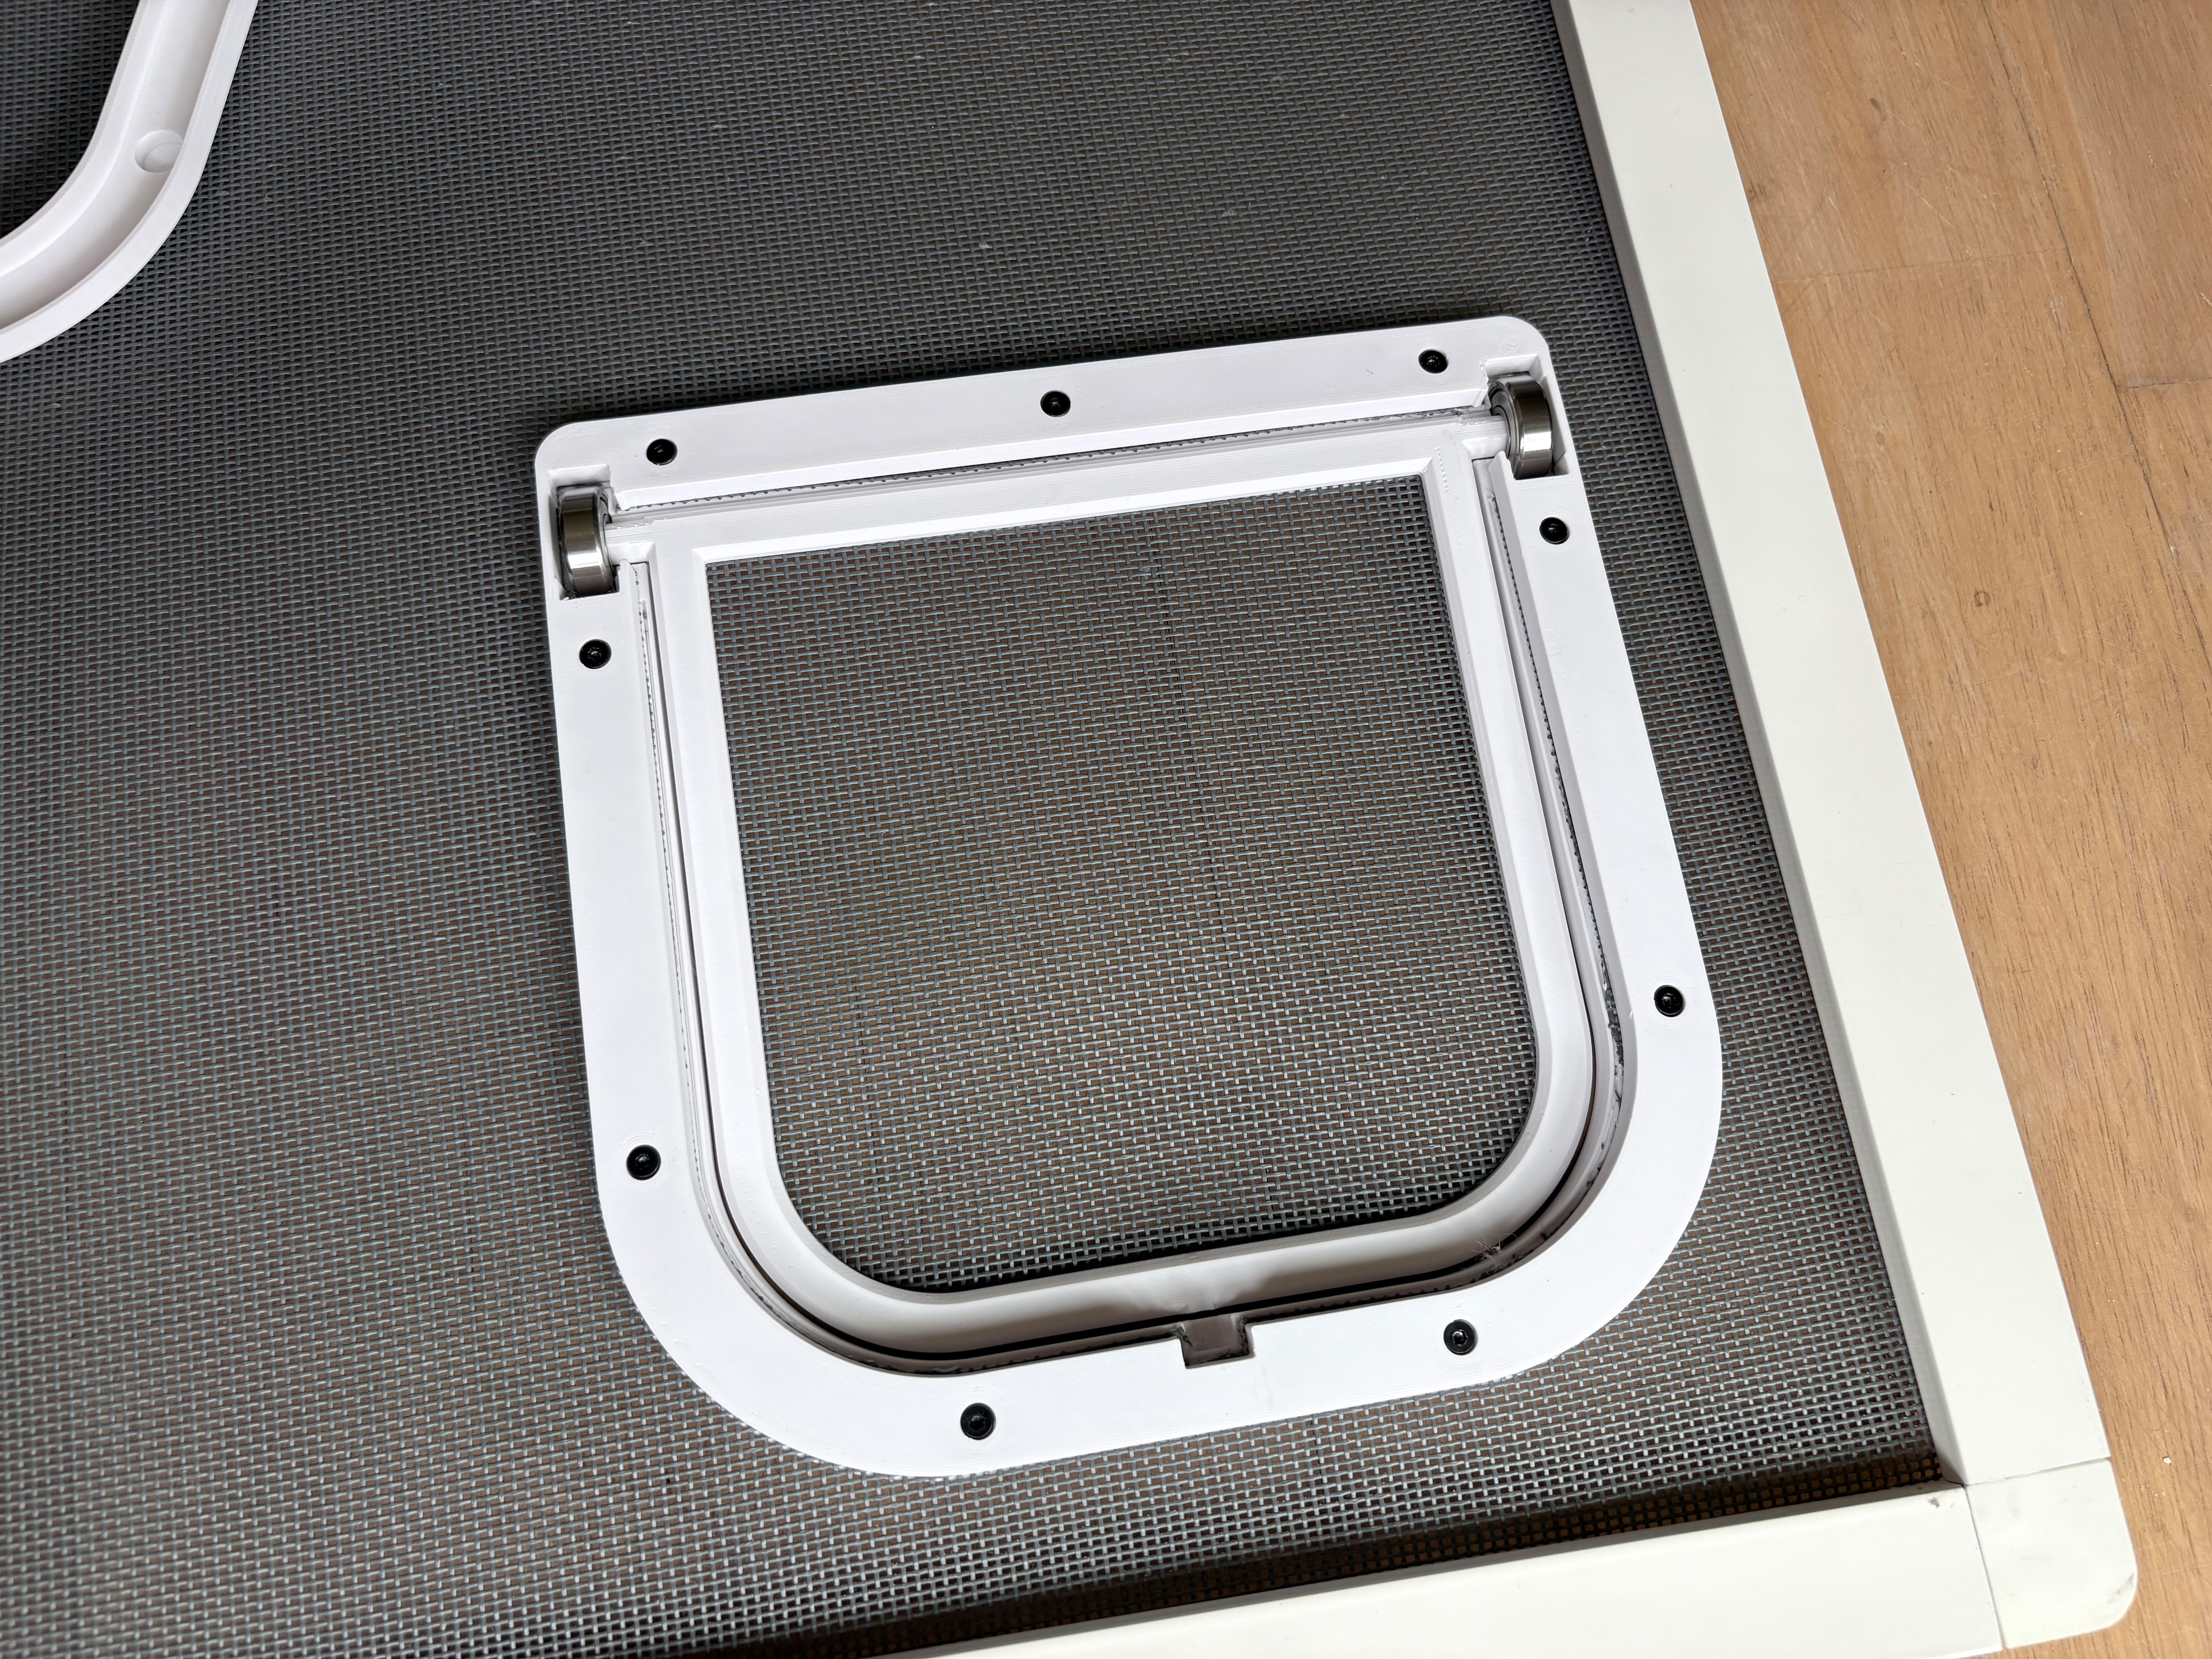 |
| Press “frame top” over “frame inner”. It should snap into place. | 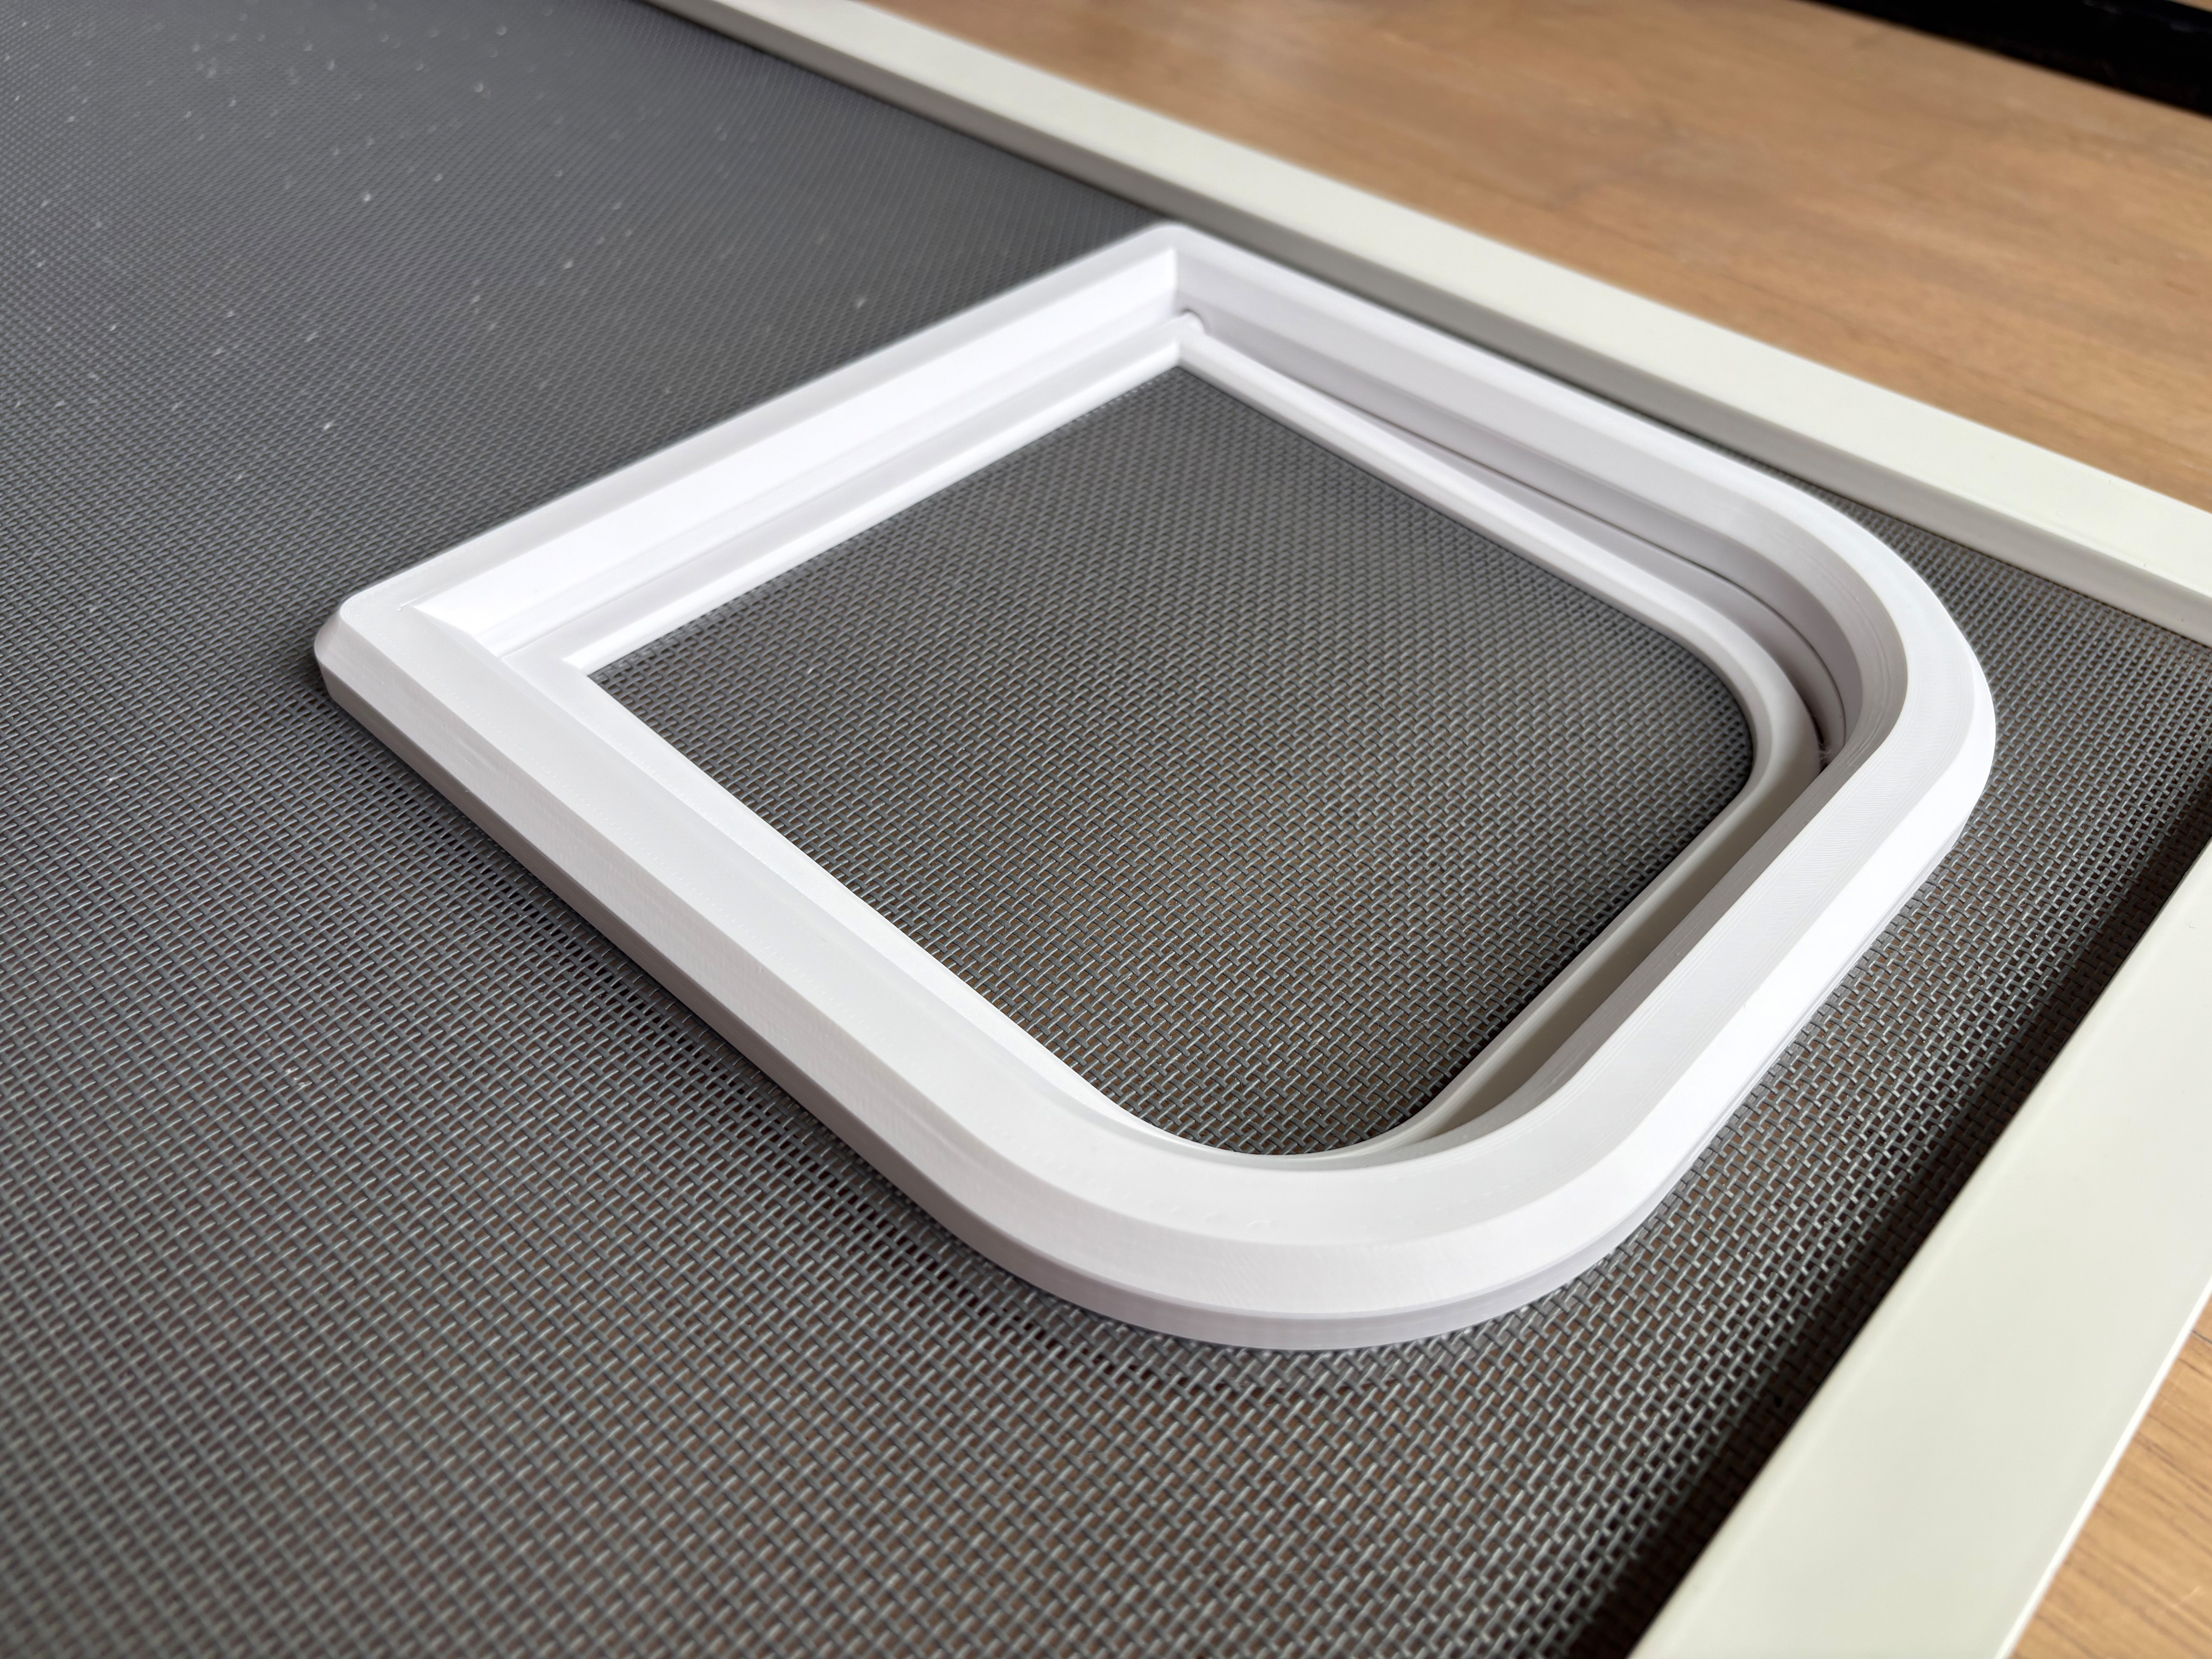 |
You now have a cat flap in your bug screen!
(Absolutely required) Ask your quality assurance department to inspect the result. | 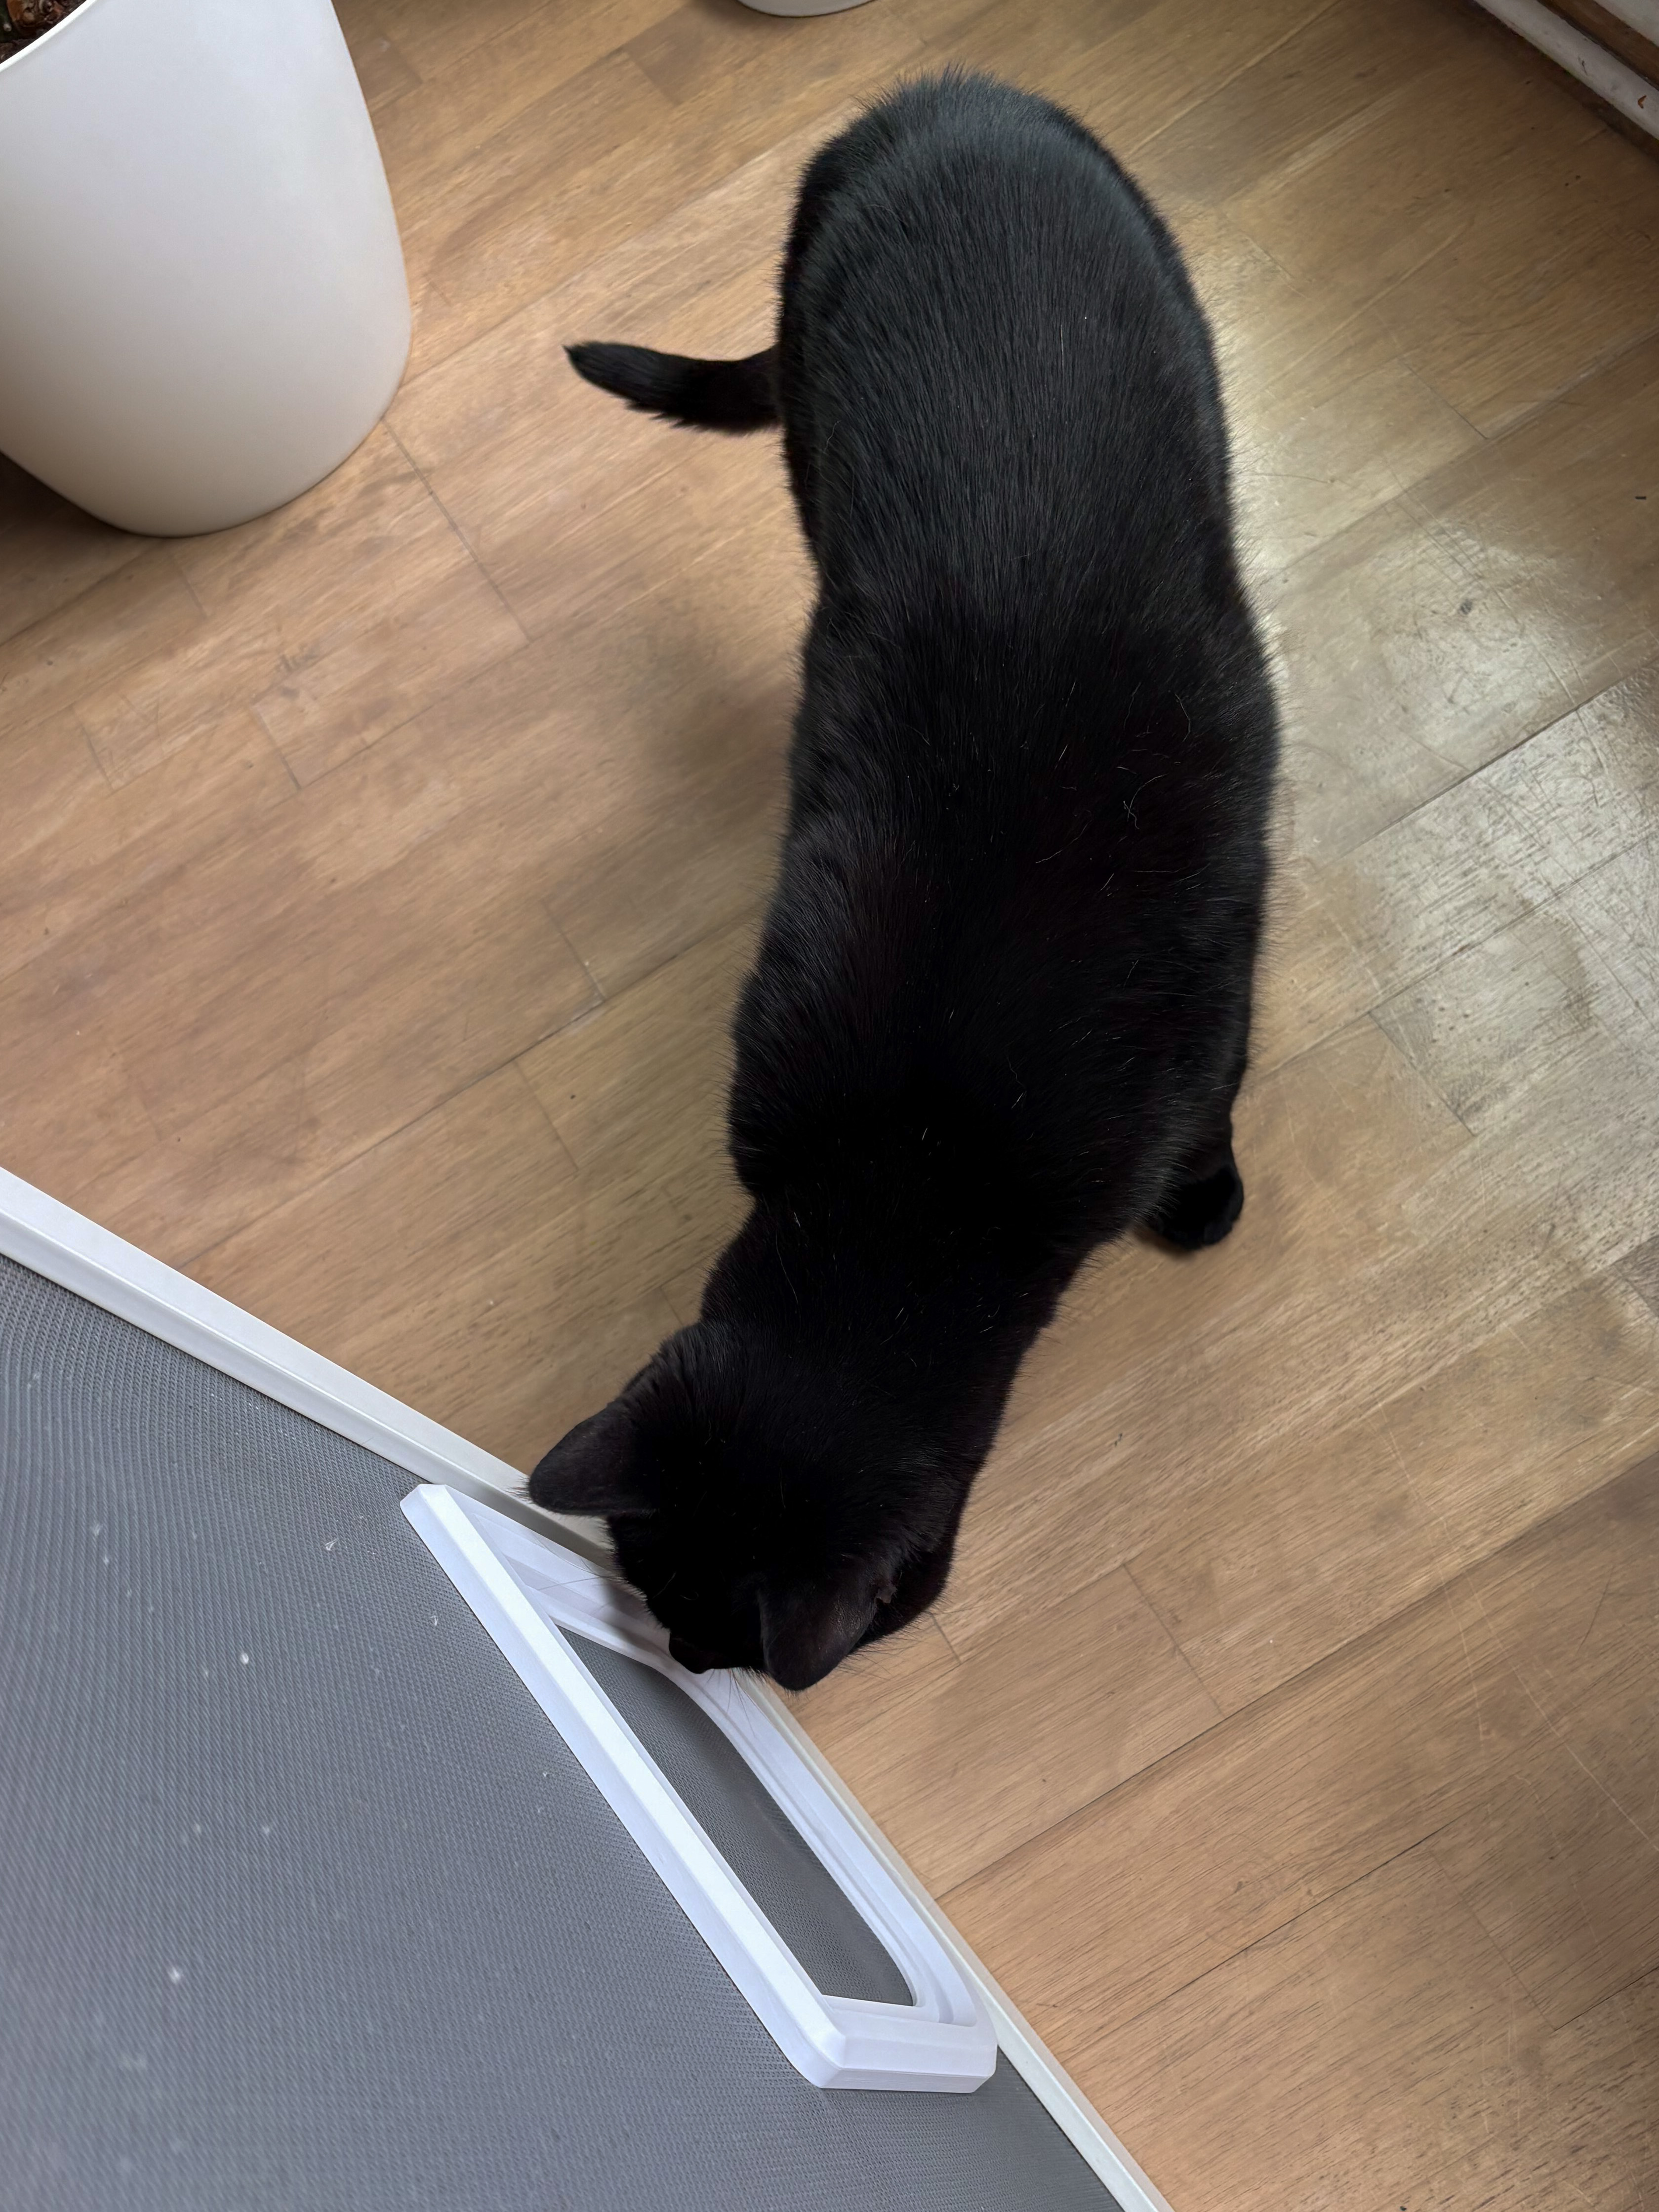 |

Gostou deste modelo? Crie uma conta grátis para salvar seus favoritos e voltar a eles depois.
Criar conta