Você está no 3DFinder
Buscamos em Thingiverse, MakerWorld e Printables ao mesmo tempo para te dar o melhor de cada uma.
Descrição
A mini music workstation powered by a Raspberry Pi 4. The enclosure is designed to house the Raspberry Pi 4 and a 10,000mAh battery.
For the keyboard, it uses the popular "Rii Mini X1" model. The display is an 800x480px DSI screen for Raspberry Pi - Waveshare 16239.
Additionally, a Teensy 4.1 is integrated, enabling music creation using the headless version of the M8 tracker. The built-in QWERTY keyboard can also function as piano keys for playing notes.
Because I made only one cyberdeck unit, the tutorial has to be based on the disassembled version of mine.
This isn't a particularly complicated project to complete. In its easy version, you don't even need to do any soldering.
The PRO version is intended only for people who have basic electronics knowledge and know how to solder.
What you need:
- RPi 4 or 5
- Screen [https://www.waveshare.com/4.3inch-dsi-lcd.htm](https://www.waveshare.com/4.3inch-dsi-lcd.htm)
- Rii Mini X1 keyboard (aliexpress or amazon ) [https://a.co/d/3nwcQ2i](https://a.co/d/3nwcQ2i)
- The power bank is of your choice. I won’t specify a particular brand because for my version I used some noname one and I don’t even remember what it was. Remember that for the Raspberry Pi 4, the power bank must have higher output (min. 3A)
usb c cable
Optional:- Soldering kit
- some wires
- 3,5 mm jack socket
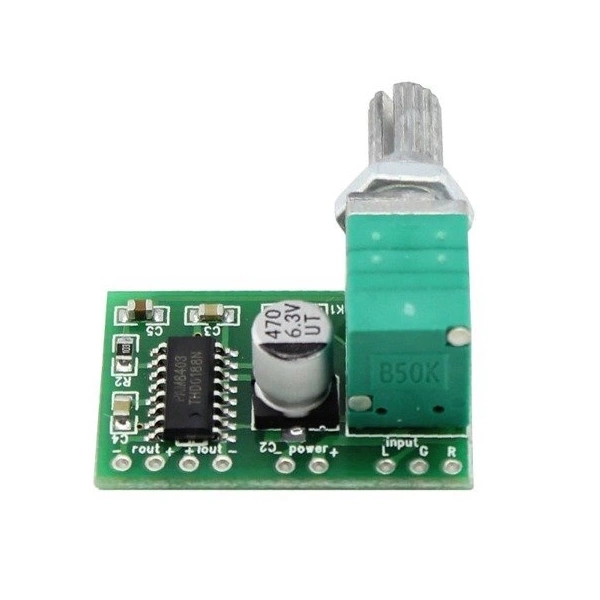
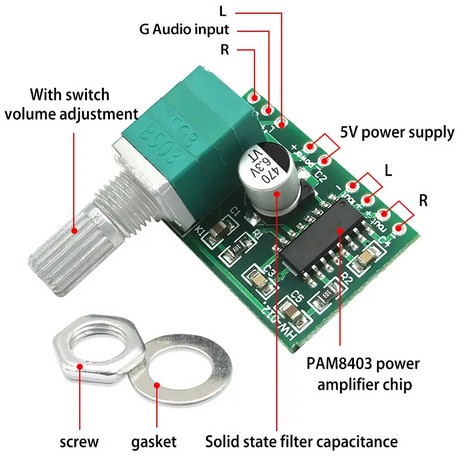
PAM8403 2x3W audio amplifier module - potentiometer
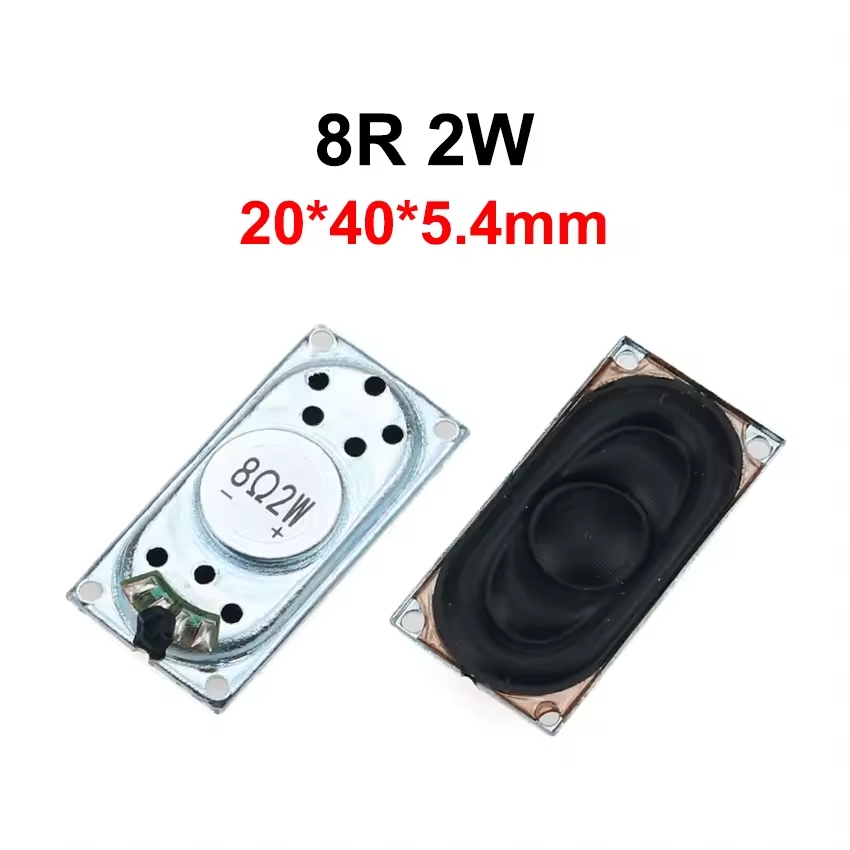
- 2 x 8ohm 2w Speakers
Step 1
We print all the elements ;)
Step 2
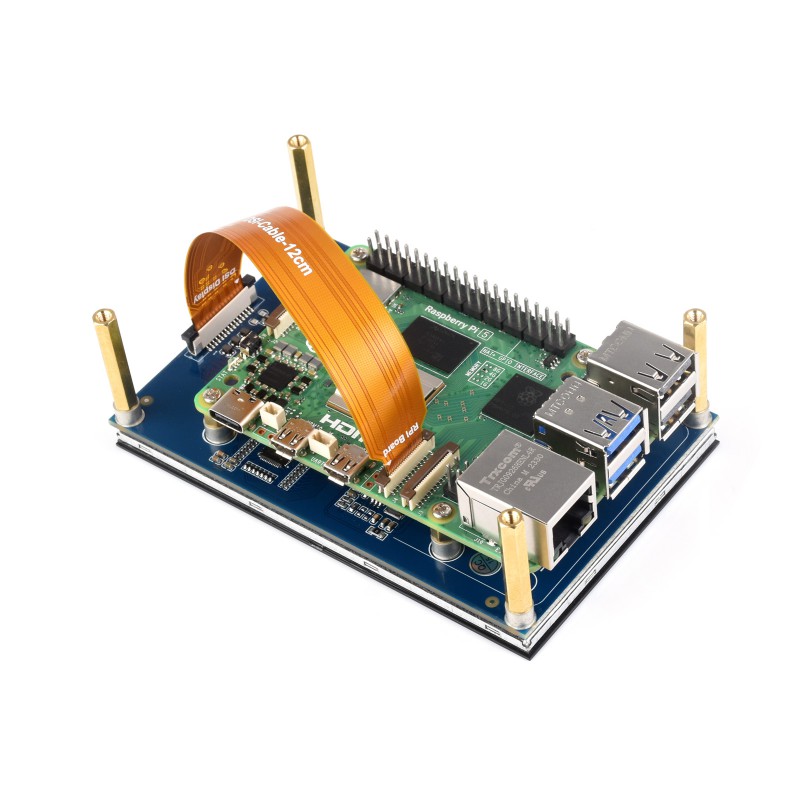
We screw the screen to the Raspberry Pi 4/5
[https://www.waveshare.com/4.3inch-dsi-lcd.htm](https://www.waveshare.com/4.3inch-dsi-lcd.htm)
Step 3
Attach the screen together with the Raspberry Pi to the lower part of the case.
Step 4
Here we have two possible options:
a) Easier version – we use the entire power bank together with its case.
Pros:
- we don’t have to disassemble the power bank (which is sometimes not easy),
- there is no risk of short circuit, fire, explosion, etc.
Cons:
- the power bank takes up more space inside the case, so it will have to be smaller,
- there will be no possibility to power the keyboard, so it will need to be charged separately (I will describe the keyboard in more detail in the next steps).
b) Harder version – we disassemble the power bank and mount it without its case.
Pros:
- we have access to the charging module and all the power bank’s wires,
- we can solder the keyboard wires directly to the power bank battery and, thanks to this, charge only one device.
Cons:
- this is dangerous. If the battery is mechanically damaged, it may catch fire or explode. You do this at your own risk!!!!!!
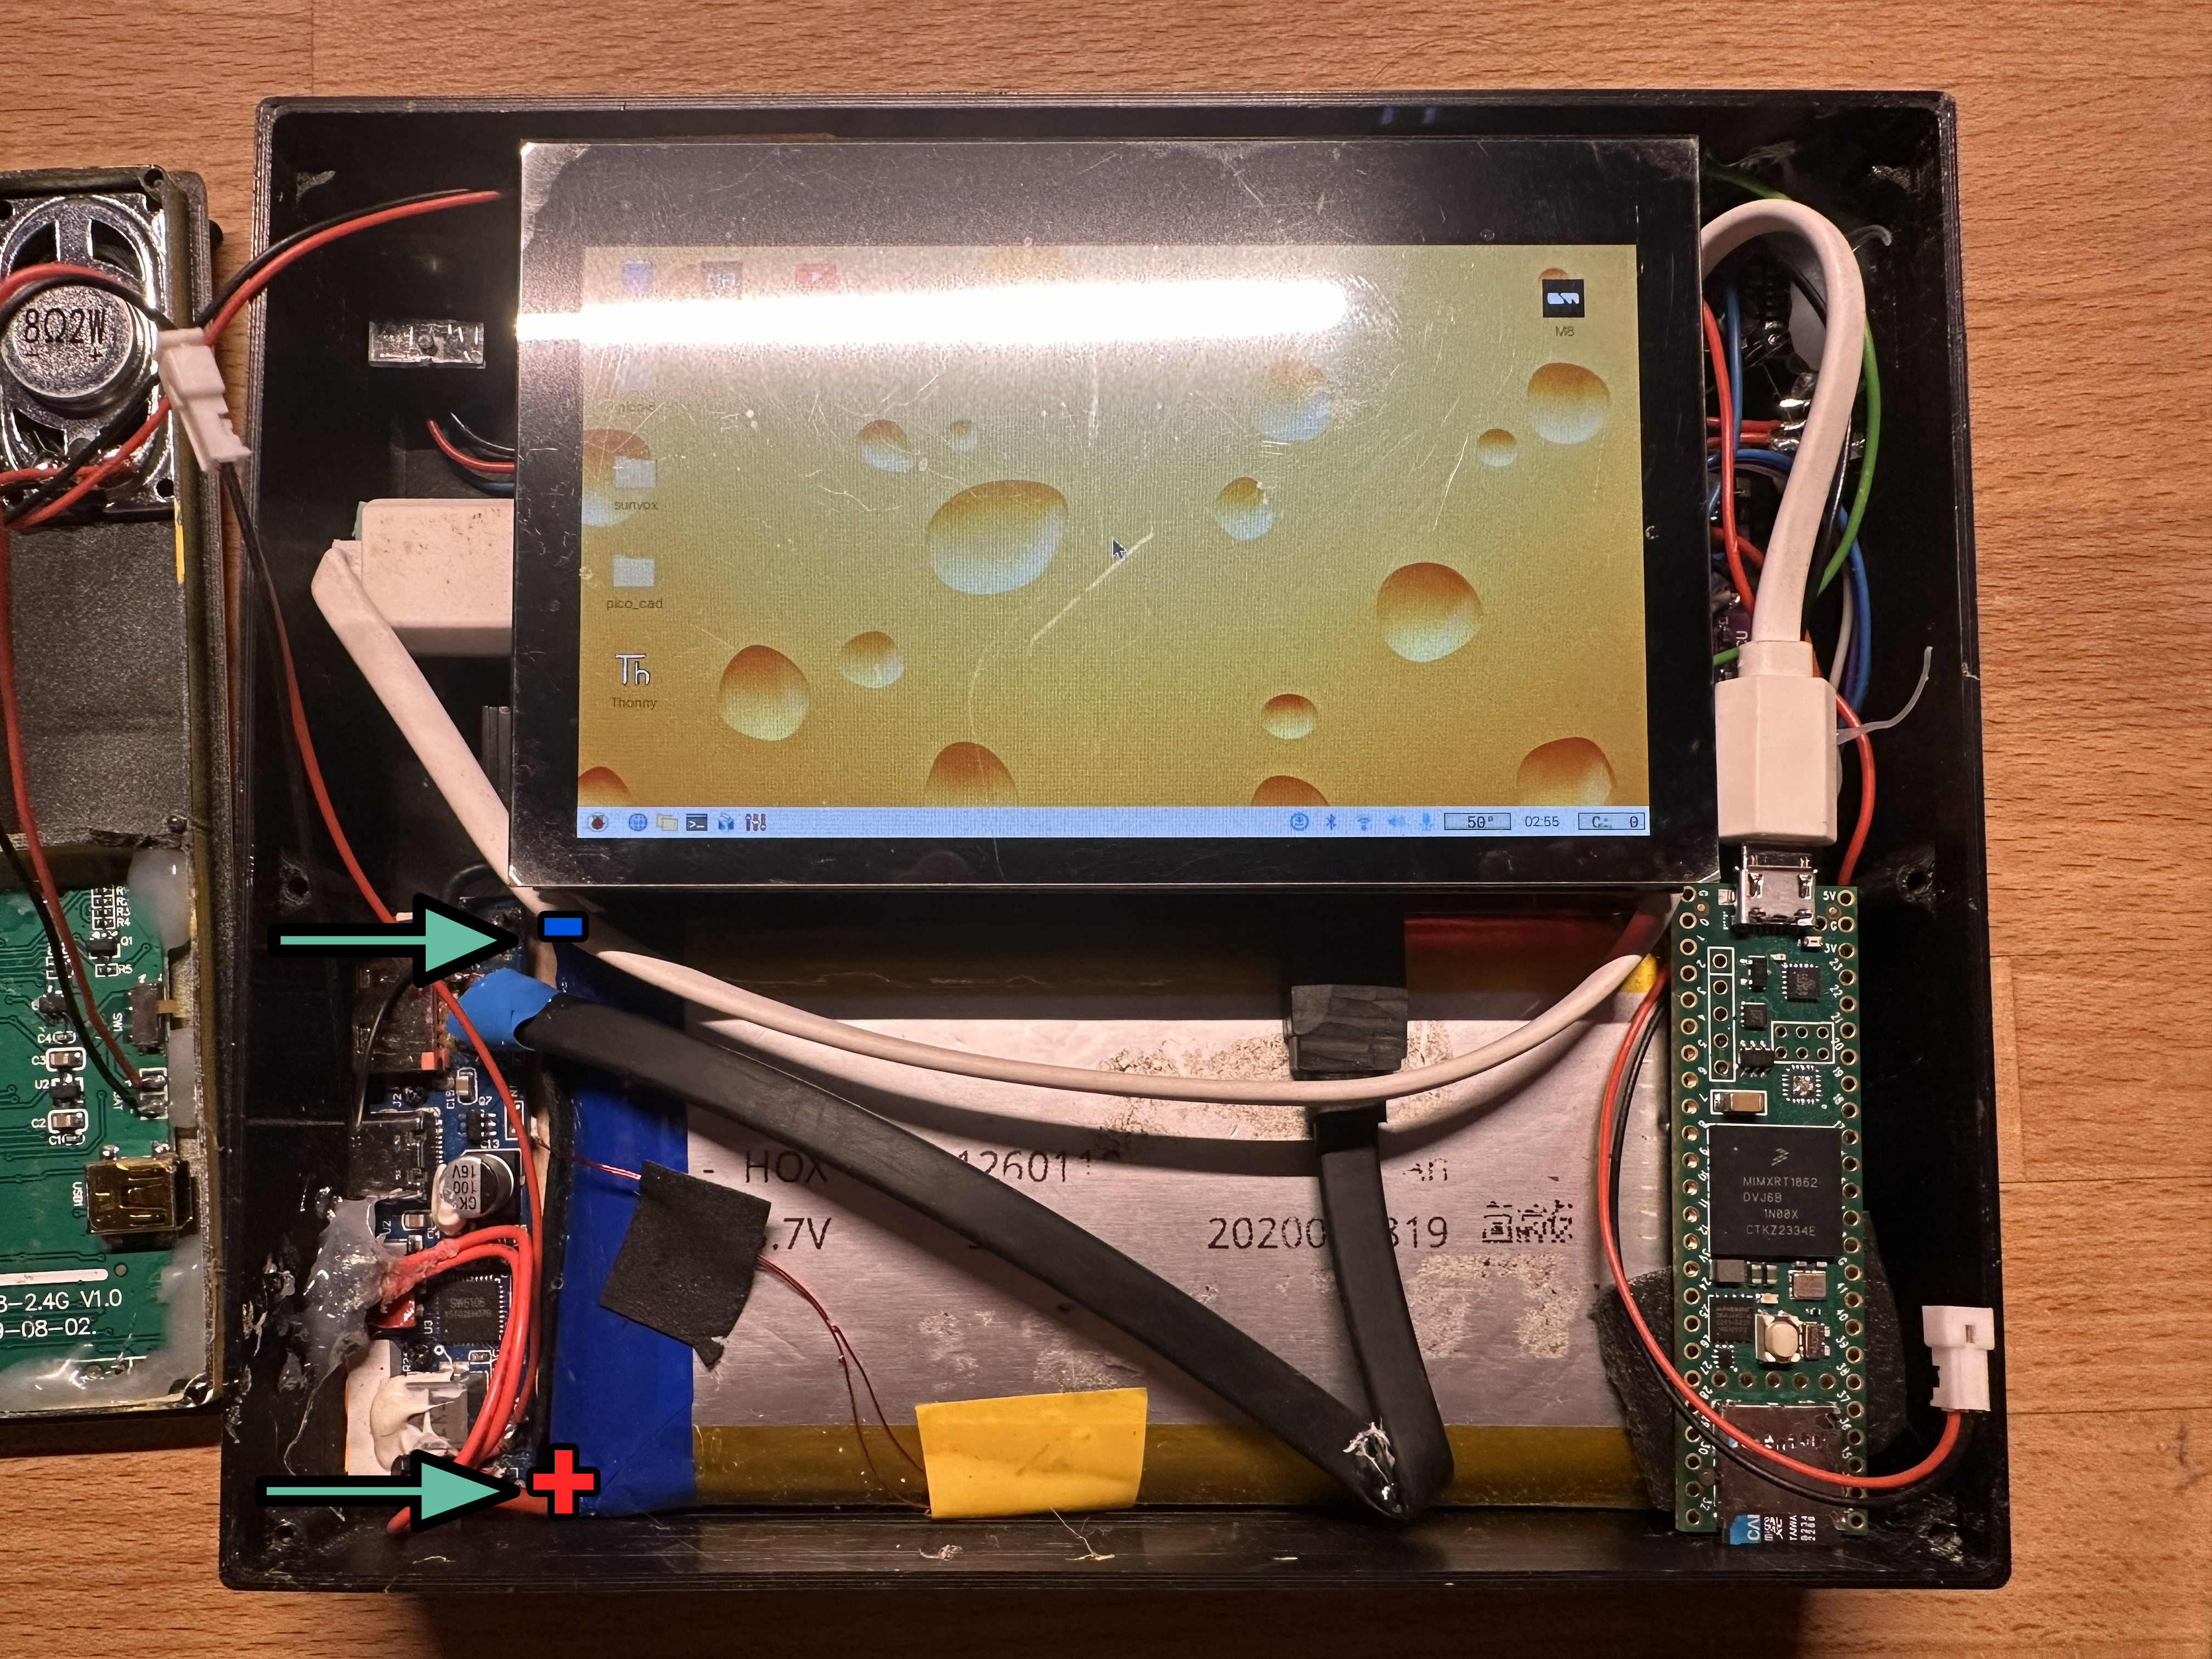
Regardless of the chosen version, we must check whether the power bank / battery fits inside the case together with the mounted Raspberry Pi.
Here’s a brief instruction:
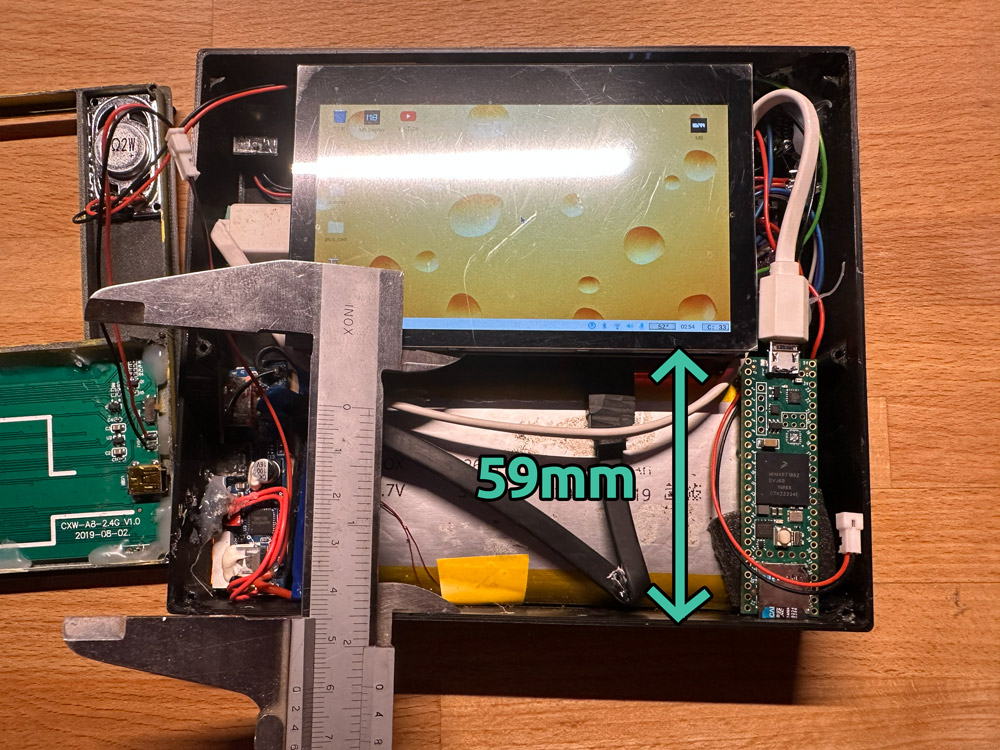
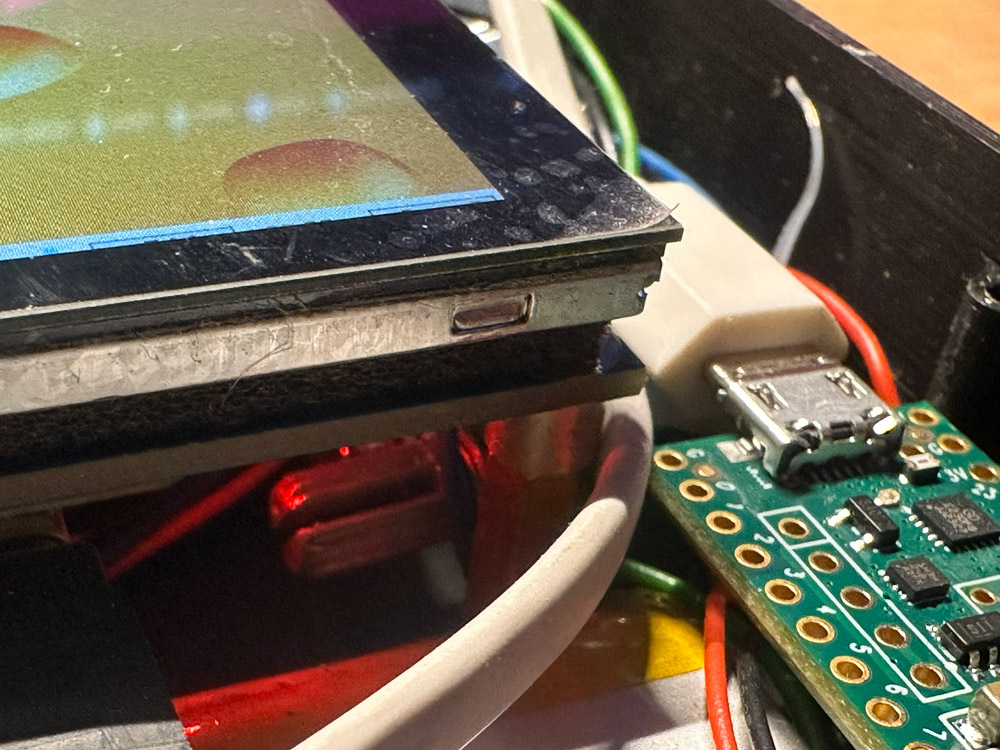
(In my version, I also added a Teensy 4.1 board, so ignore it—it’s not needed for this project )
Step 5
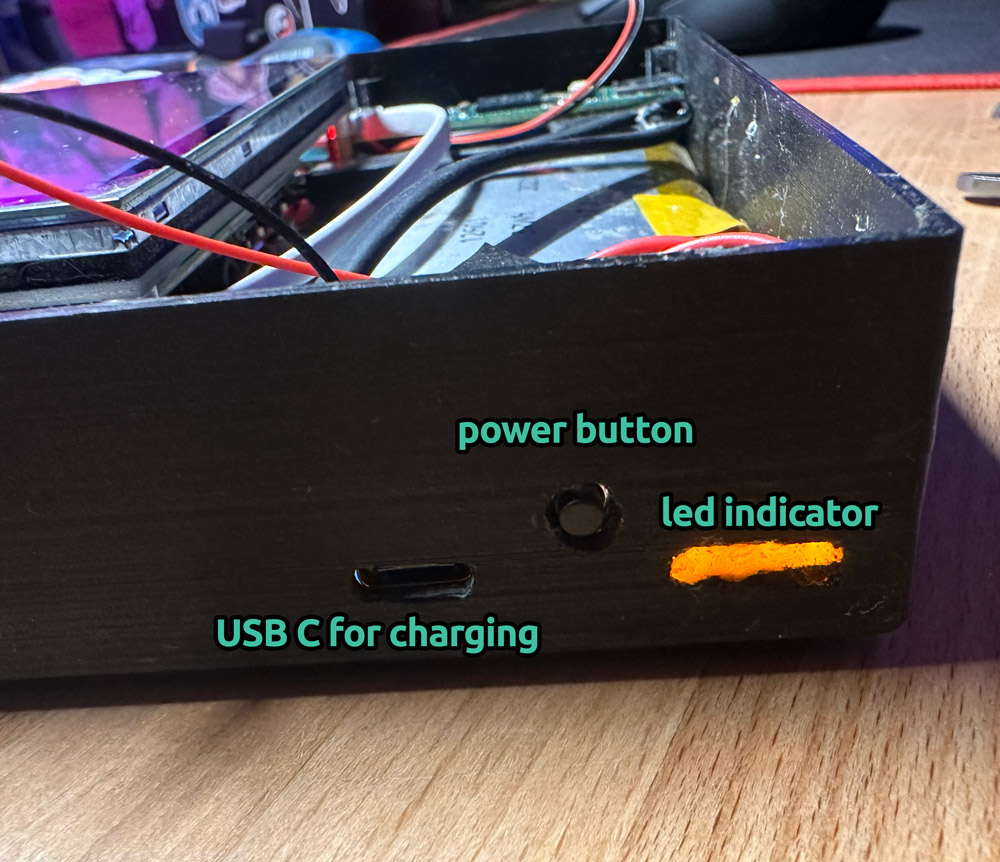
If the power bank fits, mark on the case the locations of the charging port, the battery level LED indicator, and the power button of the power bank. Then, remove everything from the case and cut the holes in the case.
IMPORTANT!
Check if your power bank has a power-off option. See if, for example, pressing twice or holding the button for a few seconds turns off the power bank.
This is very important because when you connect the power bank to the Raspberry Pi, you must have the possibility to completely turn it off.
Step 6
Disassemble the keyboard and remove its membrane and PCB. Place the membrane in the printed upper case, then position the PCB and align it. If the buttons line up with the membranes, glue them with hot glue. I don’t recommend using other glue because if you make a mistake, there’s no going back. With hot glue, you can heat it and, if necessary, peel it off or reposition it.
Non-soldering version:
Mark on the case where the keyboard charging port is and cut a hole in the case so the keyboard can be connected.
PRO version:
Desolder the battery and solder two wires directly to the power bank battery.
Glue the speakers in place and solder wires to them.

Step 7 – Easy version:
Buy a short audio extension cable. Plug the male end into the Raspberry Pi and attach/glue the female end to the upper part of the case.
PRO version:
Solder the speakers to the amplifier, and solder the amplifier to the audio jack on the Raspberry Pi 4 (or use a jack plug). Mount the amplifier on the right side under the screen, or wherever you find it convenient.
Solder the wires and install the headphone jack as in the easy version.
Step 8
Glue the power bank / battery to the case.
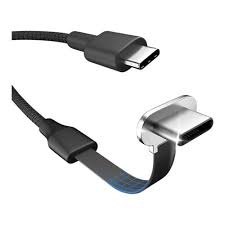
Easy version:
Use a flat angled USB-C cable. Insert it from the outside into the power bank’s input, guide it through the hole in the case, and connect it to the Raspberry Pi.
PRO version:
Solder the power cable to the power bank’s PCB and connect the USB-C end to the Raspberry Pi.
Step 9
Insert the SD card with Linux installed, close the case, and enjoy your cyberdeck :)
Cyberdeck - Raspberry pi 4 / 5

Publicado em 21 de mai de 2025