Você está no 3DFinder
Buscamos em Thingiverse, MakerWorld e Printables ao mesmo tempo para te dar o melhor de cada uma.
Descrição
Inspired by wooden planters sold at big box stores, as well as wanting a cohesive look for my garden and more space on my balcony, I made these repurposed pallet wood planters to hang over my balcony railing.
List of Components:
- Pallets
- I used 2 to make (5) 23" long planters
- I was worried about strength and chose to make shorter planters, but having used these planters for ~1 month, they could probably be up to twice as long and still hold up well
- I used 2 to make (5) 23" long planters
- (12) 1" screws and (8) 1¼" or 1½" screws per planter
- I ended up using 16 total screws which seemed sufficiently solid, but the design can hold up to 20 screws
- (2) 1" metal corner braces per planter
- Adds extra strength for each hanger, but still very strong without it
- Mitre saw
- Short stubby screwdriver, or
- Long screwdriver
- 2x Hangers and 2x Brackets (R & L)
- Some method of sealing the wood
- Or don't seal it, up to personal preference
Printing Instructions (Hanger/Bracket):
- 4 walls, 15% triangle infill
- Hanger
- PETG
- Add a pause to insert the 1" corner brace
- Paint On Supports
- Do NOT auto generate supports because it will create supports in the corner brace void and won't allow you to insert the metal brace
- Brackets
- PLA+ or PETG
- Also needs supports, auto generate OK
The Process:
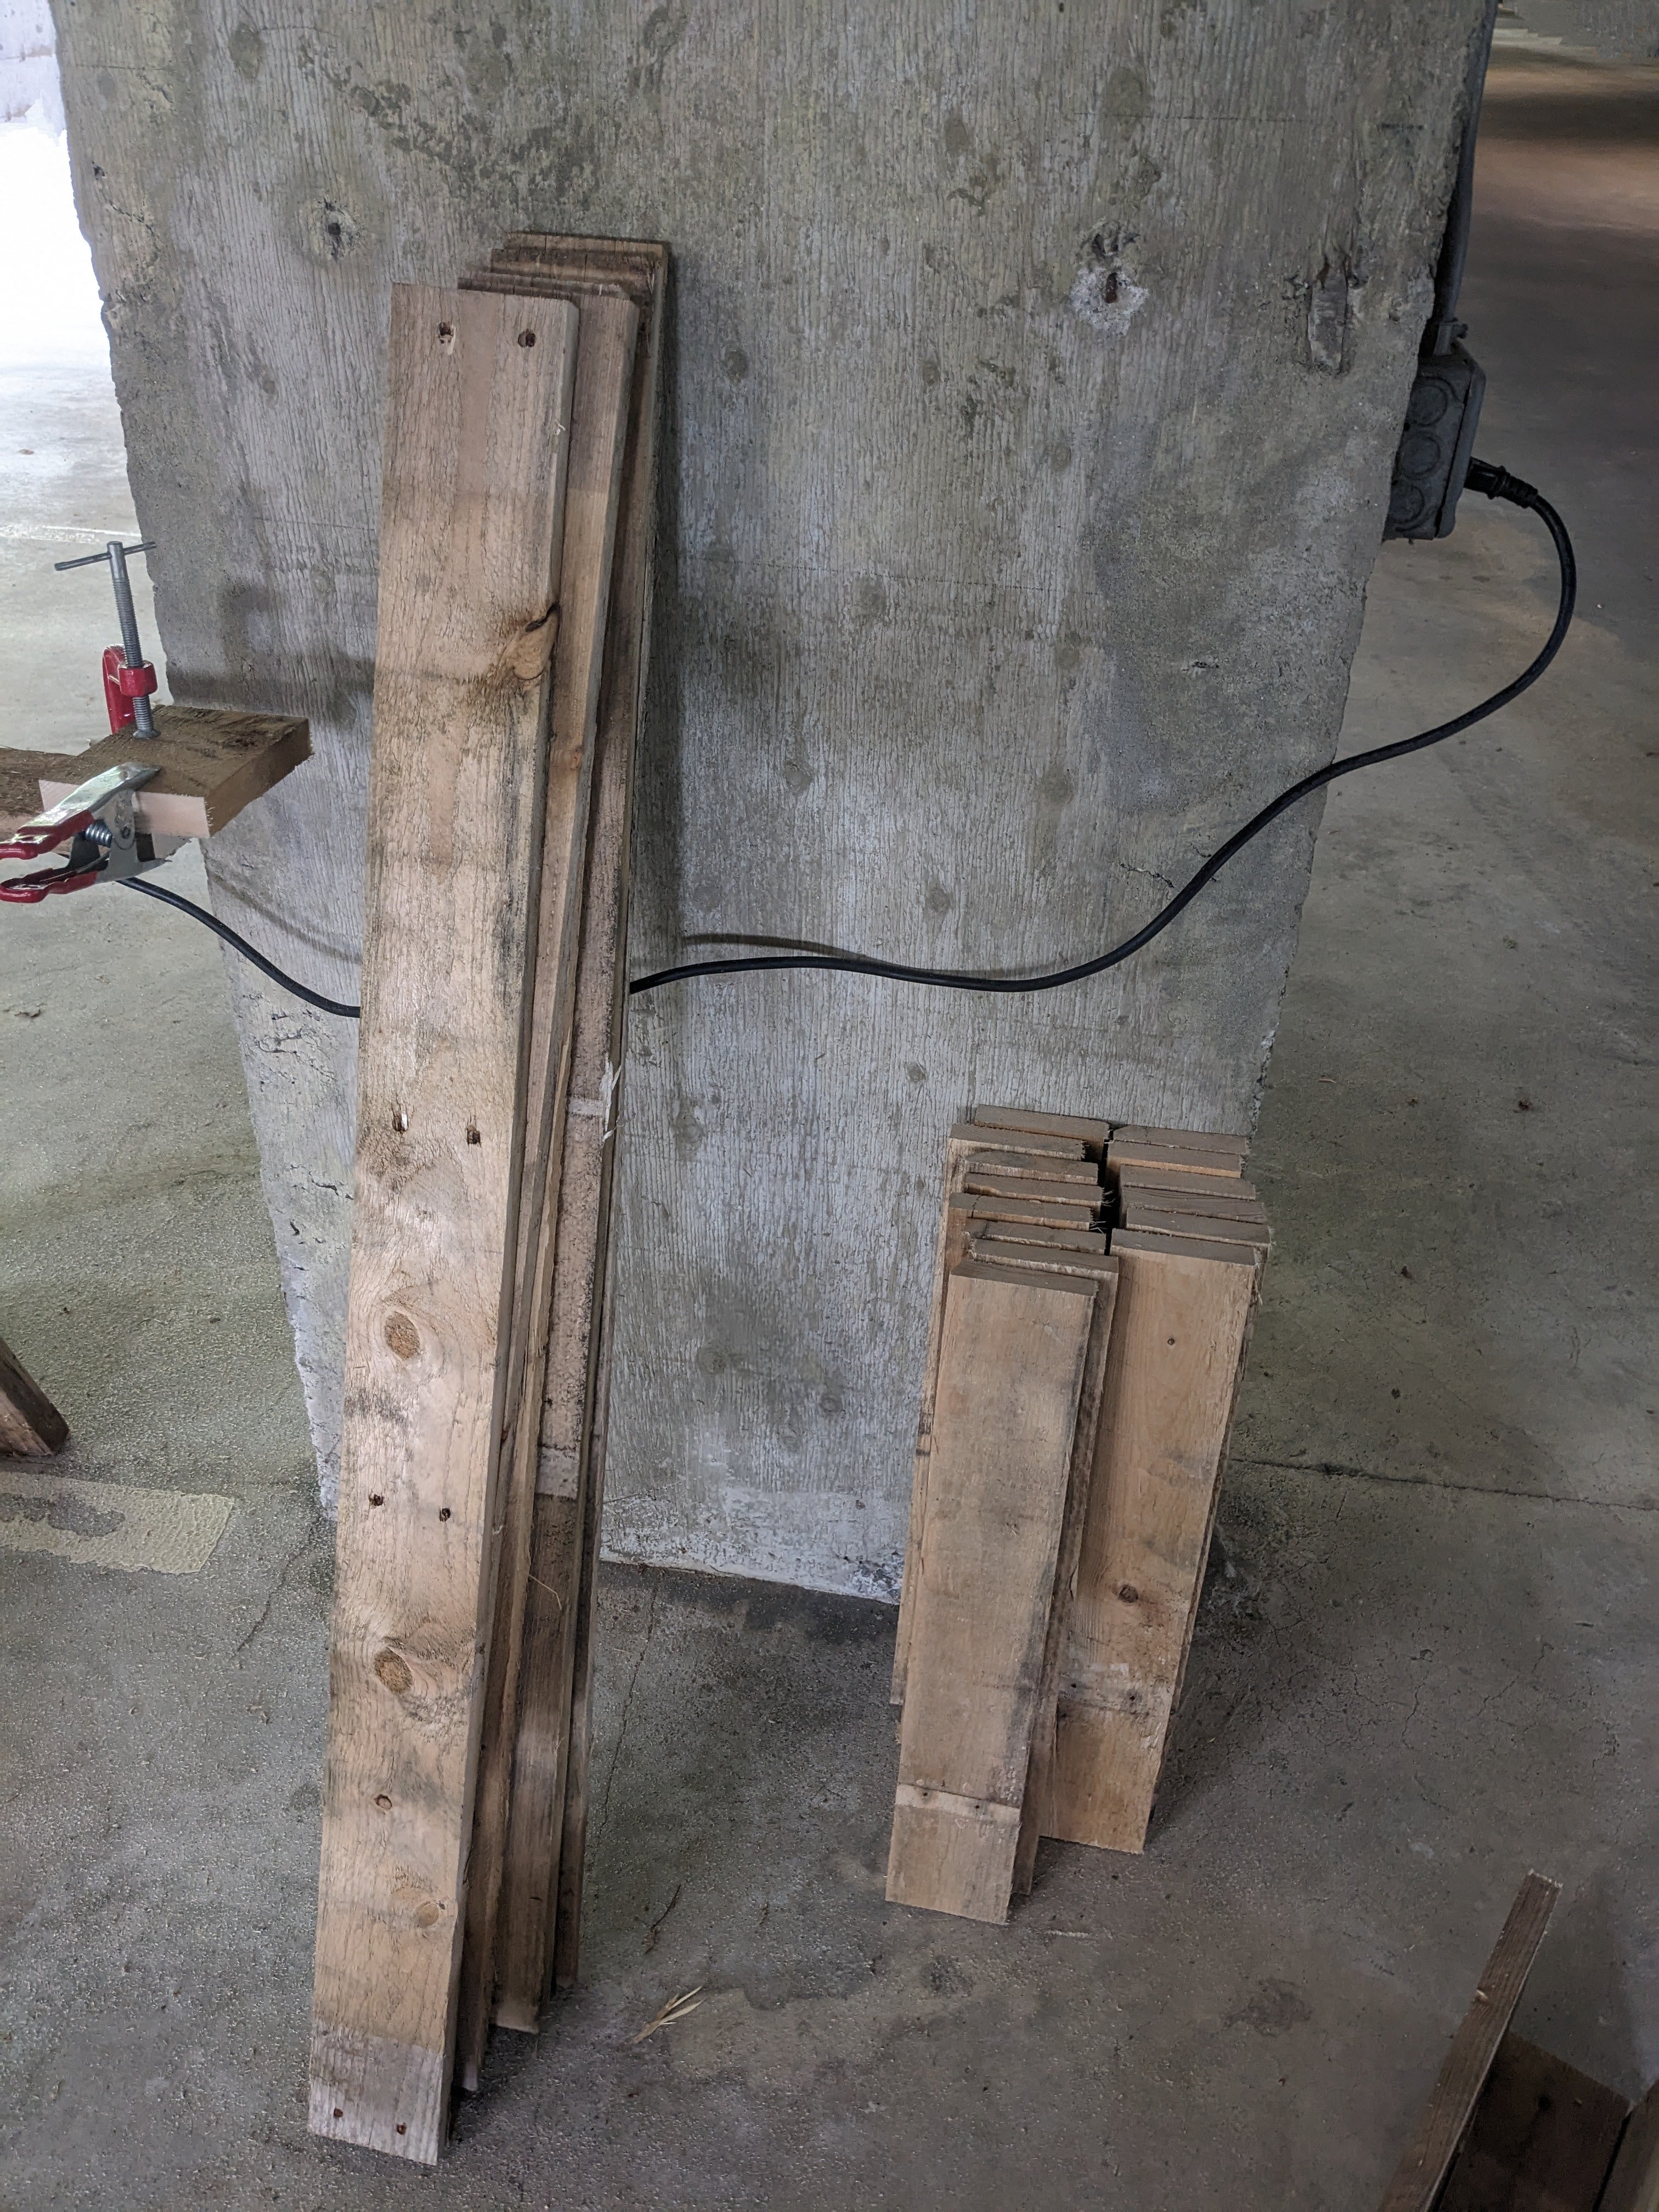
- I hosed off the pallets and let them dry as they were rather dirty.
- Then I took the pallets apart for the long top and bottom deckboards, taking care not to damage the boards too much when removing the nails.
- Keep track of your nails! You don't want to accidentally puncture a tire.
- The boards were cut into 23" lengths using a mitre saw. Damaged parts of boards were also cut off.
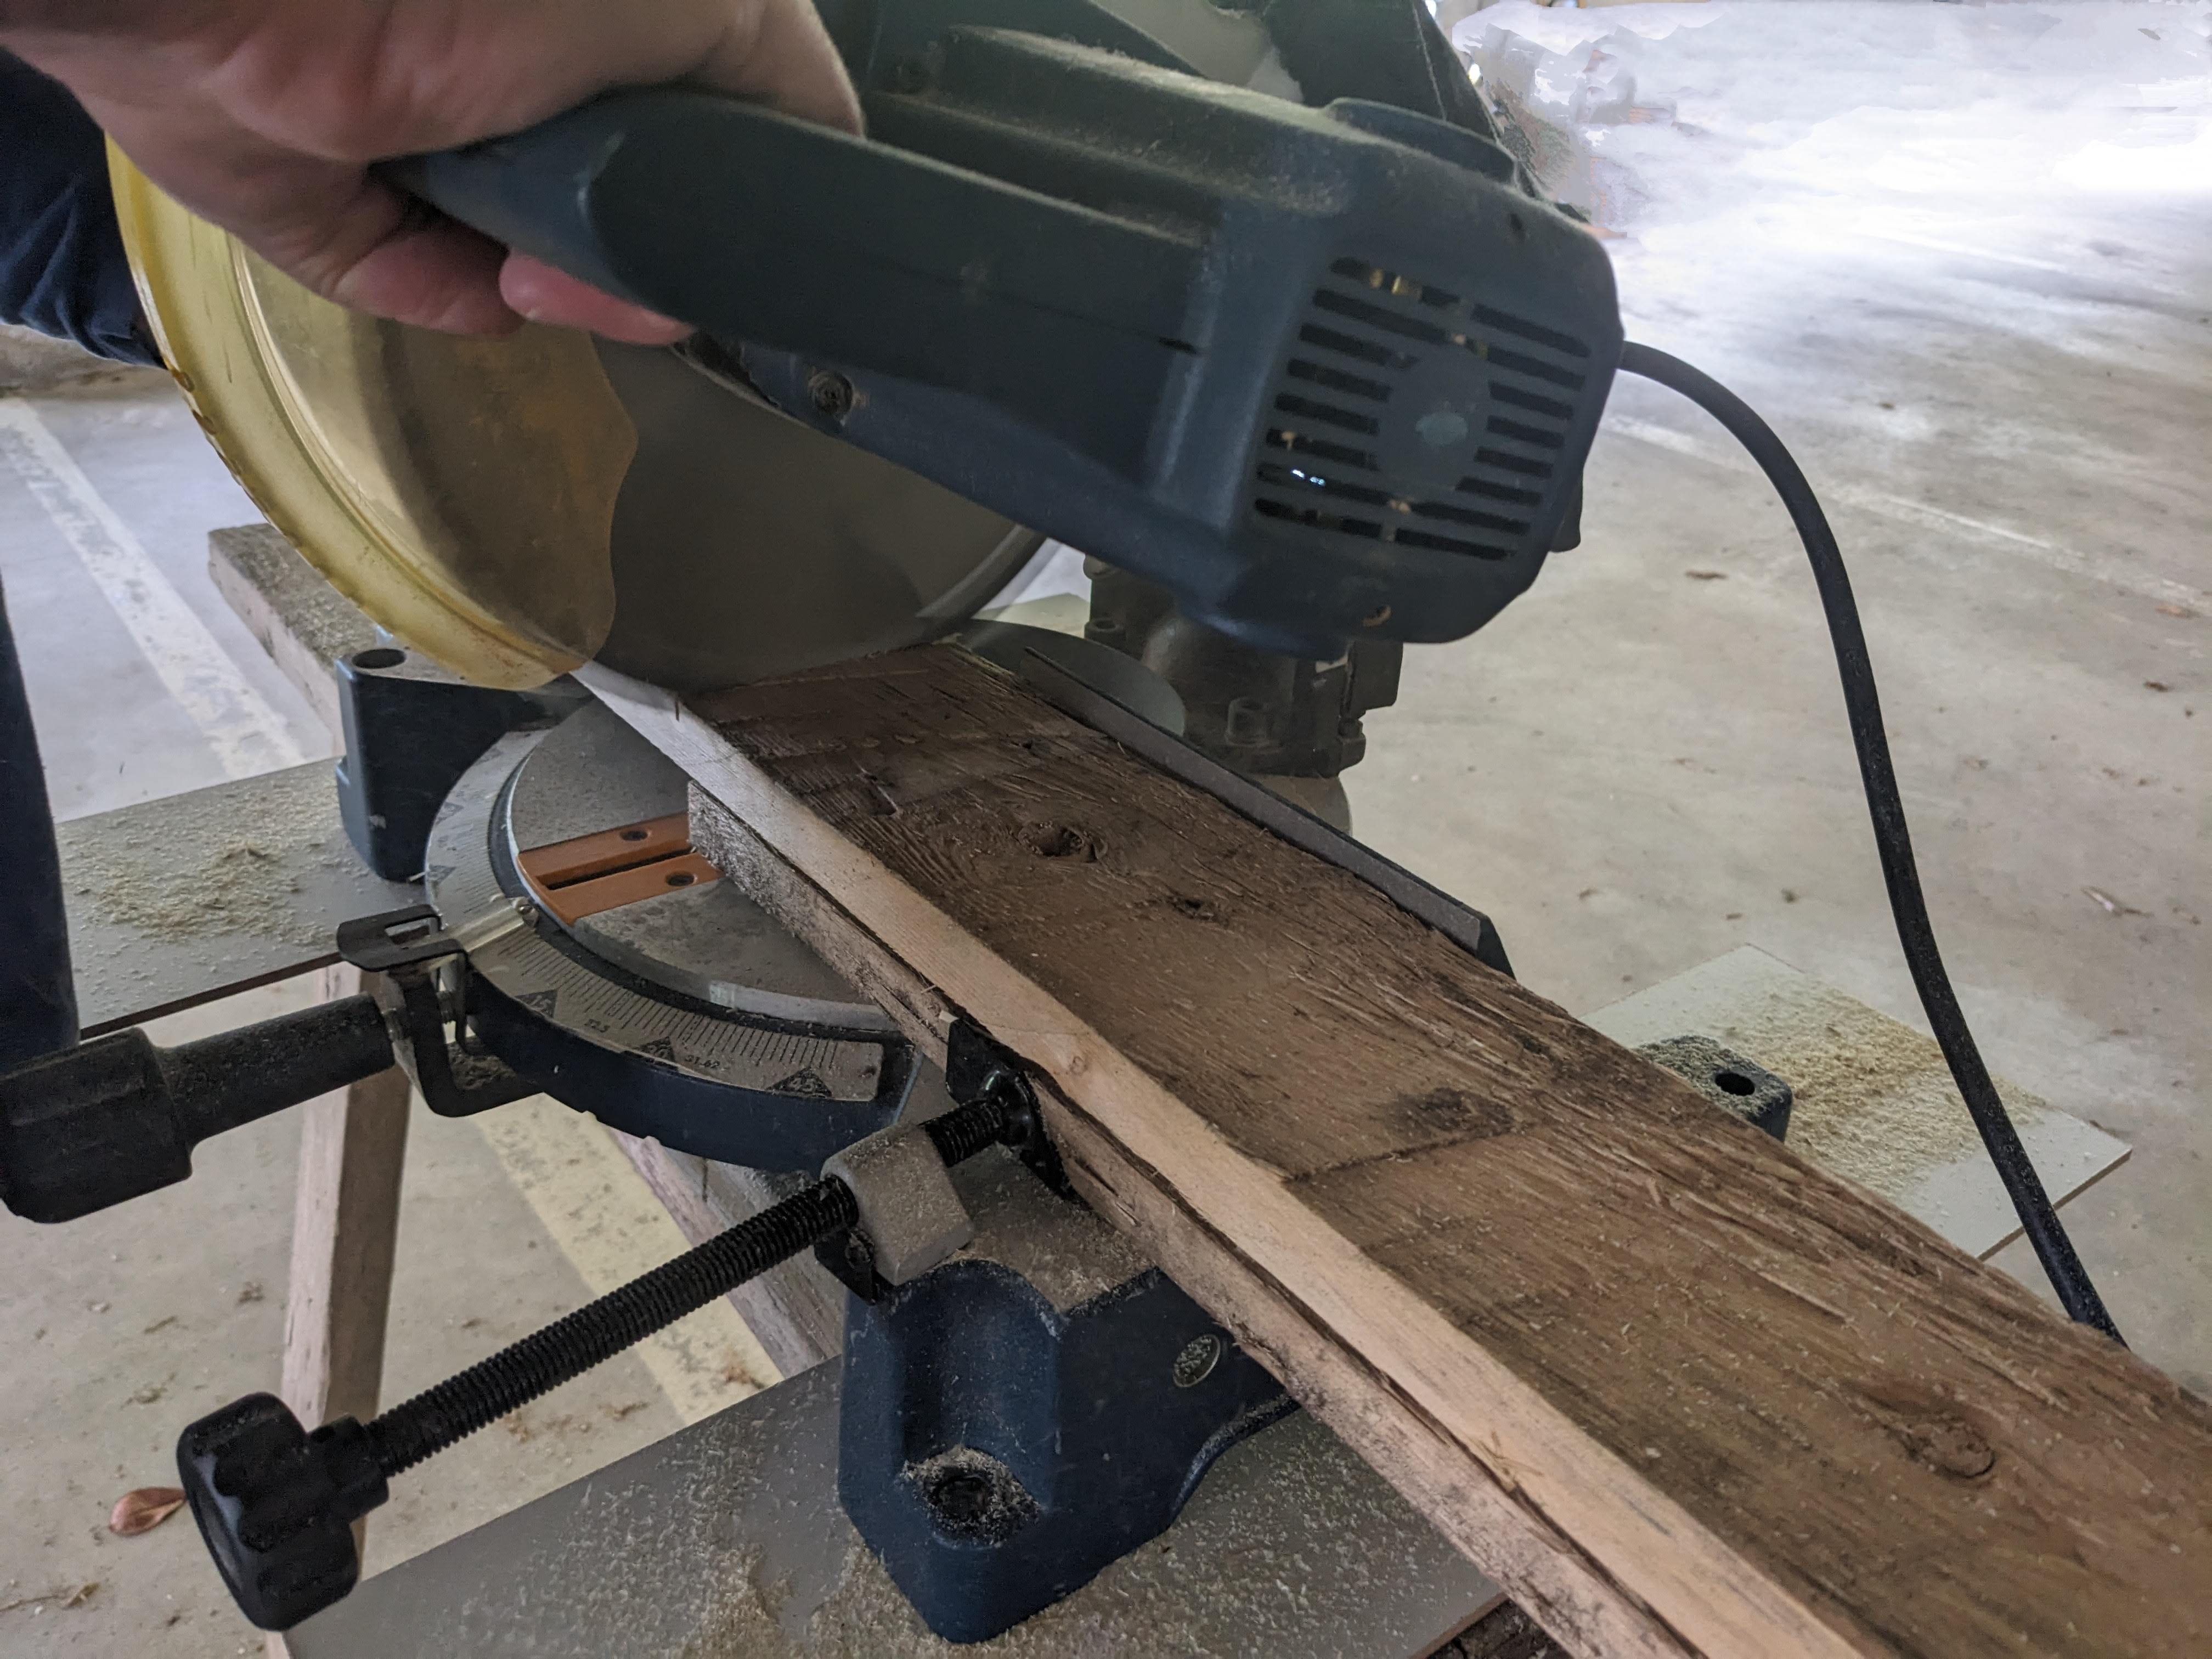
Before and after being cut
- Rather than stain the wood, I decided to use the Shou Sugi Ban method of preserving wood as I much prefer the look.
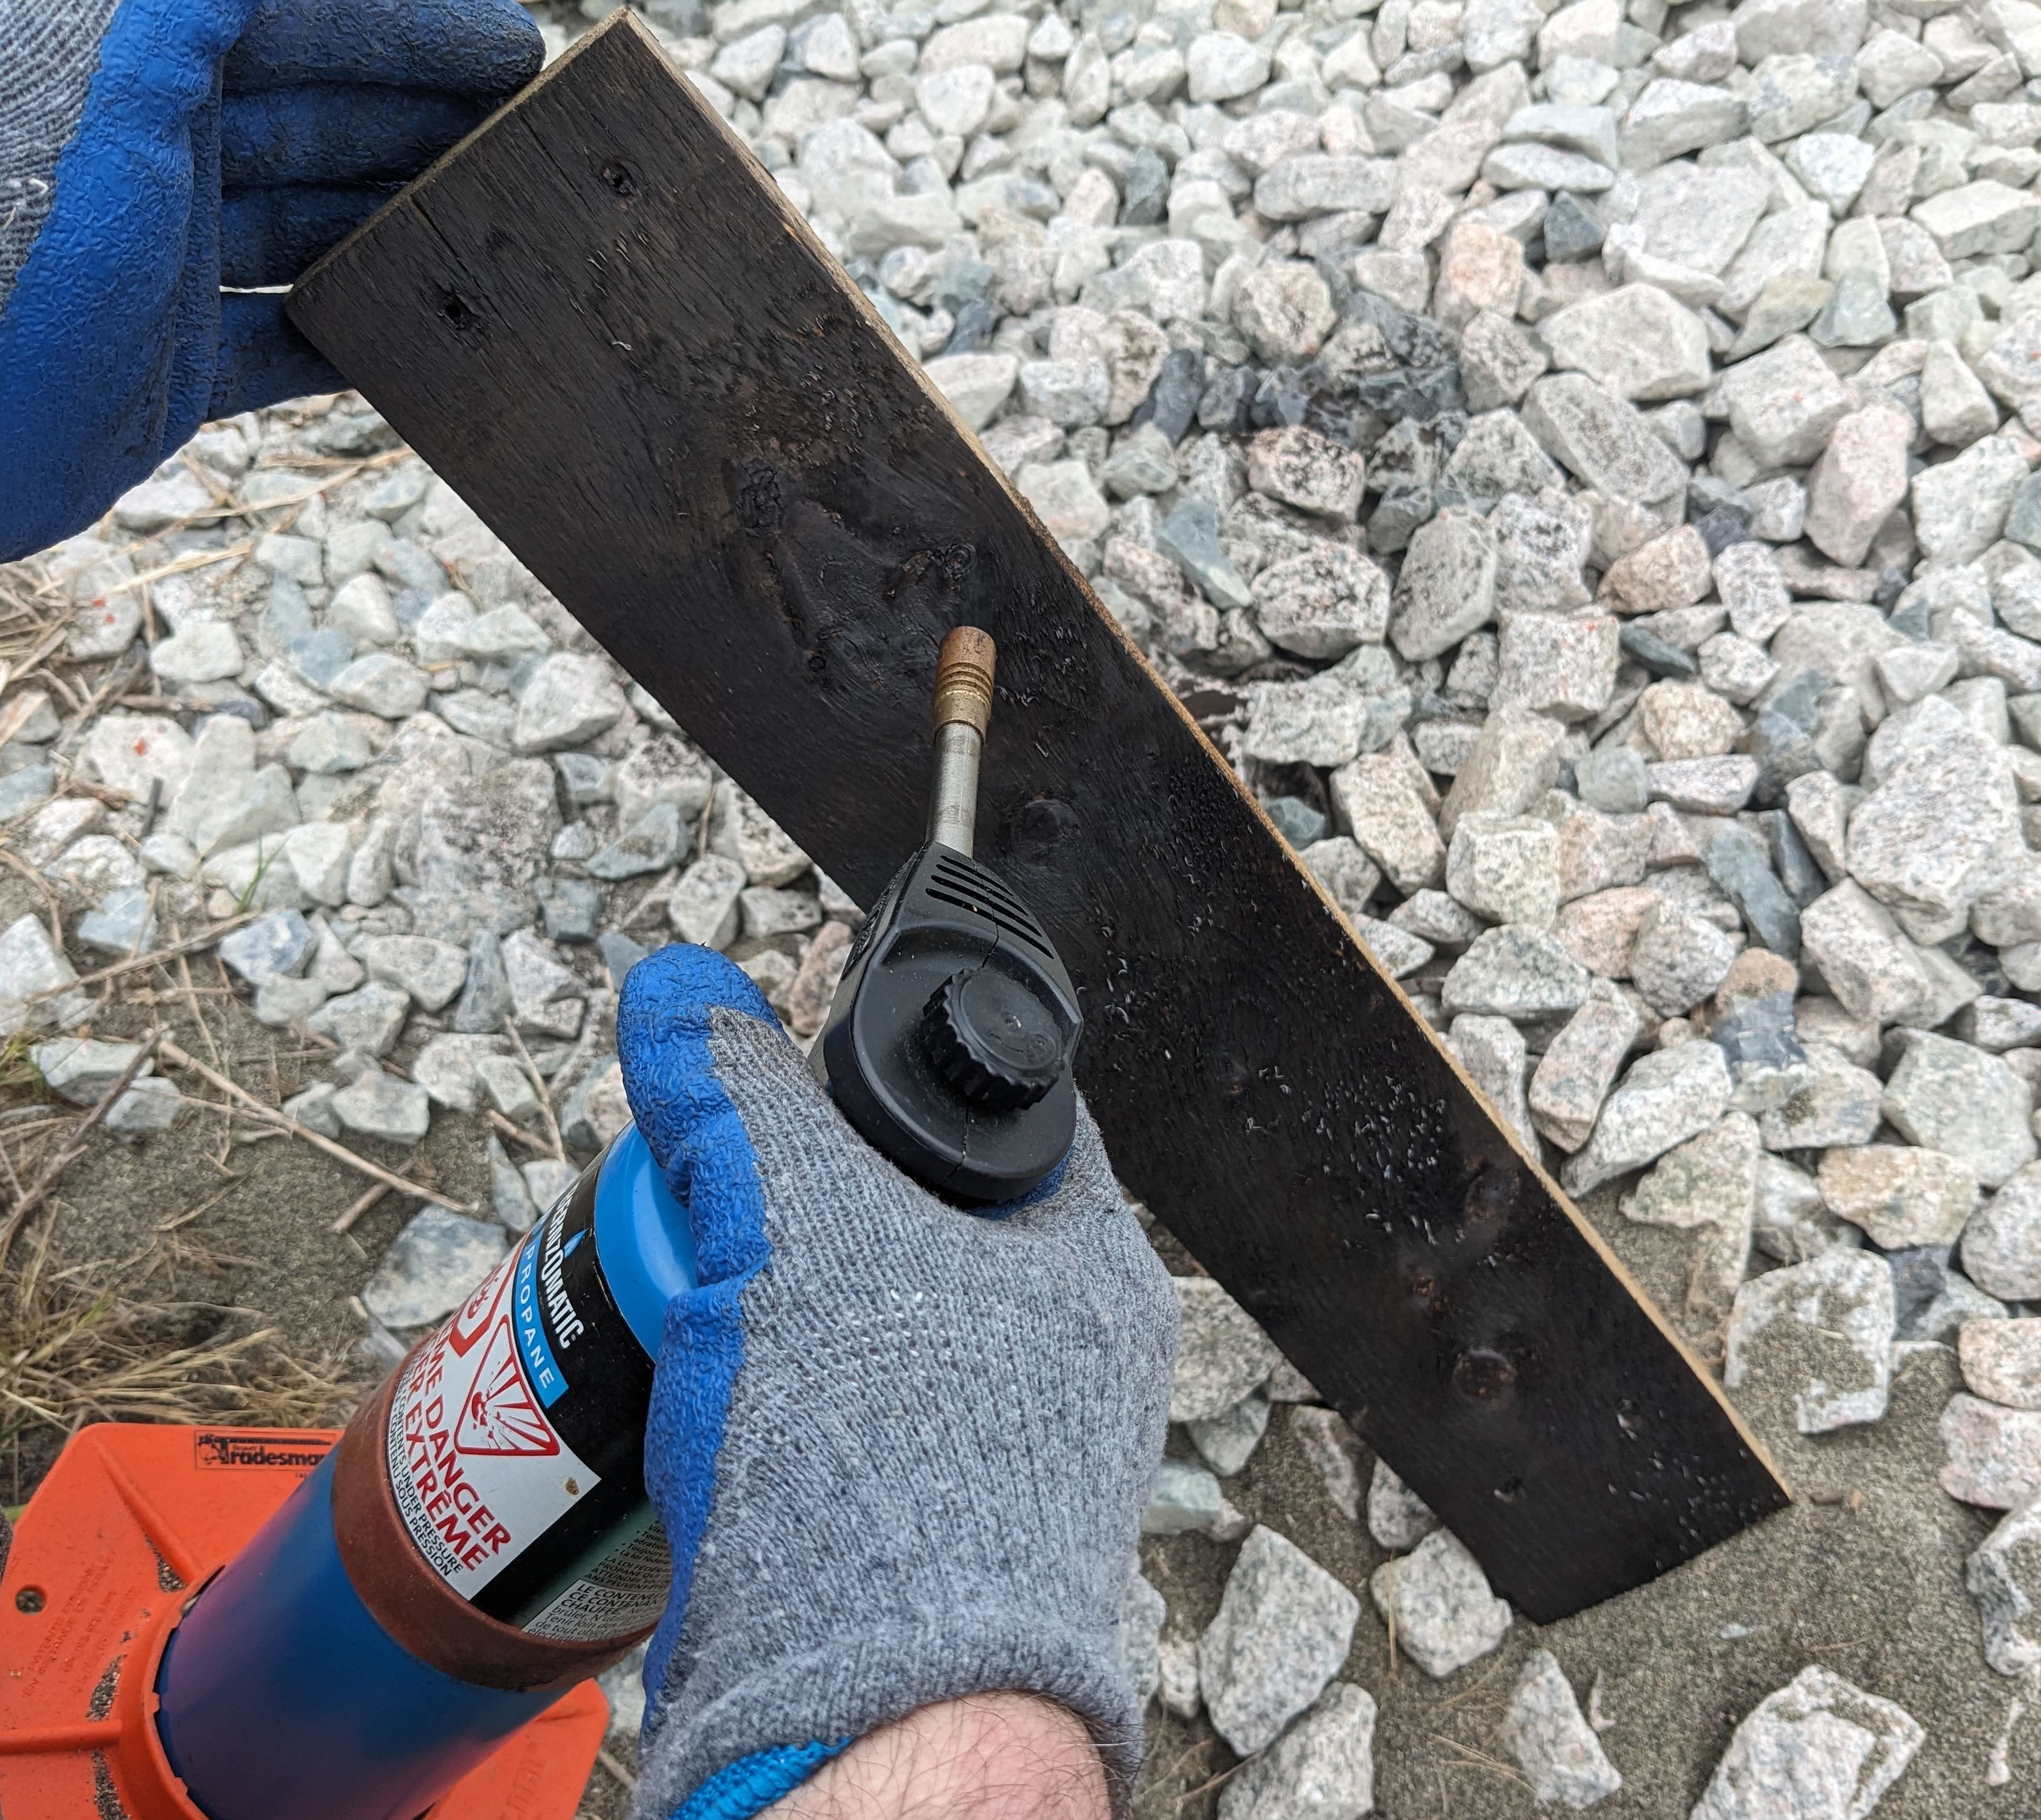
As I have just a small torch, I burned only the portions of wood that will be visible when the planter is fully assembled. If you are concerned with longevity, the best practice would be to burn all 6 sides of the boards and seal with oil.
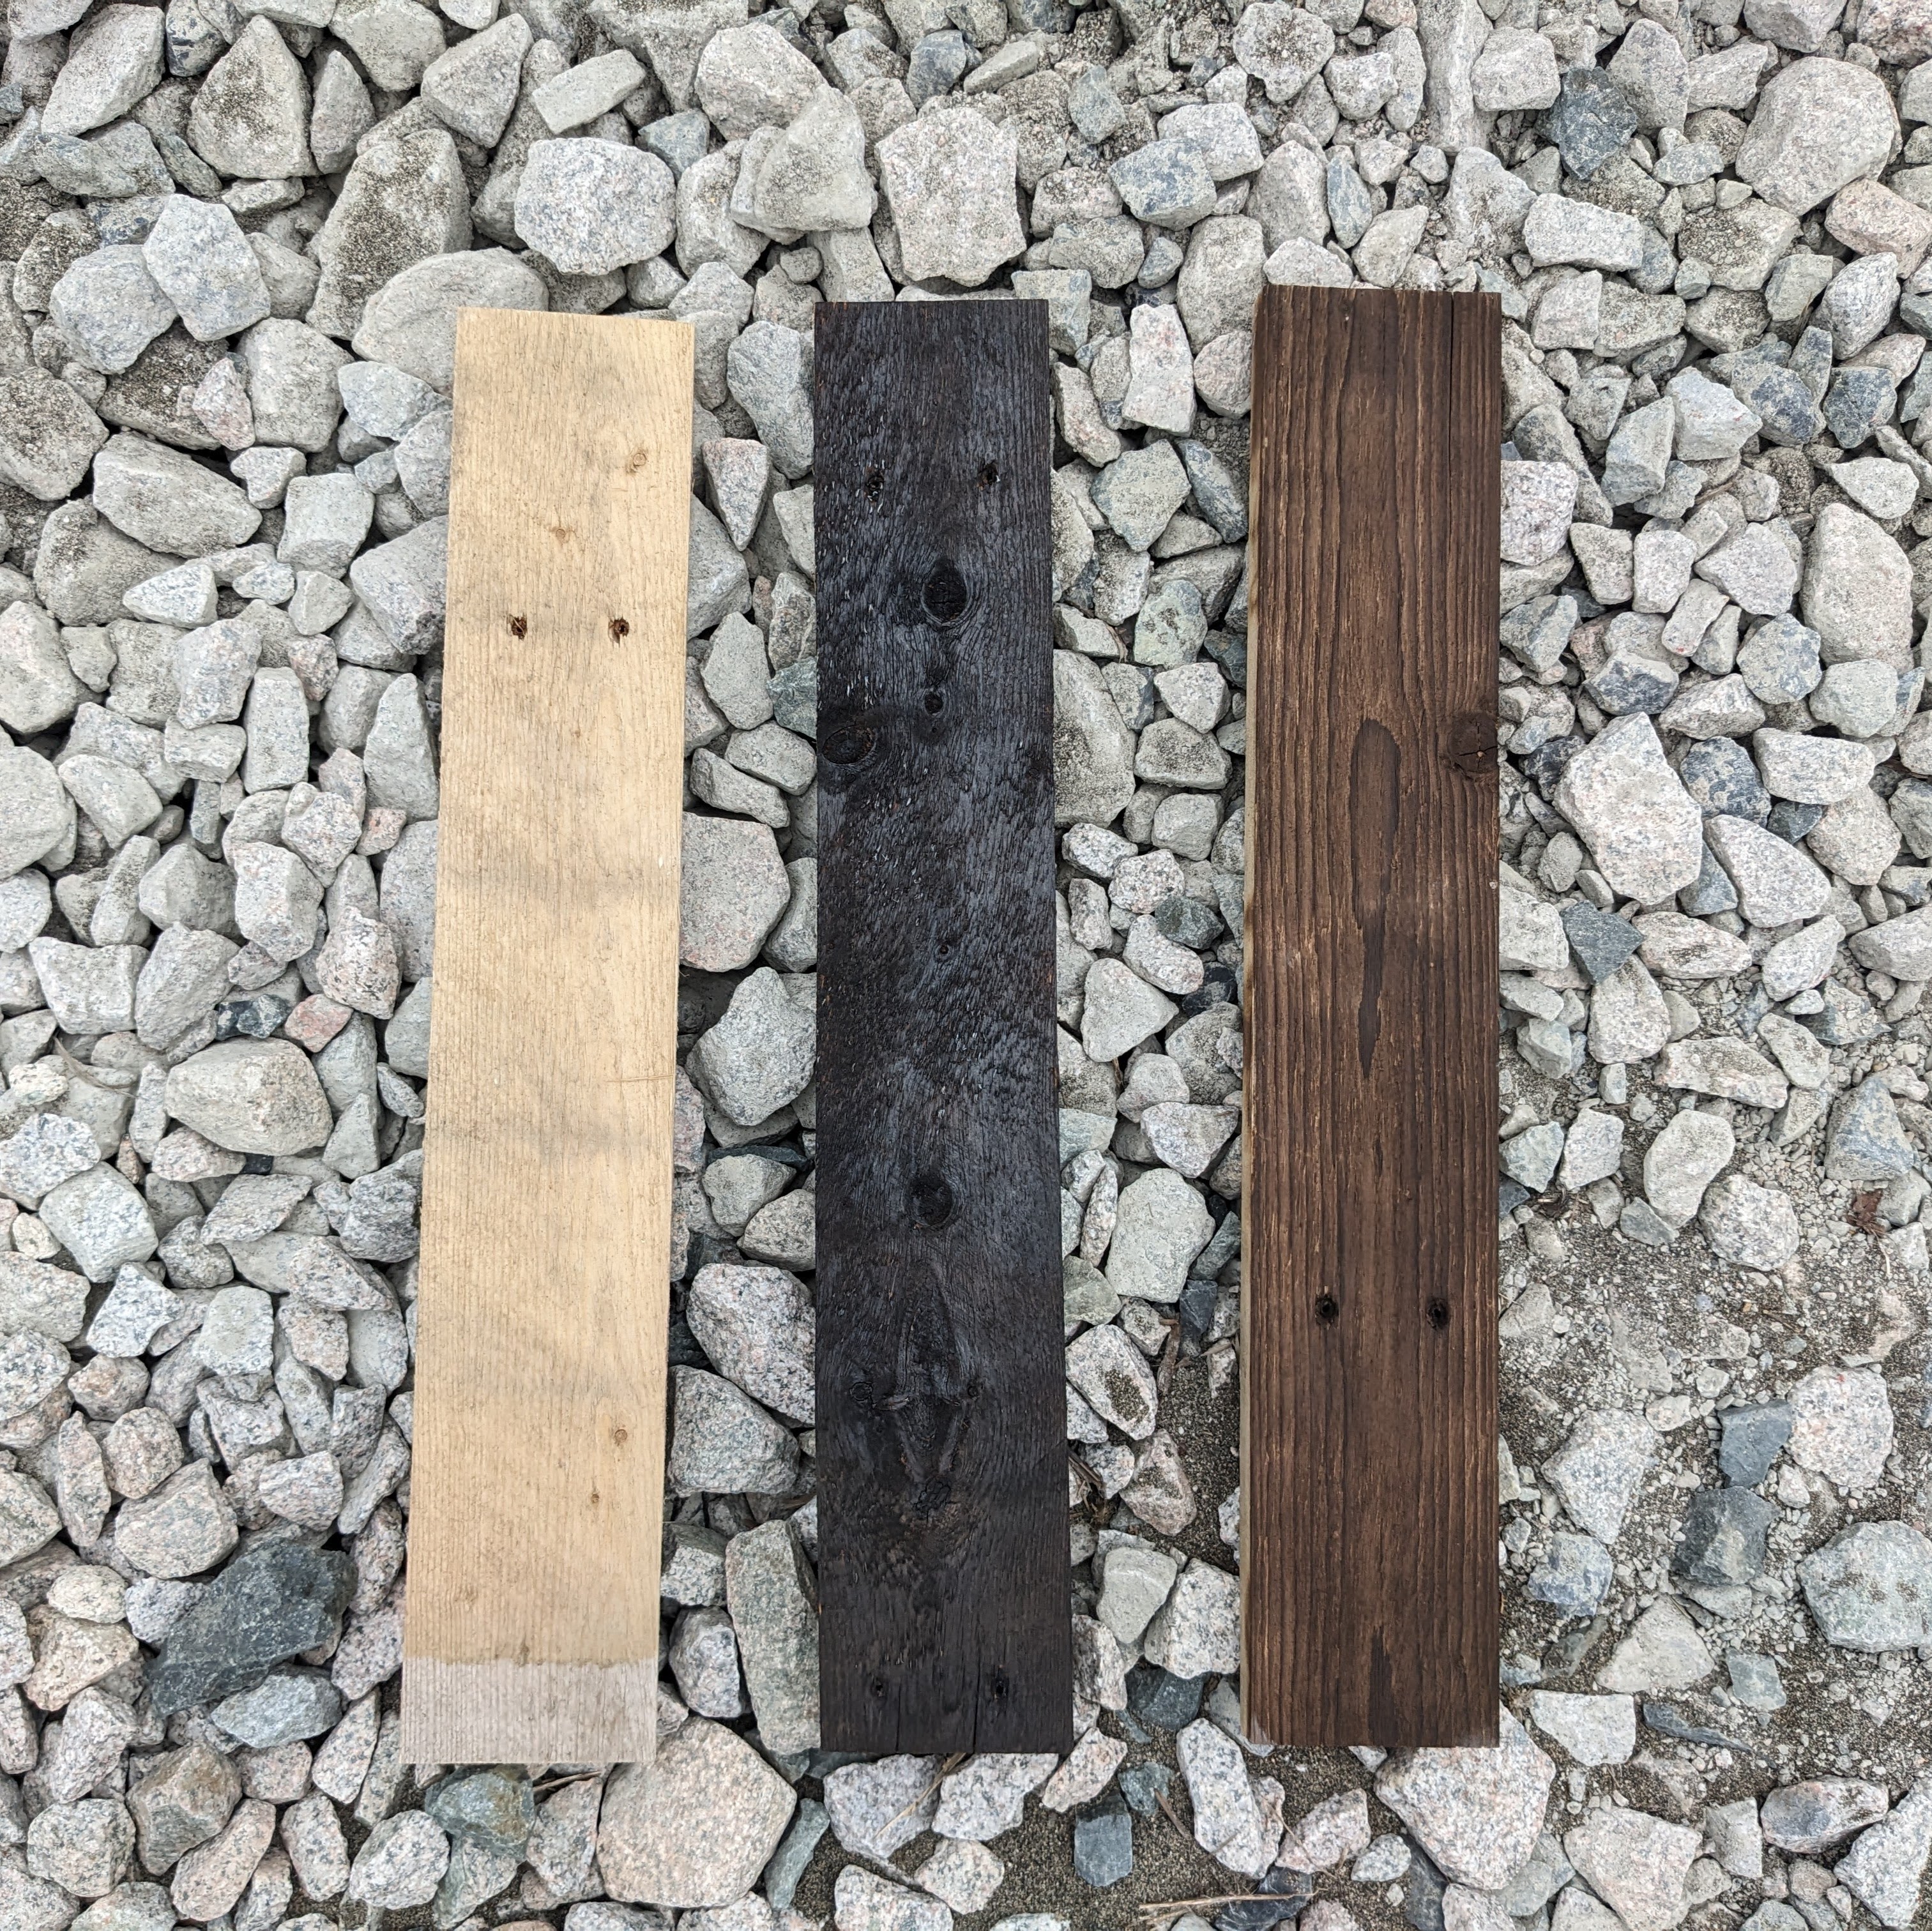
The difference between unburned, burned, and brushed to expose the wood grain.
- After brushing the black char off, I elected not to rinse the boards of soot since I wasn't going to oil them either.
- I slotted the boards into the 2x Brackets (R & L) and carefully screwed everything together.
- Drill was used to make pilot holes as necessary.
- The 2x Hangers were attached and also screwed on.
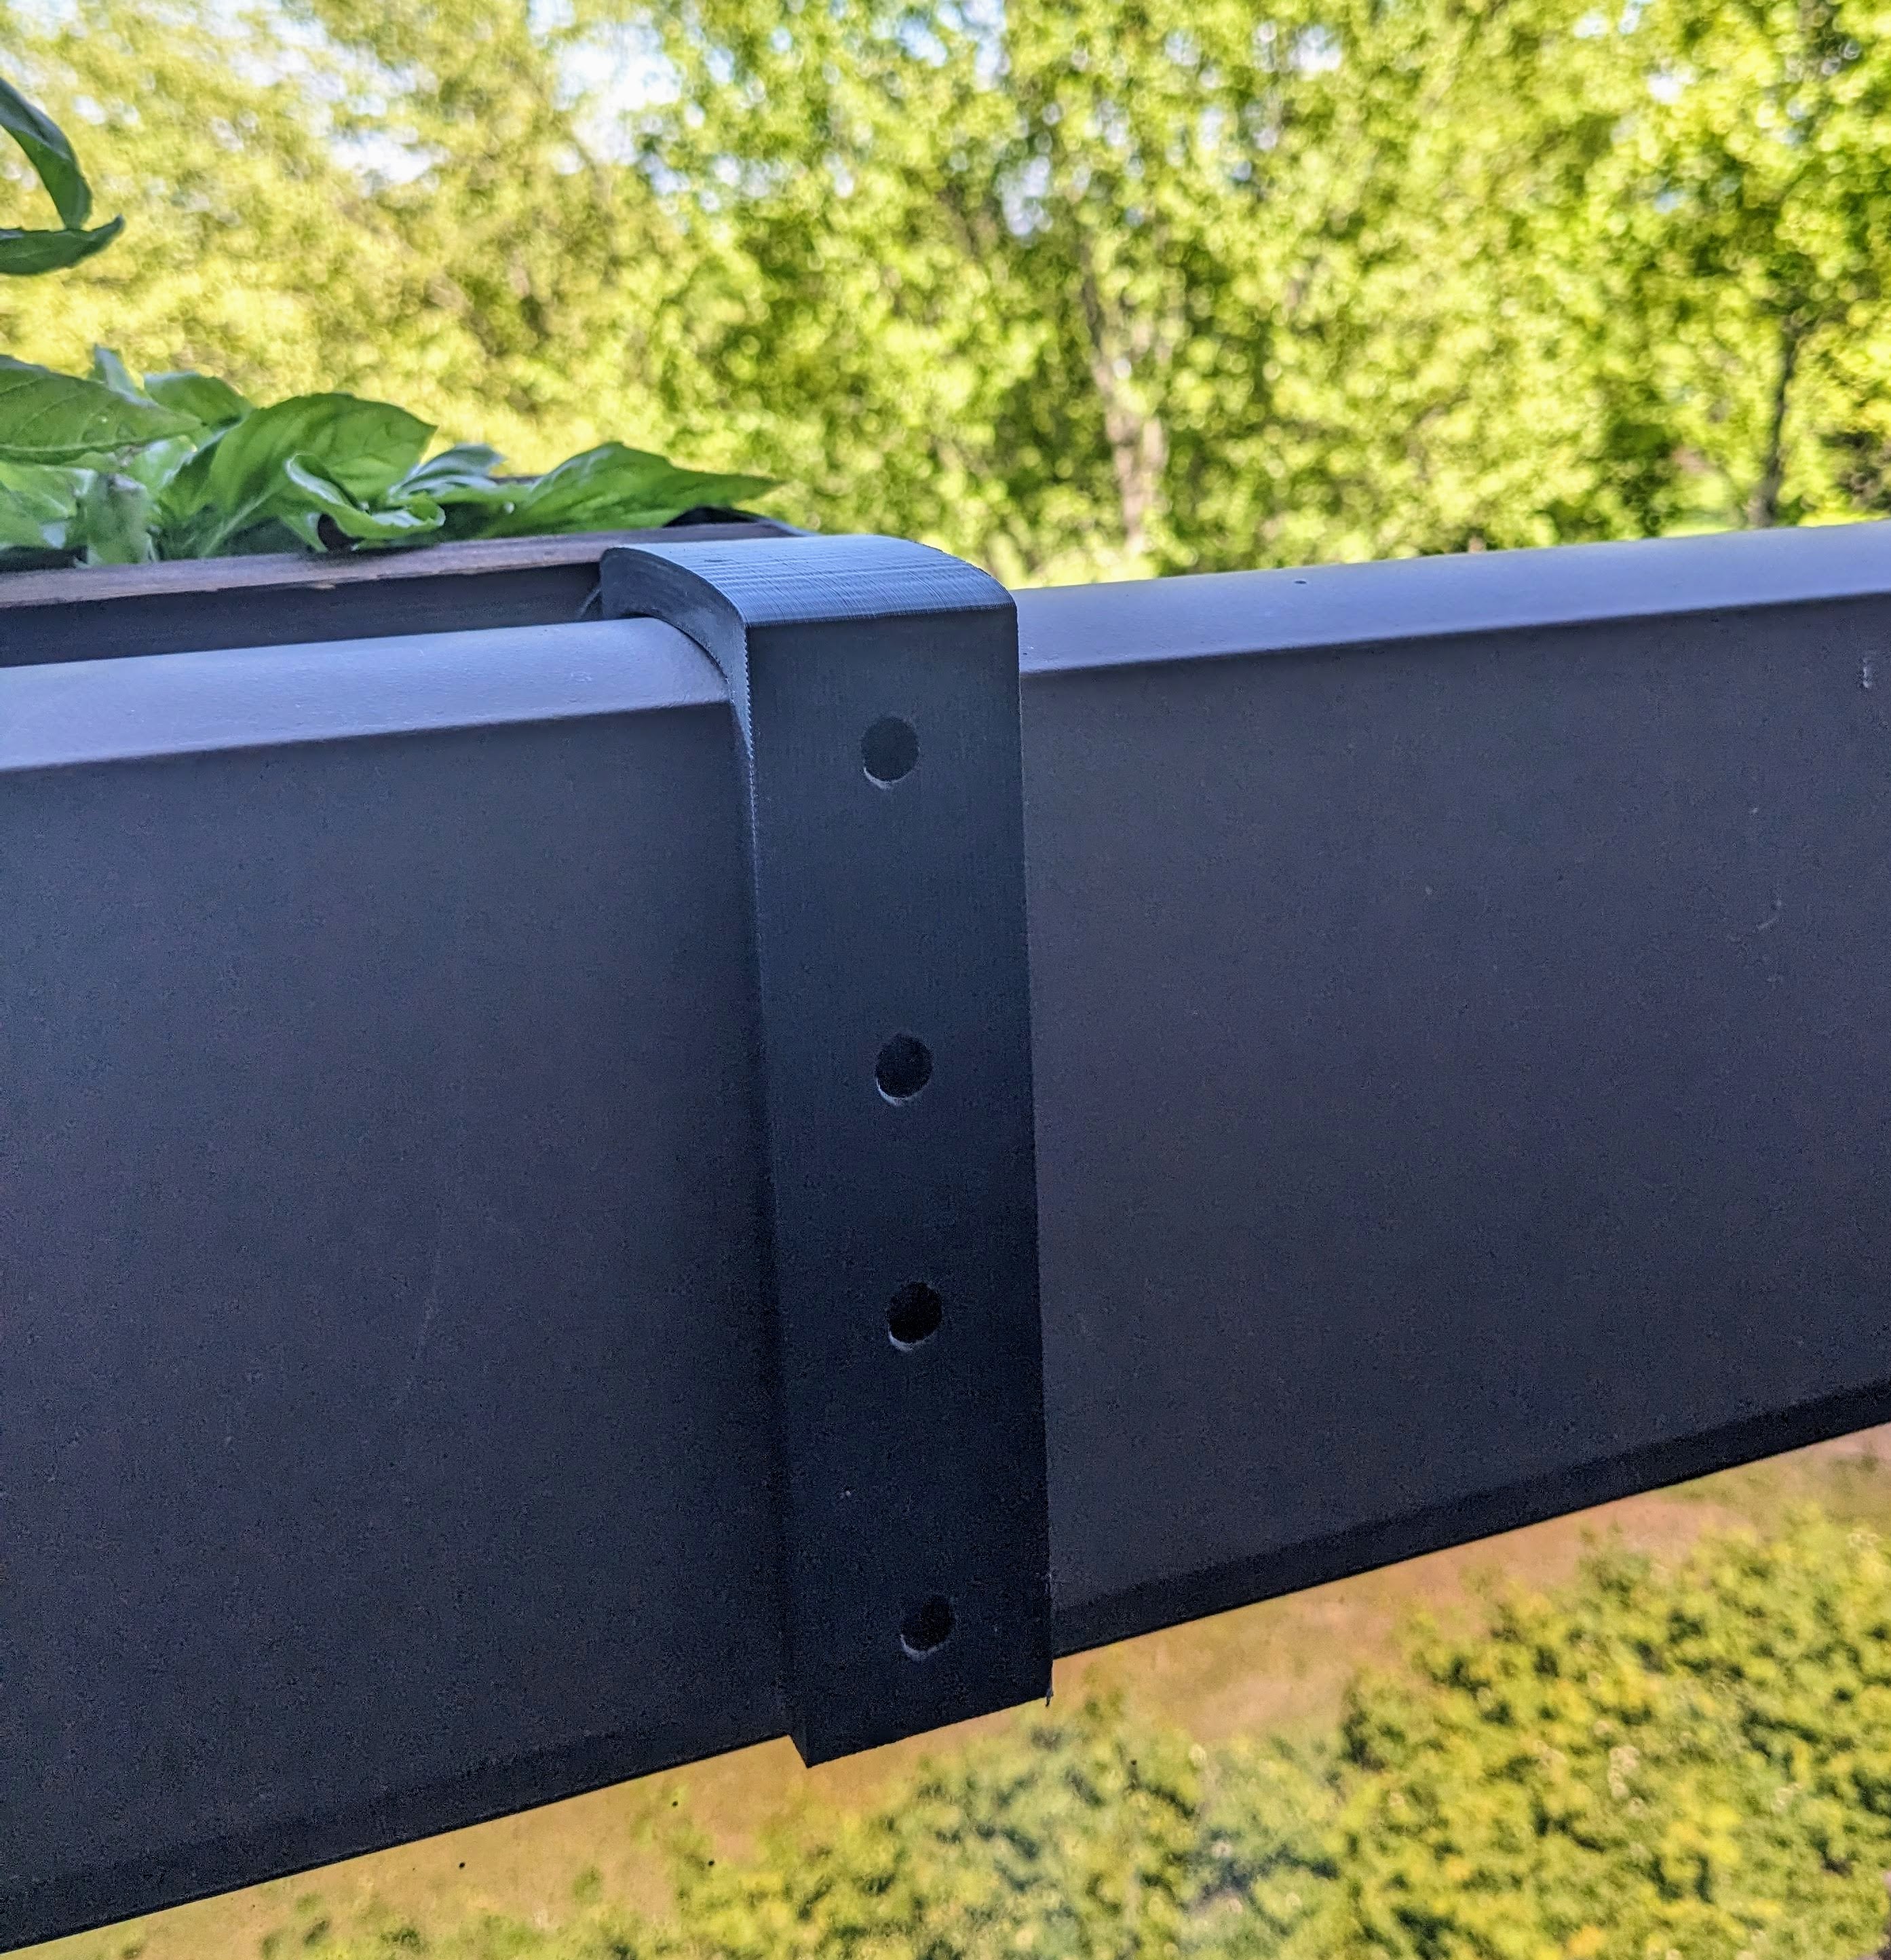
Holes are for long screwdriver to screw Hanger onto Bracket
- Admire and enjoy!
Balcony/Patio Railing Window Box Planter
Publicado em 18 de mai de 2025