Você está no 3DFinder
Buscamos em Thingiverse, MakerWorld e Printables ao mesmo tempo para te dar o melhor de cada uma.
Descrição
THE HEAVY DUTY MASTER SPOOL
This is my design of a Master Spool. It is a RIGID spool that can be made as heavy duty as you like simply by changing # of walls. Like many, I struggled to find a good solution for cardboard spools in the AMS and just dealing with them in general. Cardboard spools tend to warp, the ends get smashed, they are dusty, etc.
AMS & AMS Lite Compatible
You will need to print:
1 Side Plate 1 (either knurled or smooth)
1 Side Plate 2 (either knurled or smooth)
1 Ring 1 (at spool core diameter)
1 Ring 2 (at spool core diameter)
2 Tags (optional)
If you want help determining the spool core diameter BEFORE removing the cardboard sides, you can check out my Spool Core Diameter Gauge.
Assembly procedure works the same as a Bambu Master Spool, except the Side Plate 1 and Ring 1 are used for the side of the core with the notch, and Side Plate 2 and Ring 2 are used for the other side. Tighten the threads until they are firmly against the side of the core.
EDIT 5/25/2025 - While there are many videos and instructions out there on different methods to convert cardboard spools, I went ahead and added my personal procedure for converting a cardboard spool as a documentation PDF below.
--------------------------------------------------------------------------
WHAT I TRIED BEFORE DESIGNING THIS:
I have tried outer rings for the cardboard. These only work if the cardboard spool is in good condition. Even then, they break easily and don't always fit very well.

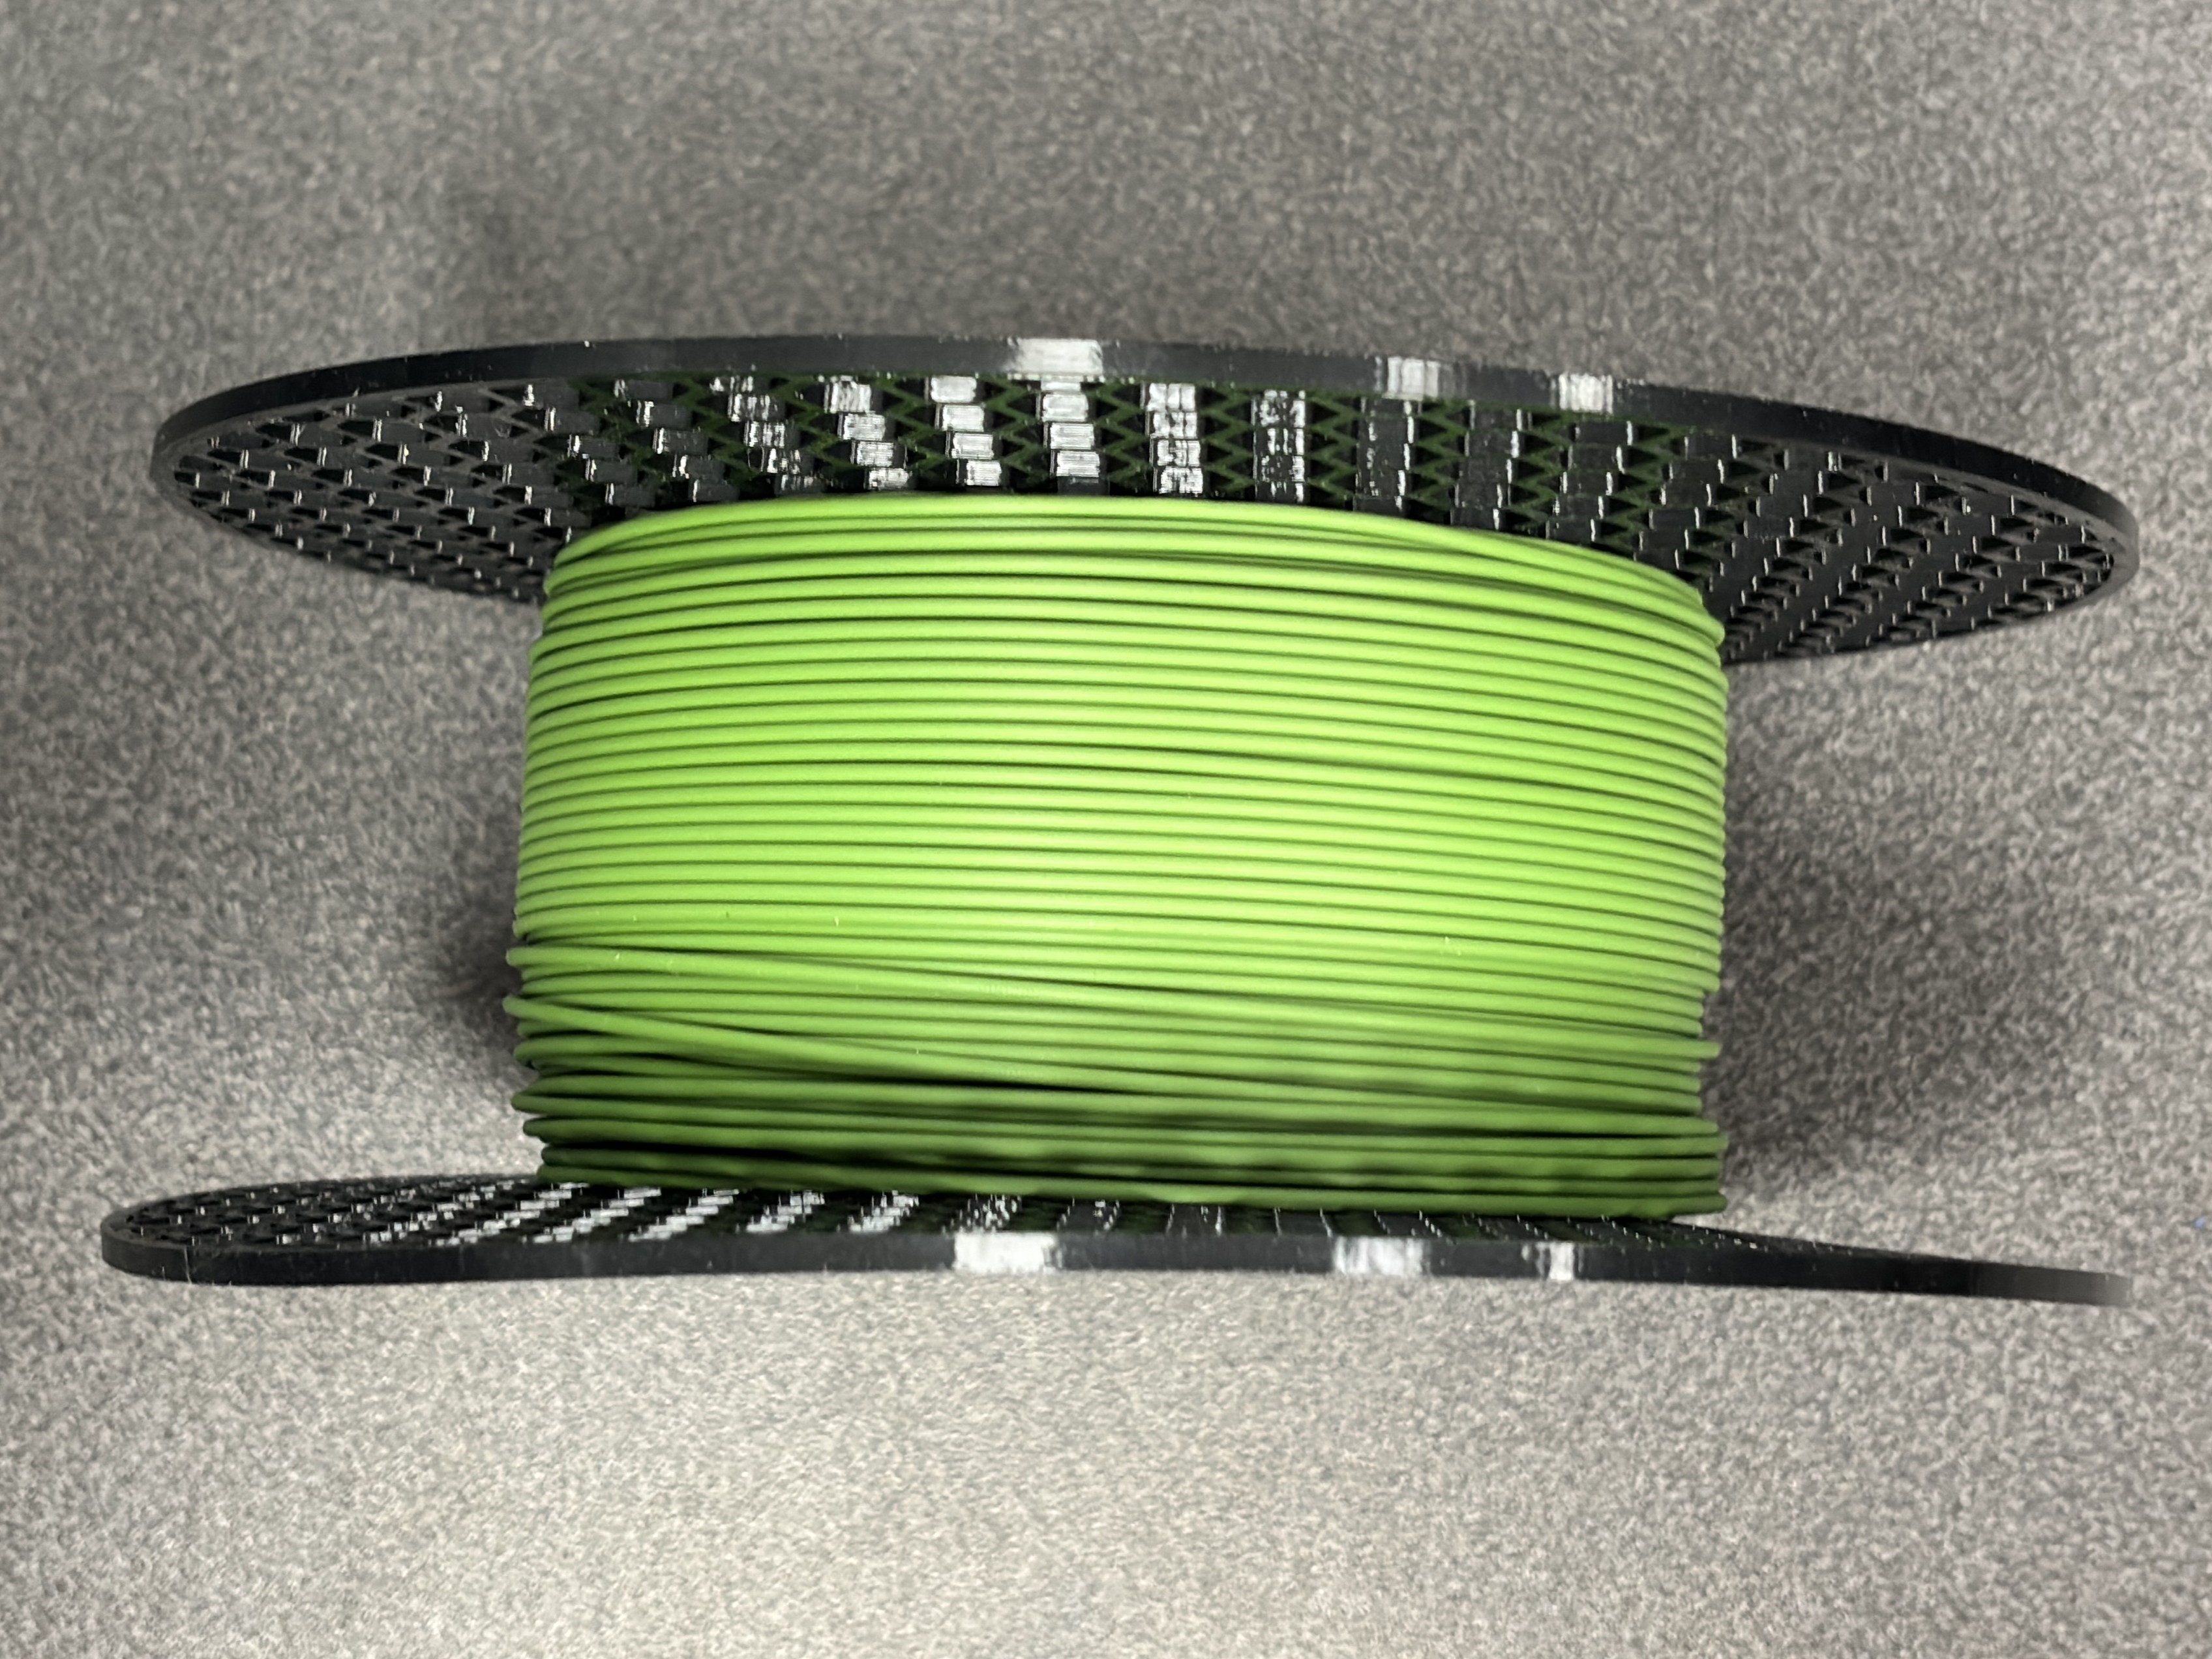
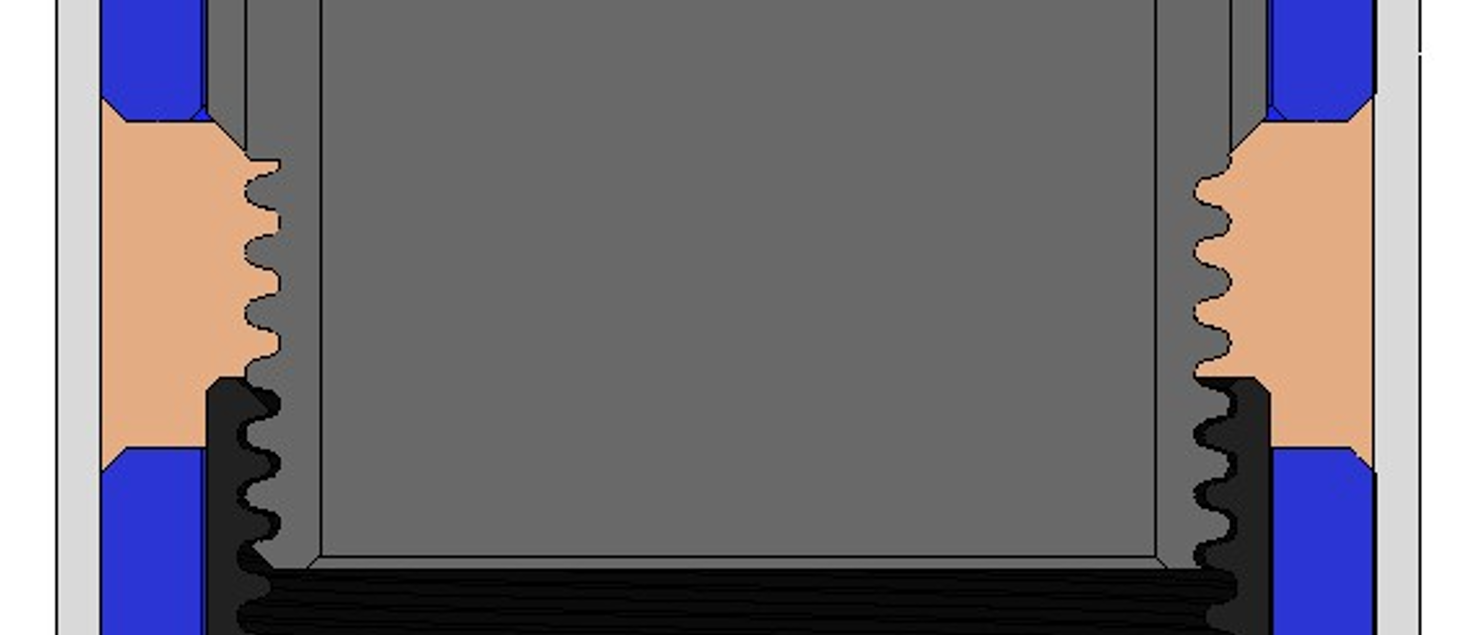
I tried locking style master spools. If done well, these work great but only for the exact spools they are designed for. Bambu Spools are a good example. Spacers can be added for diameter, but width can be a big problem. Too narrow and it won't even assemble. Too wide and you have to have an exact spacer that is almost full diameter to prevent filament from sliding down into the gap and having the same problem as the picture above.
Lastly, I tried some threaded style master spools. These had the most potential for my needs. Easily adjustable width, I could make the sides as tight as I wanted (sort of - see picture below), and spacers could be used for adjustable core diameter. The problem I ran into with most of these however is that, even though they look pretty cool, most were not nearly rigid enough or they use those fan-style spacers.
Using no top or bottom layers and trying to use Infill shapes for a rigid spool is a bad idea. All single wall lines with nothing in between them is NOT rigid. Example A:
The more you tighten it to keep the sides tight, the more it flexes. When the AMS starts pulling hard this creates all kinds of issues.
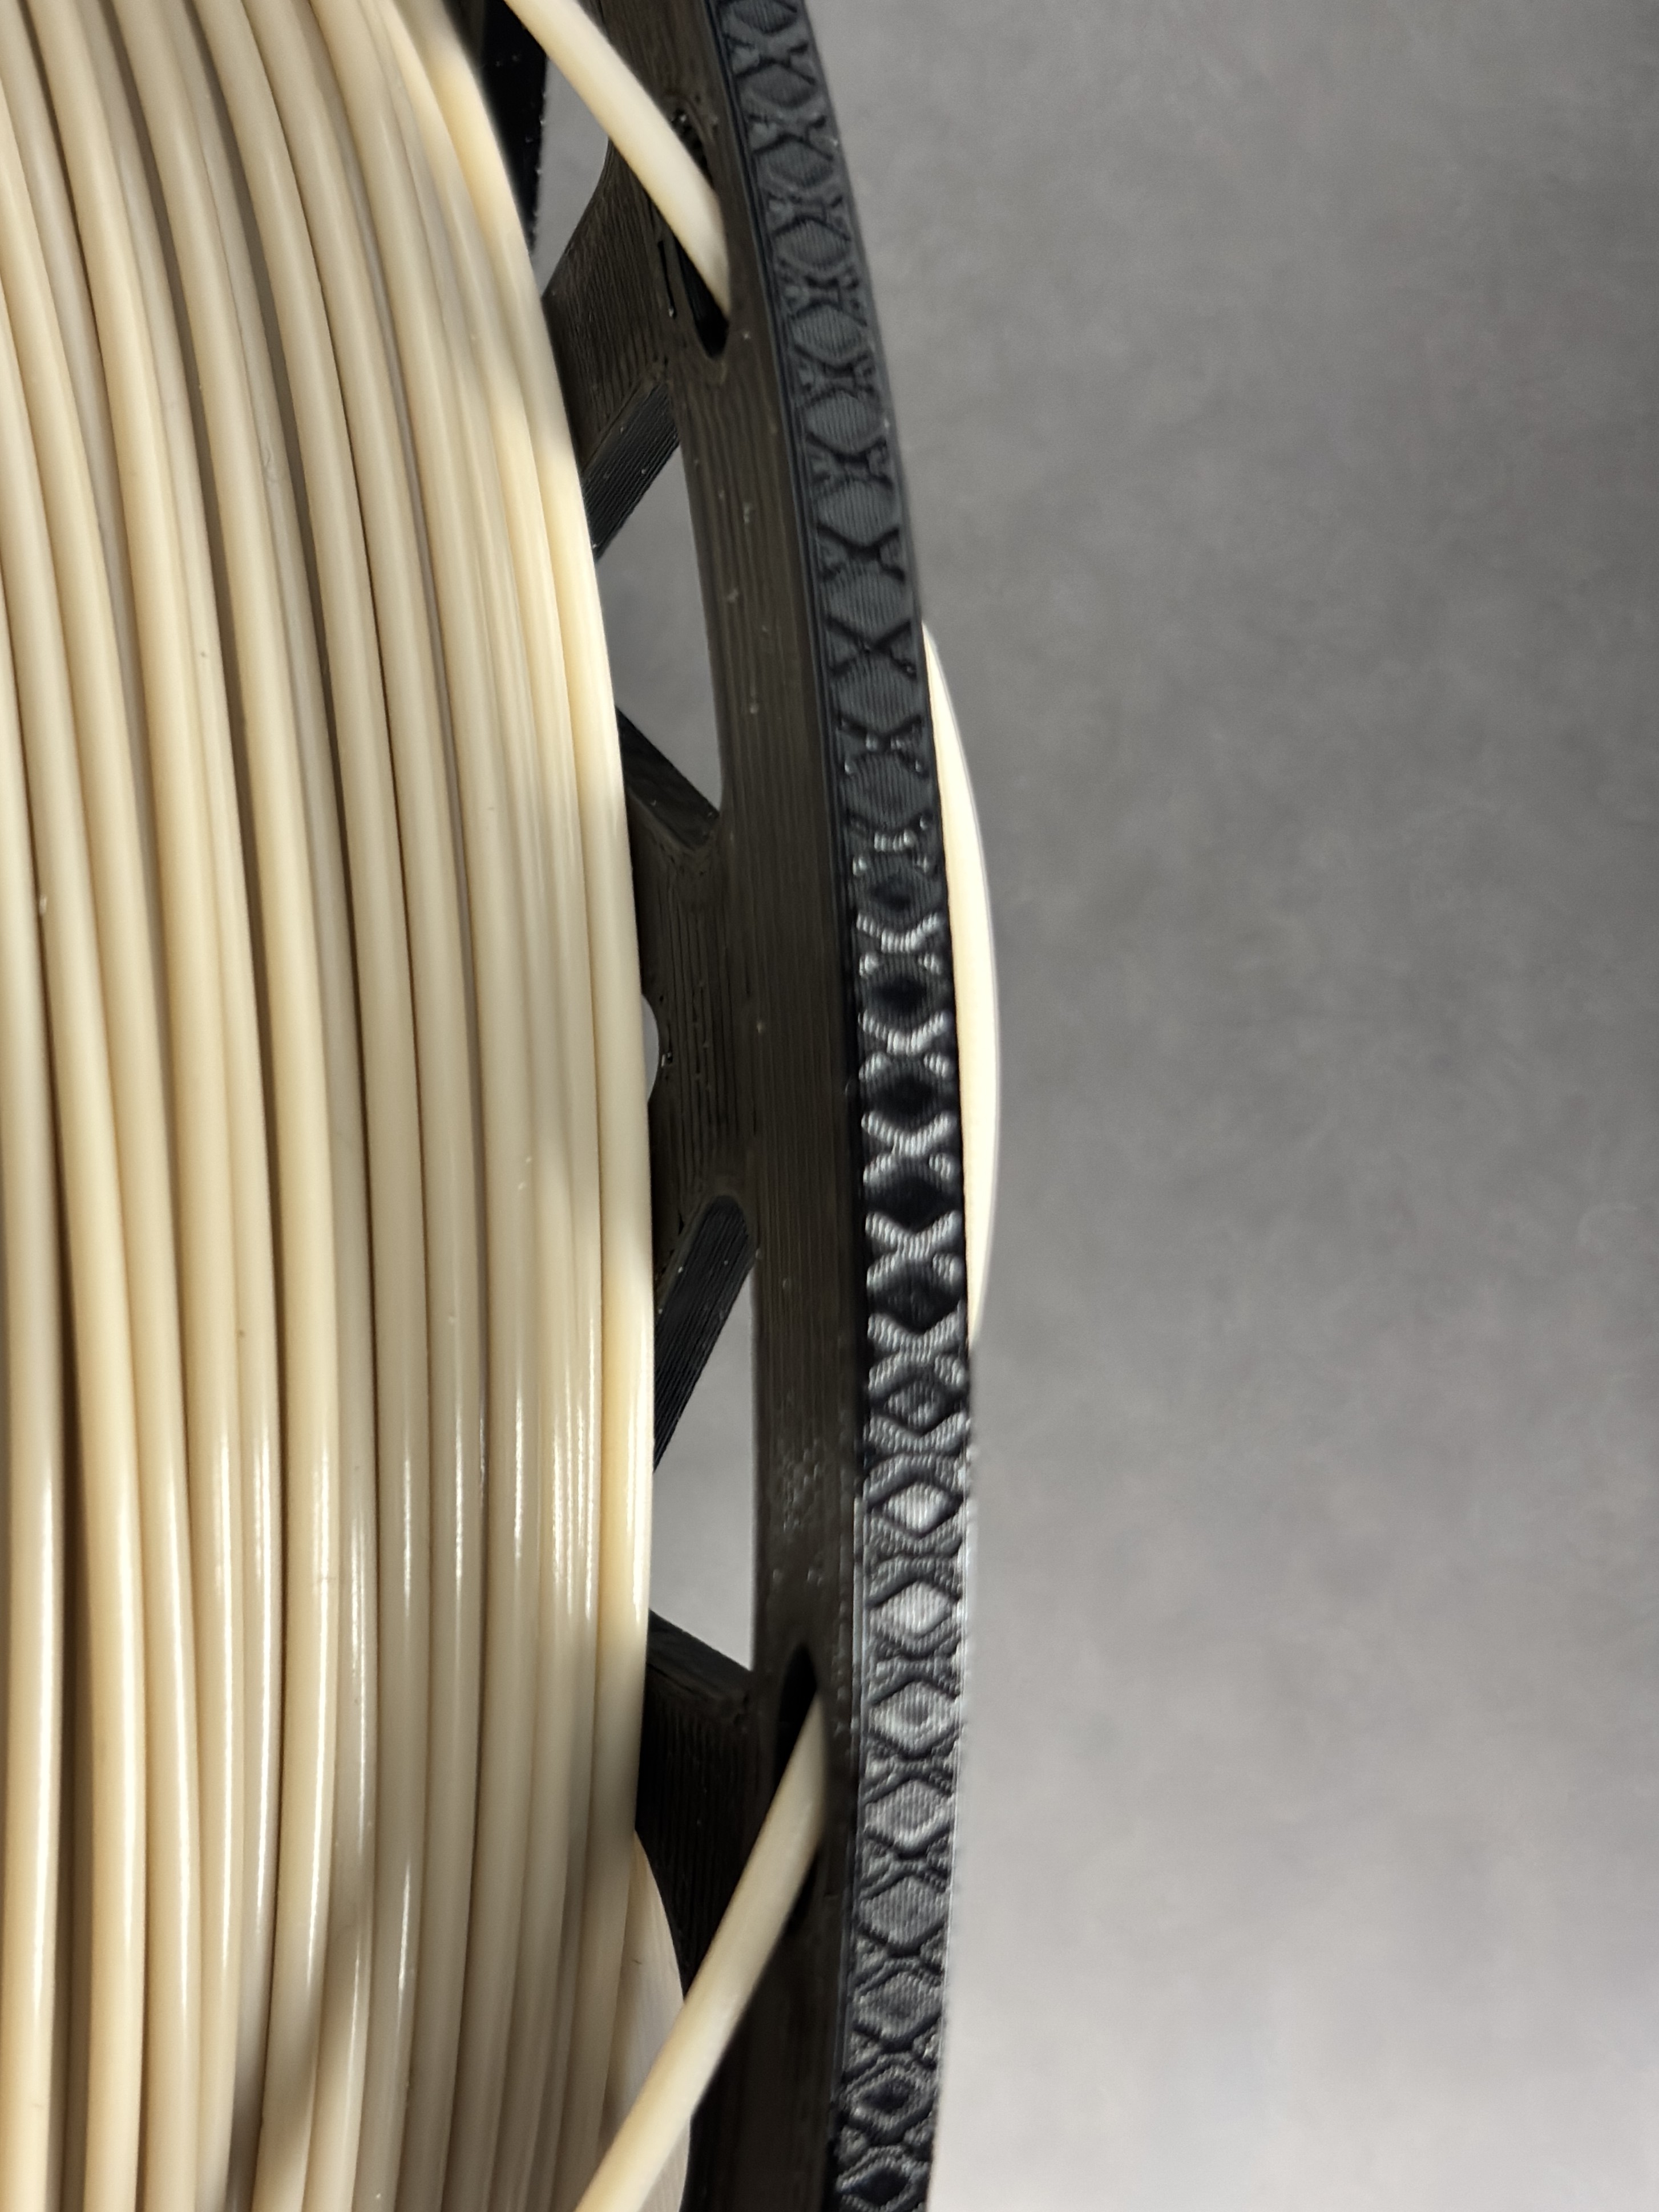
Fan-style spacers SEEMED like a good idea at first, but the ones I tried were not rigid enough.
Example B:

These can easily be out-of-center making the spool drag on half of the rotation and loosen (drop) on the other half.
--------------------------------------------------------------------------
WHAT I DESIGNED:
I started by using a threaded-style design.
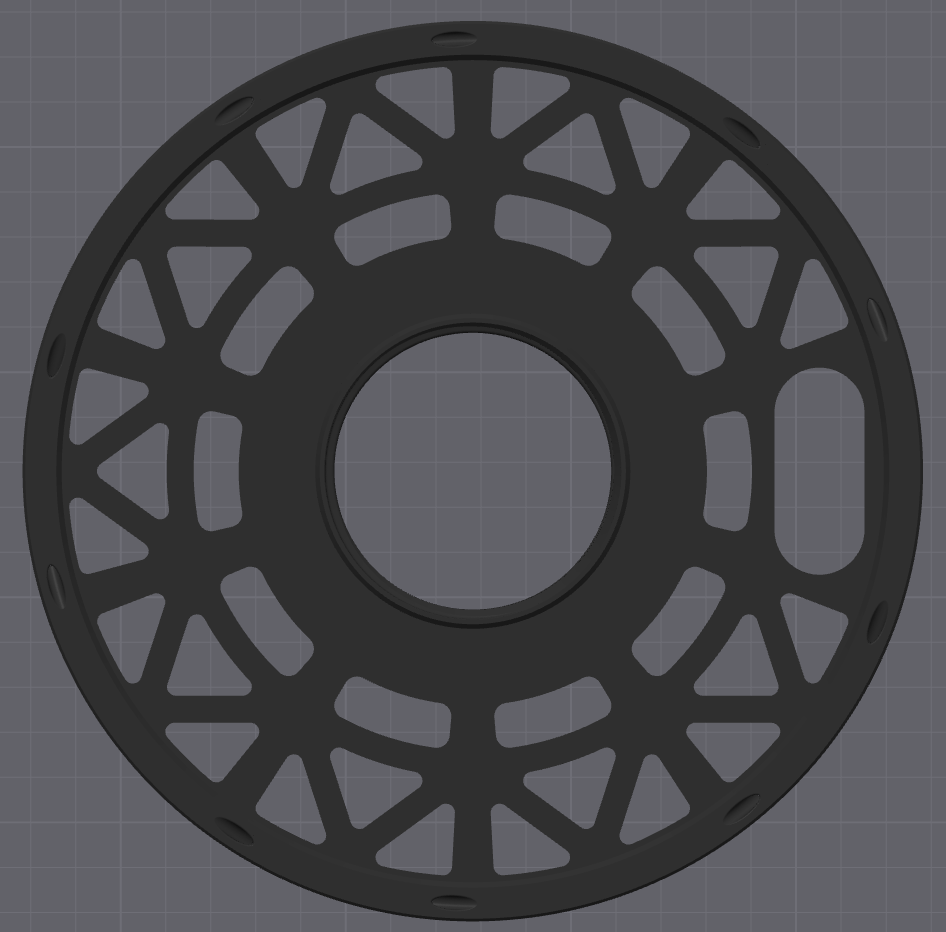
RIGID SIDE PLATES: This design uses a truss pattern that creates a very strong and rigid structure to eliminate flimsiness. With # of walls set to only 2 in the slicer, I haven't had any issues with it being too flimsy. However, you can choose to make it even stronger and more rigid simply by changing the number of walls in the slicer.
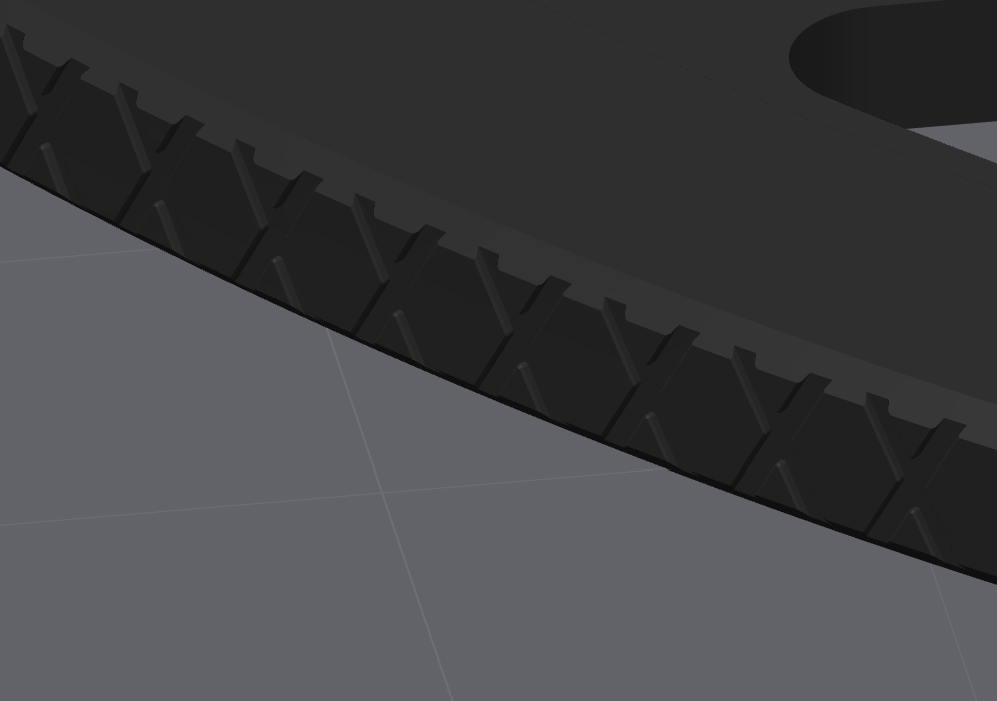
KNURLED OR SMOOTH EDGES: I knurled the edges to give it additional grip on the in the rubbery rollers of the AMS. I also put smooth versions in there if you prefer that instead.
PRINT-FRIENDLY THREADS: I used trapezoidal threads for strength and holding ability then rounded the edges for easier printing.

FORGIVING DIAMETER RINGS: Originally, I was using solid rings for each diameter. However, I soon found that cardboard cores are not a tight tolerance and some would just not fit, so I reduced the diameter slightly and added “nubs” to the outside to allow for slightly oblong cardboard cores.
INTEGRATED FILAMENT HOLDER: There are angled filament holes in several places around the edge for storing the end of the filament without crimping it.
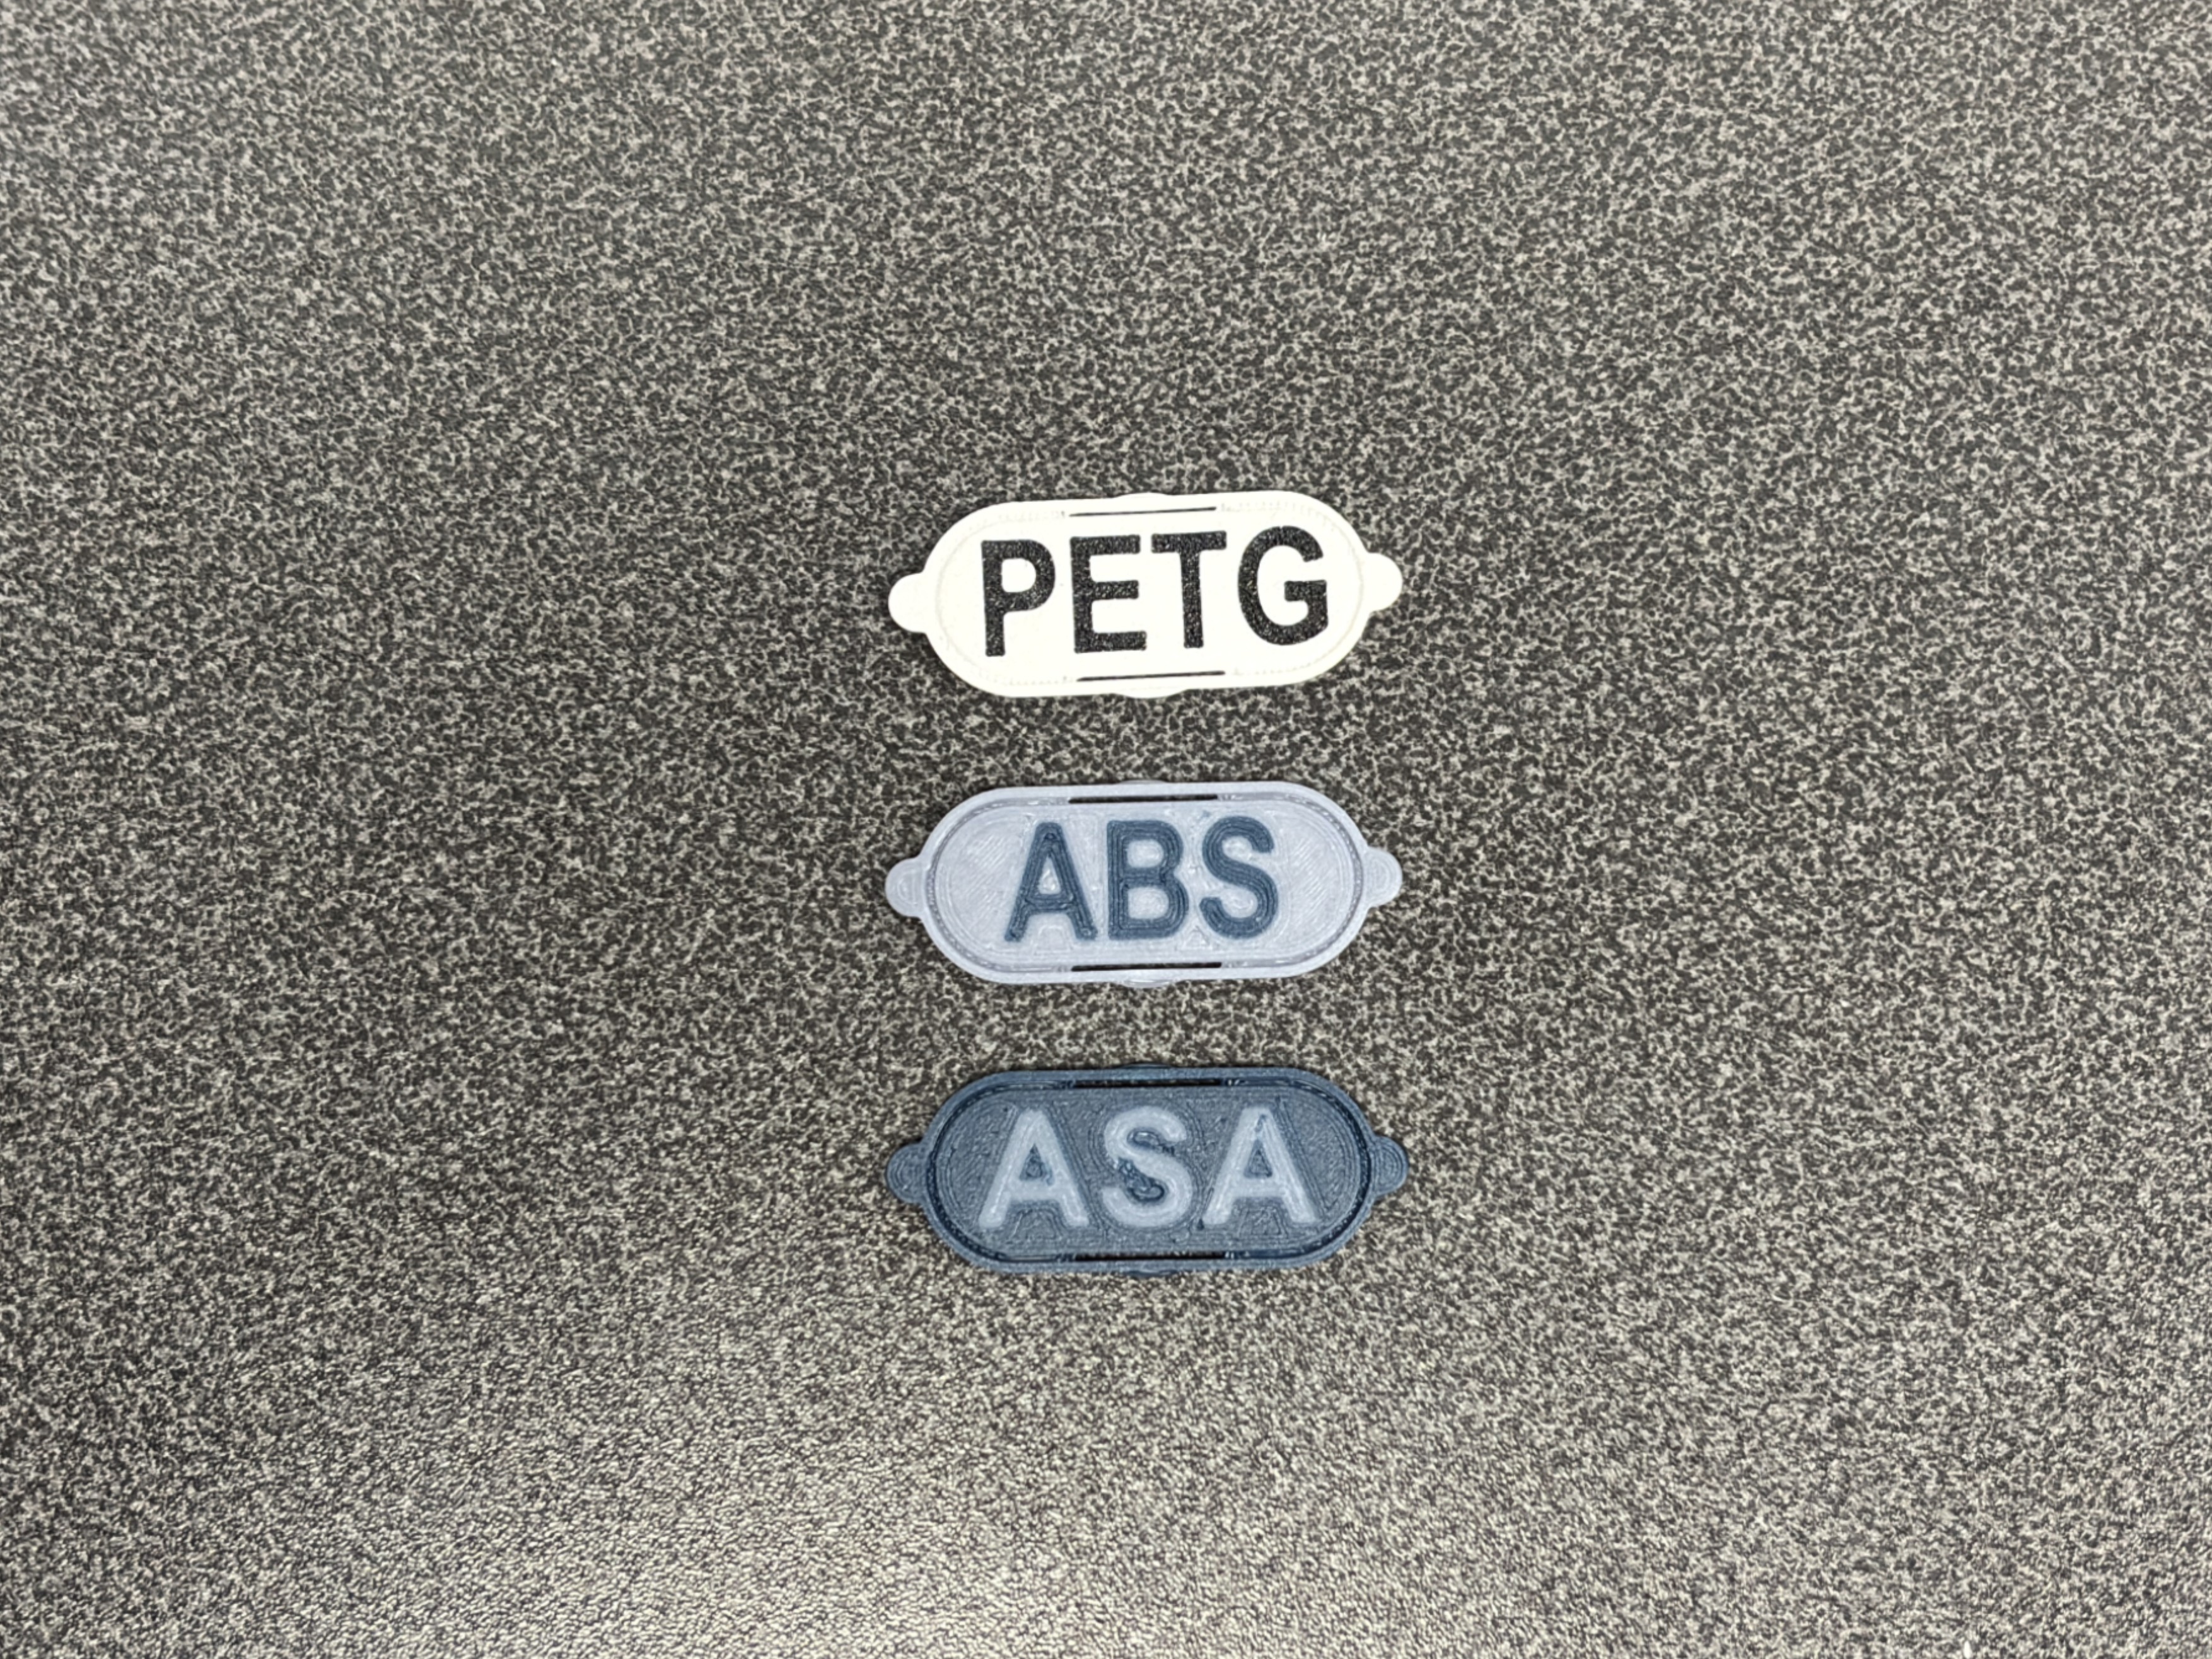
TAGS: The tag design is a remix from this master spool design - Bambu Lab Re-Usable Spool STEP by Hein | Download free STL model | Printables.com. I chose to use whatever label I made the spool out of. I dry all of my filaments so I don't want to use spools with the same or lower temperature resistance than the filament on it. For PLA I use PETG spools, for PETG I use ABS or ASA spools, etc. I also included blank tags so you can add whatever you want.