Você está no 3DFinder
Buscamos em Thingiverse, MakerWorld e Printables ao mesmo tempo para te dar o melhor de cada uma.
Descrição
1st place? I'm honored! If you enjoy magic, note that while the target audience for this model is professional magicians, most of my illusions are aimed at casual users.

This isn’t just any deck of cards. It’s an Astral Dial: a daylight-tuned “spirit clock." Each card resonates with its own astral plane and depicts an animated sun & clock which mark the time of planar alignment.
Invite a spectator to call “stop” as you flip through; their freely chosen card inexplicably shows a moon-lit dial (the sun gone) and in that instant the whole deck plunges into night-time energy. When the card is returned, the darkness drains away, leaving only the memory of the forces briefly stirred.
Demonstrations
Quick demo of the raw illusion. Scroll down to the 2nd video to see a full routine.
The Astral Dial is the initial routine I wrote for these Time Cards. I'm working with a professional magician to develop additional routines for them. More on that below, but for now, here's me attempting the trick. Try to look past my cringeworthy acting - I'm an engineer, not a performer. Also pardon the part where the screen goes black for a sec - there's no camera trick here - I just messed up the video conversion.
Magician's Eyes Only
Spoiler alert! I'm going to talk about the background behind this trick and the mechanism it uses. Stop reading here to preserve the magic.
The mechanism behind this trick is that of a classic Svengali deck, which utilizes cards of slightly different heights to create an illusion of transformation. When flipping through the deck, the cards naturally group together in pairs, and a different face can be seen depending on the direction of flip. If you've ever seen the trick where the whole deck changes to be the same card, it was likely a Svengali deck.
To justify to myself the money I spent on a 2nd AMS unit (no regrets), I initially set out to create a generic 3D printable Svengali deck. Very quickly, I realized how tedious this would be unless I scripted it. But once I started coding, I decided to put my own spin on the trick by incorporating flipbook animations, storybook style theming, and transforming backs (in a traditional Svengali deck, only the faces change).
As an aside, this was actually the start for my well-received custom deck generator, which was a detour since the requirements of that project were a subset of this one. Soon after releasing the generator, I completed the Time Cards and produced the super cringy demo video. As an engineer and hobbyist designer, I'm under no illusion of being a performer, and this video was simply to demonstrate a possible script for the trick, in hopes that I could find a true performing magician to do it justice.
Well, as it turns out, I was able to reconnect with a professional magician I knew from 3 decades ago. He headed up the magic department of the summer camp I attended as a young teen, and he since went on to be the editor of the two biggest magician magazines for over a decade, so he knows his stuff. I reached out to him cold, and to my delight he not only was willing to see my trick, but he was also up for creating a fresh routine or two with me.
The next routine is still a work in progress and we've been iterating on it without time constraints. At some point I'll probably upload a new video, once we have a chance to record it. With Bambu having a magic trick contest, however, it felt like the right time to finally post my original cringe-worthy demo video. Try to look past my lack-of-performance skills to see the full potential.
How to Print
This is a long and challenging print - I hope you agree that the results are worth it.
Download: The day & night cards are in separate print profiles, so you'll need to download both. I had to split them up this way due to MakerWorld size constraints. Note that the profile labeled as "day faces" has suns on the faces but moons on the backs, and vice versa for the "night faces" profile - that's just the mechanics of how the cards work.
AMS: You'll need at least 1 AMS unit, and the cards look perfectly good with just 4 colors. For optimal results, however, use 2 AMS units. If using just 1, you'll have to reduce the number of filaments in the slicer.
Filaments: While it comes down to preference, using a good mix of colors can enhance the magical vibe. Make sure to use a dark opaque color for the back of the card so that you can't see through it unless held up to a bright light. Here are the ones I used:
- Polymaker PLA Starlight - Neptune (card face)
- Polymaker PLA Starlight - Jupiter (day clock background)
- Bambu PLA Galaxy - purple (night clock background)
- Bambu PLA Matte - black (day clock details, card back)
- Bambu PLA Metal - Iridium Gold (filigree, night clock details)
- Bambu PLA Silk - gold (sun, back pattern)
- Bambu PLA Silk - white (moon)
Plate: Print cards face down on a smooth build plate. This ensures they’re able to slide easily. I originally used a holographic plate, but I've since had more consistent results with a Wham Bam PEX plate. It yields less glare on the card surfaces, though the shimmery filaments come out more muted.
First Layer Bed Temperature: Increase to 65°C to boost adhesion of fine details.
Speed: In my print profiles, you'll see I slowed the print WAY down. Otherwise, the small details wouldn't stick consistently. Depending on your setup, you may be able to speed it up considerably. I also only put 4 cards per plate so that failures would be more contained.
Nozzle Size: I printed using a 0.4mm nozzle. I'm sure the details would look even better with a 0.2mm nozzle, but that's a big time commitment, and smaller nozzles usually don't work for shimmery filaments.
- Card Removal:
- Let the plate cool a few minutes before removal.
- Flex the plate gently to lift the card edges.
- Use a scraper carefully just at the edges. Digging too far will likely damage the card due to the bend angle.
- Finally, use another card to help lift it. Wriggle gently to release without applying too much force.
After Printing
While you may already know not to leave PLA in the sun, thin objects like cards are particularly sensitive to heat. Definitely do not leave in a hot car.
To arrange the deck, first create a stack of day cards (facing up) sorted from 5:30pm at the bottom to 6:00am on top, at 30 minute increments. Similarly, create a stack of night cards but in the reverse order (6:00am at the bottom). Then, interleave the two stacks into a single deck - make sure not to reverse the order as you build the deck. When done and the deck is flipped over in its “normal” orientation (face down), there should be a day card on the bottom. When you flip through in either direction, the clock should tick forward - in one direction the day cards will show and in the other direction the night cards will show.
Finally, a good magic trick requires preparation. Now that you've invested many print hours into making these cards, I highly suggest devoting at least an hour to practicing the trick - longer if you're less familiar with card handling. Getting the script and motions in sync and smooth is not trivial. Look into Svengali tutorials as a starting point for how to handle this prop. The additional complexity with this deck is that the back of the card is also meant to transform, so you need to be particularly careful in how you handle the cards (especially when a card is selected) so as not to flash the wrong back.
Thank You
Message me if interested in commercial opportunities beyond standard licensing options.
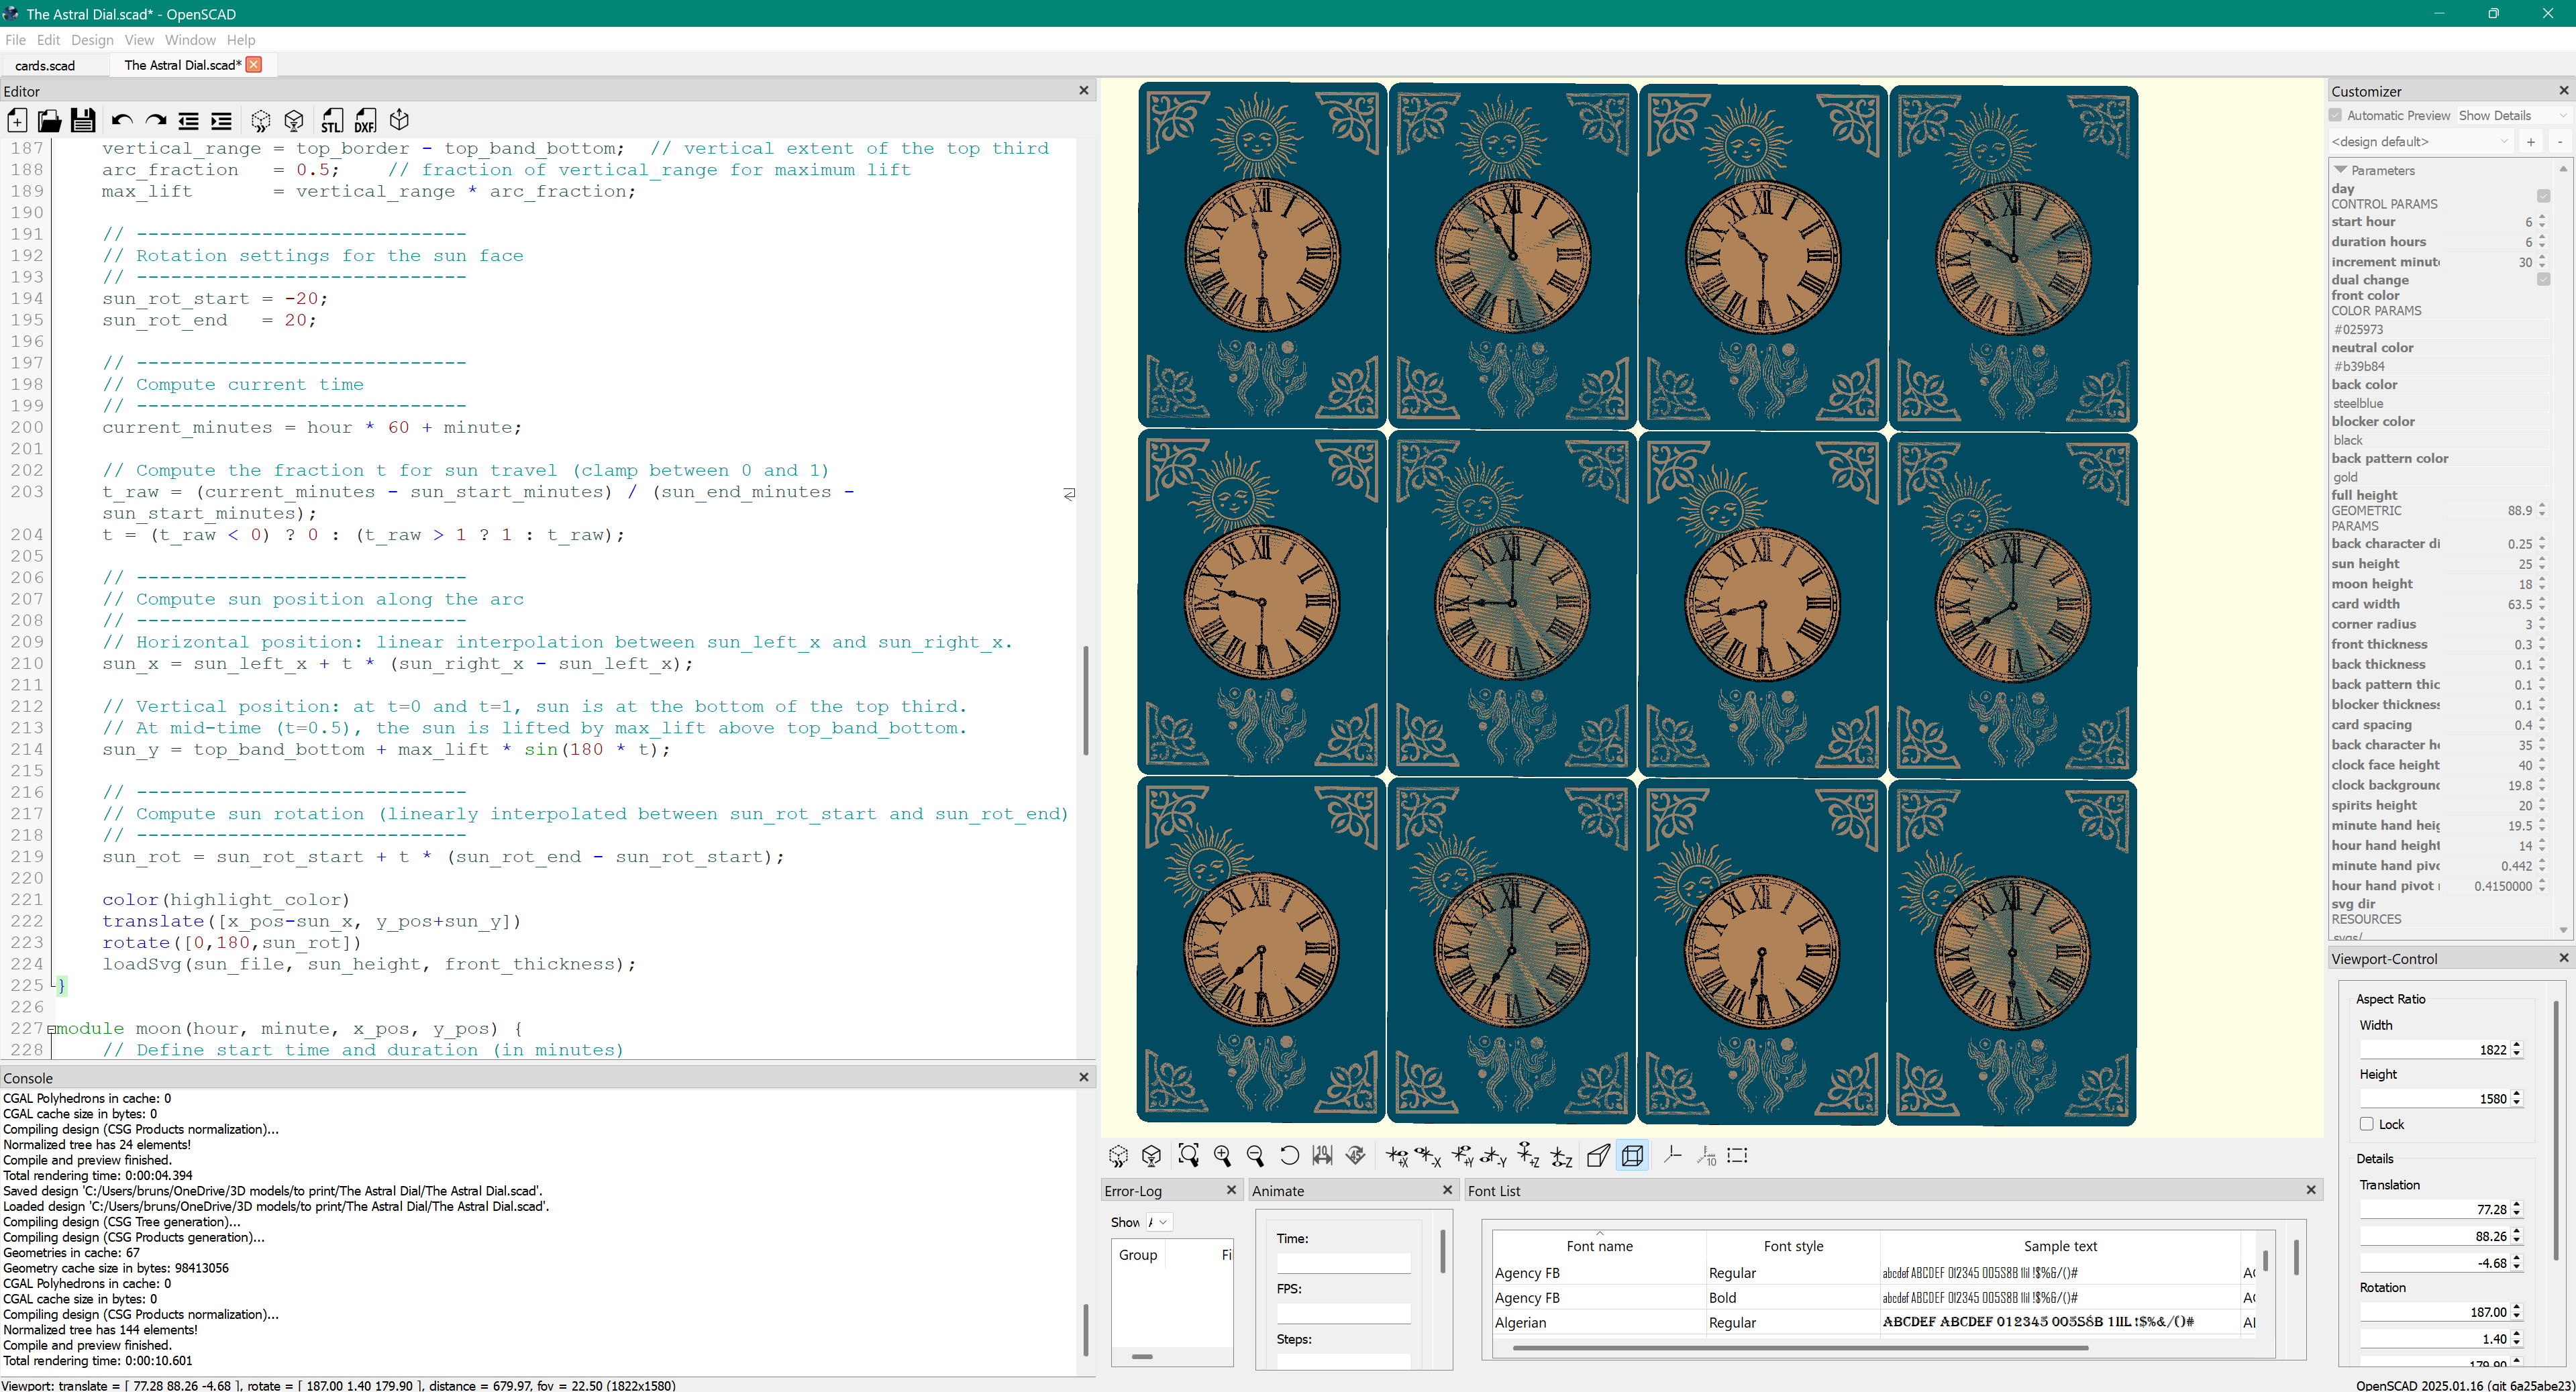
This deck's artwork combines public-domain imagery, including an old clock face, with generative fragments, which I edited and programmatically composed into the magic effect using OpenSCAD.
Magic Trick Card Deck

Publicado em 29 de abr de 2025