Você está no 3DFinder
Buscamos em Thingiverse, MakerWorld e Printables ao mesmo tempo para te dar o melhor de cada uma.
Descrição
High speed propeller launcher
This is my take on the high speed propeller launcher. It uses a three stage planetary gearbox with 1:64 gear ratio to launch a propeller at high speed. All parts are 100% 3d printed and optimized for 3d printing with minimal easy to remove supports required on a few parts. You shouldn't need any special tools or glue for assembly.
Gearbox consists of three gear stages with each multiplying gear ratio by 1:4. Ring gear for all three stages is built into the upper part of the launcher housing. Each stage consists of: the bottom carrier plate with built in axles for the sun and planet gears, sun gear, three planet gears and top carrier plate.
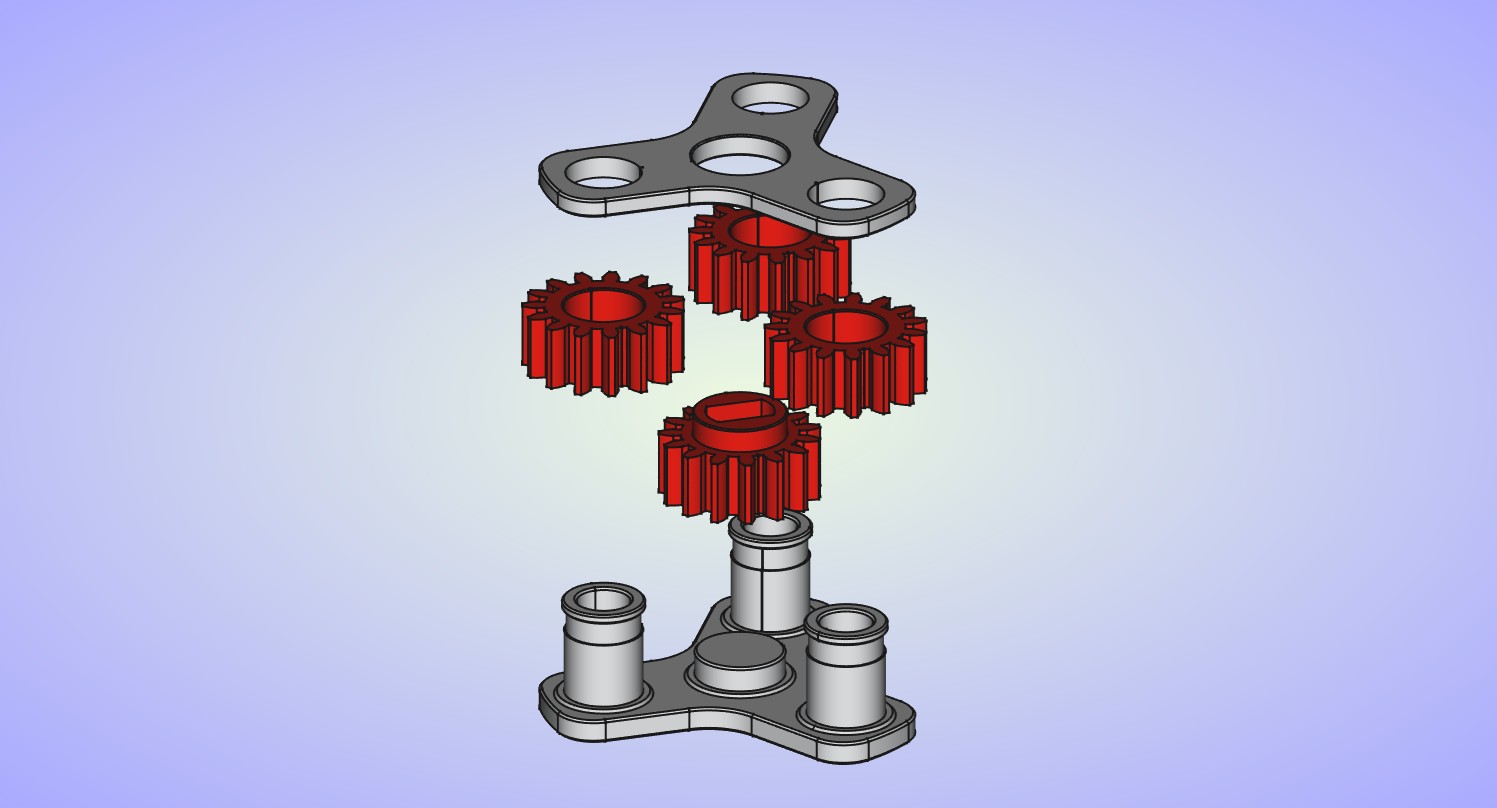
Assembling the gear stages is the only somewhat tricky part of this build.
- First step is to print first two plates (Gears and Carrier_Plate_1) and then remove the supports from the sun gears.
- Then start printing the 3rd plate (Carrier_Plate_2).
- Print will pause at the layer 92, that is when you have to insert the sun gear, 3 planet gears and top carrier plate on to bottom carrier plate.
- Make sure that on all of the planet gears the surface that was on the build plate is pointing down when you place them.
- On the top carrier plate the surface that was on the build plate should be pointed up.
- Make sure that the upper surface on the top carrier plate is level with the 3 axle pins on the bottom carrier plate, it can also be little bit lower than the pins. Doing this will ensure that the print head will not crash into the model and when you resume printing.
- Resume printing and wait for the last few layers to finish. Last few layers are designed in such way to capture the top carrier plate effectively making the entire gear stage a single contained unit.
- You'll have to repeat this process 2 more times for the other 2 gear stages.
You can see how to do this in the video bellow, please excuse my crappy phone camera.
As you can see whole process is relatively simple, especially if you have a printer without the enclosure. On the enclosed printers it might be a little bit trickier to insert the parts but it should be doable. Once again important thing is to make sure that the top plate is level with the 3 pins on the bottom plate.
Once you finish printing 3 gear carriers you can normally print rest of the parts. After you're done printing remove any remaining support from the parts and then you're ready for the final assembly. Other than a small flat head screwdriver to help with the support removal you don't need any other tools.
Assembly instructions:
Start by inserting the carrier plate all the way into the lower part of the launcher housing.
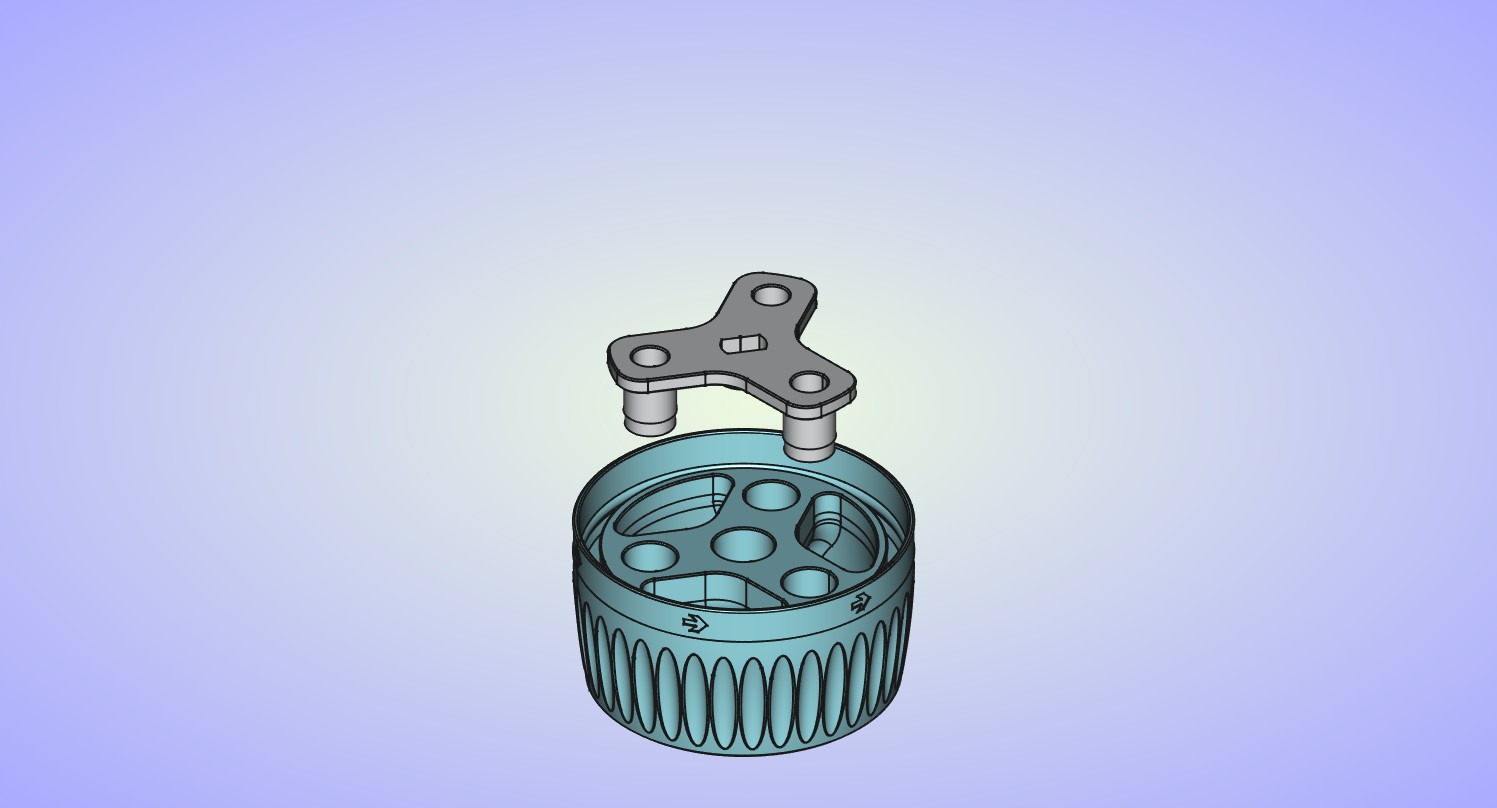
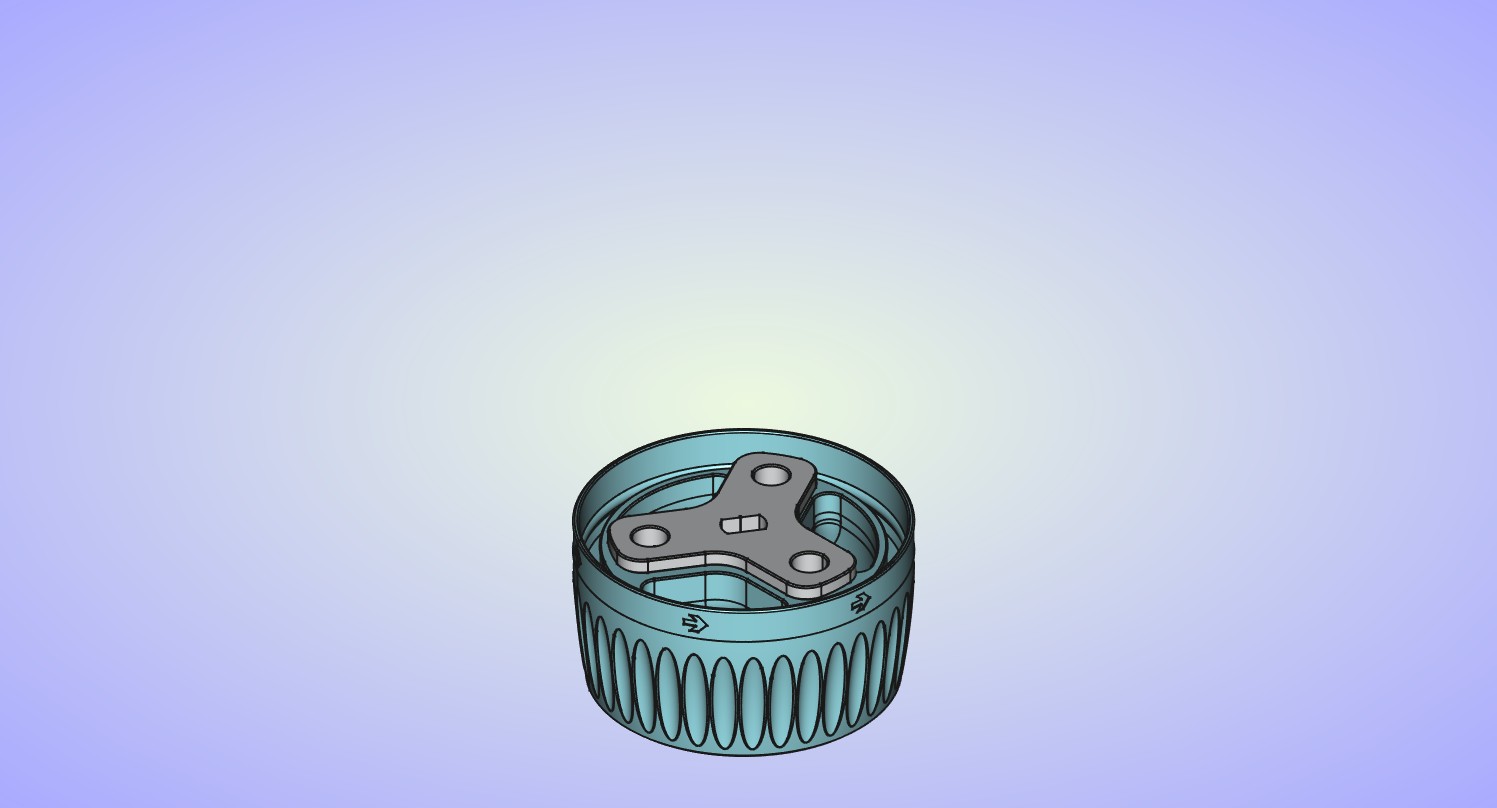
Then insert 3 pins and and the axle into the holes on the plate carrier, followed by the spacers for the pins and axle.
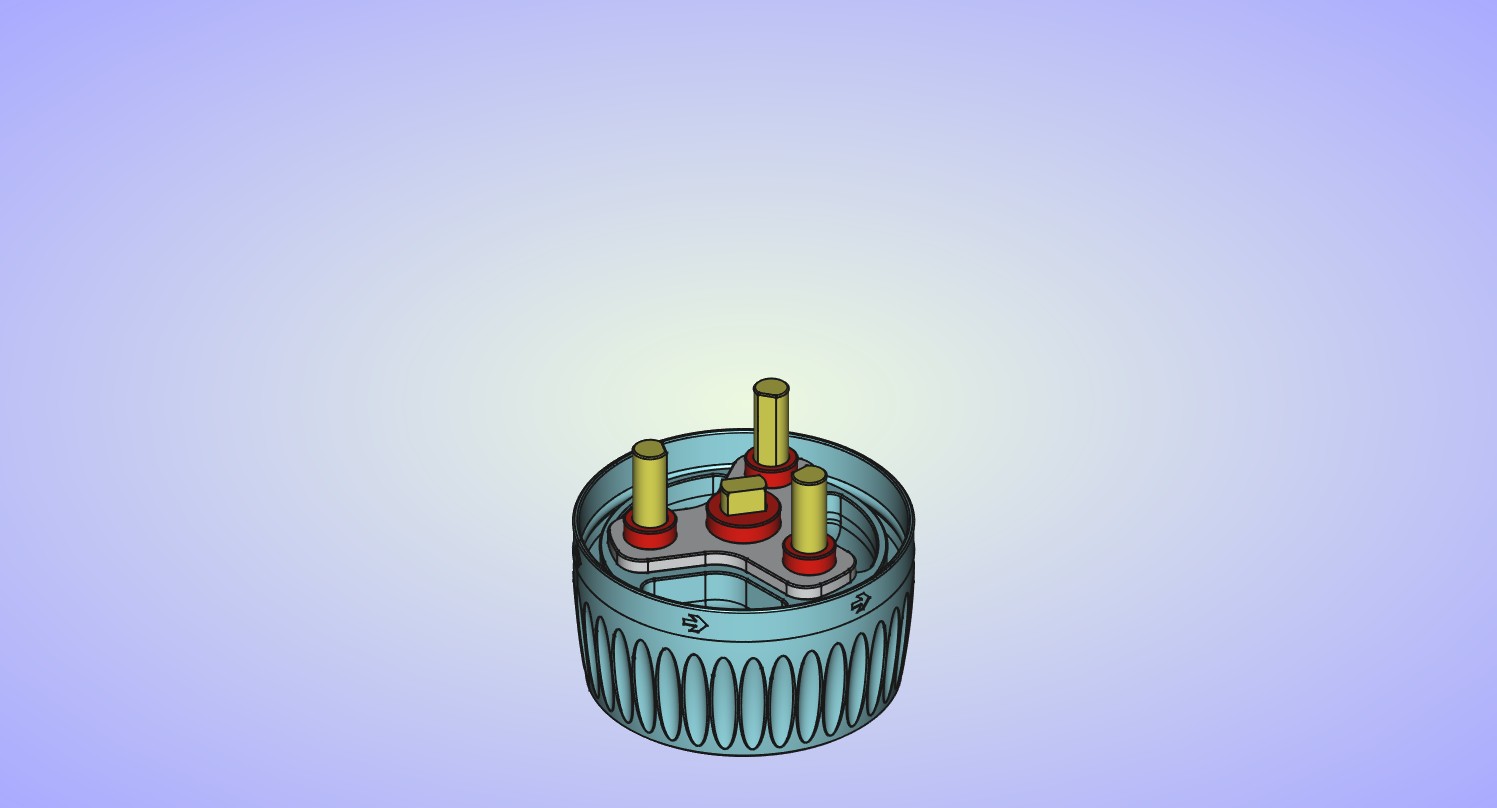
Install the first stage of the gearbox, make sure the sun gear is pointing up.
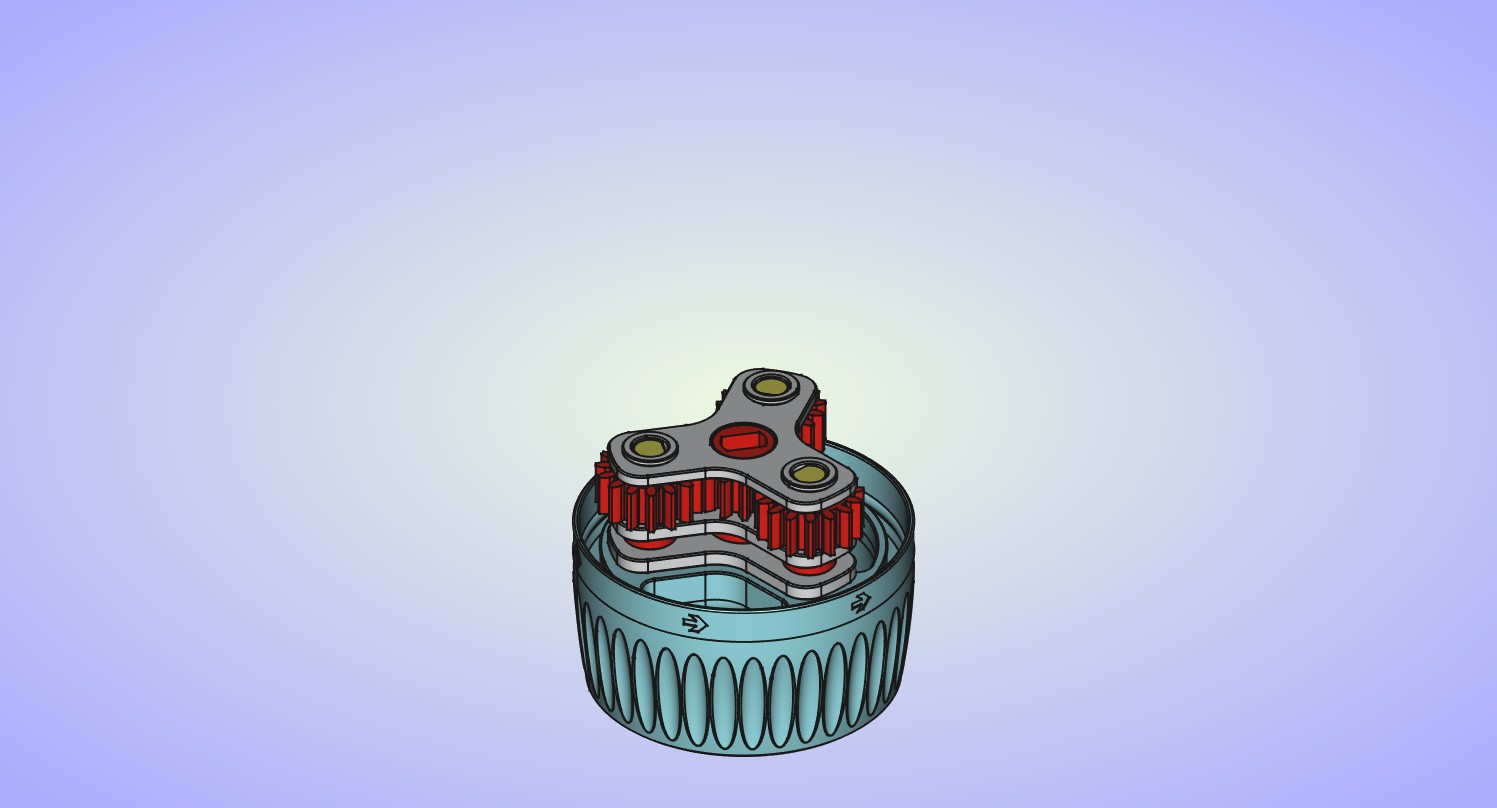
Insert the axle and the spacer into the sun gear on the first stage, make sure the wide side of the spacer is pointing up.
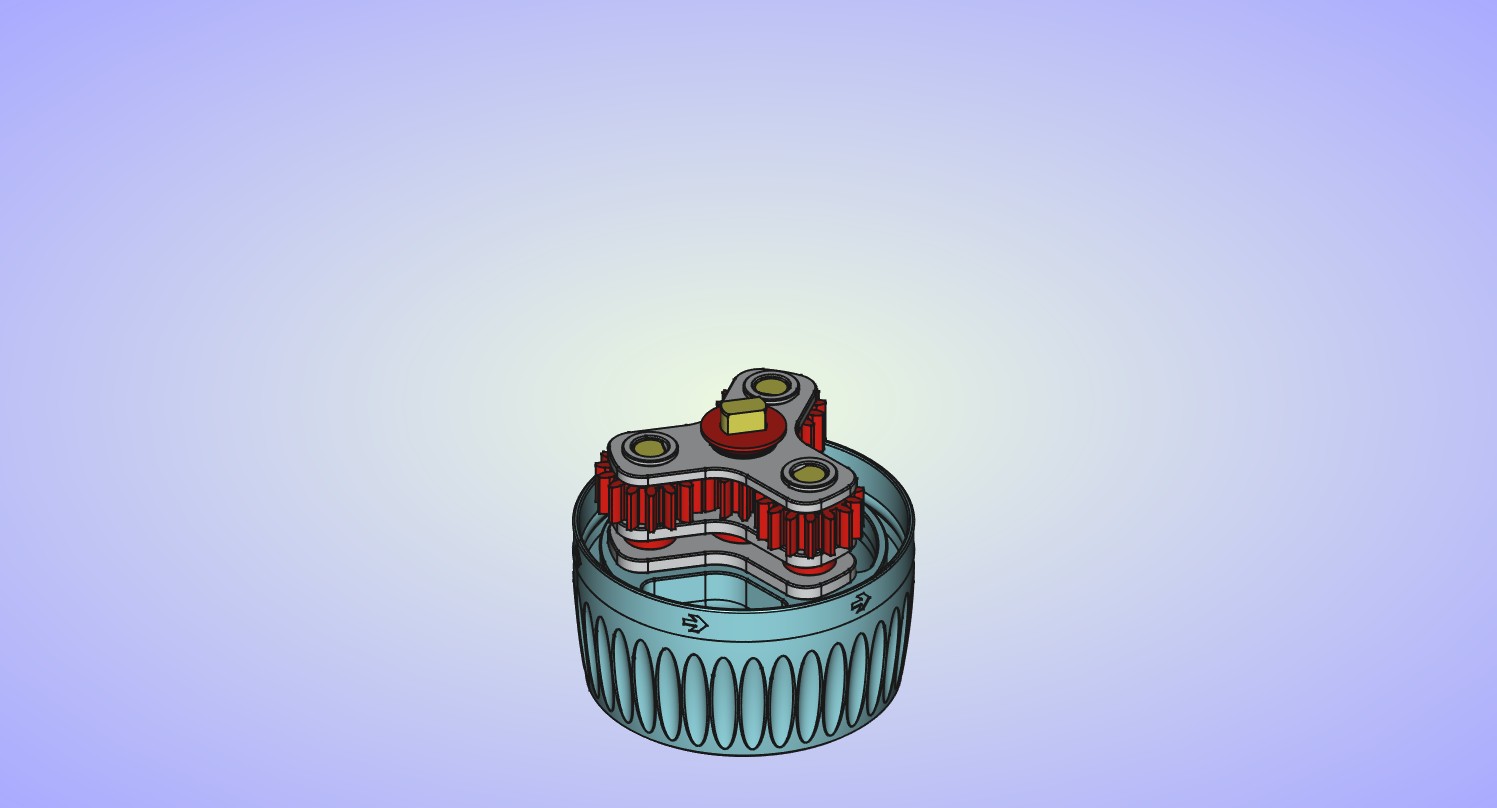
Install the second stage of the gearbox, make sure the sun gear is pointing up.
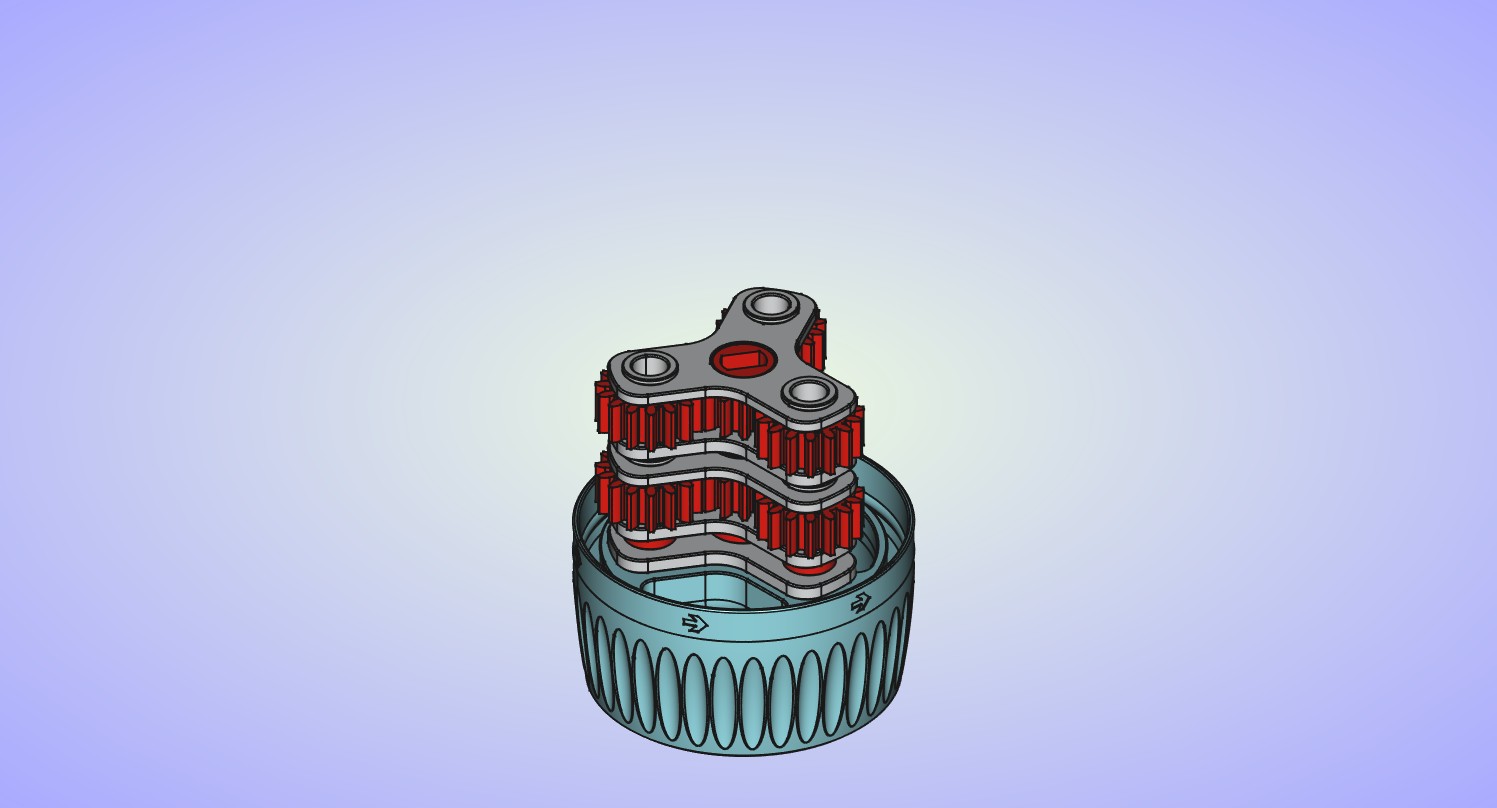
Insert the axle and the spacer into the sun gear on the second stage, make sure the wide side of the spacer is pointing up.
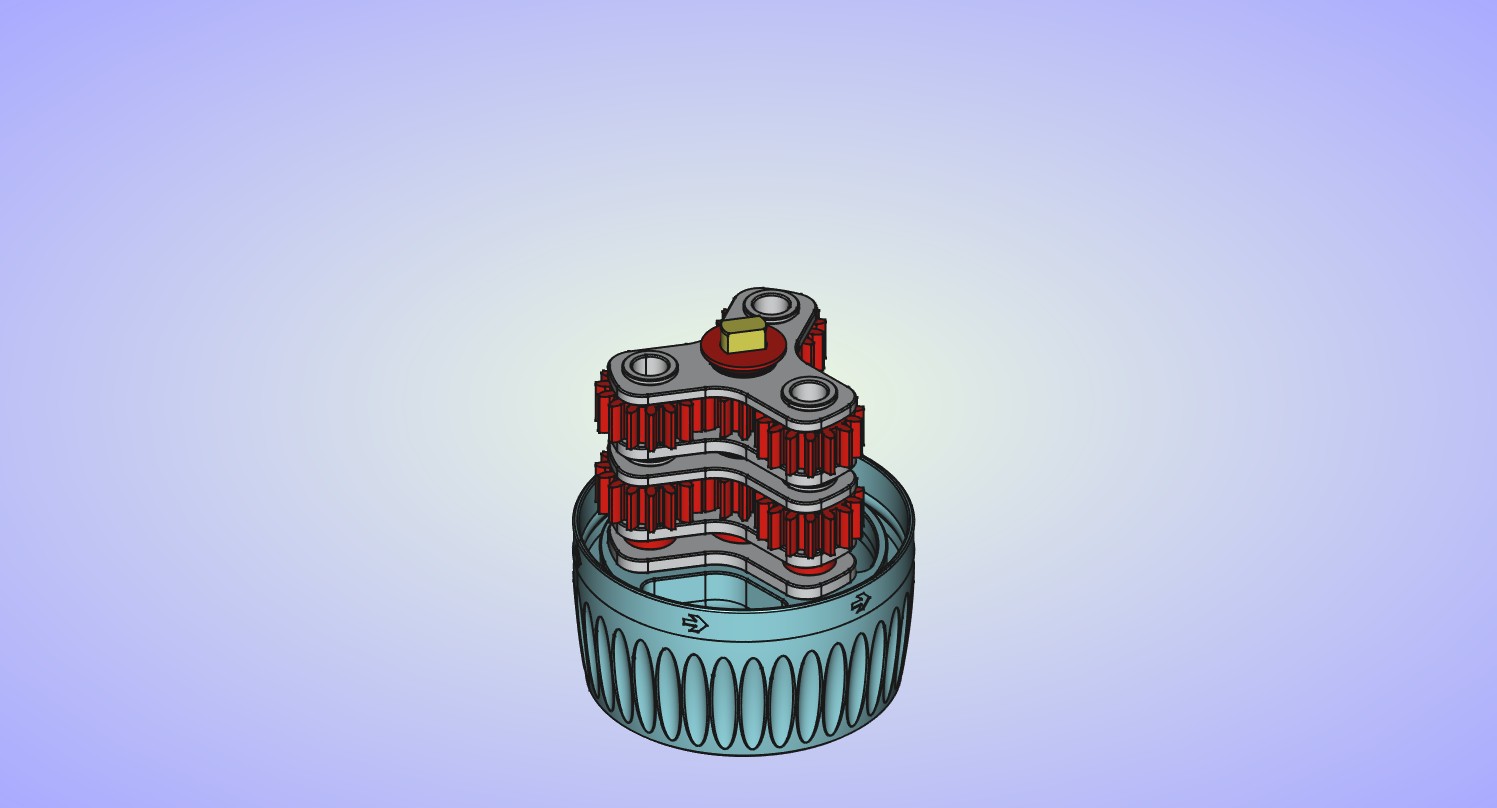
Install the third stage of the gearbox, make sure the sun gear is pointing up.
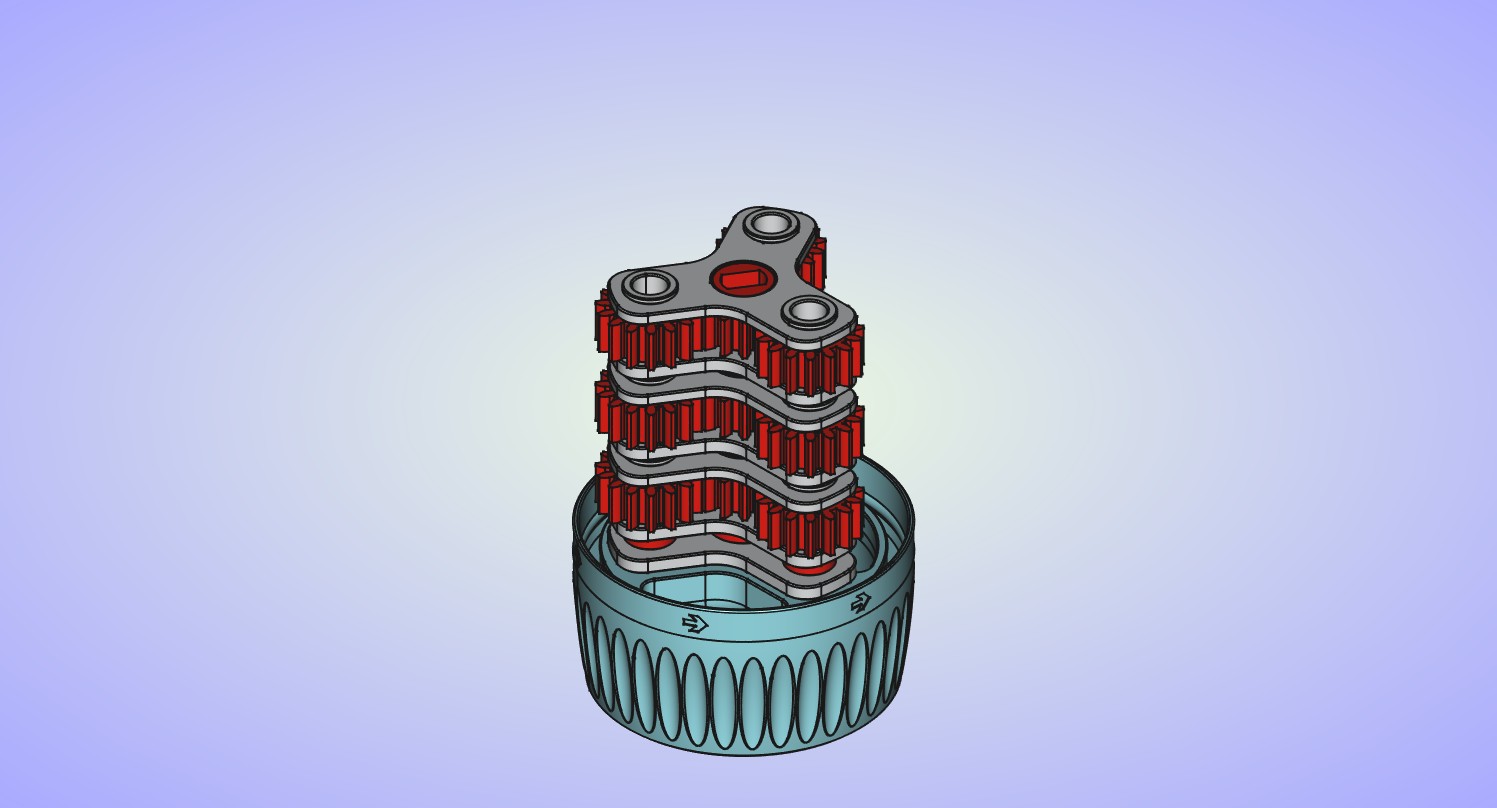
Insert the long axle all the way into the top axle spacer.
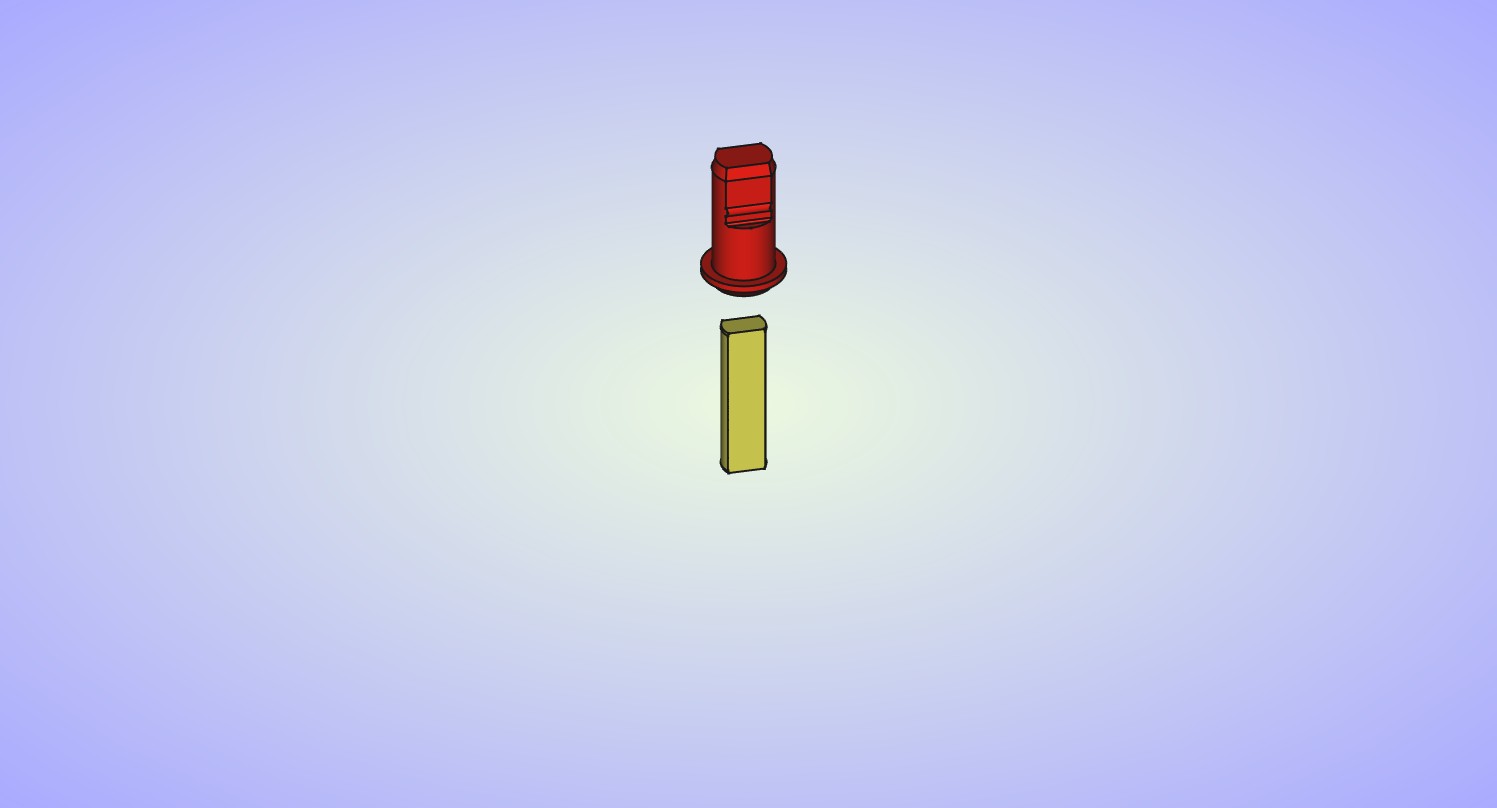
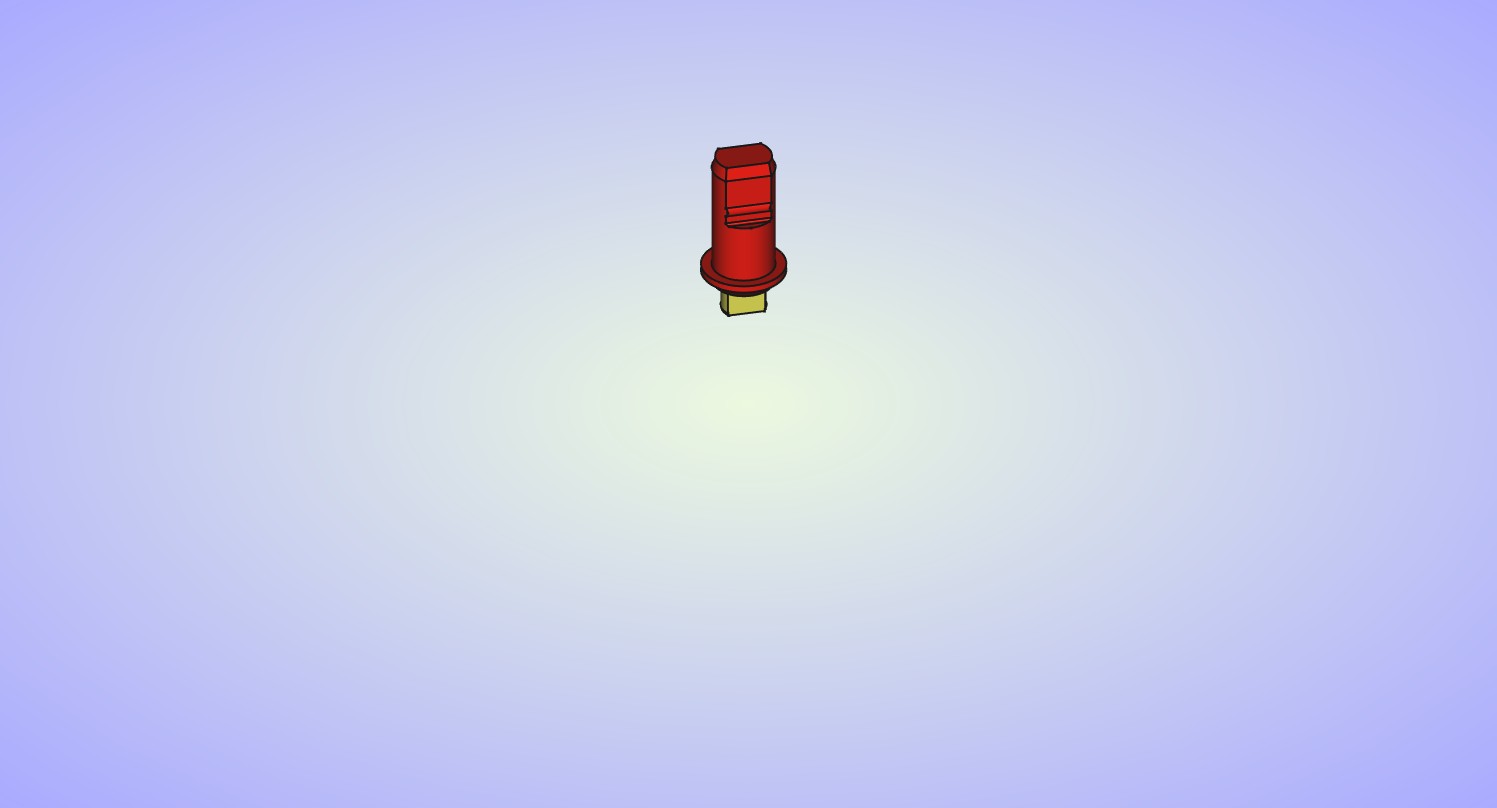
Then insert it into the sun gear on the third stage.
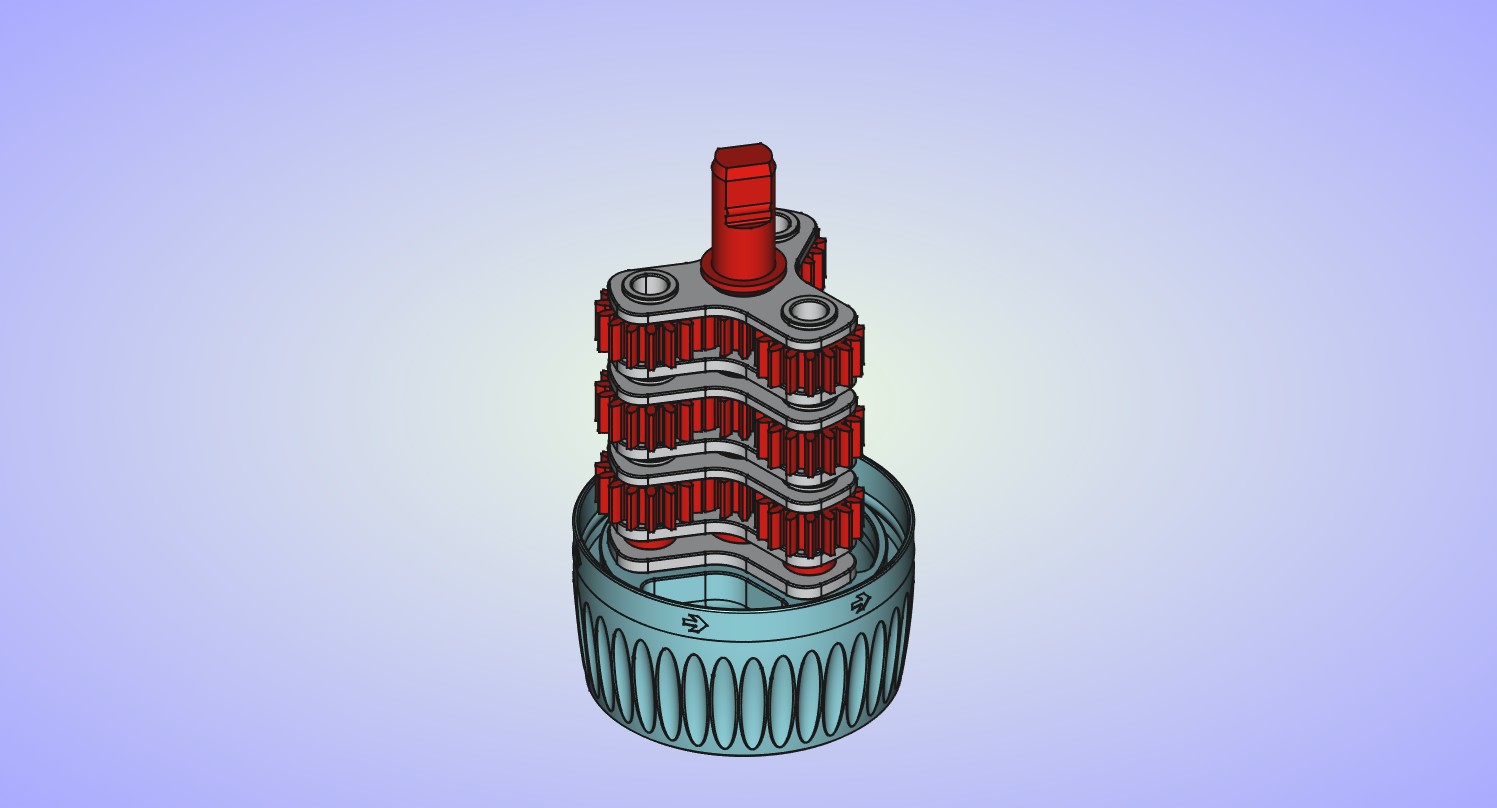
- If you're going to add any grease now it's good time to apply it to the gears and the part of the top axle spacer that will be in contact with the housing. I recommend using PTFE or silicon grease for the gears. Launcher will run just just fine without any grease, but adding some will help it run even smoother.
Slide the upper part of the launcher housing over the gears. You may have to slightly wiggle it left-right for all the gears to align with the ring gear. Then slide it all the way down until it snaps into place.
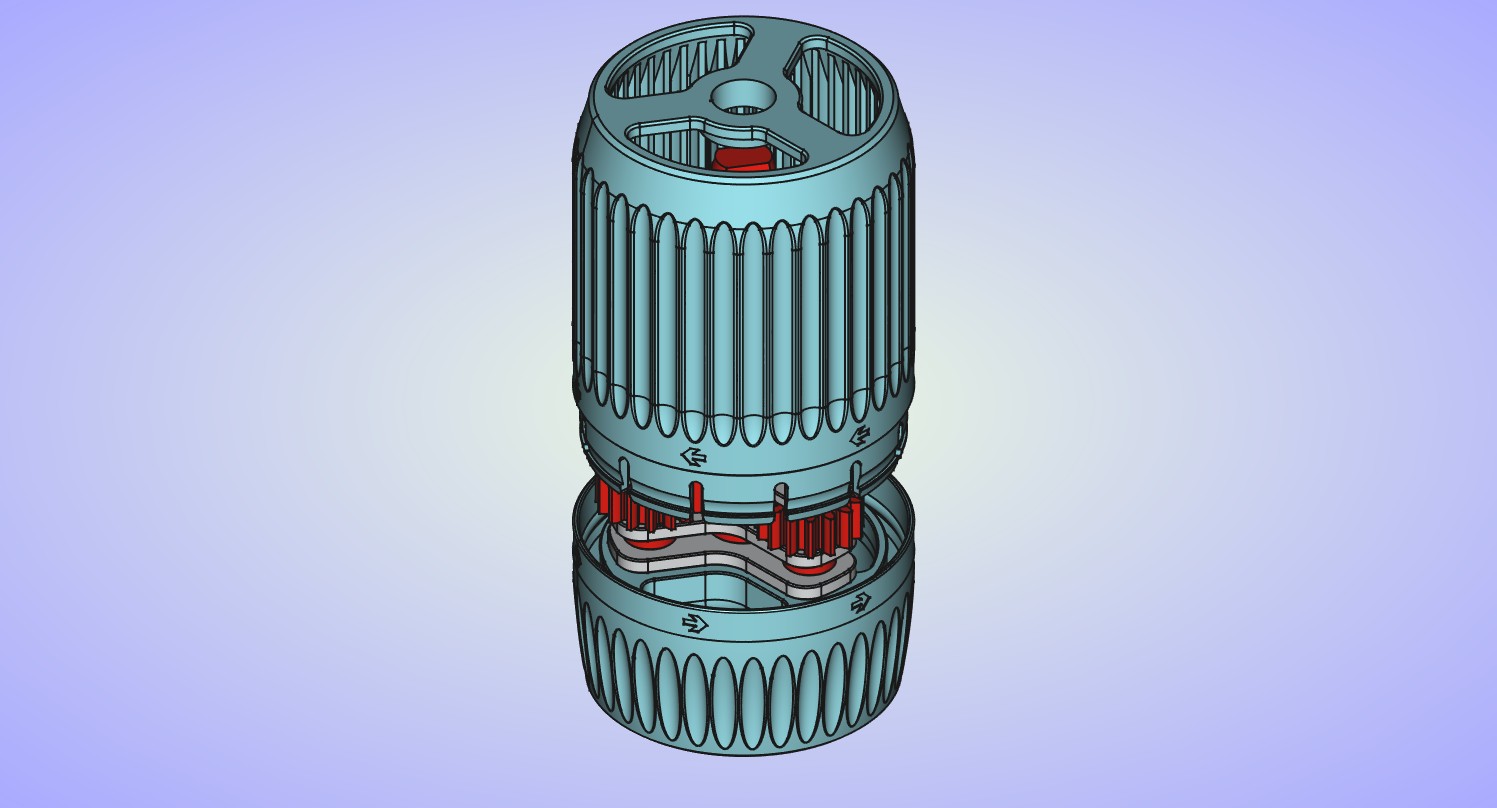
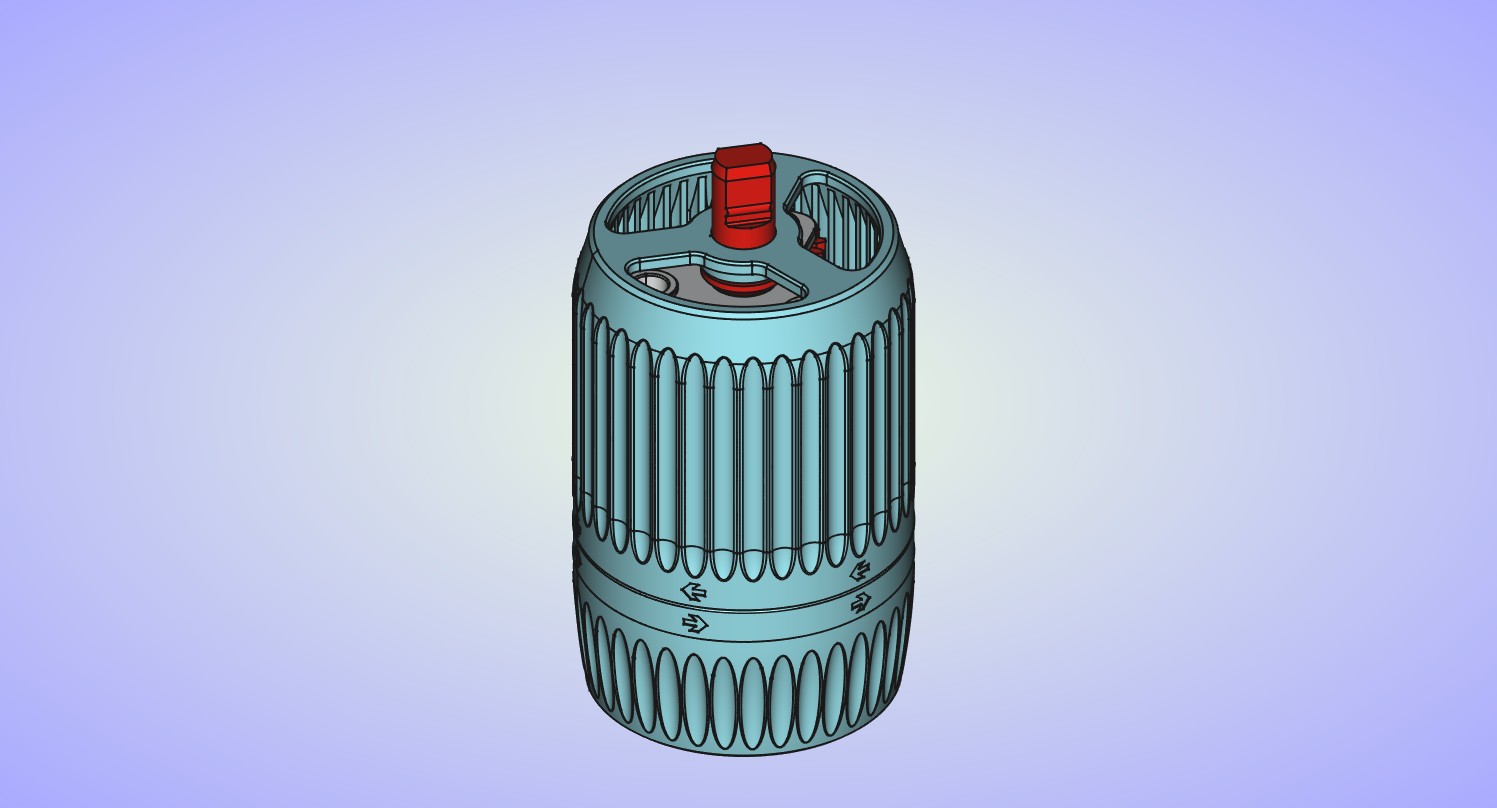
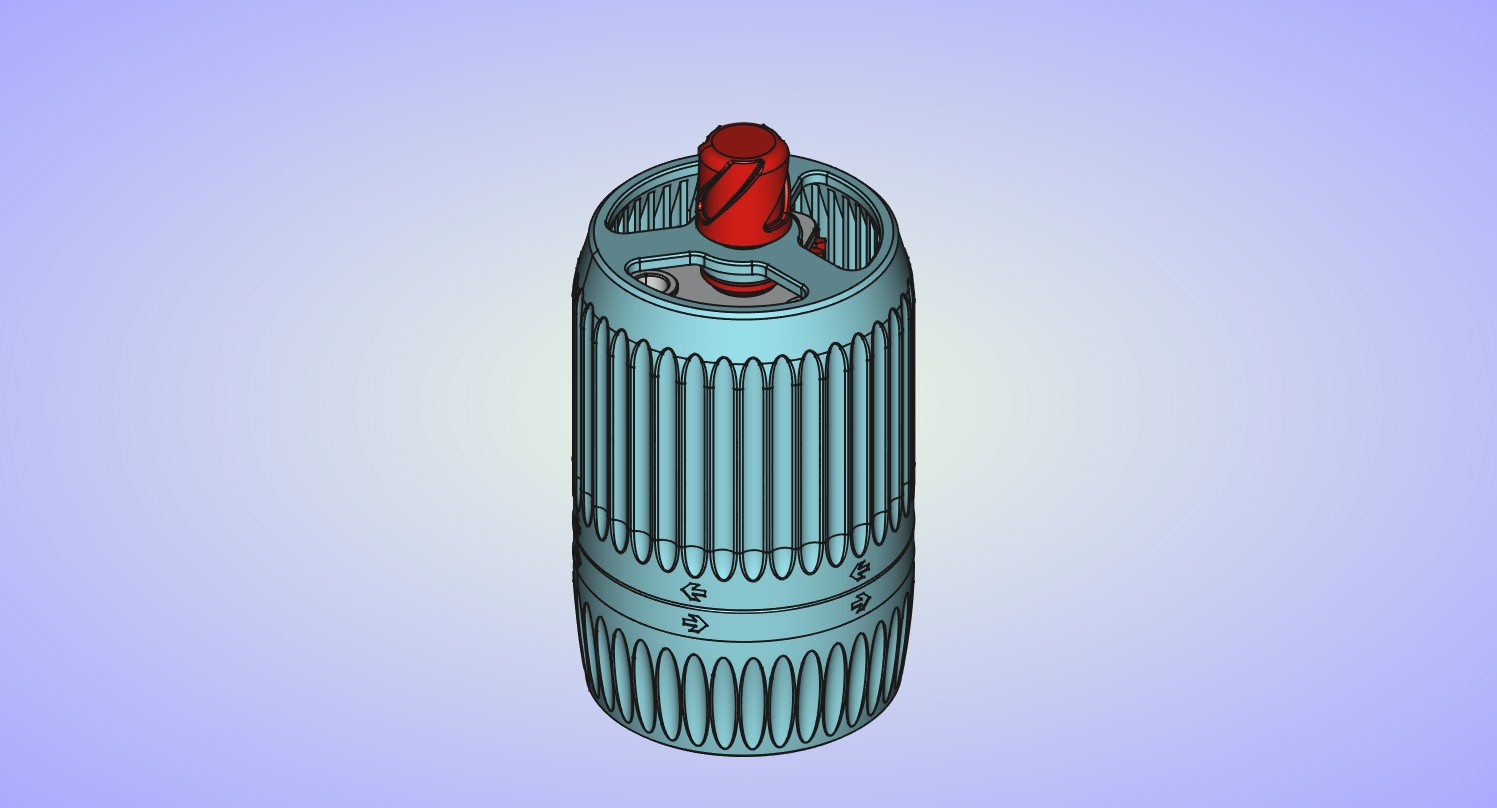
Twist the 2 parts of the launcher housing a few times to check if everything is working correctly. If everything is fine you can install the propeller adapter on to the top axle spacer, push it down until it snaps into place.
If you did everything correctly completed propeller launcher should look like this.
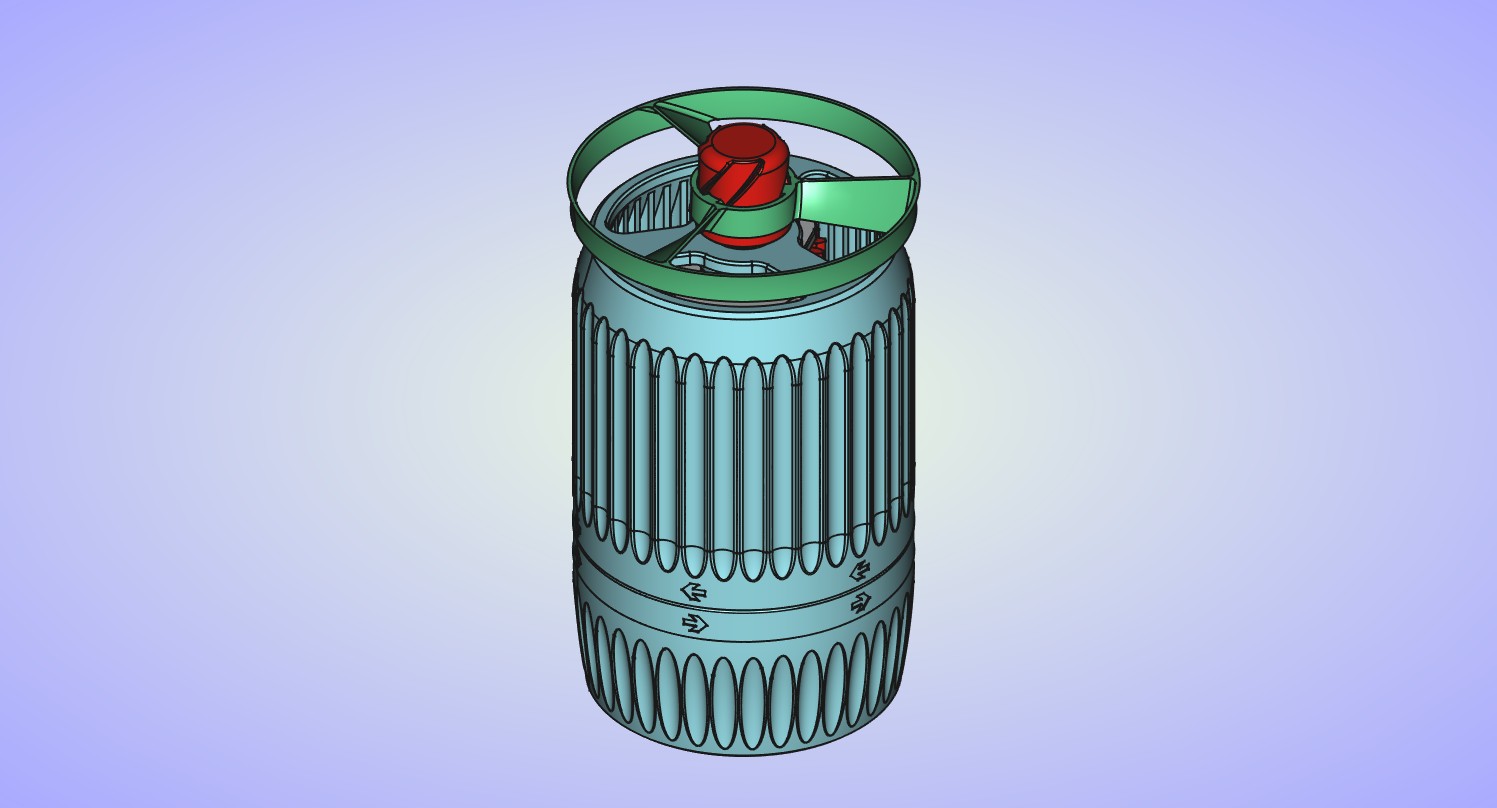
I've included the print profiles for 65mm, 80mm and 100mm propellers, each with a few versions with 3 or more blades. Smaller propellers require less force to launch and versions with 3 blades will usually fly better than versions with more blades.
I've also included the print profile for a version of the propeller launcher housing that is completely enclosed. This version takes slightly longer time to print but it will prevent dirt and curious fingers from getting into the gearbox.
I recommend using this outside, with a little input force launched propellers will easily fly more than 10m. And if you can turn it fast enough they will fly much further.
Finally a few precautions:
- As with other similar launcher toys act responsible and don't launch propellers at other people or animals. While the propellers are very light, 3-4 grams depending on the version, it is still not pleasant getting hit in the face by one.
- This one is pretty obvious but don't stick your fingers into the gearbox.
- And don't use the electrical drill to run gears at high speed, they will melt and you'll have to print new ones. Ask me how I know.

Gostou deste modelo? Crie uma conta grátis para salvar seus favoritos e voltar a eles depois.
Criar conta